¡Hola comunidad de Hive!
Hello Hive community!
Hola hermosa comunidad de hive blog, espero estén teniendo un maravilloso día. Para los amantes del hilo y aguja hoy traigo este proyecto que debo decir fue todo un reto pues nunca había hecho un short de estos, así que primero me asesoré para luego comenzar, este fue mi tercer intento pero me siento orgulloso del resultado final, espero les guste.
Hello beautiful hive blog community, I hope you are having a wonderful day. For the lovers of thread and needle today I bring this project that I must say was a challenge because I had never made a short of these, so first I advised me to then start, this was my third attempt but I am proud of the final result, I hope you like it.
Comenzamos.
We begin.
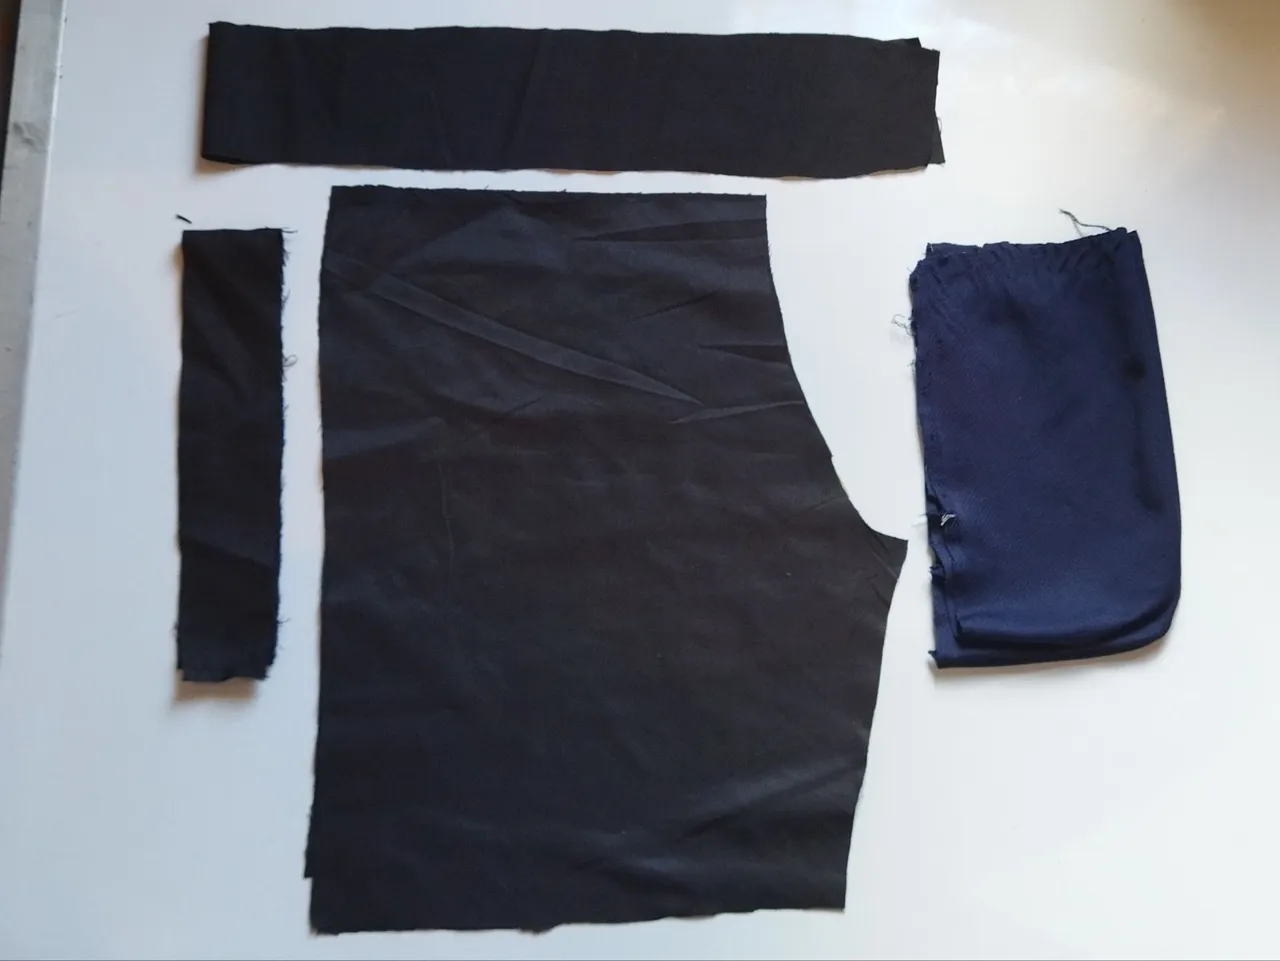
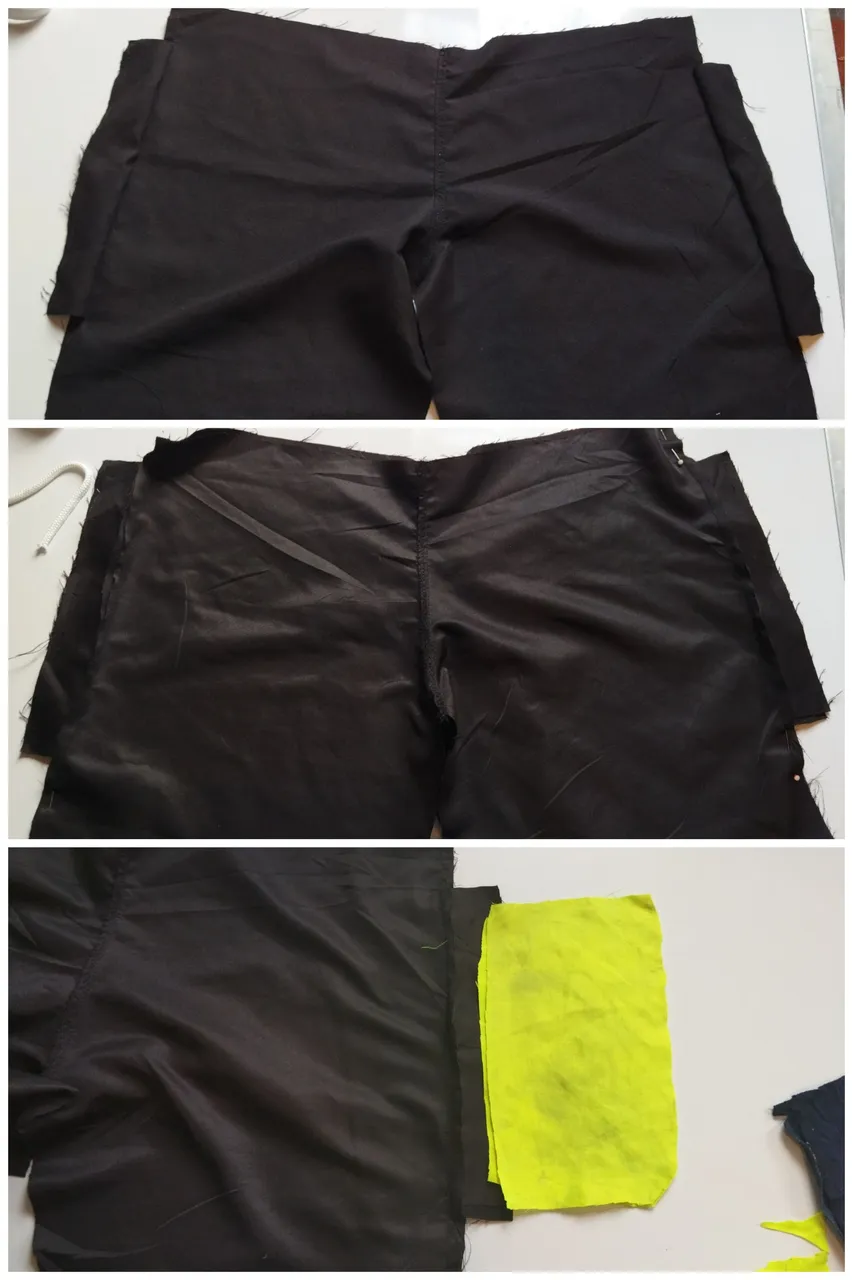
Primero pique las cuatro piezas, dos delanteras y dos traseras esto lo hice utilizando un pantalón guía, saque cuatro tiras de 4cm de ancho por 18cm de largo esto en color negro está será la parte visible del bolsillo, para la parte interior del bolsillo utilice tela reciclada de otro short.
Comenzamos a coser y empatamos las dos piezas delanteras y traseras respectivamente, pasamos costura recta por los tiros y luego pise con recta y hice costura decorativa , a los laterales cosí las tiras de los bolsillo.
First I cut the four pieces, two front and two back pieces, I did this using a pants guide, I took out four strips of 4cm wide by 18cm long in black color, this will be the visible part of the pocket, for the inside of the pocket I used recycled fabric from another shorts.
We started to sew and matched the two front and back pieces respectively, we sewed straight stitching for the straps and then I stitched with straight stitching and decorative stitching, on the sides I sewed the strips of the pockets.
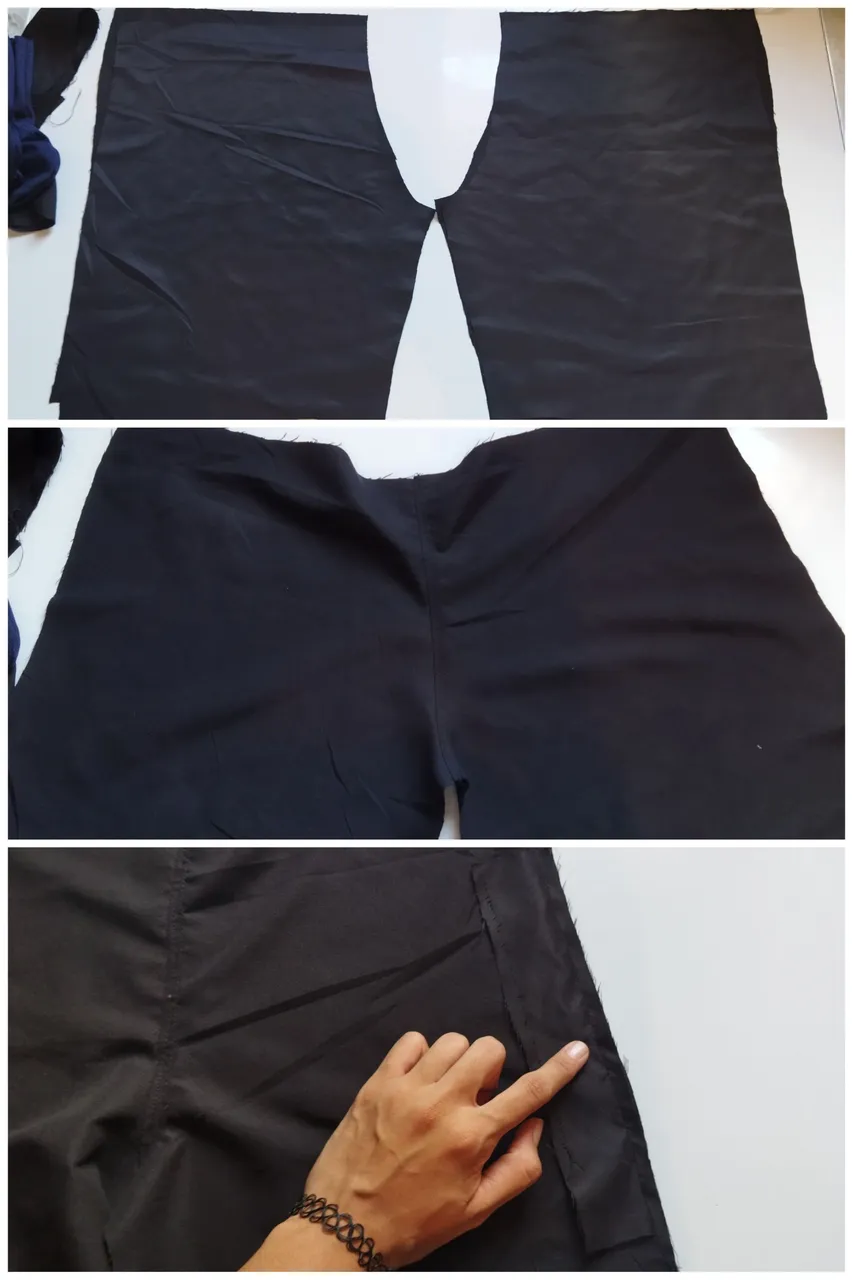
Después de tener las tiras cosidas y la tela inicial de los bolsillos, enfrentamos las dos piezas lado derecho por lado derecho, vamos a dejar la abertura donde estarán los bolsillos sin coser, nos guiamos por las tiras que cosí a los lados, a estas tiras vamos a coser lo que sería el interior del bolsillo, la bolsa te puedes guiar con la imagen que te muestro.
After having the sewn strips and the initial fabric of the pockets, we face the two pieces right side by right side, we are going to leave the opening where the pockets will be without sewing, we are guided by the strips that I sewed to the sides, to these strips we are going to sew what would be the inside of the pocket, the bag you can guide you with the image that I show you.
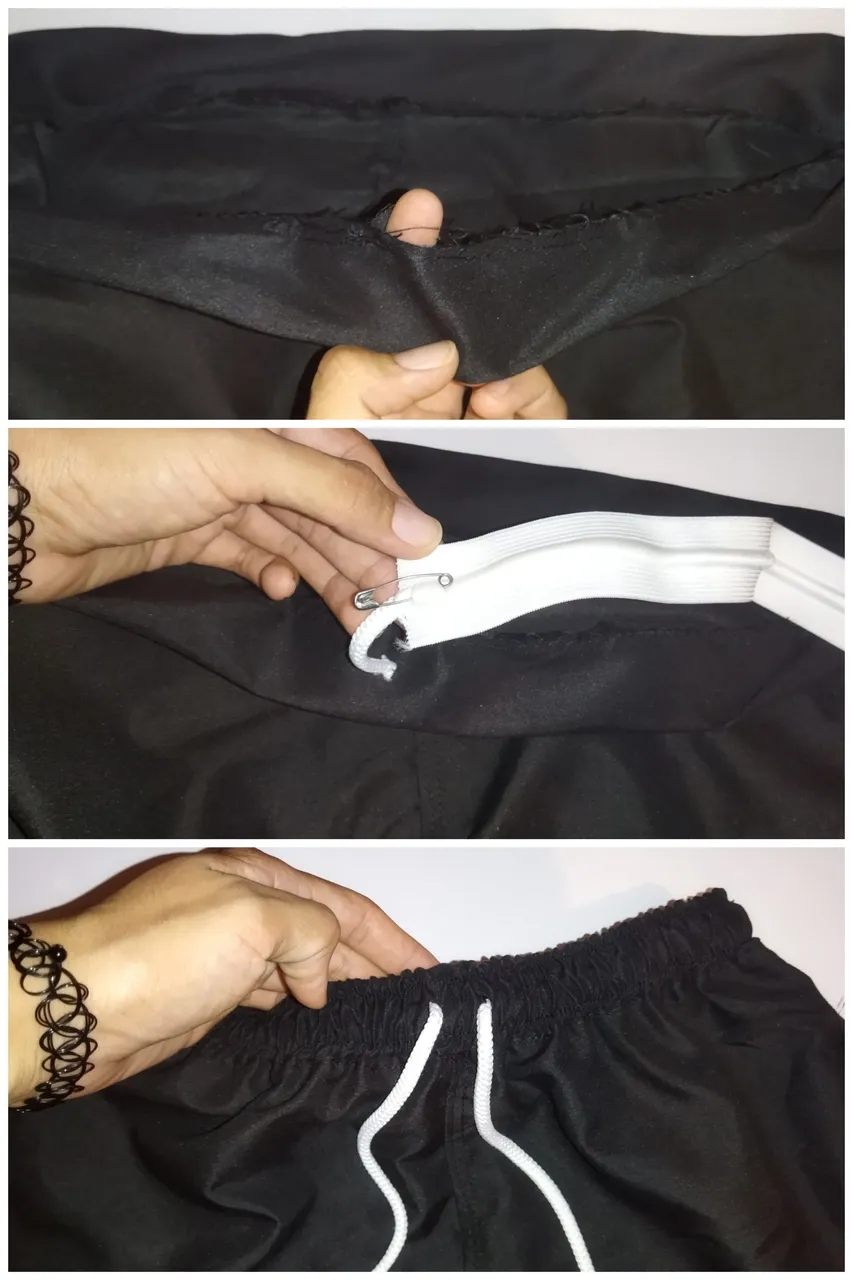
Remate los bolsillo en la parte externa con costura recta, esto para darle un acabado más limpio, pase doble costura. En la imagen te muestro cómo quedarían nuestros bolsillos en la parte interna, ahora vamos con la pretina, está la saqué midiendo el doble de la elástica que voy a usar, luego lo uni a mi pantalón pase costura sencilla, y dejé unos 4cm sin coser.
I finished off the pockets on the outside with straight stitching, this to give it a cleaner finish, I double stitched. In the image I show you how our pockets would be on the inside, now let's go with the waistband, I took it out measuring the double of the elastic that I am going to use, then I joined it to my pants with a single seam, and I left about 4cm without sewing.

Por la abertura que dejamos en la pretina del pantalón vamos a pasar la elástica, use un alfiler para que se me hiciera más fácil llevarlo hasta el otro extremo, junte las dos puntas de la elástica y las cosí y cerré con costura recta la abertura, para acabar con mi pretina pasé costura recta varias veces por la pretina para que la elástica quedará bien fija además que esto le da un mejor acabado a la prenda. Por último uni la entrepierna y cosí las orilla de las piernas.
Through the opening that we left in the waistband of the pants we are going to pass the elastic, I used a pin to make it easier to take it to the other end, I joined the two ends of the elastic and sewed them together and closed the opening with a straight seam, to finish with my waistband I passed straight seam several times through the waistband so that the elastic will be well fixed and this gives a better finish to the garment. Finally I joined the crotch and sewed the edges of the legs.
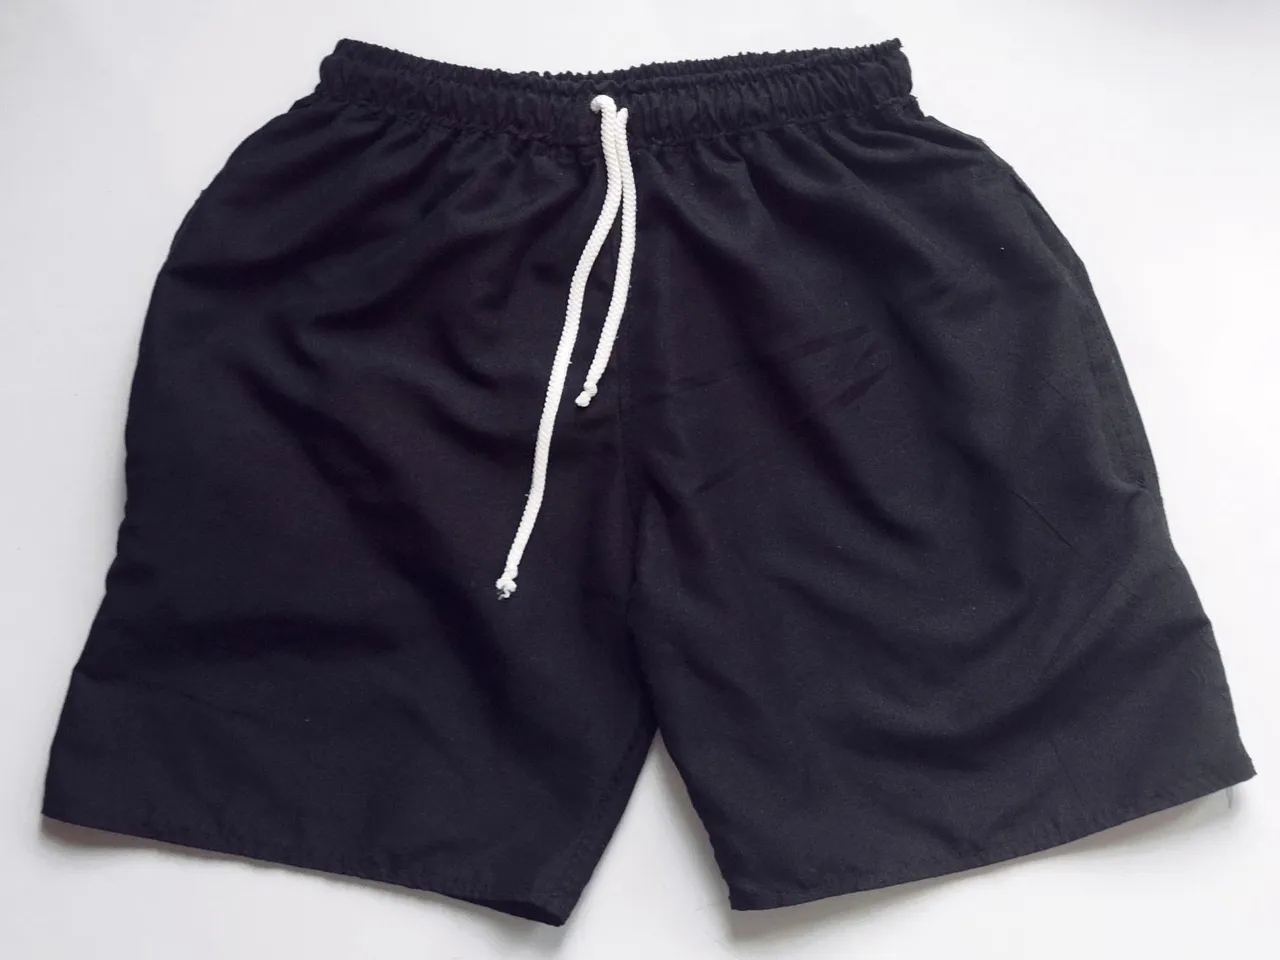
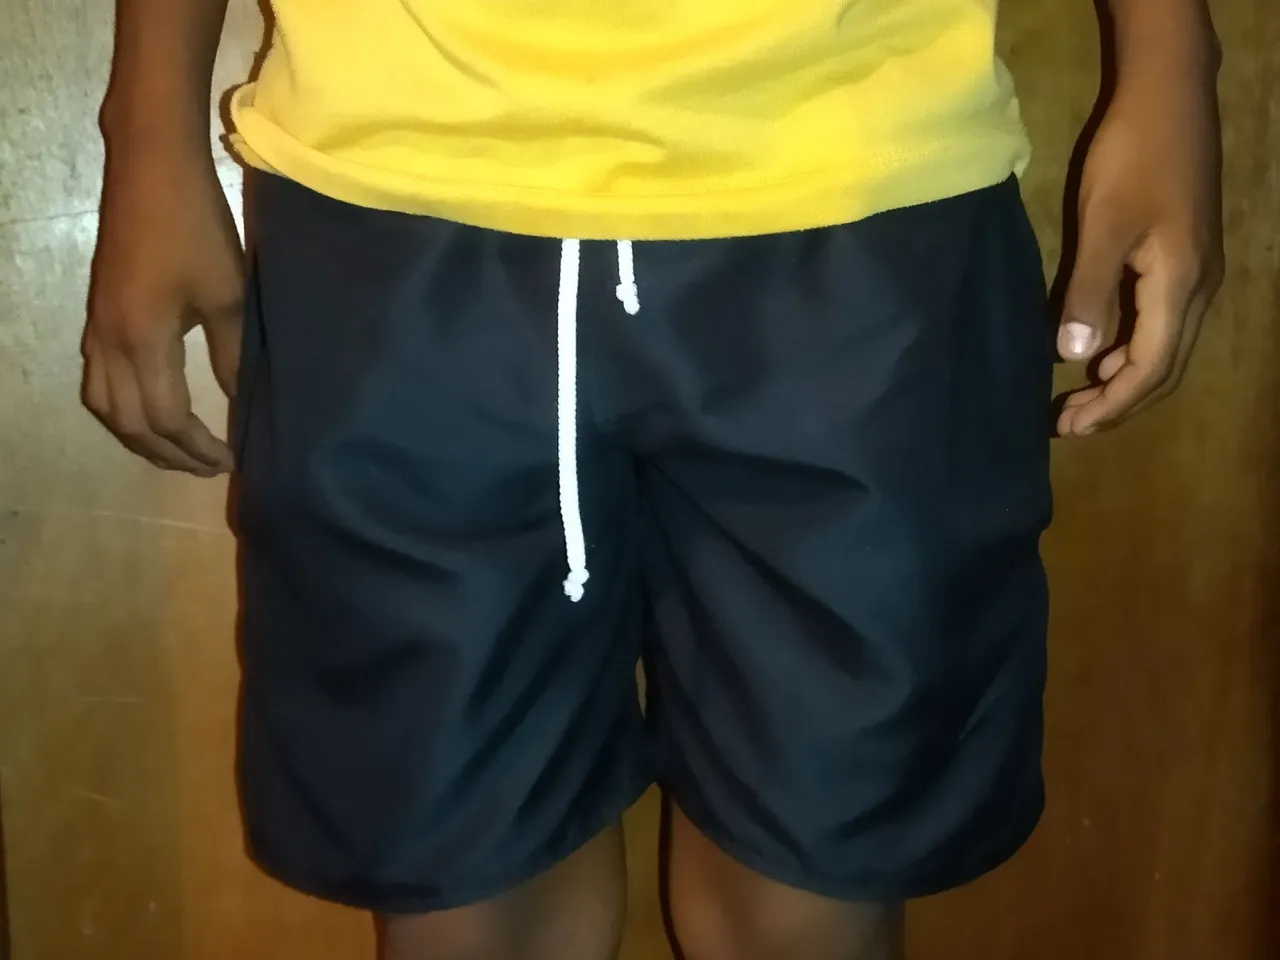
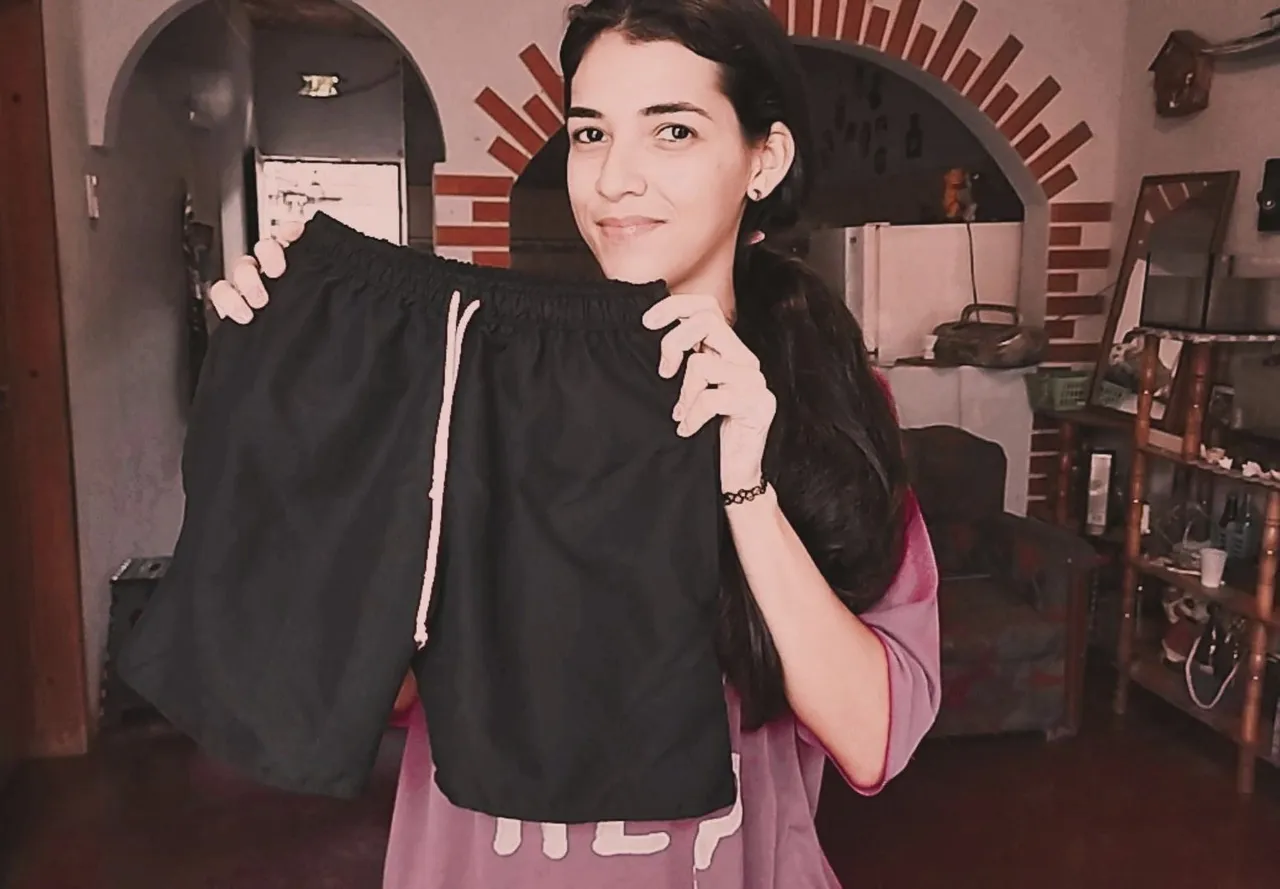
Mi resultado final, me siento orgullosa de poder haber cumplido este reto, siento que voy avanzando y mejorando en mi trabajo.
My final result, I feel proud to have met this challenge, I feel that I am advancing and improving in my work.
Todas las fotografías son de mi autoría.
Si llegaste hasta aquí, gracias por leer mi post nos vemos el la próxima.
All the pictures are of my authorship.
If you made it this far, thanks for reading my post, see you next time.