
 Saludos para tod@s, feliz de compartir con ustedes cada una de estas grandes ideas, hoy les quiero mostrar la transformación de una camisa tipo chemiss que tenía sin mangas en mi closet, hace un tiempo le quité las mangas y la tenía guardada, hoy la saqué del closet para transformarla y poderla utilizar para salir a cualquier lugar, veamos el procedimiento.
Greetings to everyone, happy to share with you each of these great ideas, today I want to show you the transformation of a chemiss type shirt that I had sleeveless in my closet, some time ago I removed the sleeves and had it stored, today I took it out of the closet to transform it and be able to use it to go out anywhere, let's see the procedure.


- Los materiales a utilizar son:
- 1 Camisa tipo chemiss que ya no uses.
- Tijera.
- Hilo de coser.
- Aguja.
- The materials to be used are:
- 1 Chemiss type shirt that you no longer wear.
- Scissors.
- Sewing thread.
- Needle.
- Paso 1: Primeramente le quitamos el cuello a la camisa conjuntamente con la parte donde van los botones, luego en la parte superior de la misma, o sea, en los hombros de la camisa, cortamos justamente por donde va la costura.
- Step 1: First we remove the collar of the shirt together with the part where the buttons go, then at the top of the shirt, that is, at the shoulders of the shirt, we cut just where the seam goes.
- Paso 2: Luego volteamos la camisa, y recortamos en forma recta justamente por la parte de abajo de donde estaba la manga, de un extremo a otro extremo.
- Step 2: Then we turn the shirt over, and cut straight across the bottom of the sleeve, from one end to the other end.
- Paso 3: Por la parte de adelante de la camisa recortamos en linea recta justamente a la altura de donde termina el cuello de la misma, hasta dejar ambos extremos tal cual como se muestra en la imágen.
- Step 3: On the front of the shirt, cut in a straight line just where the collar ends, leaving both ends as shown in the image.
- Paso 4: Luego que ya tenemos la camisa cortada, doblamos por la parte de atrás 1 cm apróximadamente y procedemos a coser, esto se debe hacer por el lado al revés.
- Step 4: Once we have the shirt cut, we fold the back of the shirt about 1 cm and proceed to sew, this should be done on the wrong side.
- Paso 5: En la parte de donde estaban las mangas, doblamos hacia adentro una pequeña parte para luego proceder a coser, esto se debe hacer en ambos mangas de la camisa.
- Step 5: In the part where the sleeves were, we fold inward a small part and then proceed to sew, this should be done in both sleeves of the shirt.
- Paso 6: En la parte superior de la camisa doblamos 1cm hacia dentro y cosemos, esto se debe hacer en ambas partes, o sea, en los hombros derecho e izquierdo, luego en la parte donde estaban los botones doblamos hacía adentro y cosemos por toda la orilla.
- Step 6: In the upper part of the shirt we fold 1cm inwards and sew, this must be done in both parts, that is, in the right and left shoulders, then in the part where the buttons were we fold inwards and sew all around the edge.
- Paso 7: Del retazo de tela que nos quedó cuando cortamos la parte trasera superior de la camisa, cortamos una tira y la estiramos, para luego introducirla dentro de la costura superior de la camisa, esto nos servirá para sostener la camisa cuando la vayamos a usar.
- Step 7: From the piece of fabric left when we cut the back top of the shirt, we cut a strip and stretch it, and then insert it into the top seam of the shirt, this will serve to hold the shirt when we are going to use it.
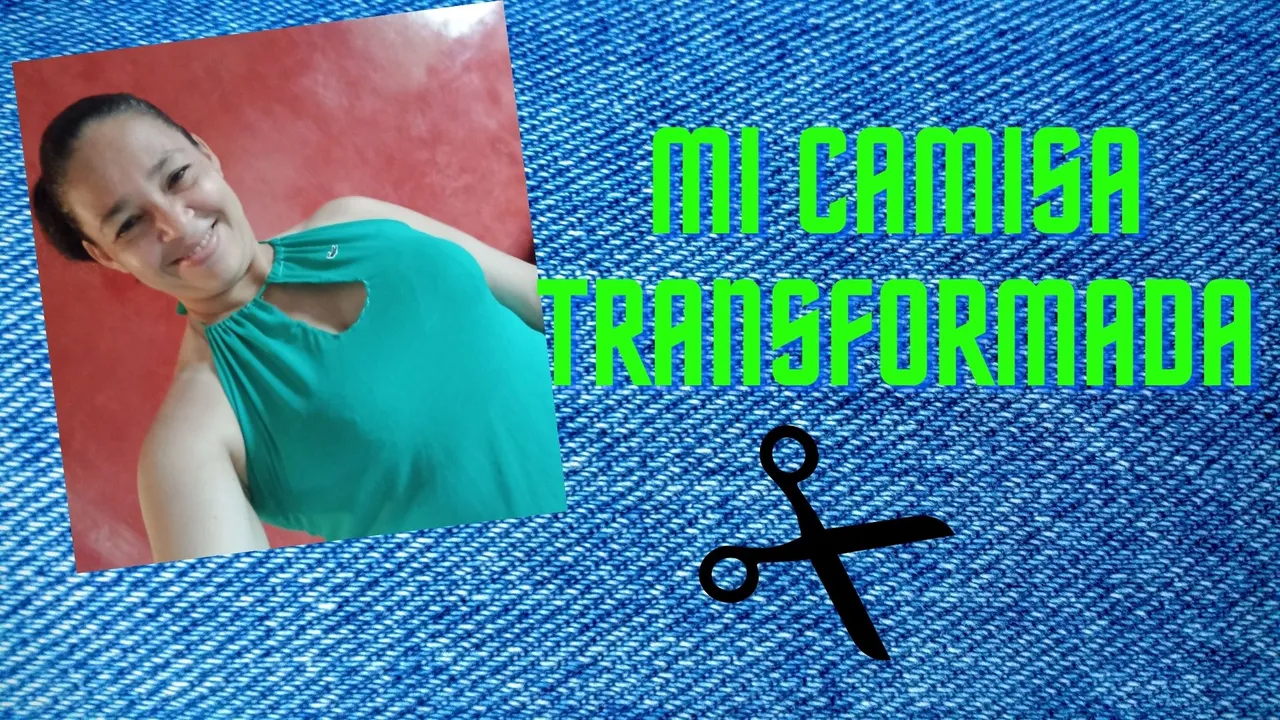
Aqui tenemos nuestro resultado final.Here we have our final result. Todas las fotos son de mi autoría, y editadas desde canva. All photos are of my authorship, and edited from canva.