
Hola a todos nuevamente vengo por aquí a mostrar como logre hacer mis propias boinas fácilmente siguiendo los próximos pasos 👇👇👇
Hello everyone, I'm here again to show you how I managed to make my own berets easily following the next steps 👇👇👇
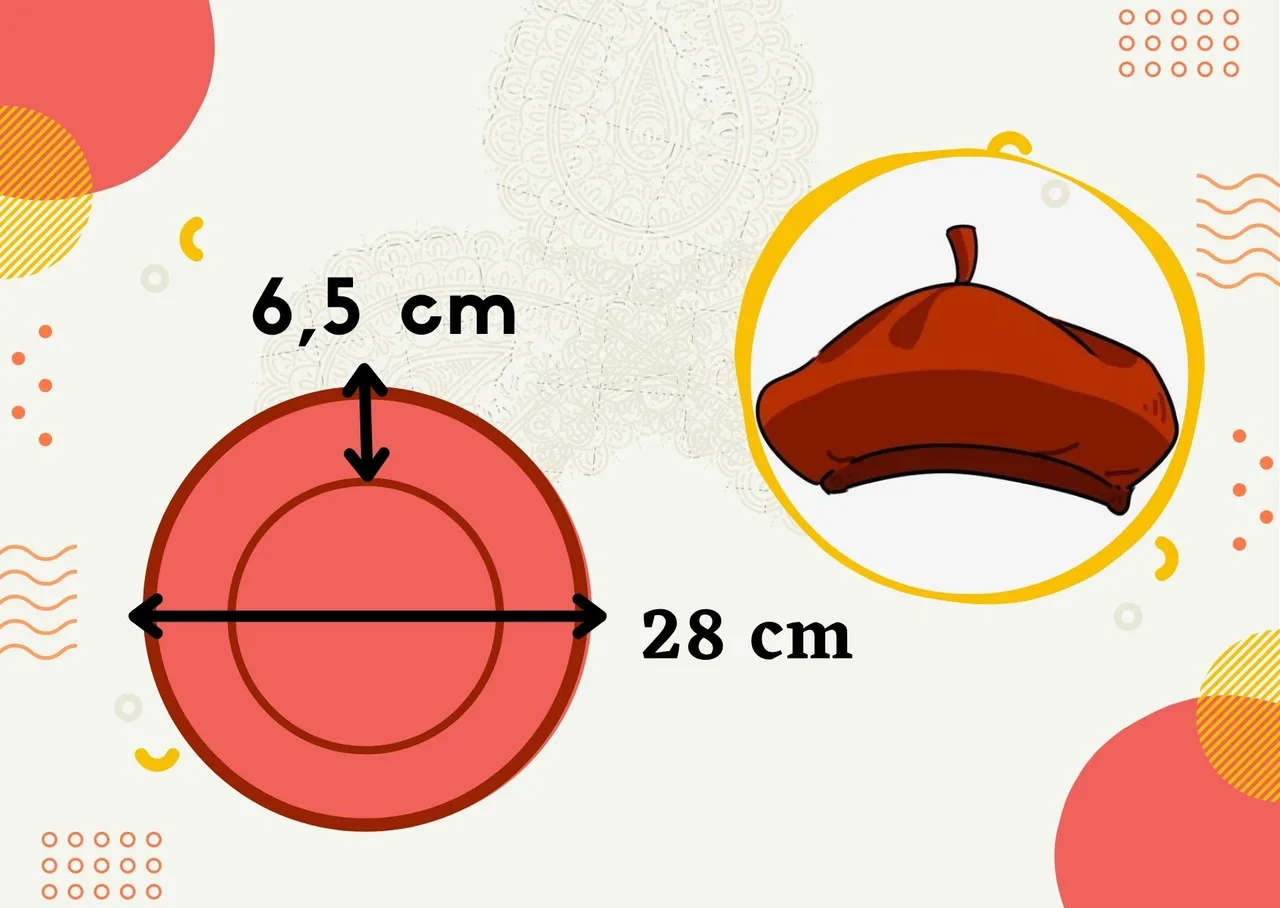
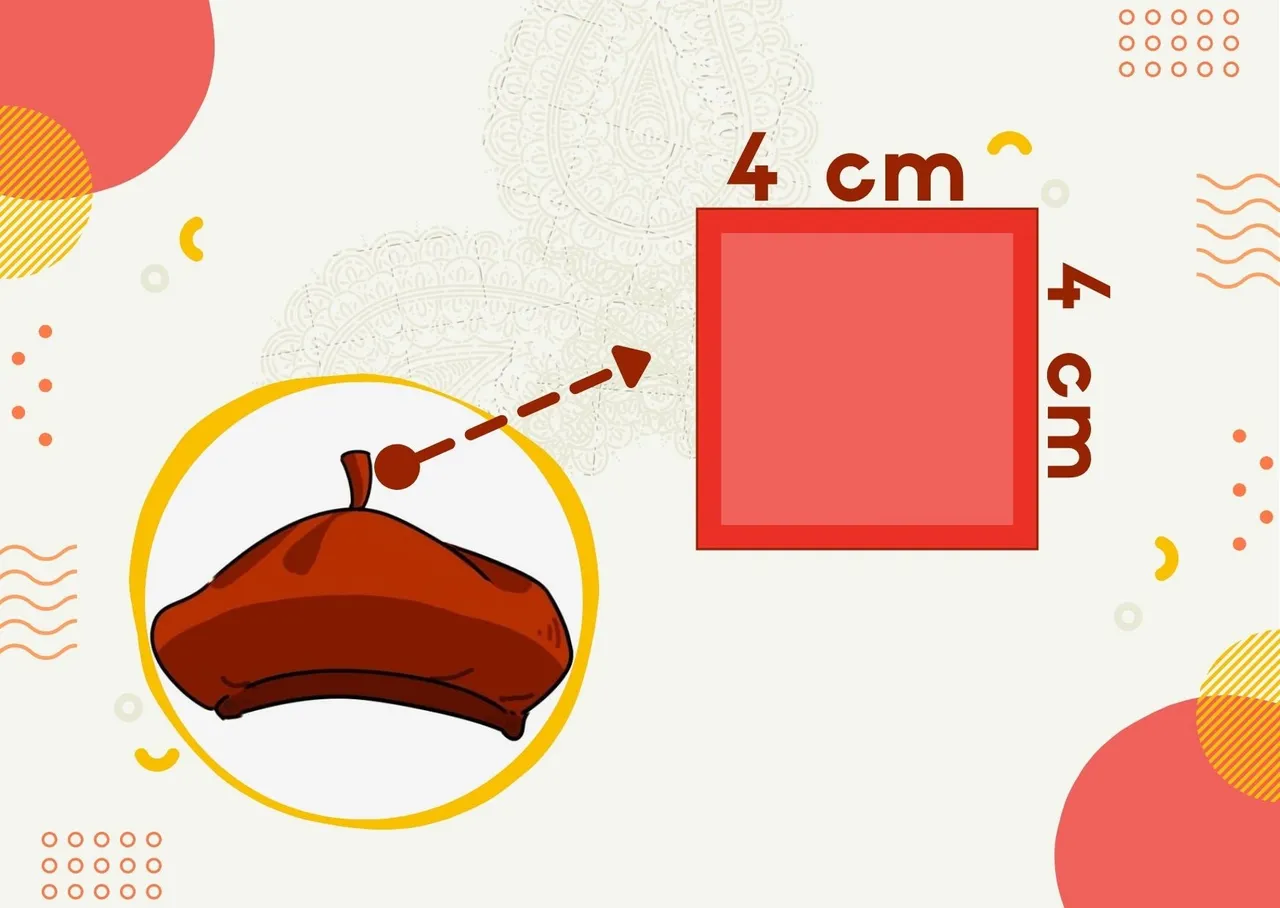
Lo primero es sacar un patrón que puede ser con cartulina o papel, yo utilice las medidas estándares que son las que aparecen en la imagen:
The first thing to do is to make a pattern that can be with cardboard or paper, I used the standard measures that are shown in the image:
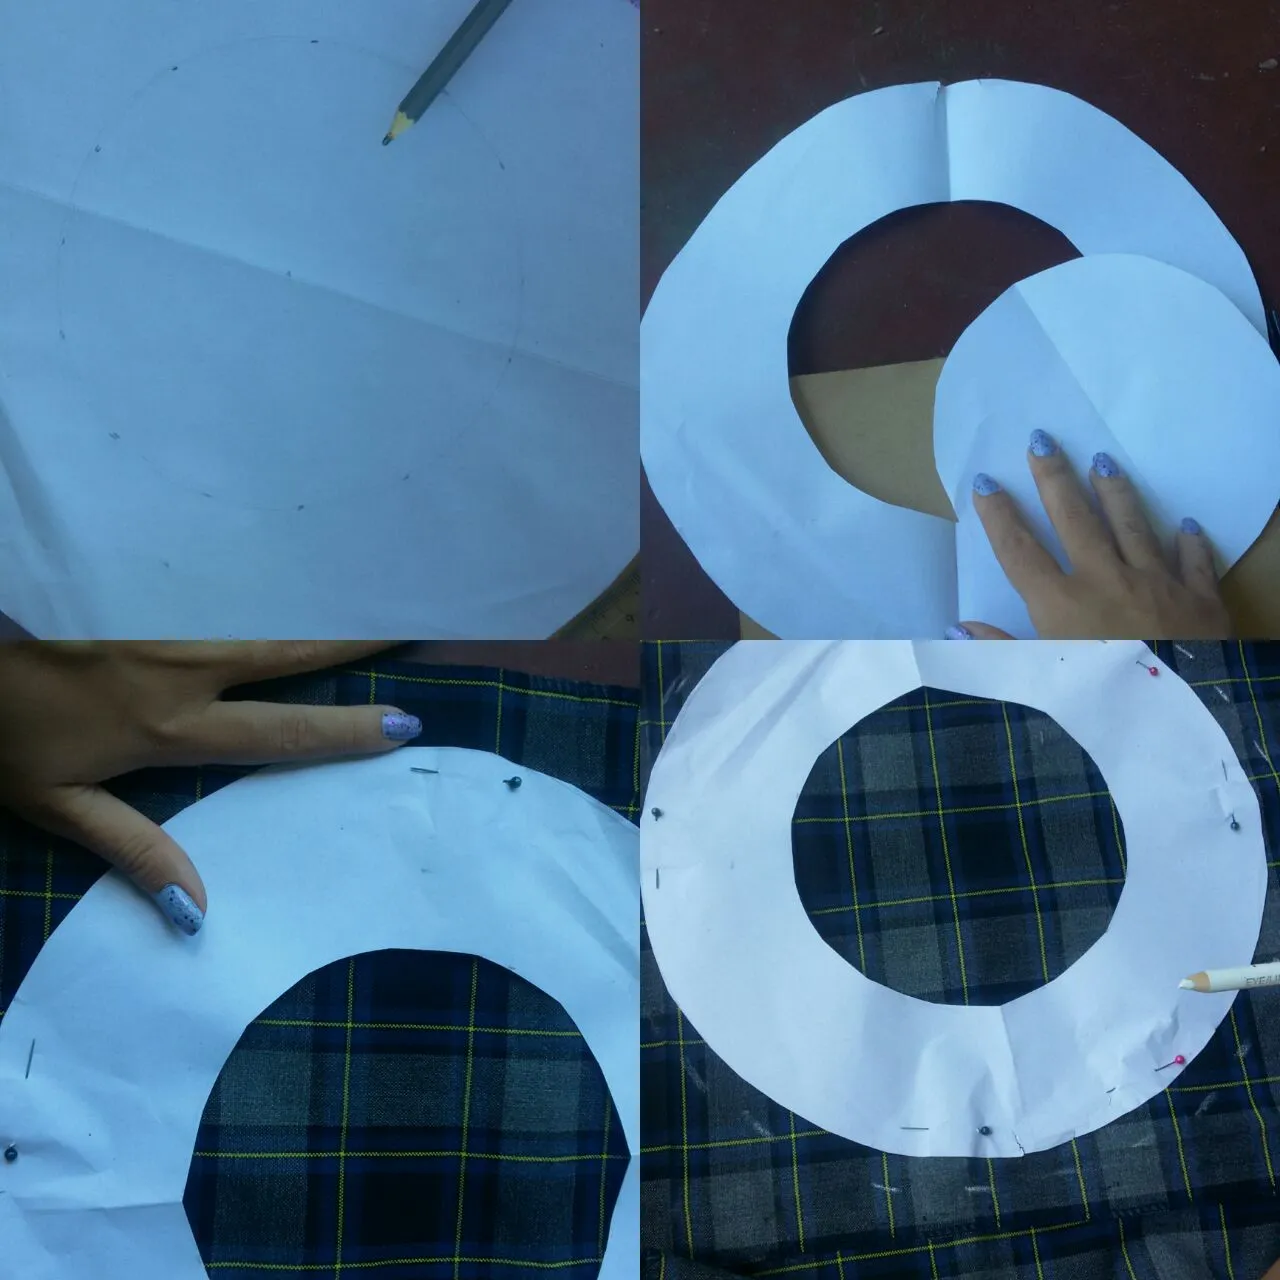
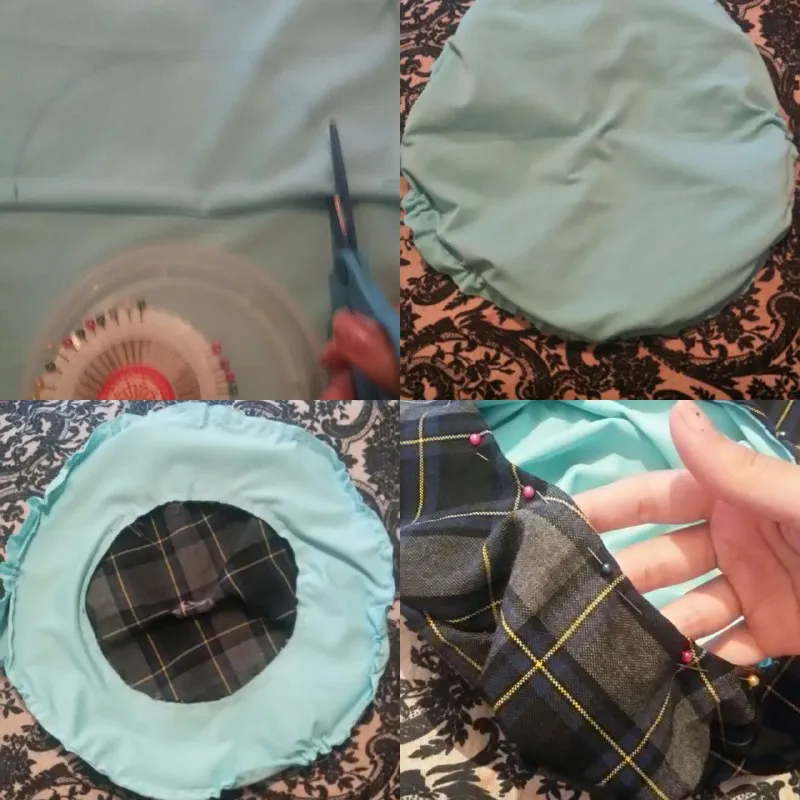
Con el patrón ya listo pasamos a marcar en la tela (se deja un espacio de 1 cm cuando se marca el circulo), de preferencia que sea algo rígida, tenia esta tela de cuadros que me encanta y por eso la elegí. La tela la vamos a poner doble y usaremos alfileres para ayudarnos a que el patrón no se mueva. De ese cuadrado de tela sacaremos dos redondos de igual tamaño y uno de ellos se le hace otro círculo pequeño que recortaremos como vemos en la imagen. 👇👇👇
With the pattern ready we mark on the fabric(a space of 1 cm is left when marking the circle) , preferably something stiff, I had this checkered fabric that I love and that's why I chose it. We are going to fold the fabric and use pins to help us to keep the pattern in place. From that square of fabric we will take two rounds of equal size and one of them we will make another small circle that we will cut out as we can see in the image. 👇👇👇
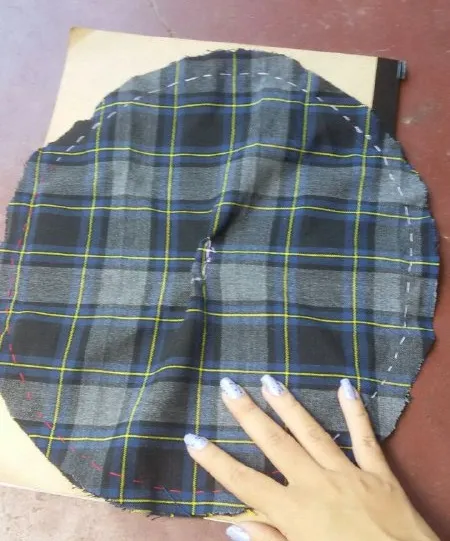
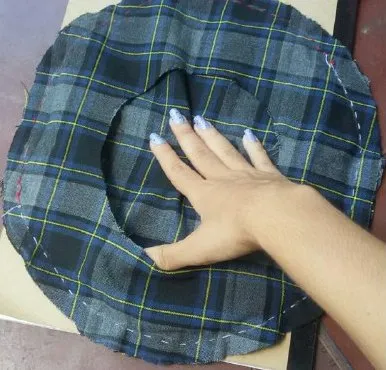
Luego de recortar coseremos a mano o a máquina ambos redondos por el borde de la siguiente forma como yo lo hice:
After trimming, we will sew by hand or by machine both rounds along the edge in the following way as I did:
Así mismo pasamos hacer el pequeño rabillo que va en la parte de arriba
In the same way we make the small corner that goes on the top part
Cortamos un pequeño cuadrado con las anteriores medidas, se cose haciendo un pequeño rectángulo dejando un espacio para voltearlo y así lo pasaremos a coser en centro de la boina como podrán ver en las siguientes fotos (el rabillo va arriba pero la costura será en la parte interna).
We cut a small square with the previous measurements, sew it making a small rectangle leaving a space to turn it over and sew it in the center of the beret as you can see in the following pictures (the corner goes on top but the seam will be on the inside).

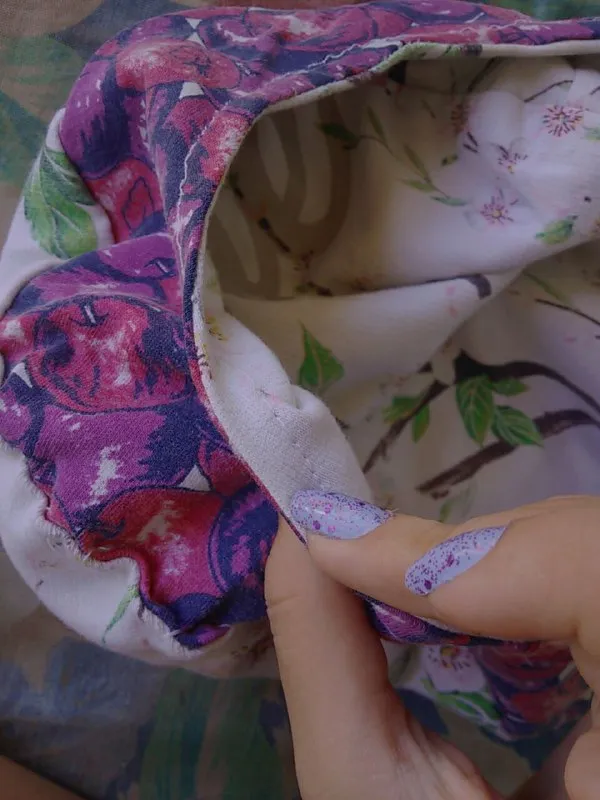
Por último para que quede con un mejor acabado se le realiza un forro que servirá para darle firmeza y sellar los bordes del hueco. El forro va con la misma medidas que la boina(o un poco más grande)lo recomendable es hacerlo con una tela que sea similar a la del exterior pero en mi caso use esta azul. La costura va por todo el alrededor sin tocar la boina que quedara por dentro dejando solo un pequeño espacio por donde se voltea y el forro queda en el interior. Finalmente se hace la última costura del borde.
Finally, to give it a better finish, a lining is made to give it firmness and seal the edges of the hole. The lining goes with the same size as the beret (or a little bigger) it is advisable to do it with a fabric that is similar to the outside but in my case I used this blue one. The seam goes all around without touching the beret that will be inside leaving only a small space where it turns and the lining is inside. Finally the last seam of the edge is made.
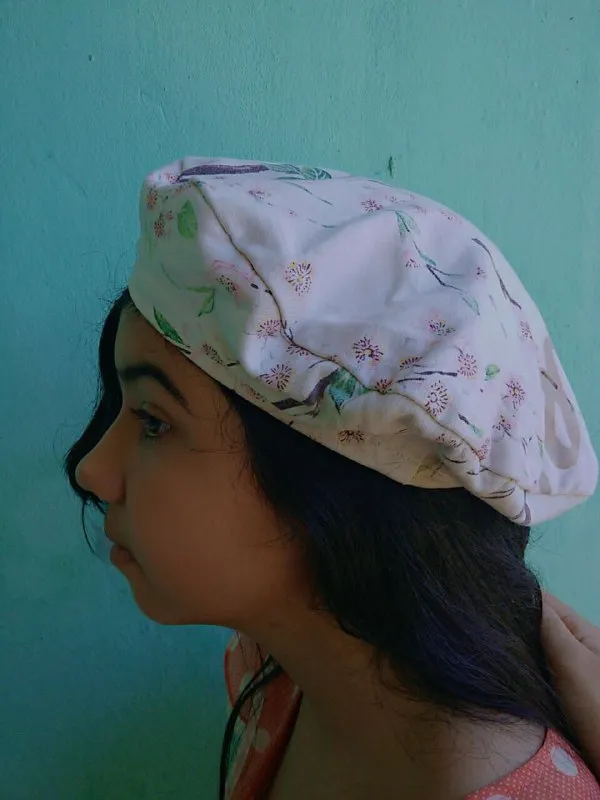
¡Y listo boina terminada! 😍💕
and ready finished beret! 😍💕


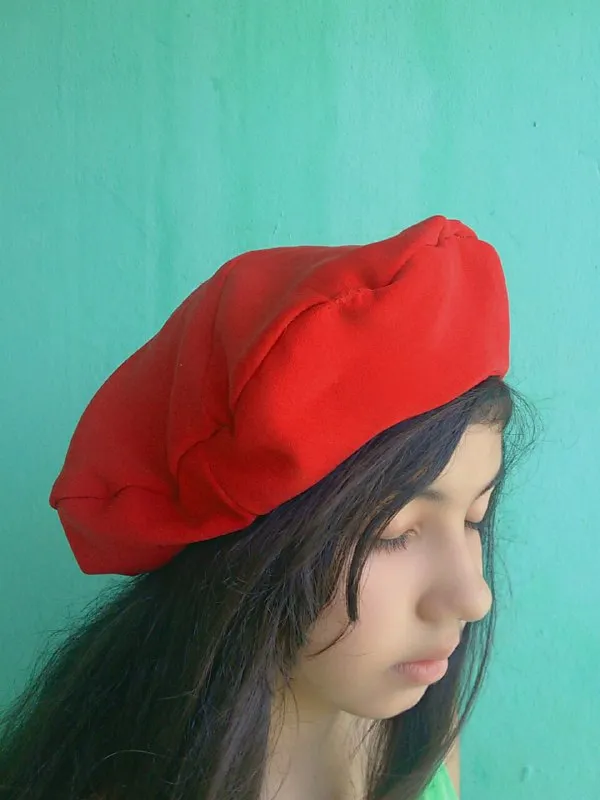
Algunas fotos de las otras que hice 📸 👧 con mi primita como modelo😊
some photos of others I made 📸 👧 with my cousin as a model 😊
Es muy fácil de hacer y queda un lindo resultado. Espero que les guste y hayan disfrutado de mi post … hasta la próxima 👋 😊 💗
It is very easy to make and it is a nice result. I hope you like it and enjoyed my post ... see you next time. 👋 😊 💗

📸Las Fotos Son De Mi Autoría
✍️Editadas en Canvas y Picsart
📚Traducido por DeepL
📸Photos Are My Own
✍️Edited in Canvas and Picsart
📚Translated by DeepL