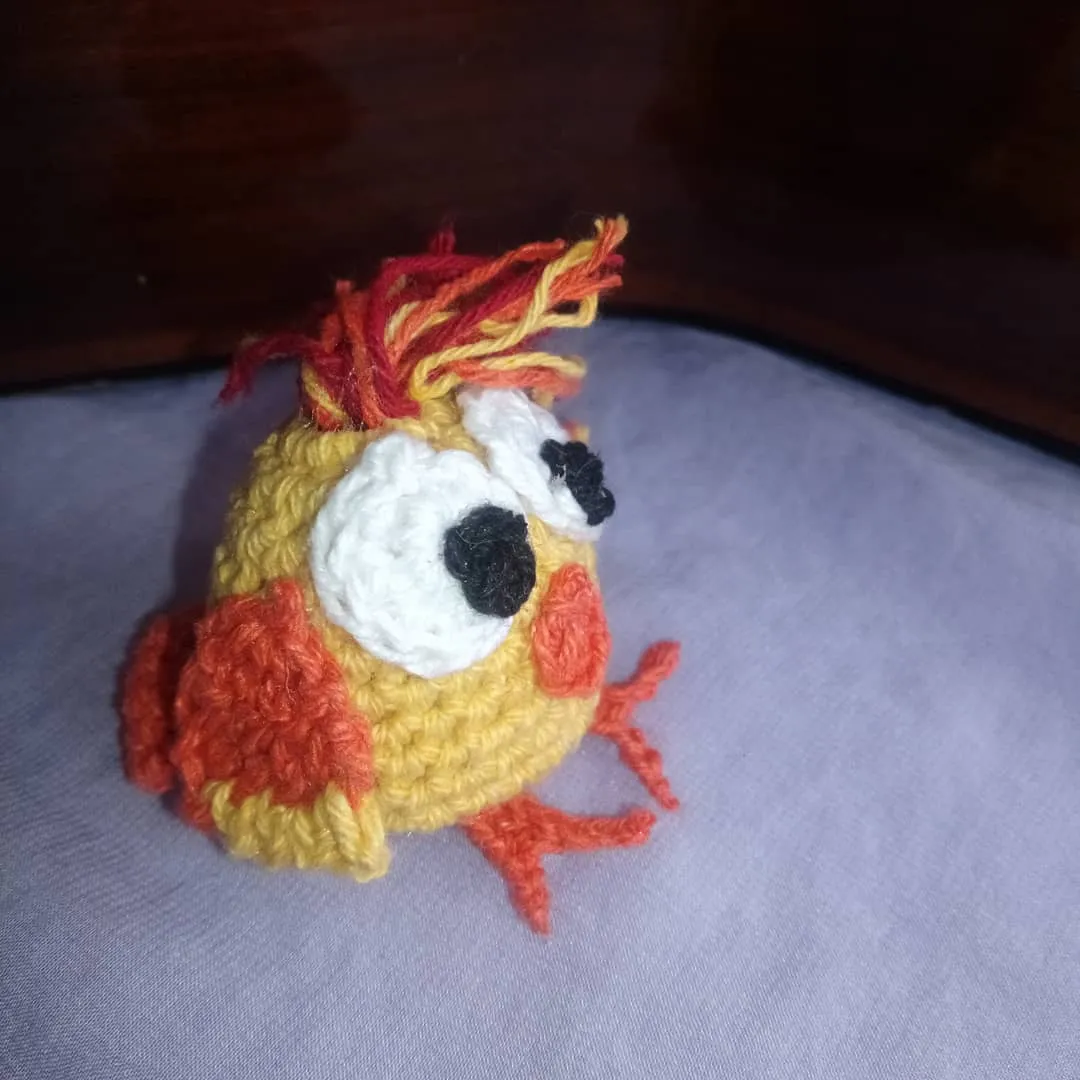
Hello NeedleWorkMonday community. I am very excited, it is the first time I publish here and I would like to share with you an easy tutorial to make a kawaii chicken amigurumi. Remember that the Kawaii style refers to amigurumis made from woven balls. I hope this tutorial will encourage you to make one.

MATERIALS. First of all the materials we must have:
1.- Crochet knitting needle N° 2.
2.- Anti-allergic filling.
3.- Thread of colors: yellow, orange, black and white.
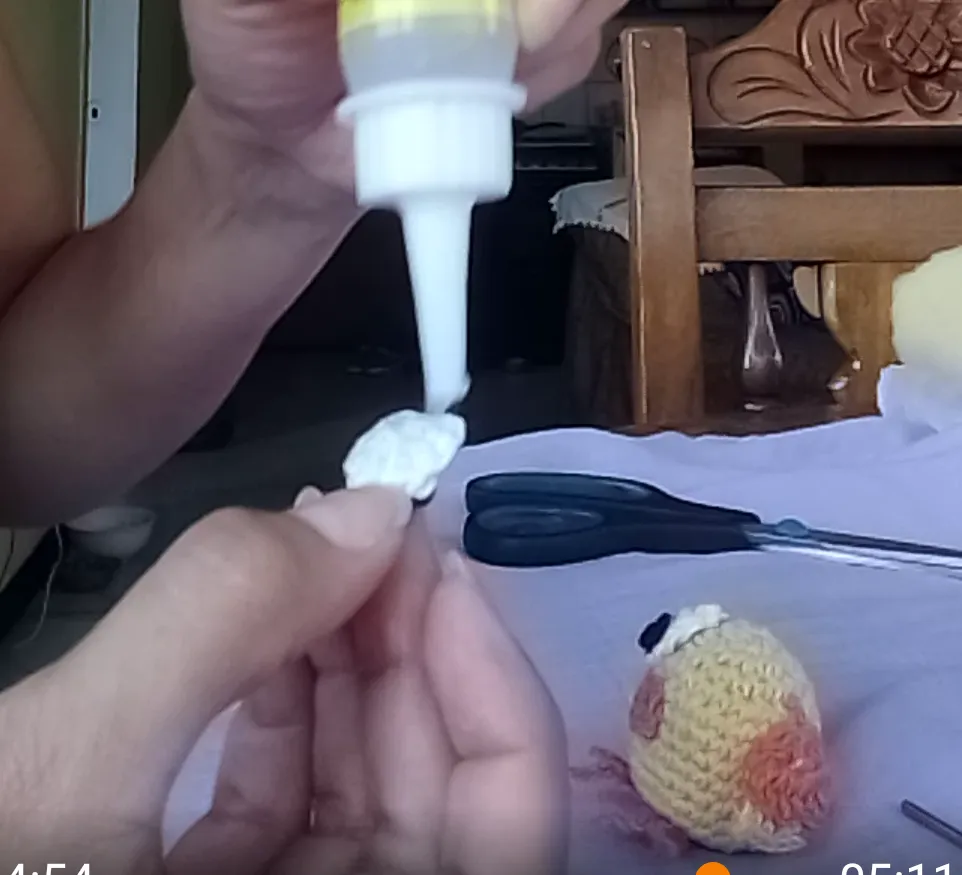
4.- Liquid silicone.
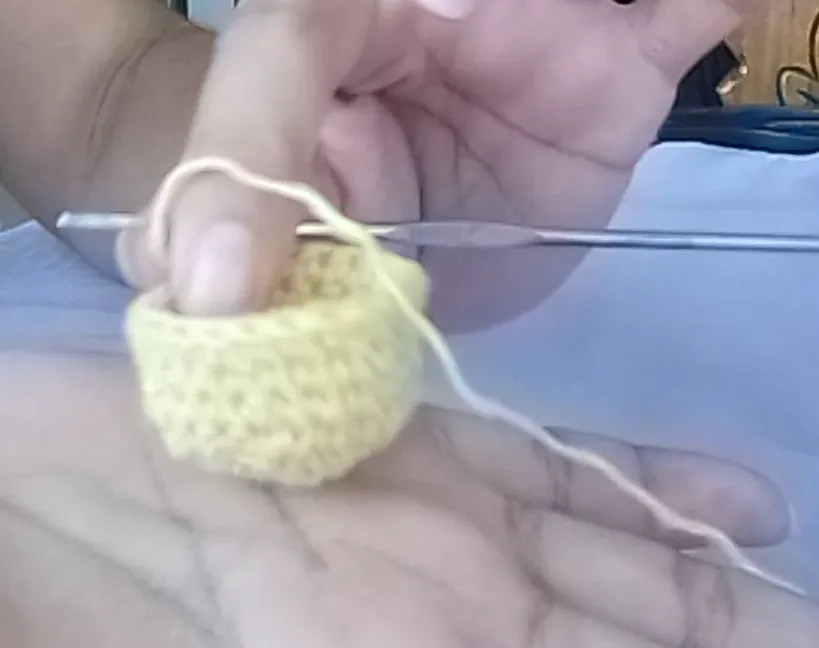
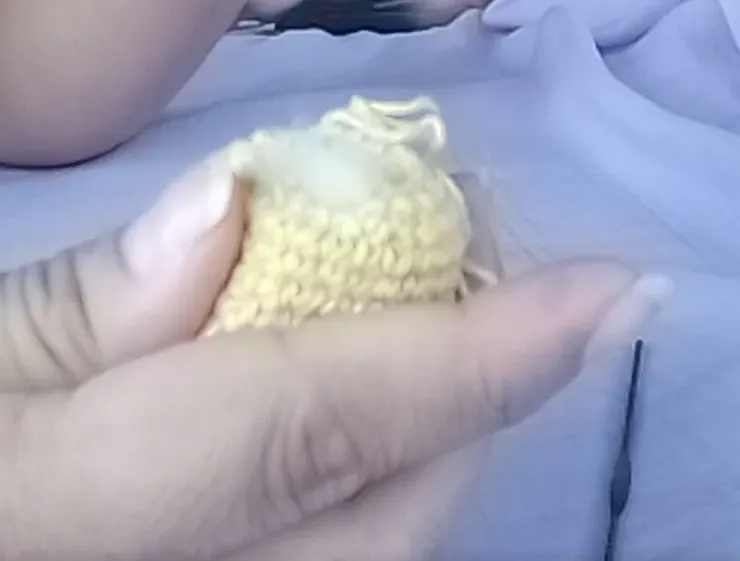
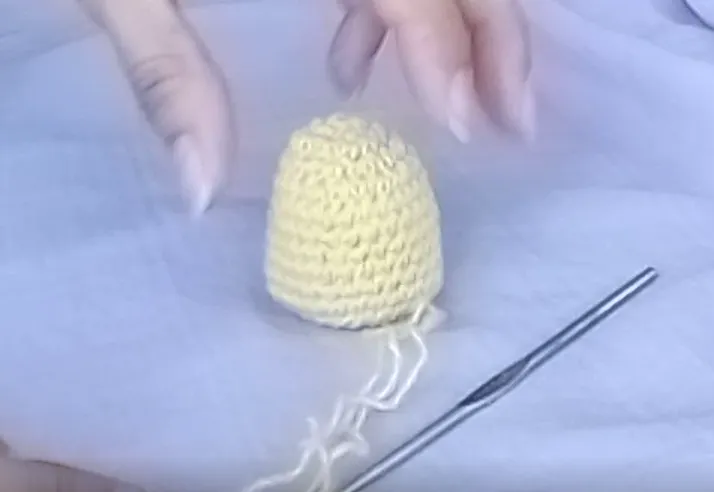
ELABORATE THE BALL. Yellow thread. Follow the next steps:
- Weave a magic ring of 5 chains, close it.
- Turn 1. Weave 6 half stitches.
- Row 2: Weave 12 half stitches, that is, two stitches on each chain.
- Row 3: Weave one half stitch and two half stitches on the same stitch.
- Row 4: Weave two half stitches and two half stitches on the same stitch.
- Rounds 5 to 11. Weave one half stitch on each stitch.
- Row 12: Weave four half stitches and reduce one.
- Row 13: Weave three half stitches and reduce one.
- Row 14: Weave 2 half stitches and reduce one. Insert the anti-allergic padding.
- Row 15: Weave 1 half stitch and reduce one. Close.
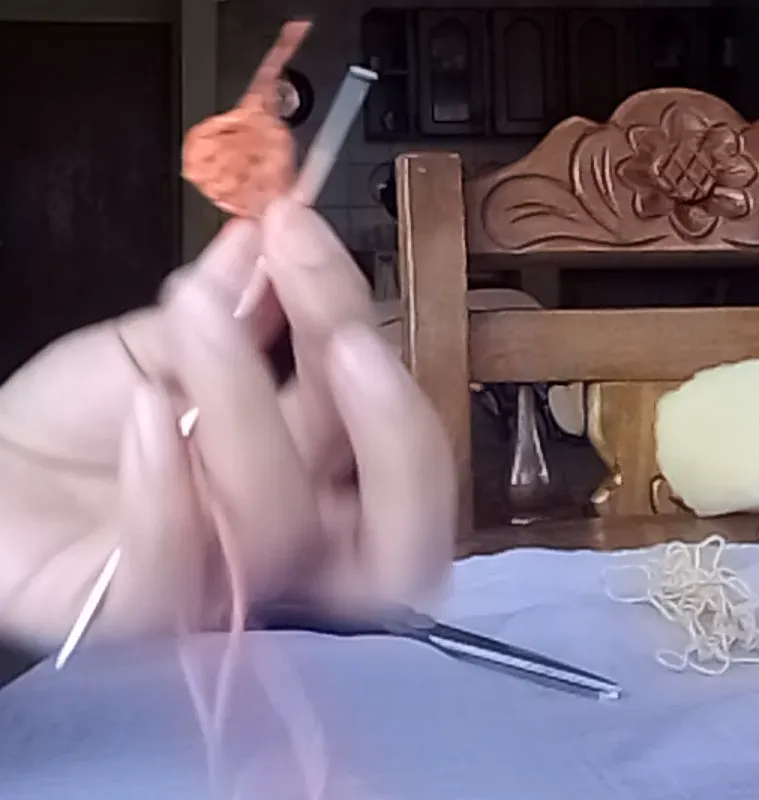
KNIT THE WINGS AND TAIL. Orange and yellow thread.
- Make three chains.
- Row 1. Weave three half stitches on the first chain.
- Row 2. Weave one half stitch, two half stitches and one half stitch.
- Weave one half stitch, two half stitches in two stitches and one half stitch. Total of 6 stitches.
- Row 4. Weave 6 half stitches.
- Row 5. Change to yellow. Weave 6 half stitches and close.
MAKING THE LEGS. Orange color.
- Make 9 chains.
- Weave 6 half stitches.
- Weave 3 chains. Close.
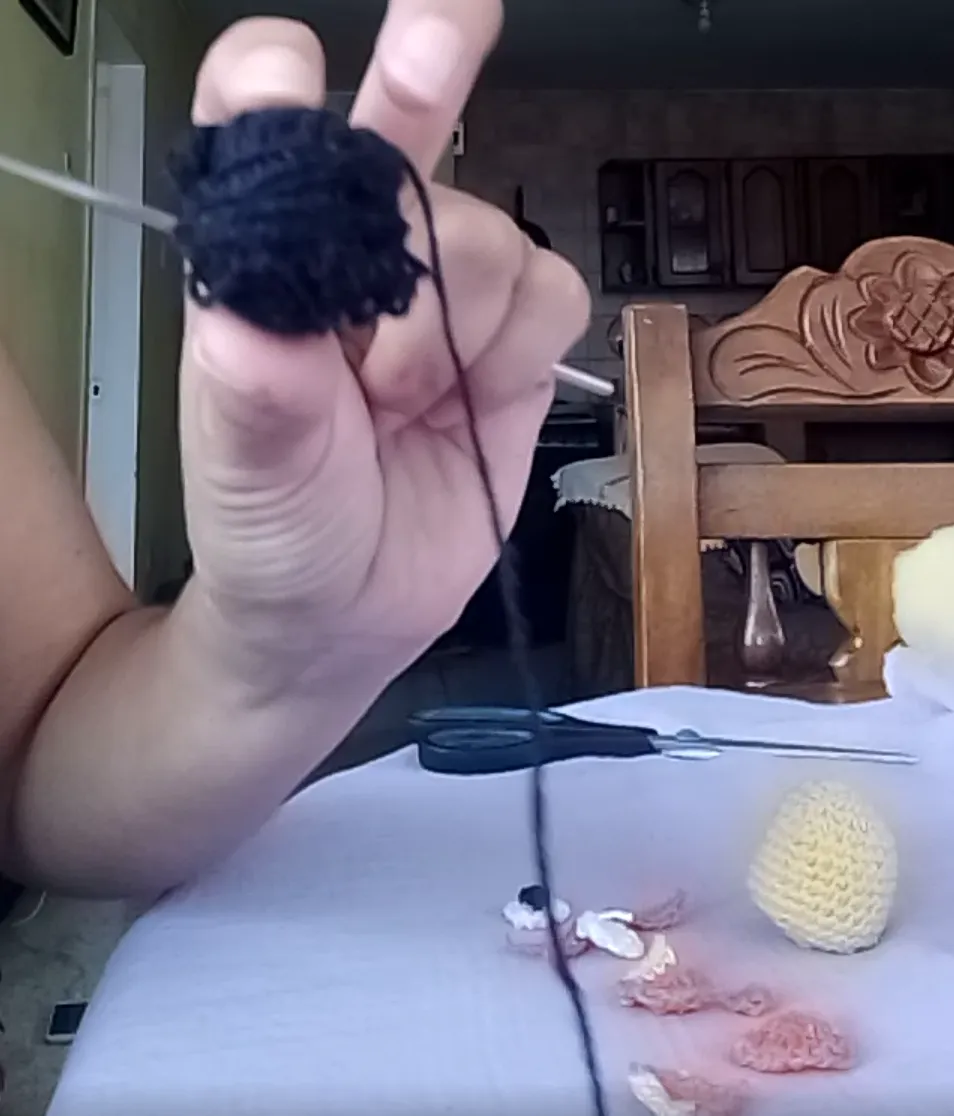
- MAKING THE EYES. Black and white color.
- Weave a 5 chain magic ring, close. In white color.
- Turn 1. Weave 6 half stitches.
- Row 2: Weave 12 half stitches, that is, two stitches on each chain.
- In black color. Weave a 4 chain magic ring and close it.

ELABORATING THE SPIKE. Orange color.
- Make three chains.
- Turn 1. Weave three half stitches on the first chain. Close.

With the liquid silicone glue all the parts. Now take yellow and orange thread and make the head hair.
Follow me on Instagram Click here
If you got this far, thank you very much for reading me. See you next time....
Sorry for traslation mistakes.
Translated with www.DeepL.com/Translator (free version)
AHORA EN ESPAÑOL
Hola comunidad NeedleWorkMonday. Estoy muy emocionada, es la primera vez que publico aquí y me gustaría compartir con ustedes un fácil tutorial para hacer un amigurumi kawaii de pollito. Recordemos que el estilo Kawaii se refiere a amigurumis elaborados a partir de bolitas tejidas. Espero que con este tutorial se animen a hacer uno.


MATERIALES. Primero que nada los materiales que debemos tener:
1.- Aguja para tejer crochet N° 2.
2.- Relleno antialérgico.
3.- Pabilo de colores: amarillo, naranja, negro y blanco.
4.- Silicón líquido.

ELABORAR LA BOLITA. Hilo amarillo. Sigue los siguientes pasos:
- Teje un Anillo mágico de 5 cadenetas, cierra.
- Vuelta 1. Teje 6 medio puntos.
- Vuelta 2: Teje 12 medio puntos, es decir, dos puntos sobre cada cadeneta.
- Vuelta 3: Teje un medio punto y dos medio puntos en un mismo punto.
- Vuelta 4: Teje dos medio punto y dos medio puntos en un mismo punto.
- Vueltas 5 ala 11. Teje un medio punto sobre cada punto.
- Vuelta 12: Teje 4 medio puntos y reduce uno.
- Vuelta 13: Teje 3 medio puntos y reduce uno.
- Vuelta 14: Teje 2 medio puntos y reduce uno. Introduce el relleno antialérgico.
- Vuelta 15: Teje 1 medio punto y reduce uno. Cierra.

ELABORANDO LAS ALAS Y COLITA. Hilo Naranja y Amarillo.
- Haz tres cadenetas.
- Vuelta 1. Teje tres medio puntos en la primera cadeneta.
- Vuelta 2. Teje un medio puntos, dos medio puntos y un medio punto.
- Vuelta 3. Teje un medio punto, dos medio puntos en dos puntos y un medio punto. Total 6 puntos.
- Vuelta 4. Teje 6 medio puntos.
- Vuelta 5. Cambia a color amarillo. Teje 6 medio puntos y cierra.

ELABORANDO LAS PATAS. Color Naranja.
- Haz 9 cadenetas.
- Teje 6 medio puntos.
- Teje 3 cadenetas. Cierra.
ELABORANDO LOS OJOS. Color blanco y negro.
- Teje un Anillo mágico de 5 cadenetas, cierra. En color blanco.
- Vuelta 1. Teje 6 medio puntos.
- Vuelta 2: Teje 12 medio puntos, es decir, dos puntos sobre cada cadeneta.
- En color negro. Teje un anillo mágico de 4 cadenetas y cierra.
ELABORANDO EL PICO. Color Naranja.
- Haz tres cadenetas.
- Vuelta 1. Teje tres medio puntos en la primera cadeneta. Cierra.

Con el silicón líquido pega todos las partes. Ahora toma hilo de colores amarillo y naranja y haz el pelo de la cabeza.
Sígueme en Instagram Has click aquí
Si llegaste hasta aquí muchas gracias por leerme. Nos vemos la próxima….