Happy #NeedleWorkMonday my dear creative #NeedleWorkMonday friends. Every week I have a new project to develop and although my work is mostly based on knitting amigurumis, one or another project goes out of that goal.
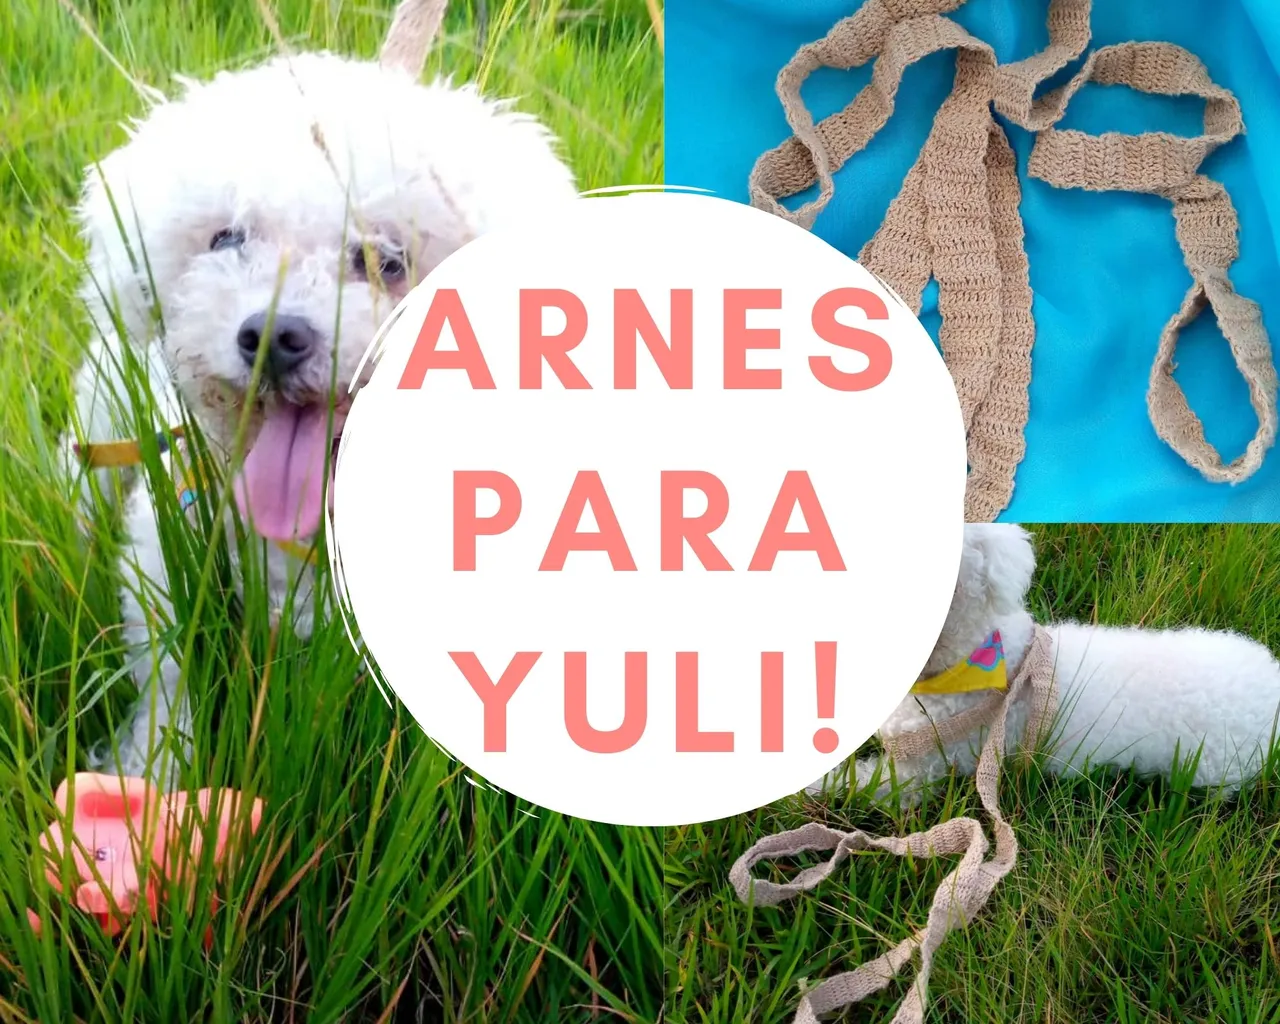
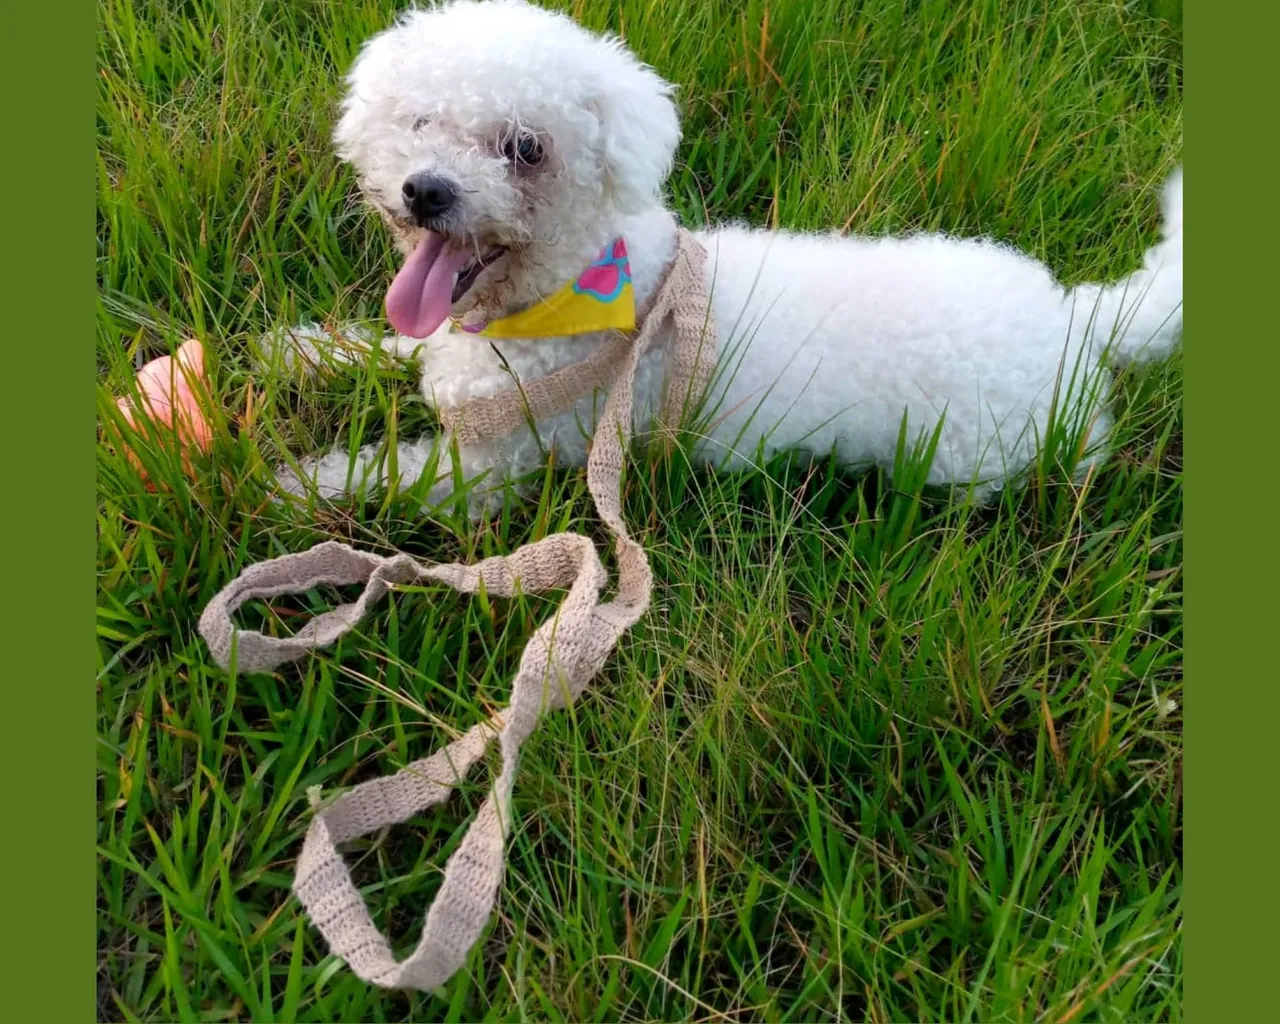
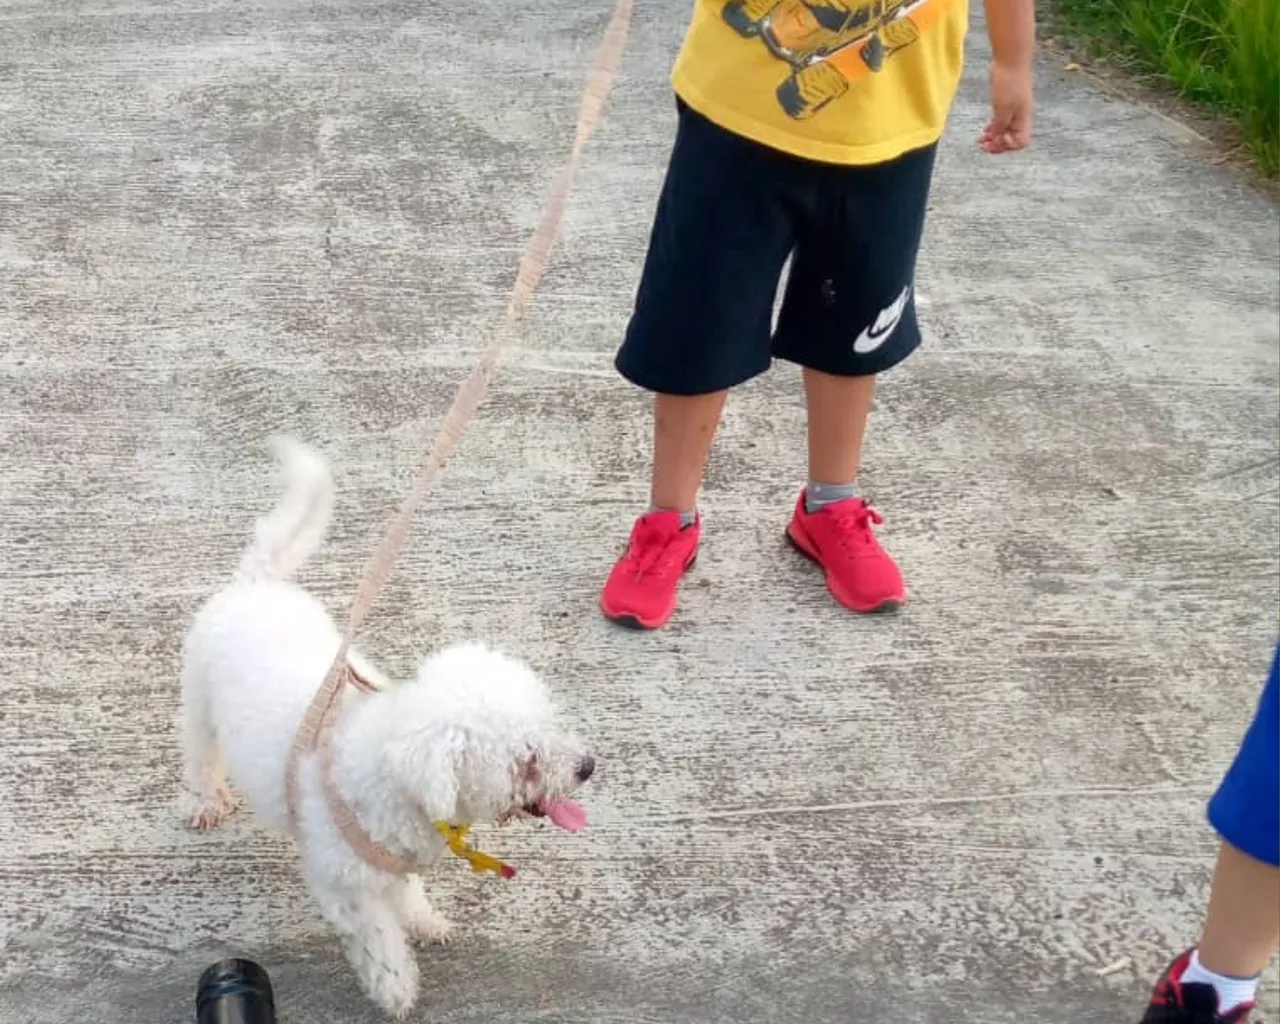
I have a pet, she is a naughty little dog named "Yuli". Every time I take her out for a walk, she is so eager to sniff everything that she pulls me and then a tension is created between my hand and her neck, which I don't like because she ends up hurting herself.
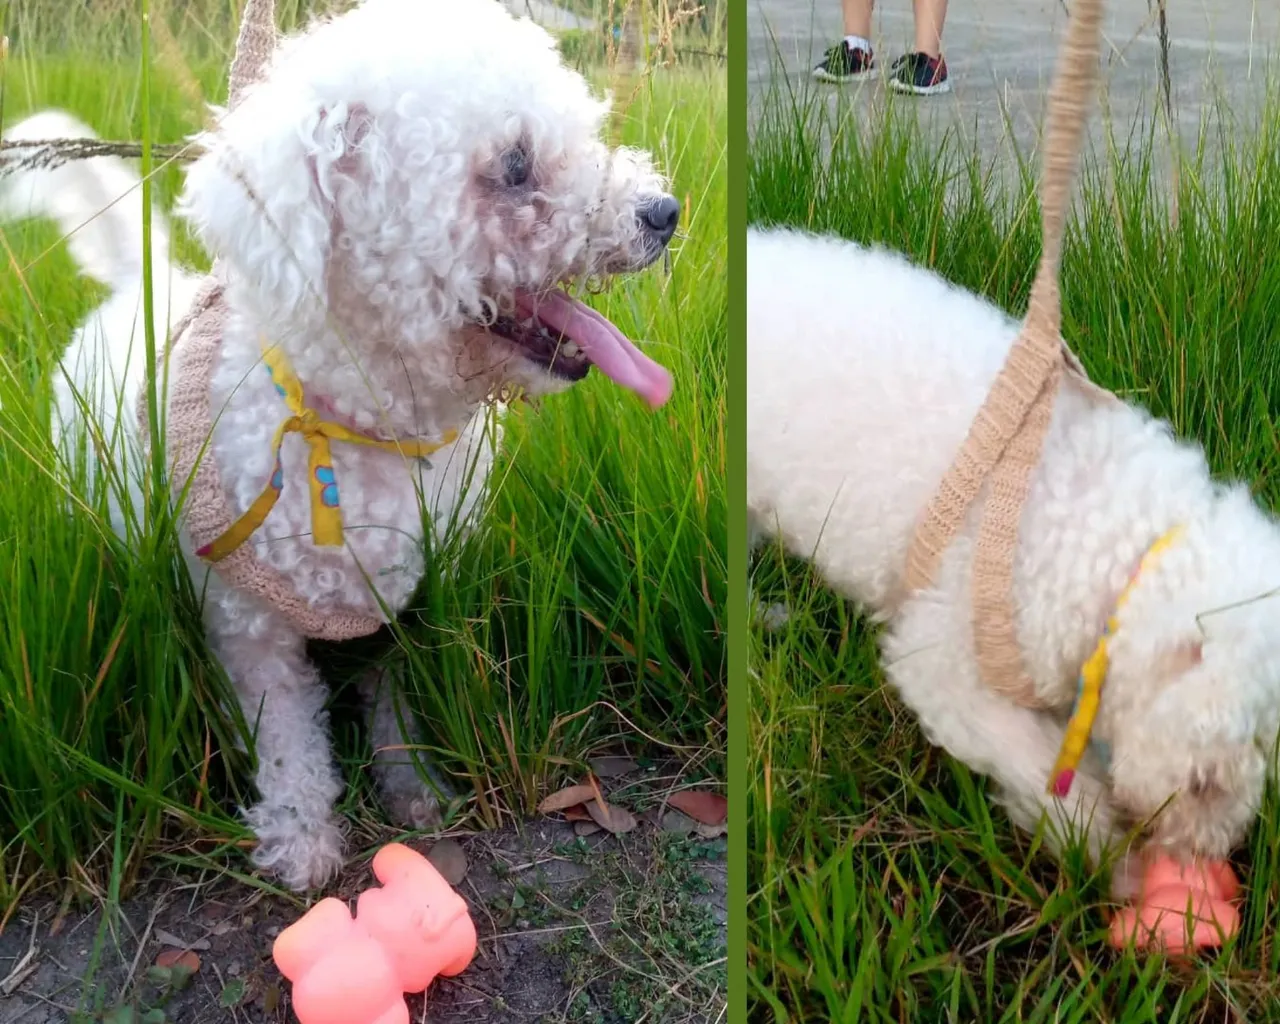
So finally, after a long time I decided to knit her a harness to hold her by her chest, ending the resistance between my hand and her neck once and for all.
For the harness, I used the following MATERIALS:
- Beige cotton yarn.
- Crochet needle N° 2.
PROCEDURE
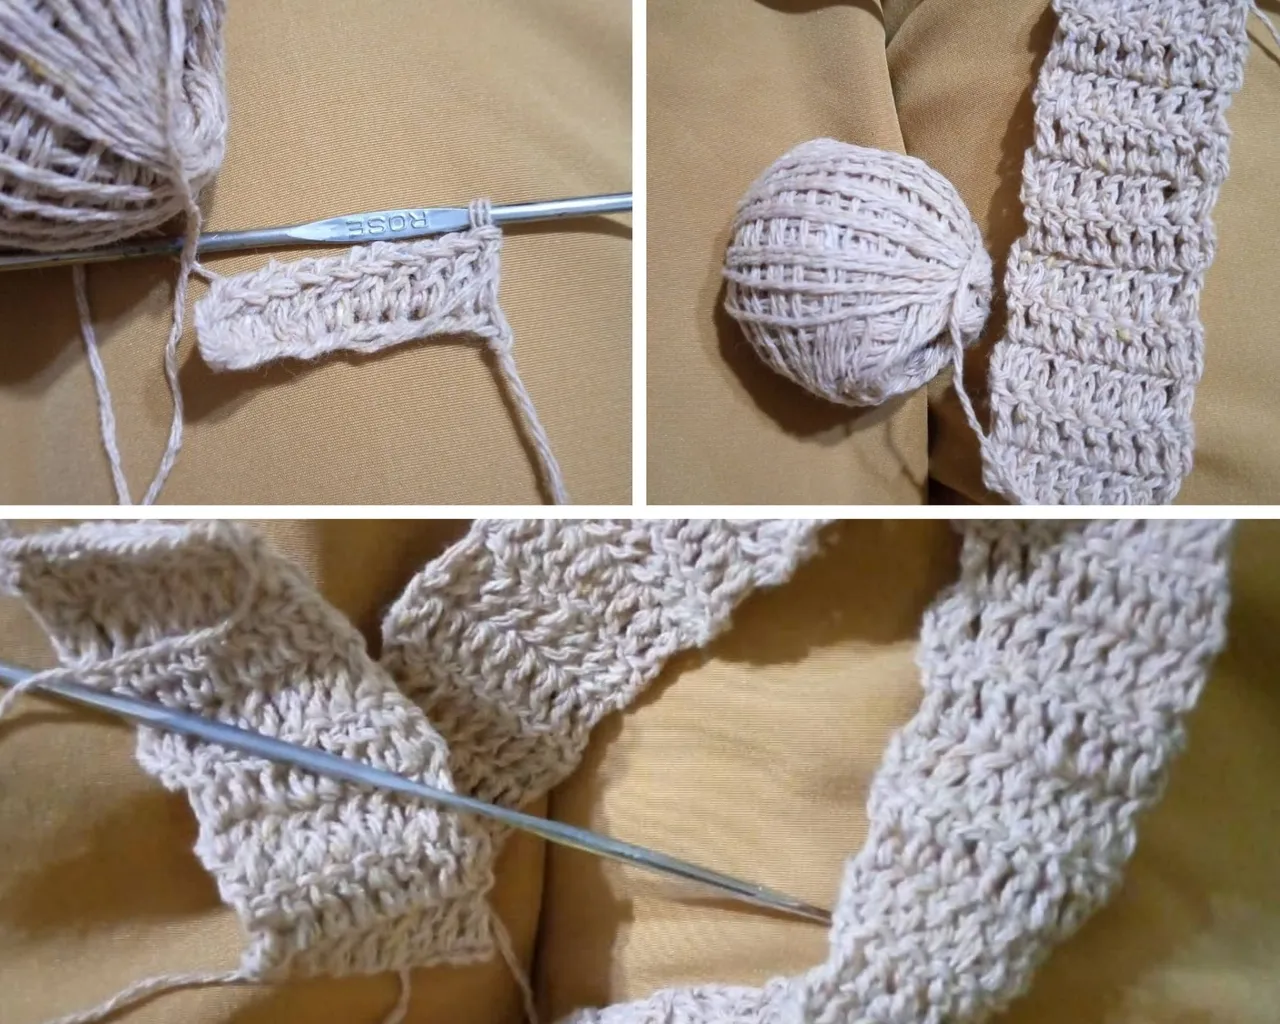
First of all I want to clarify that I did all the knitting in garter stitch, I find it more flexible, spaced and easy to do. I started by knitting 10 chains. I went back over the chain stitches knitting 8 rods. From round 1 through round 54 I wove a loop over each chain, a total of 8 rods each round, each row of 8 rods one over the other, creating a chain. At this point I finished weaving the harness that will go over my pet's stomach. I closed both ends with 8 single crochet stitches.
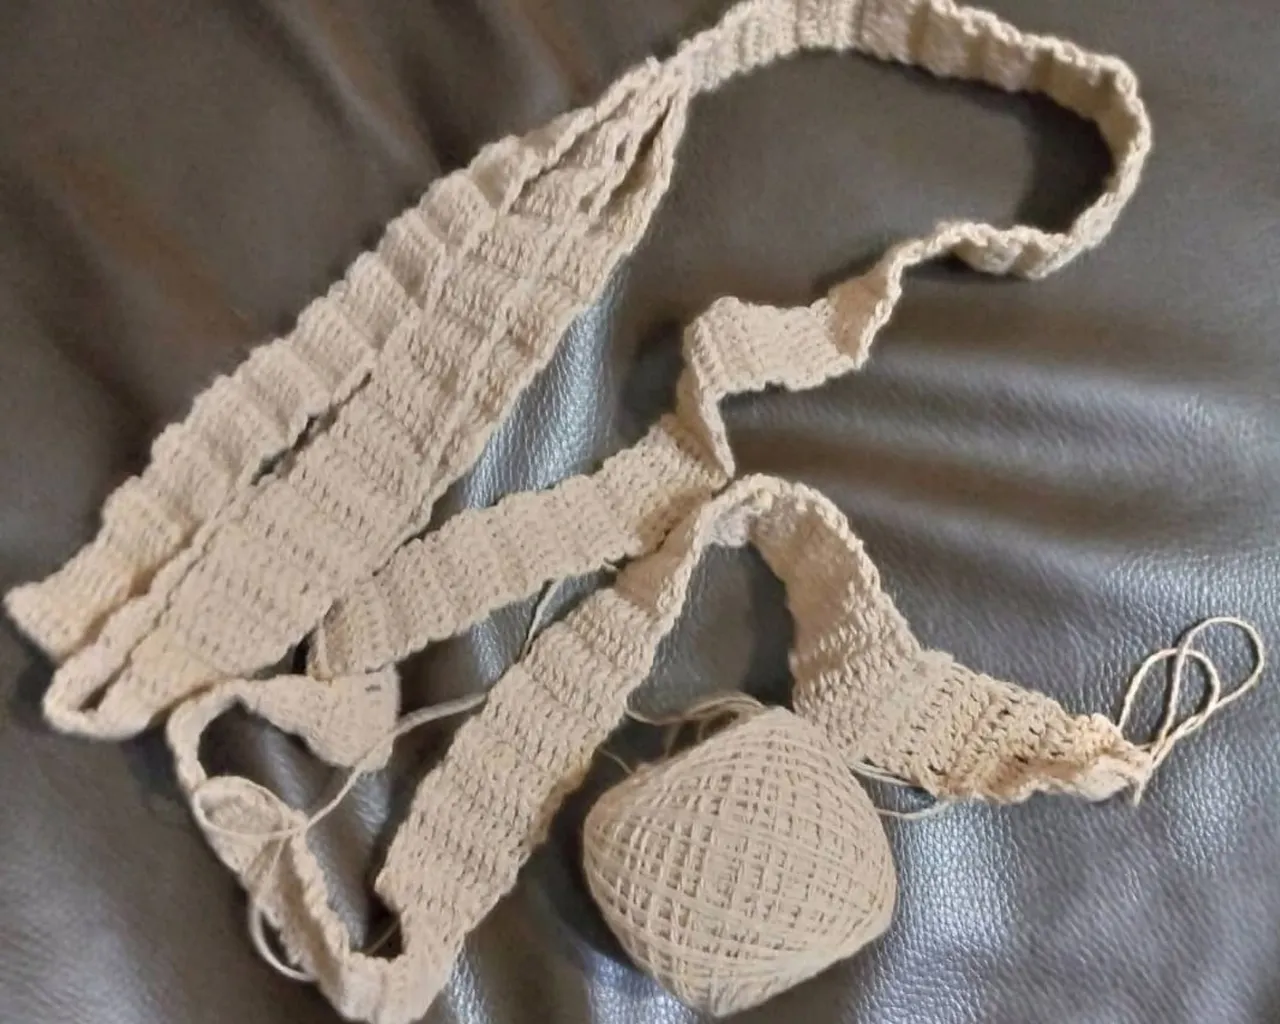
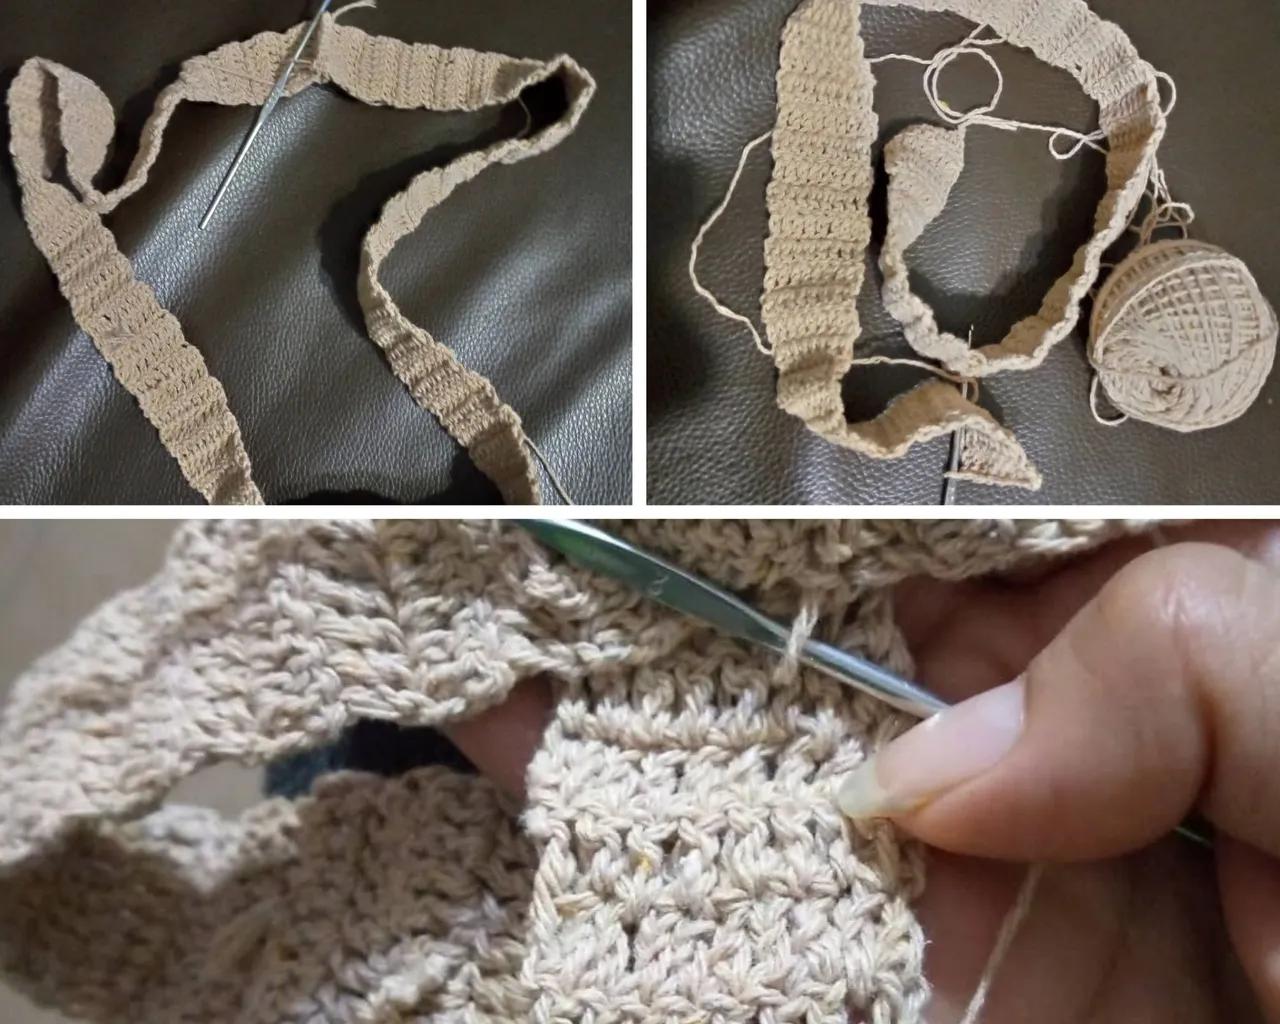
In row 54 I decided to knit 8 single crochet stitches taken from the body of each purl I knitted in the last row. The purpose is to make a return stitch to knit the harness that will go across my pet's chest. Over the 8 single crochet stitches I knitted 8 rows and continued knitting 58 rounds. Finally, I closed with 8 single crochet stitches over the harness that will go through the stomach. Thus forming 02 rings.
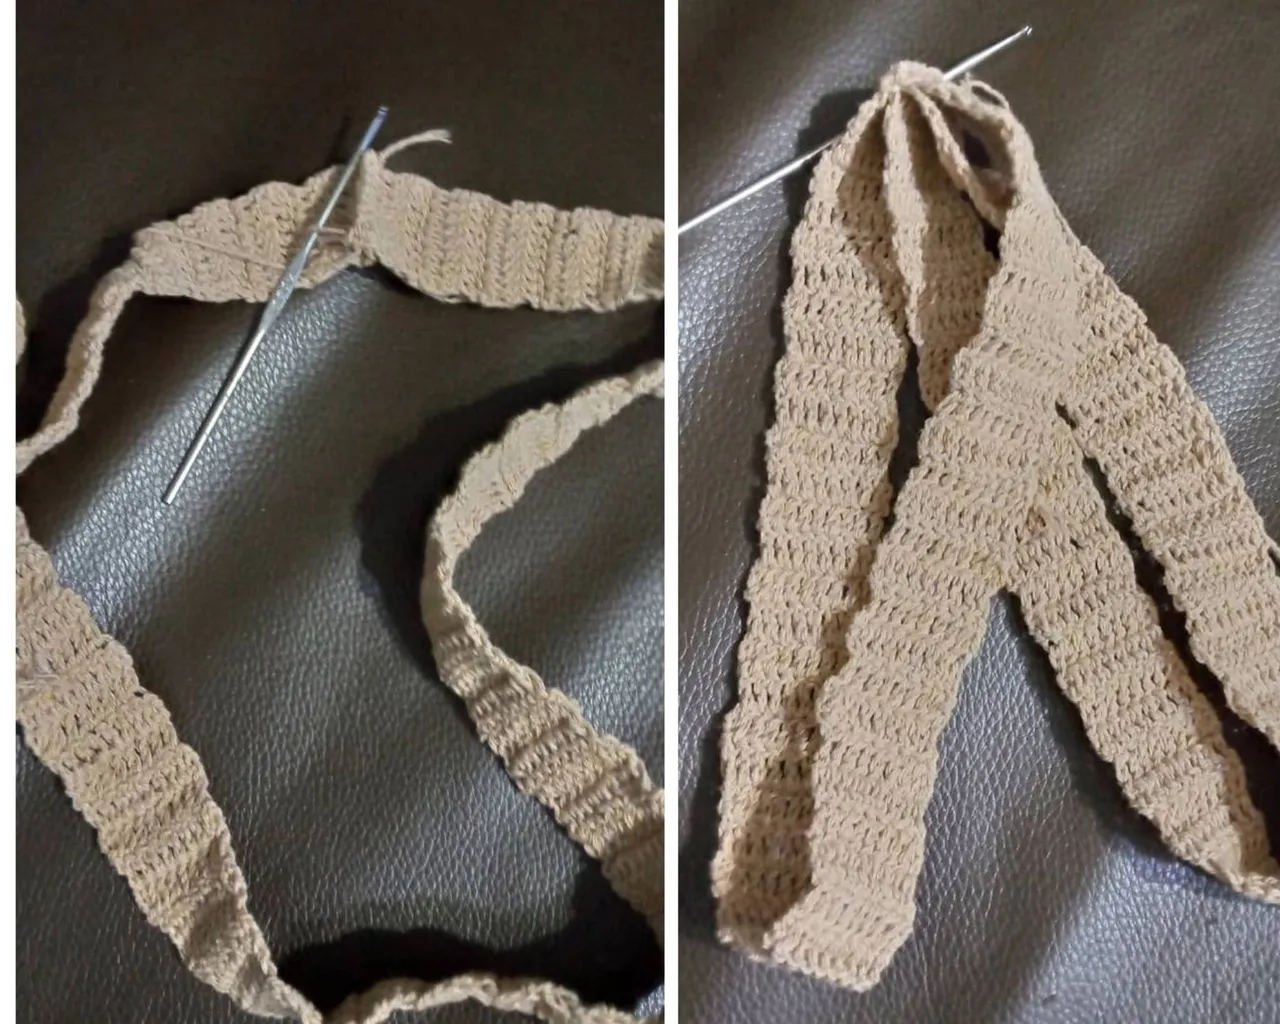
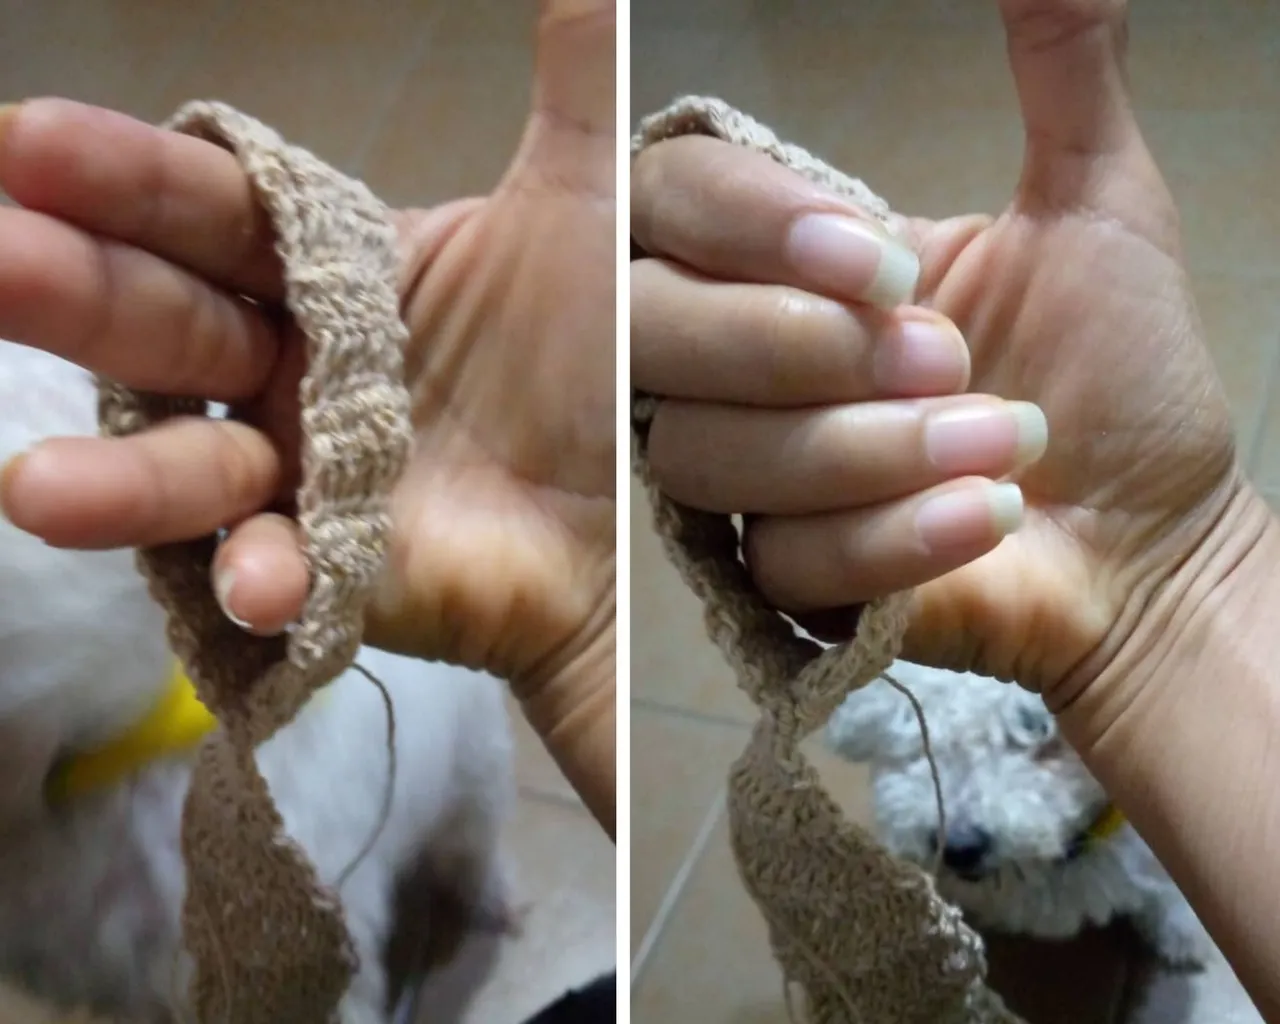
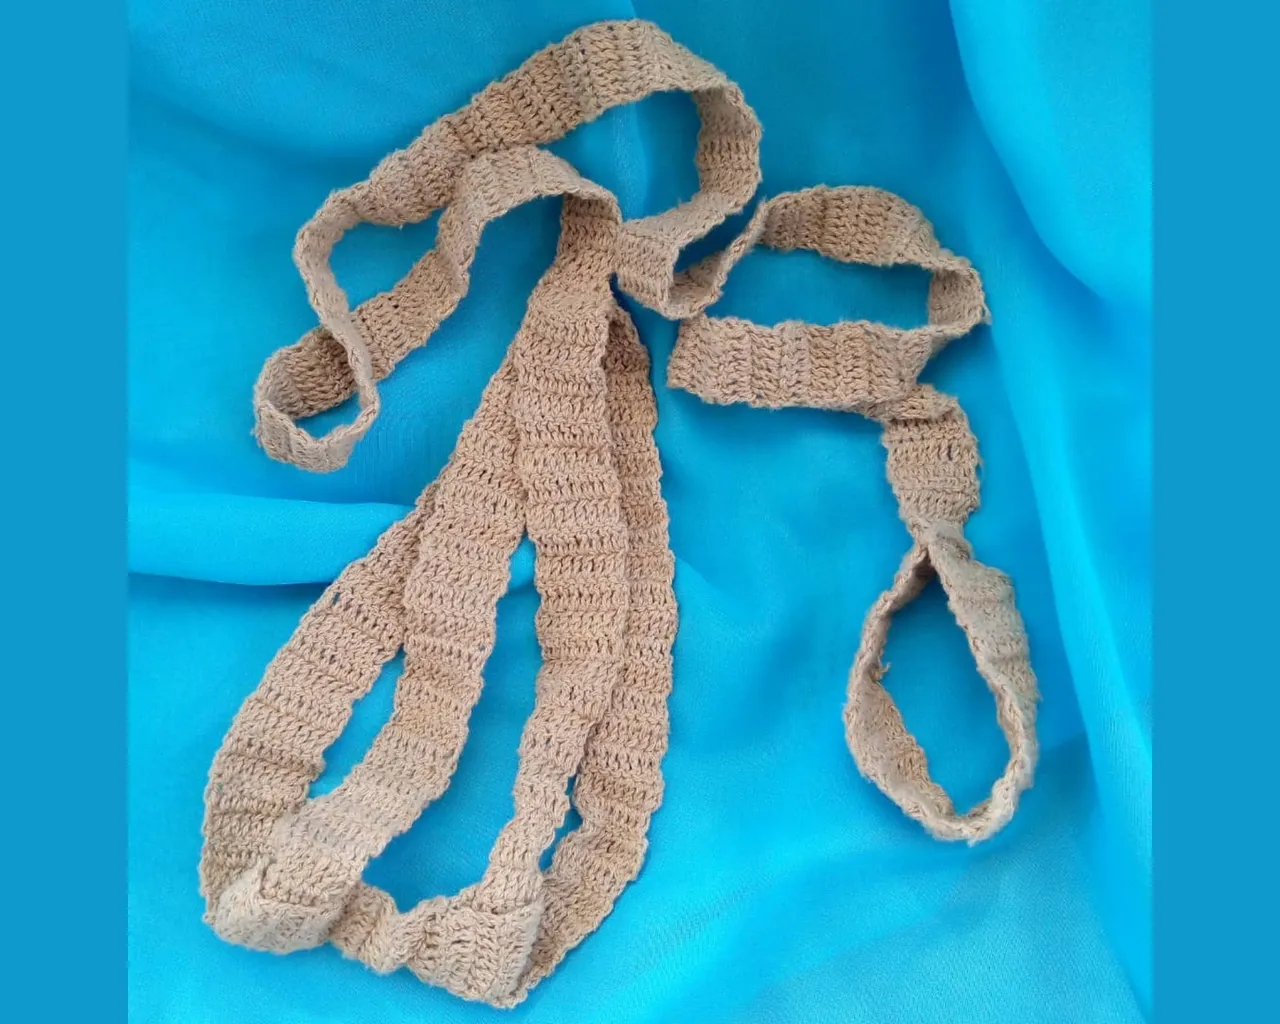
Over these 02 rings I knit 8 rods and from there I knit 110 rounds, this will be the extension loop between the breastplate and my hand. At the end and to give shape to the hoop with which I hold the loop, I counted 20 backward loops and in the 90th row I joined the end of the fabric with single crochet stitches, thus forming the hoop.
All photos are my own, taken with my Tecno Spark cell phone and edited with Canva.Com //
I Use Deepl.com as a translator.
AHORA EN ESPAÑOL
Feliz día mis queridas y creativas amigas de #NeedleWorkMonday. Cada semana tengo un nuevo proyecto para desarrollar y aunque mi labor se basa en su mayoría en tejer amigurumis, uno que otro proyecto se sale de ese objetivo.
Tengo una mascota, es una traviesa perrita que se llama “Yuli”. Cada vez que la saco de paseo ella en su afán de olerlo todo me hala y entonces se crea una tensión entre mi mano y su cuello, cosa que no me gusta pues ella termina lastimada.
Así que por fin, luego de mucho tiempo decidí tejerle un arnés que la sostuviera por su pecho, dando fin a la resistencia entre mi mano y su cuello de una vez por todas.
Para el arnés, utilice los siguientes MATERIALES:
- Hilo algodón color beige.
- Aguja de ganchillo N° 2.
PROCEDIMIENTO
Primero que nada quiero aclarar que todo el tejido lo hice en punto vareta, me parece que es más flexible, espaciado y fácil de hacer. Comencé tejiendo 10 cadenetas. Me devolví sobre las cadenetas tejiendo 8 varetas. A partir de la vuelta 1 hasta la vuelta 54 tejí una vareta sobre cada cadeneta, un total de 8 varetas cada vuelta, cada línea de 8 varetas una sobre la otra, creando una cadena. En este momento terminé de tejer el arnés que pasará por el estómago de mi mascota. Cerré ambos extremos con 8 puntos rasos.
En la vuelta 54 decidí tejer 8 puntos rasos tomados del cuerpo de cada vareta que tejí en la última vuelta. El objetivo es hacer un punto de retorno para tejer el arnés que pasará por el pecho de mi mascota. Sobre los 8 puntos rasos tejí 8 varetas y continúe tejiendo 58 vueltas. Finalmente cerré con 8 puntos rasos sobre el arnés que pasará por el estómago. Formando así 02 aros.
Sobre estos 02 aros tejí 8 varetas y a partir de allí hice 110 vueltas, este será el lazo de extensión entre la pechera y mi mano. Al finalizar y para dar forma al aro con el que sujeto el lazo, conté 20 vueltas en retroceso y en la vuelta 90 uní con puntos rasos el final del tejido formando así el aro.
Todas las fotos son propias tomadas con mi celular Tecno Spark y editadas con Canva.Com //
Usé Deepl.com como traductor.