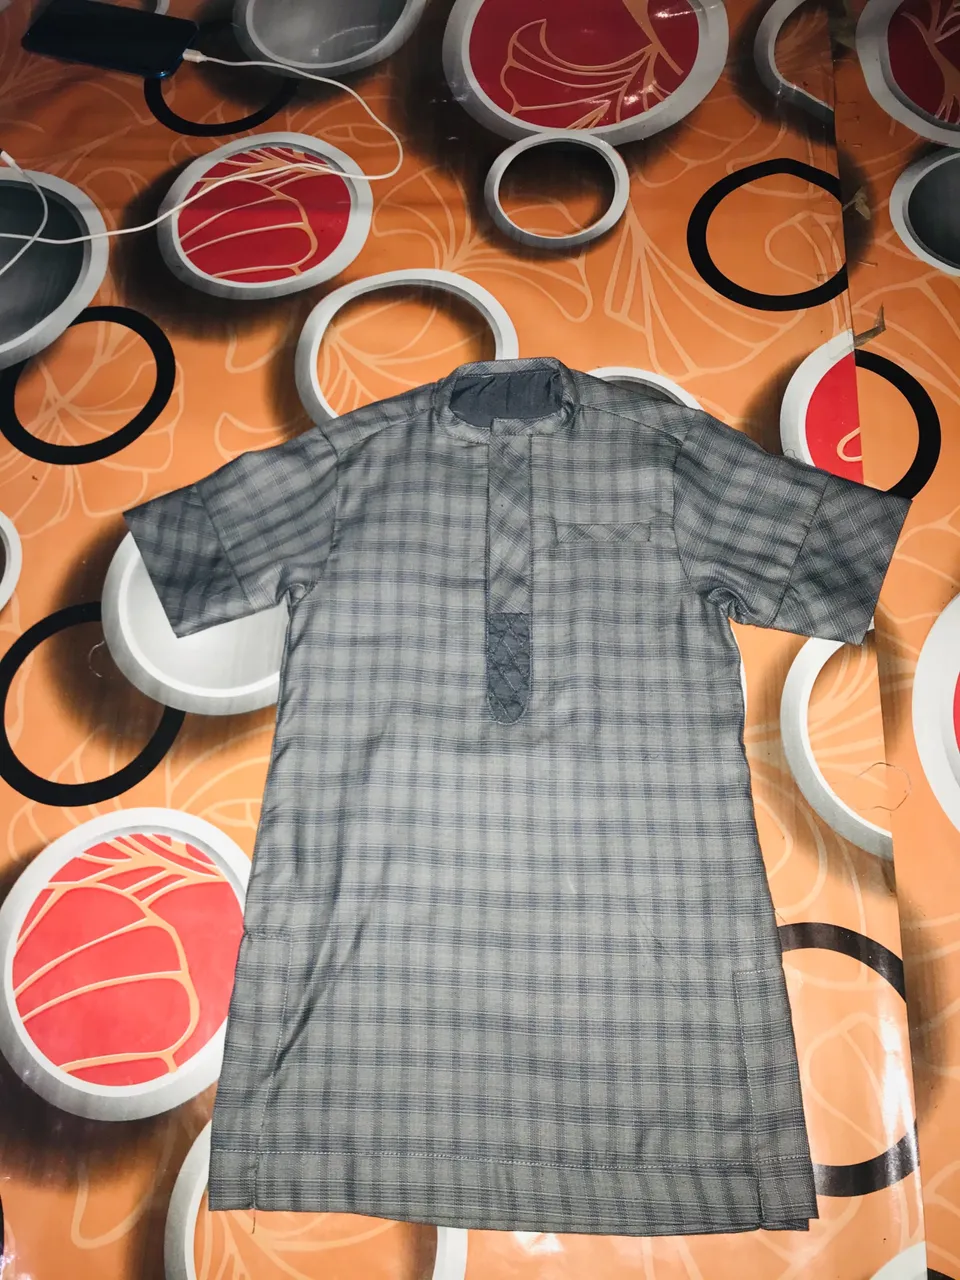
Hello my follow needleworkers I greet you all, hope you’ll are doing perfectly well? Glad to know God has been so faithful and merciful towards our lives, keeping and preserving us till today, may his name be praised always. It’s another week of creativity for us So I’ll be sharing with you guys a little minor’s outfit I made. Actually this fabric was given to me by my client along time ago, the plan was to sew for both father and son but the money they gave me wasn’t enough to cover both father and son’s outfit so I had to sew for the father first, you can check my blog you’ll see the father’s own I made. I just receive pay for the little boy’s own that’s why am getting it done. So guys stay focused while I take you through the processes on how I got this outfit done and dusted, actually strictly on demand by the boy’s father that I should make exactly the same style as his, so am going to be making this same design for the little boy but the only deference will be the measurement so guys let get this done!
Items I used:
~A striped fabric
~Tissue gum
~Paper gum
My sewing processes:
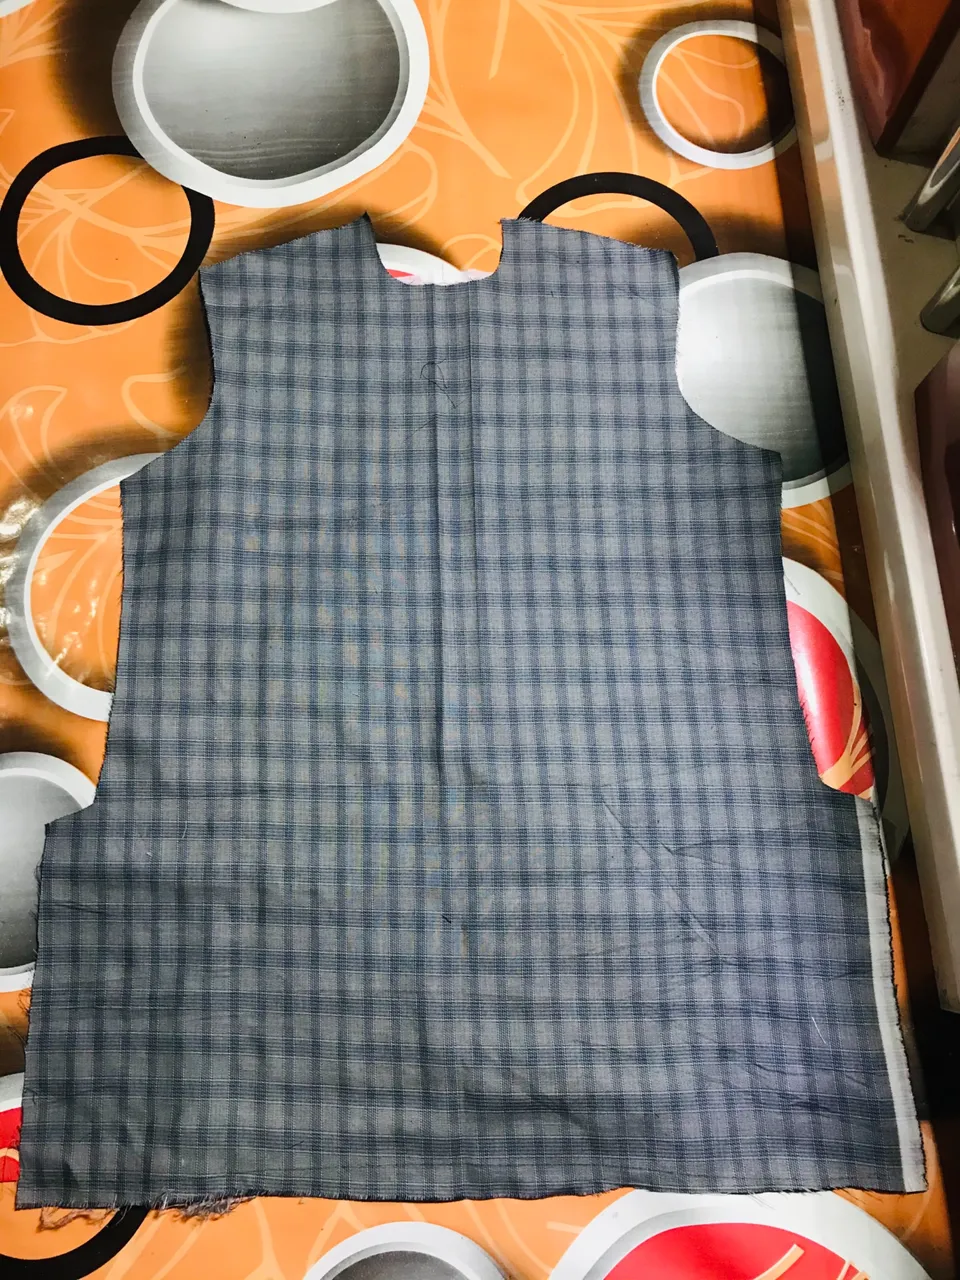
Step 1:
I bend the material into two and I drew the little boy’s measurement there and I cut it out after that I used the front which I cut out to further cut out the remain part of the cloth like the back and both sleeves as well am the facing for the back too.
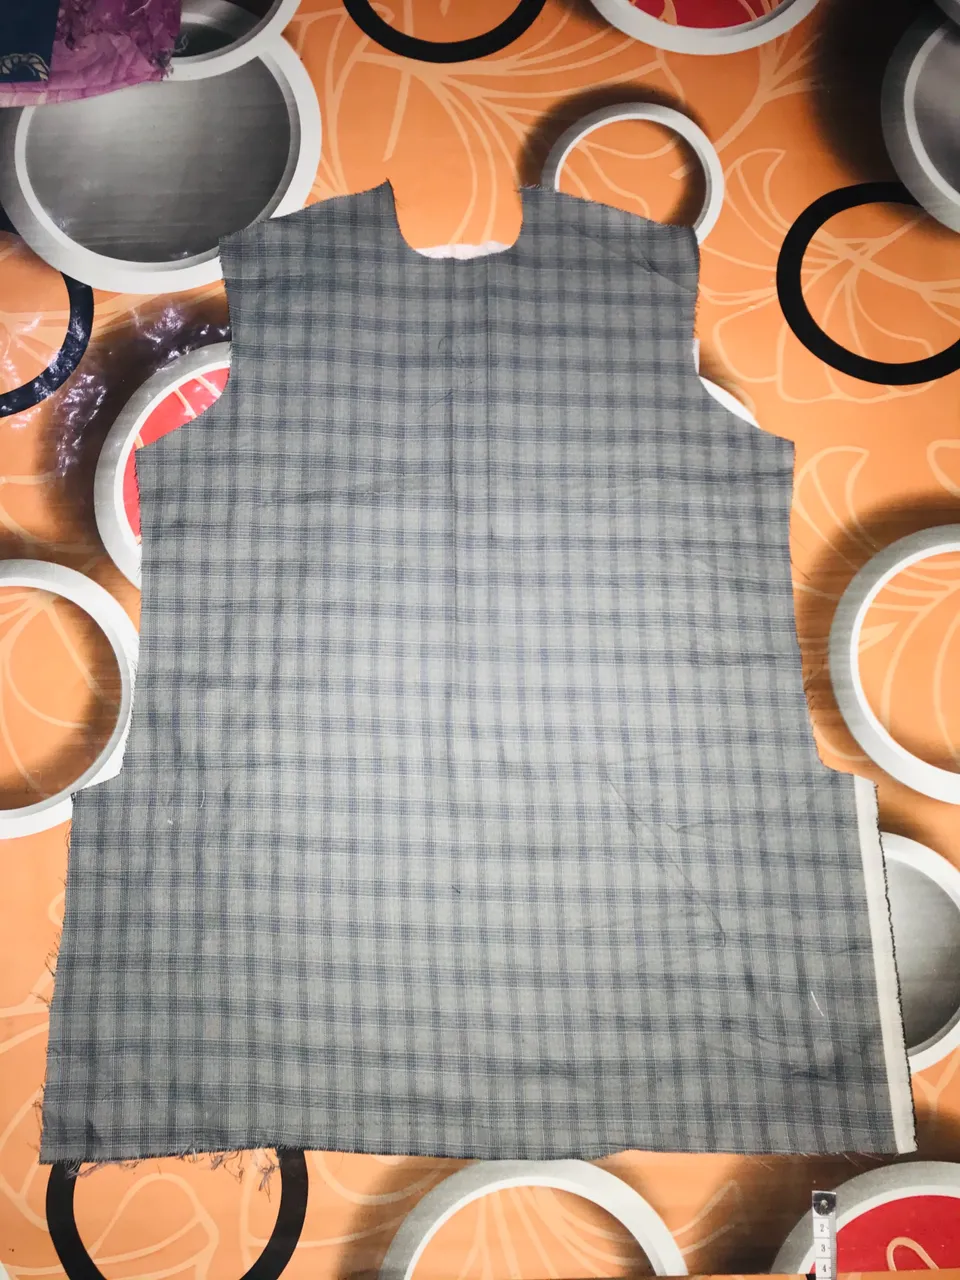
Step 2:
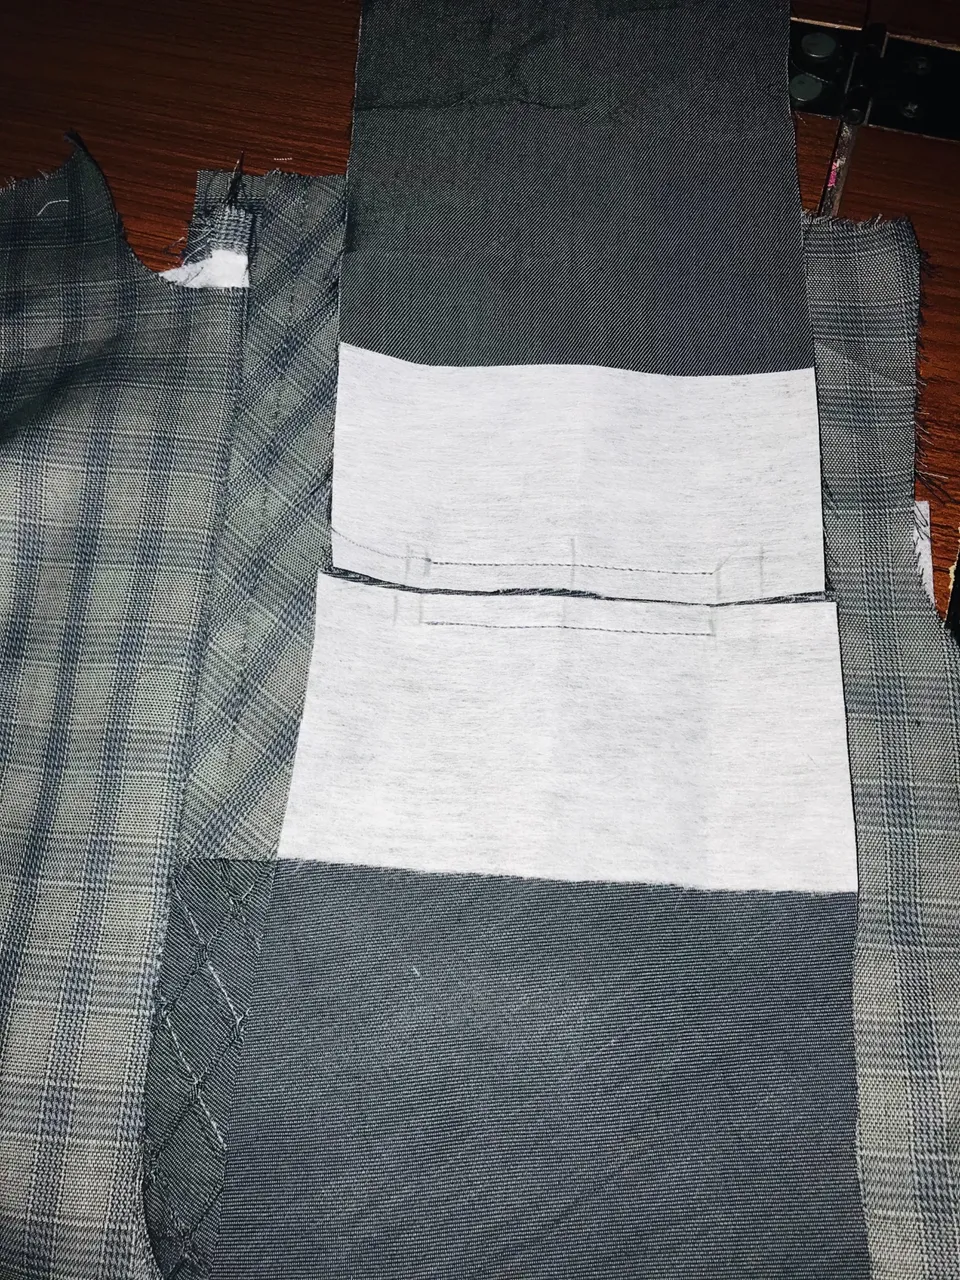
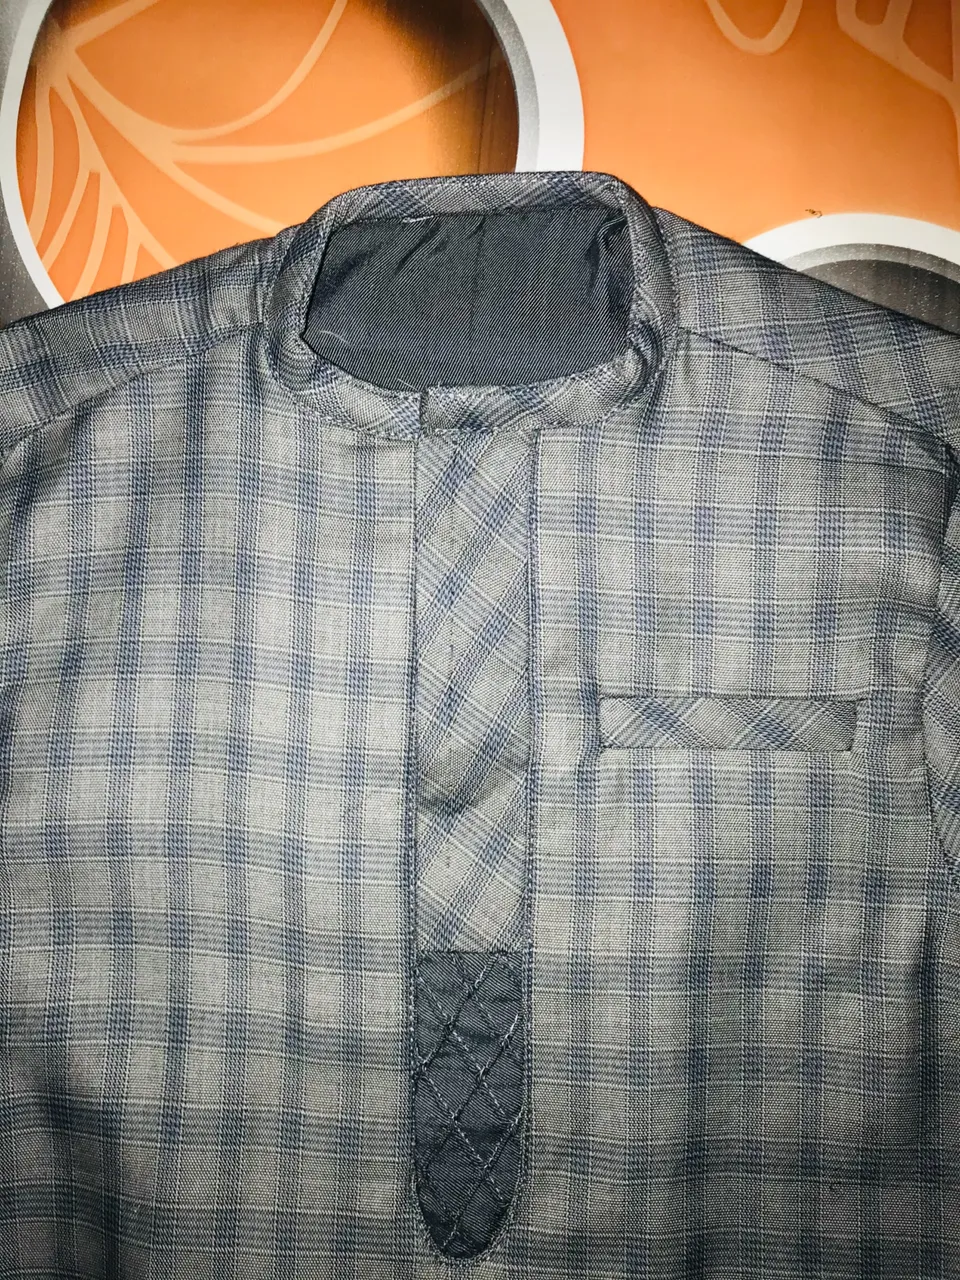
After cutting out the little boy’s measurement and the rest part of the cloth. I took the front and ironed out a straight line at the middle, reason for ironing out the straight line at the middle is for the line to guild me when doing anything on the front to make my work neat and straight when am done. So after that, I considered how long my flap will be I then decide it to be 11inches and the size should be 1.2inches since it’s a little boy’s cloth, normally if it was to be an adult I might do 1.7 or 2inches for the size and length might be 15inches. I then cut my tissue gum length of 13, size of 2inches it should be bigger then the main flap a bit so after that I gummed it to the back side of the front and then I used a pencil to draw the size and length of the flap there and after that I lay a little pieces on the front side and i sew it following the line I drew at the back for the size and length after sewing accordingly I then cut it and turn the little pieces to the back side giving me a space to insert my flap when am done.
Step 3:
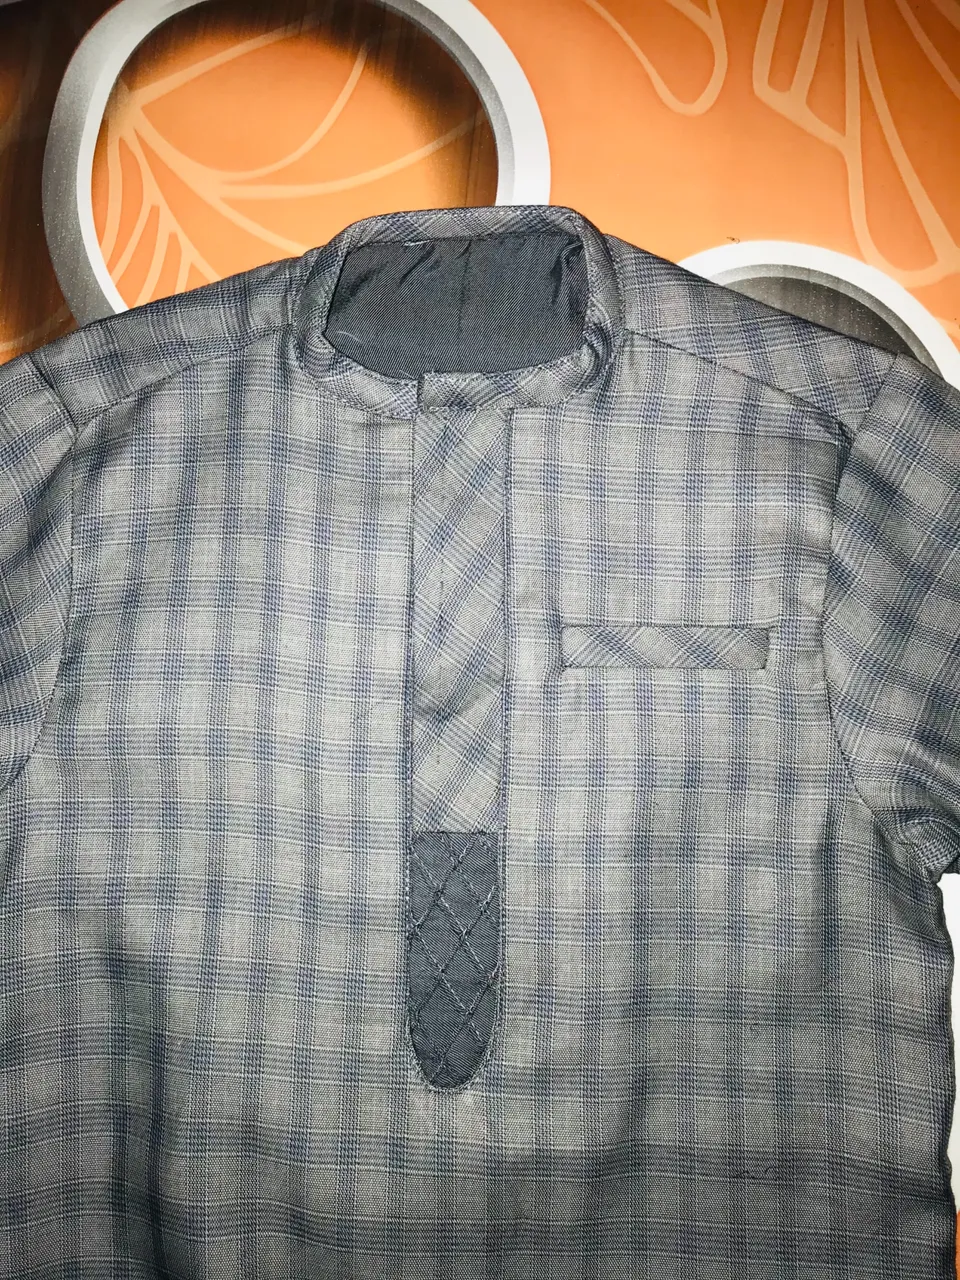
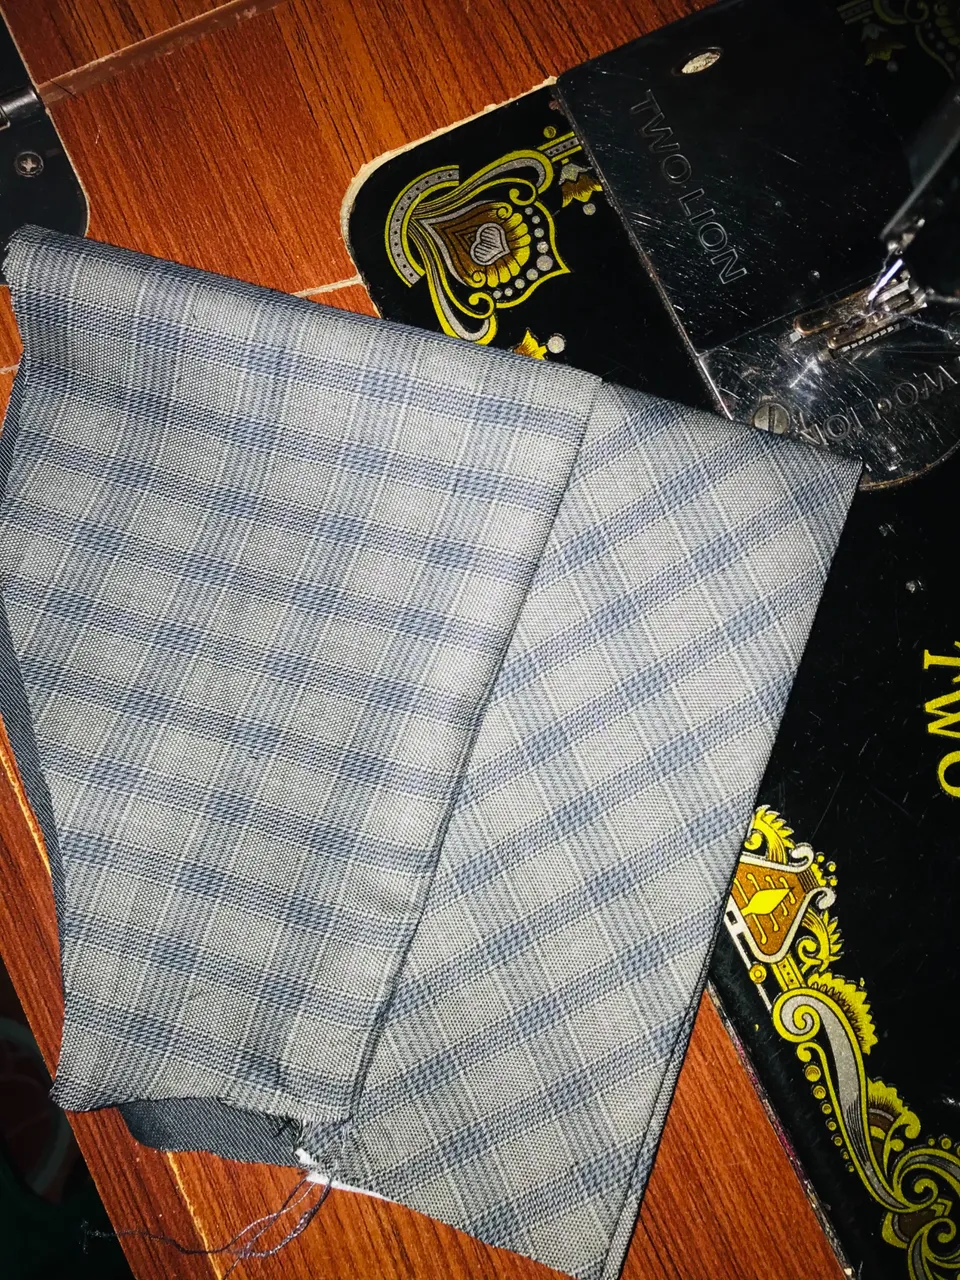
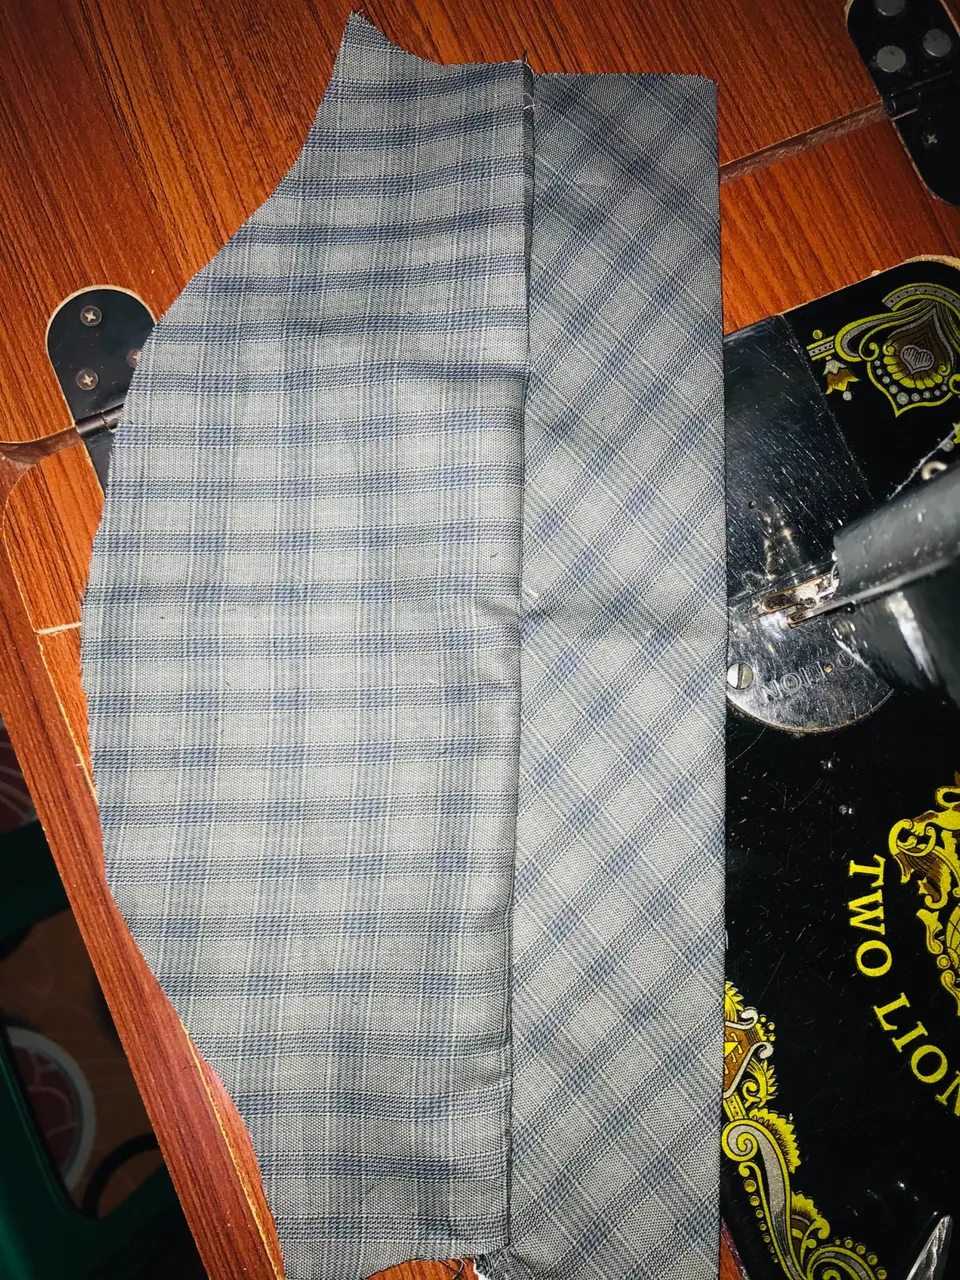
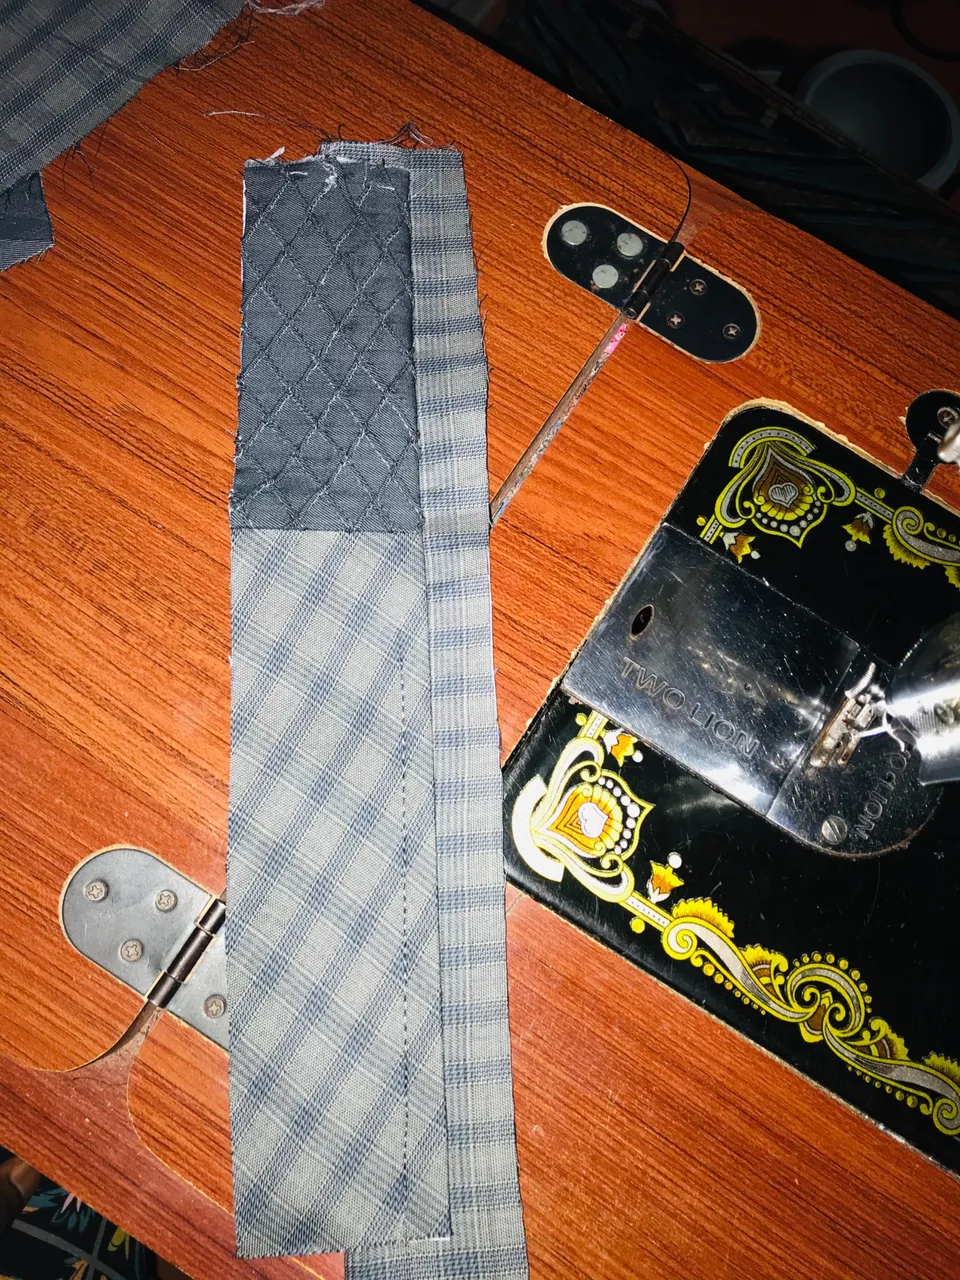
After creating the space for the flap, I then cut my paper gum ,size of 3inches, length of 13inches then I ironed and gummed it to the main fabric which is the striped one, I gummed it in a slanting form to make it deferent from the front and to spice up the front. After I gummed it I then bend it into to to get 1.5inches and after the and everything it will be the exact size of 1.3inches and length of 11inches I had decided to do from the beginning. I used same measurement to create another one and I lay the two of them and I sewed them together and I prepared a special pattern which I included to the down part of the flap before I fixed it to the front,
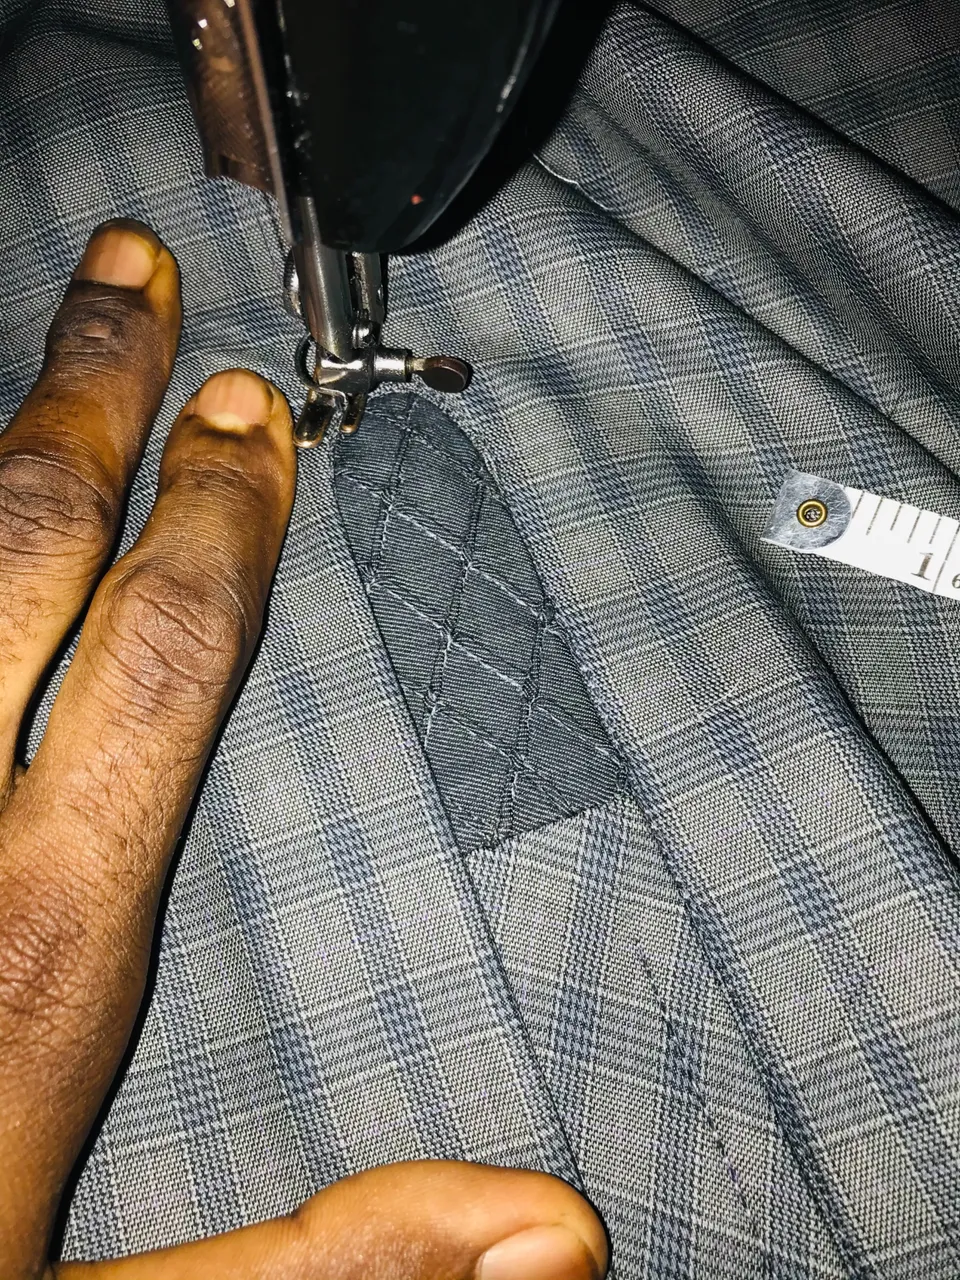
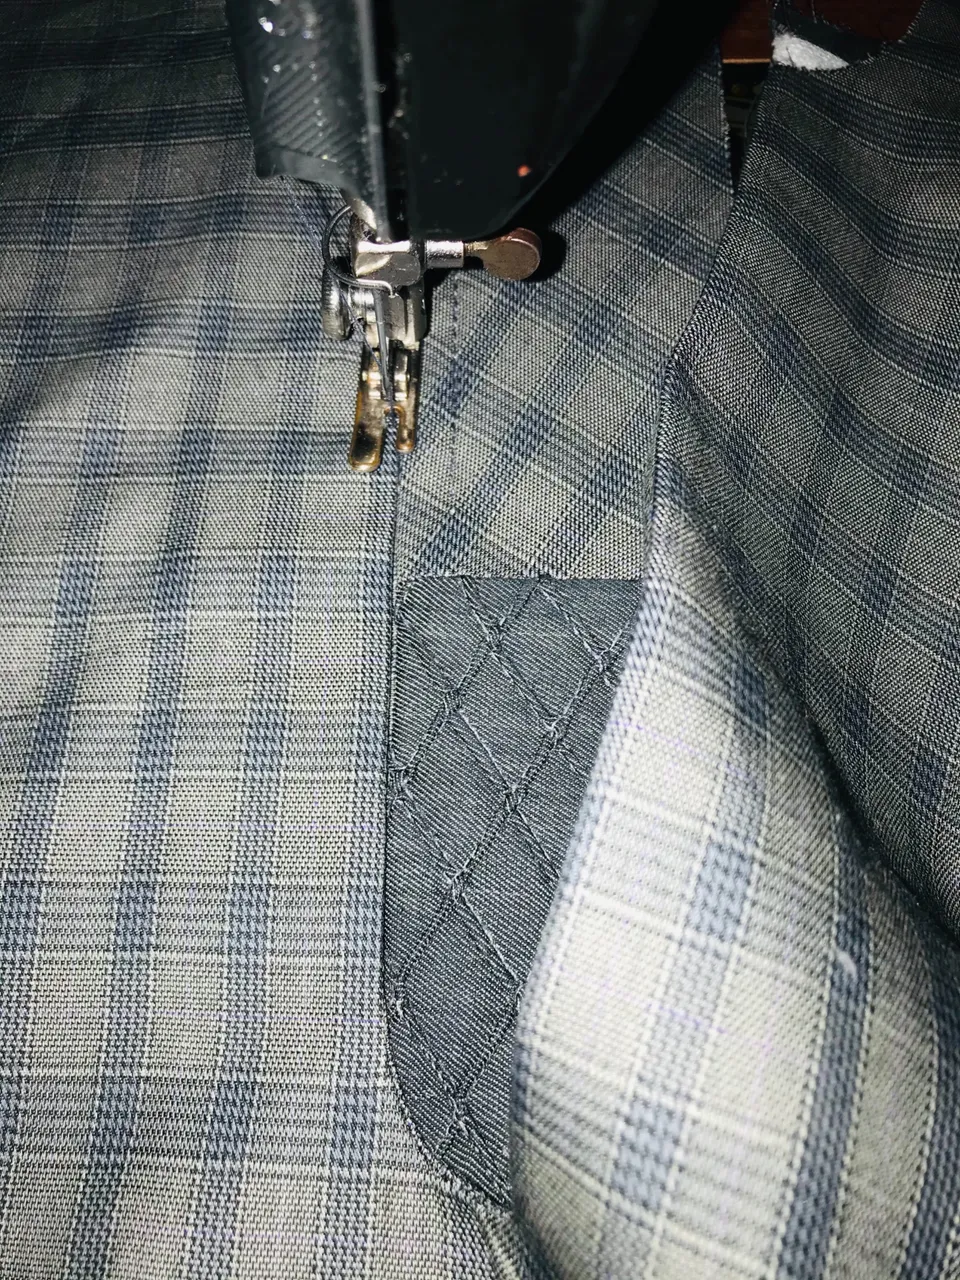
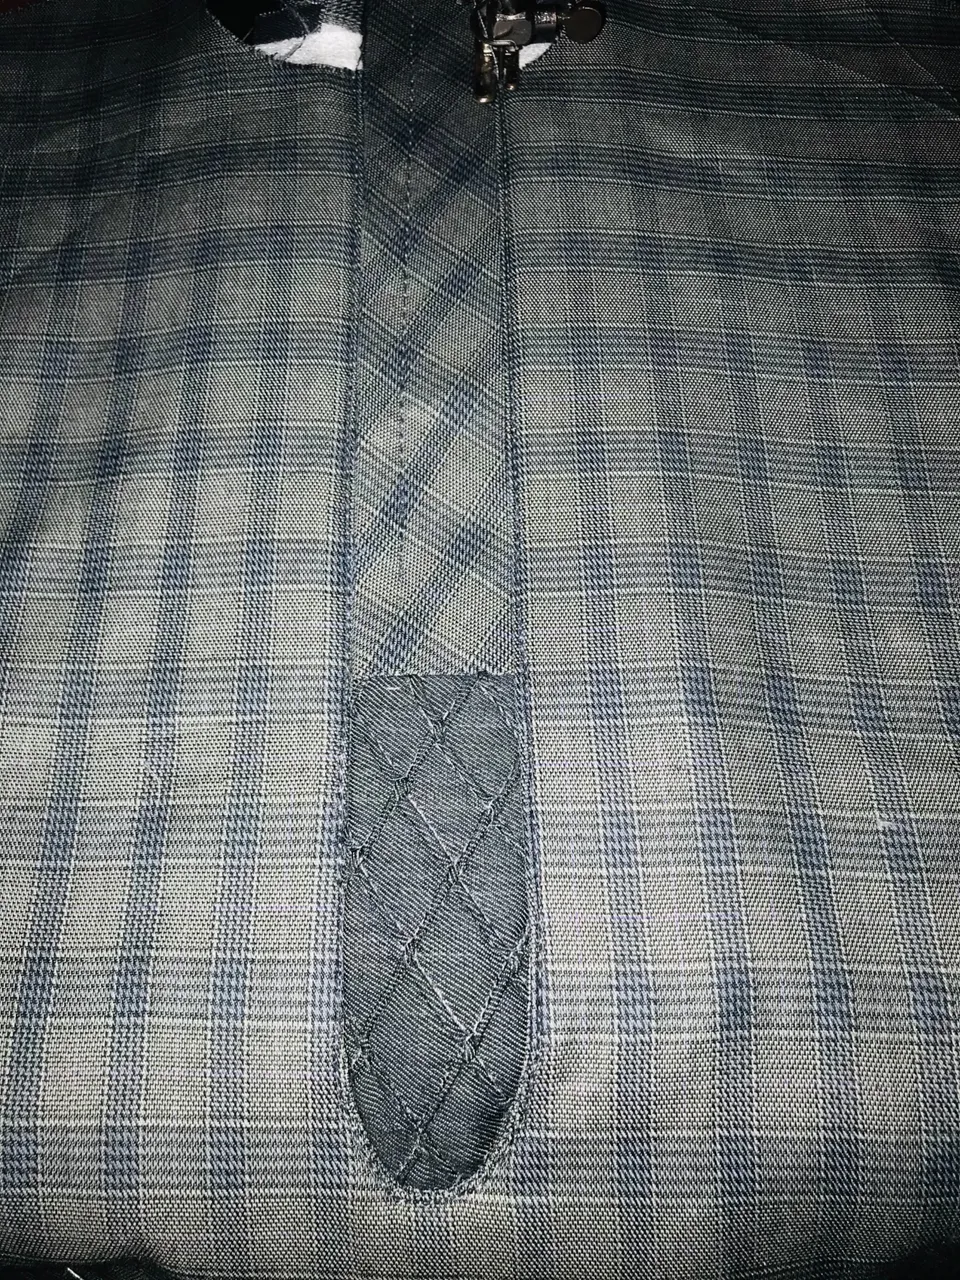
How I got the special pattern done:
I just cut the striped fabric, size of 7inches, length of 10inches and I cut my tissue gum same measurement and I gummed it on the front of the fabric cause I wanted to use the back side of the fabric to do the concept, the back side was another color entirely and it really matched the original front for the fabric so I used the back as the front then I used my machine to sewed a tiny line at the front but not front this time, I sewed it in a slanting form both left and right so it could give me the special pattern then when I was done I added it to the down part of the flap
then I fixed the flap to the front space I had left on the cloth. After this I was partly done with the cloth.
Step 4:
After the flap fixing I proceeded to the inner pocket, I cut the paper gum again, size of 4inches, length of 2inches I then gummed it on the fabric in a slanting form so it would rhyme with the upper part of the flap I made and then I sewed it and turn it under and i formed the pocket and I sewed both sides and my front pocket was done.
Step 5:
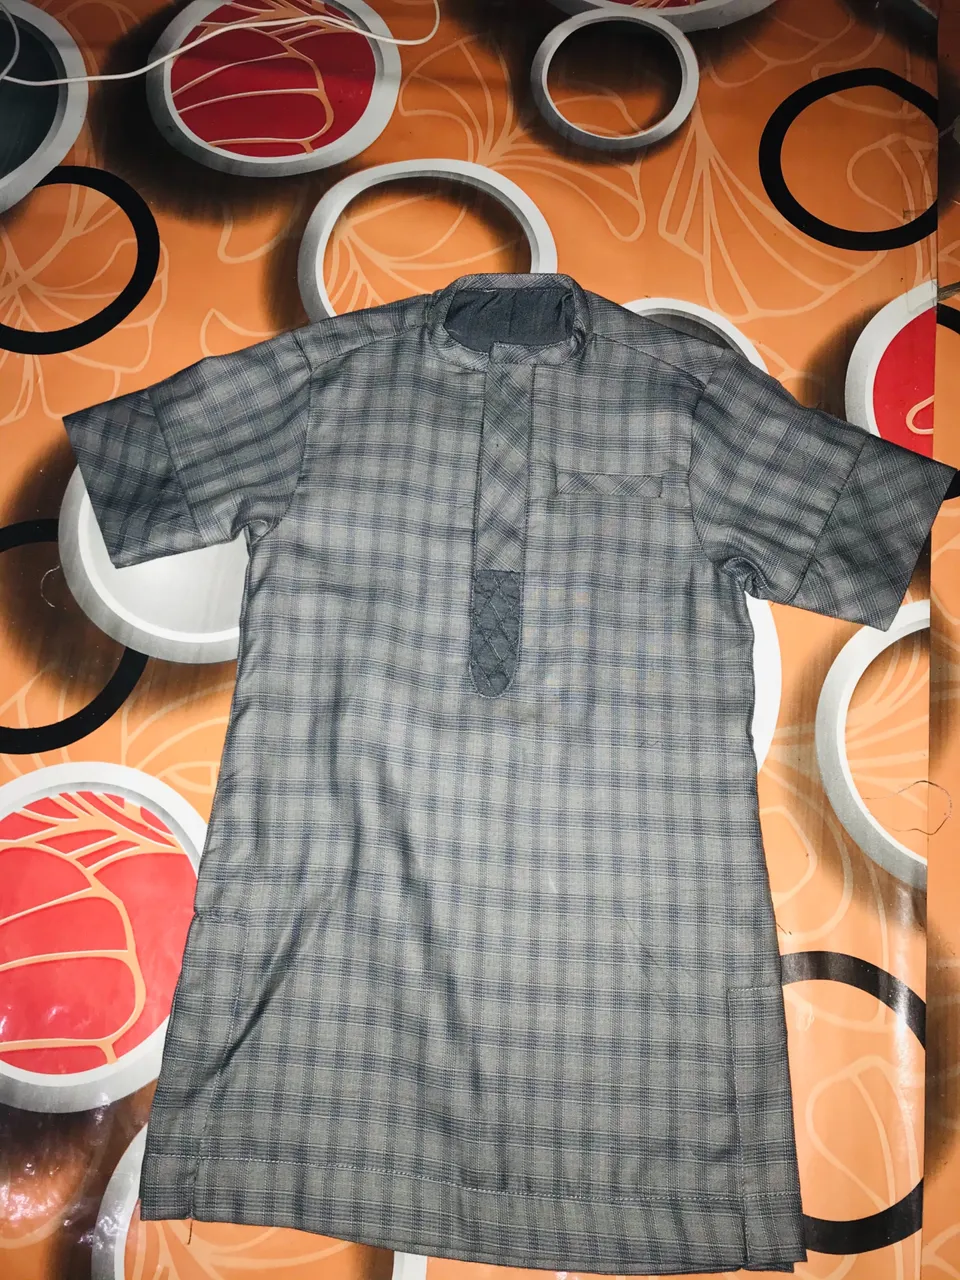
I joined the back to the front as well as the both shoulders, I trimmed and inserted the both sleeves and I joined the body size to the little boy’s measurement and I use iron to bend the down part and I sewed it.
Finally I then moved the the neck, I cut the fabric in a slanting form, I bend it this one doesn’t have any special measurement you just cut it the way you want it to look like but for me since it a little boy’s neck I have to make the piping look small and smart so I took 2inches and length of 13inch and I bend that 2inches size into to and I got 1inches and I used that to pipe the neck of the cloth.

Thanks friends for your time😊 see you in my next post, do have a very pleasant day and a fruitful week ahead !!!!