BIENVENIDOS A MI BLOG | WELCOME TO MY BLOG
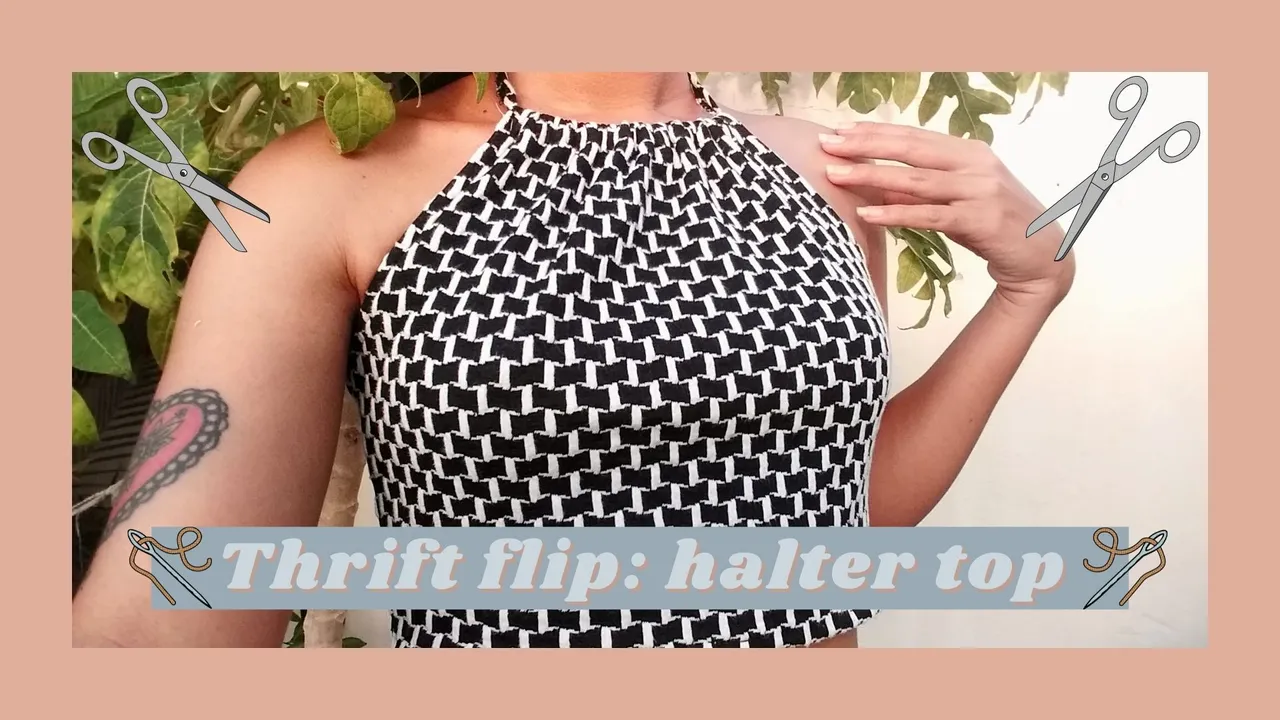
Saludos gente bonita de needleworkmonday, espero se encuentren muy bien. El día de hoy les traigo un tutorial para mostrarles cómo convertí una camisa vieja en un lindo top Halter. Este modelo en particular es bastante sencillo de realizar, además de que no requiere de muchos materiales. Espero les guste y les sirva de referencia.
Sin más que decir, comenzamos.
Greetings beautiful people of needleworkmonday, I hope you are doing well. Today I bring you a tutorial to show you how I turned an old shirt into a cute halter top. This particular model is quite simple to make, plus it doesn't require a lot of materials. I hope you like it and I hope it serves as a reference.
Without further ado, let's get started.
Materiales | Materials:
| Camisa vieja | Aguja e hilo | Tijeras |
|---|
| Old shirt | Needle and thread | Scissors |
|---|

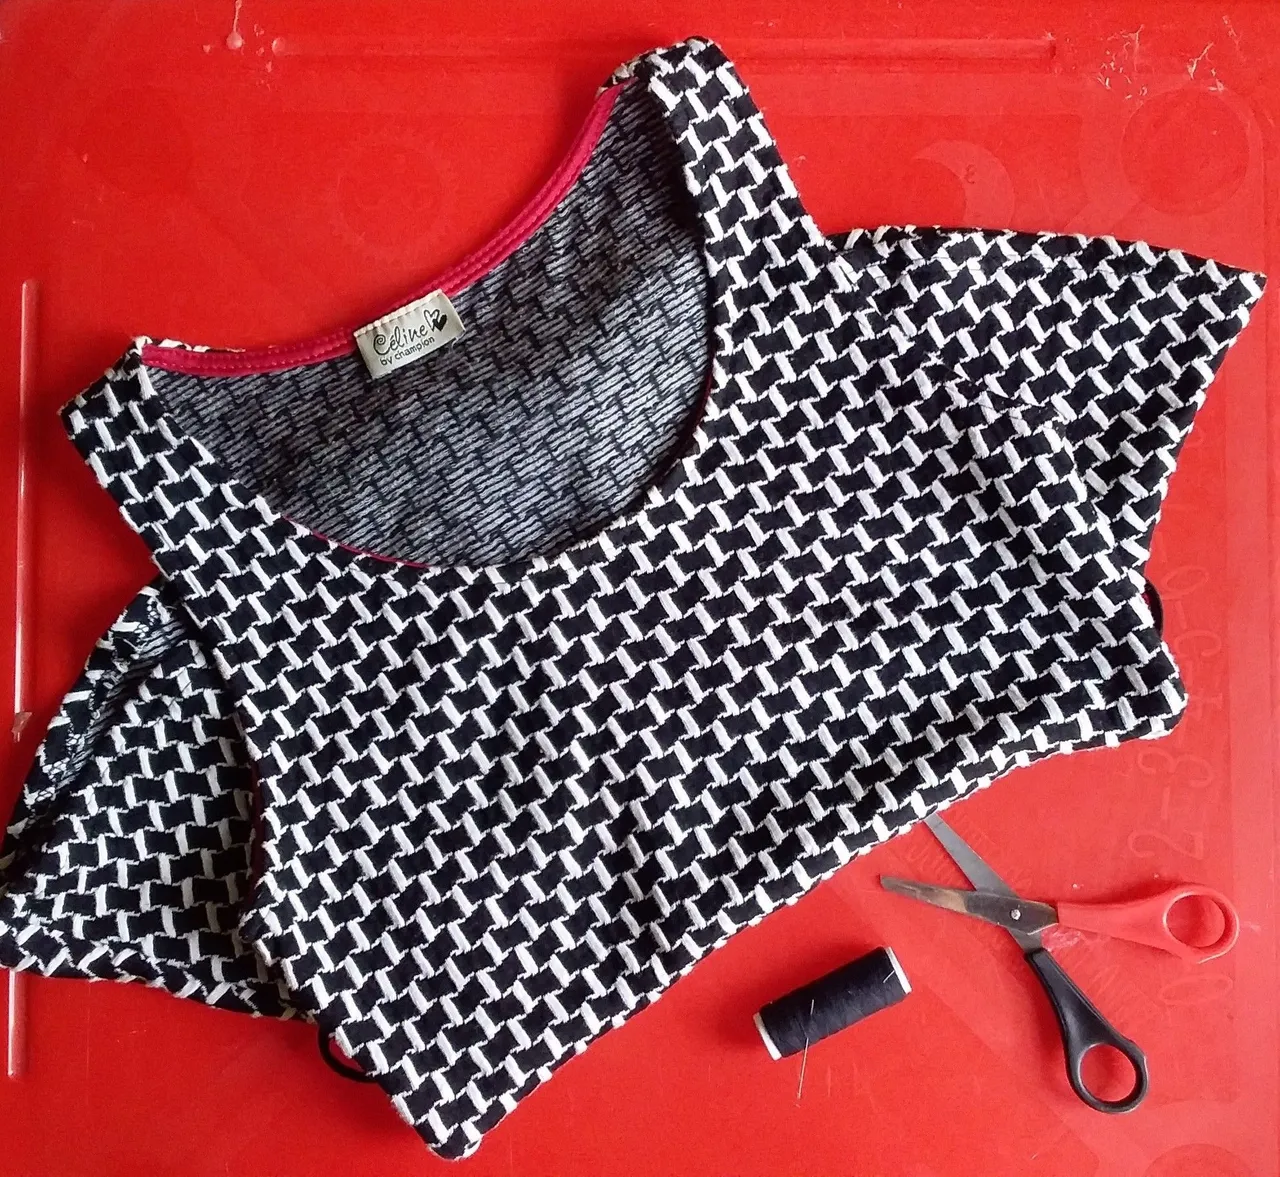
Este es el tipo de camisa que utilicé. Estuvieron muy de moda hace algunos años, así que probablemente tengas una en tu clóset y si no, cualquier camisa ajustada servirá.
This is the type of shirt I used. They were very trendy a few years ago, so you probably have one in your closet and if not, any fitted shirt will do.
✂ PROCESO | PROCESS ✂
Paso 1 | Step 1
Lo primero que hice fue cortar la camisa en dos partes. Tomé la pieza de arriba y corté el área de los hombros, doblé la parte delantera (donde está el escote) hasta formar una línea recta justo debajo de las sisas y luego corté.
The first thing I did was to cut the shirt in two parts. I took the top piece and cut off the shoulder area, folded the front (where the neckline is) to form a straight line just below the armholes and then cut.
Paso 2 | Step 2

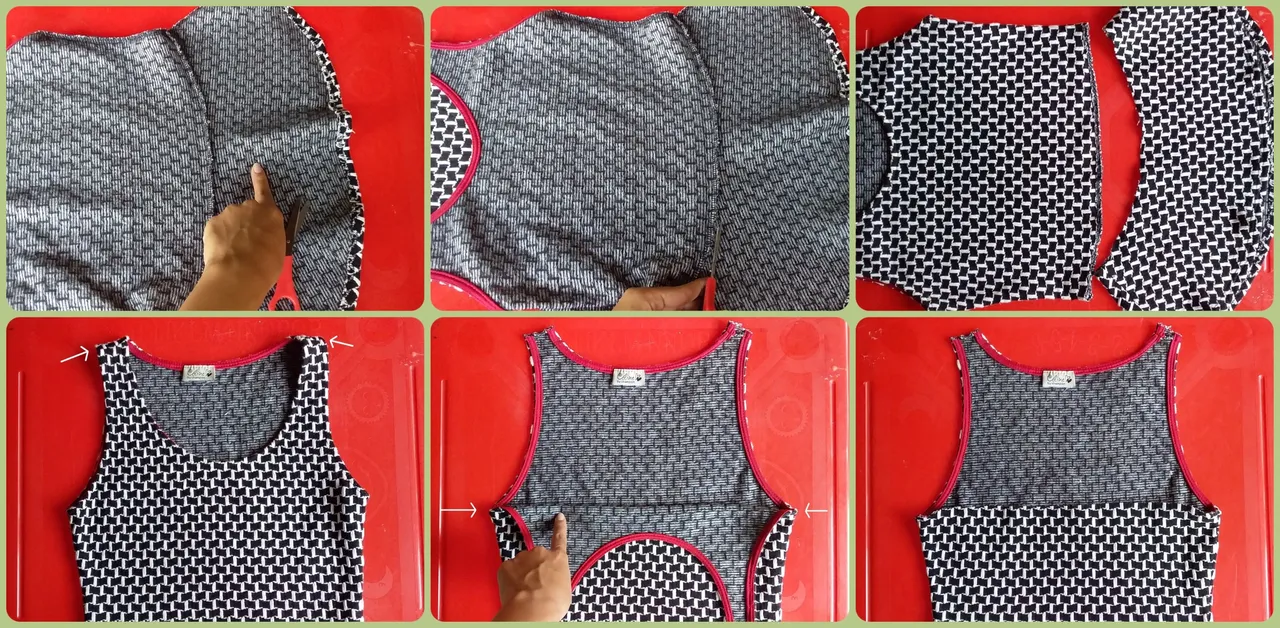
En el otro lado de la camisa, hice un corte recto para nivelar. Formé el cuello con un par pliegues y cosí, dejando algo de espacio para pasar la tira que atará el top.
On the other side of the shirt, I made a straight cut to level it out. I formed the collar with a couple of pleats and sewed, leaving some space to pass the strip that will tie the top.
Paso 3 | Step 3
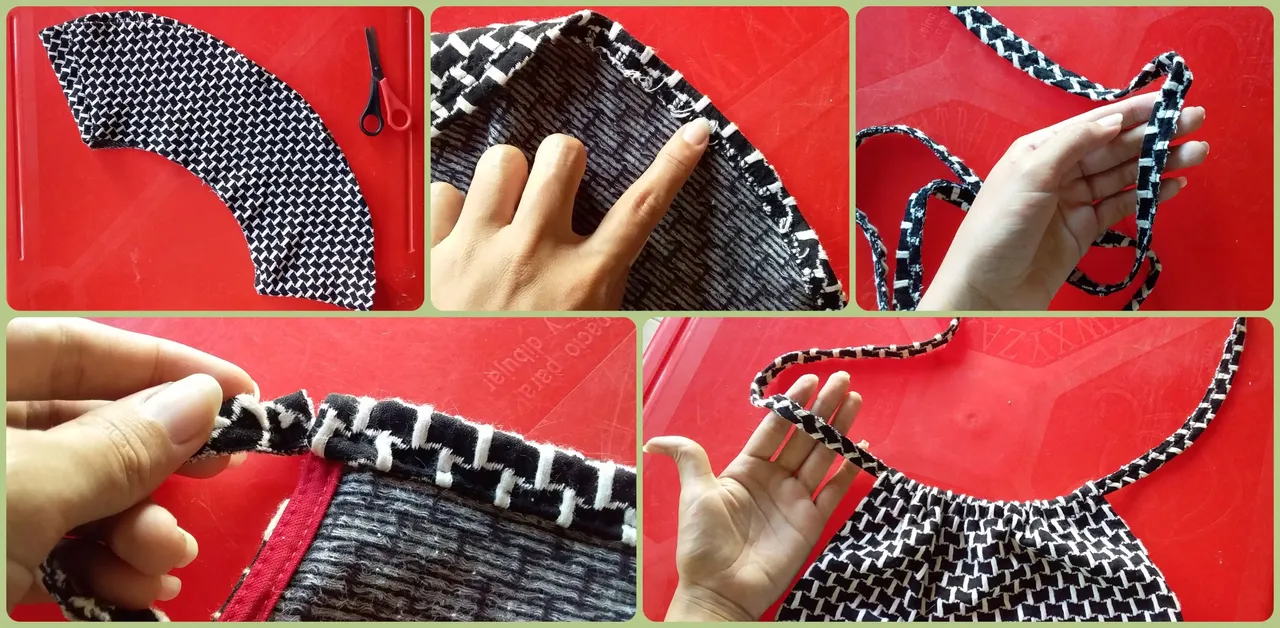
Para la tira, tomé la pieza que había sobrado al principio y corté únicamente el borde aprovechando las costuras. Las pasé a través del cuello y listo.
For the strip, I took the piece that was left over at the beginning and cut only the edge, taking advantage of the seams. I passed them through the collar and that was it.
Paso 4 | Step 4
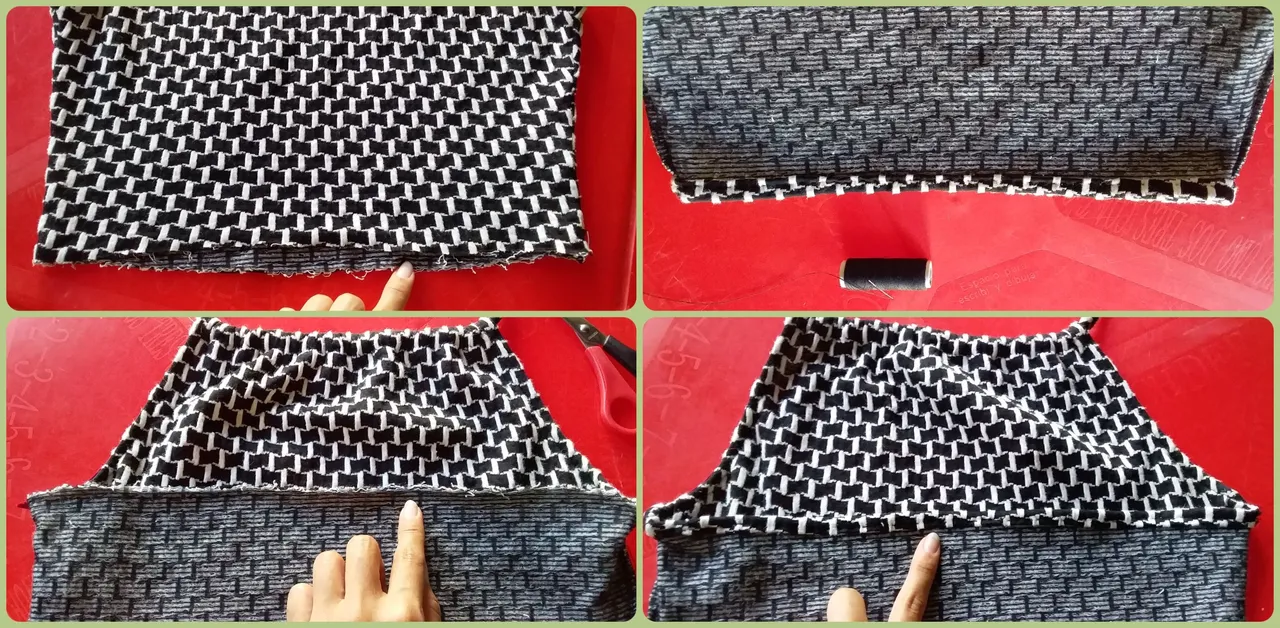
Como último detalle, cosí unos pliegues en la parte de atrás (de la espalda) y abajo.
As a last detail, I sewed some pleats on the back and bottom.
✂ RESULTADO | RESULT ✂
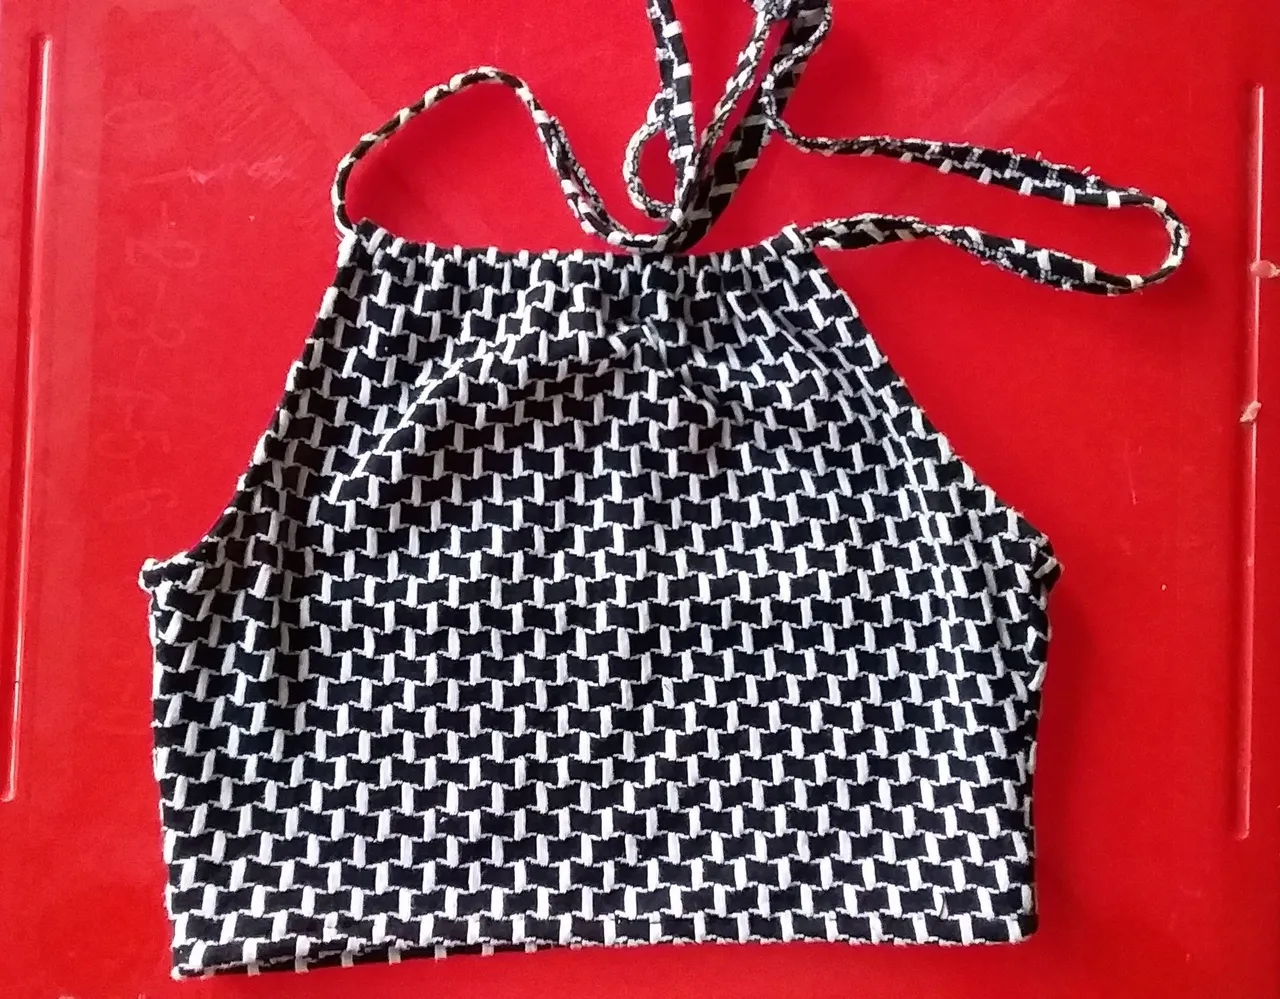
Y listo, así es como quedó.
And that's it, that's how it looks.
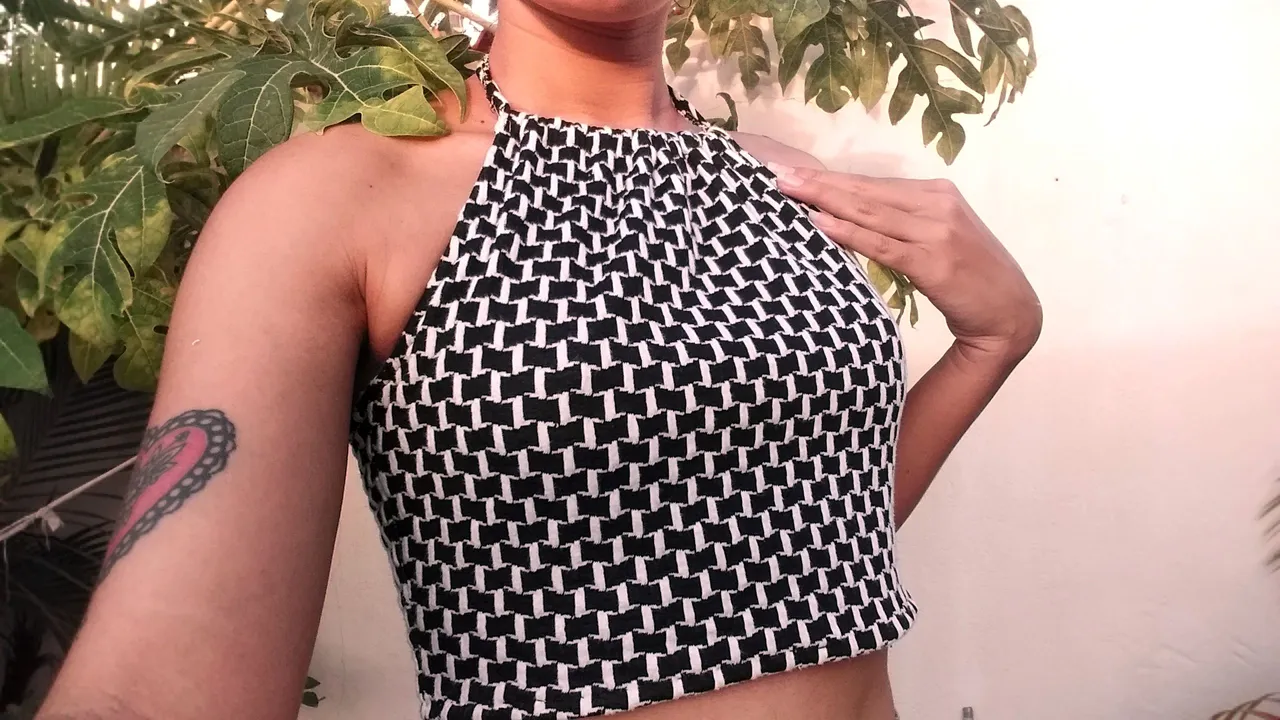
Me ha encantado un montón, sobre todo porque pude hacerlo yo misma y el resultado fue mejor de lo que esperaba.
Esto ha sido todo, espero les haya gustado. Muchas gracias por leerme!
I loved it a lot, especially because I was able to do it myself and the result was better than I expected.
That's all, I hope you liked it. Thank you very much for reading me!