🐰 BIENVENIDOS A MI BLOG | WELCOME TO MY BLOG 🐰
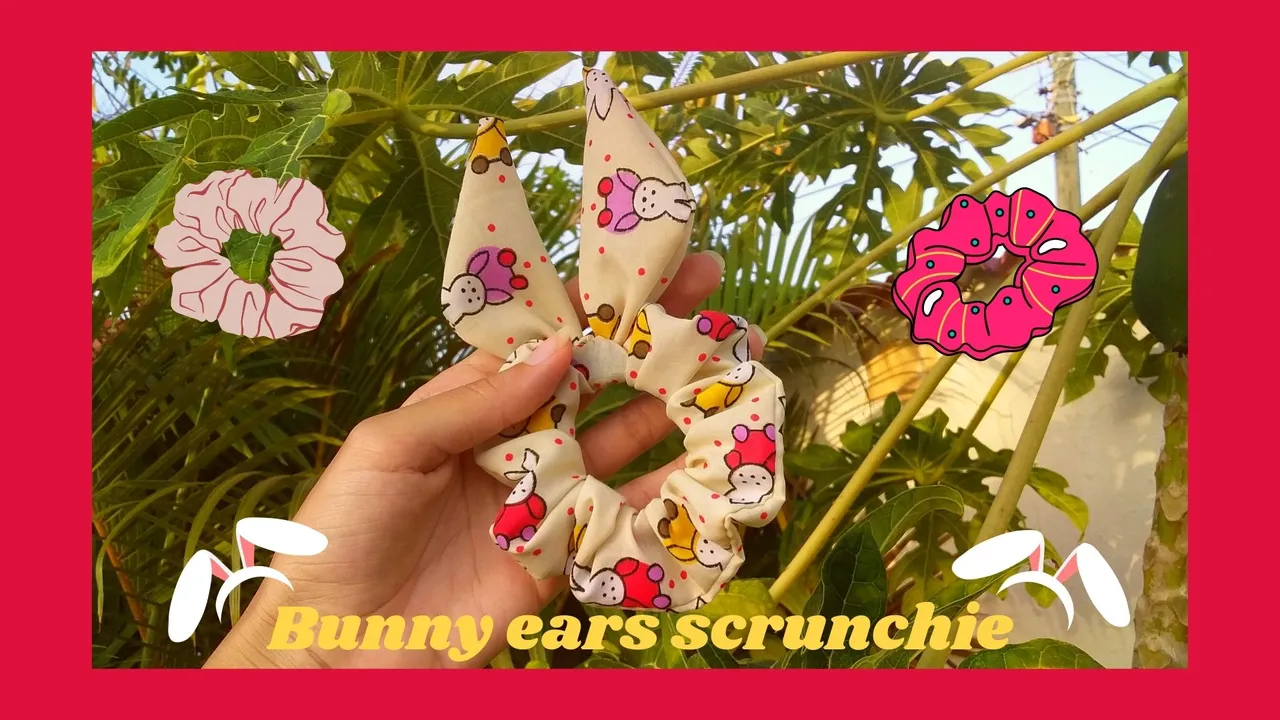
Saludos, gente linda y creativa de needleworkmonday, espero se encuentren muy bien. El día de hoy quiero compartir con ustedes un tutorial para elaborar un adorable scrunchie con orejas de conejo. Está muy rápido y sencillo de hacer, espero les guste mucho.
A continuación, empezaremos con los materiales y el paso a paso.
Greetings needleworkmonday's cute and creative people, I hope you are doing great. Today I want to share with you a tutorial to make an adorable bunny ears scrunchie. It's very quick and easy to make, I hope you like it very much.
Next, we will start with the materials and the step by step.
Materiales | Materials:

| Tela | Aguja e hilo | Tijeras |
|---|---|---|
| Regla | Cordón elástico | Lápiz |
| Fabric | Needle and thread | Scissors |
|---|---|---|
| Ruler | Elastic cord | Pencil |
🐰 Proceso | Process 🐰
Paso 1 | Step 1
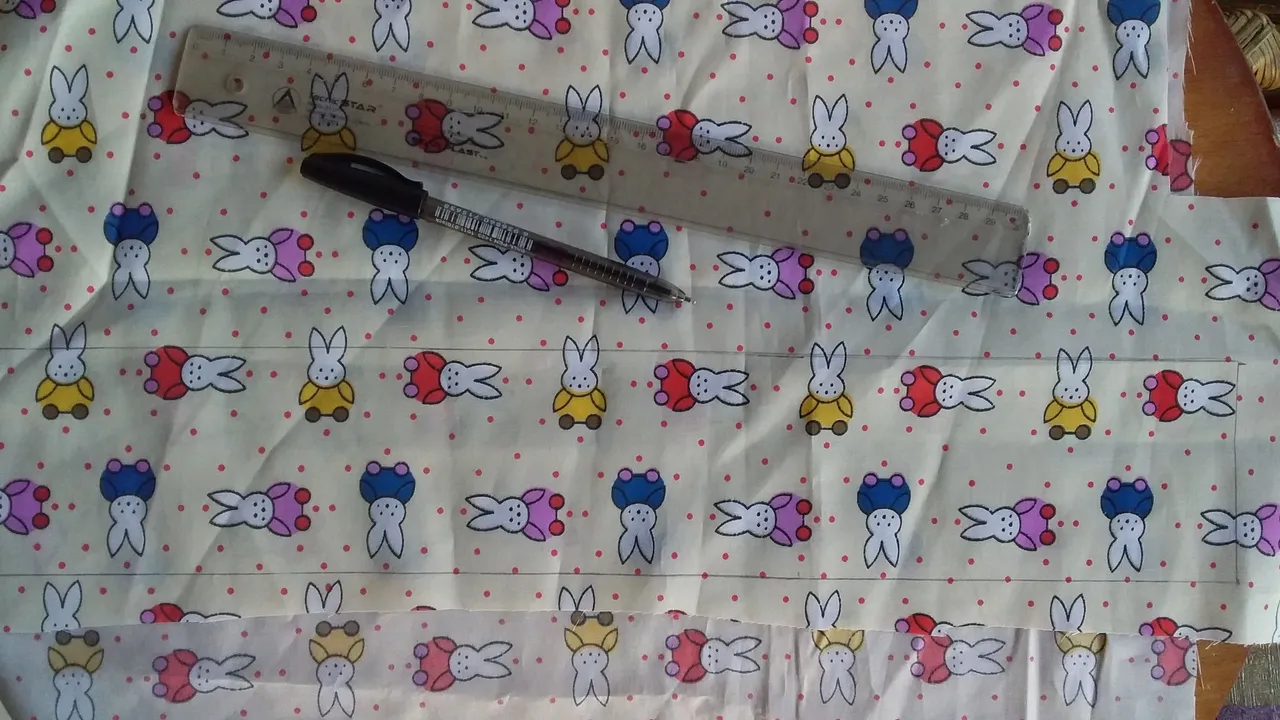
Lo primero que haremos será marcar y cortar
The first thing we will do is to mark and cut
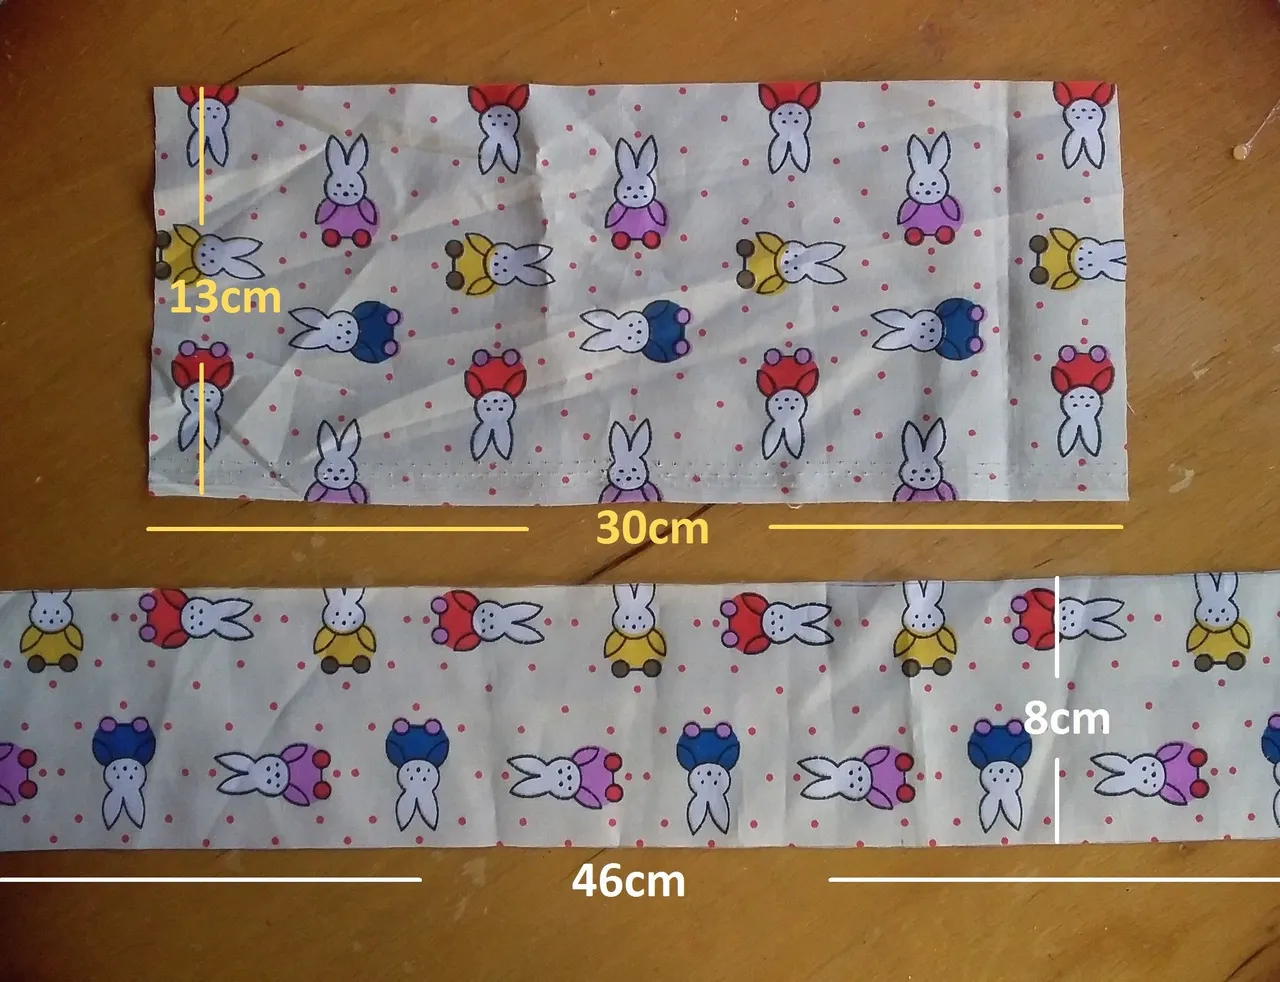
Serán únicamente 2 piezas, la primera debe tener como medida 13cm de alto x 30cm de ancho y la segunda 8cm de alto x 46cm de ancho.
There will be only 2 pieces, the first one must measure 13cm high x 30cm wide and the second one 8cm high x 46cm wide.
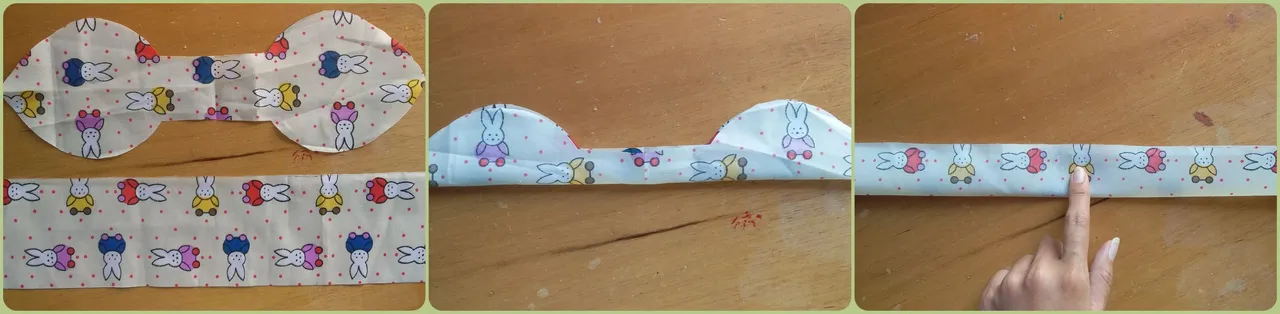
Paso 2 | Step 2
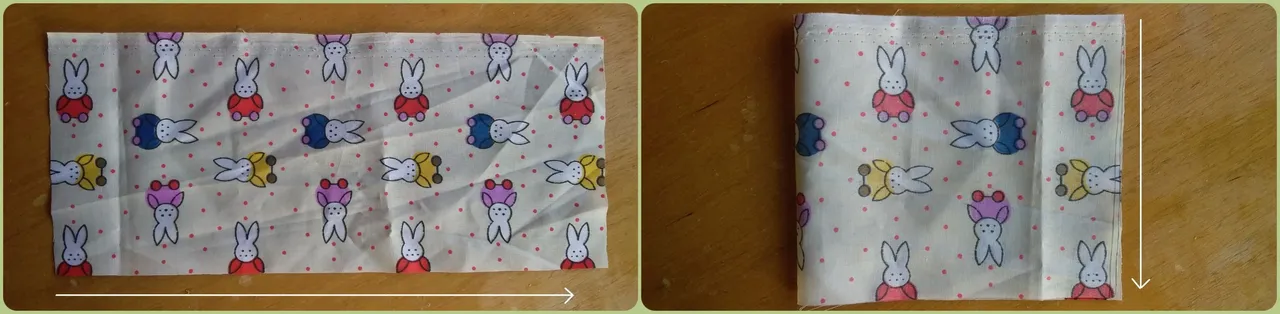
Tomaremos la pieza de 13cm x 30cm y doblaremos a la mitad, de izquierda a derecha. Luego volveremos a doblar pero esta vez de arriba hacia abajo
We will take the 13cm x 30cm piece and fold it in half, from left to right. Then we will fold again but this time from top to bottom.
y nos quedará algo así.
and we will be left with something like this.
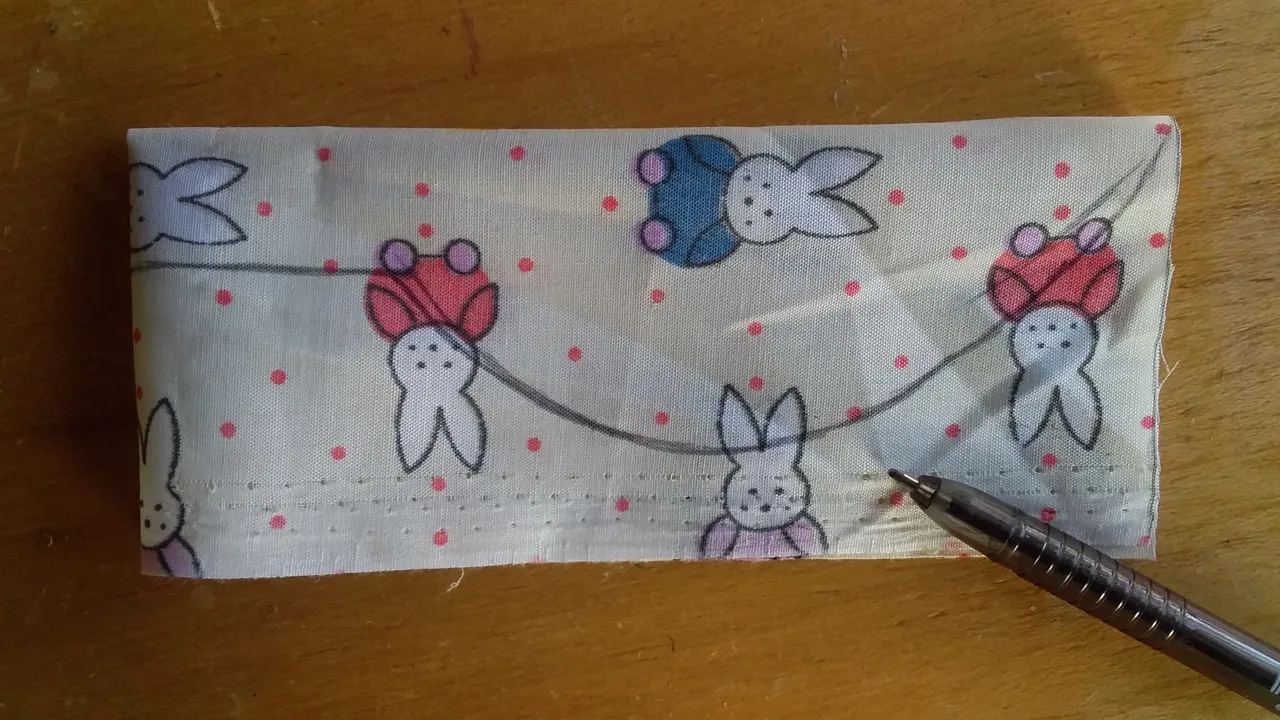
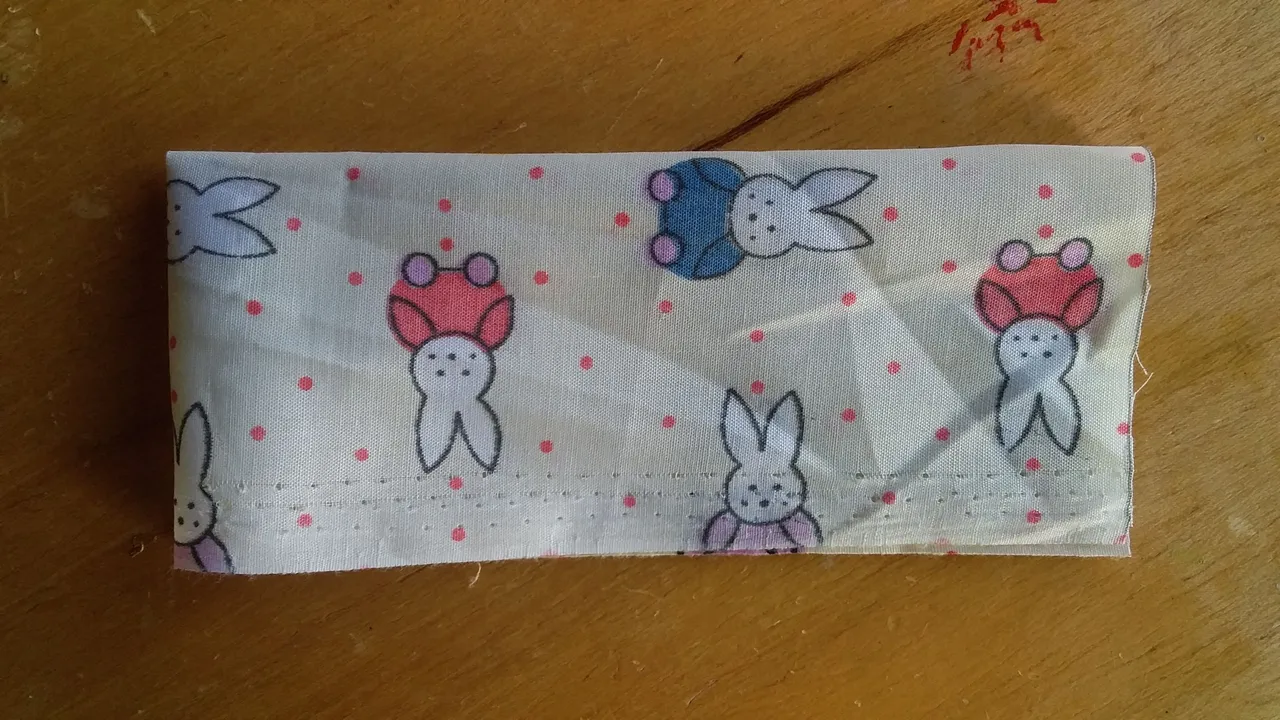
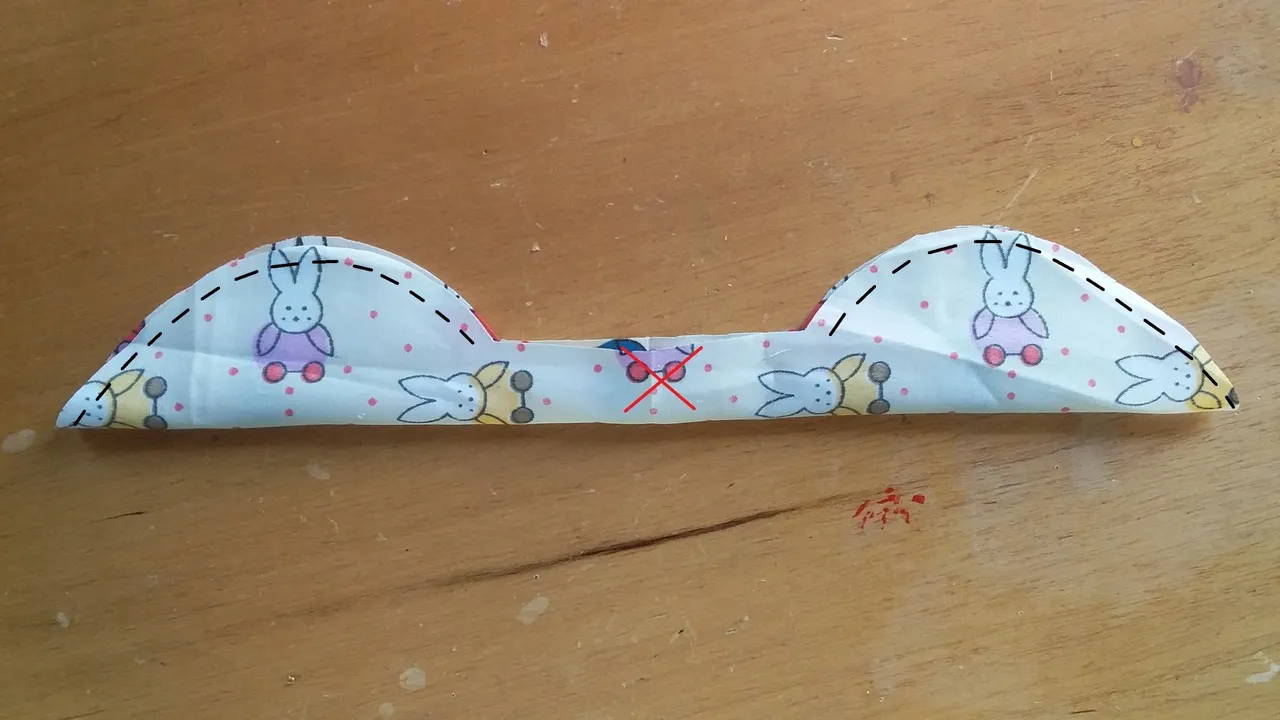
Con un lápiz trazaremos esta forma. Es una especie de semi gota con una línea recta.
With a pencil we will trace this shape. It is a kind of semi drop with a straight line.
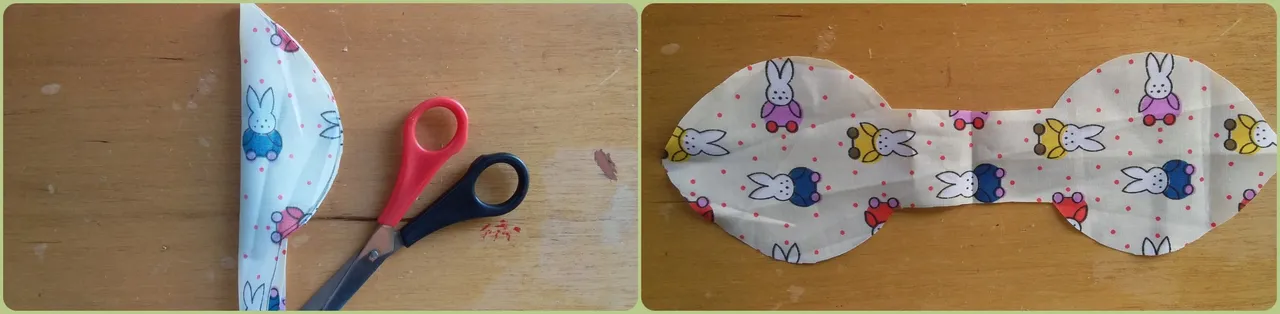
Cortaremos donde está marcado y desdoblamos. Esto es lo que usaremos para las orejitas.
We will cut where marked and unfold. This is what we will use for the ears.
Paso 3 | Step 3
Ambas piezas las doblaremos por la mitad para empezar a coser.
Both pieces are folded in half to start sewing.
Para las orejas solo coseremos las partes redondeadas,dejando la parte central sin coser.
For the ears we will only sew the rounded parts, leaving the middle part unstitched.
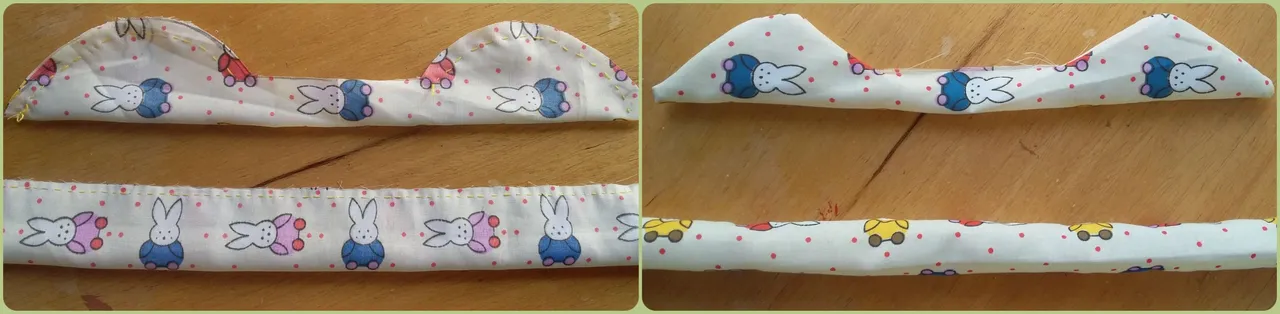
Al terminar daremos vuelta.
In the end we will turn it around
Paso 4 | Step 4
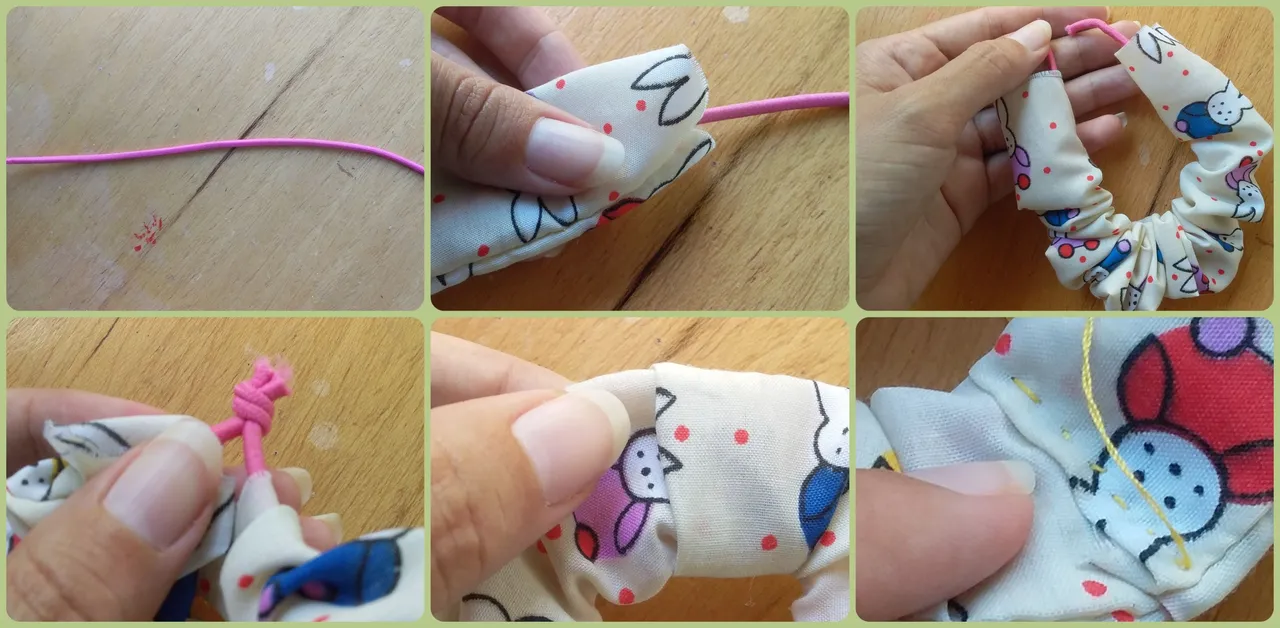
Pasaremos un trozo de cordón elástico dentro de la pieza de 46cm y ataremos un nudo. Para cerrar la scrunchie, meteremos un extremo de la tela dentro del otro extremo y coseremos.
Nota: La medida del cordón que utilicé fue de 22cm, pero tu puedes agregarle o quitarle un poco más si así lo deseas
We will pass a piece of elastic cord inside the 46cm piece and tie a knot. To close the scrunchie, we will tuck one end of the fabric inside the other end and sew.
Note: The size of the cord I used was 22cm, but you can add or subtract a little more if you wish.
Paso 5 | Step 5
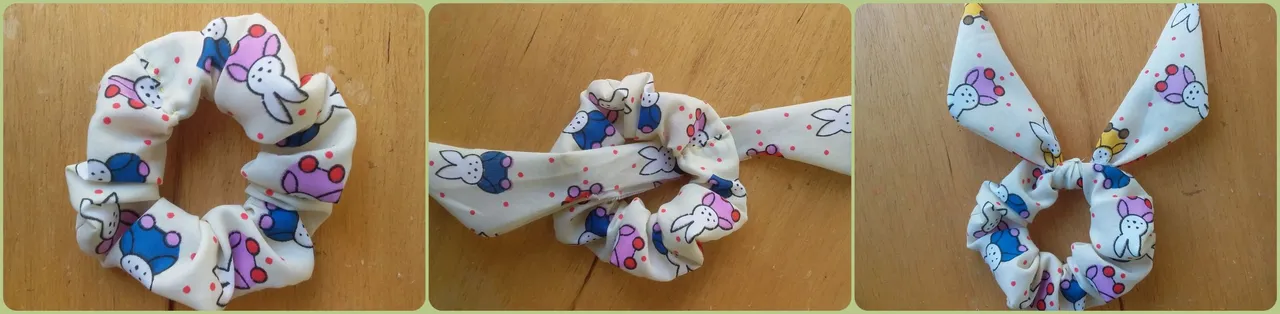
Como último paso solo queda pasar las orejitas a través del scrunchie y hacer un doble nudo.
The last step is to pass the ears through the scrunchie and tie a double knot.
🐰 Resultado | Result 🐰
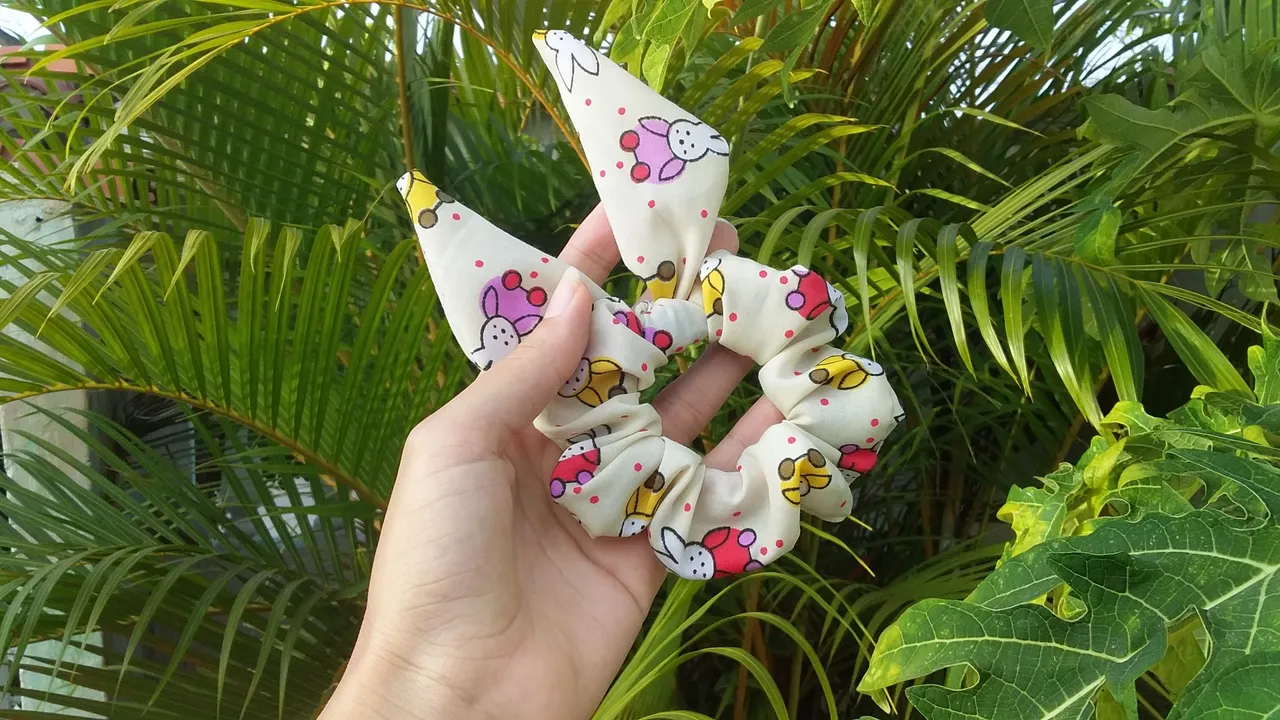
Finalmente este es el resultado de nuestra scrunchie. Me ha encantado, estoy deseando usarlo y hacer muchos más.
Esto ha sido todo, espero que les haya gustado tutorial. Muchas gracias por leerme!
Finally this is the result of our scrunchie. I loved it, I can't wait to use it and make many more.
This has been all, I hope you liked the tutorial. Thank you very much for reading me!