Good morning everyone,
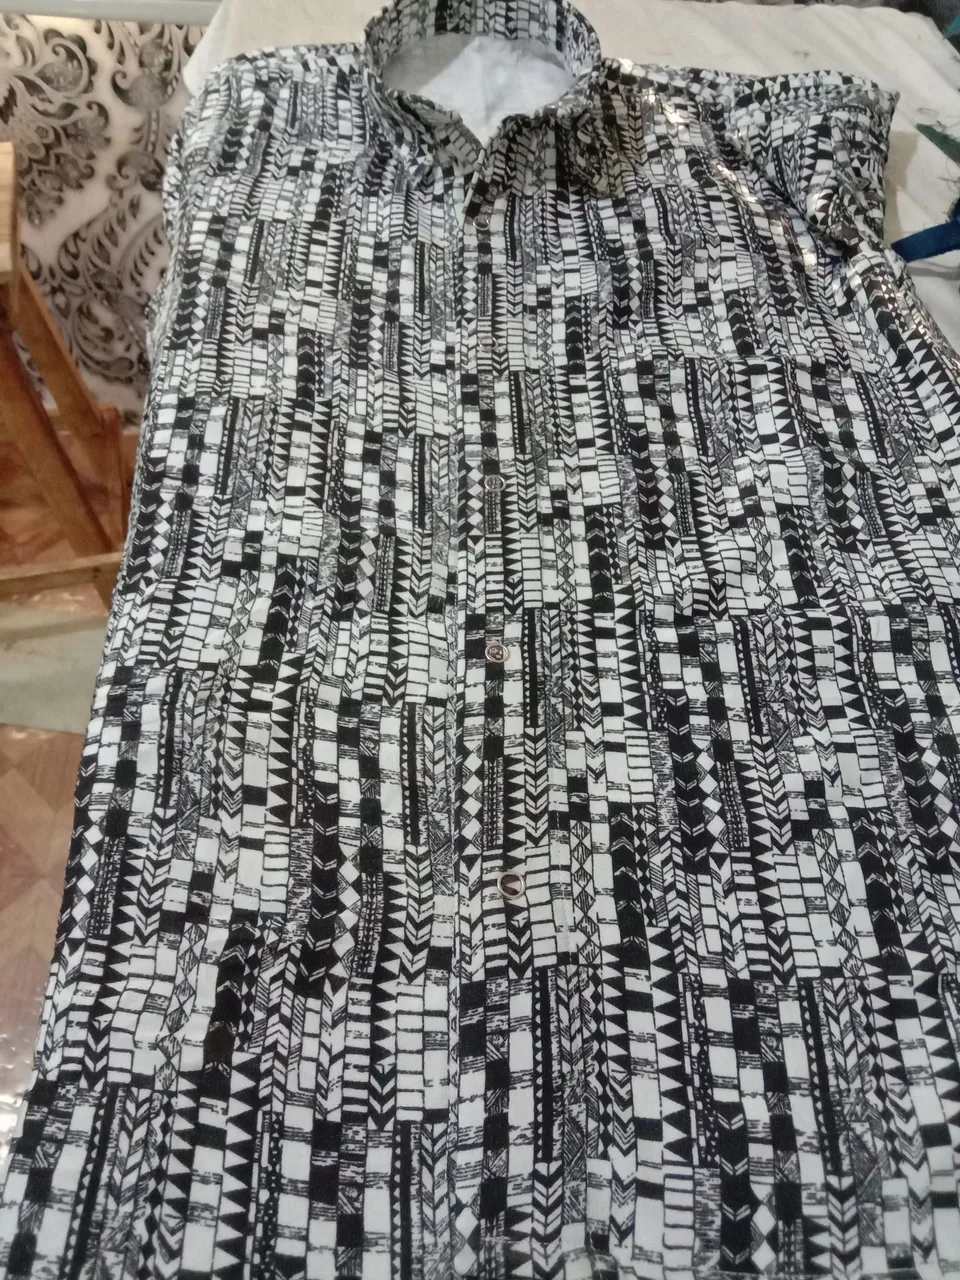
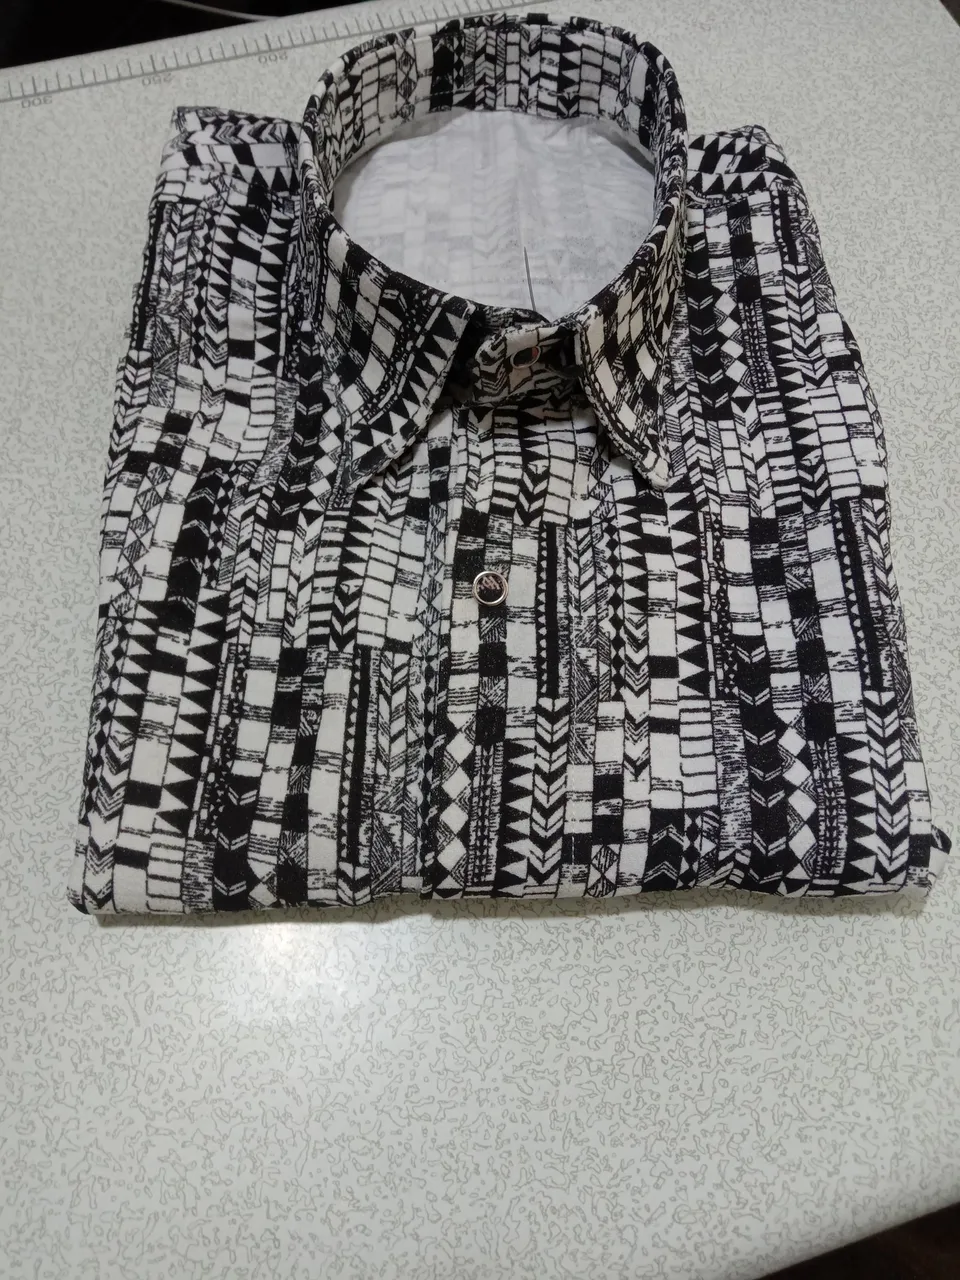
Hope we had a nice weekend. This morning I will be sharing with you how I made a lovely vintage shirt. It's very simple and you can also give it a trial.
I will be showing the process of how I made this beautiful shirt.
MATERIALS USED
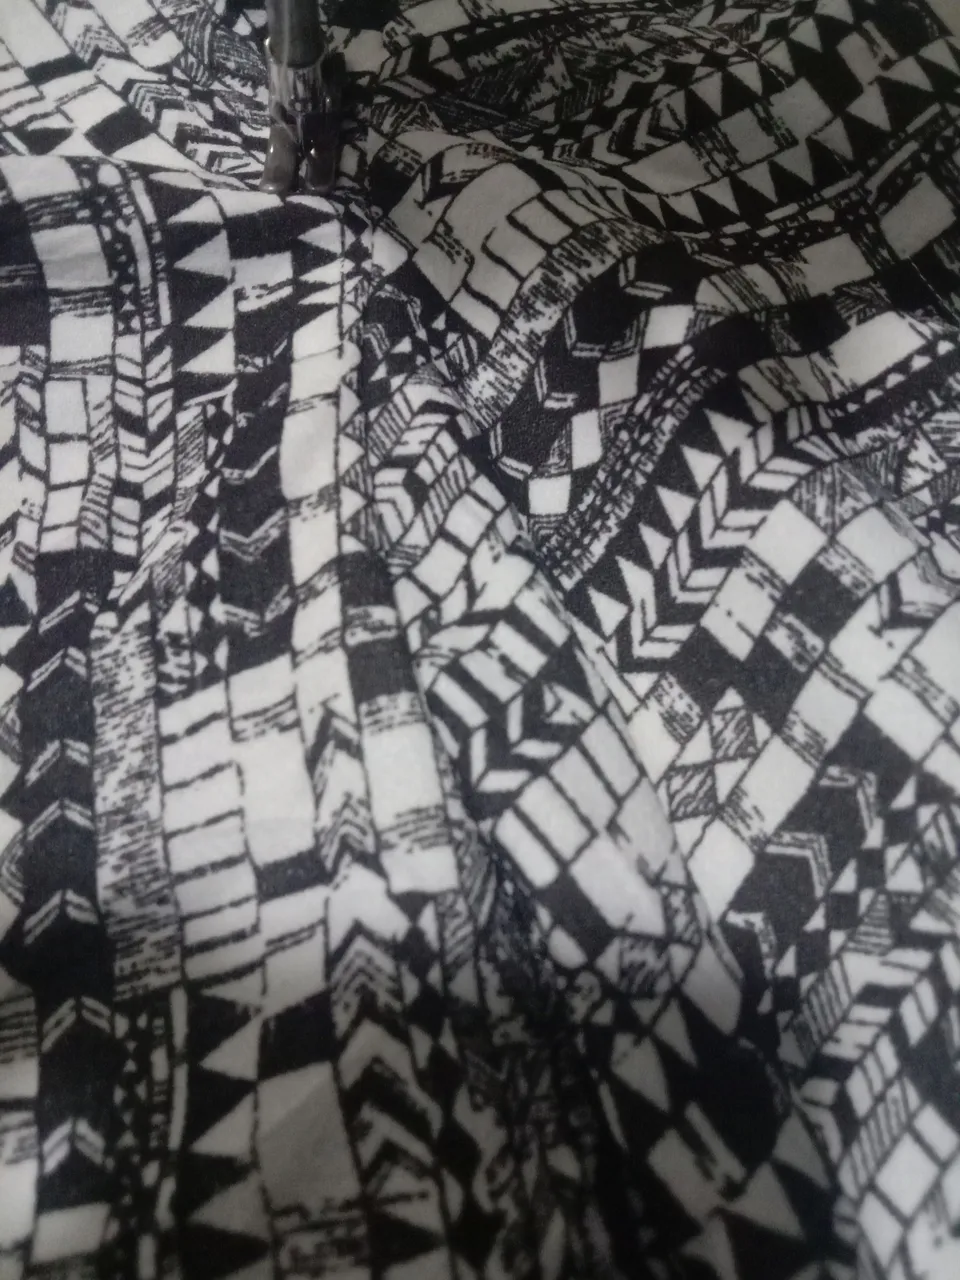
- Fabric (vintage material)
- Thread
- Chest gun
- buttons
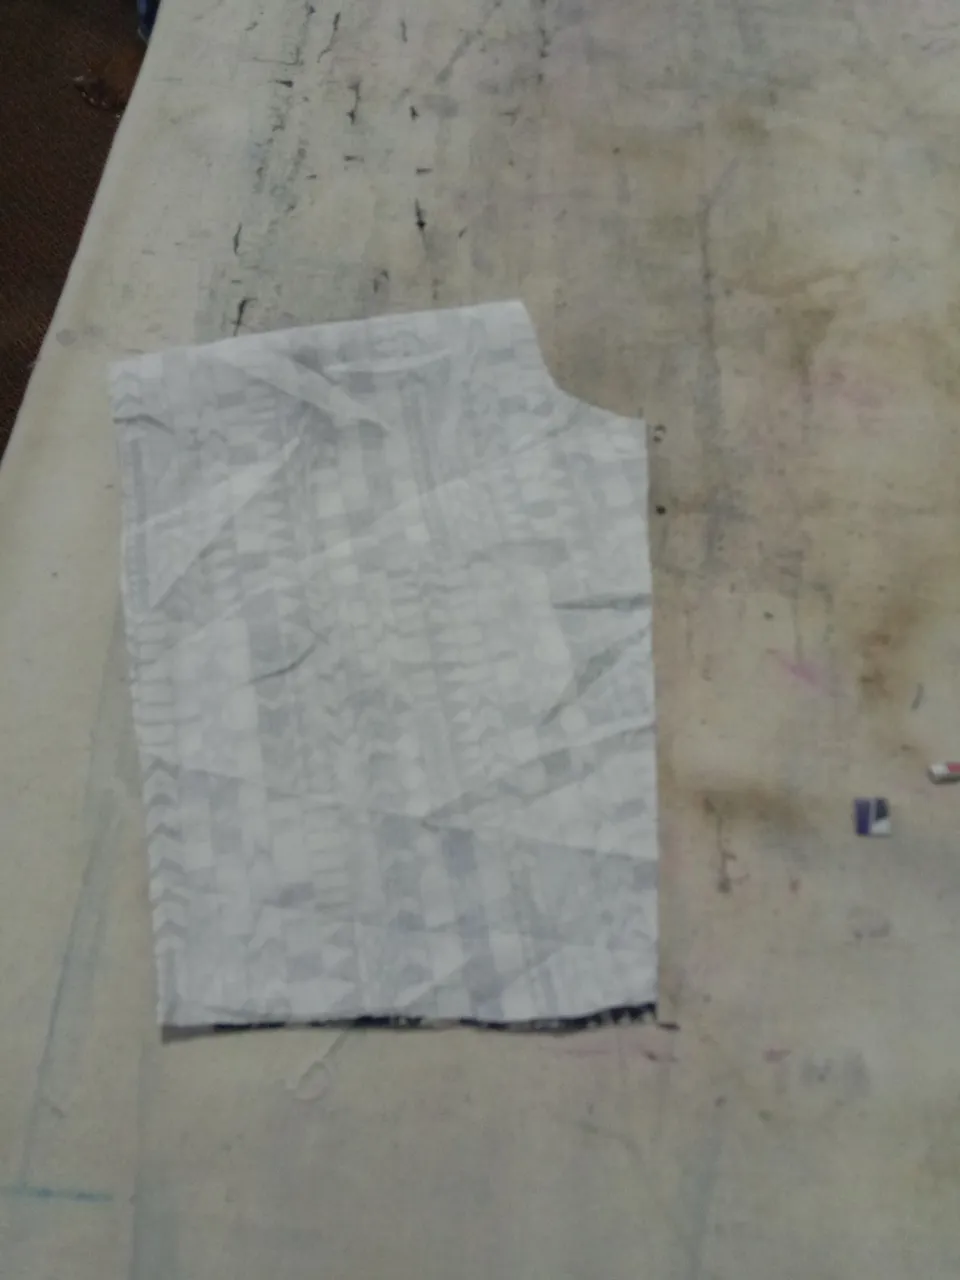
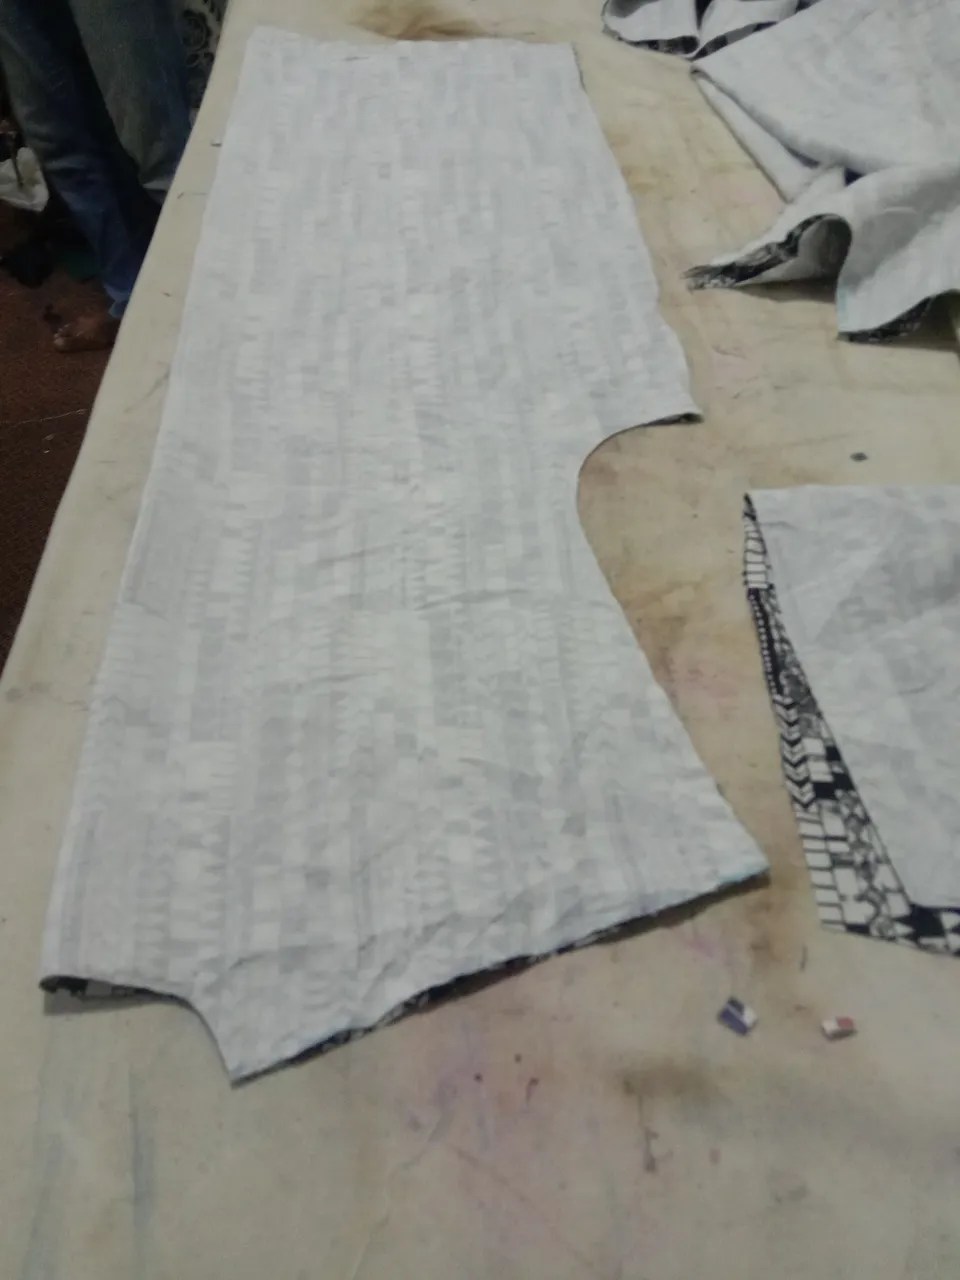
MEASURING AND CUTTING PROCESS
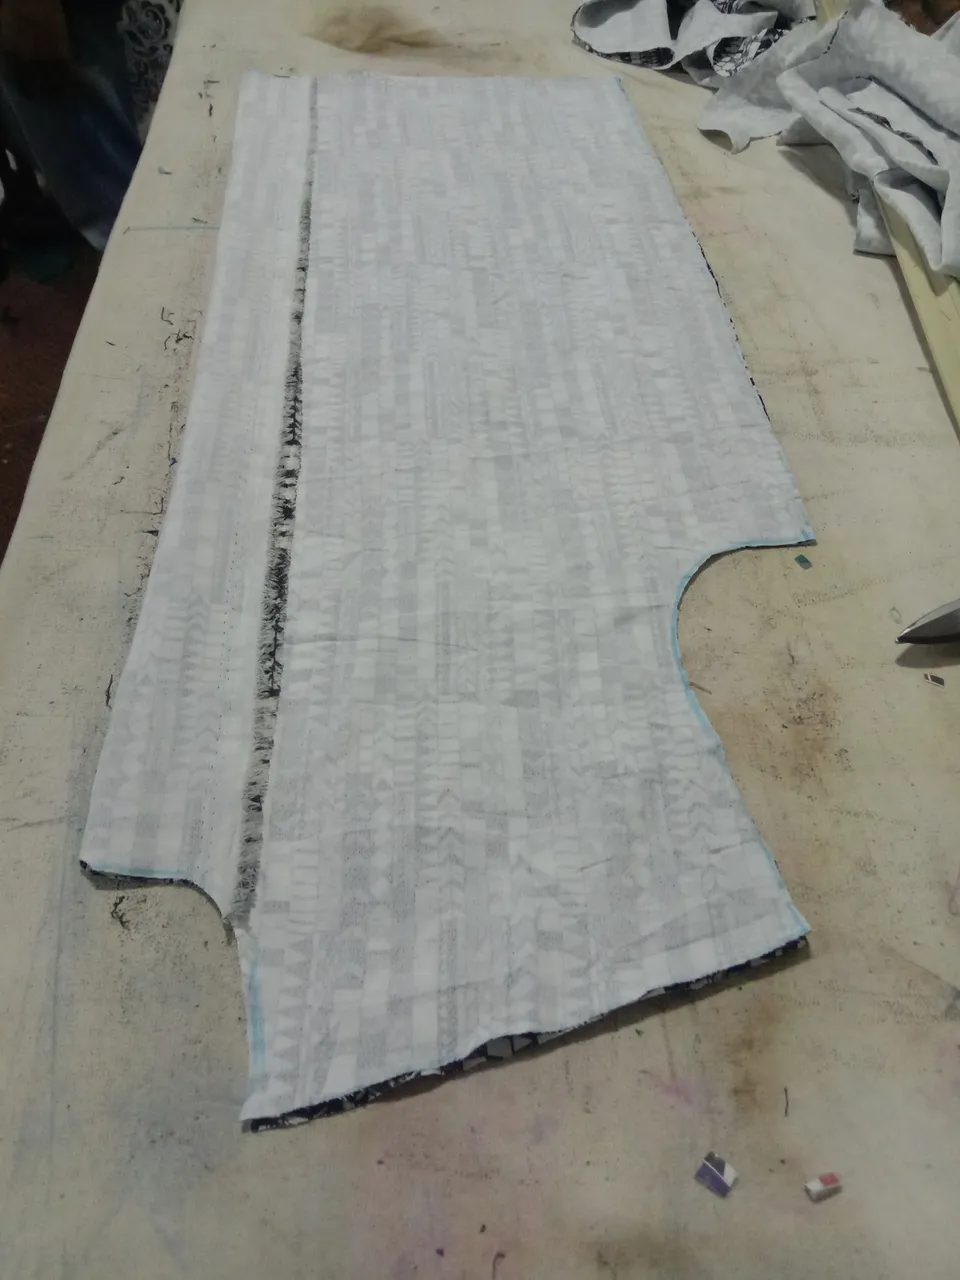
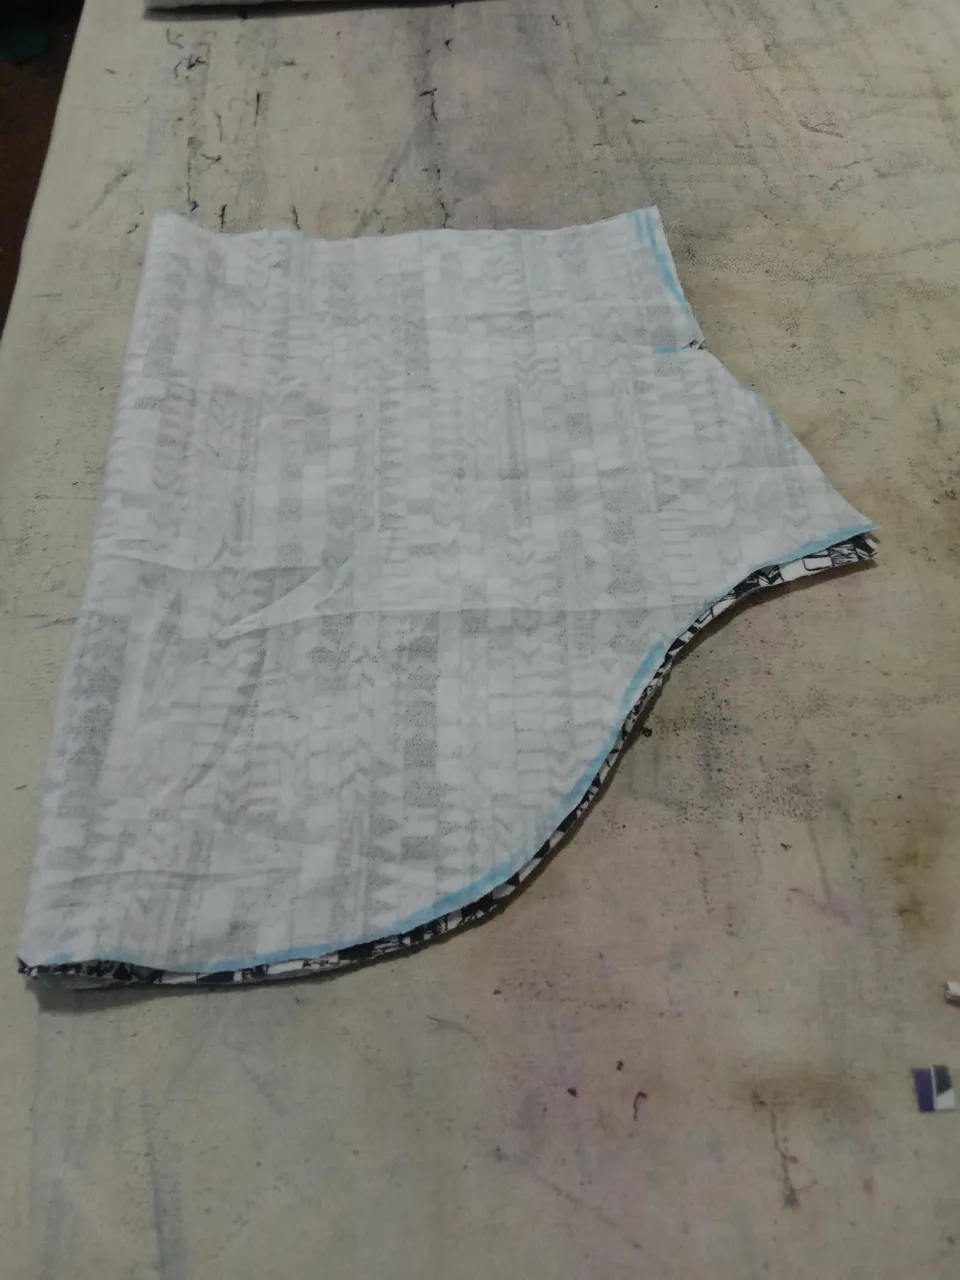
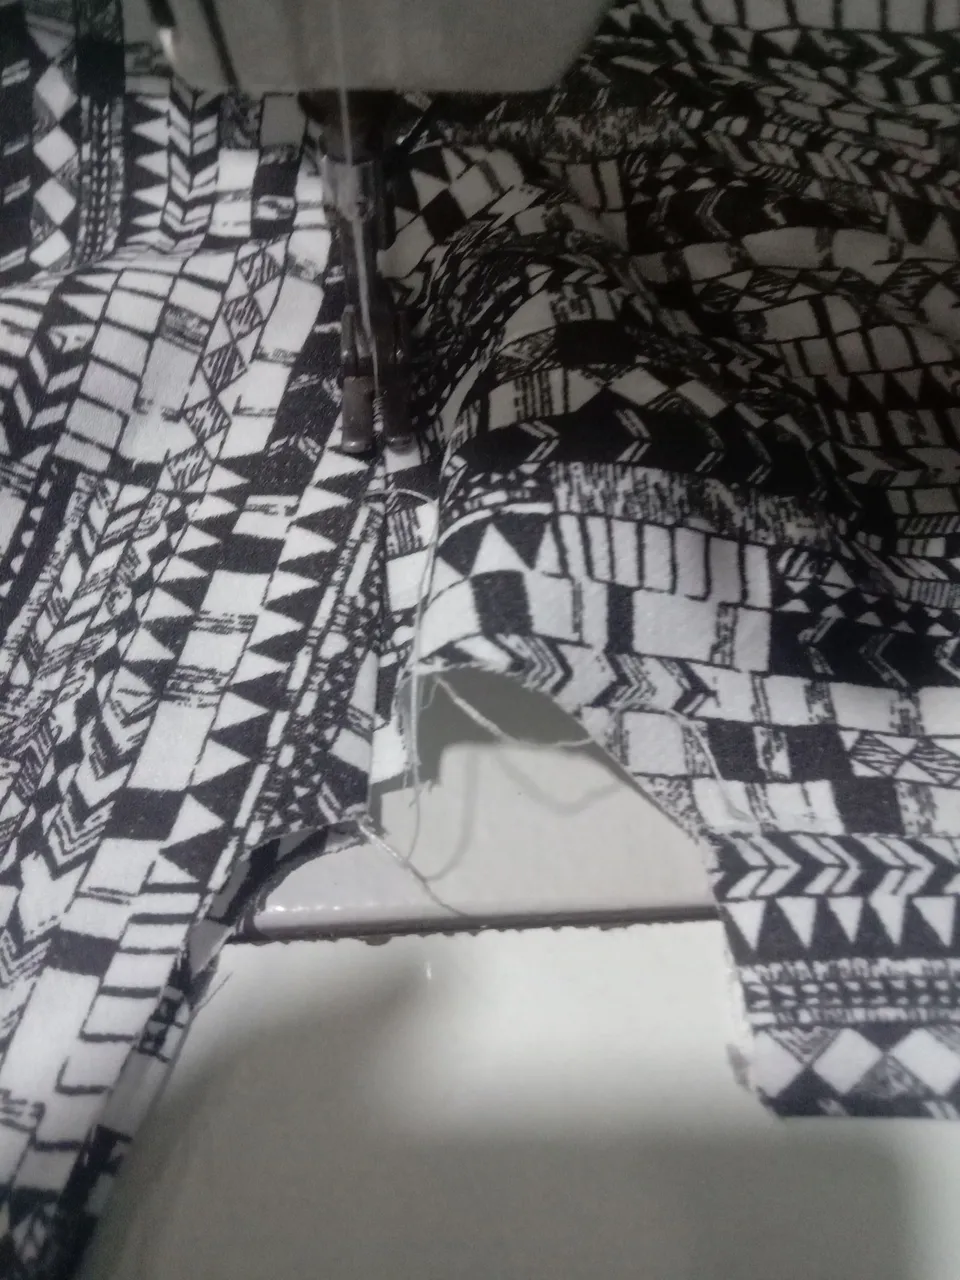
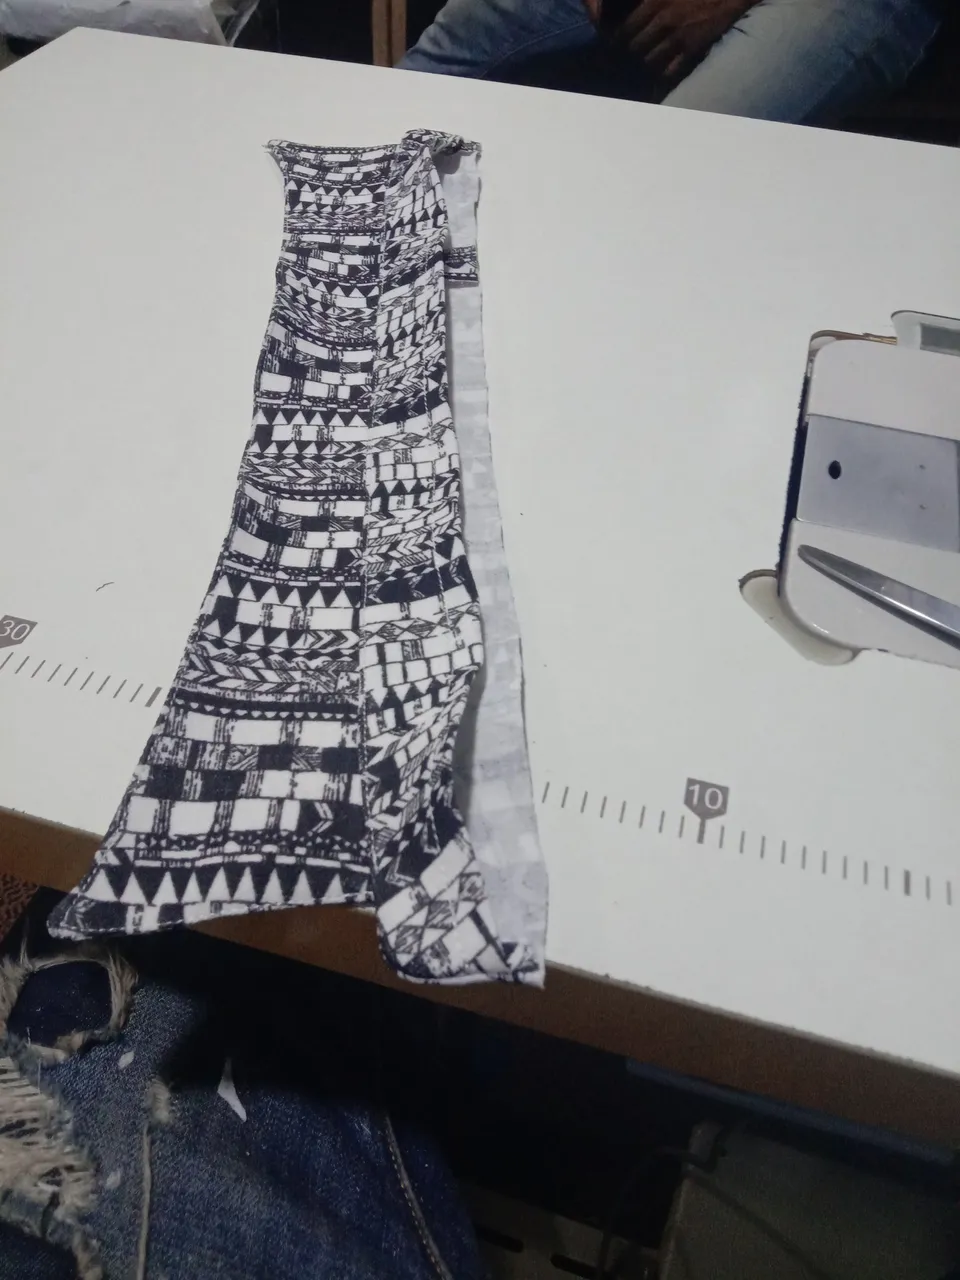
Firstly I took the measurement of the person am sewing for, shoulder, chest, sleeve, length and neck. After this then I can cut the material.
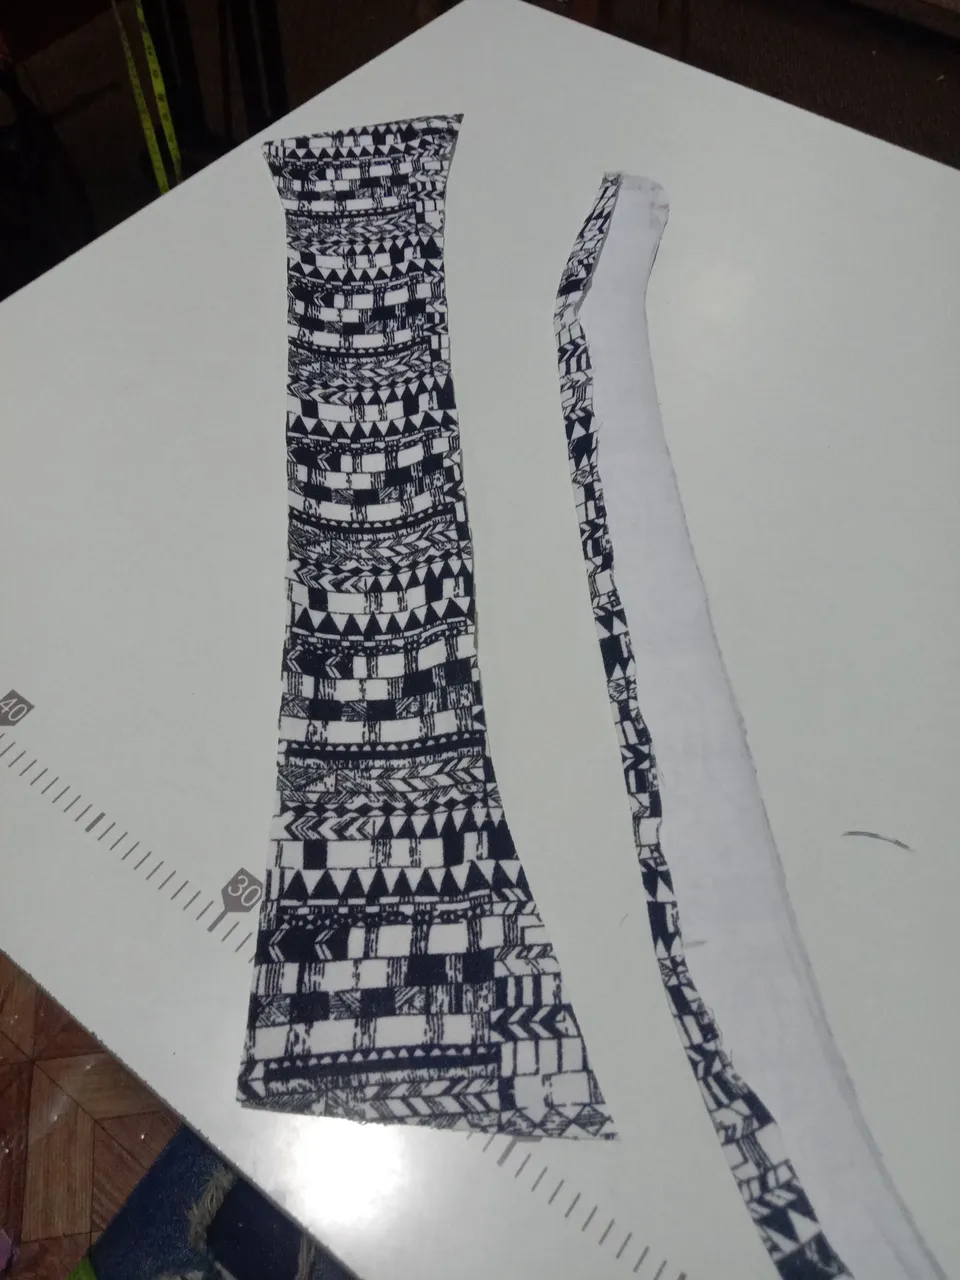
Cutting a shirt, I put the fabric tip together and folded 2 inches then start to measure, the neck 2.5 by 3 inches, shoulder (the total shoulder divided by 2 plus 0.5 as sewing allowance), shoulder rest 2 inches, armhole 7.5 inches depending on body size, chest (total chest divided by 4 plus 0.75 as button allowance and 0.5 as sewing allowance, then the length.
Then the back adding to the shoulder 3 and 2.5 inches, then the sleeve and the back landing.
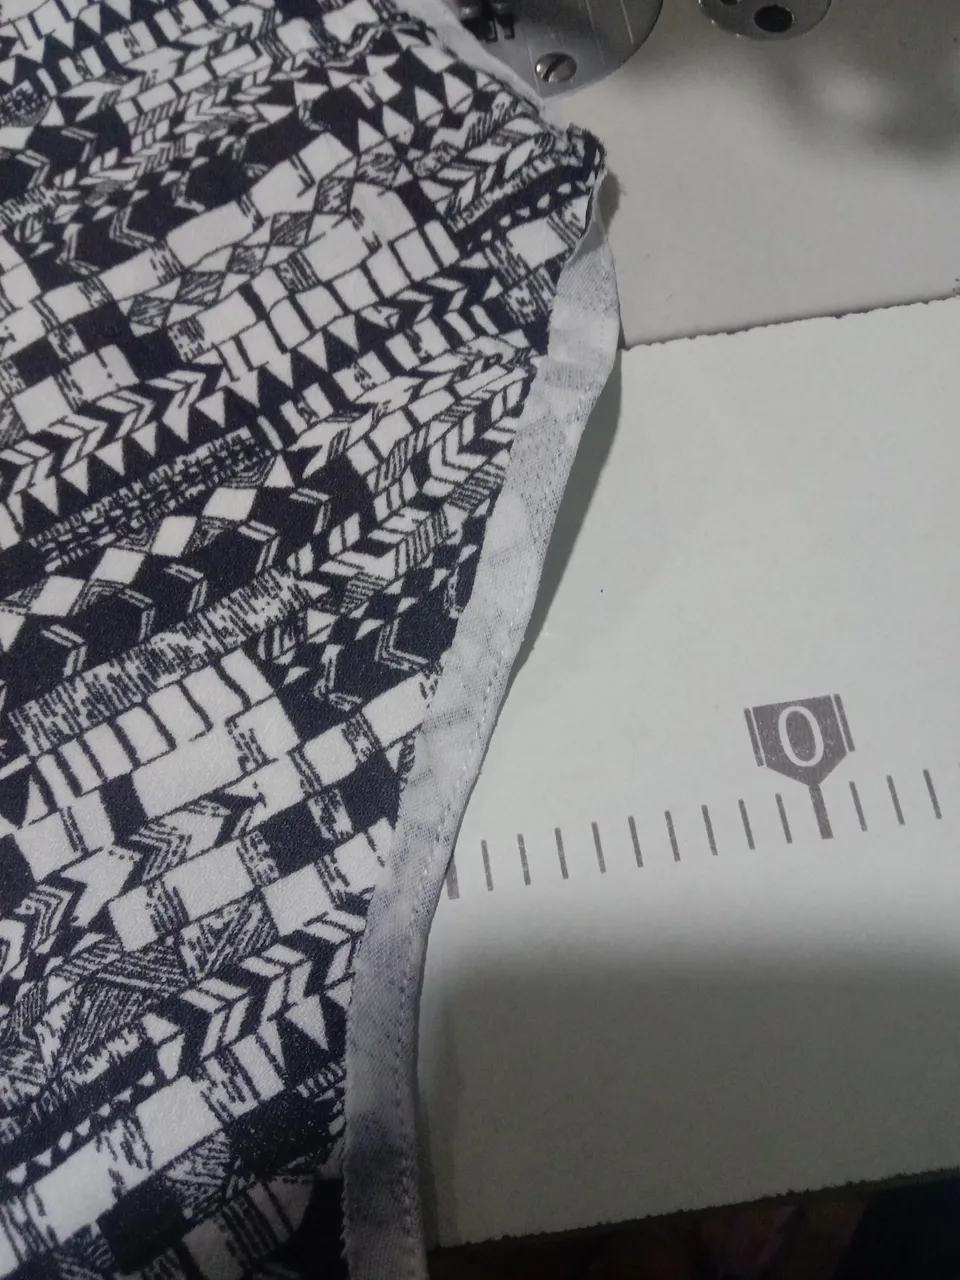
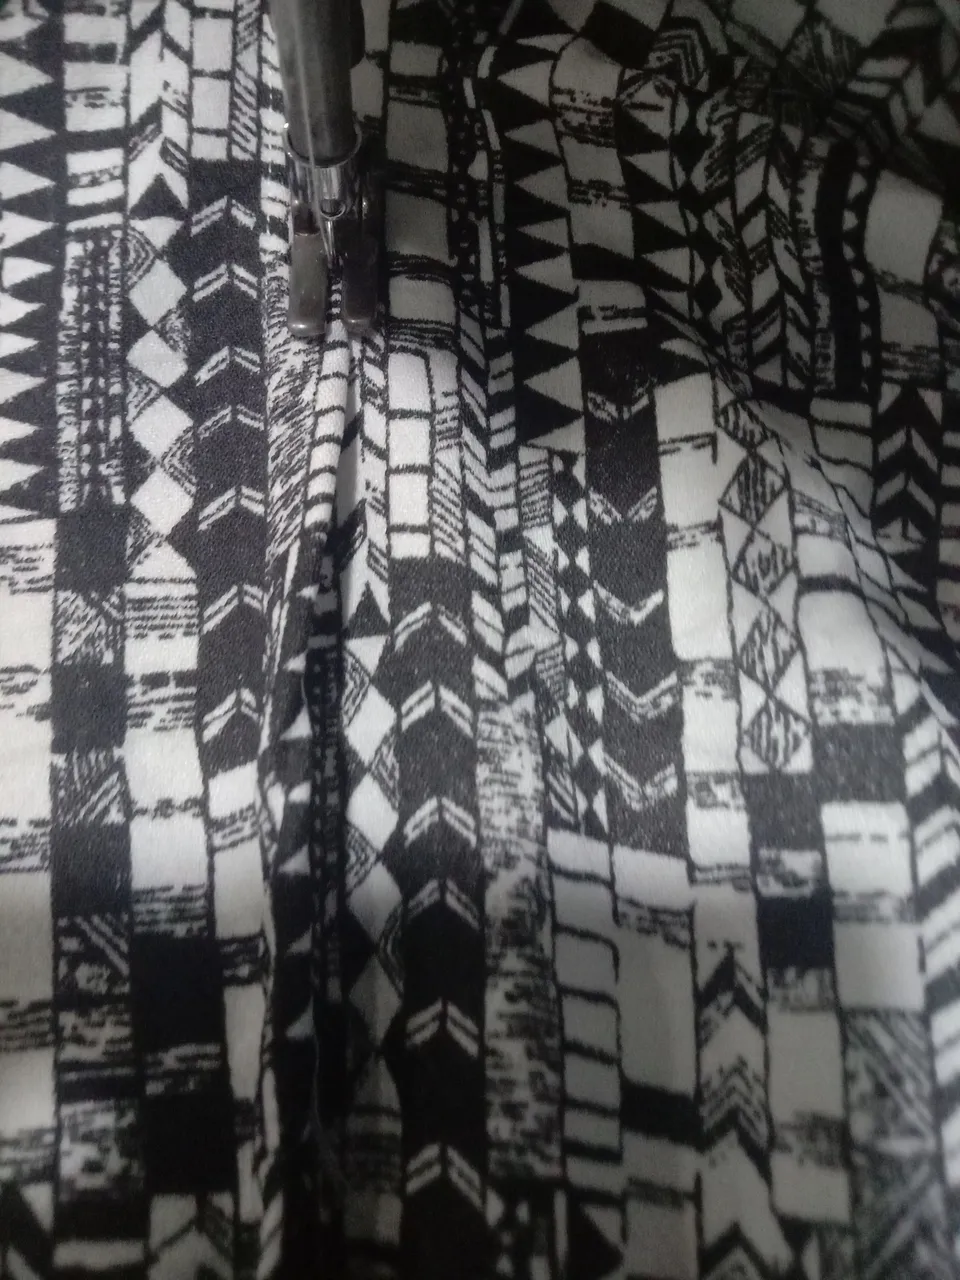
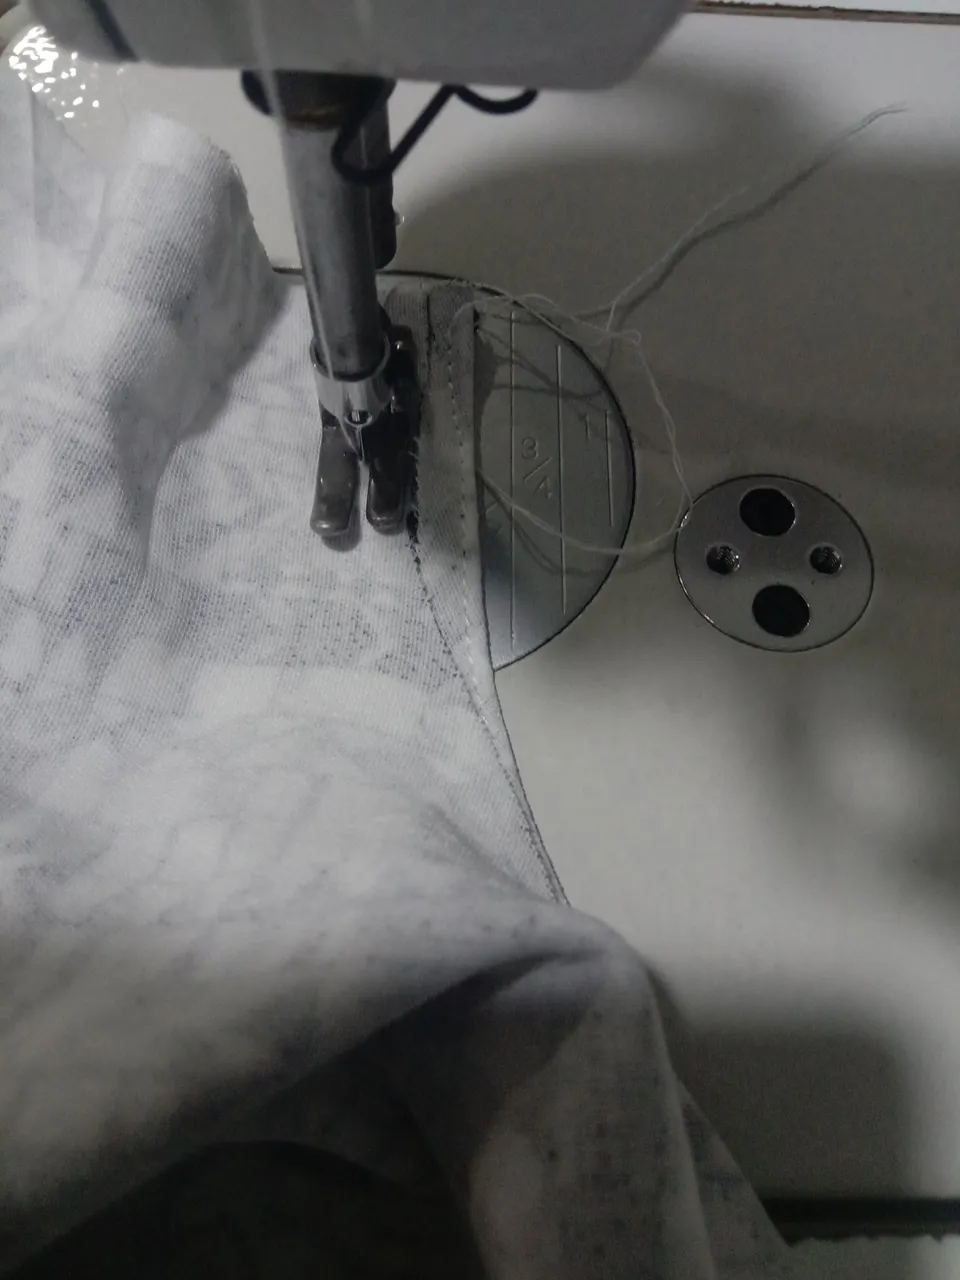
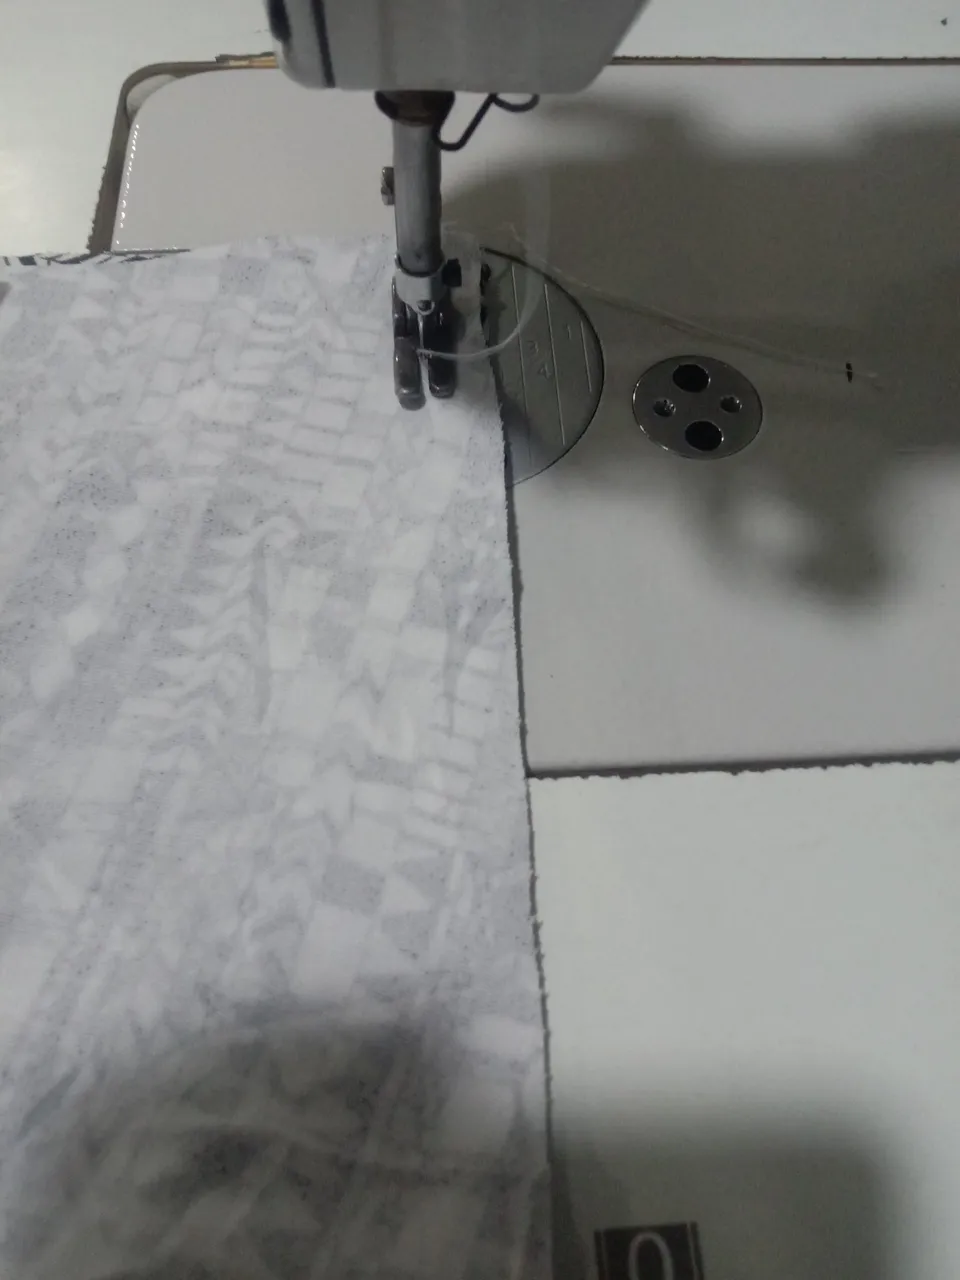
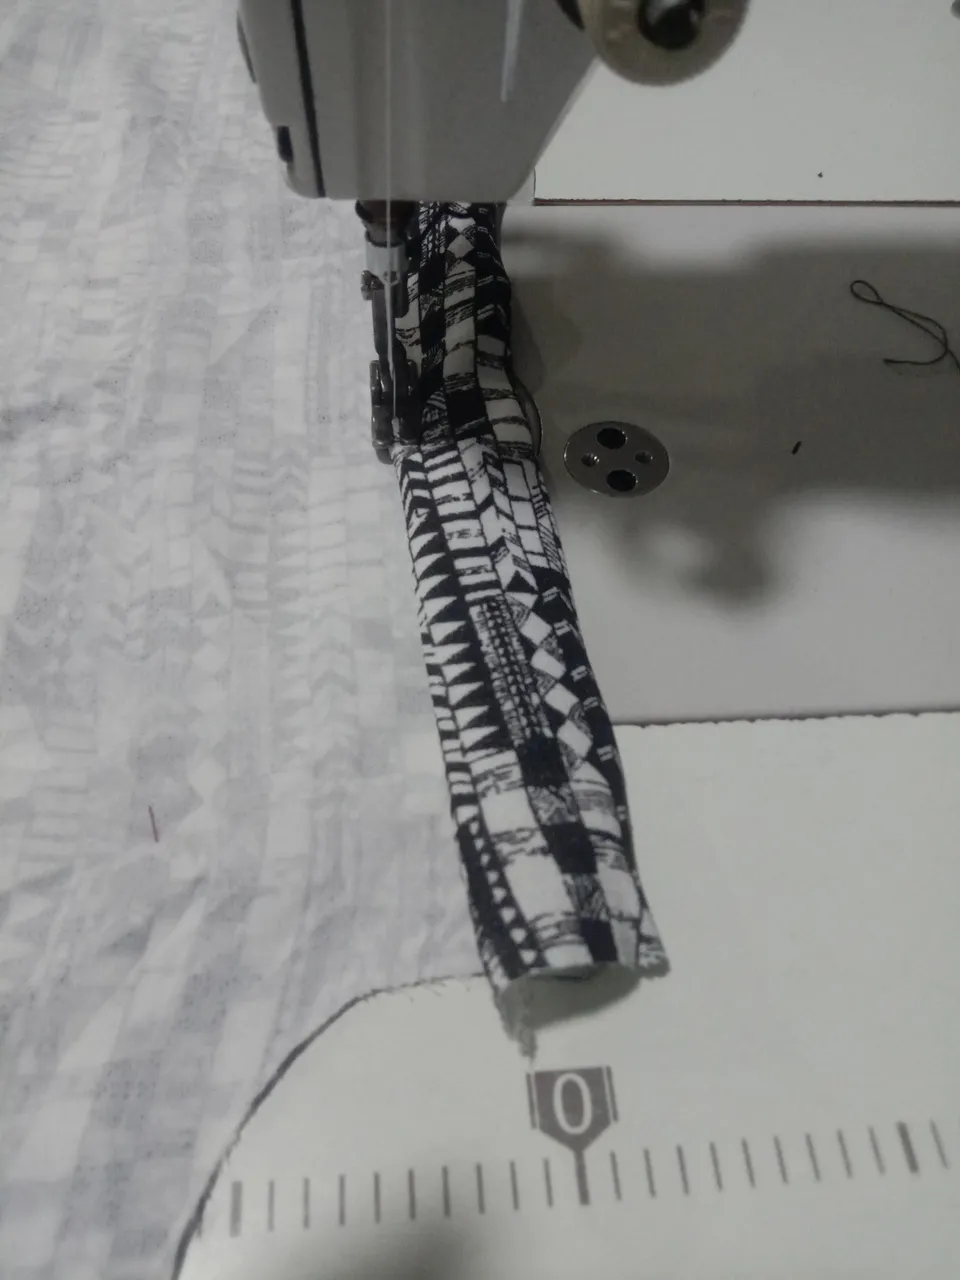
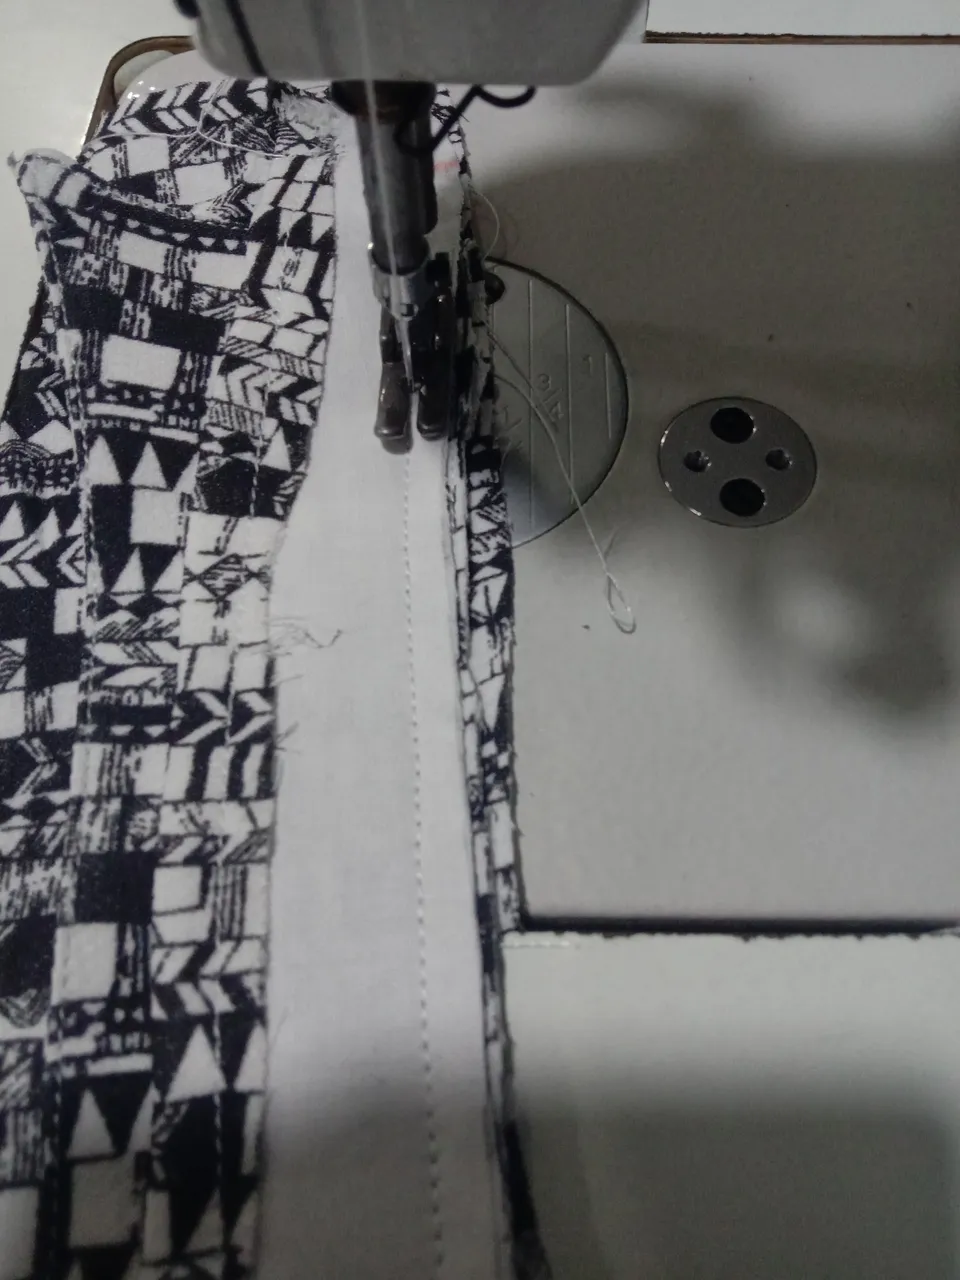
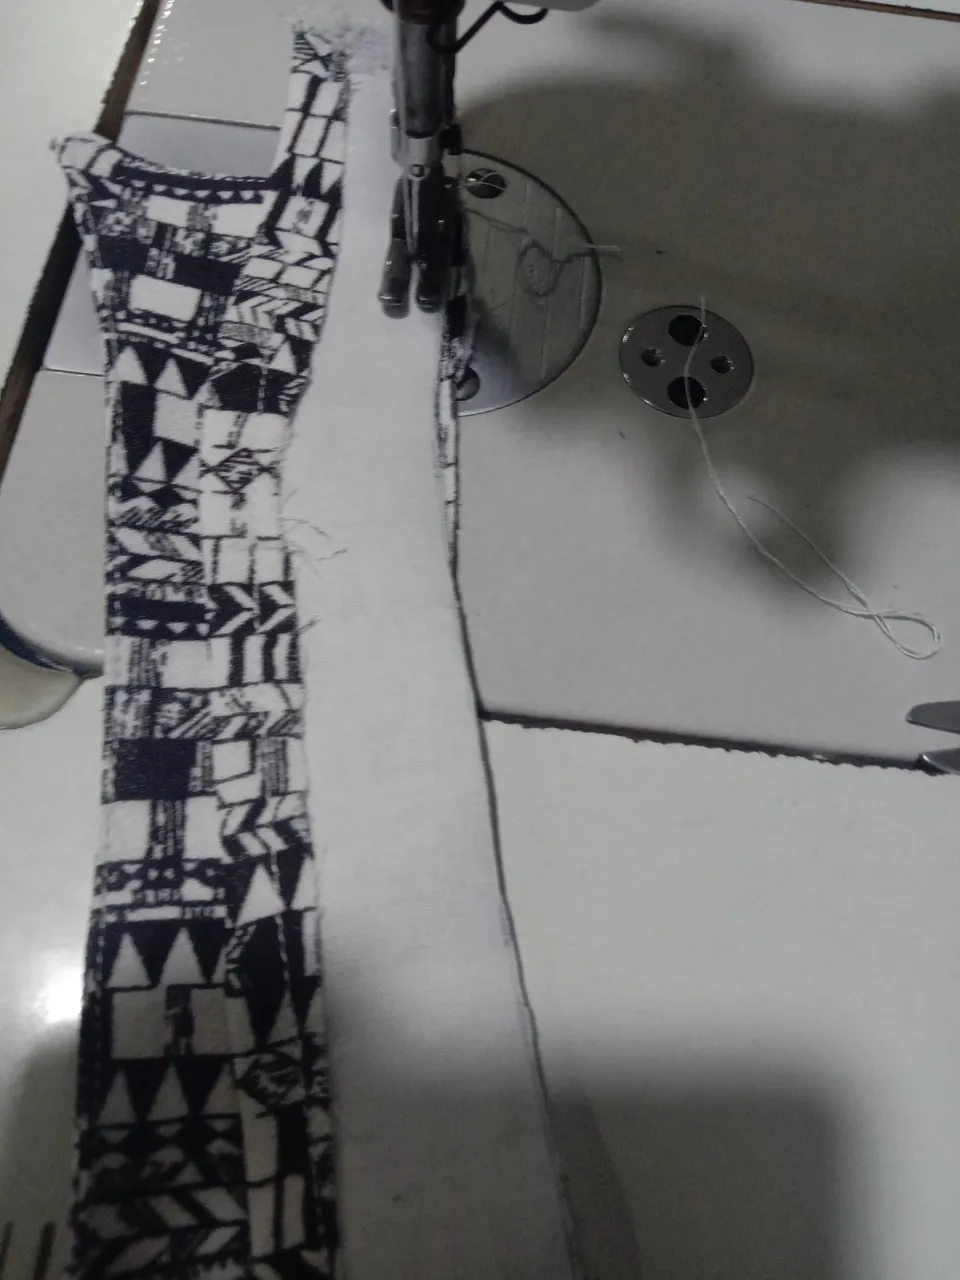
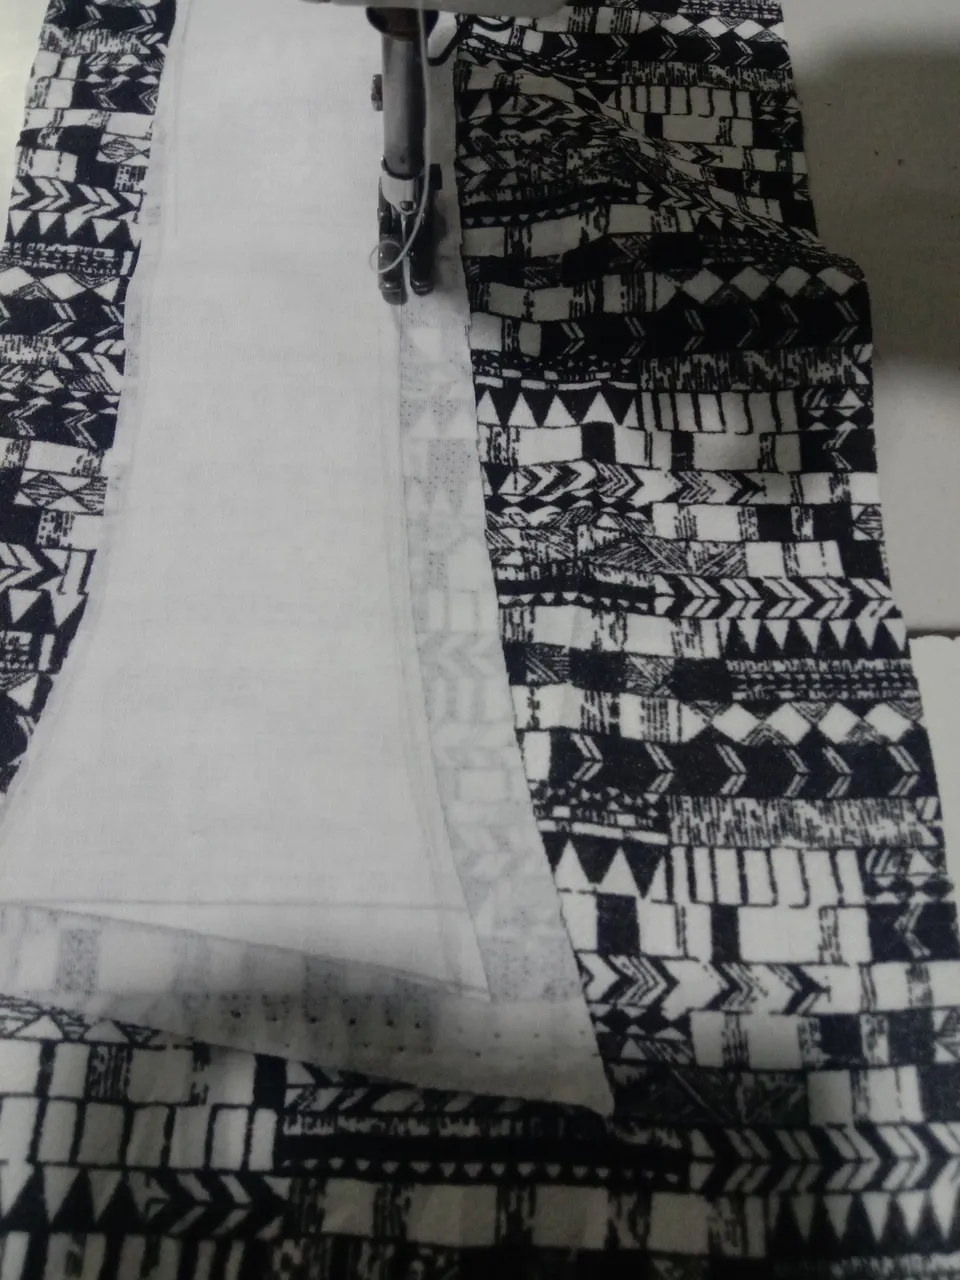
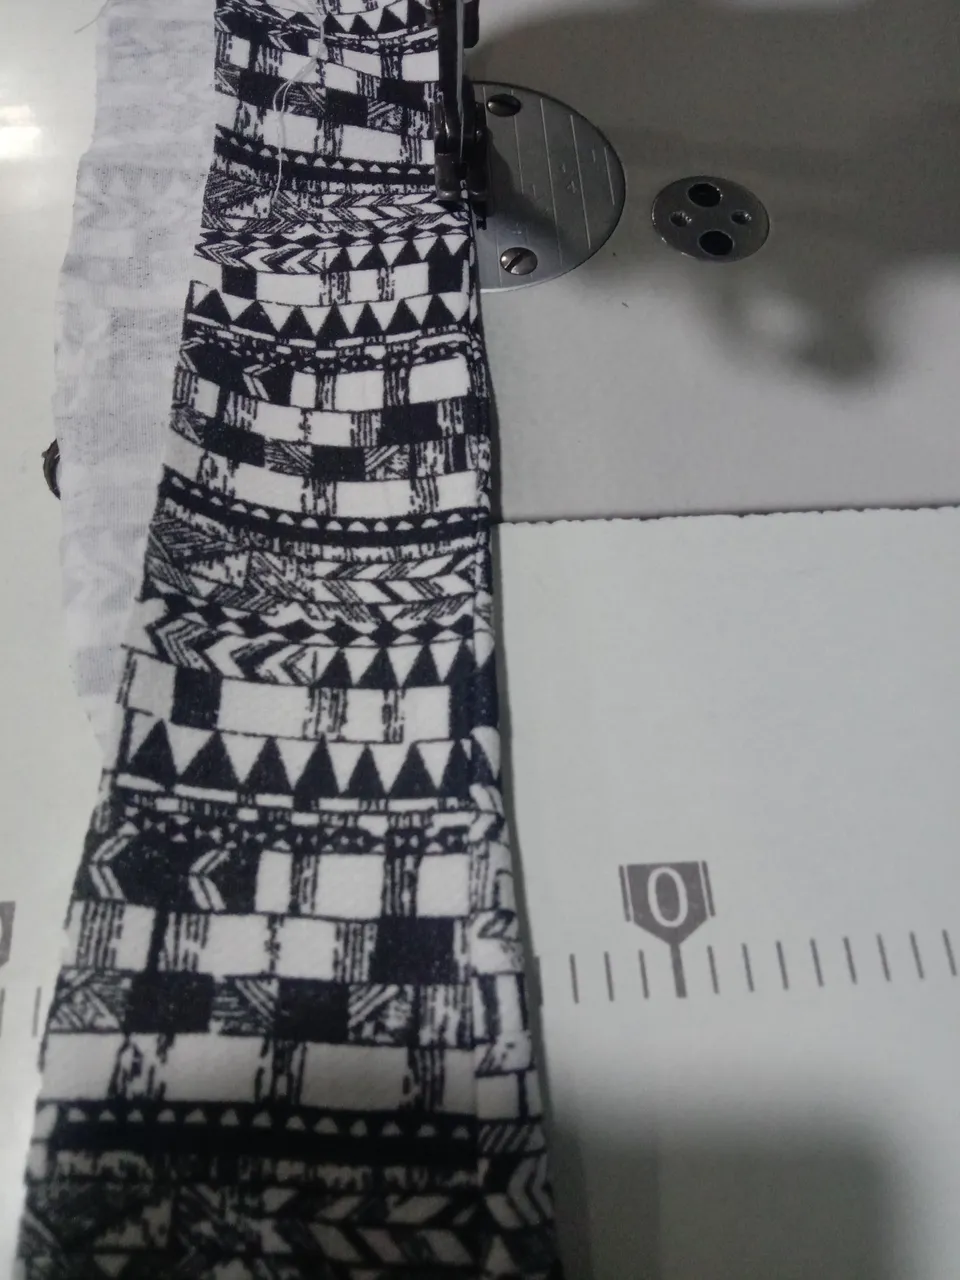
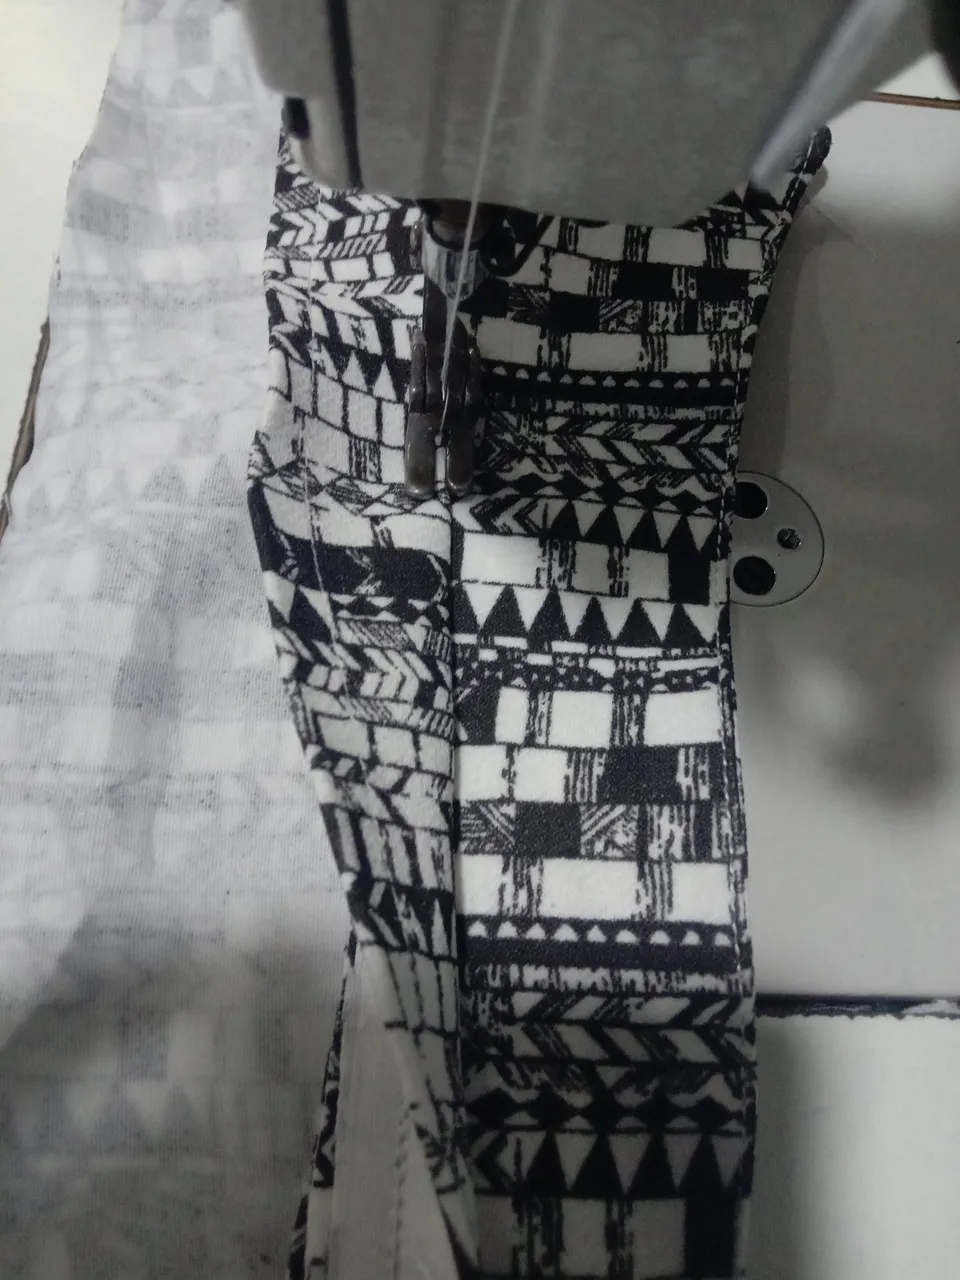
SEWING PROCESS
Firstly I folded the allowances added to the tip and sew then I joined the shoulders together, fixing the back landing, then the sleeve and I joined the body using piping method.
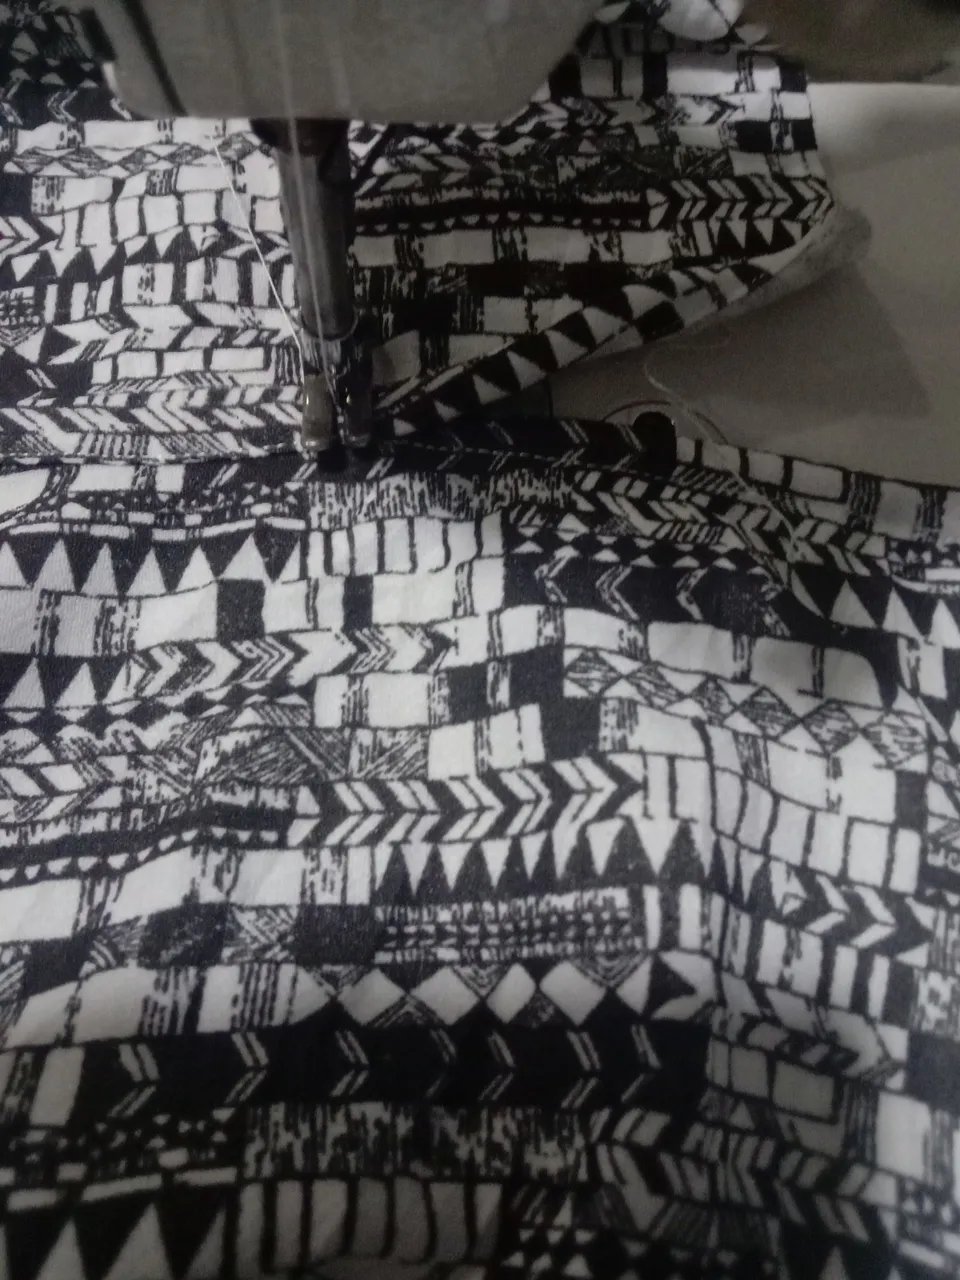
Then I fixed the collar and the buttons.
FINAL LOOK