Estoy por llamar a este día de la semana Jueves de Scrunchies, pero la verdad es que la variedad de modelos es muy grande y aprender cada día algo nuevo me encanta, soy muy feliz creando y cosiendo. Ver los resultados tan bonitos que quedan alegra el alma y el corazón.
Este modelo de coleta o scrunchies cuando lo vi, me fascino. Luego al ver el proceso de confección me llevó de inmediato a sentarme a coser, ya que lo sentí como un reto y todo reto nos trae aprendizaje.
Ciertamente podríamos decir que no es más que una coleta y encima le colocaron una flor hecha en tela, pero no, su proceso no es así de sencillo y es lo que me gustó y a continuación lo verán en el paso a paso.
I'm about to call this day of the week Scrunchies Thursday hahaha, but I'm about to call this day of the week Scrunchies Thursday, but the truth is that the variety of models is very large and learn every day something new I love, I am very happy creating and sewing. Seeing the beautiful results makes my heart and soul happy.
This model of scrunchies when I saw it, fascinated me. Then when I saw the process of making it, it immediately made me sit down to sew, because I felt it as a challenge and every challenge brings learning.
Certainly we could say that it is nothing more than a ponytail and on top of it they put a flower made of fabric, but no, the process is not that simple and that is what I liked and then you will see it in the step by step.
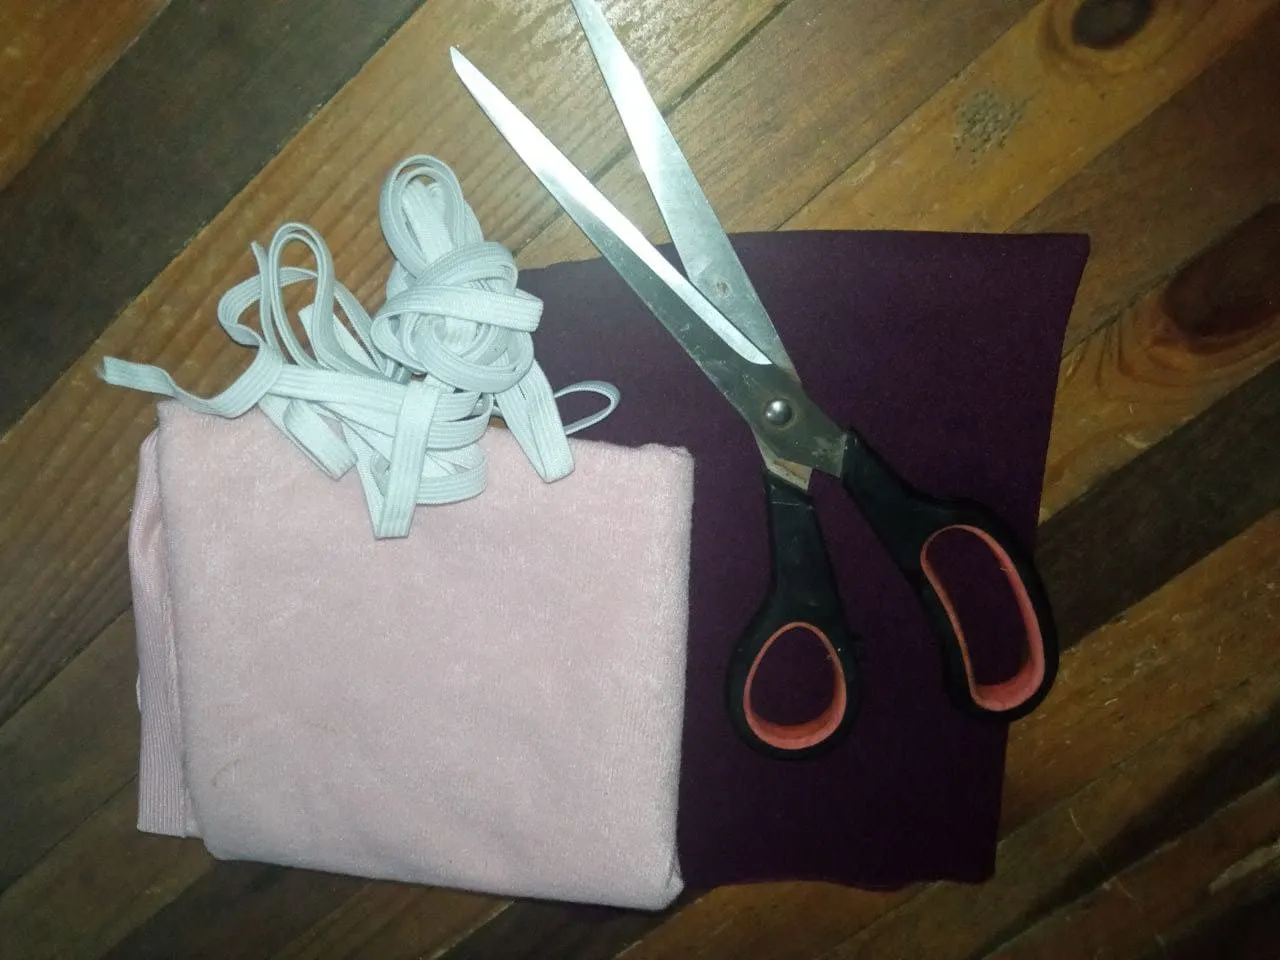
Los materiales utilizados son.
The materials used are.
- Tela en tono o color de su preferencia. Recomiendo que la tela no sea tan gruesa para mejor manipulación.
- Hilo, aguja.
- Elástico.
- Tijeras.
- Fabric in the shade or color of your preference. I recommend that the fabric is not so thick for better handling.
- Thread, needle.
- Elastic.
- Scissors.
Paso a Paso Step by step.
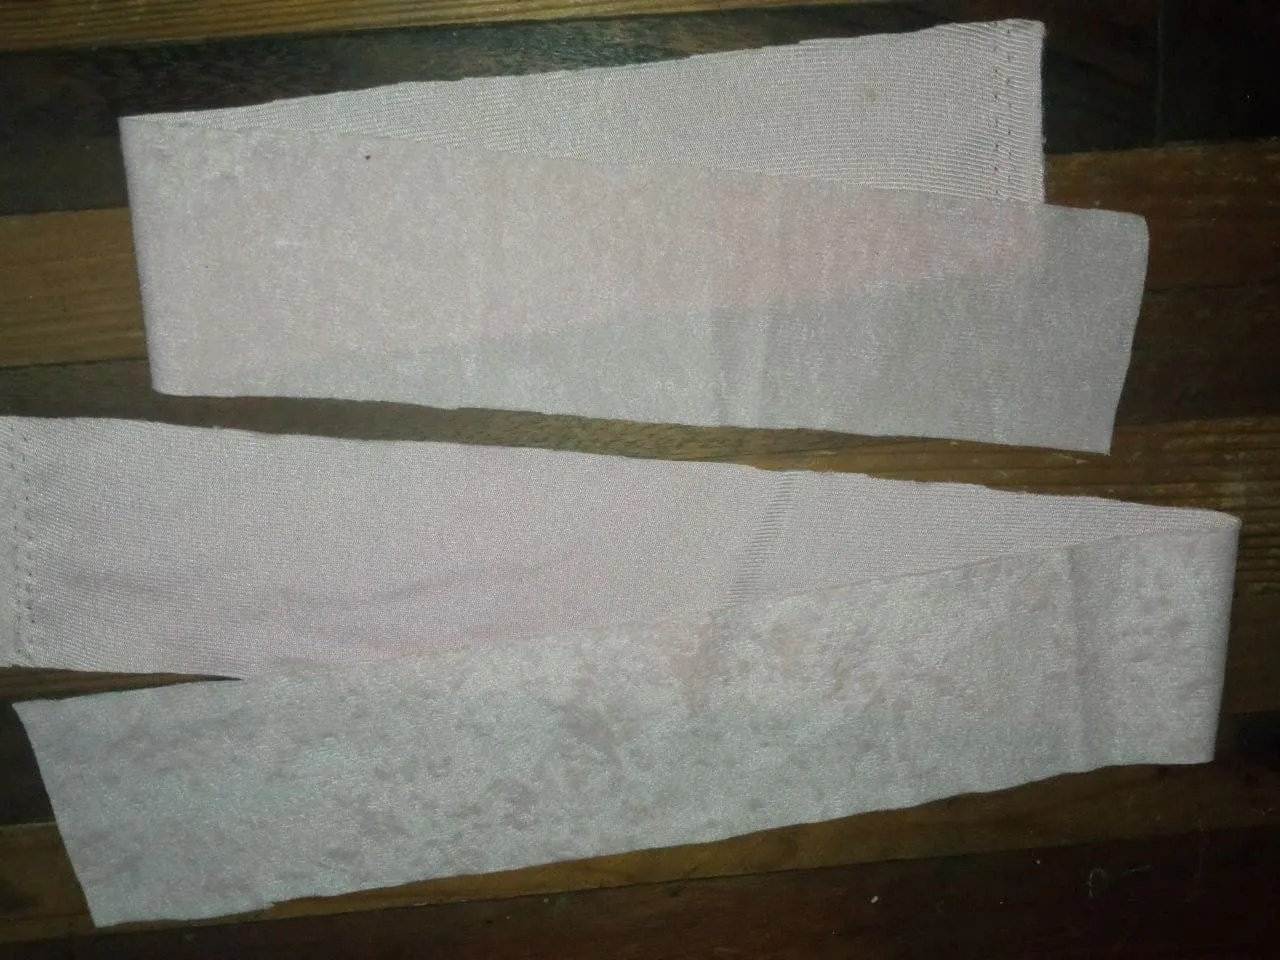
1.- Cortamos dos tiras una de 6x50 cm, esta será para la coleta y otra tira de 7x70cm esta será para la flor.
1.- We cut two strips, one of 6x50 cm, this will be for the ponytail and another strip of 7x70cm this will be for the flower.
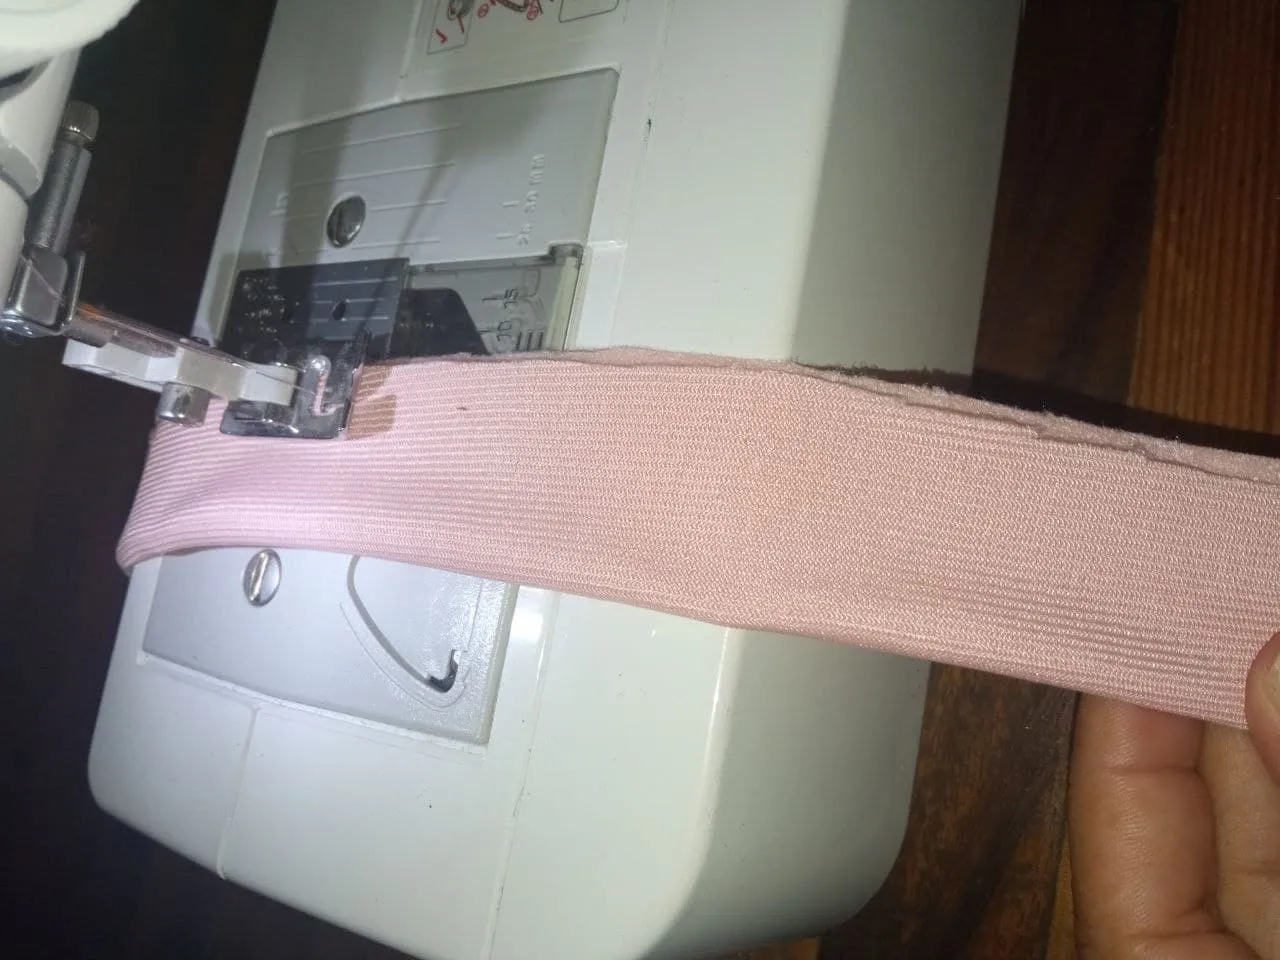
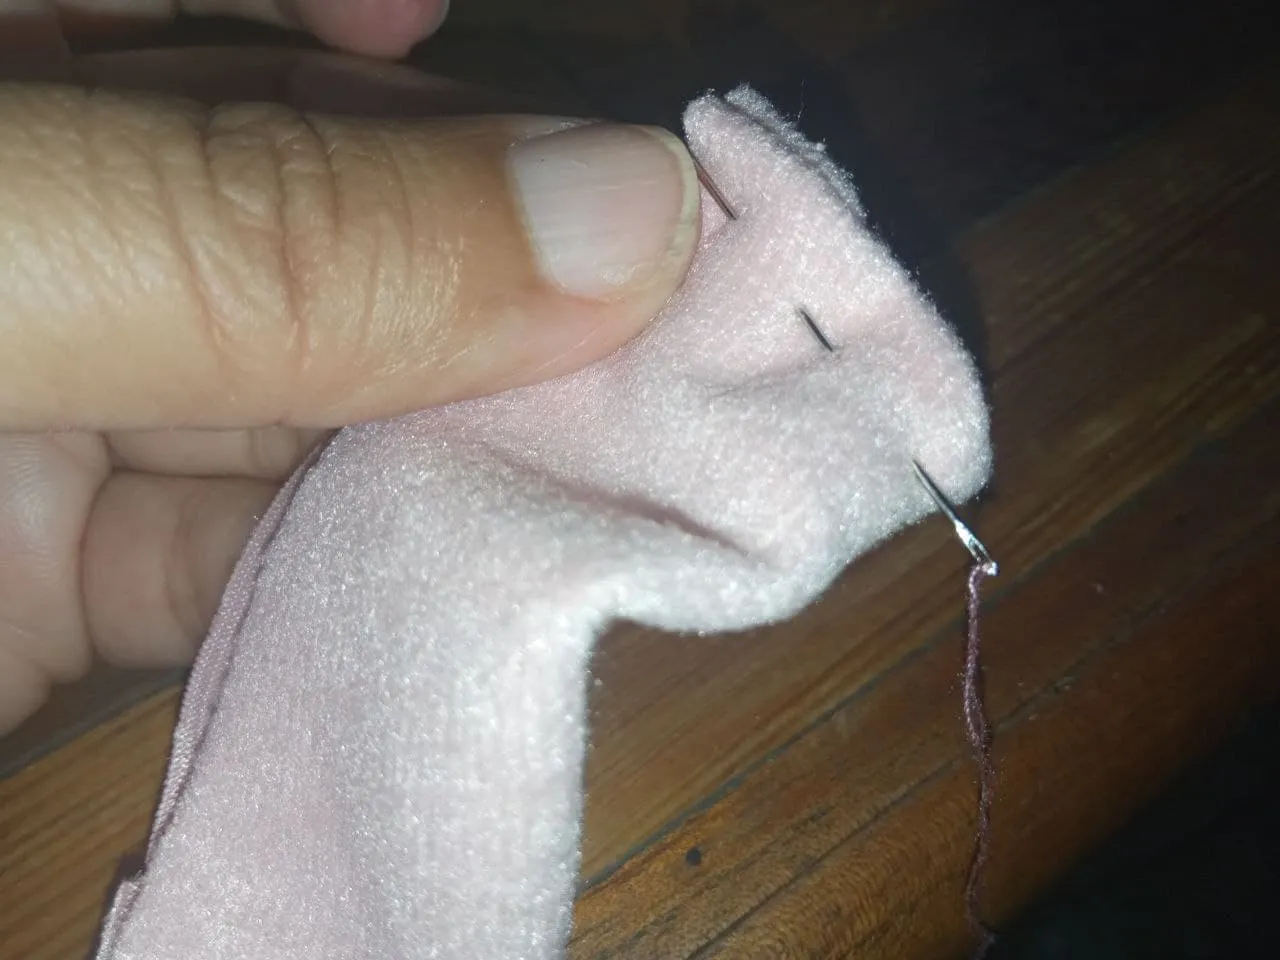
2.- Cosemos la tira de la coleta en toda su extensión por el lado revés y luego la voltearemos al lado derecho. Al coser debemos dejar un espacio sin costura lo dejaremos a unos 3,5 cm de uno de los extremos de la tira.
2.- We sew the strip of the ponytail in all its extension on the back side and then we will turn it to the right side. When sewing we must leave a seamless space about 3.5 cm from one of the ends of the strip.

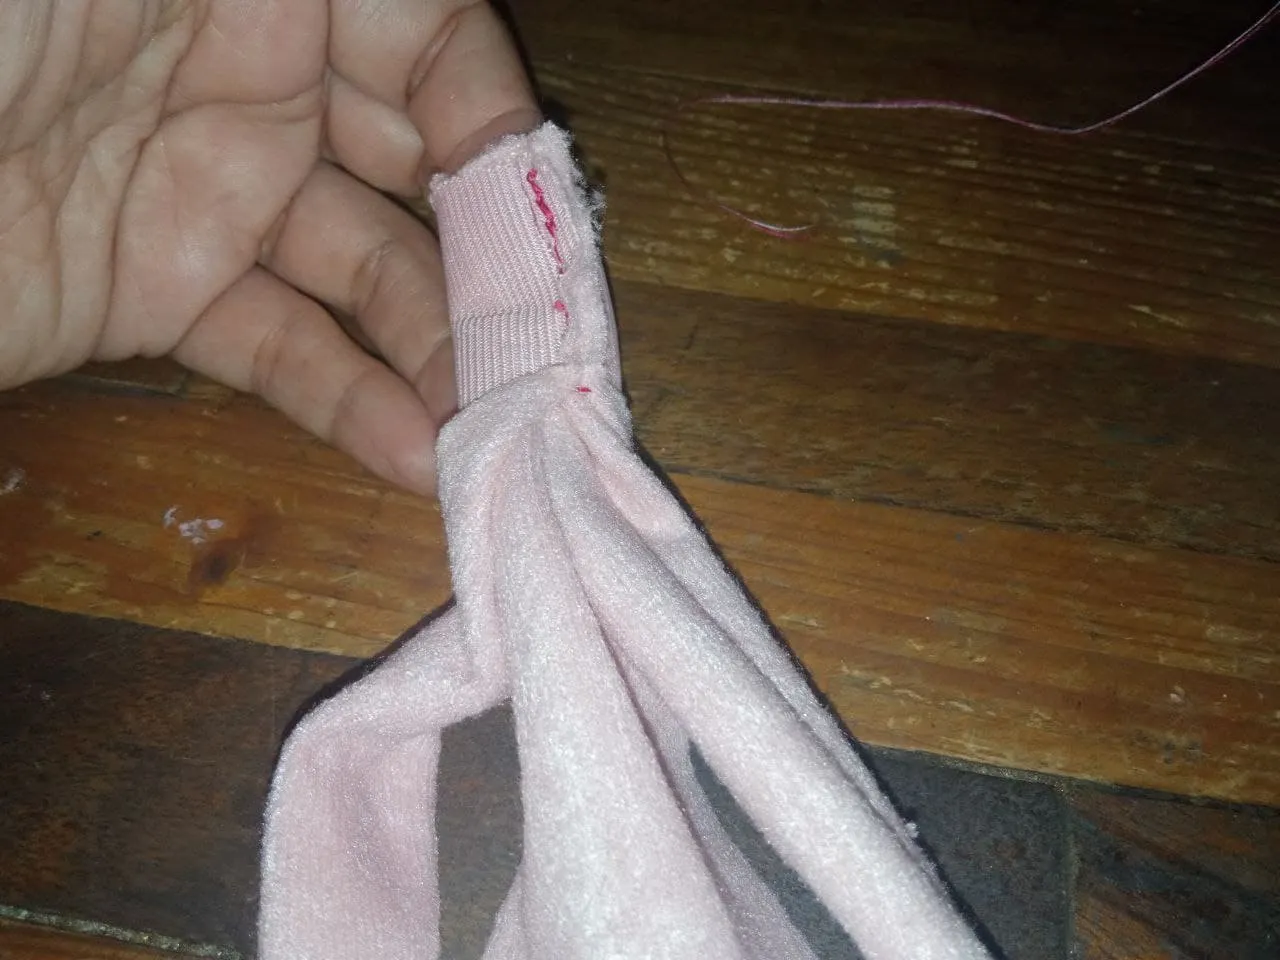
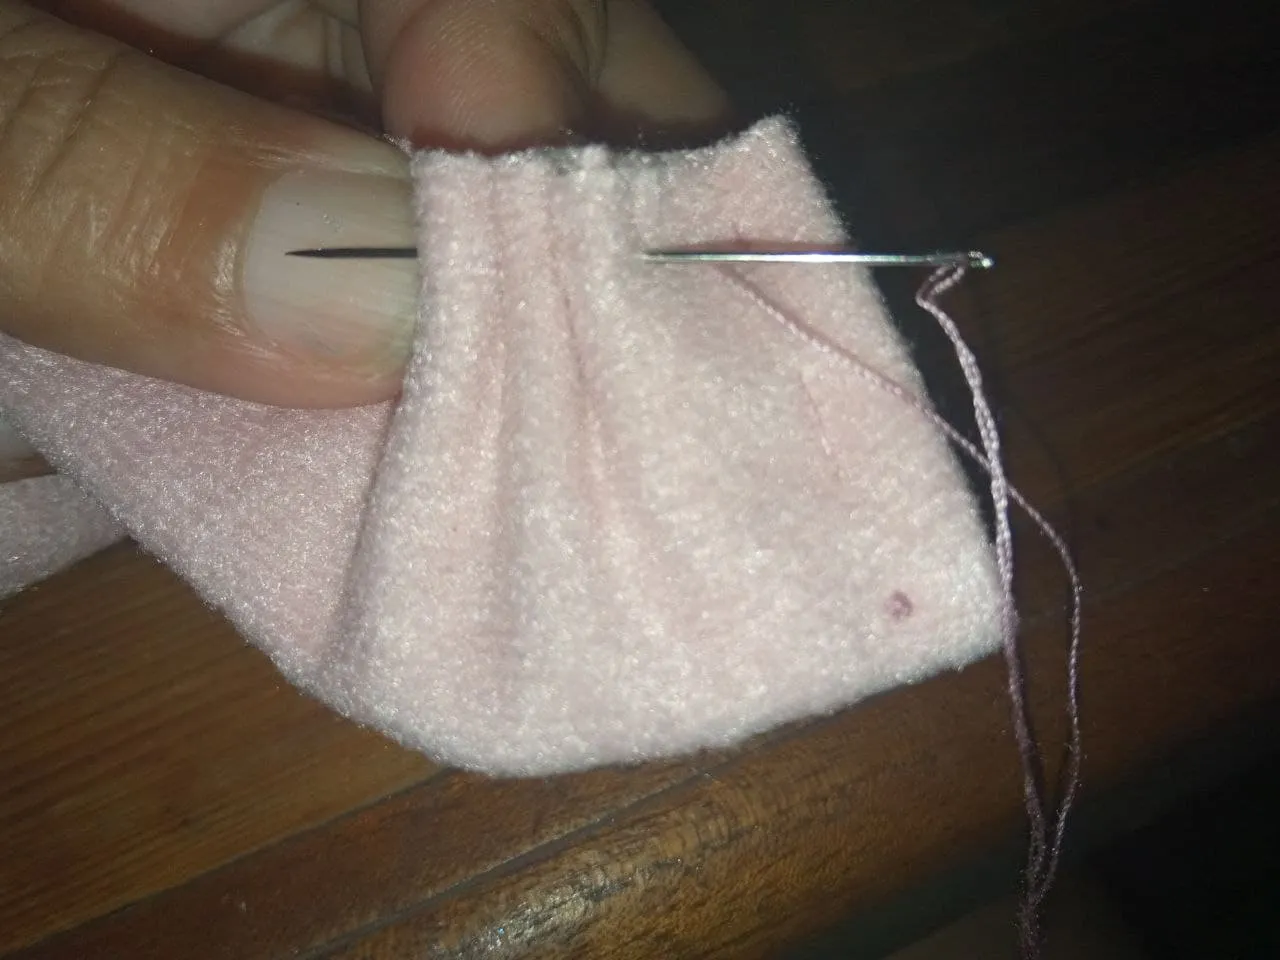
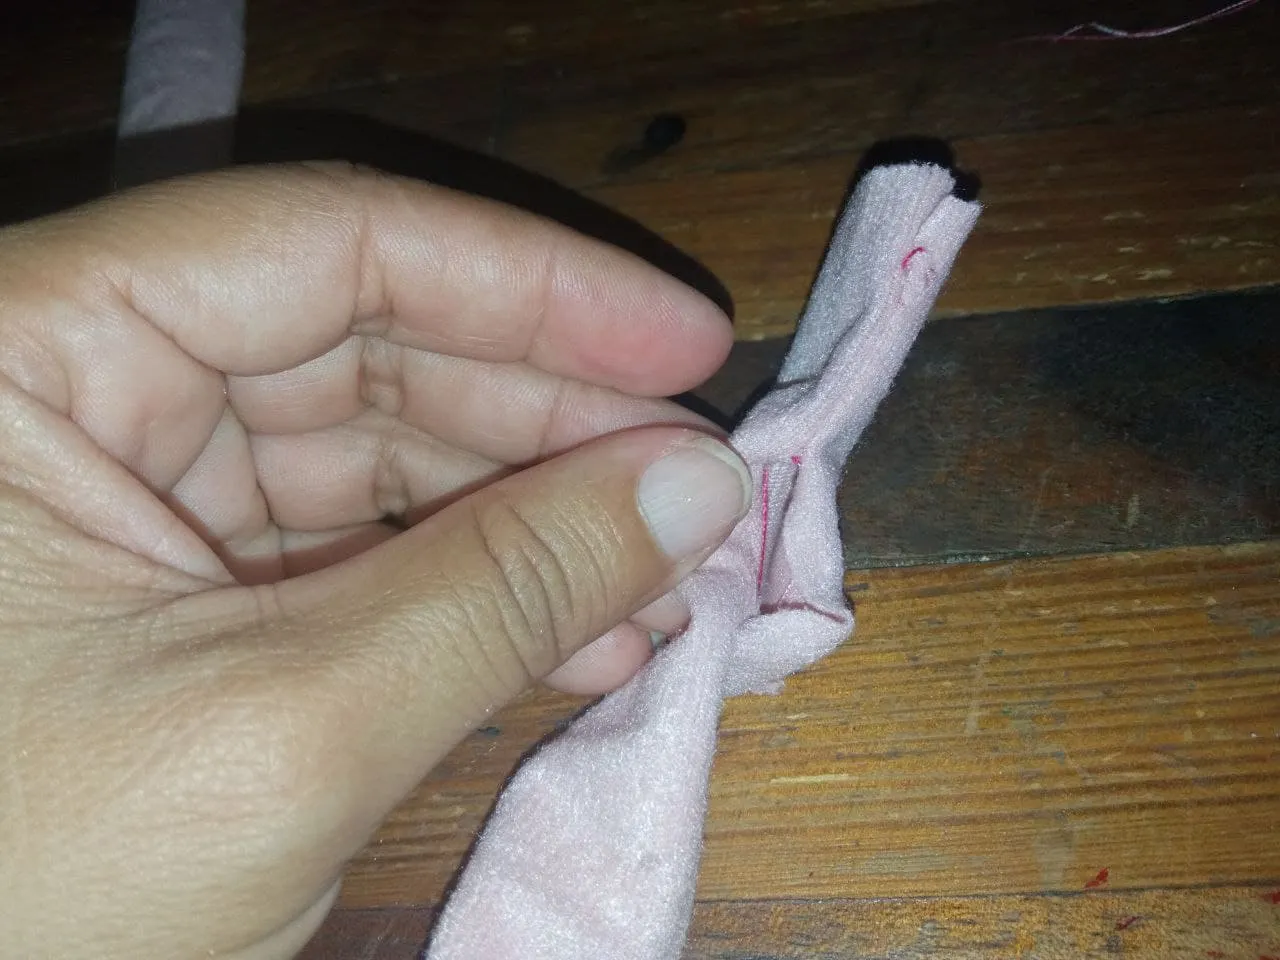
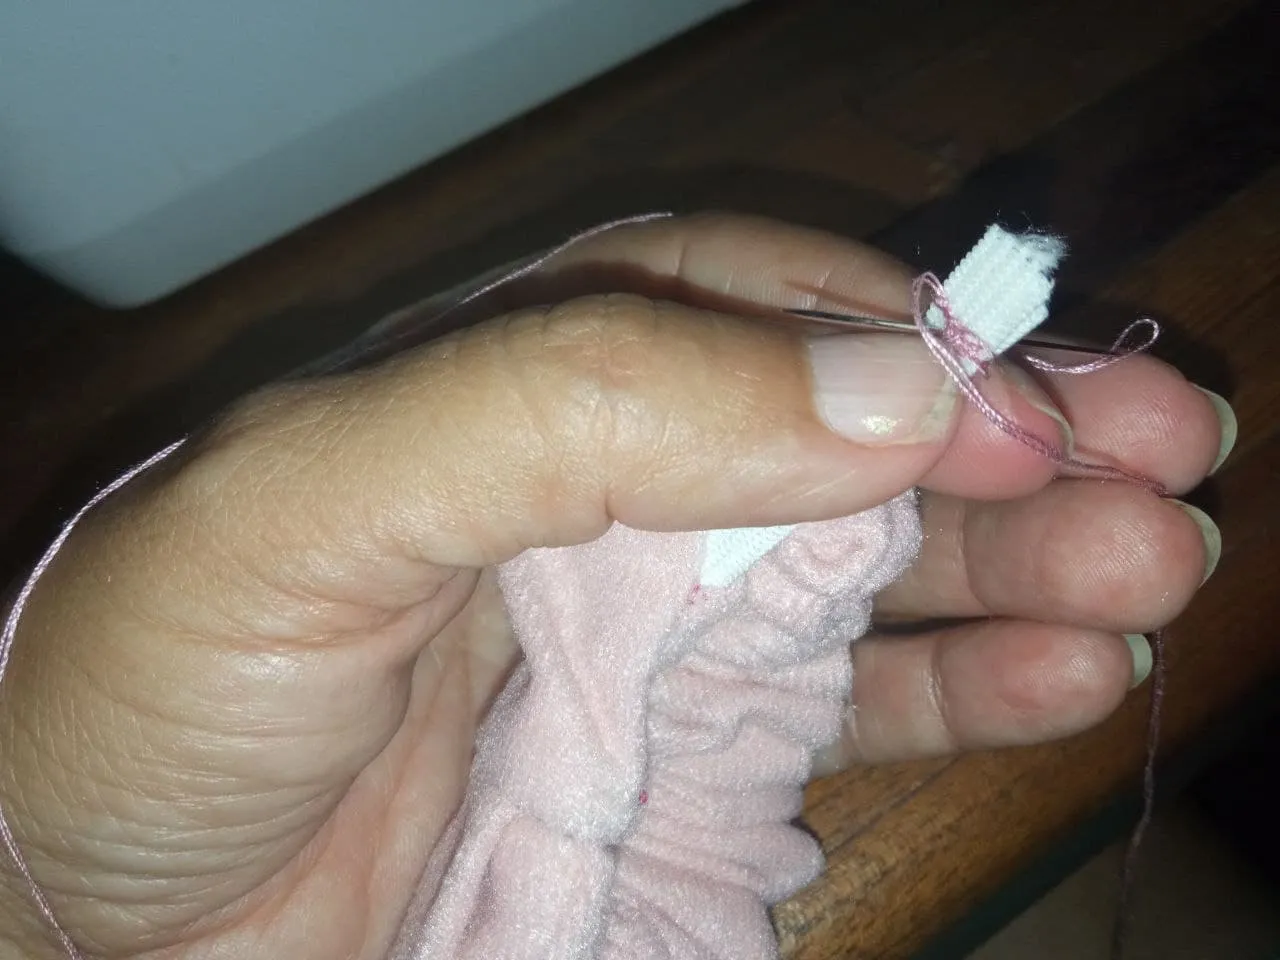
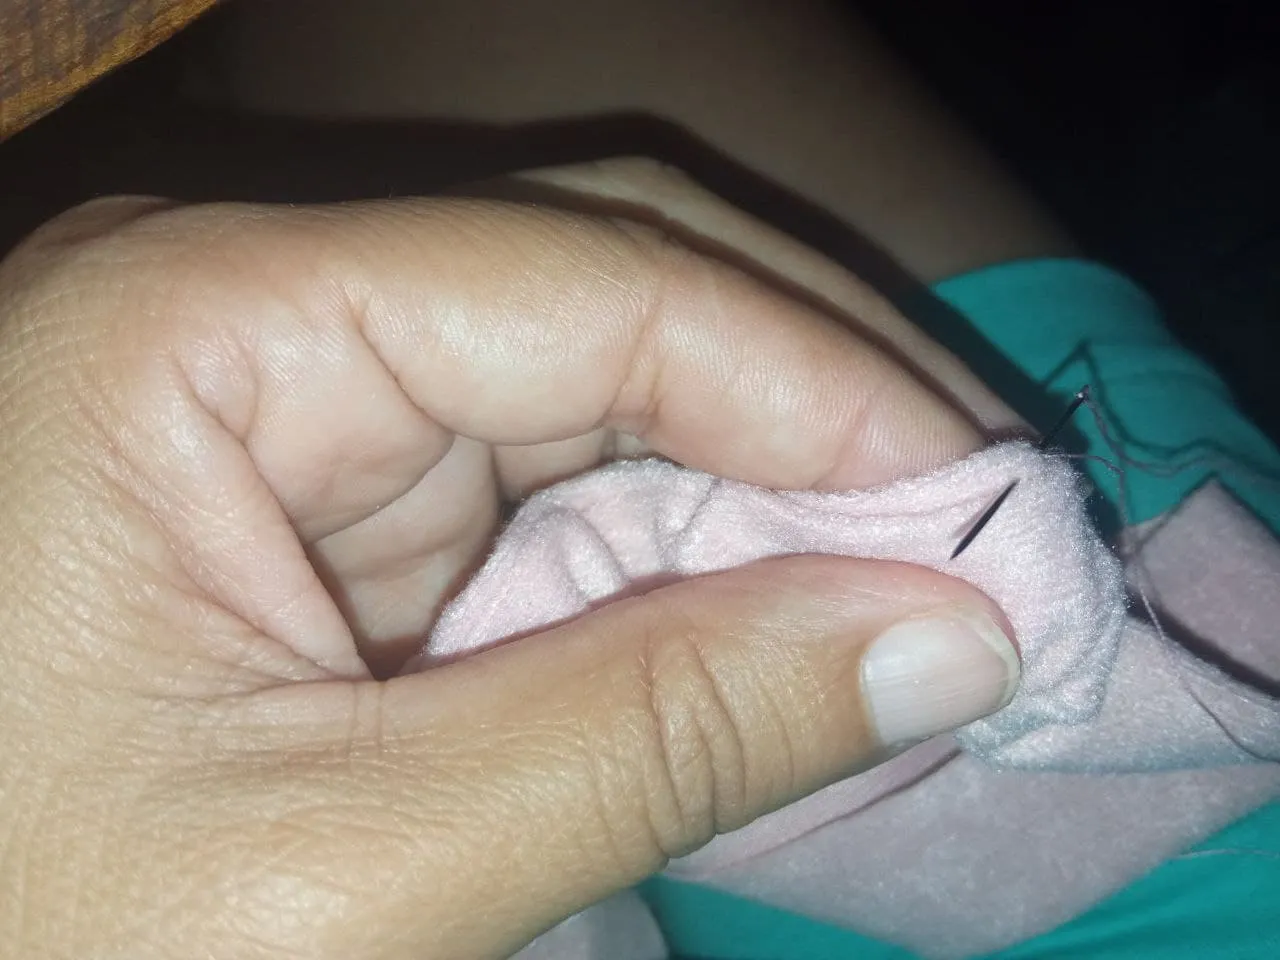
3.- El extremo de la tira, más cercano al espacio que dejamos sin coser, lo vamos a sacar nuevamente por el espacio sin costura, quedando este en su lado revés.
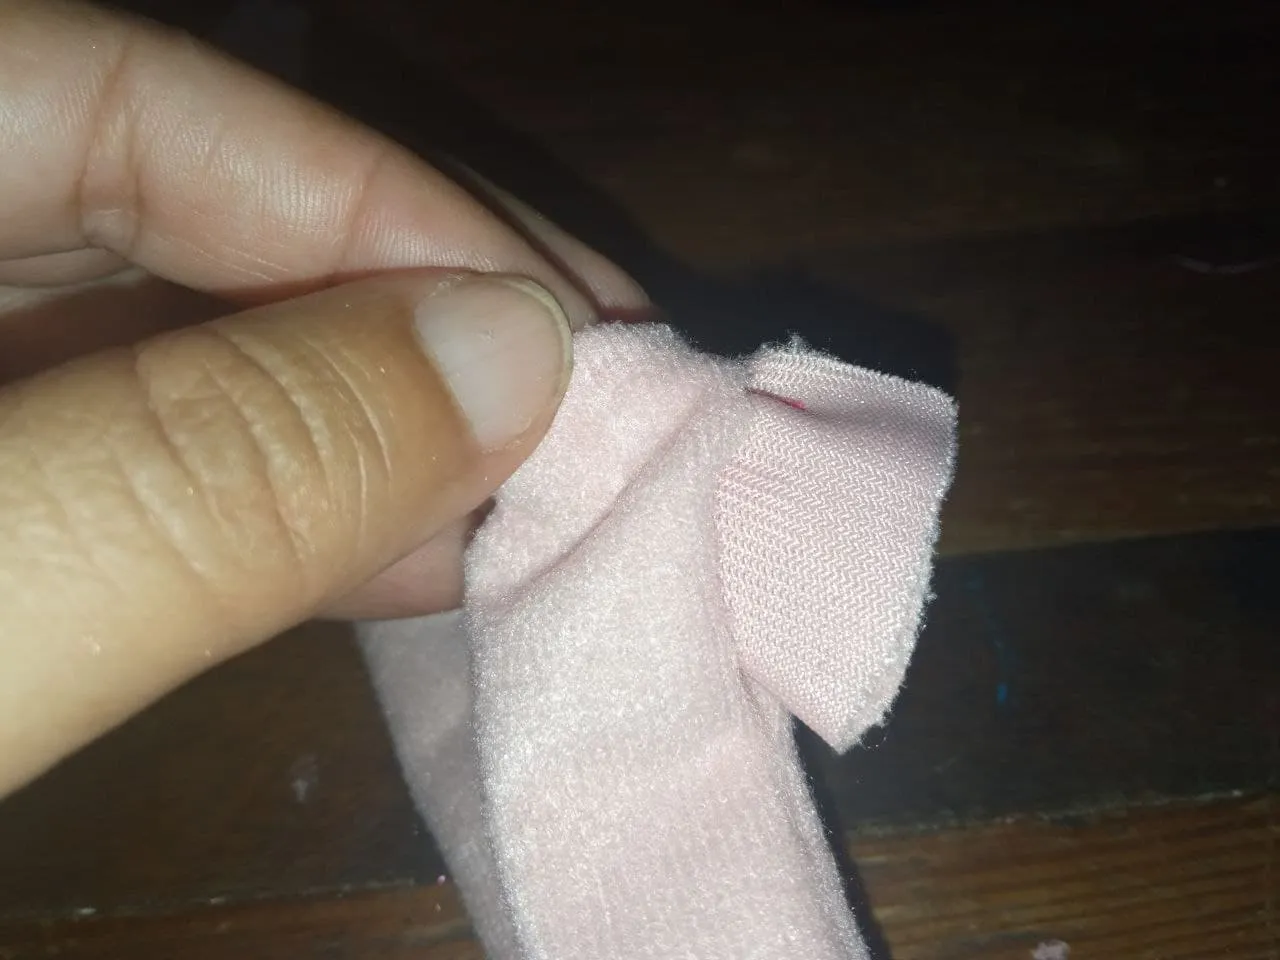
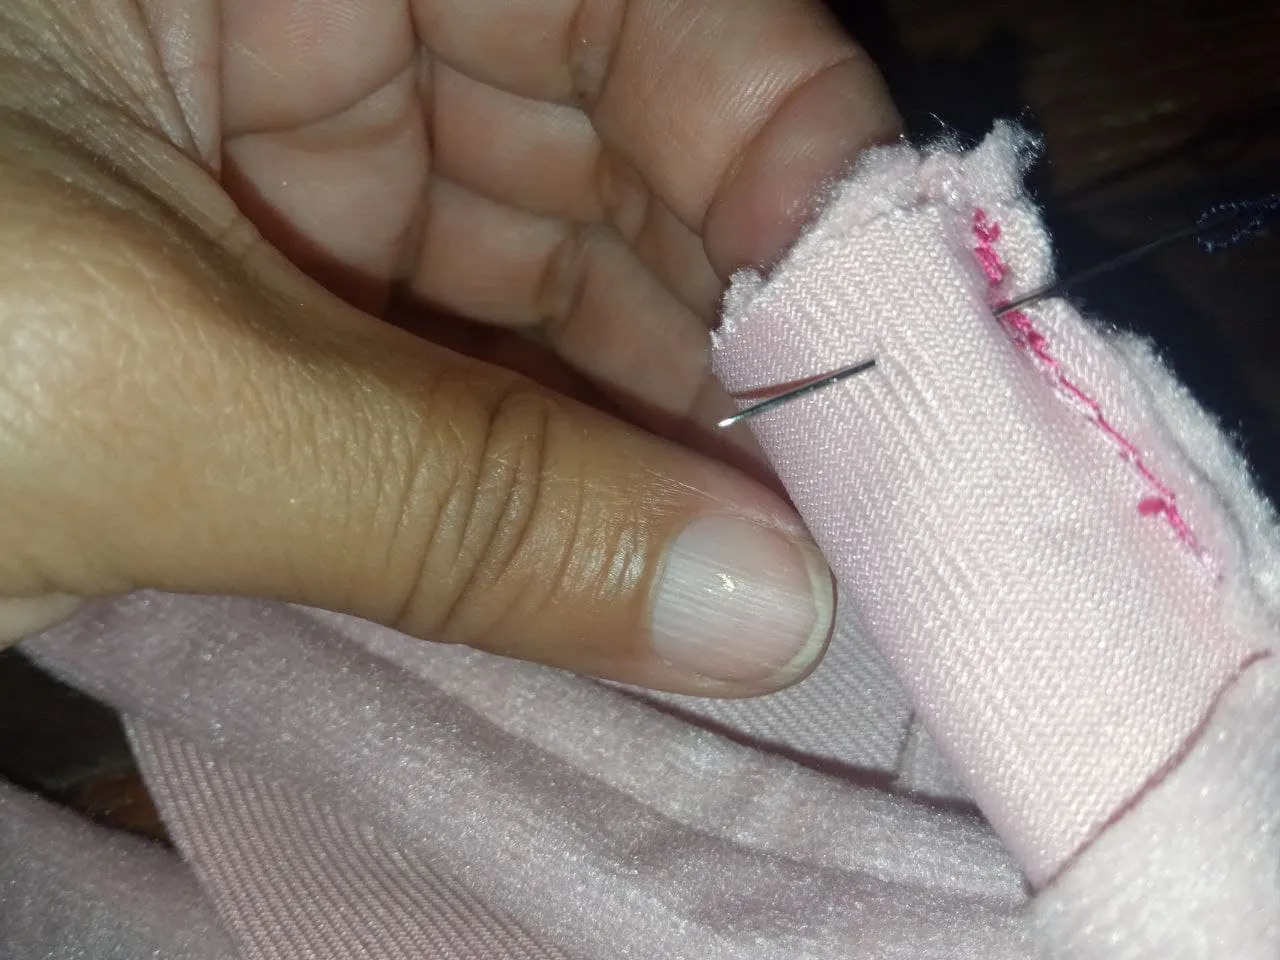
Luego vamos a doblar la tira que usaremos para la flor y la vamos a introducir por el espacio sin costura hacia el canal pequeño que acabamos de sacar, también vamos a introducir el otro extremo de la tira de la coleta y pasaremos costura a mano.
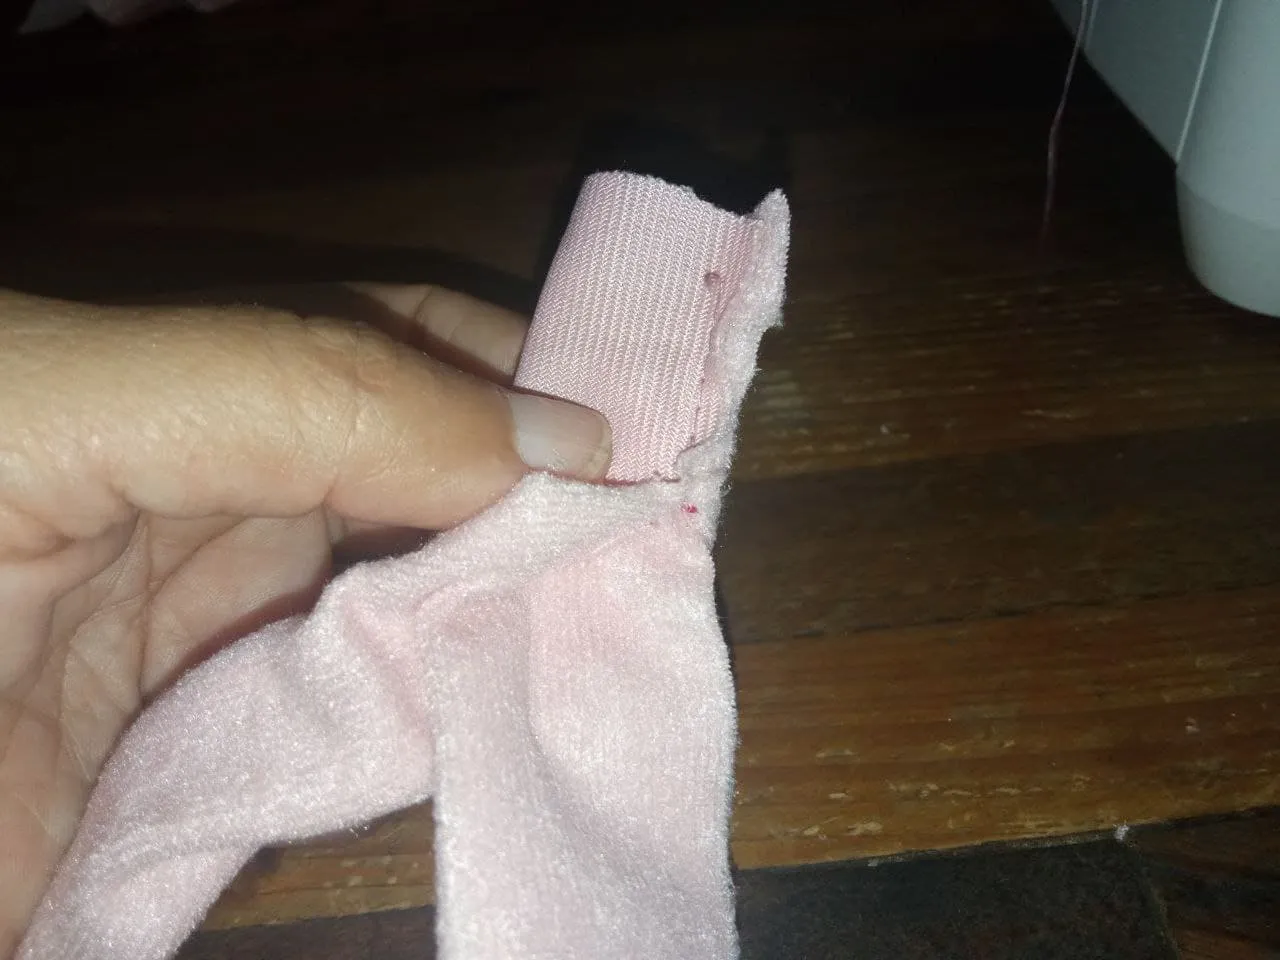
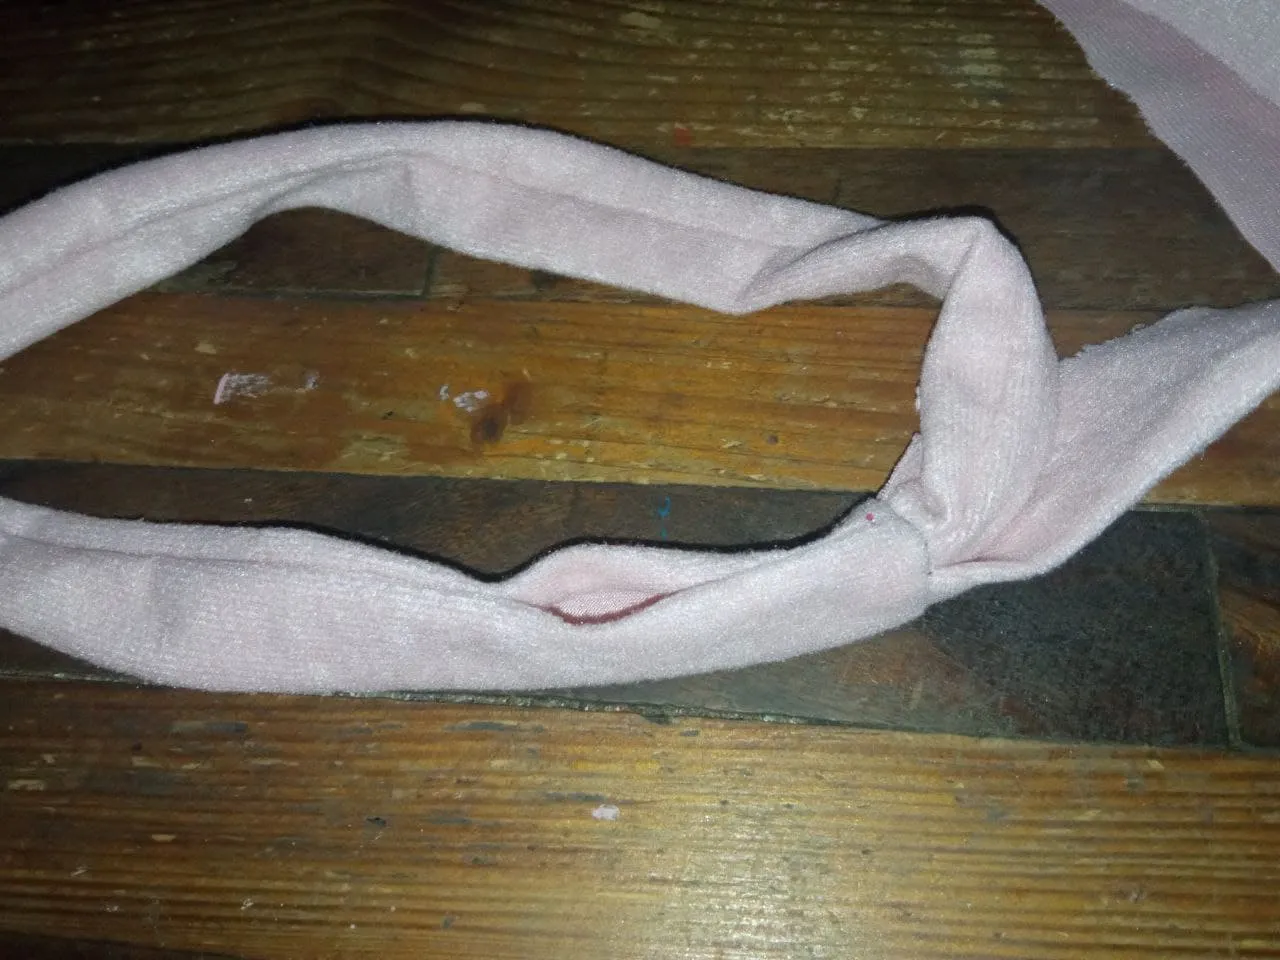
Volteamos y nos quedará la coleta totalmente unida formando un círculo, y la tira para la flor unida a la misma, con todas sus costuras ocultas.
Este paso me dio su trabajo para entenderlo y luego para realizarlo de modo que las piezas quedaran correctamente y no equivocarme, porque te das cuenta si te equivocas después de pasar costura y eso me frustra. pero lo hice bien, lo analicé mucho y me resultó.
2.- We sew the strip of the ponytail in all its extension on the back side and then we will turn it to the right side. When sewing we must leave a seamless space about 3.5 cm from one of the ends of the strip.
3.- The end of the strip, closer to the space we left without sewing, we are going to take it out again through the seamless space, leaving it on the wrong side.
Then we are going to fold the strip that we will use for the flower and we are going to introduce it through the space without stitching towards the small channel that we have just taken out, we are also going to introduce the other end of the strip of the pigtail and we will sew it by hand.
We flip it over and we will have the ponytail totally joined forming a circle, and the strip for the flower joined to it, with all its seams hidden.
This step took me a lot of work to understand and then to do it in such a way that the pieces would fit correctly and not make a mistake, because you realize if you make a mistake after sewing and that frustrates me, but I did it well, I analyzed it a lot and it worked out.
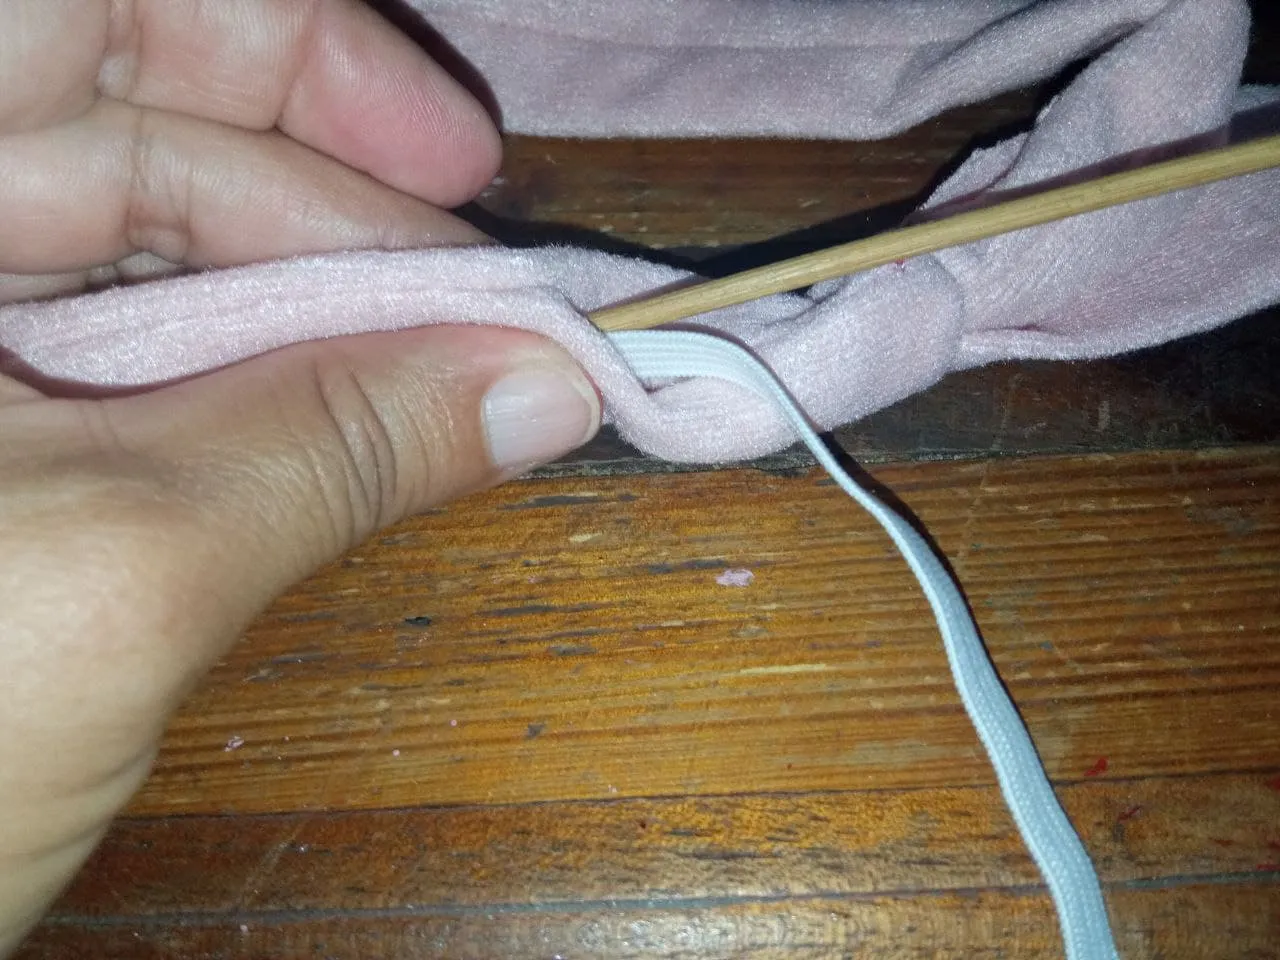
4.- Colocamos el elástico con ayuda de un gancho y luego cerramos el espacio por donde se introdujo.
4.- We place the elastic with the help of a hook and then close the space where it was introduced.
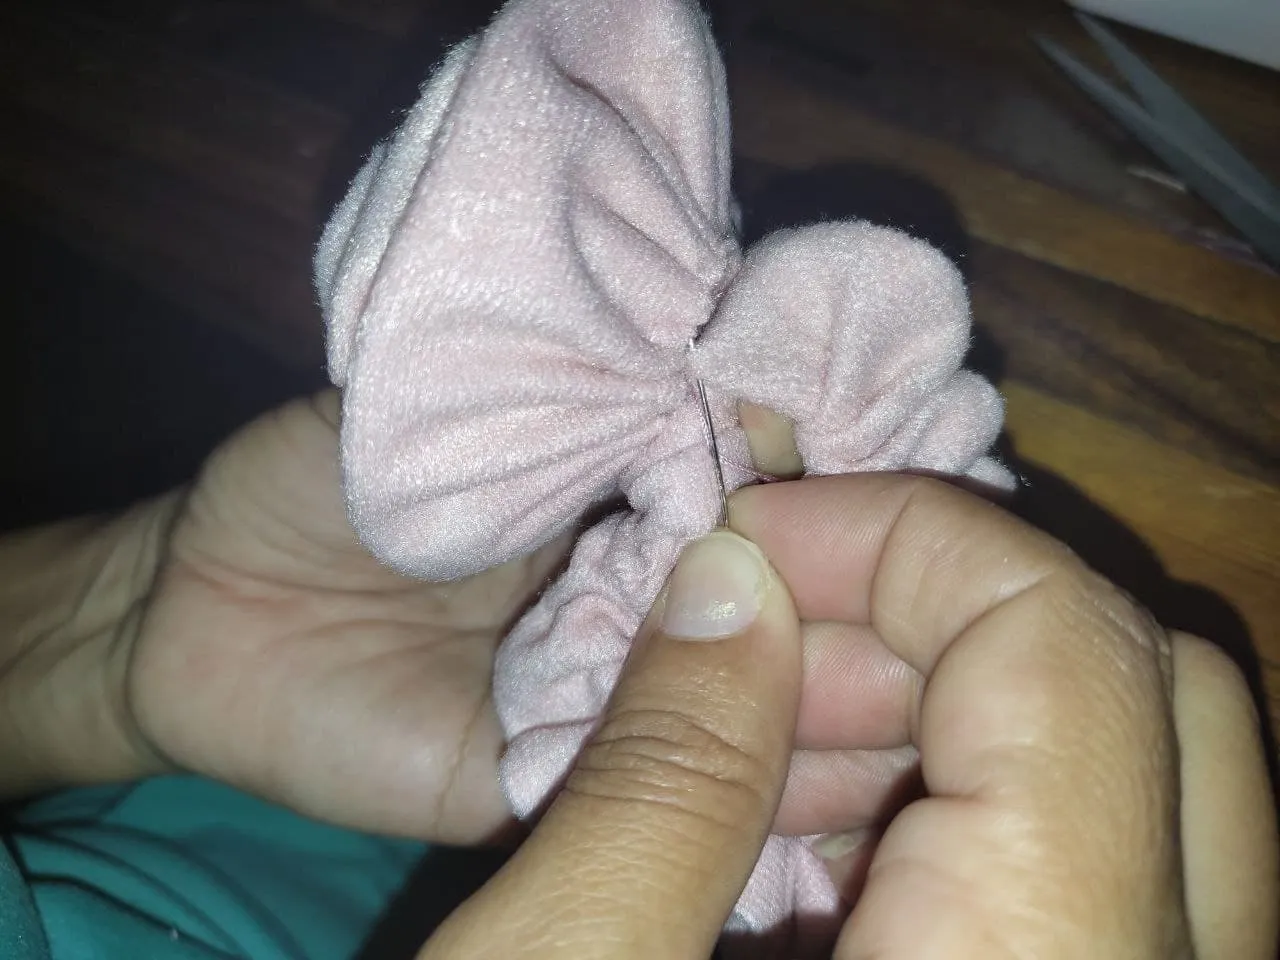
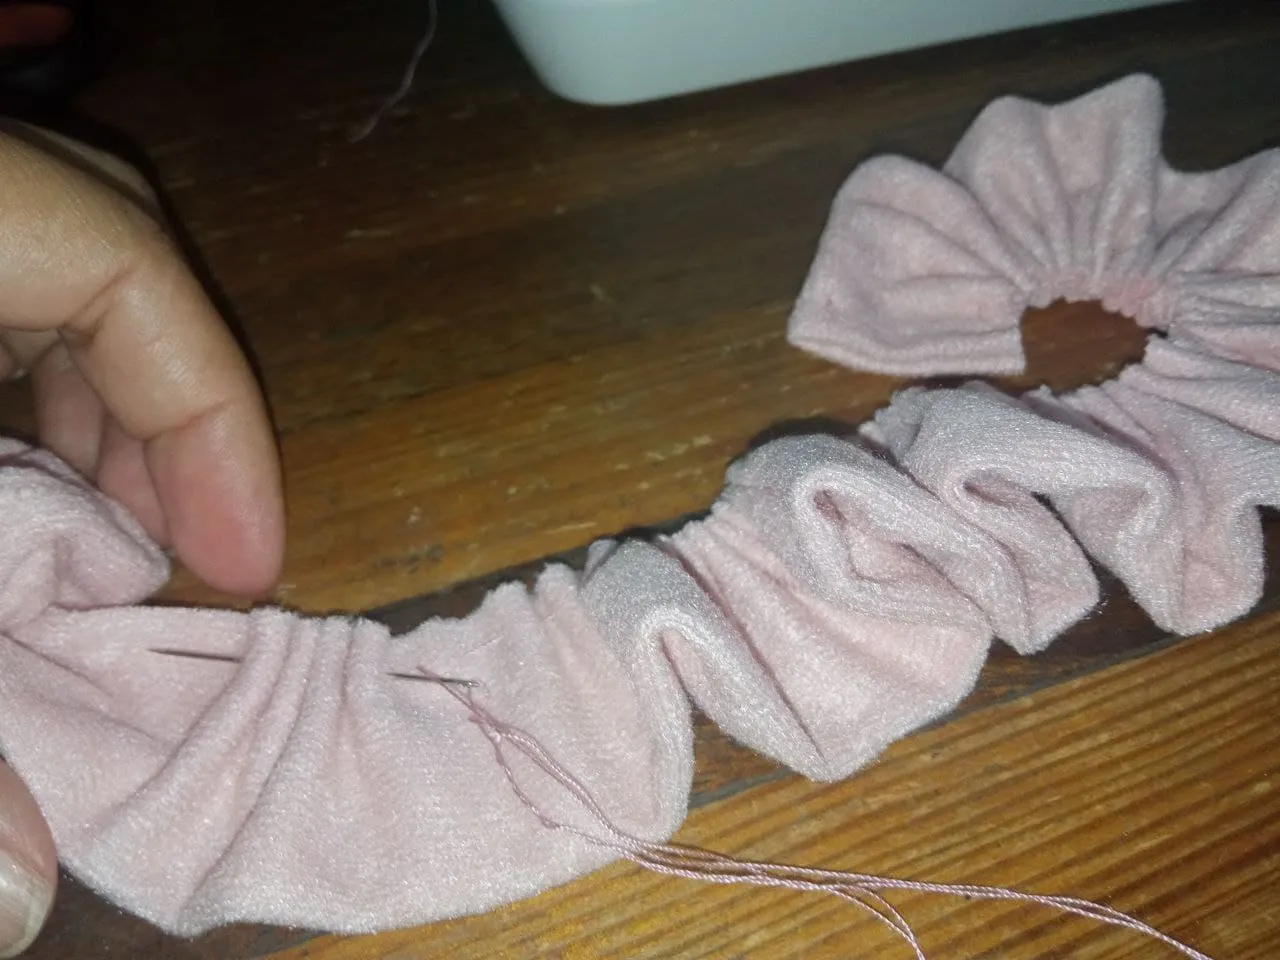
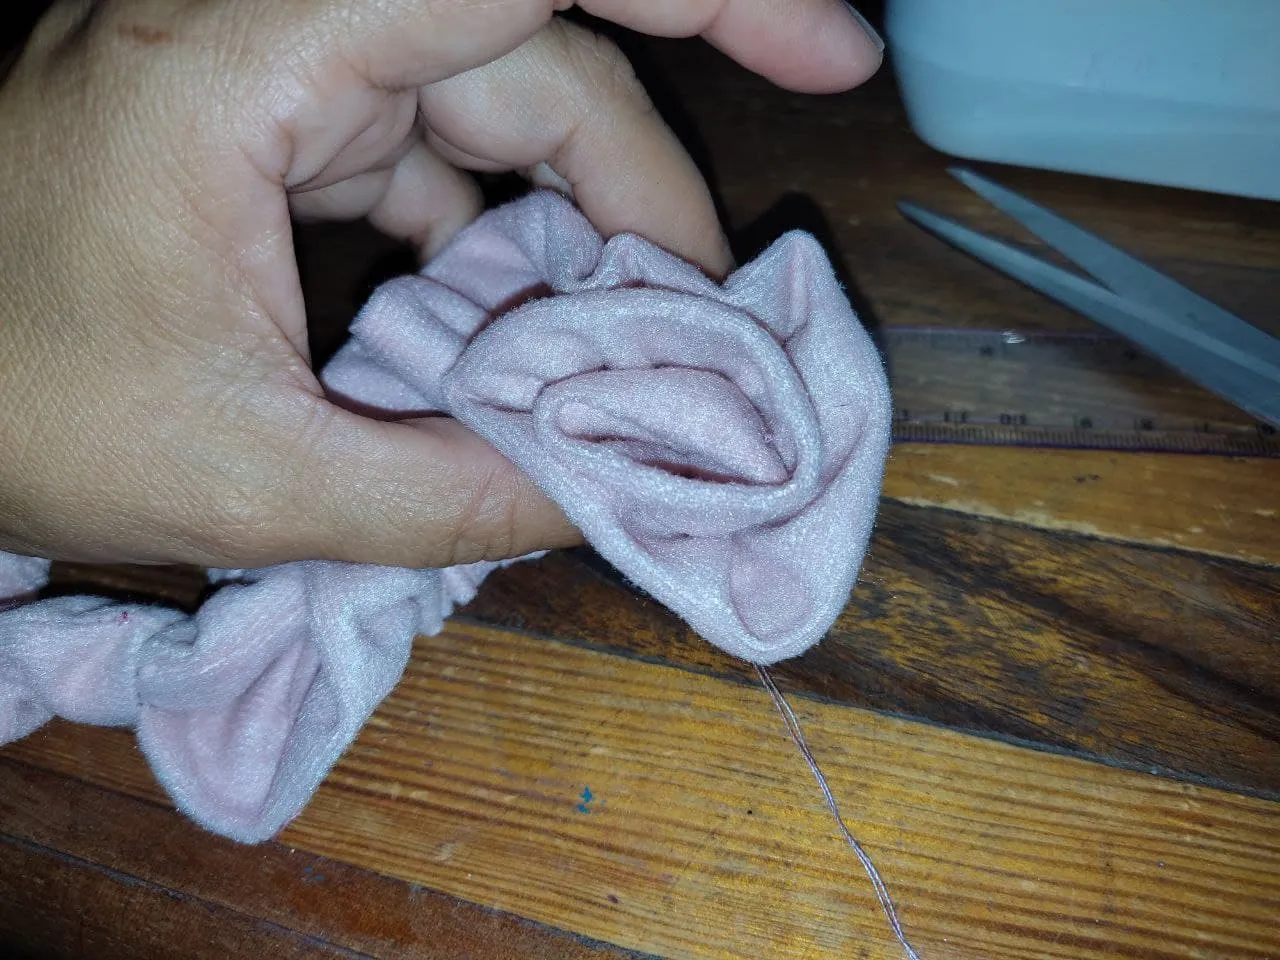
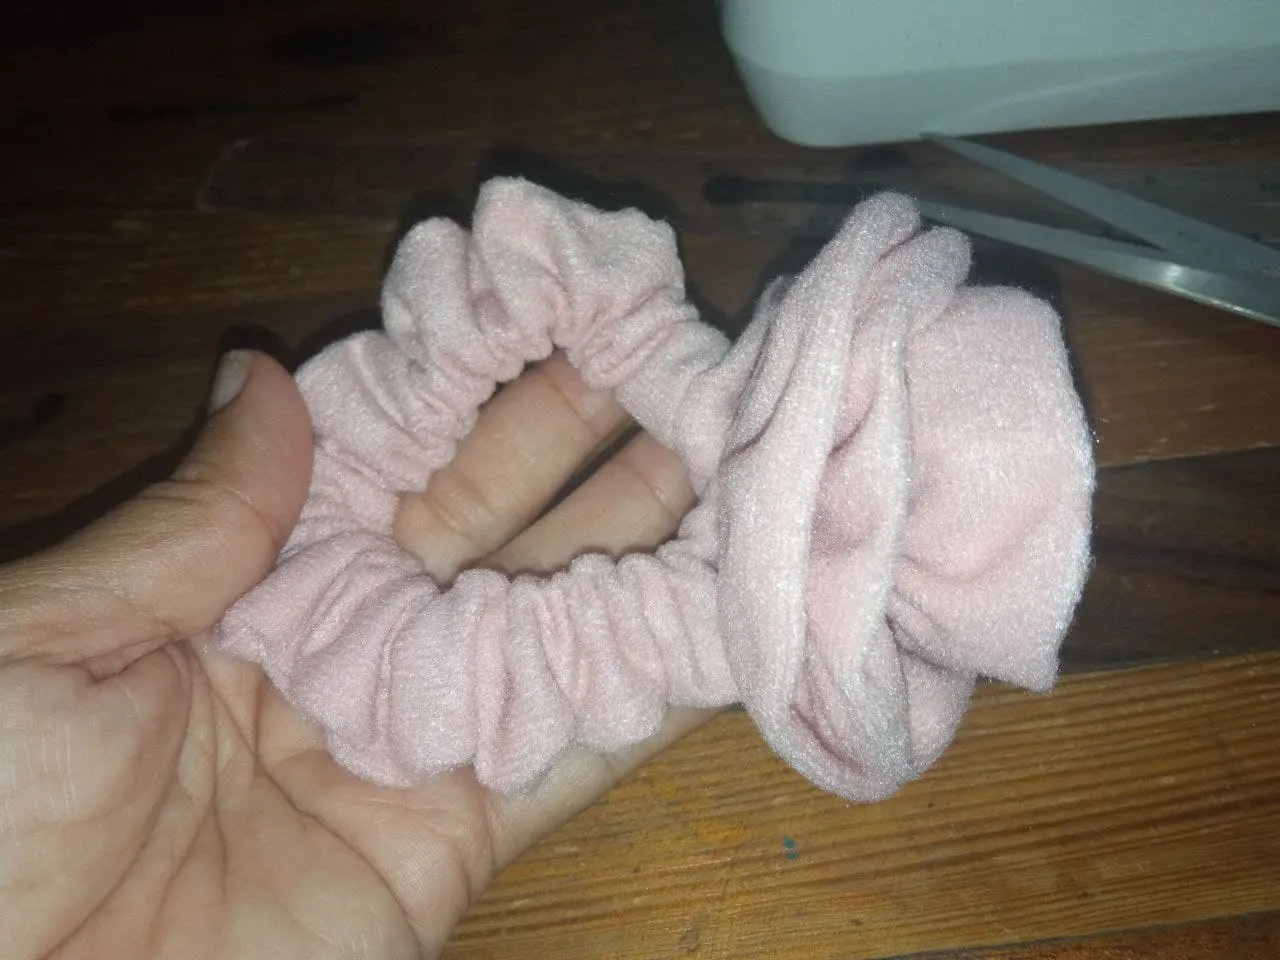
5.- Ahora pasamos a formar la flor. Para ello tomamos el extremo de la tira, hacemos un doblez y comenzamos a pasar costura, en toda su extensión, vamos halando el hilo para arruchar la tira hasta llegar al final y cerramos costura. Luego volvemos a comenzar en el extremo del ruche que nos quedó y vamos enrollando y fijando con puntos de costura hasta enrollar todo y ya tenemos la flor armada. Fijamos luego a la coleta.
En el video usaban pegamento, pero como prefiero usar puntos de costura porque siento que con las lavadas el pegamento puede ceder y arruinarse la flor.
5.- Now we move on to form the flower. To do this we take the end of the strip, make a fold and begin to pass seam, along its entire length, we pull the thread to gather the strip until we reach the end and close the seam. Then we start again at the end of the ruche that we have left and we roll it up and fix it with stitches until the whole thing is rolled up and we have the assembled flower. Then we attach it to the ponytail.
In the video they used glue, but I prefer to use stitches because I feel that with the washing the glue can yield and ruin the flower.
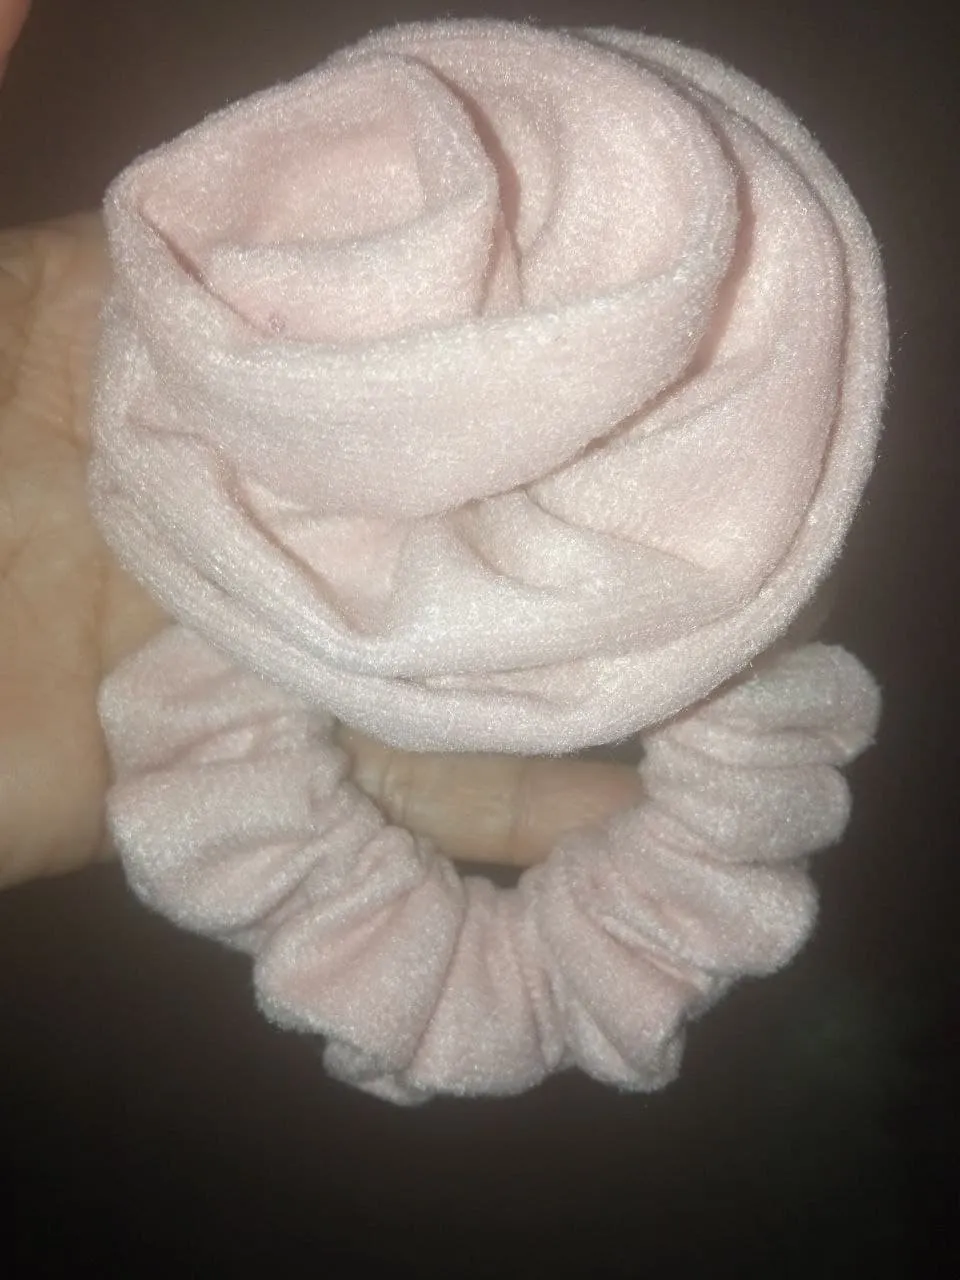
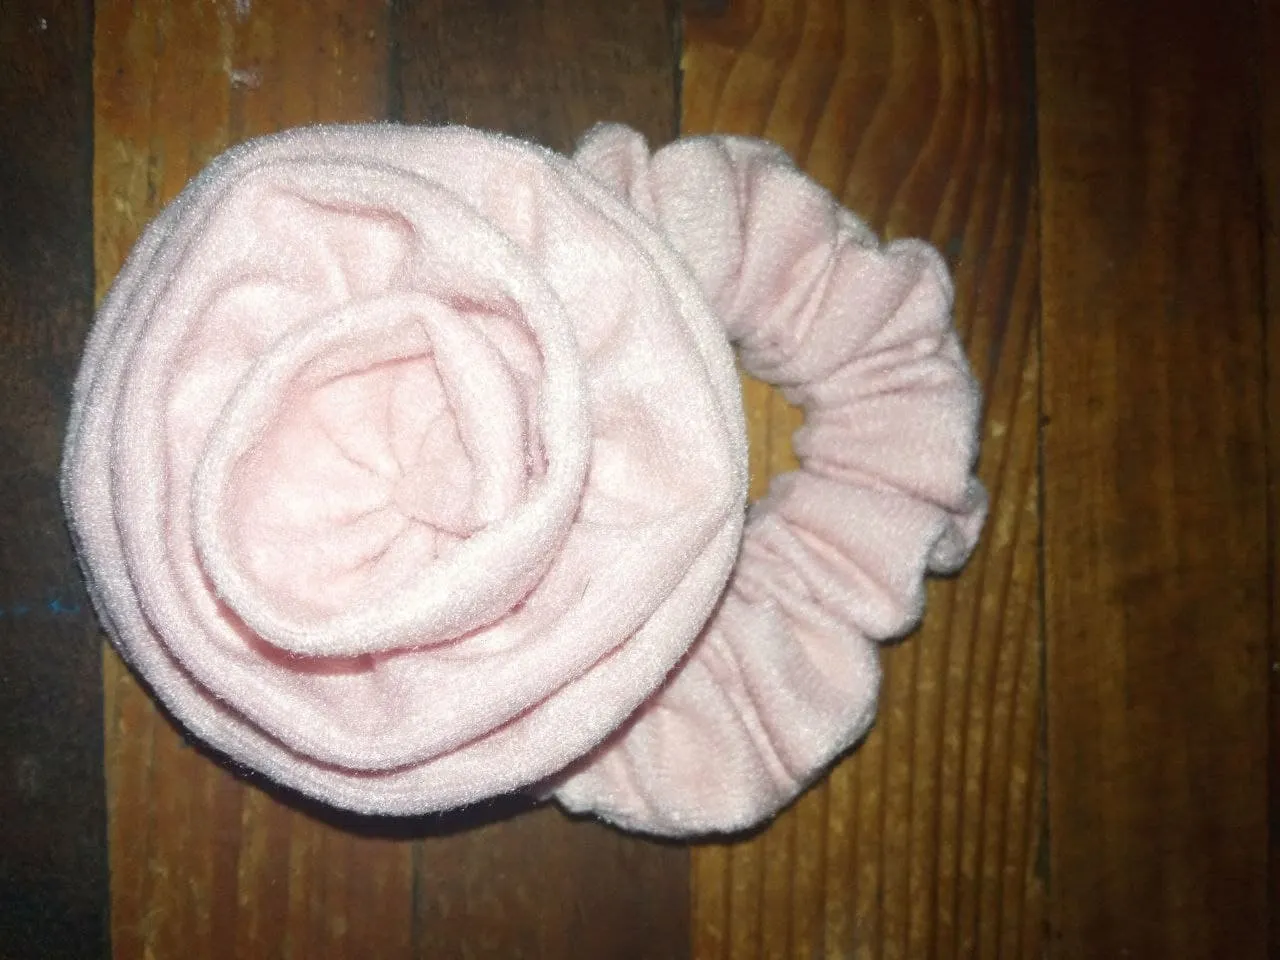
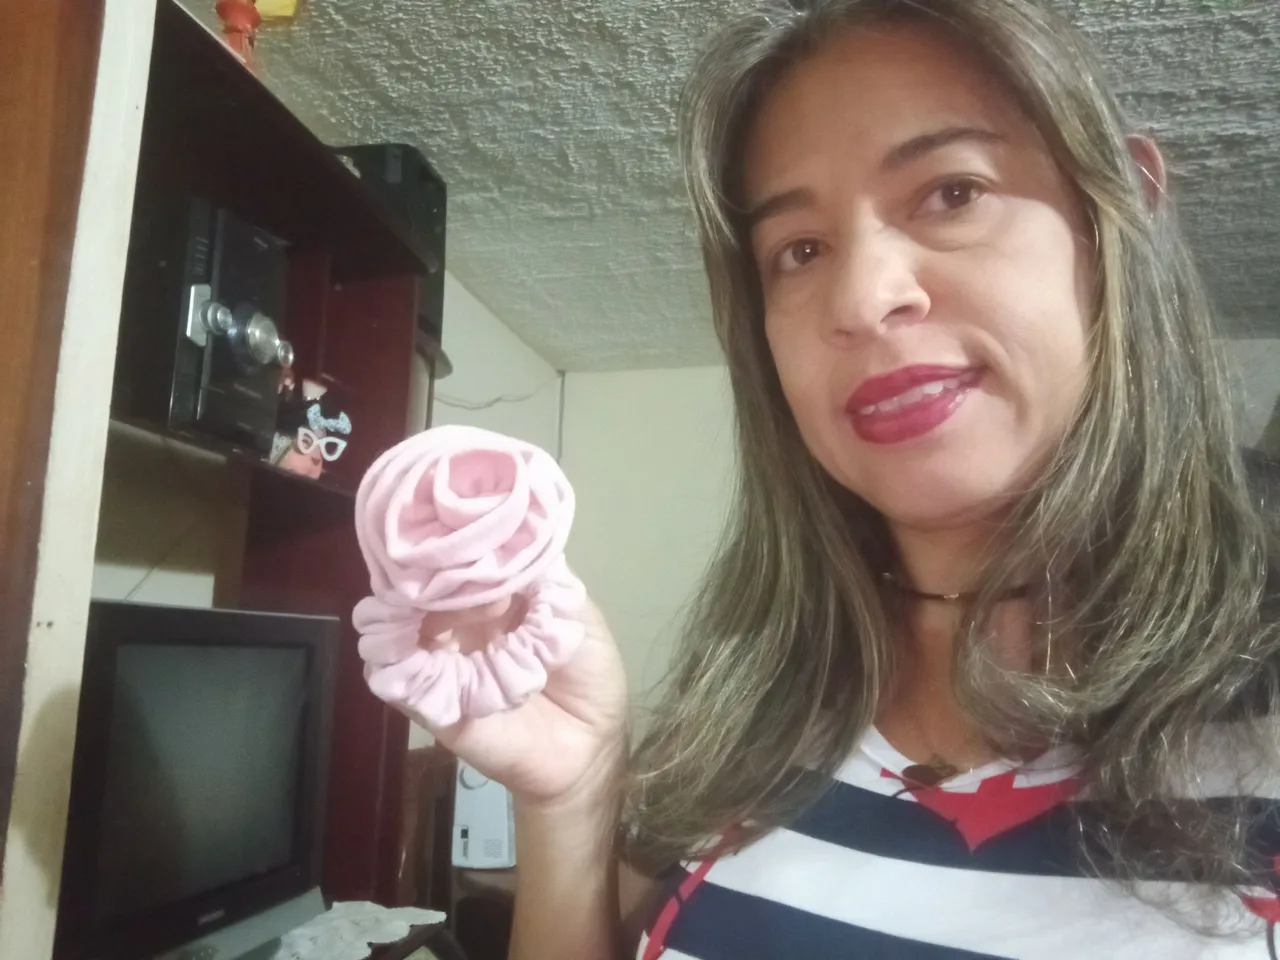
Así finalizamos para obtener un nuevo modelo de scrunchies para nuestra colección. Una muy elegante y preciosa para lucir en nuestro cabello y vernos más lindas.
So we finished to get a new model of scrunchies for our collection. A very elegant and beautiful one to wear in our hair and look prettier.
Espero que entiendan el tutorial y estamos a la orden para cualquier inquietud o duda respecto al proceso de confección. Anímense a hacerla y estoy segura que querrán tener como yo de varios colores y estampados que también quedan muy lindas. Saludos y feliz fin de semana.
I hope you understand the tutorial and we are at your disposal for any questions or doubts regarding the process of making it. I'm sure you will want to make it and I'm sure you will want to have as I do in various colors and patterns that are also very nice. Greetings and happy weekend.