🌸Hola Comunidad HIVE🌸
Hello HIVE Community
Particularmente me gusta mucho trabajar con telas y ayer revisando me encontré con un modelo de coleta o scrunchies que me gustó mucho porque tiene un proceso de elaboración un poco mas complejo a las tradicionales, por lo que es una nueva enseñanza que en algún momento nos puede servir para una ocasión especial como un obsequio, o simplemente formar parte de nuestro emprendimiento ya que llamará la atención por su variante respecto a las tradicionales.
De echo me gusta mucho hacer diferentes tipos de accesorios en tela para el cabello y esta en verdad es muy linda.
I particularly like working with fabrics and yesterday I came across a model of scrunchies that I really liked because it has a process of elaboration a little more complex than the traditional ones, so it is a new teaching that at some point we can use for a special occasion as a gift, or simply be part of our venture as it will draw attention for its variant from the traditional ones.
In fact I really like to make different types of fabric hair accessories and this one is really cute.
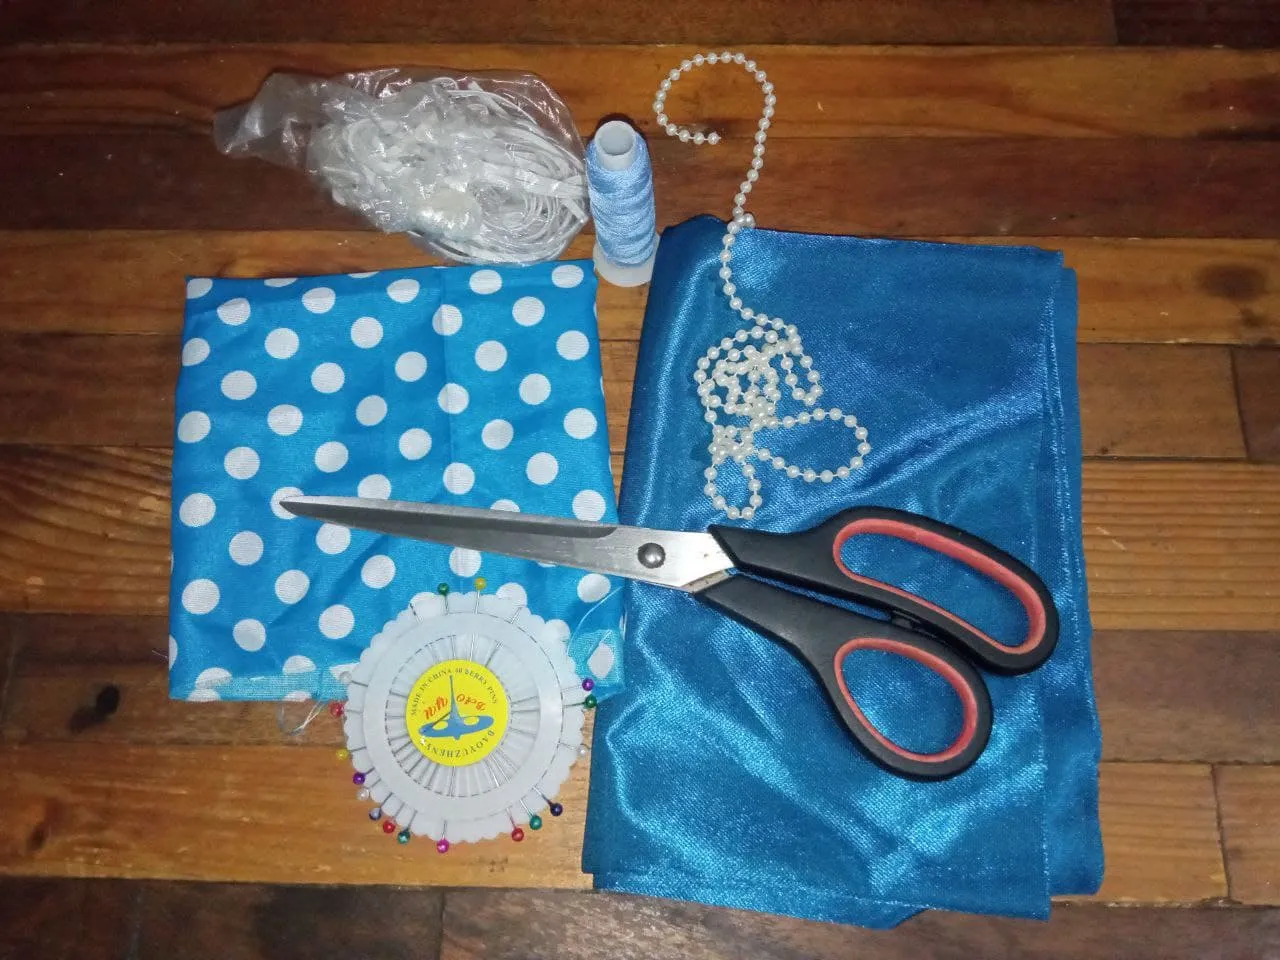
Los materiales utilizados son / The materials used are
- Tela estampada.
- Tela unicolor con tono brillante.
- Elástico.
- Tijera, hilo.
- Perlas para decorar.
- Printed fabric.
- Unicolor fabric with shiny tone.
- Elastic.
- Scissors, thread.
- Beads for decoration.
Paso a Paso : Step by step
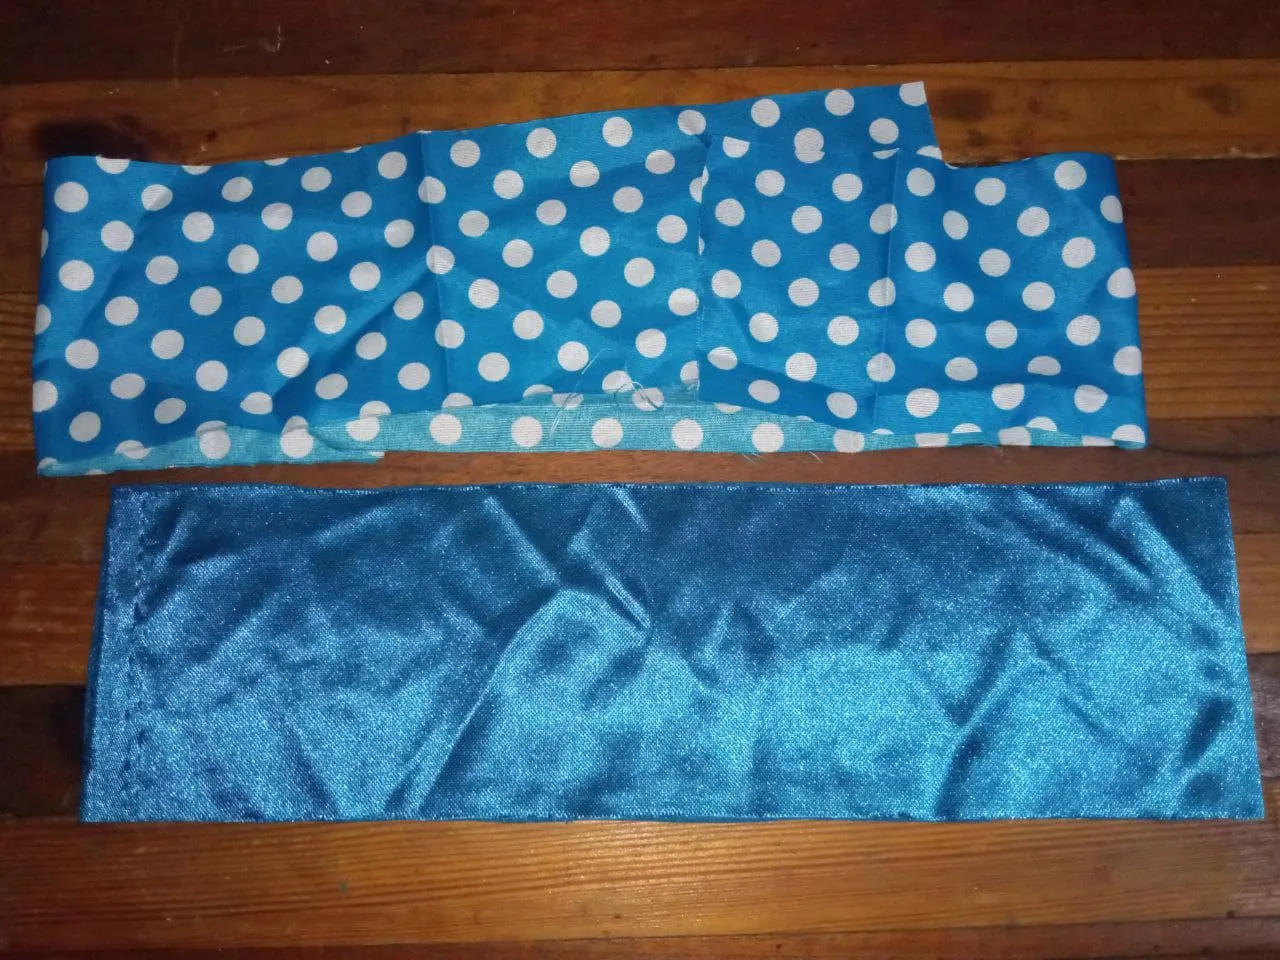
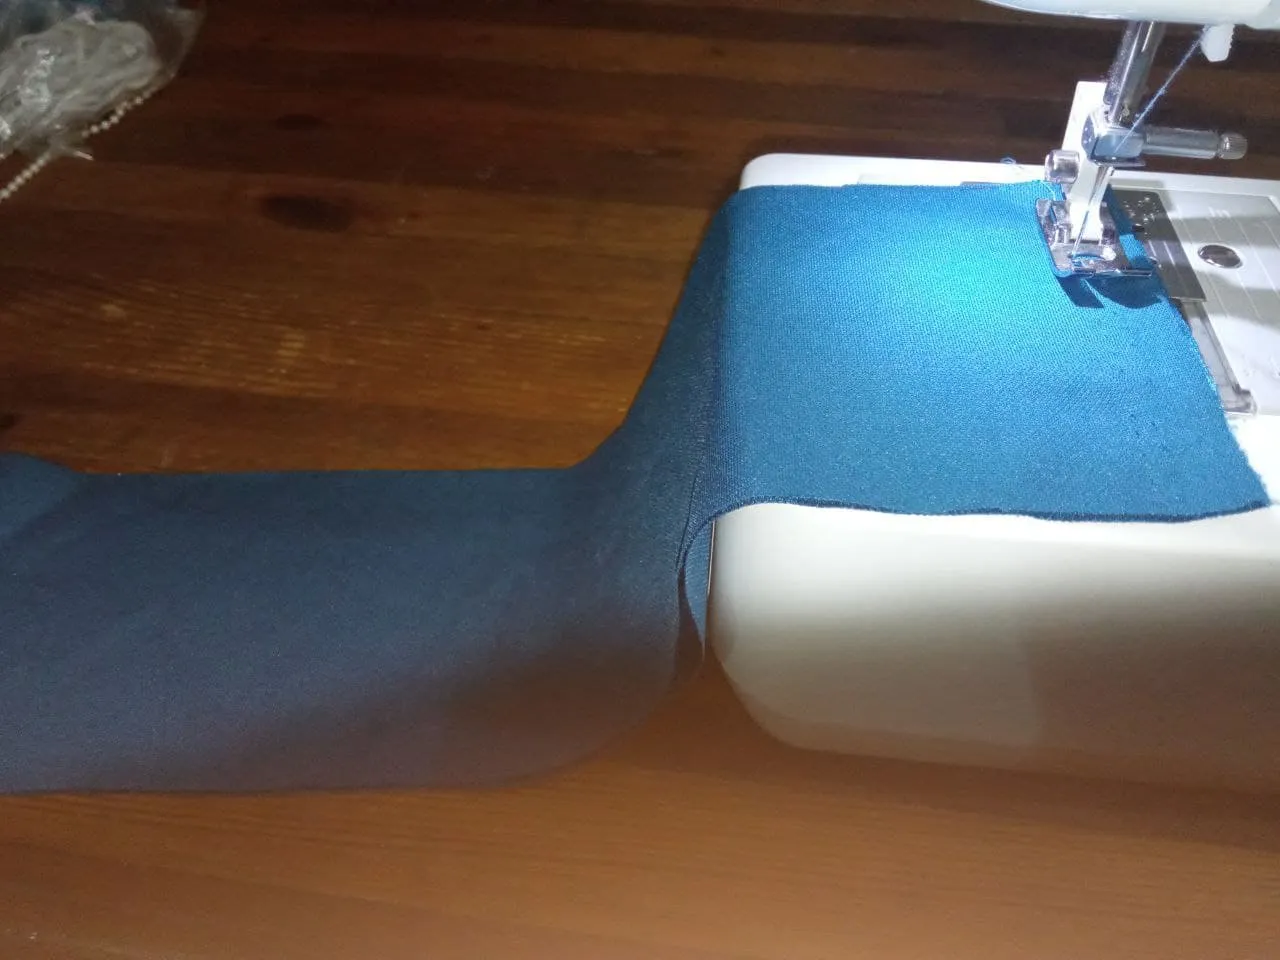

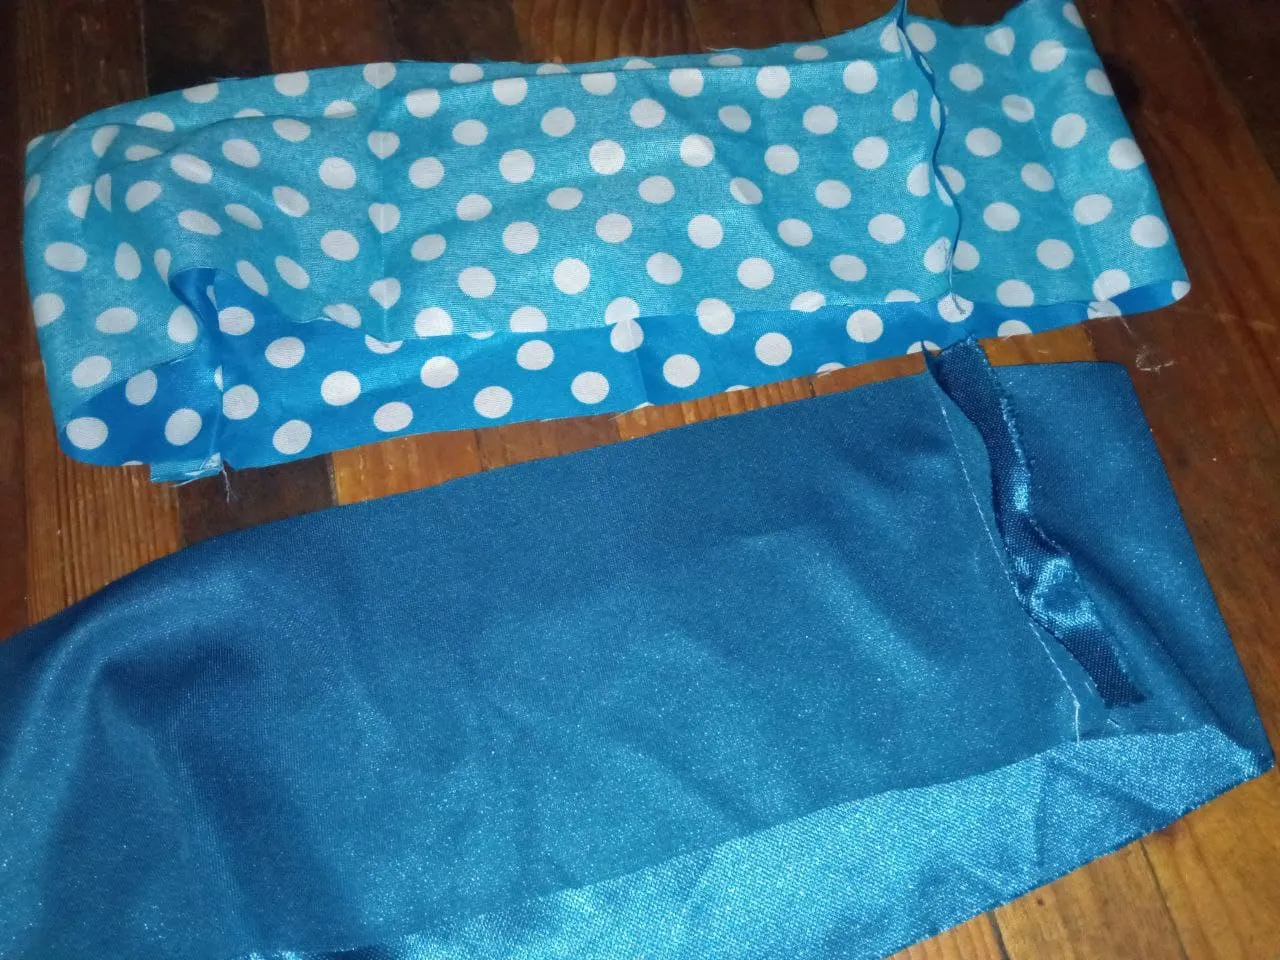
1.- Cortamos dos tiras del mismo tamaño en este caso 10 cm por 75 cm. Una en tela unicolor y otra estampada y unimos con costura cada extremo de cada tira por separado.
Cut two strips of the same size, in this case 10 cm by 75 cm. One in unicolor fabric and the other in printed fabric and sew each end of each strip separately.
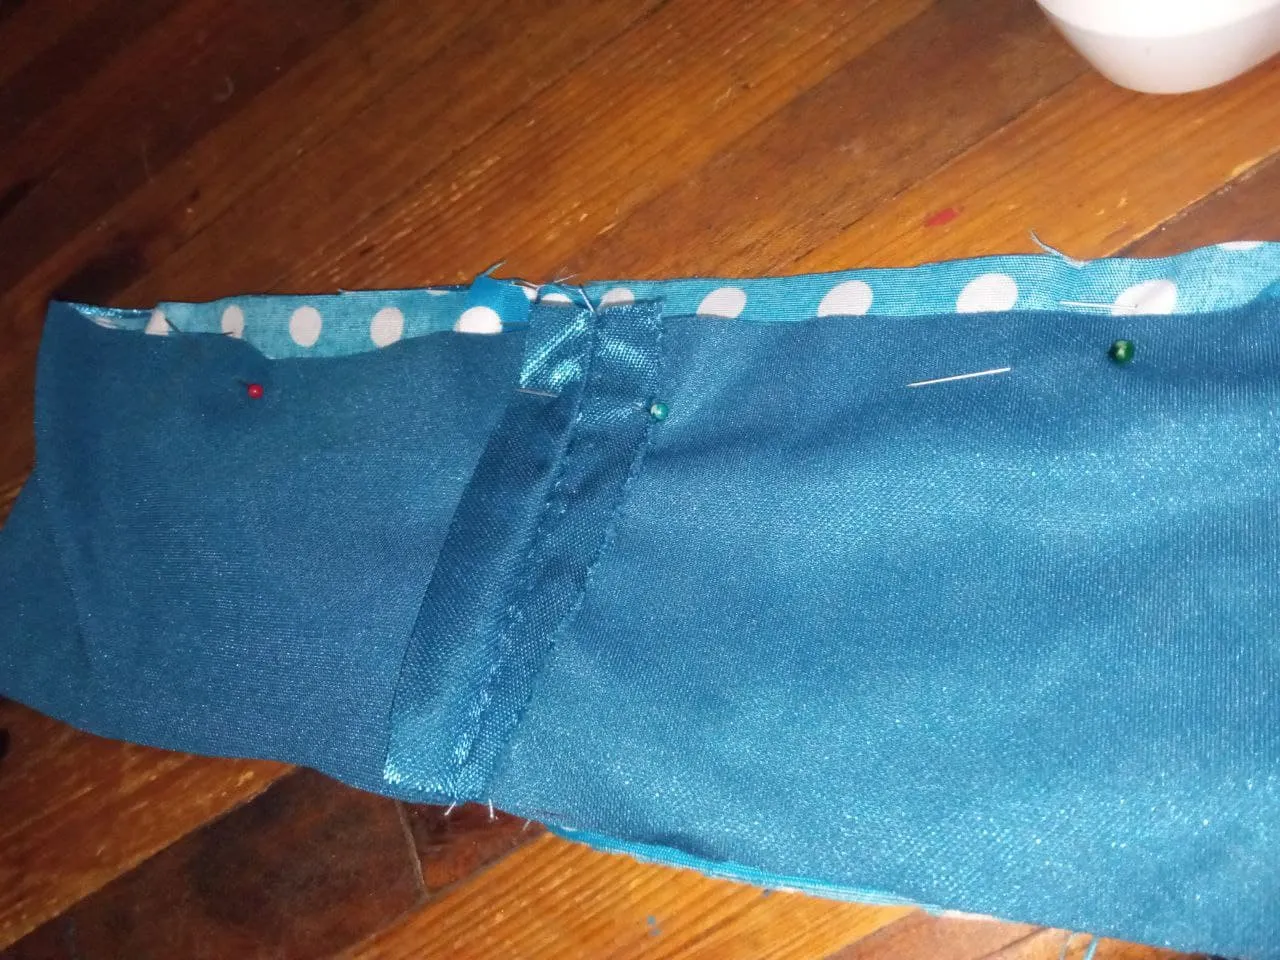
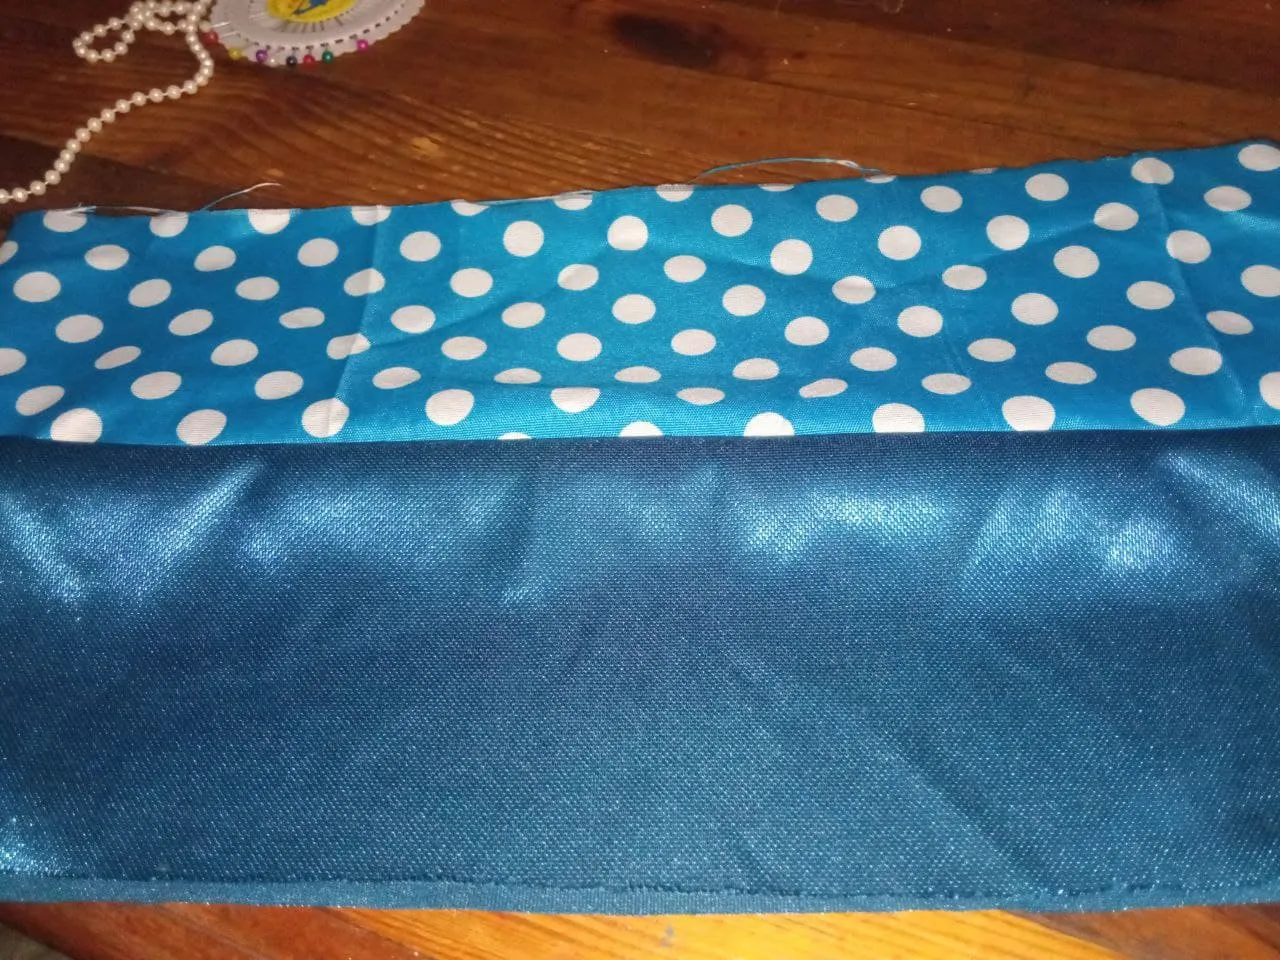
2.- Luego Enfrentamos los derechos de cada tira, ahora circulares, tratando de que las costuras del paso anterior coincidan y cosemos uno de los lados en toda su extensión.
Then we face the right sides of each strip, now circular, trying to match the seams of the previous step and sew one of the sides along its entire length.
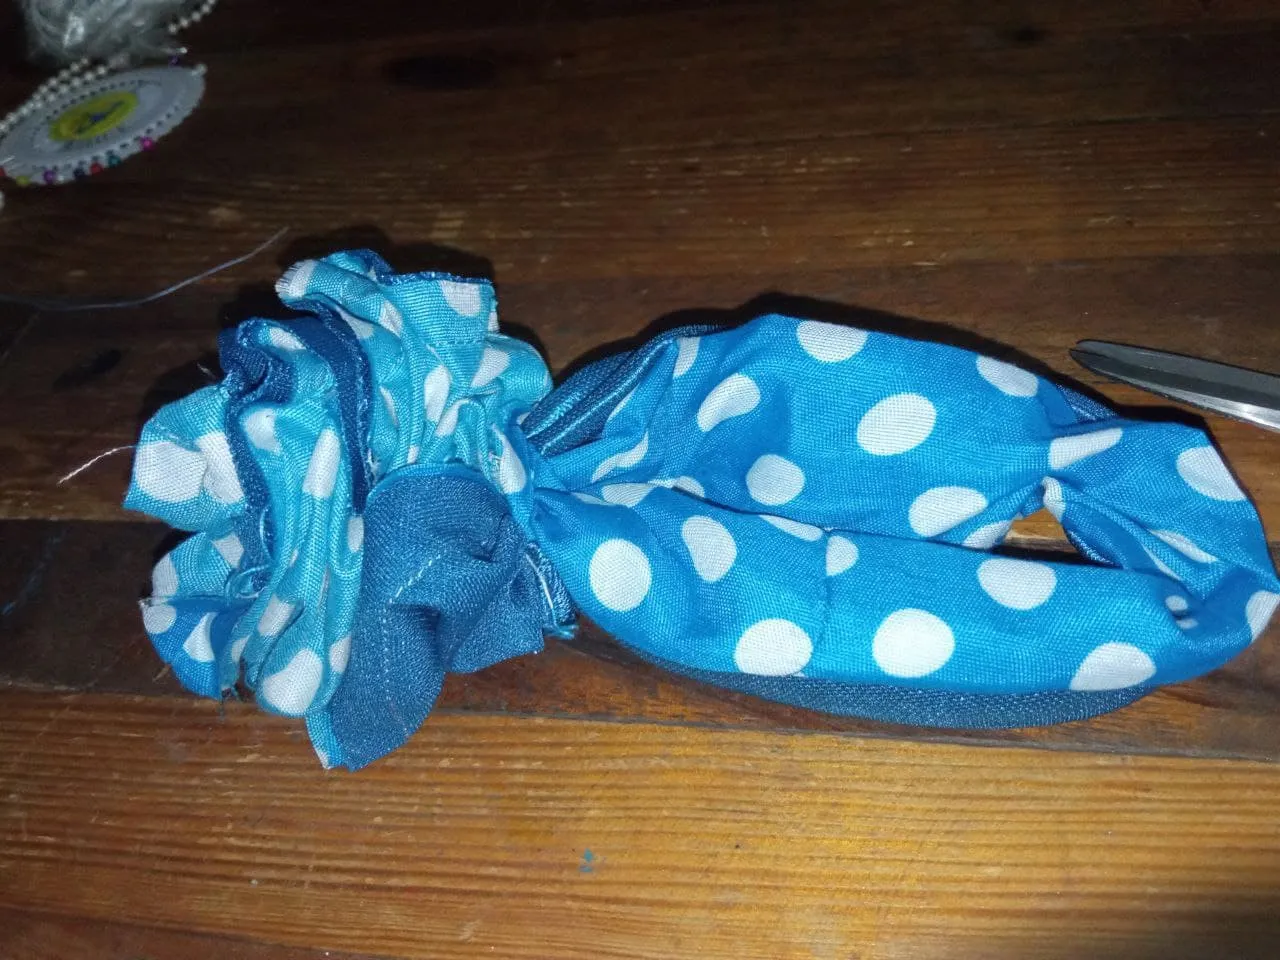
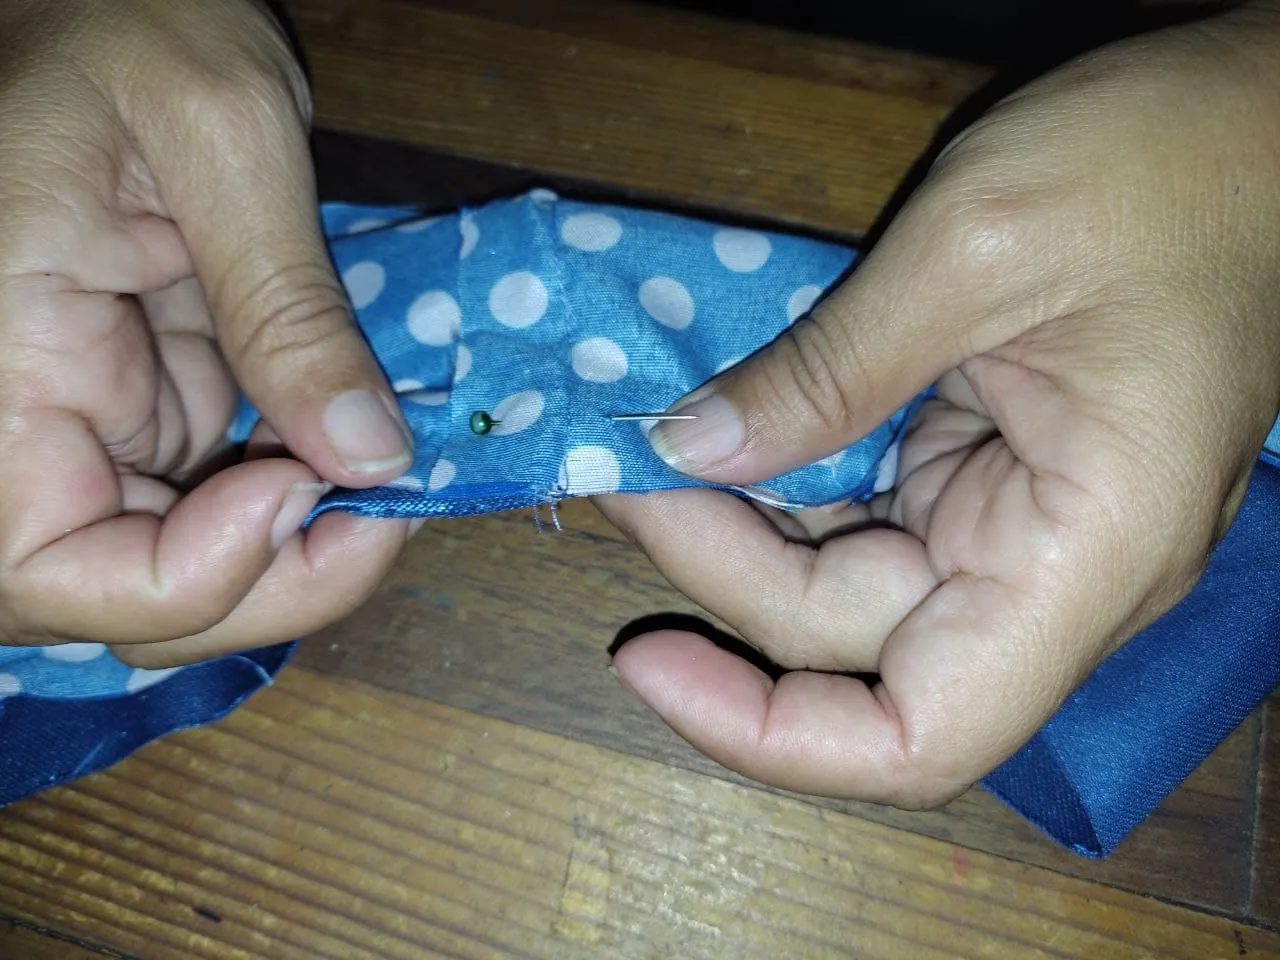
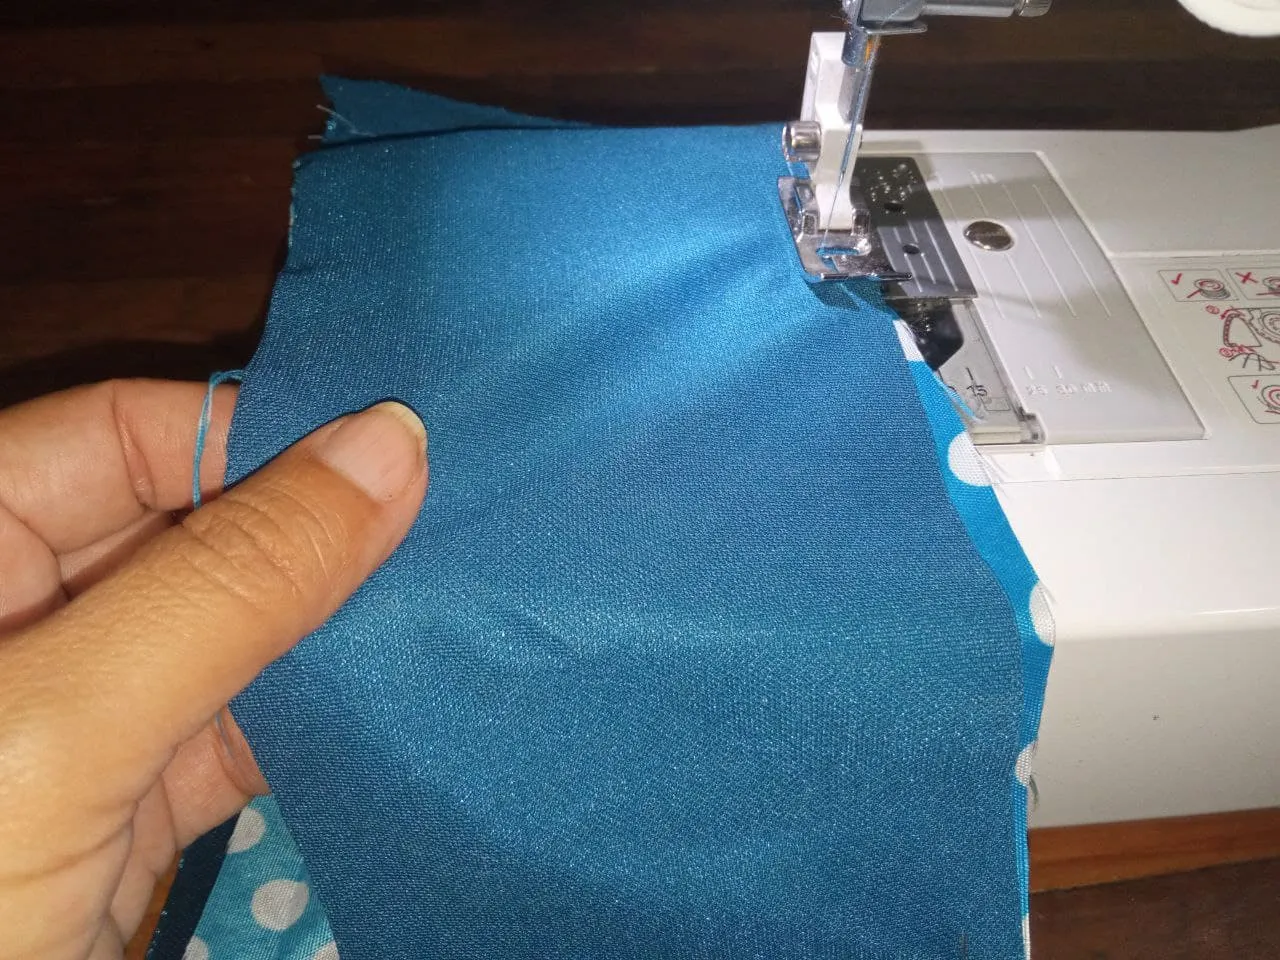
3.- Estando en el revés, tomamos la capa superior y las enfrentamos, sujetando con los dedos; luego tomamos la parte inferior y hacemos lo mismo, esta última será a la que vamos a pasar costura, a medidas que vamos cosiendo vamos alando la parte interna. Este paso se ve un poco complicado y la verdad, vi el video varias veces para entenderlo, pero ya luego sale rápido. Debemos dejar unos 3 centímetros sin costura que es por donde voltearemos y nos quedaran las costuras totalmente ocultas. Al voltear cerramos a mano la parte por donde volteamos.
Being on the reverse side, we take the upper layer and face them, holding them with our fingers; then we take the lower part and do the same, this last one will be the one we are going to sew, as we sew we are going to sew the inner part. This step looks a little complicated and the truth is, I watched the video several times to understand it, but then it comes out quickly. We must leave about 3 centimeters without stitching, which is where we will flip and the seams will be completely hidden. When we turn over, we close by hand the part where we turn over.
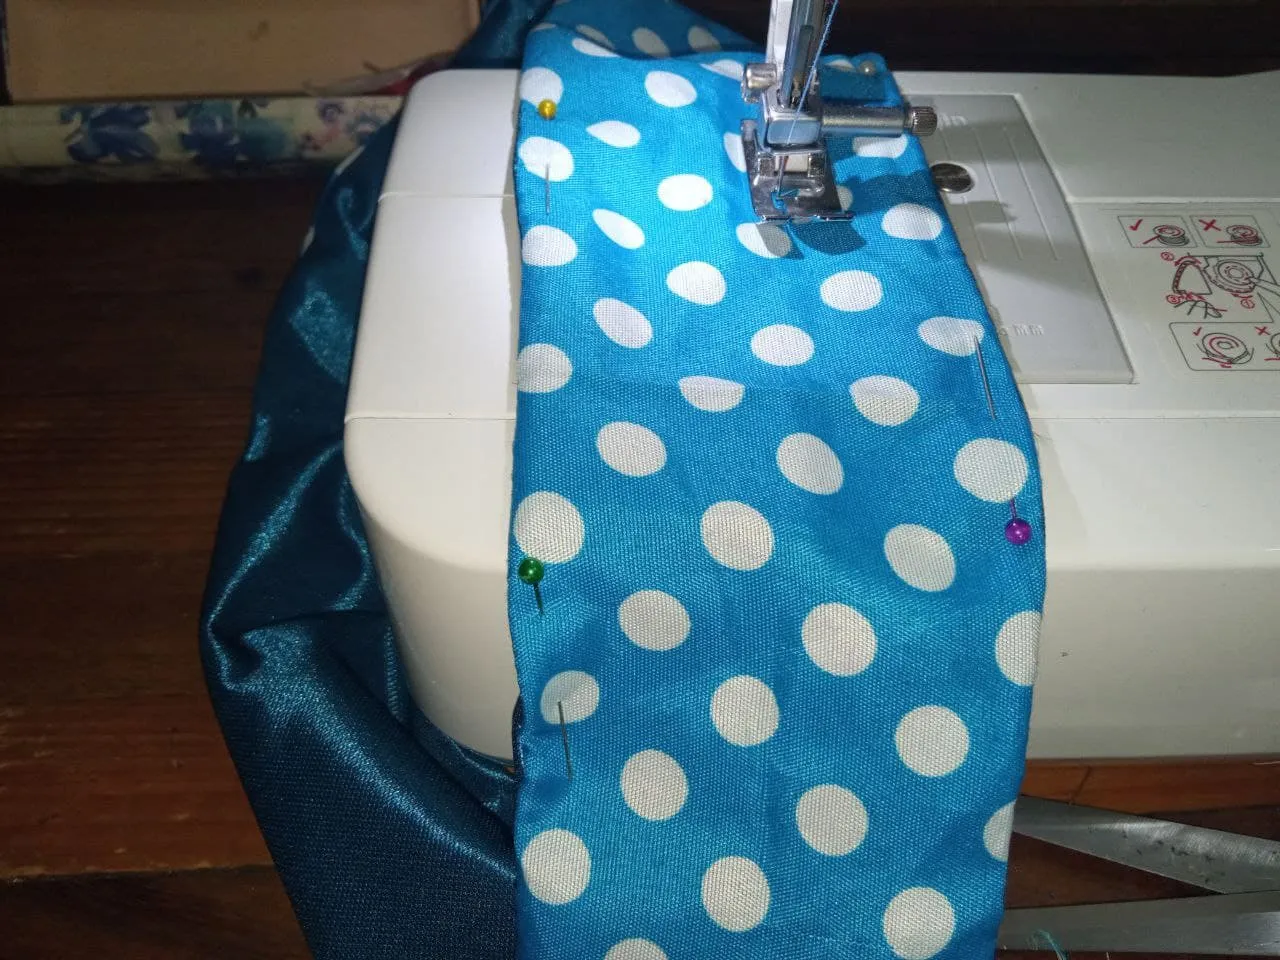

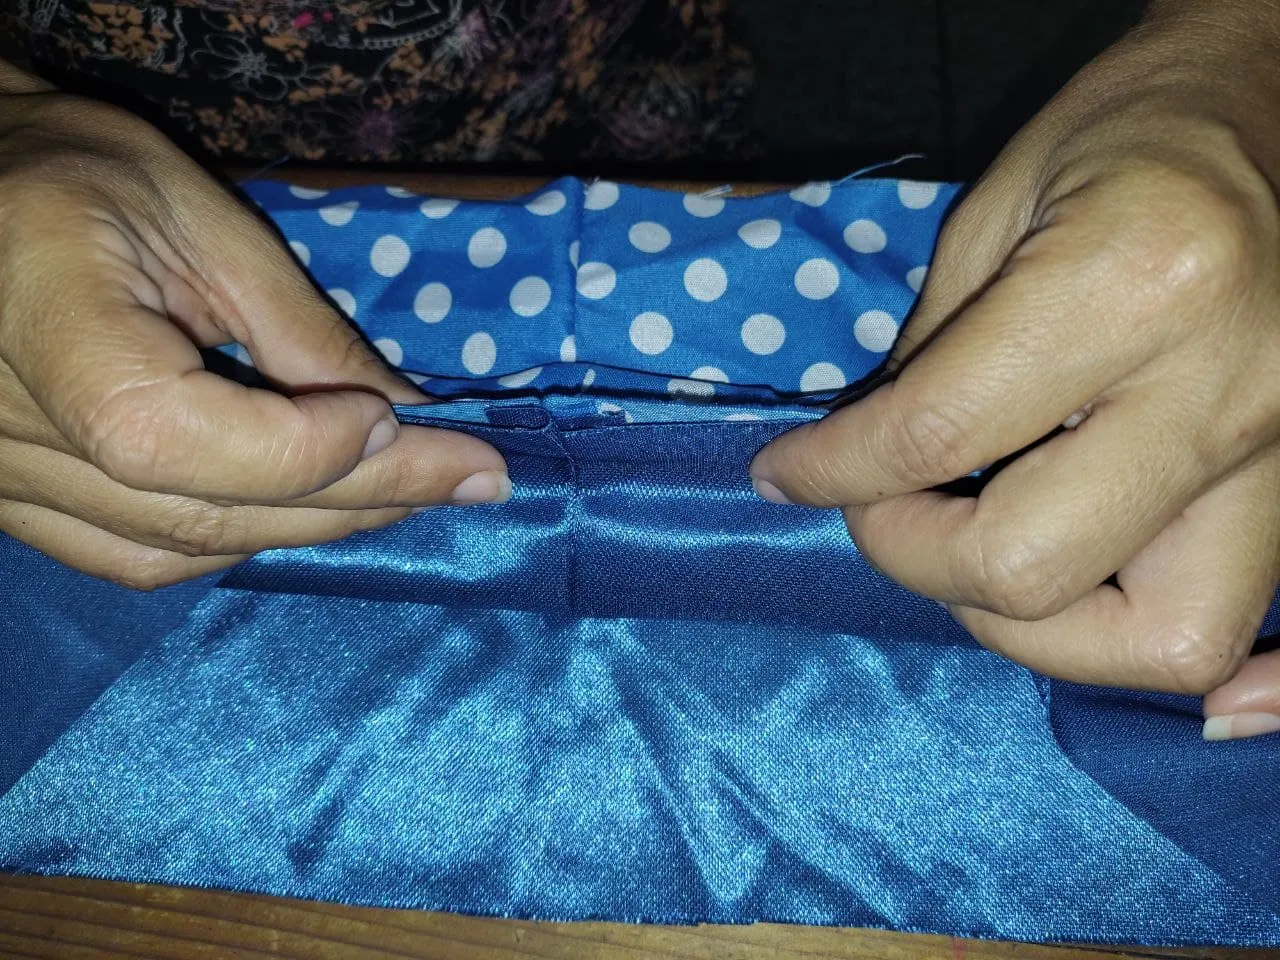
4.- Procedemos a pasar costura doble por todo el centro de la tira, para formar un canal, el cual servirá para pasar nuestro elástico y formar la coleta o scrunchies.
We proceed to pass double stitching through the center of the strip, to form a channel, which will serve to pass our elastic and form the scrunchies.
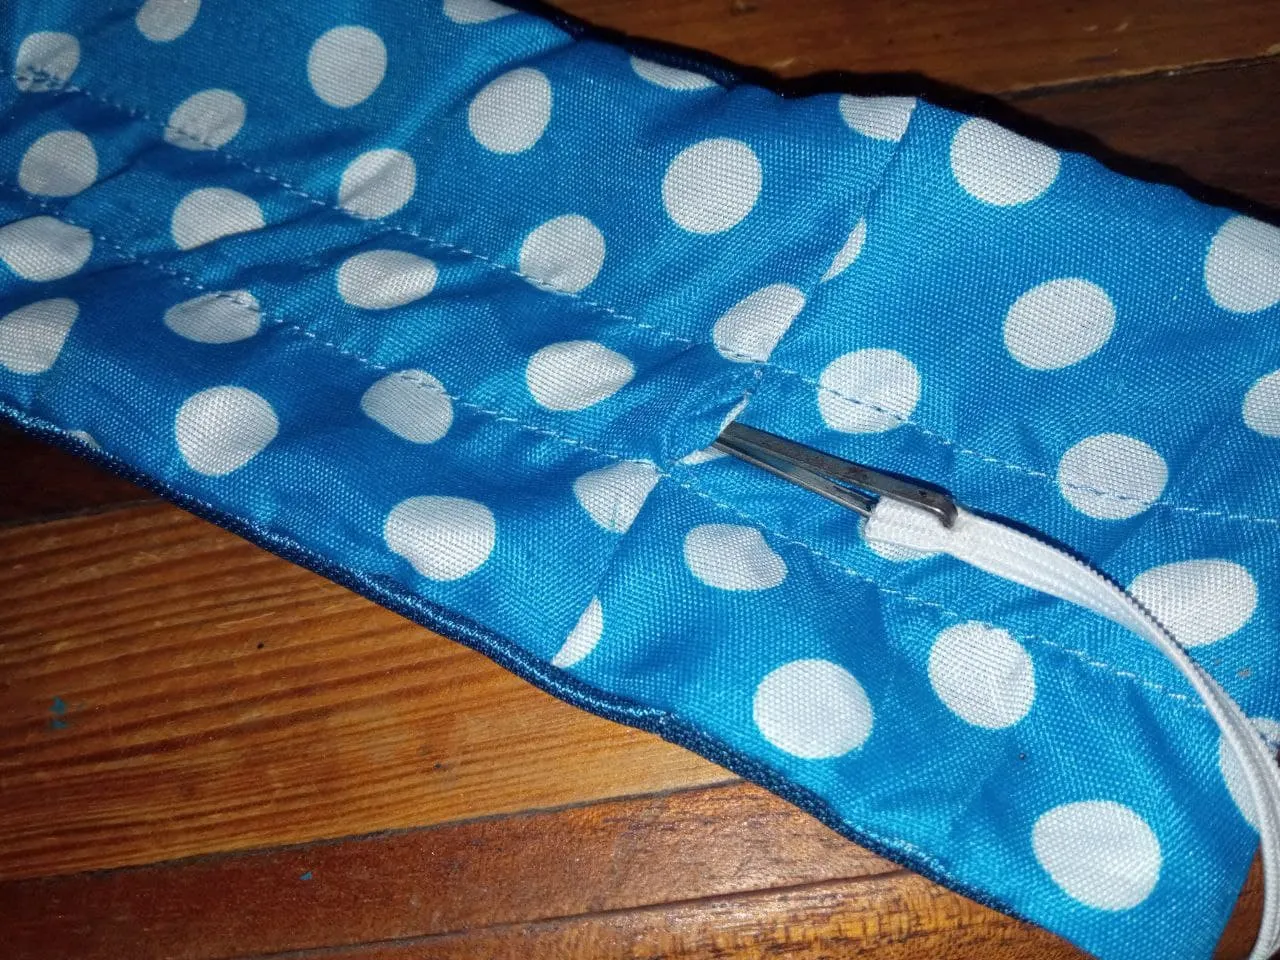
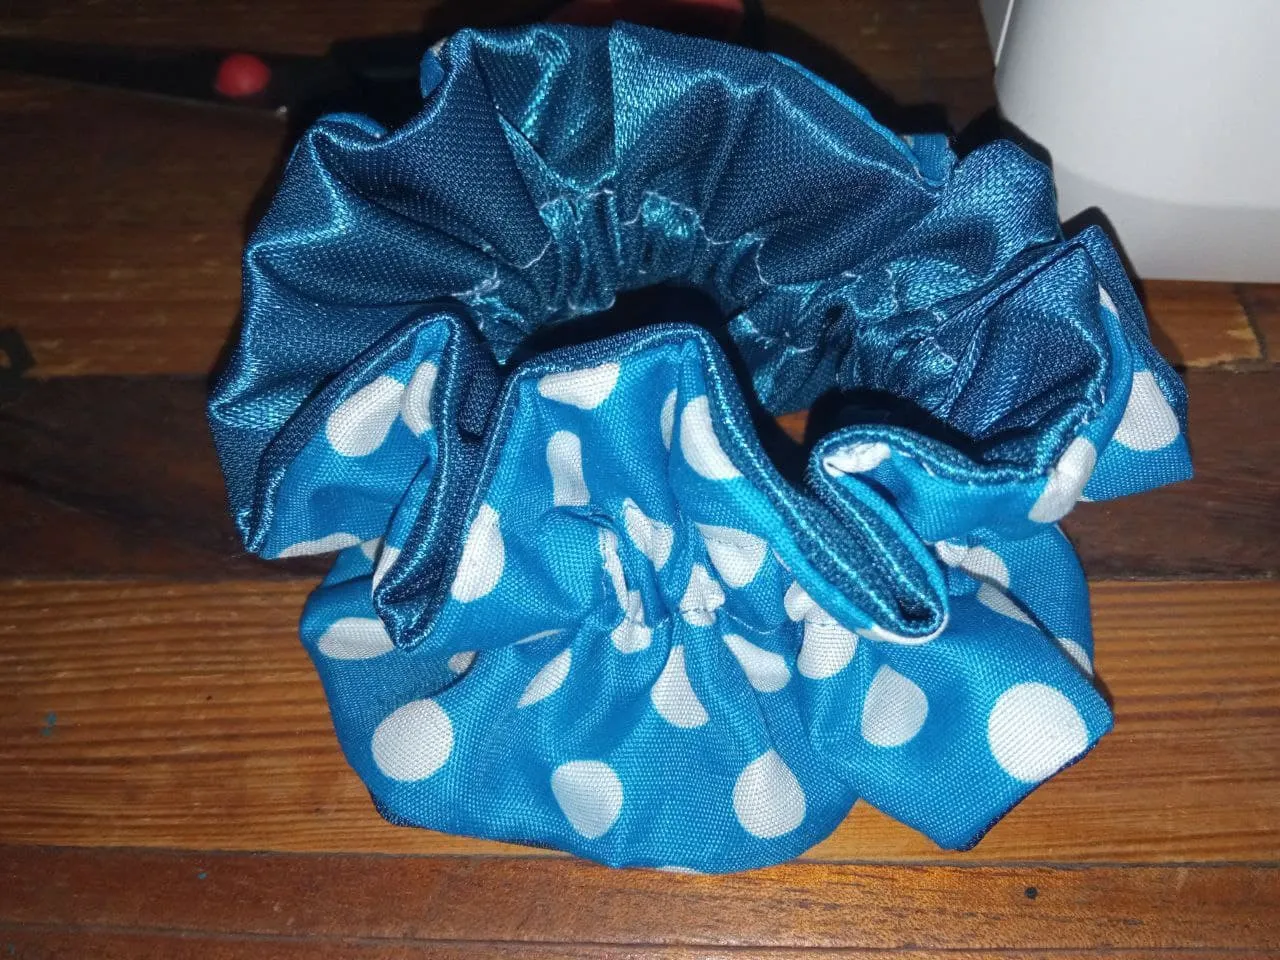
5.- Con ayuda de un gancho o un alfiler pasamos el elástico y anudamos o cosemos los extremos del elástico al terminar.
With the help of a hook or a pin we pass the elastic and knot or sew the ends of the elastic at the end.

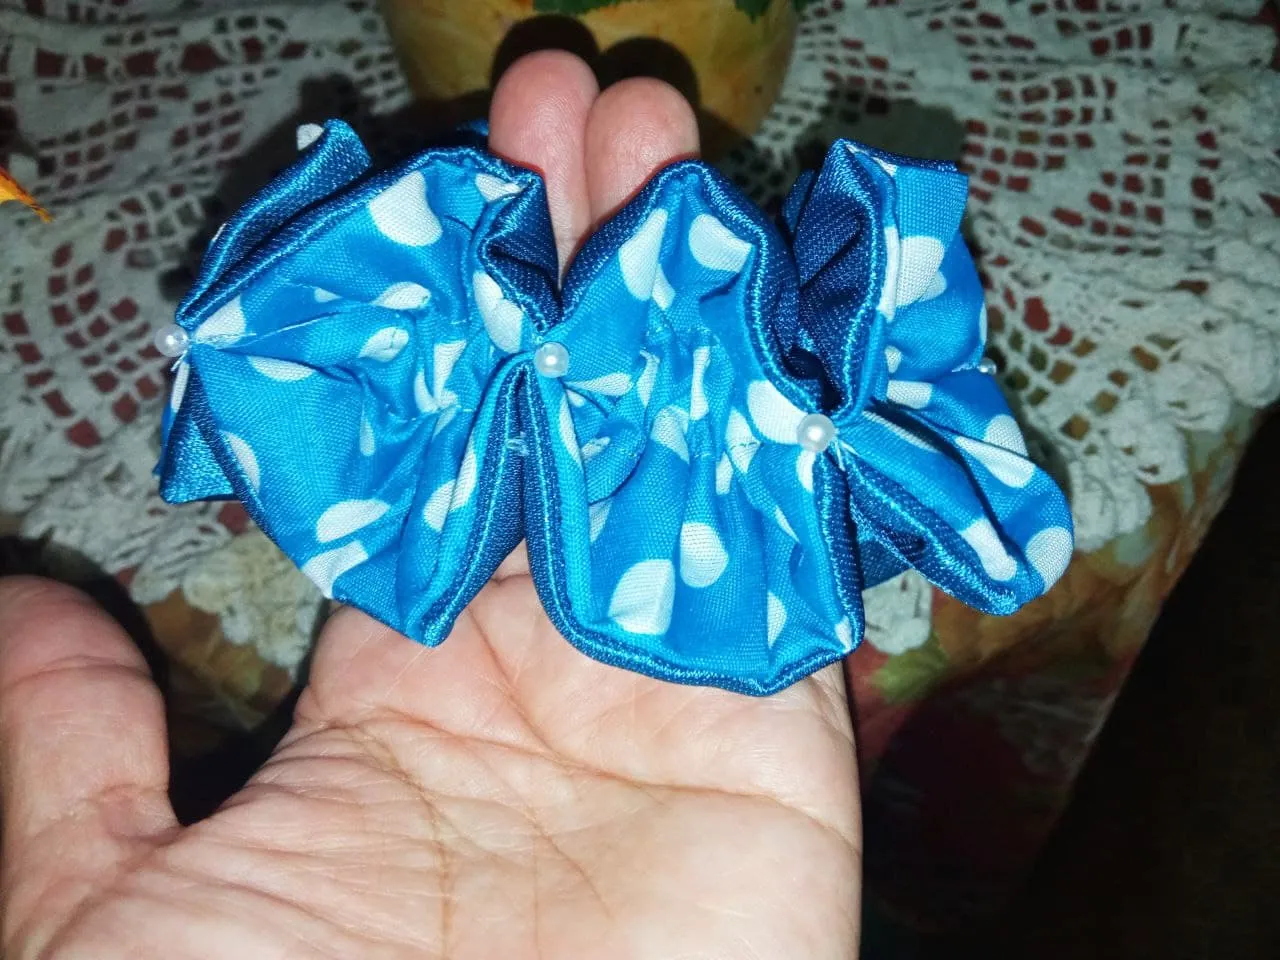
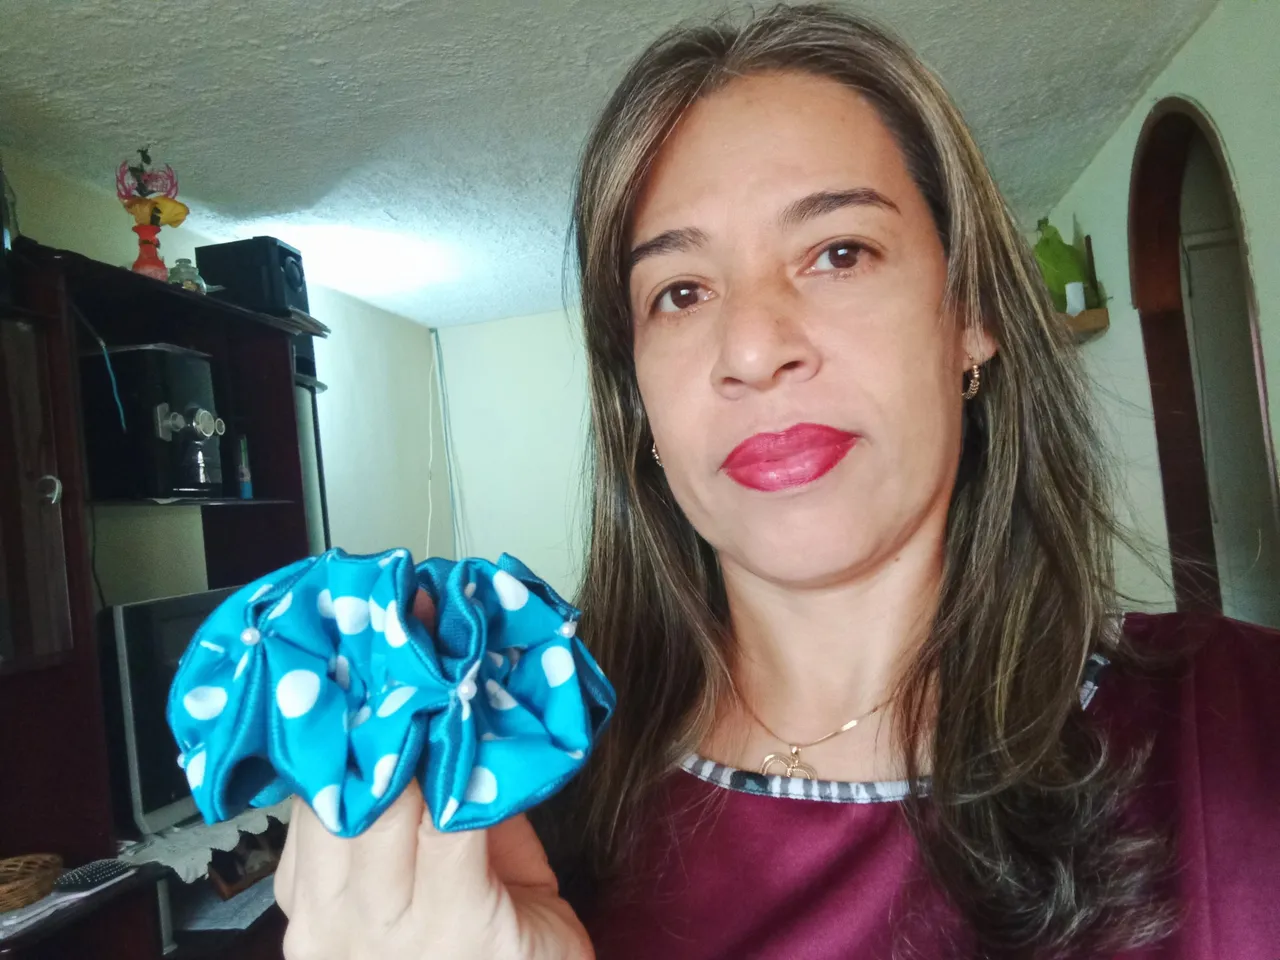
Para finalizar decoramos con unas perlitas y ya estamos listas para usar este hermoso accesorio y vernos mucho más lindas.
To finish we decorate with some pearls and we are ready to use this beautiful accessory and look much prettier.
Con esto finalizo mi trabajo de hoy, les dejo un pequeño Gif que tomo mi hija cuando estaba cosiendo en mi maquina esta Scrunchie, espero les haya gustado y se animen a realizarla, como siempre me despido no sin antes invitarlas a que se motiven a crear e innovar.
With this I finish my work today, I leave you a small Gif that my daughter took when I was sewing in my machine this Scrunchie, I hope you liked it and I encourage you to make it, as always I say goodbye but not before inviting you to be motivated to create and innovate.
🌸🌸🌸🌸Fotos de mi Propiedad, tomadas con un Redmi 9🌸🌸🌸🌸
Photos of my Property, taken with a Redmi 9