Hola amantes de la costura!!
Hello sewing lovers!
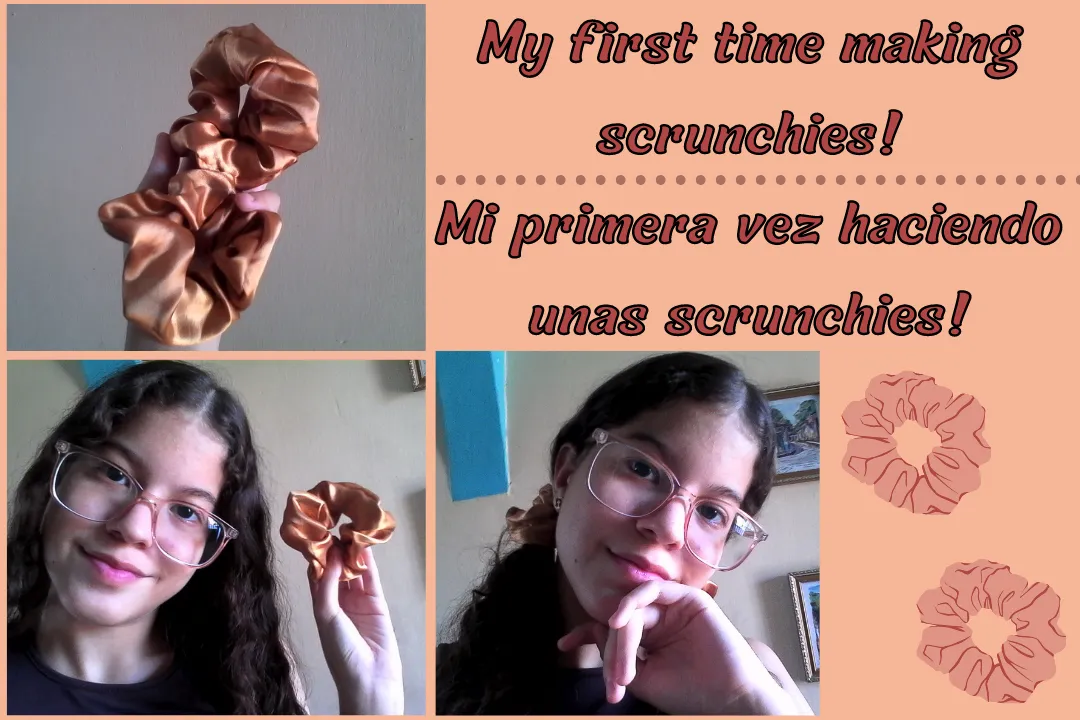
Espero estén muy bien, quiero compartirles el paso a paso de cómo realicé estas scrunchies, estaba muy emocionada ya que era mi primera vez haciéndolas, espero que les guste mucho, y sin más nada que mencionar, comencemos:
I hope you are very well, I want to share with you the step by step of how I made these scrunchies, I was very excited since it was my first time making them, I hope you like it a lot, and without anything else to mention, let's start:
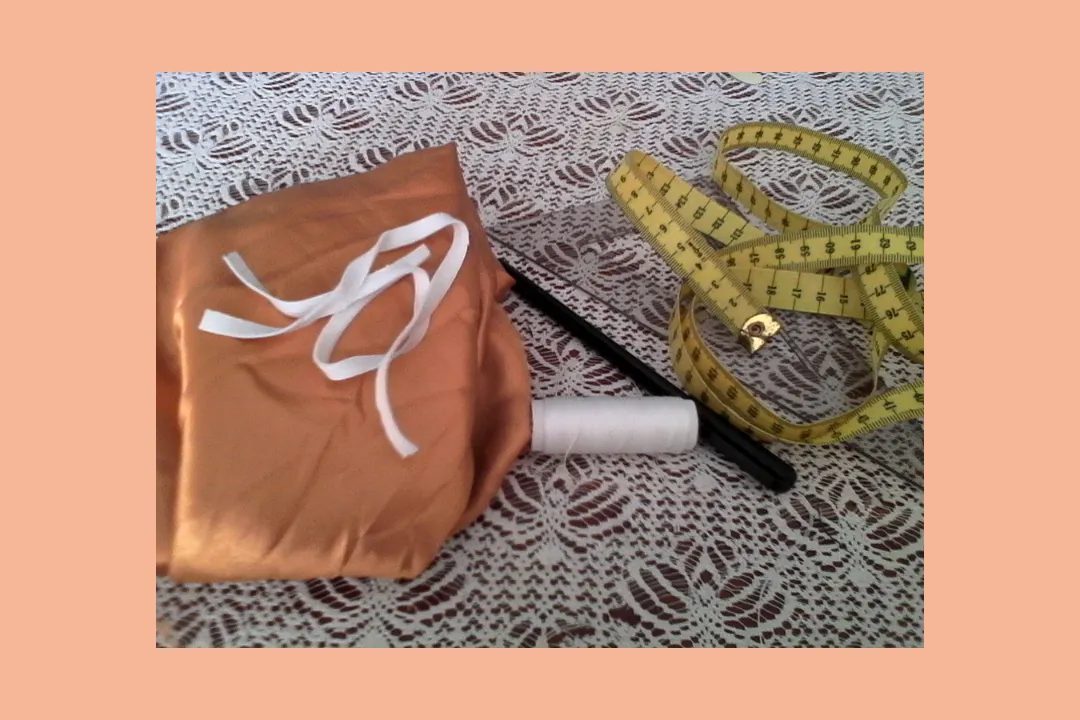
Materiales:
- Tela.
- Tijera.
- Hilo y aguja.
- Lápiz.
- Regla.
- Cinta métrica.
- Alfileres.
- Elástica.
Materials:
- Fabric.
- Scissors.
- Thread and needle.
- Pencil.
- Ruler.
- Tape measure.
- Pins.
- Elástica.
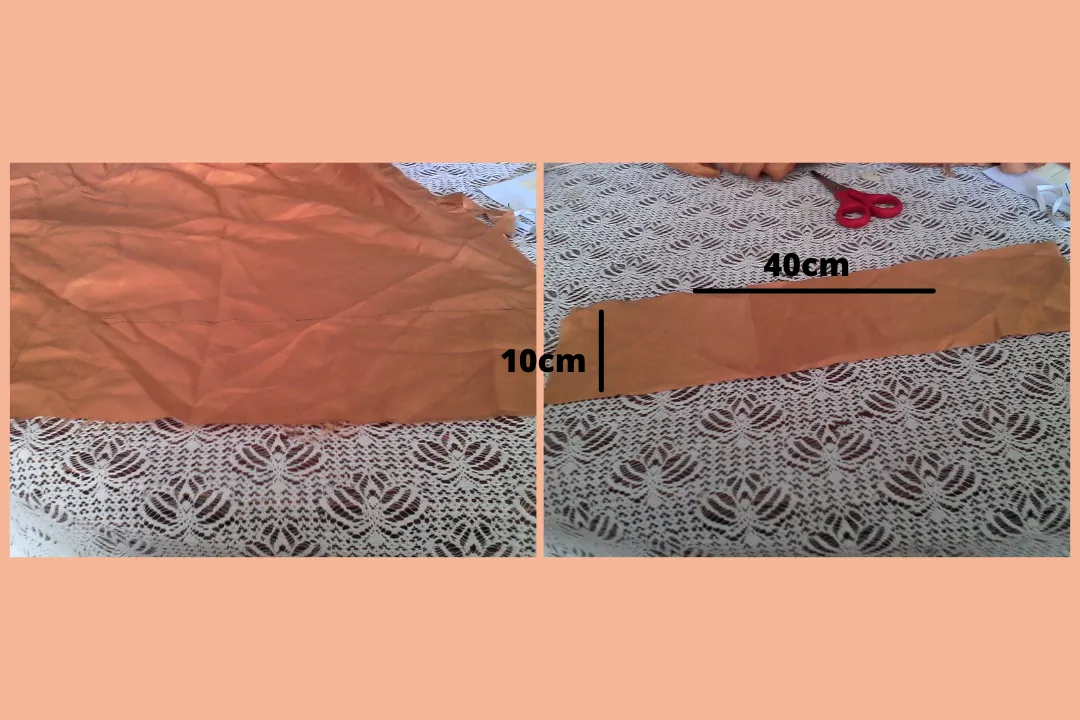
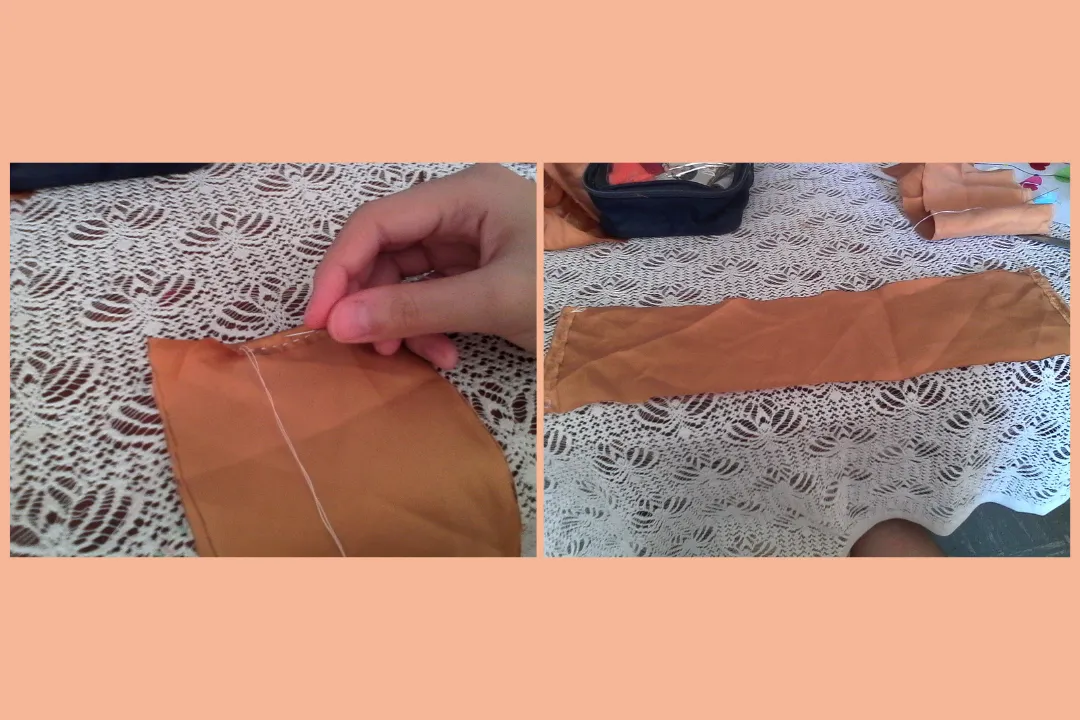
Primero marqué y corté una pieza de 40 cm x 10 cm.
First I marked and cut a 40 cm x 10 cm piece.
Procedí a coser un dobladillo en los laterales como se muestra en las imágenes.
I proceeded to sew a hem on the sides as shown in the pictures.
Comencé a coser, dejando libres las partes en las que hice los dobladillos para luego poder voltear.
I started sewing, leaving free the parts where I made the hems so that I could later flip them over.
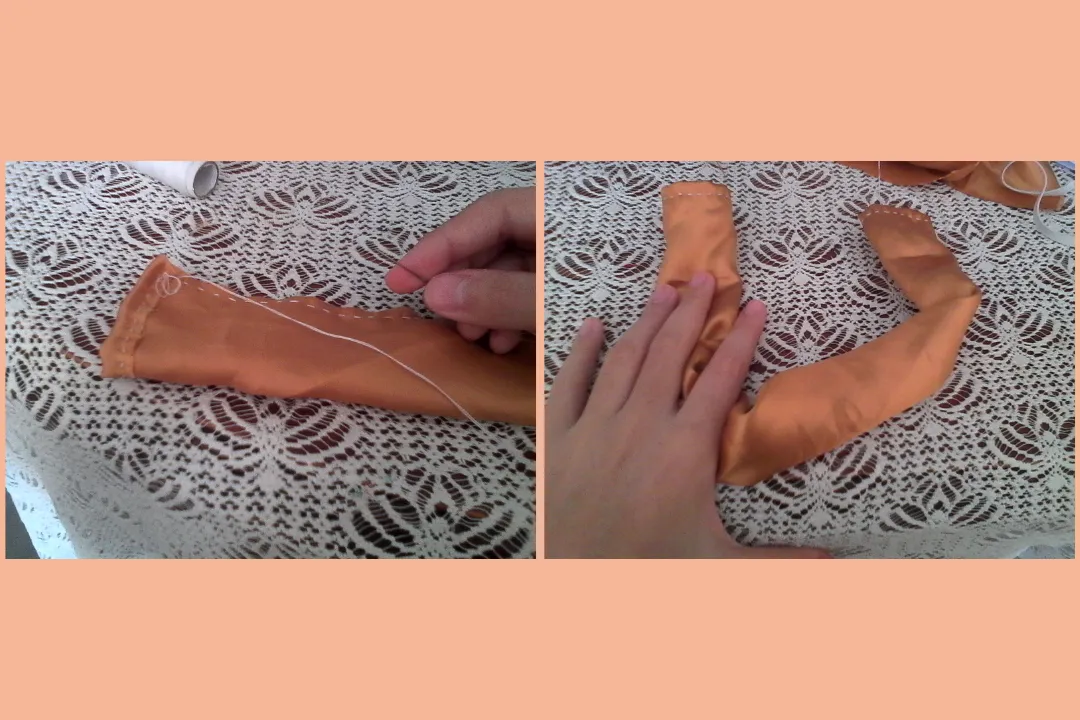
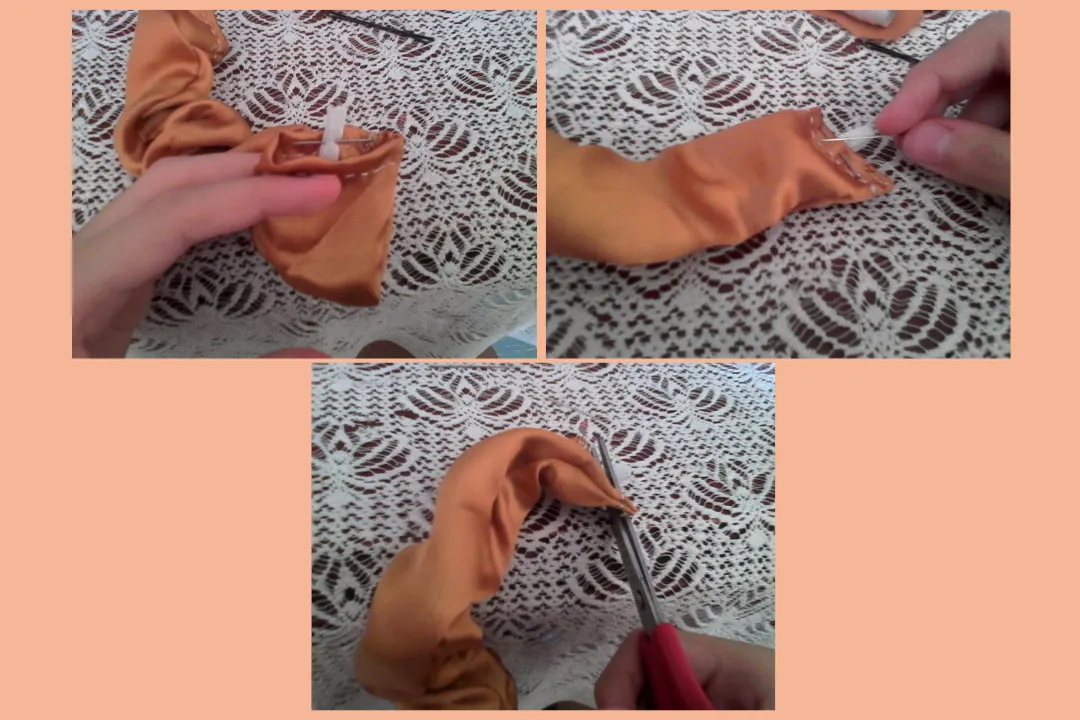
Introduje la elástica de 20 cm de largo en la tela, coloqué un alfiler y comencé a coser, lo mismo realicé en el otro extremo.
I inserted the 20 cm long elastic into the fabric, placed a pin and started sewing, and did the same on the other end.
Procedí a coser las dos puntas y listo!
I proceeded to sew the two ends together and that's it!
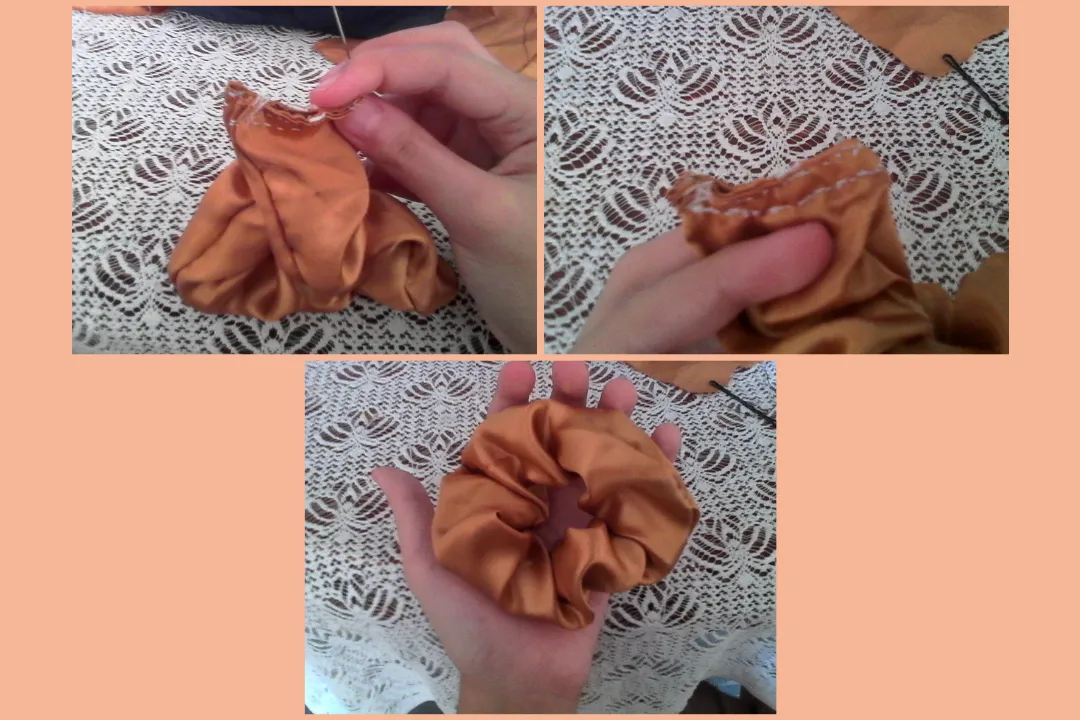
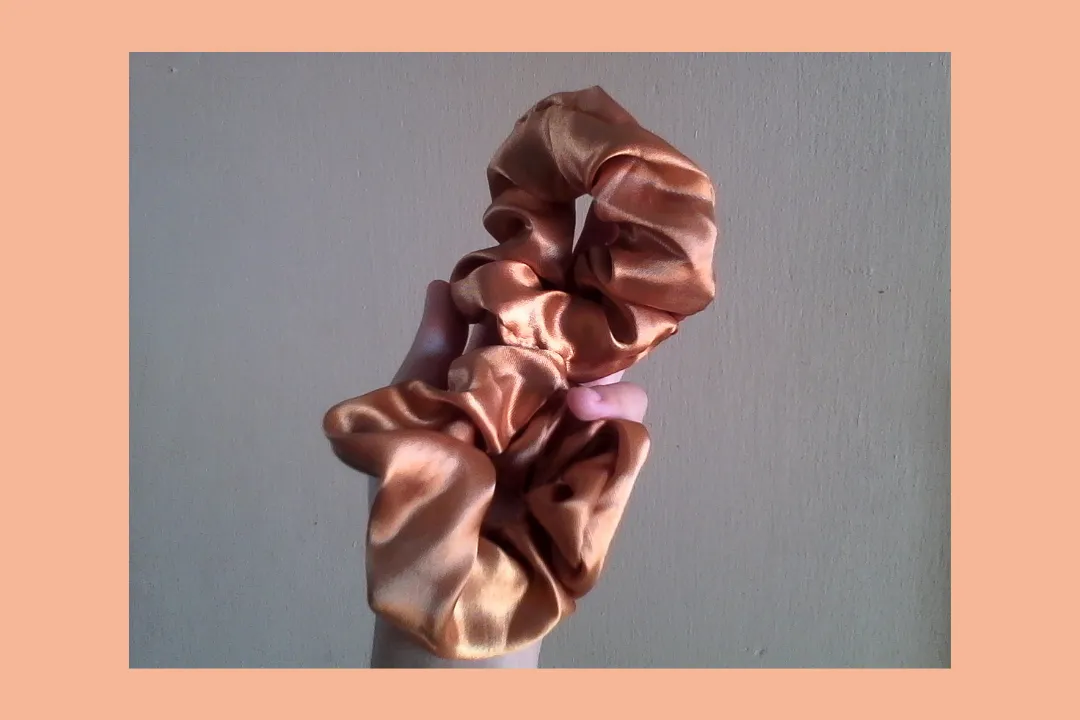
Este fue el resultado, espero que les haya gustado tanto como a mí, gracias por leer. Hasta un próximo post!!❤️
This was the result, I hope you liked it as much as I did, thanks for reading. See you next post!❤️
Todas las imágenes son de mi autoría @mariamglow, tomadas con mi teléfono, editadas en Canva, texto traducido en DeepL.
All images are authored by me @mariamglow, taken with my phone, edited in Canva, text translated at DeepL.