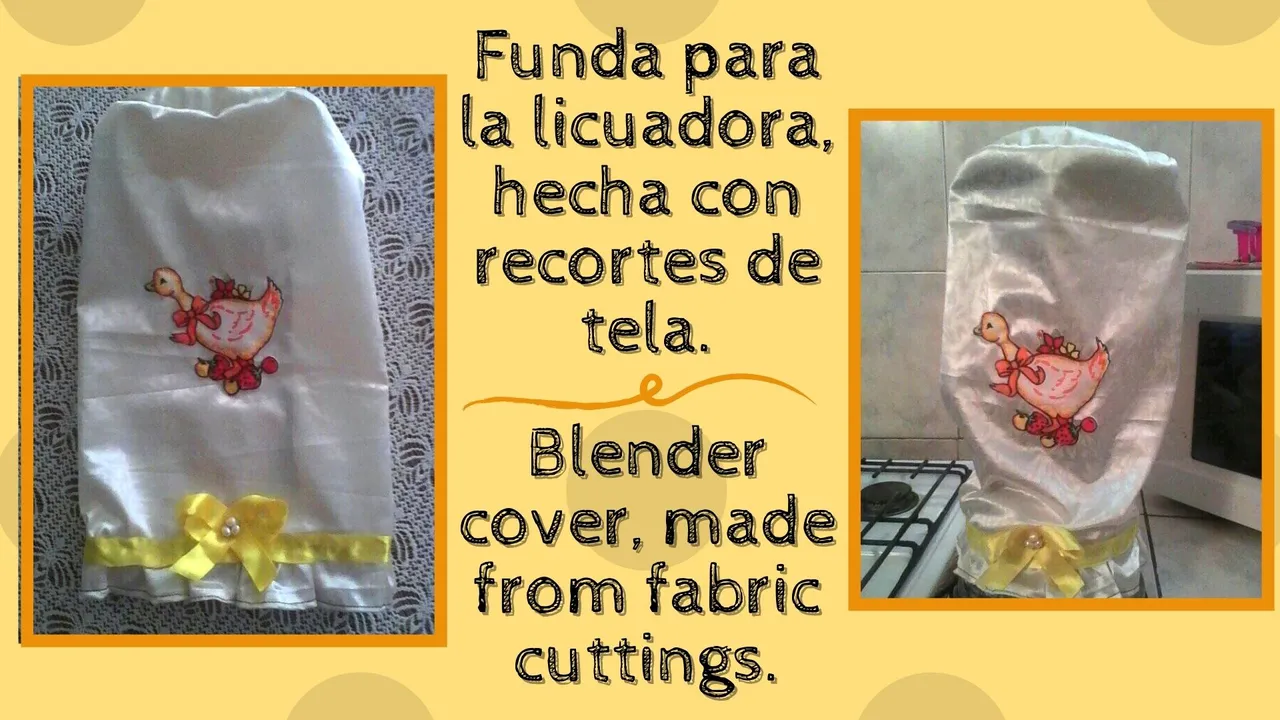
Hello friends of this nice community, today I will show you how to make this lining or cover to dress our blender.
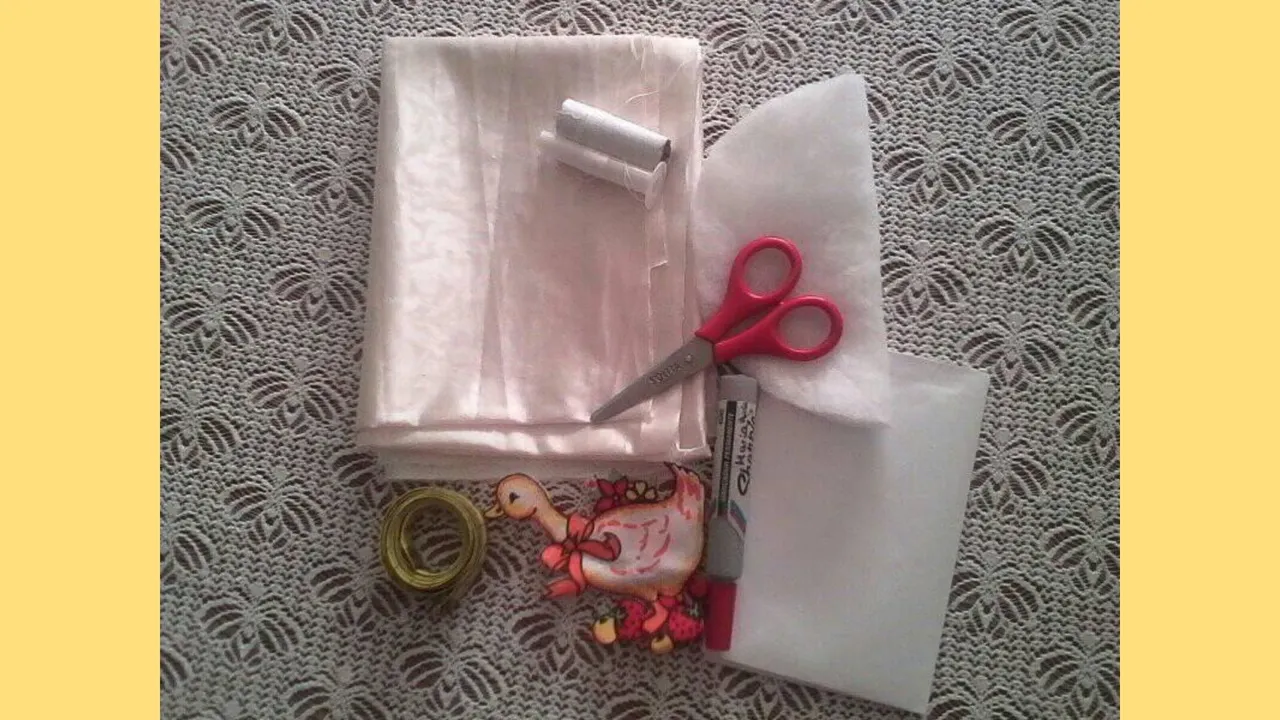
| Materiales: | Materials: | |
|---|---|---|
| Recortes de tela. | Fabric cutouts. | |
| Aguja. | Needle. | |
| Hilo. | Thread. | |
| Tijera. | Scissors. | |
| Cinta métrica. | Measuring tape. | |
| Cinta para decorar. | Tape for decorating. | |
| Silicón. | Silicone. | |
| Relleno (guata). (Opcional). | Stuffing (wadding). (Optional). | |
| Marcador. | Marker. | |
| Papel. | Paper. | |
| Figura para decorar. | Figure to decorate. |
¡Comencemos!
Cuando ya tengamos las medidas marcamos un círculo en papel y recortamos.
First, we measure the top of the blender to make our pattern.
Once we have the measurements, we mark a circle on paper and cut it out.
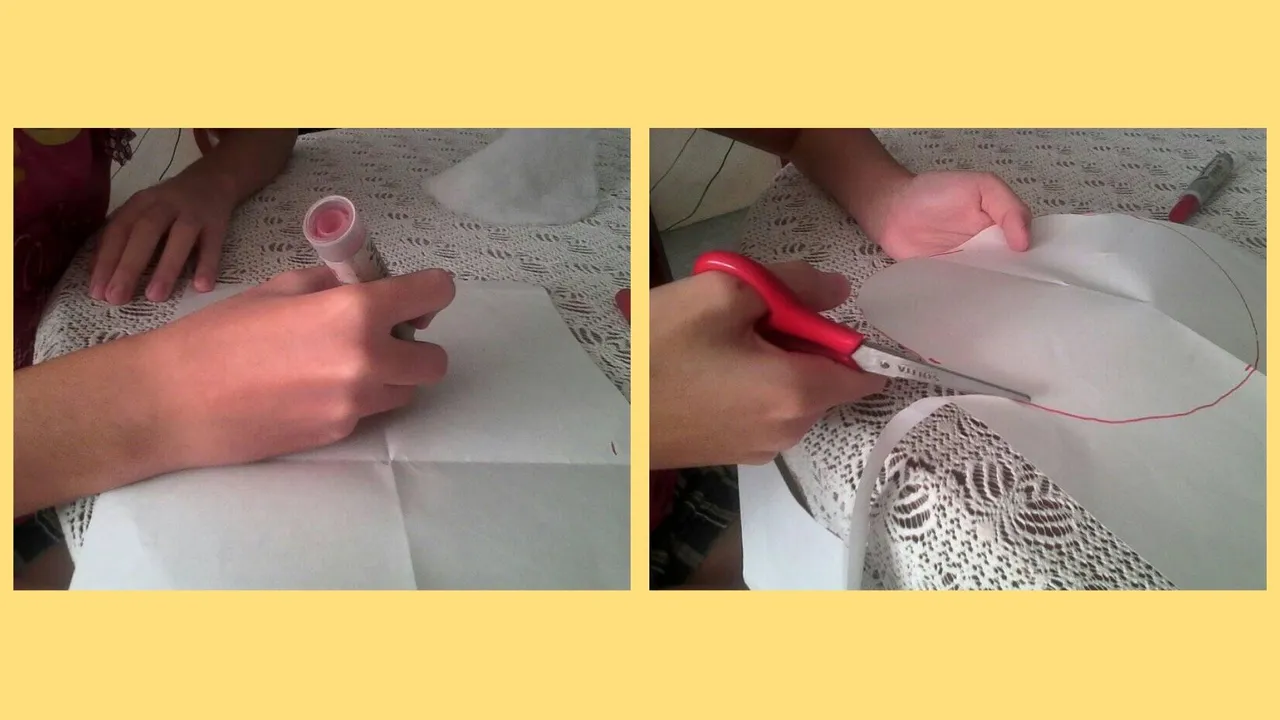
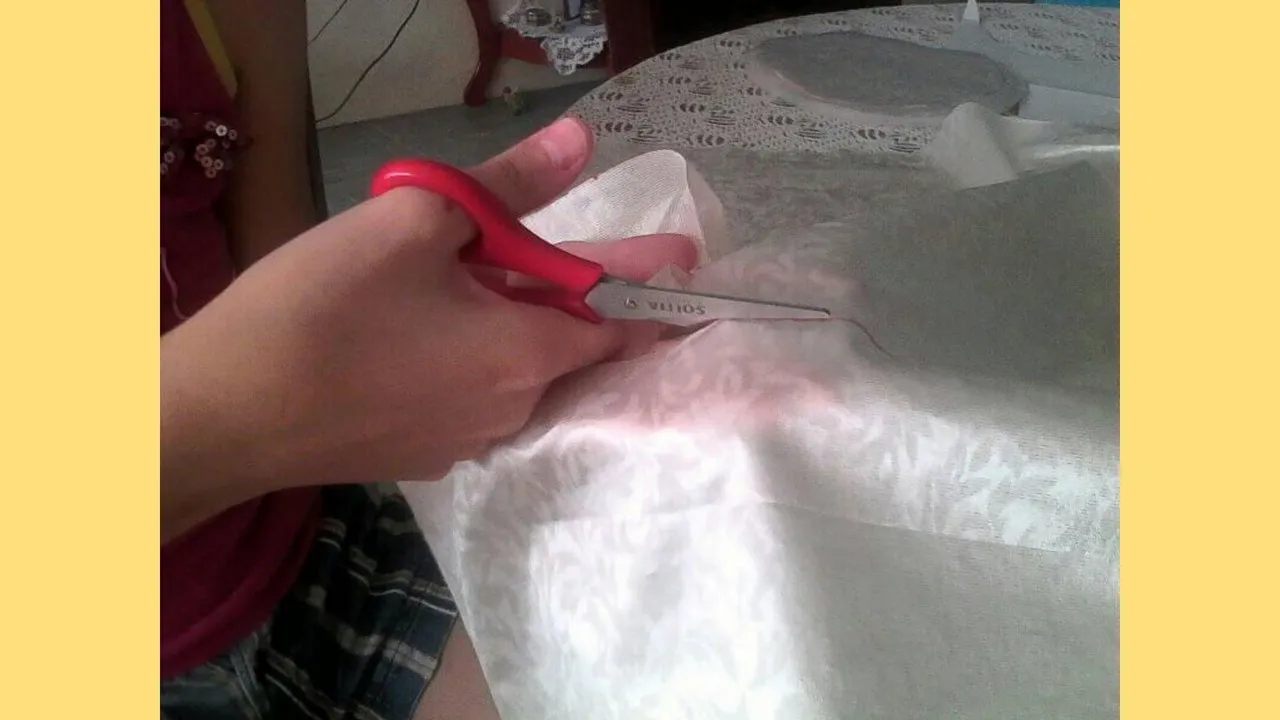
Then, we mark the pattern on the fabric and cut it out, in this case I cut two pieces to join them with the stuffing, because the one I used was not firm.
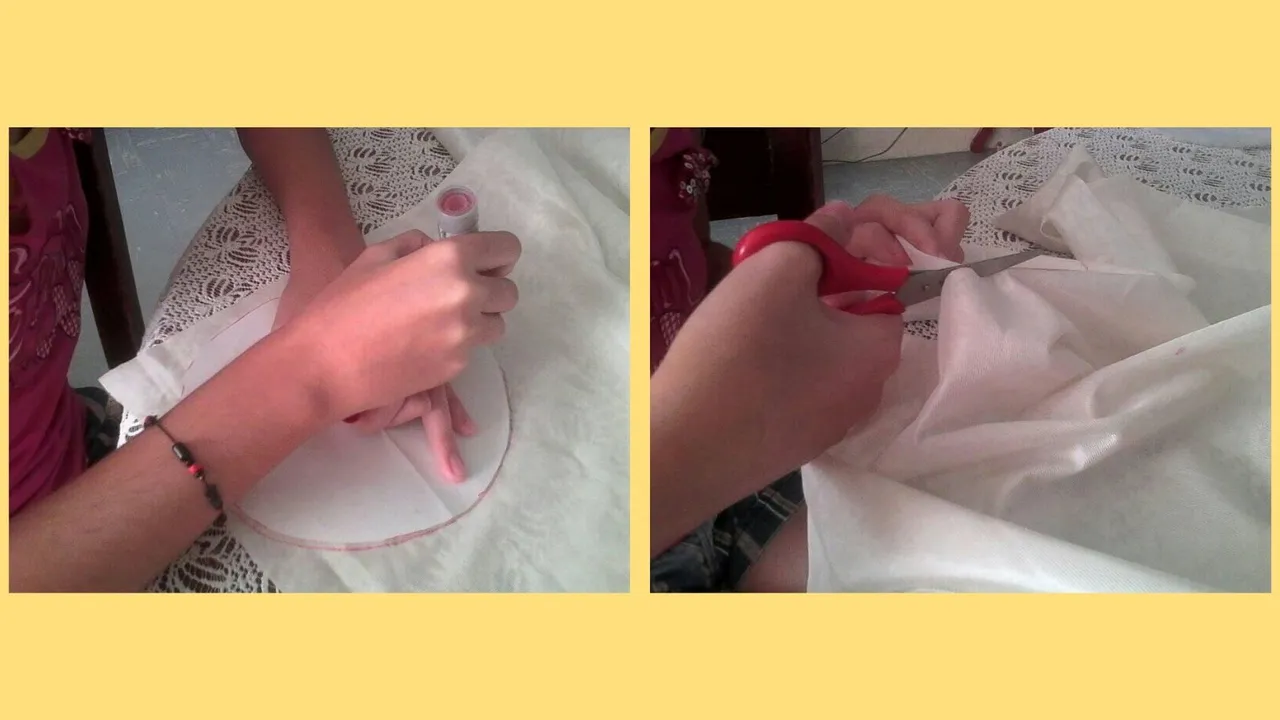
We measure the height of the blender, mark a rectangle on the fabric and cut it out.
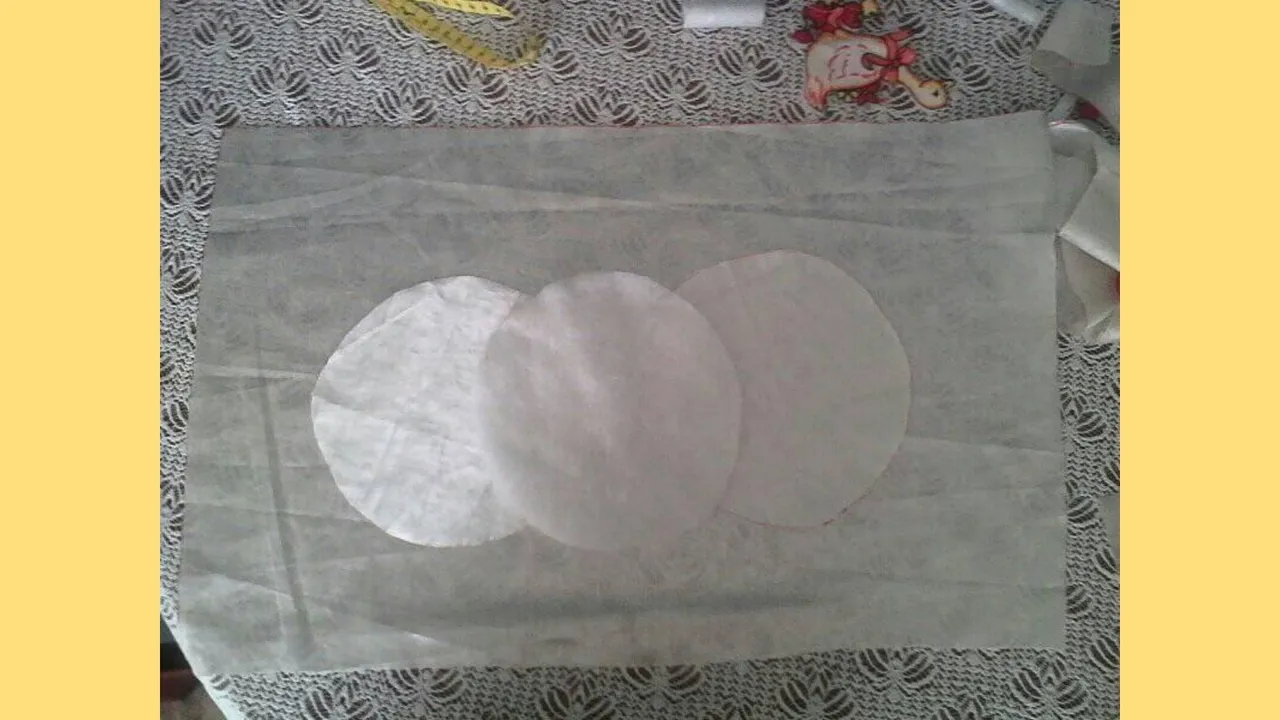
These are the pieces I cut out:
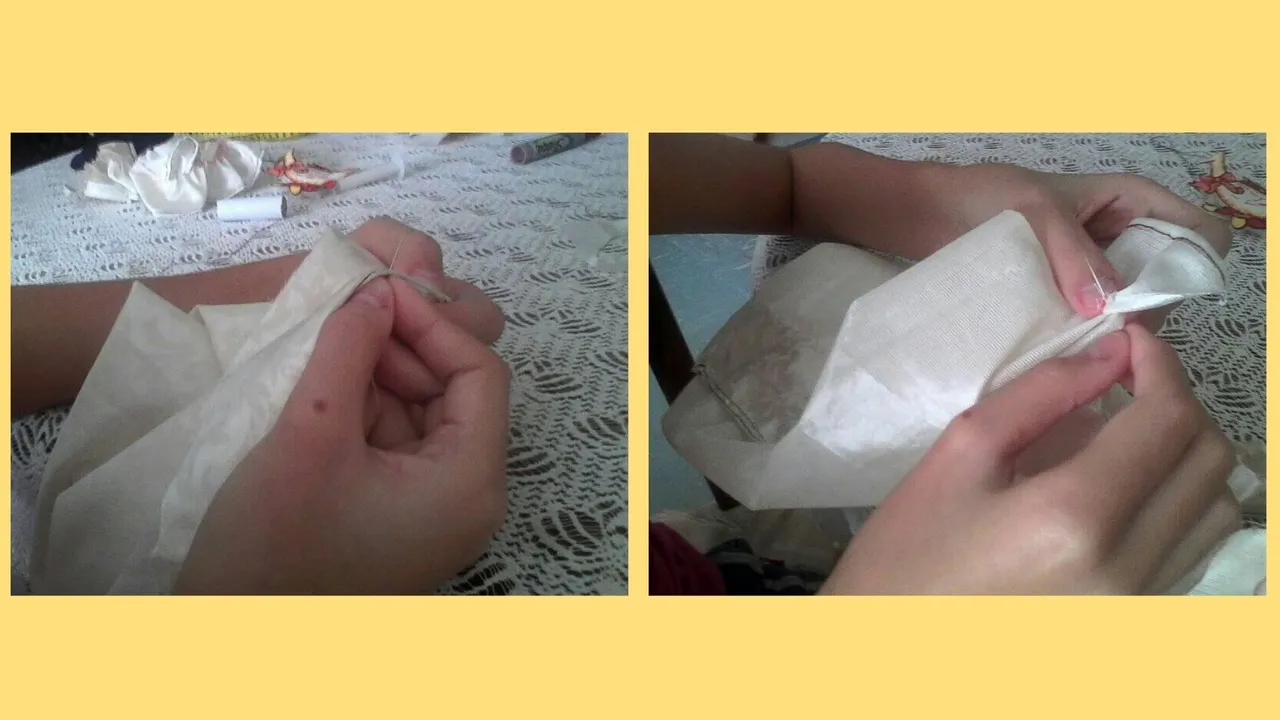
A coser!
In my case, I joined the two pieces with the stuffing, and then proceeded to sew the rectangle together with the circle.
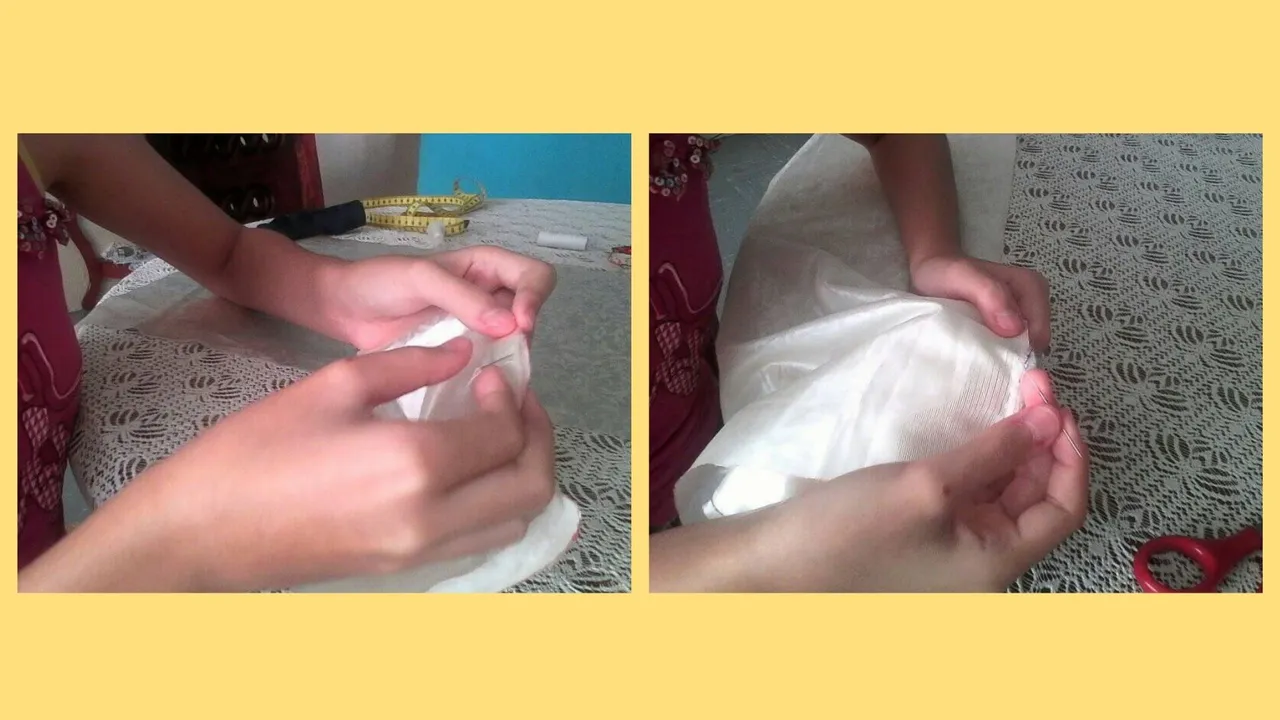
We cut a strip of the same fabric, proceed to sew and thus form a curl as shown in the following images:
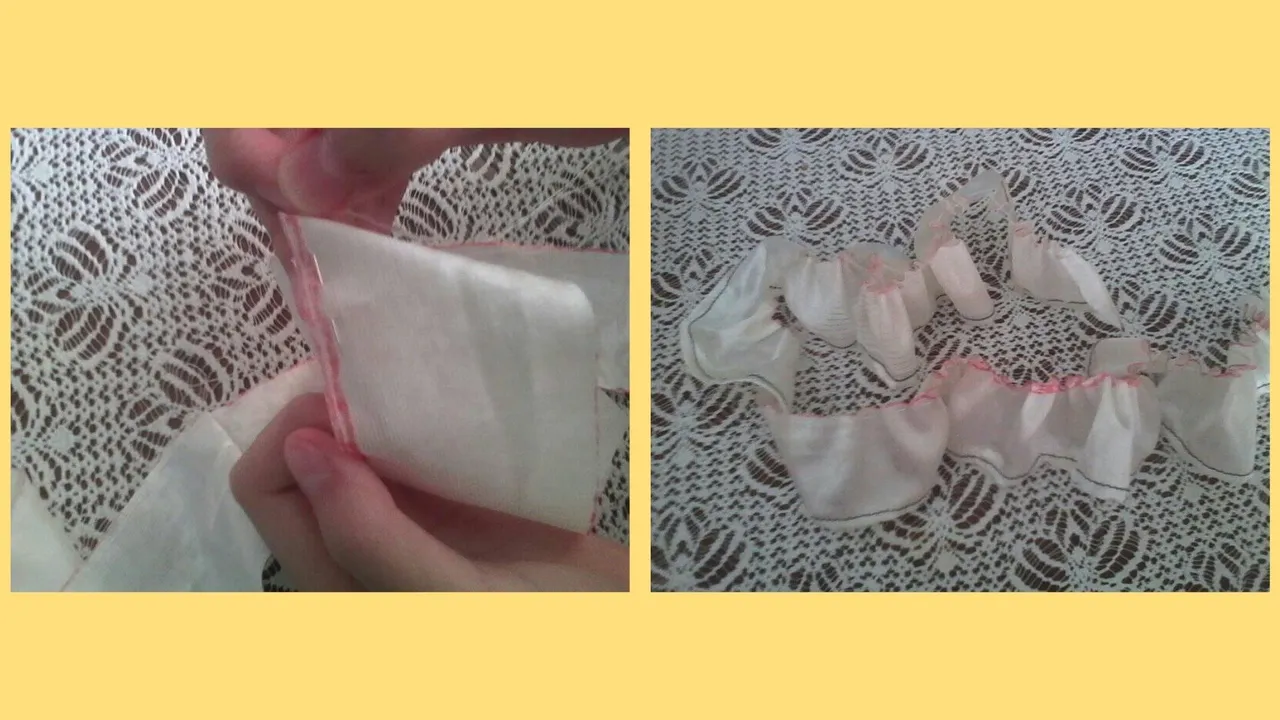
We sew the strip to the bottom of the other pieces already joined.
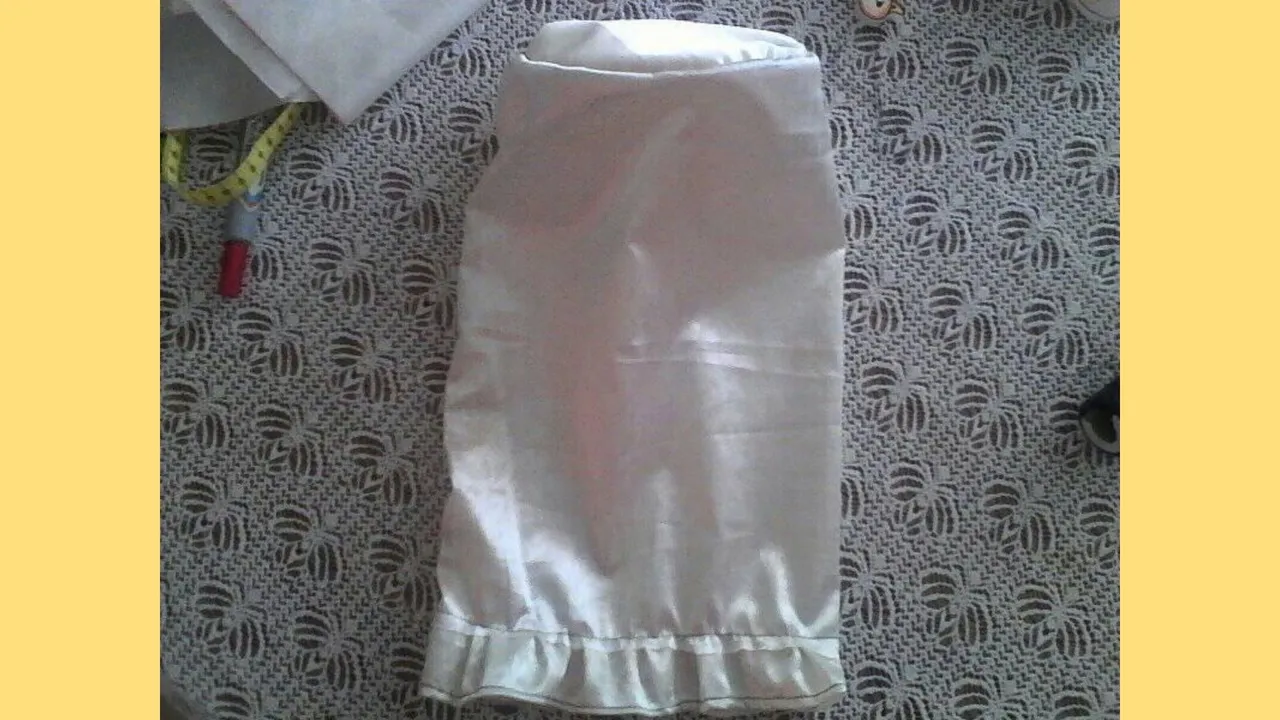
Y así nos queda:
And so we are left with:
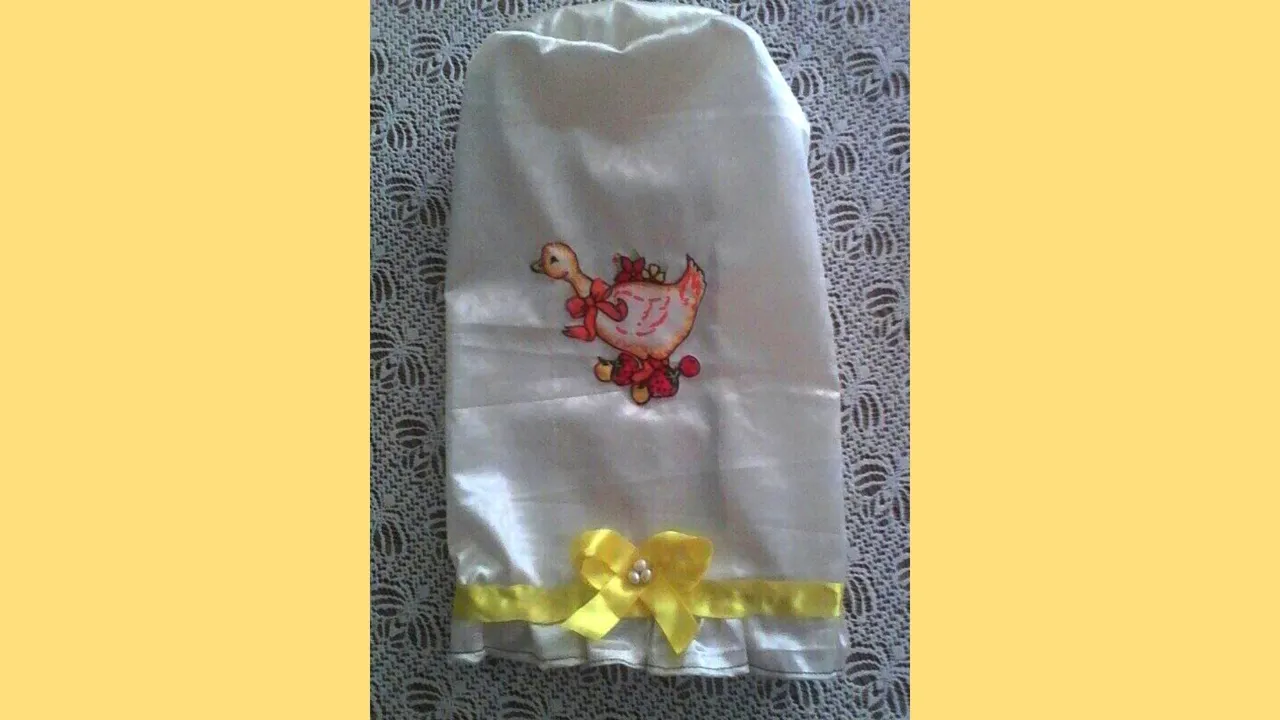
Finally, we glue a silicon ribbon with a bow at the bottom, and the figure to decorate is sewn in the center of the cover or lining.

Y listo, así nos queda!
Editadas en Canva.
Texto traducido en DeepL.
All these photos are authored by me @mariamglow , they were taken with my phone. Edited in Canva.
Text translated at DeepL.