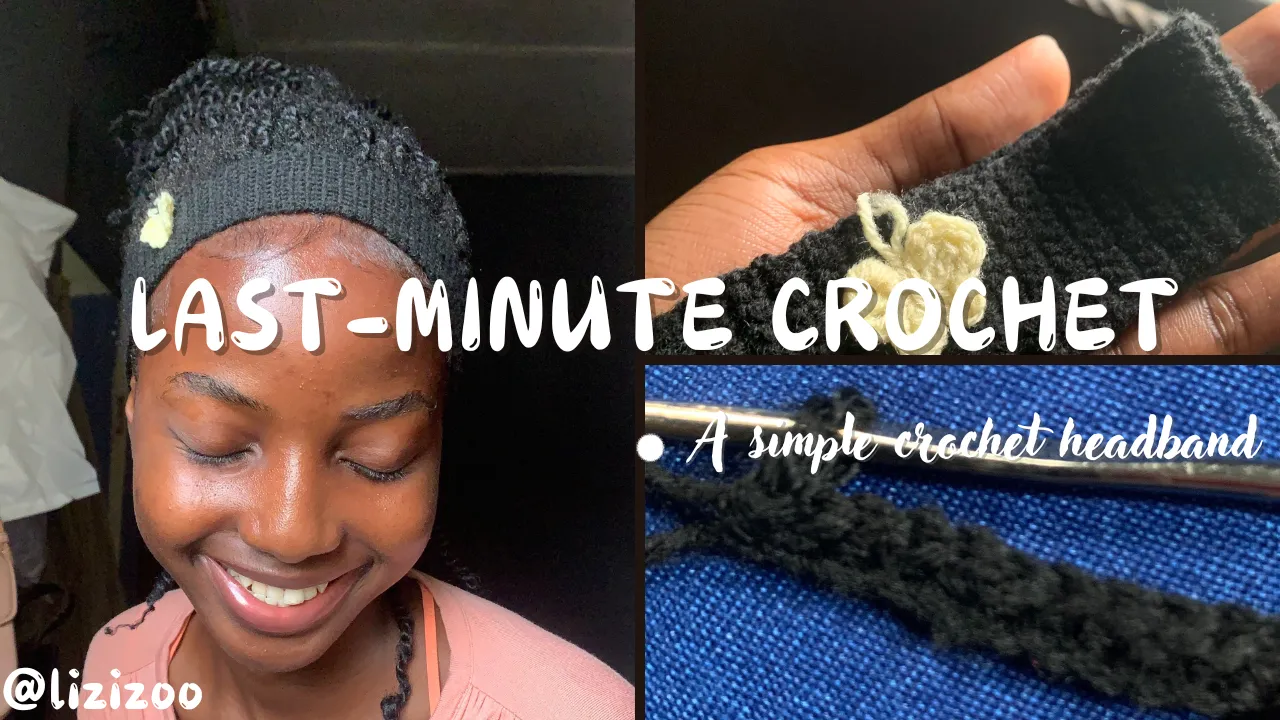
Have you ever done something so simple yet so helpful? Recently, I made a very simple headband, and it turned out to be incredibly helpful. My hair was getting rough, so I decided to make this easy headband to save the day. I should have taken out the twists, but I didn’t have the time since I have a tight schedule with an upcoming exam.
Taking out my braids or twists is a lot for me. I find it very stressful and time-consuming. I am quite slow at taking out braids, and I have 4C hair, which requires extra time for aftercare. I need to avoid shrinkage and tangling, so I need to plait or twist my hair before going to bed. Basically, the whole process just stresses me out.
So, I decided to make myself a simple headband, that would cover my rough edges in the front for a while. Coming up with a design or pattern wasn’t too hard; I needed something quick, so I decided on a straight-line band. I also chose black yarn because I wanted something that could go with all my outfits.
I am sure any crocheter could do this. It is something anyone with a yarn and a crochet hook can make, and it takes less than an hour to complete. Here’s a simple tutorial for beginners..

Step 1
Determine the width you want your band to be. Make a slip knot and crochet the number of chains according to your desired width. (preferably an odd number).

Step 2
After creating your base:
Ch 1, TYW and make single crochet in every stitch. Repeat this process until you reach your desired length, leaving about 2-3 inches of length for a decrease in width.
Remember, this all depends on the size of the head.
Step 3
After making a straight line, you make a decrease at both end.
(To make single crochet decrease: begin a Sc as usual but don’t pull through the two loop on your hook. Yarn over like you’re starting another Sc, then you will have three loop on your hook, yarn over and pull through all three loops.)
A decrease simply reduces two stitches to one.
For example, if you made eleven chains for your width:
Follow this pattern ( if you made more than 11, add (1 Dec, 1Sc), if you make less (1 Dec, 1Sc)
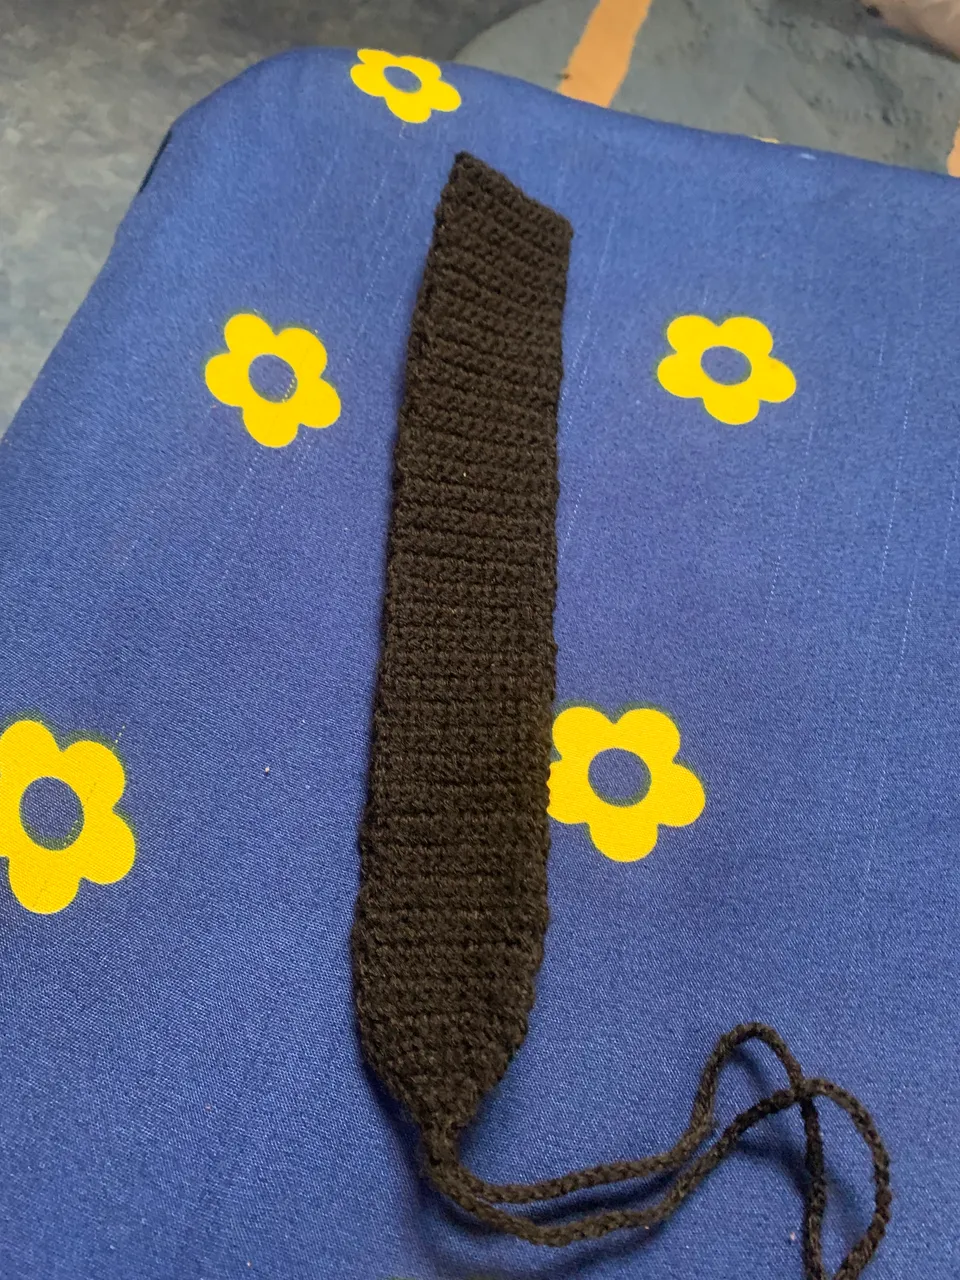
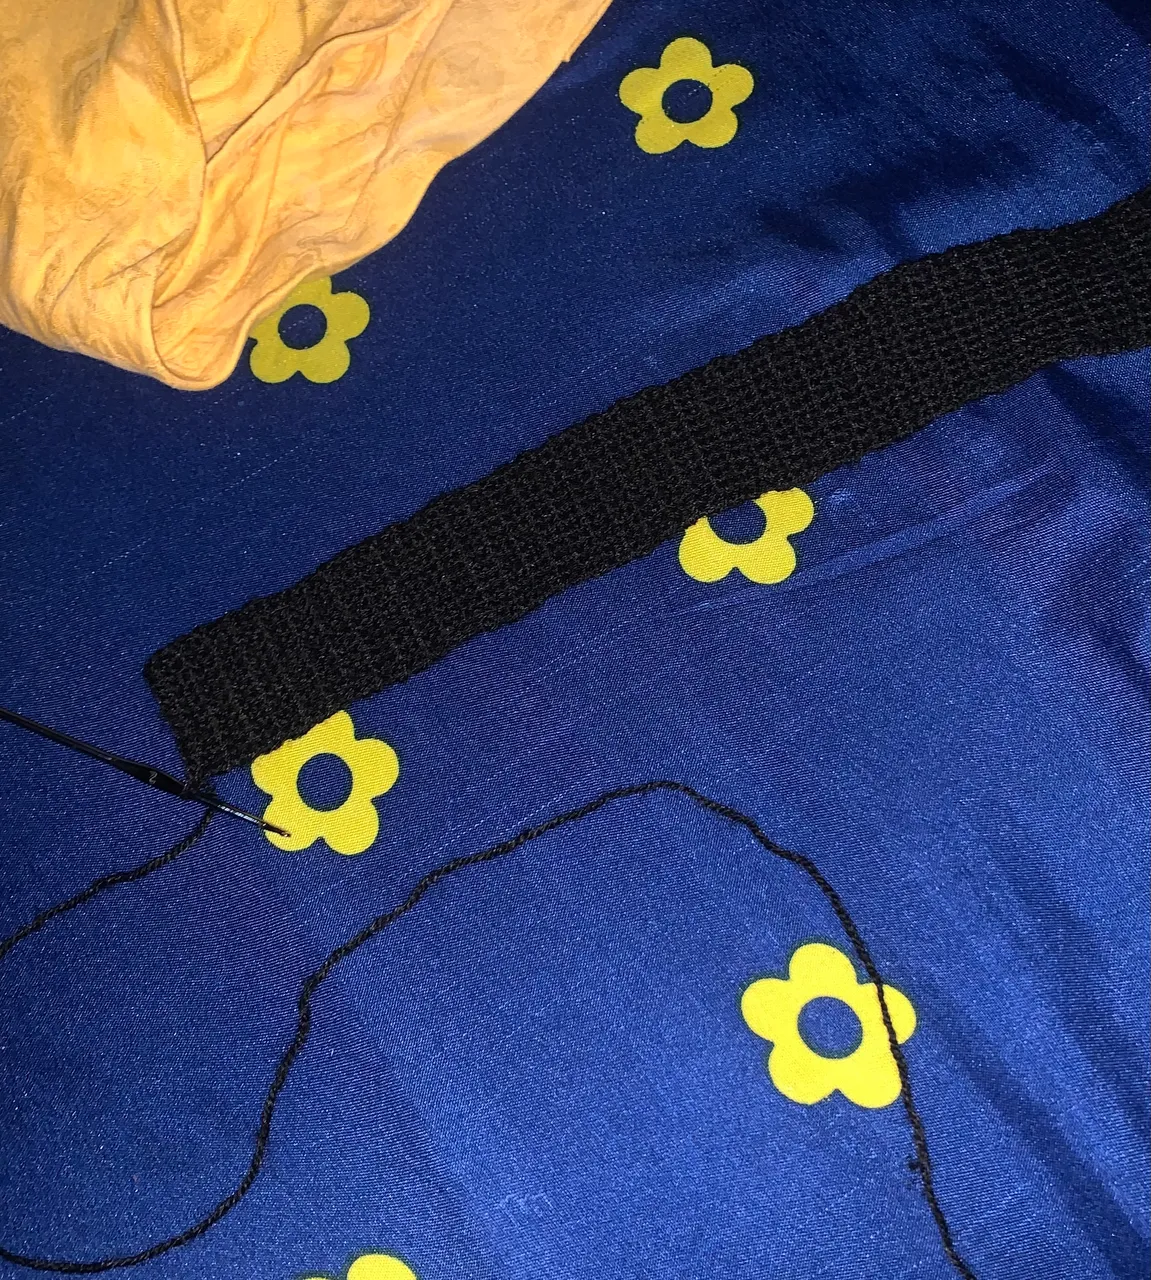
From the 1 St, make chains to form a strap. After reaching your desired length. Cut the yarn and pull through Do this for both sides.
Voila! You have made yourself or your loved one a headband.
When I finished mine, I wasn’t entirely satisfied with how it turned out, I knew I wanted it simple but it looks quite plain, so I decided to add a scrap butterfly appliqué I found. I attached it to the side for a touch of design.

This is the final look. I hope you find it okay!

•
All images are mine. Thumbnail designed using canva.
