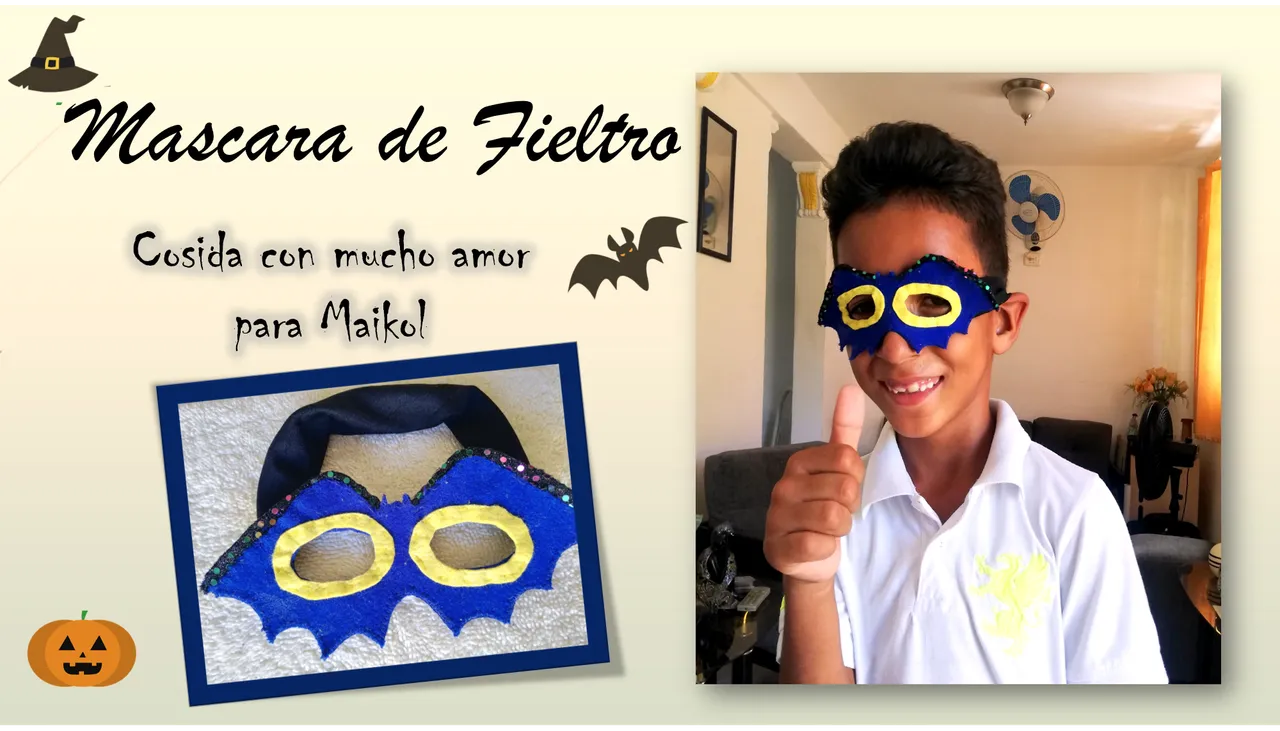
Good morning to all my NeedleWorkMonday friends, I return to this community, where I appreciate the work of many members, but this time I come to the initiative launched by @irenenavarroart . I really liked it as it consists of making a mask with Halloween motifs which is something that fills children with joy and makes them very excited.
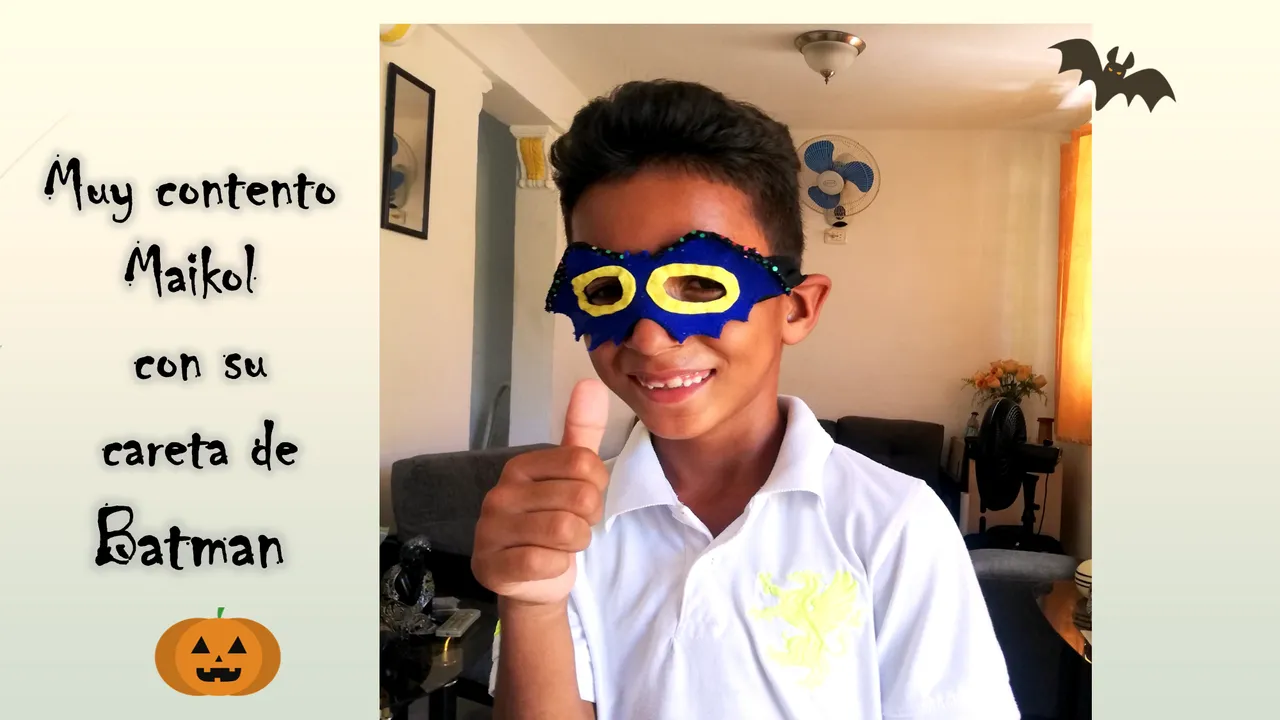
I have a friend who just turned 6 years old, he is my little neighbor, but he always goes around my house making a fuss and behind my husband because he always spoils him in everything. As soon as I saw the initiative I thought of him, I had a hard time deciding what to make him because I did not have the right materials for it, I wanted to make it of a strong fabric or felt and that it would not cover his face too much because of the heat, here in Cuba it is atrocious. On Thursday afternoon I had already decided to make him a mask with some blue felt I found, when I had already made some progress and I was sure I could make it for him I made the imprudence of telling him and you can't imagine, it has been very difficult for me to concentrate on this project because Maikol does not let me day or night, I confess that I have finished it with tremendous stress hahahaha, is that every time I start to create something I have to be concentrated to get the ideas flowing, well nothing, this time it has been impossible because of my little friend. Luckily I finished it early Saturday and I gave it to him, Maikol was very happy, I had a very busy weekend so I share it with you today.
Well now I show you the materials I used and explain the process of elaboration.
The materials used were the following.
Buenos días a todos mis amigos de NeedleWorkMonday, vuelvo a esta comunidad, donde aprecio el trabajo de muchos miembros, pero esta vez vengo a la iniciativa lanzada por @irenenavarroart. Me ha gustado mucho ya que consiste en hacer una máscara con motivos de Halloween que es algo que llena de alegría a los niños y les hace mucha ilusión.
Tengo un amigo que acaba de cumplir 6 años, es mi vecino pequeño, pero siempre anda por mi casa alborotándolo todo y detrás de mi esposo porque siempre lo consiente en todo. En cuanto vi la iniciativa pensé en él, me costó trabajo decidir qué hacerle porque no tenía los materiales adecuados para ello, quería hacerlo de una tela fuerte o fieltro y que no le tapara mucho la cara por el calor, aquí en Cuba es atroz. El jueves por la tarde ya había decidido hacerle una máscara con un poco de fieltro azul que encontré, cuando ya había avanzado y estaba segura de que podía hacérsela cometí la imprudencia de decírselo y no se pueden imaginar, me ha sido muy difícil concentrarme en este proyecto porque Maikol no me deja ni de día ni de noche, confieso que lo he terminado con un estrés tremendo jajajaja, es que cada vez que me pongo a crear algo tengo que estar concentrada para que las ideas fluyan, pues nada, esta vez ha sido imposible por culpa de mi amiguito. Por suerte lo terminé el sábado temprano y se lo he regalado, Maikol estaba muy contento, he tenido el fin de semana muy ocupado por eso se los comparto hoy.
Bueno ahora les muestro los materiales que emplee y les explico el proceso de elaboración.
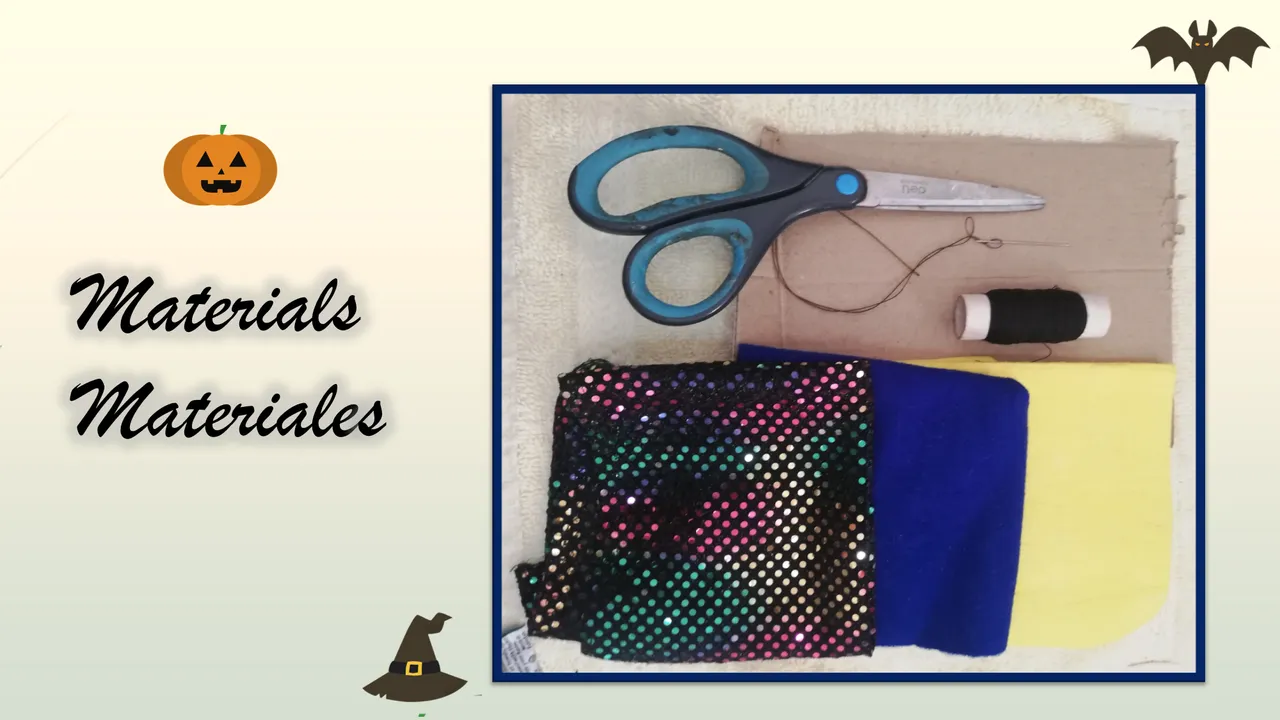
The materials used were the following
Dark blue and yellow felt
Black elastic fabric
Black mesh fabric with glitter
Black, blue and yellow threads
Scissors
Cardboard
Pencil
Los materiales utilizados fueron los siguientes
Fieltro azul oscuro y amarillo
Tela elástica negra
Tela de malla negra con purpurina
Hilos negros, azules y amarillos
Tijeras
Cartón
Lápiz
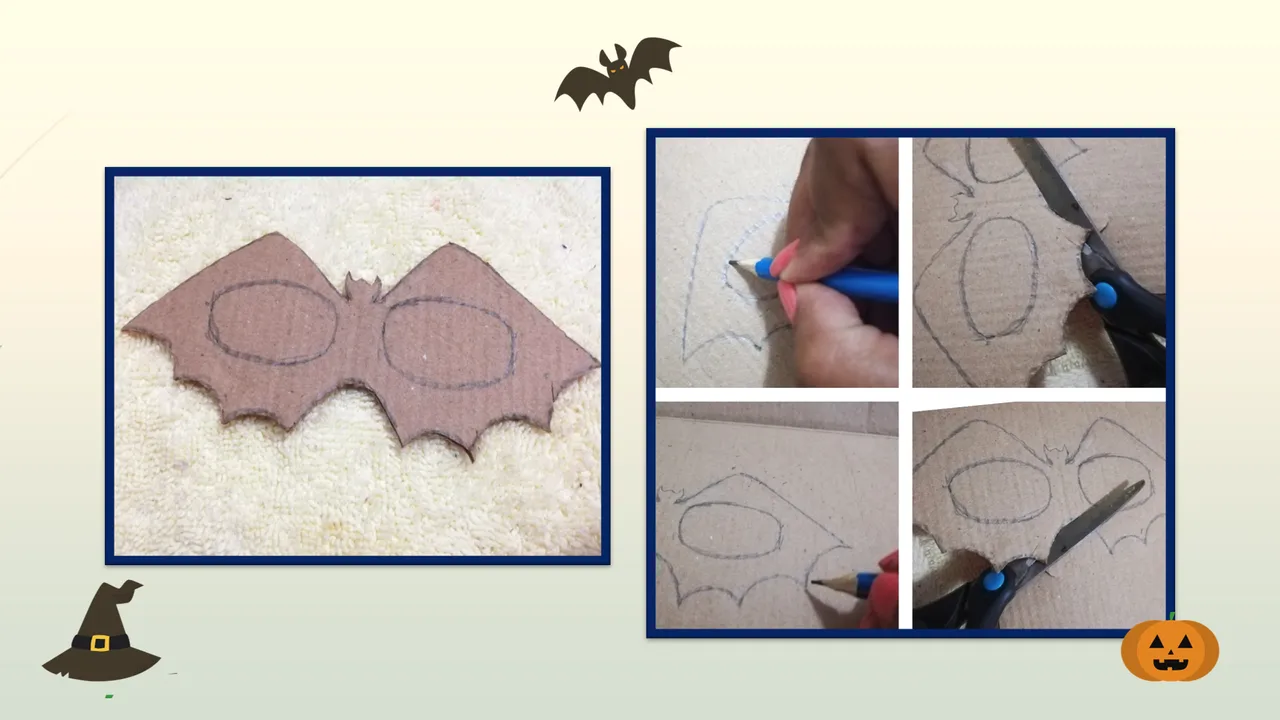
The first thing I did was to paint on a cardboard the design of the mask, I did it looking at one that I searched in picterex, at the end I put the reference, I was looking at it and painting on the cardboard freehand, it was really quite simple.
Lo primero que hice fue pintar en una cartulina el diseño de la máscara, lo hice fijándome en una que busqué en picterex, al final pongo la referencia, la fui mirando y pintando en la cartulina a mano alzada, realmente fue bastante sencillo.
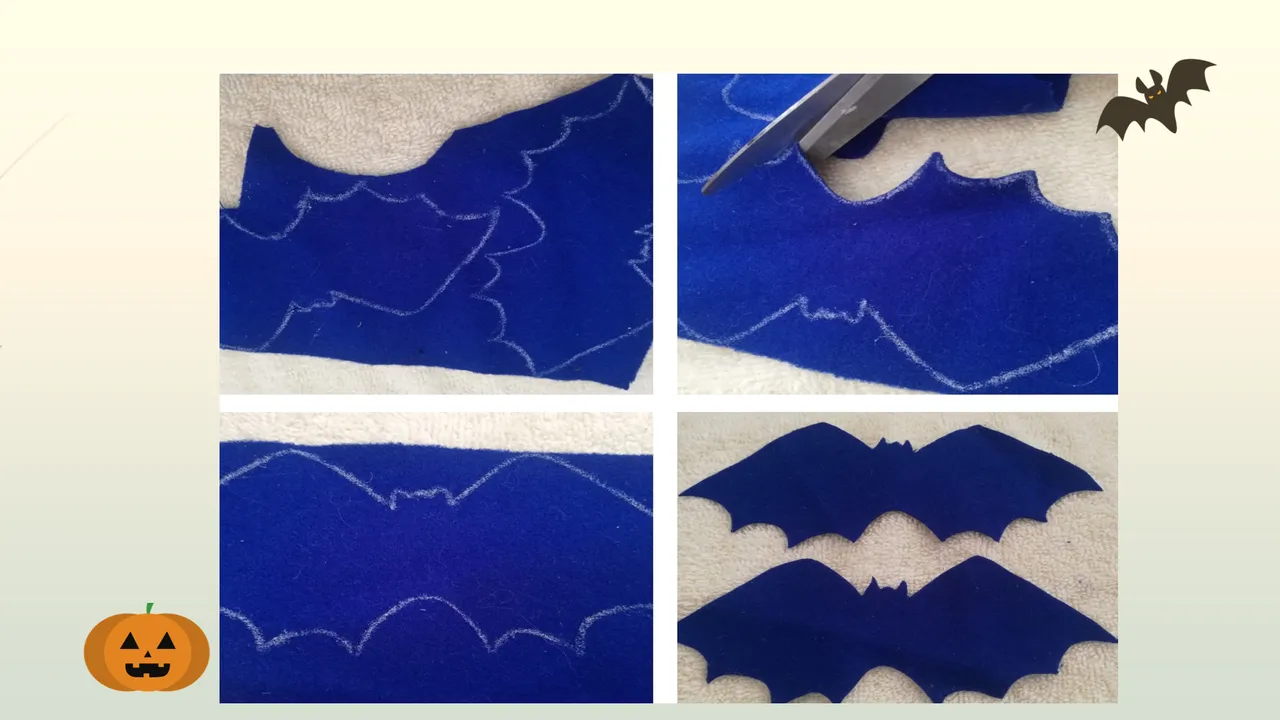
I cut the mask painted on the cardboard that served me as a mold to later mark it with white pencil on the blue felt, I made two because that felt was a little thin, so that it would be with consistency and was resistant because this friend is a little destructive hahahaha
Corté la máscara pintada sobre el cartón que me sirvió de molde para para posteriormente marcarla con lápiz blanco sobre el fieltro azul, hice dos porque ese fieltro era un poco fino, para que quedara con consistencia y fuera resistente porque este amigo es un poco destructivo jajajaja
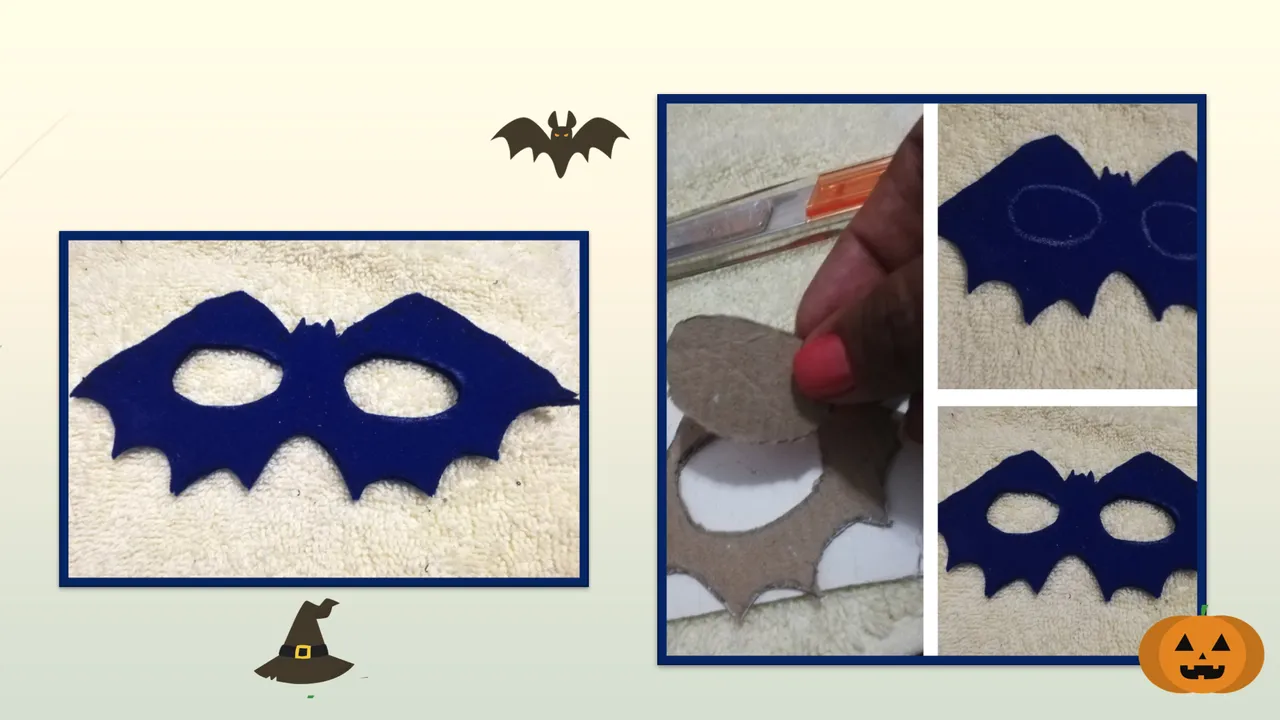
To be able to work the two pieces together I made a basting line along the top edge so that everything would be the same as if it were a single piece. I took the cardboard mask and cut out the two circles that serve to show the eyes through it, and with that mold I painted it on the blue felt and cut it out, making the holes for the eyes.
Para poder trabajar las dos piezas juntas hice un hilván por el borde superior para que todo quedara igual como si fuera una sola pieza. Tomé la máscara de cartón y recorté los dos círculos que sirven para mostrar los ojos a través de ella, y con ese molde lo pinté sobre el fieltro azul y lo recorté, haciendo los agujeros para los ojos.
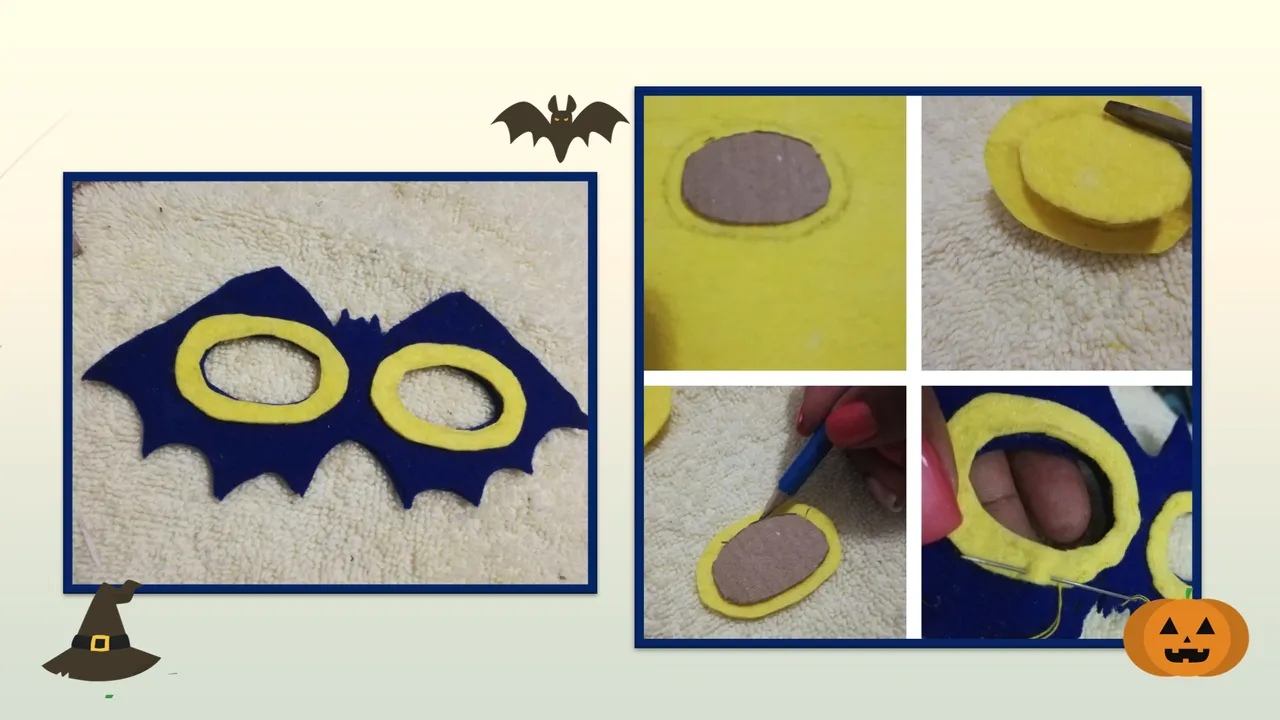
I took the mold for the eye holes and marked them twice on the yellow felt, leaving first a five-millimeter border and then well glued to the edge of the mold. Then I cut it on the outside of the outer edge and on the inside of the inner edge, as you can see in the photos, and sewed them with simple but firm stitches along the edge of the holes made in the dark blue mask.
Tomé el molde para los agujeros de los ojos y los marqué dos veces en el fieltro amarillo, dejando primero un borde de cinco milímetros y luego bien pegado al borde del molde. Luego lo corté por fuera del borde de afueray por dentro del que está mas adentro, como veréis en las fotos y los cosí con puntadas sencillas pero firmes a lo largo del borde de los agujeros hechos en el antifaz azul oscuro.
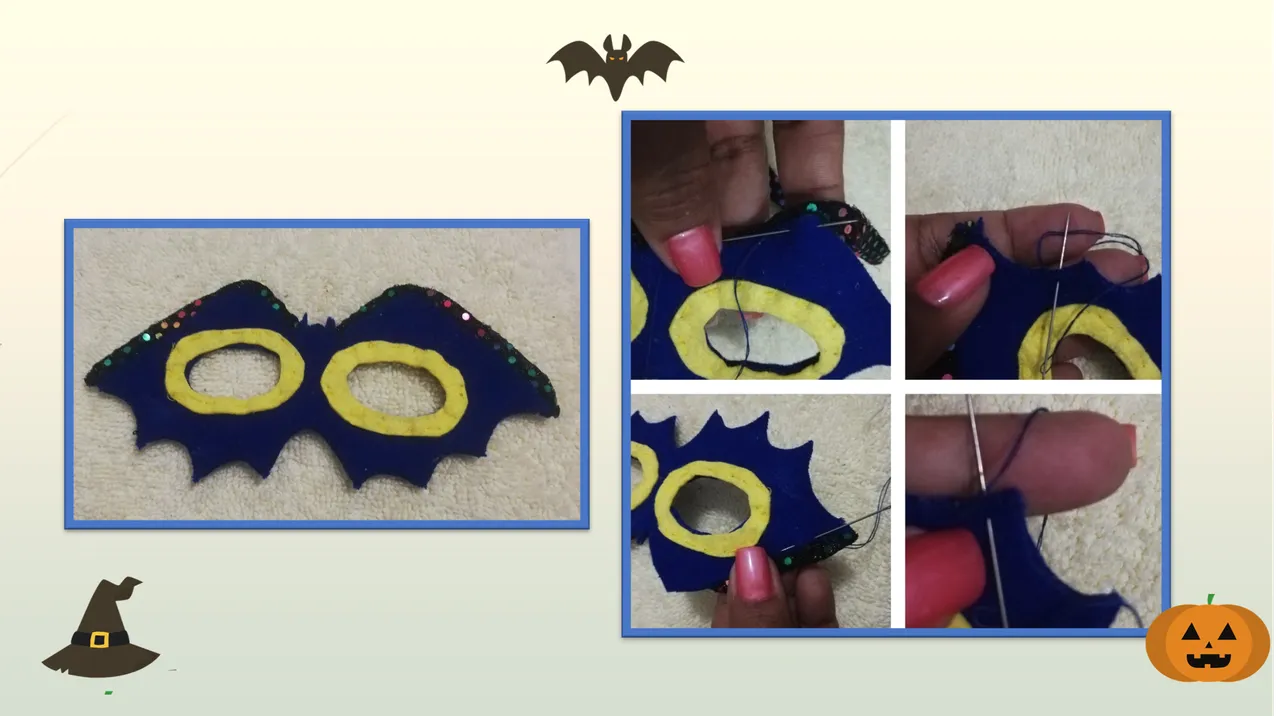
I cut a piece of colored glitter mesh 1.5 cm wide and 25 cm long, folded it in half and placed it with small stitches along the top edge of the mask to give it a little shine. After placing it, I removed the basting I had placed momentarily to join the pieces and with blue thread I continued sewing all along the lower edge to finish closing the mask, which I did with scallop stitch.
Corté una pieza de malla de purpurina de colores de 1,5 cm de ancho y 25 cm de largo, lo doblé por la mitad y lo coloqué con pequeñas puntadas a lo largo del borde superior de la máscara para darle un poco de brillo. Tras colocarla, retiré el hilván que había colocado momentáneamente para unir las piezas y con hilo azul seguí cosiendo por todo el borde inferior para terminar de cerrar la máscara, lo que hice con punto de festón.
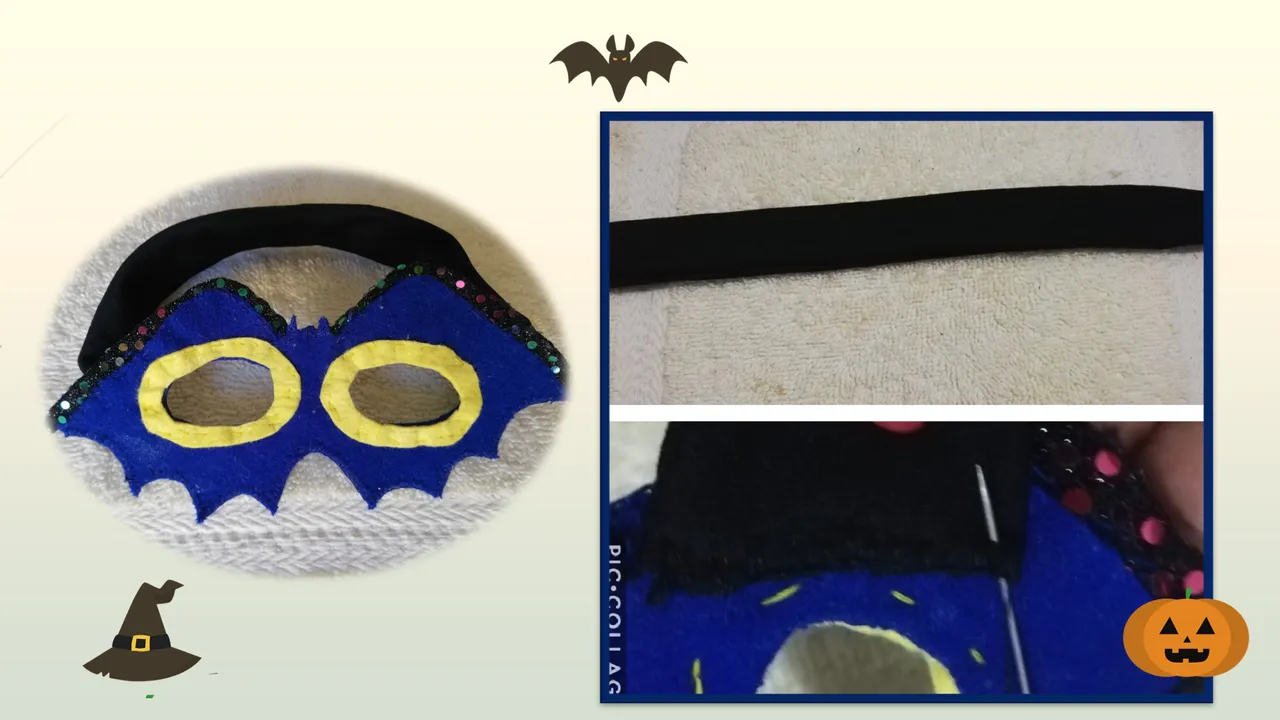
Once the mask is finished, it only remains to put the strip that will hold it to the face and for this I cut a piece of black elastic fabric 7 cm wide and 25 cm long, folded it in half and sewed it with backstitch, well here it is recognized as such, so that the fabric can maintain its elasticity without breaking the thread. I sewed on each side with a scallop stitch to keep it in place and that's it, the Maikol Mask is finished!
Una vez terminada la máscara, sólo queda poner la tira que la sujetará a la cara y para ello corté una pieza tela elástica negra de 7 cm de ancho y 25 cm de largo, la doblé por la mitad y la cosí con pespunte, bueno aquí se reconoce como tal, para que la tela pueda mantener su elasticidad sin romper el hilo. Cosí a cada lado con una puntada de festón para que se mantenga en su sitio y ya está, ¡la Máscara Maikol está terminada!
Well friends, this is my participation in the initiative, I hope my sister @taniagonzalez is encouraged and make hers, I know she has a nice idea,also to friend @tere.alv. Greetings to all and have a nice day.
Bueno amigos, esta es mi participación en la iniciativa, espero que mi hermana @taniagonzalez se anime y haga la suya, sé que tiene una bonita idea, también a la amiga @tere.alv . Saludos a todos y que tengan un buen día.

The photos were taken with my Huawei P20 lite phone, joined with PicCollage and PowerPoint.
Use Translator DeepL
Las fotos fueron tomadas con mi teléfono Huawei P20 lite, unidas con PicCollage y PowerPoint
Utilice Traductor DeepL
The figurines I used in the presentations were taken from pixabay./ Las figuritas que utilicé en las presentaciones las tomé de pixabay
Source