Como ya les había contado antes, yo resido en la Isla de Margarita y actualmente la temperatura está muy alta, con mucho calor a toda hora, además que últimamente hemos tenido muchísimas fallas con la electricidad, sin contar el internet y las líneas telefónicas.

Sin mas espera aquí te muestro el paso a paso de mi proyecto:
Materiales que utilice:
- Hilos
- Tijeras
- Máquina de coser
- Alfileres
- Cierre verde de 15cm
- Tela color verde
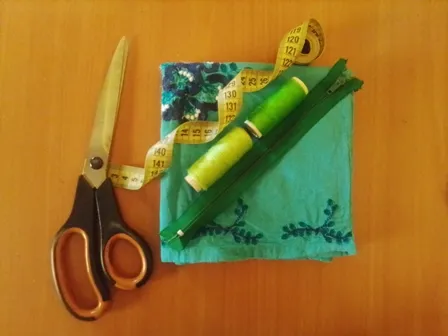
Paso 1
Ubique todos los materiales, la tela (que desconozco el nombre) ya que me la había regalado hace tiempo la abuela de mi esposo, además que ya venía bordada y me pareció muy linda y juvenil.
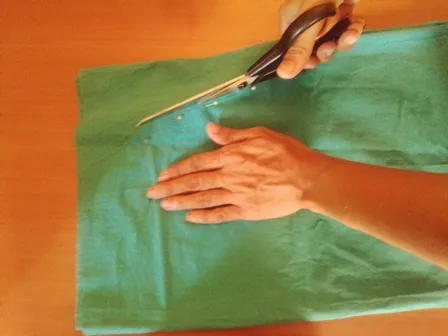
Paso 2
Corté a medida la tela prevista para el proyecto
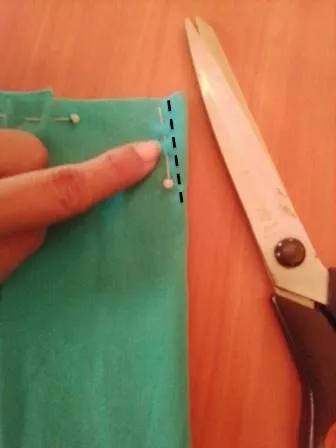
Paso 3
Le realice unas pinzas para dar un mejor acabado y ajuste en la cintura.
Paso 4
Comencé a coser con mi maquina para unir todas las piezas
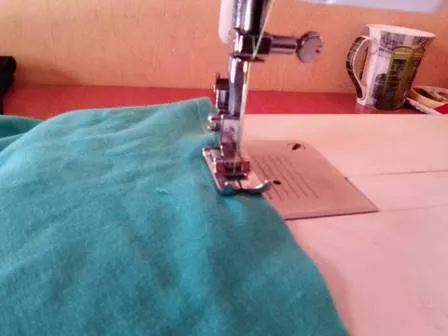
Paso 5
Siempre me gusta culminar mi costura con un zigzag, esto le da un mejor acabado.

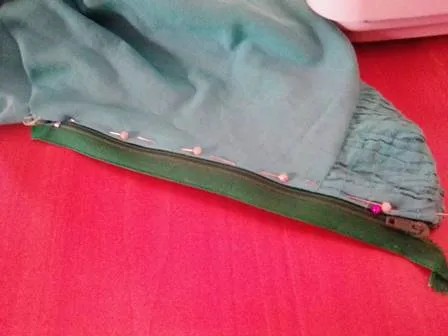
Paso 6
Coloque el cierre de un costado.
Te recuerdo que debes tener mucho cuidado al coser los cierres a cualquier pieza.
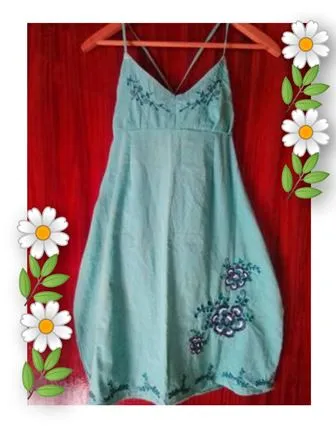
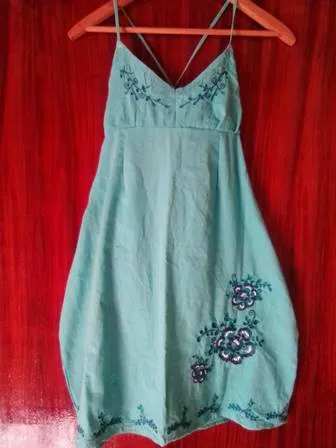
Paso 7
Asi quedo terminado mi proyecto, mi hija estuvo muy contenta con su nuevo vestido, a ti que te parece?
Hasta aquí mi publicación por el día de hoy, espero que sea de tu agrado y pueda leer tus comentarios por alguna duda o sugerencia.
Te envío un caluroso abrazo virtual y muchas bendiciones. Continúen creando, continúen cuidandose, nos leemos.

Todas las fotografías aquí presentadas son de mi propiedad, tomadas con mi teléfono Blu Studio X10
Los separadores los realice con ayuda de PowerPoint
El banner lo realice en Canva
Mi idioma natal es el español, realice la traducción con ayuda de Deepl.com
As I told you before, I live in Margarita Island and currently the temperature is very high, very hot at all times, plus lately we have had many failures with electricity, not to mention the internet and telephone lines.
Without further ado, here is the step by step of my project:
Materials I used:
- Threads
- Scissors
- Sewing machine
- Pins
- 15cm green zipper
- Green fabric
Step 1
I located all the materials, the fabric (I don't know the name) since my husband's grandmother had given it to me some time ago, besides it was already embroidered and I thought it was very pretty and youthful.
Step 2
I cut to size the fabric intended for the project.
Step 3
I made some darts to give a better finish and fit at the waist.
Step 4:
I started sewing with my machine to join all the pieces together.
Step 5
I always like to finish my stitching with a zigzag, this gives it a better finish.
Step 6.
Attach the zipper to one side.
I remind you to be very careful when sewing the zippers to any piece.
Step 7
This is how my project was finished, my daughter was very happy with her new dress, what do you think?
So far my publication for today, I hope you like it and I can read your comments for any questions or suggestions.
I send you a warm virtual hug and many blessings. Continue creating, continue taking care of yourselves, we will read each other.
- All the pictures presented here are my own, taken with my Blu Studio X10 phone.
- The separators were made with the help of PowerPoint
- The banner was made in Canva
- My native language is Spanish, I made the translation with the help of Deepl.com