ESPAÑOL
Hoy les traigo una manualidad sencilla pero con amor que realice para mi hija y te lo quiero compartir con mucho cariño.
Hace unos meses tuvimos que llevar al Oftalmologo a mi hija de 17, ya que el uso y a veces abuso de la pantalla le estaba haciendo daño a sus ojos, por lo que le recomendaron el uso preventivo de lentes, asi que tambien se hizo necesario realizar un estuche protector para sus nuevos lentes.
Entonces me puse manos a la obra y le realice un forro protector con pocos materiales que tenia en casa y asi no se vayan a deteriorar tan rápido con el paso del tiempo, te traigo el paso a paso del forro.

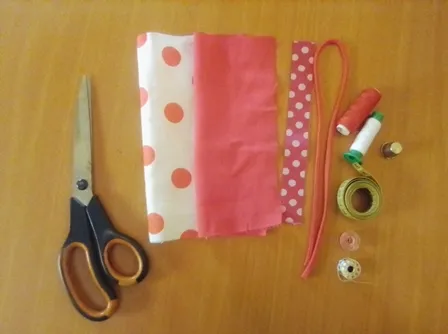
Busqué los materiales necesarios para el proyecto.
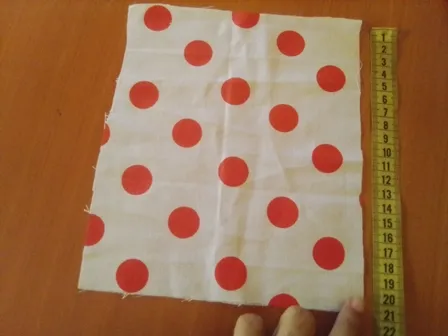
Tomé las medidas de lo que necesitaba, dos tipos de tela de 20 cm x 20 cm
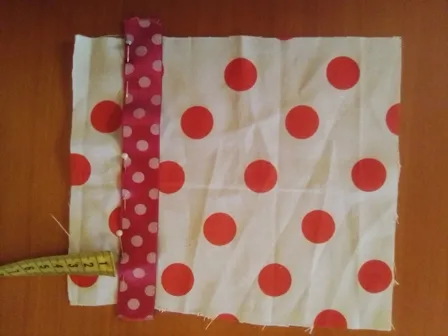
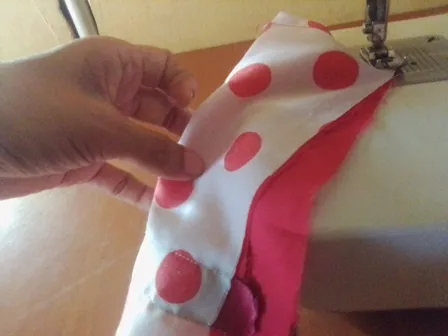
Le coloque un detalle extra con una cinta de raso
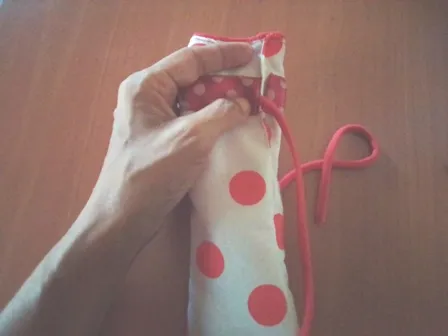
Luego de coser todos los extremos, le coloque una cinta que ajustara y que combinara
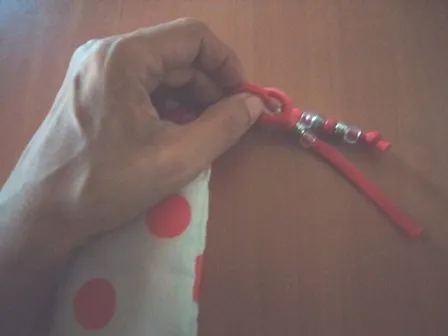
Por último, agregue unas cuentas de bisutería para darle un toque más fashion
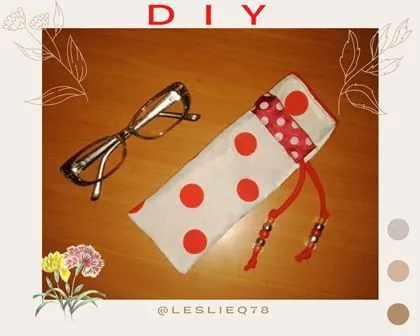
Y así quedo terminado mi proyecto de forro protector para lentes.
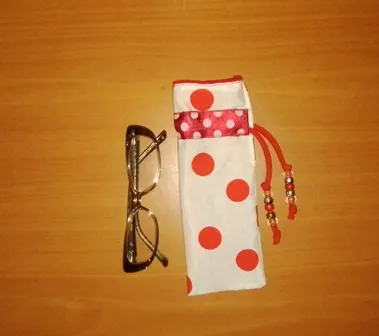
A pesar de ser un proyecto sencillo, lo hice con mucho amor para mi hija y lo mejor es que ella quedo muy contenta y agradecida.
Hasta aquí mi publicación por el día de hoy, espero que sea de tu agrado y pueda leer tus comentarios por alguna duda o sugerencia.
Te envío un caluroso abrazo virtual y muchas bendiciones. Continúen creando, nos leemos.
- Todas las fotografías aquí presentadas son de mi propiedad, tomadas con mi teléfono Blu Studio X10
- Los separadores los realice con ayuda de PowerPoint
- El banner lo realice en Canva
- Mi idioma natal es el español, realice la traducción con ayuda de Deepl.com
ENGLLISH
Today I bring you a simple but loving craft that I made for my daughter and I want to share it with love.
A few months ago we had to take my 17 year old daughter to the Ophthalmologist, because the use and sometimes abuse of the screen was hurting her eyes, so they recommended the preventive use of glasses, so it also became necessary to make a protective case for her new glasses.
So I got down to work and made a protective lining with a few materials I had at home so they would not deteriorate so fast with the passage of time, I bring you the step by step of the lining.
I looked up the materials needed for the project.
I took the measurements of what I needed, two types of fabric 20 cm x 20 cm.
I added an extra detail with a satin ribbon.
After sewing all the ends together, I attached a ribbon that would fit and match.
Finally, add some costume jewelry beads to give it a more fashionable touch.
And that's the end of my protective lens liner project.
Despite being a simple project, I made it with a lot of love for my daughter and the best thing is that she was very happy and grateful.
So far my publication for today, I hope you like it and I can read your comments for any questions or suggestions.
I send you a warm virtual hug and many blessings. Keep on creating, we will read each other.
- All the photographs presented here are my own, taken with my Blu Studio X10 phone.
- The separators were made with the help of PowerPoint
- The banner was made in Canva
- My native language is Spanish, I made the translation with the help of Deepl.com