VERSION ESPAÑOL
Experimentar en este ramo de la costura me ha traído buenos beneficios.
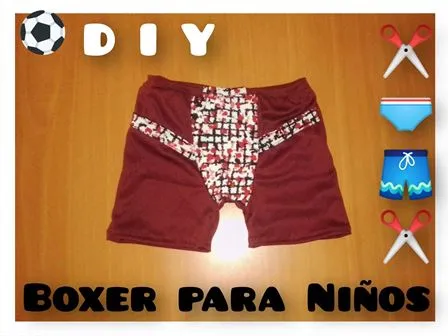
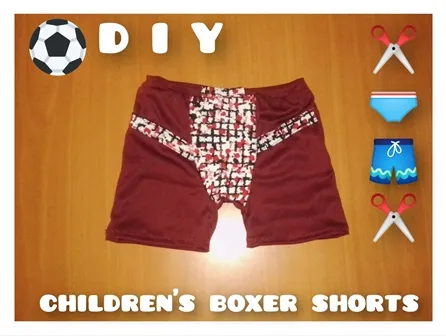
A continuación les muestro el paso a paso de los Boxer que realicé esta semana para mi hijo.

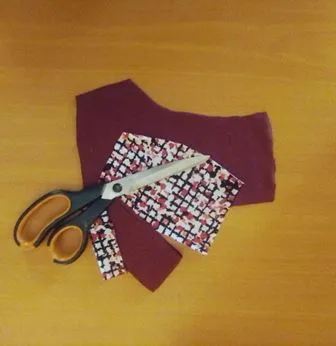
Fije mi patrón a la tela; parte delantera, parte trasera y entrepierna y corte con mucho cuidado


Listo el corte de mis piezas, procedí a unir
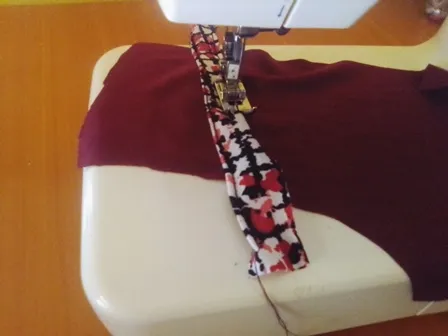
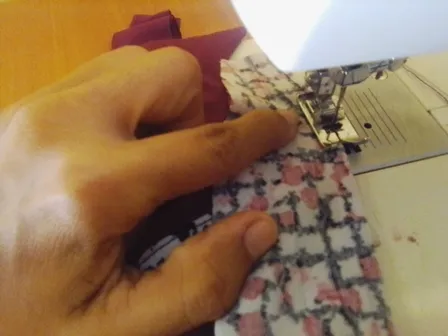
Se le cosen los detalles que tendra tu modelo
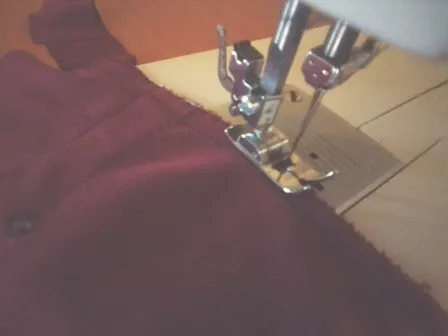
Enfrentamos nuestra tela y cosemos
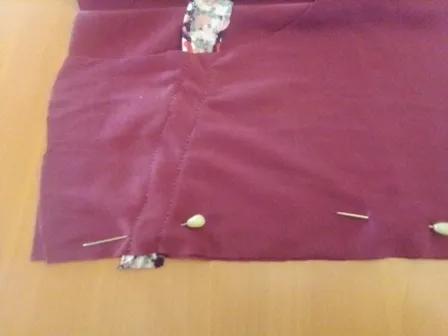
En la parte de la entrepierna le realice una costura de aproximadamente 5 cm
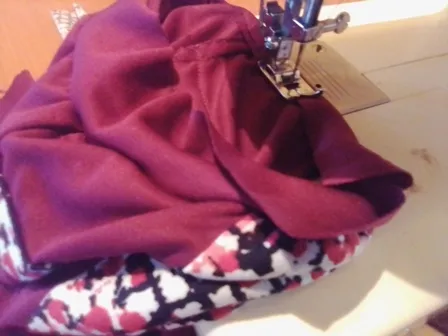
Para culminar nuestro proyecto, realizamos costura zig zag para dar mejor acabado
Fijamos la pretina y cosemos
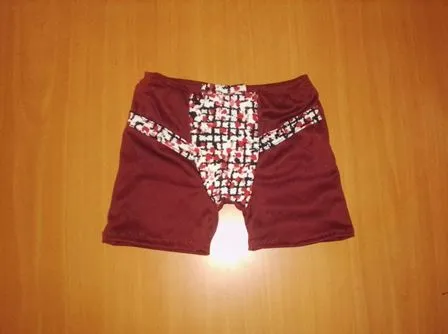
Lista la costura de todas las partes de nuestro Boxer
Para este modelo no utilice elásticas, realicé la pretina con la misma tela.
Así está terminado mi trabajo y quedo genial, jejeje

Hasta aquí mi publicación por el día de hoy, espero sea de tu agrado, inmensamente agradecida por la oportunidad de interactuar cada día con personas tan maravillosas como tú, bendiciones.

- Todas las fotografías aquí presentadas son de mi autoría, tomadas con mi teléfono Blu Studio X10
- Los separadores los modifique en PowerPoint
- El collage lo realice con la aplicación Collage Maker
- El banner lo realice en Canva
- Mi idioma natal es el español, realice la traducción con ayuda de Deepl.com
ENGLISH VERSION
Experimenting in this field of sewing has brought me good benefits.
Below I show you the step by step of the Boxers I made this week for my son.
Pin my pattern to the fabric; front, back and crotch and cut very carefully.
Ready the cut of my pieces, I proceeded to join the pieces together.
I sew the details that your model will have.
We face our fabric and sew
In the crotch part I sew a seam of approximately 5 cm.
To finish our project, we made zig zag stitching to give a better finish.
We fix the waistband and sew
Ready the sewing of all the parts of our Boxer
For this model I did not use elastic, I made the waistband with the same fabric.
This is the way my work is finished and it looks great, hehehehe
So far my publication for today, I hope you like it, immensely grateful for the opportunity to interact every day with people as wonderful as you, blessings.
- All the pictures presented here are my own, taken with my Blu Studio X10 phone.
- The separators were modified in PowerPoint
- The collage was made with the Collage Maker application.
- The banner was made in Canva
- My native language is Spanish, I made the translation with the help of Deepl.com