¡Hola queridos usuarios de Hive ✨💕!
Hi dear Hive users ✨💕!
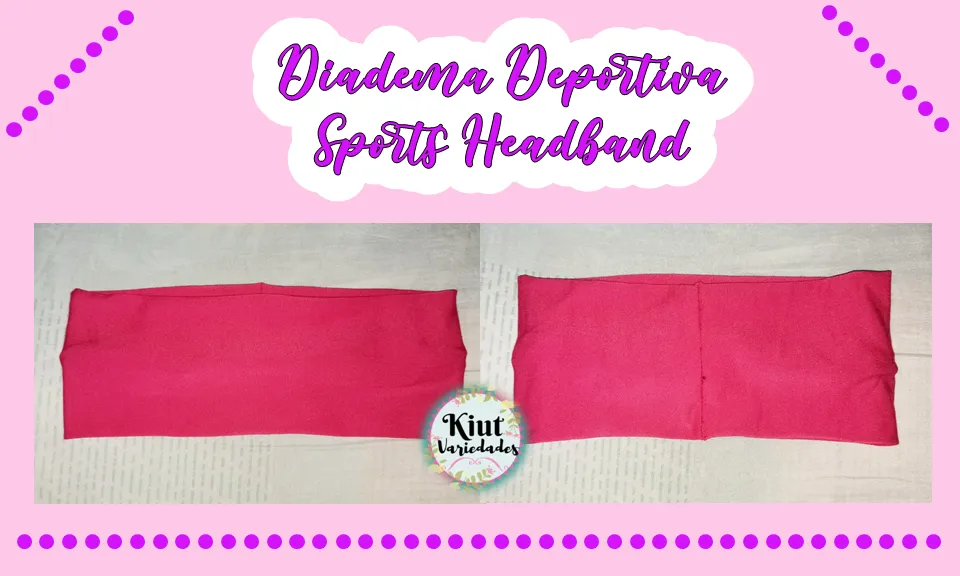
El día de hoy vengo con un tutorial sumamente sencillo y rápido, y es una diadema (o como nosotros lo conocemos “cintillo”) deportivo, hace mucho me quería hacer una porque son ideales para esos día en donde nuestro cabello no está 100% limpio pero tampoco está sucio y lo queremos llevar suelto, además investigando para mis publicaciones de maquillajes históricos descubrí hubo un tiempo en el que estas diademas eran el último grito de la moda, así que probablemente luego me vean usándola.
Today I come with a very simple and quick tutorial, and it's a sporty headband (or as we know it "headband"), I wanted to make one because they are ideal for those days where our hair is not 100% clean but it's not dirty either and we want to wear it loose, also researching for my historical makeup publications I discovered there was a time when these headbands were the latest fashion trend, so you'll probably see me wearing it later.

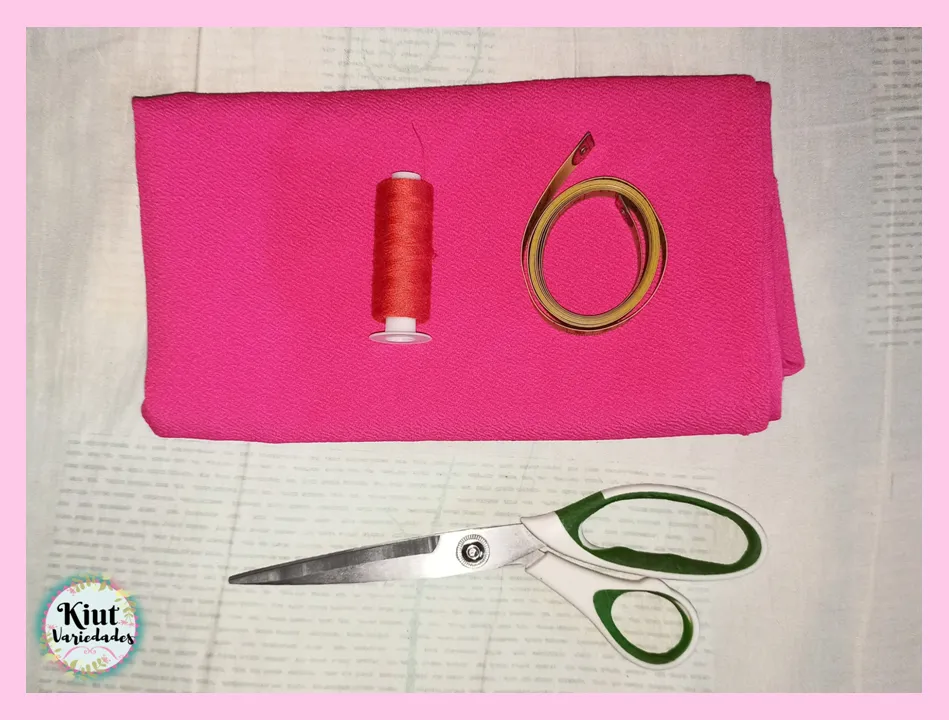
🧵 MATERIALES || MATERIALS 🧵
- Tela Elástica.
- Hilo.
- Cinta Métrica.
- Tijera.
- Máquina de coser y/o aguja.
- Elastic fabric.
- Thread.
- Tape measure.
- Scissors.
- Sewing machine and/or needle.
🧵 COMENCEMOS || LET'S GET STARTED 🧵
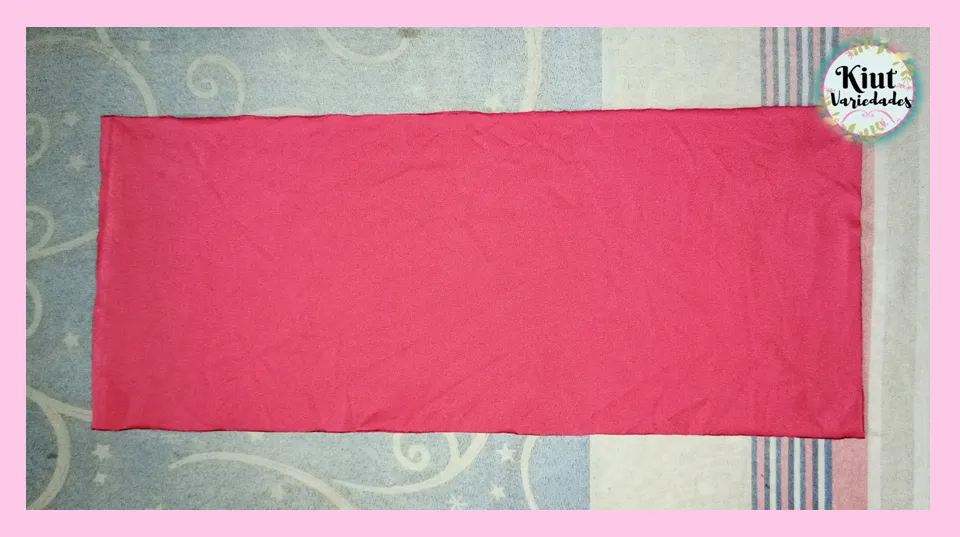
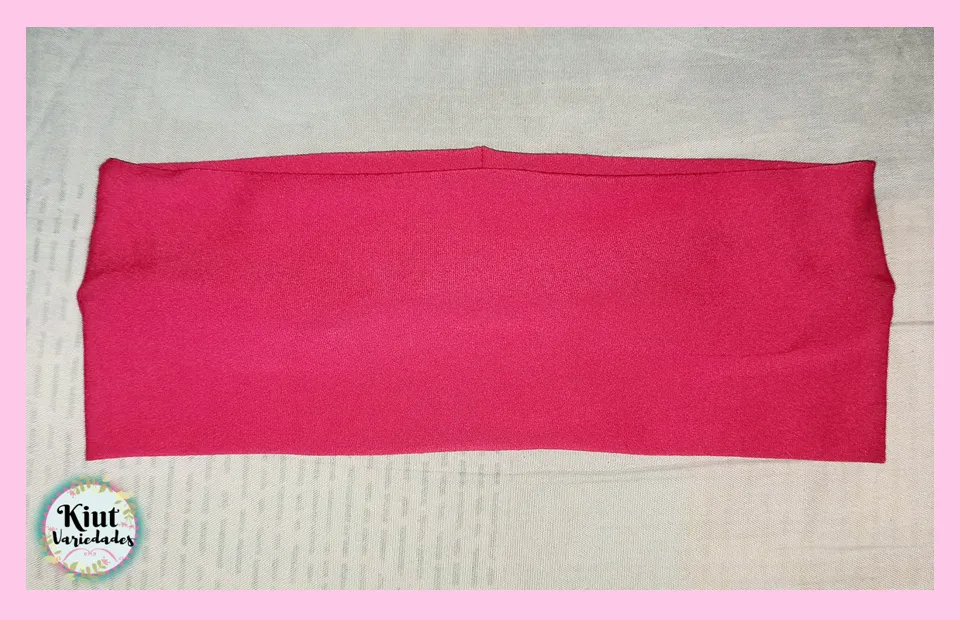
Medí mi cabeza desde la base de cuello pasando por las orejas hasta la frente, a dicha medida le reste 10cm (porque mi tela es bastante elástica) y corte un rectángulo de tela con esta medida de largo y de ancho 19,5cm (yo quería la diadema gruesa por eso esta medida).
I measured my head from the base of the neck passing through the ears to the forehead, I subtracted 10cm from this measurement (because my fabric is quite elastic) and cut a rectangle of fabric with this measurement in length and width 19,5cm (I wanted the headband to be thick, that's why this measurement).
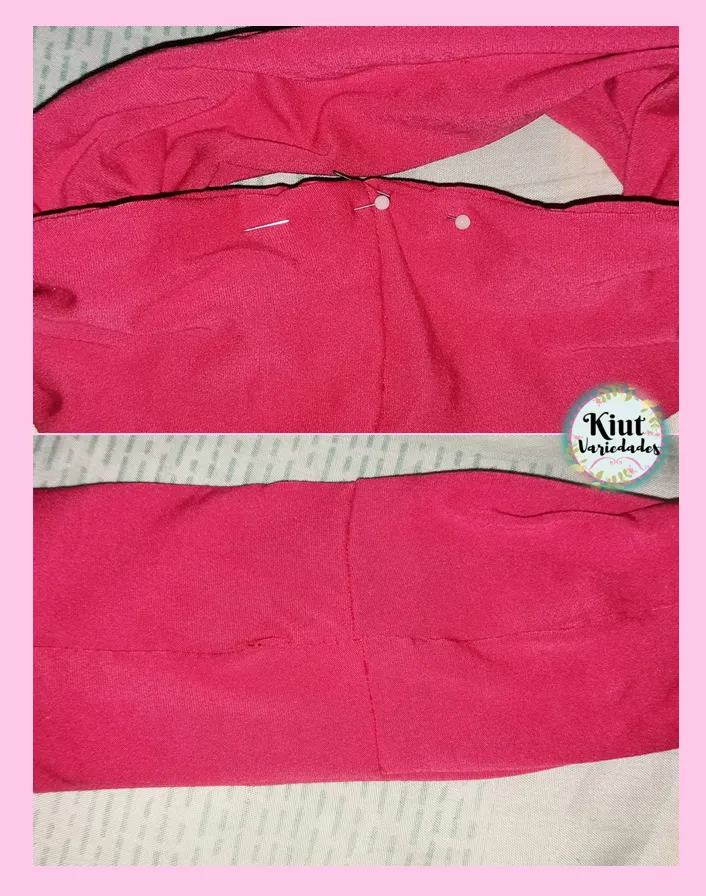
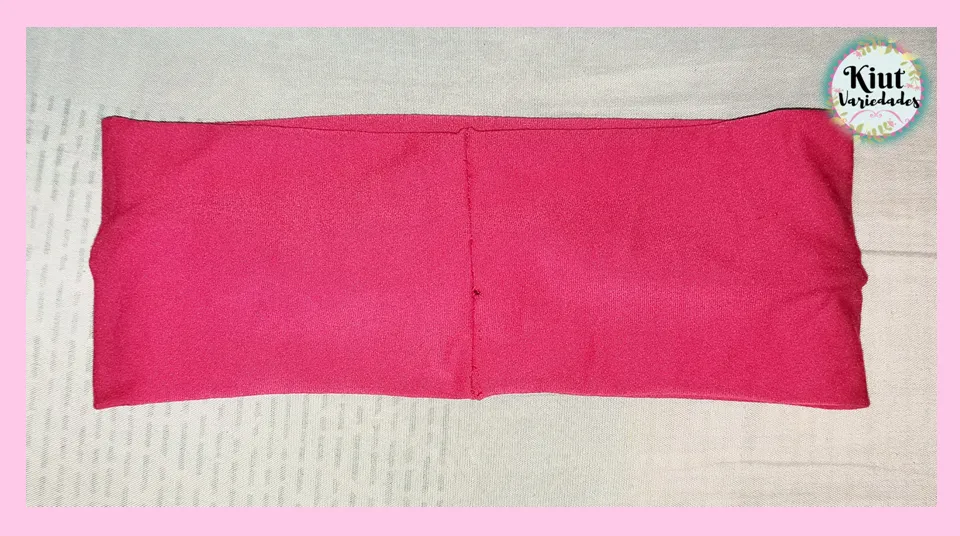
Doble el rectángulo de forma horizontal y cosí dejando un espacio de 4cm sin coser en cada extremo.
Fold the rectangle horizontally and sew leaving a 4cm space without sewing at each end.
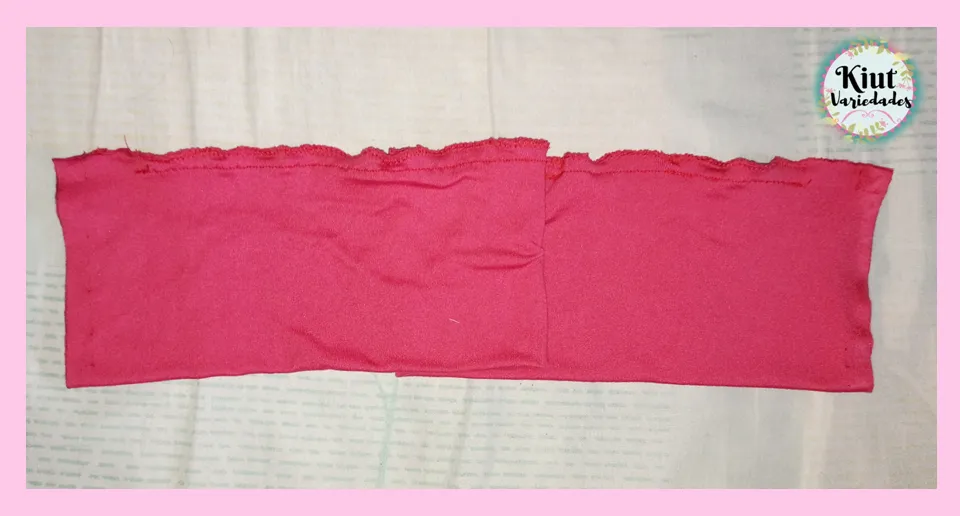
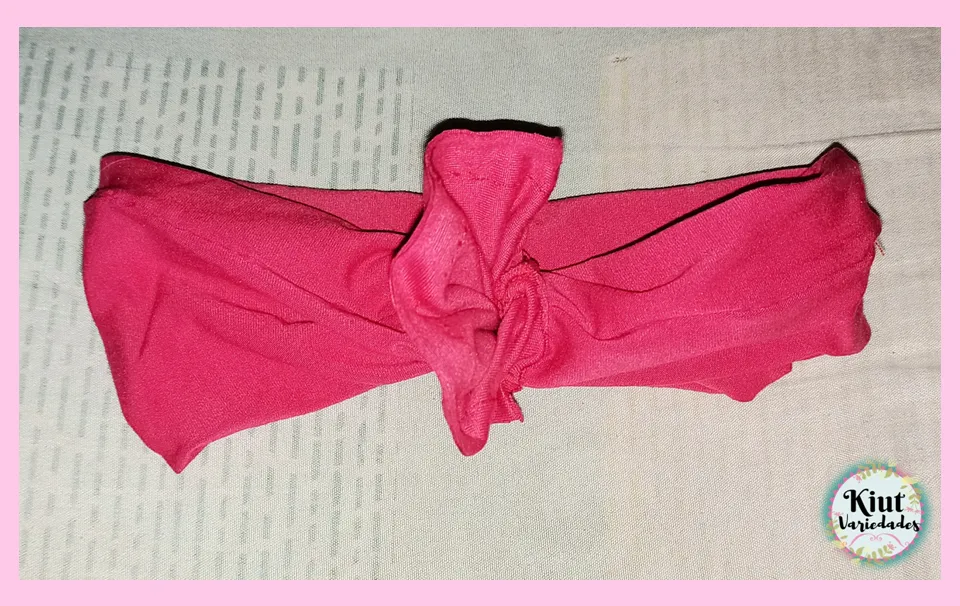
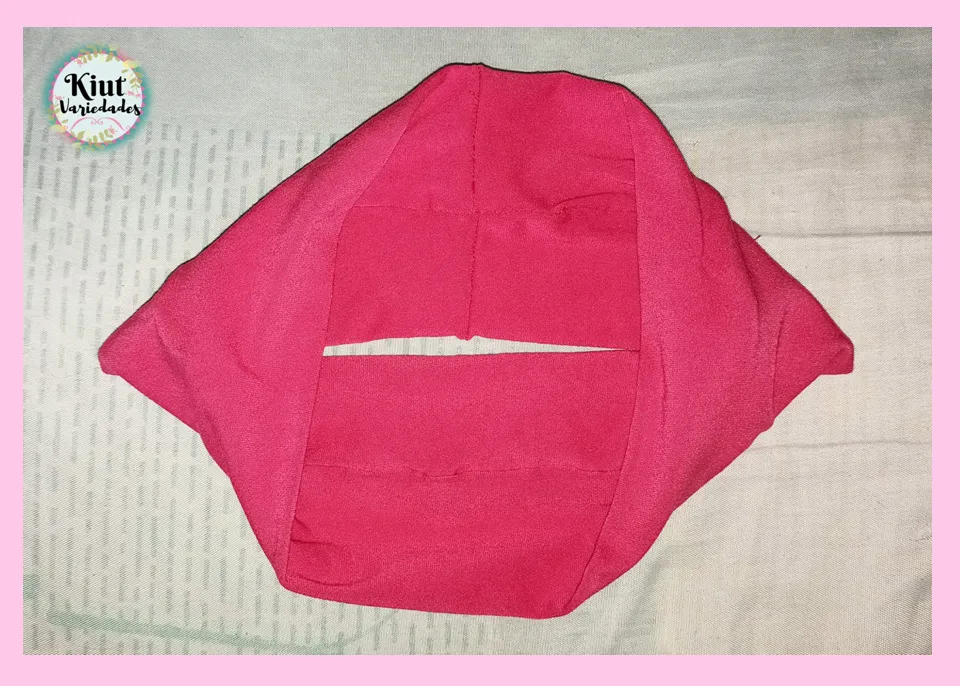
Con la pieza volteada voy a enfrentar el derecho de la tela para coser los extremos (por eso dejamos un espacio sin coser) y luego lo vamos a introducir dentro de la diadema.
With the piece turned over I will face the right side of the fabric to sew the ends (that's why we leave a space without sewing) and then we will insert it inside the headband.
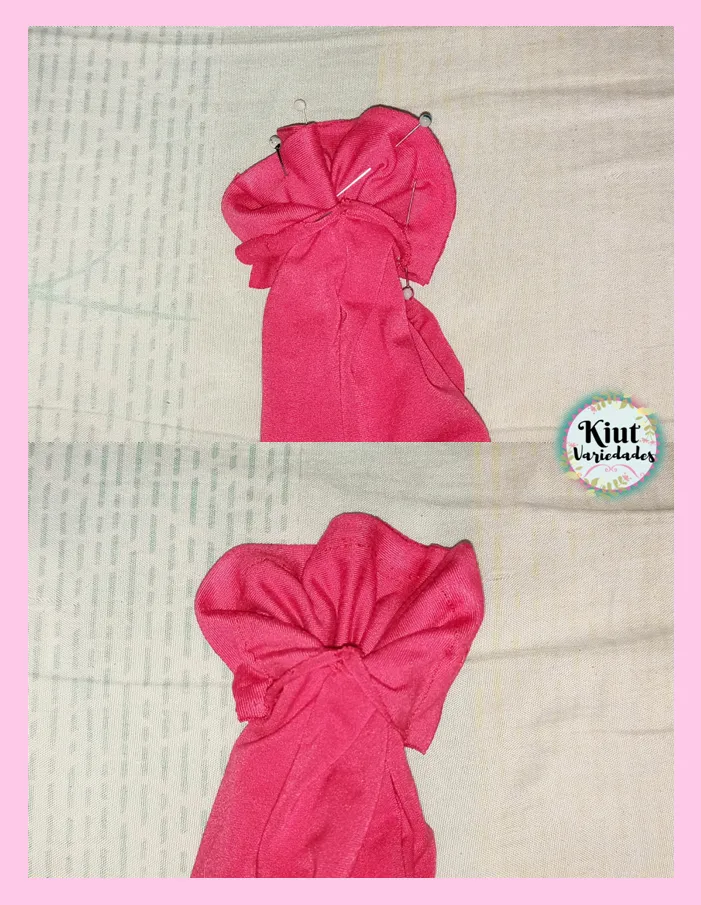
Ya lo que queda por hacer es realizar una costura invisible para terminar de cerrar la diadema.
Now all that remains to be done is to make an invisible seam to finish closing the headband.
Te invito igual que siempre a que intentes este proyecto por tu cuenta y me cuentes en los comentarios 👇 como es tu experiencia.
I invite you as always to try this project on your own and tell me in the comments 👇 how is your experience.


Síguenos en todas nuestras redes sociales… || Follow us on all our social networks ...
Facebook:KiutVariedades
Instagram:@Kiut_variedades
Twitter:@Kiut_variedades