Hola Hivers, que bueno es poder saludarles y deseando estén haciendo lo que les guste y los hagas feliz. Que tengan un buen fin de semana.
Hello Hivers, how nice it is to be able to greet them and wish they are doing what they like and make them happy. Have a great weekend.
¿Qué les traigo hoy?
Hoy les comparto el paso a paso para tejer en la técnica crochet las manos y brazos para una muñeca.
What do I bring you today?
Today I share with you the step-by-step approach to crochet the hands and arms for a doll.
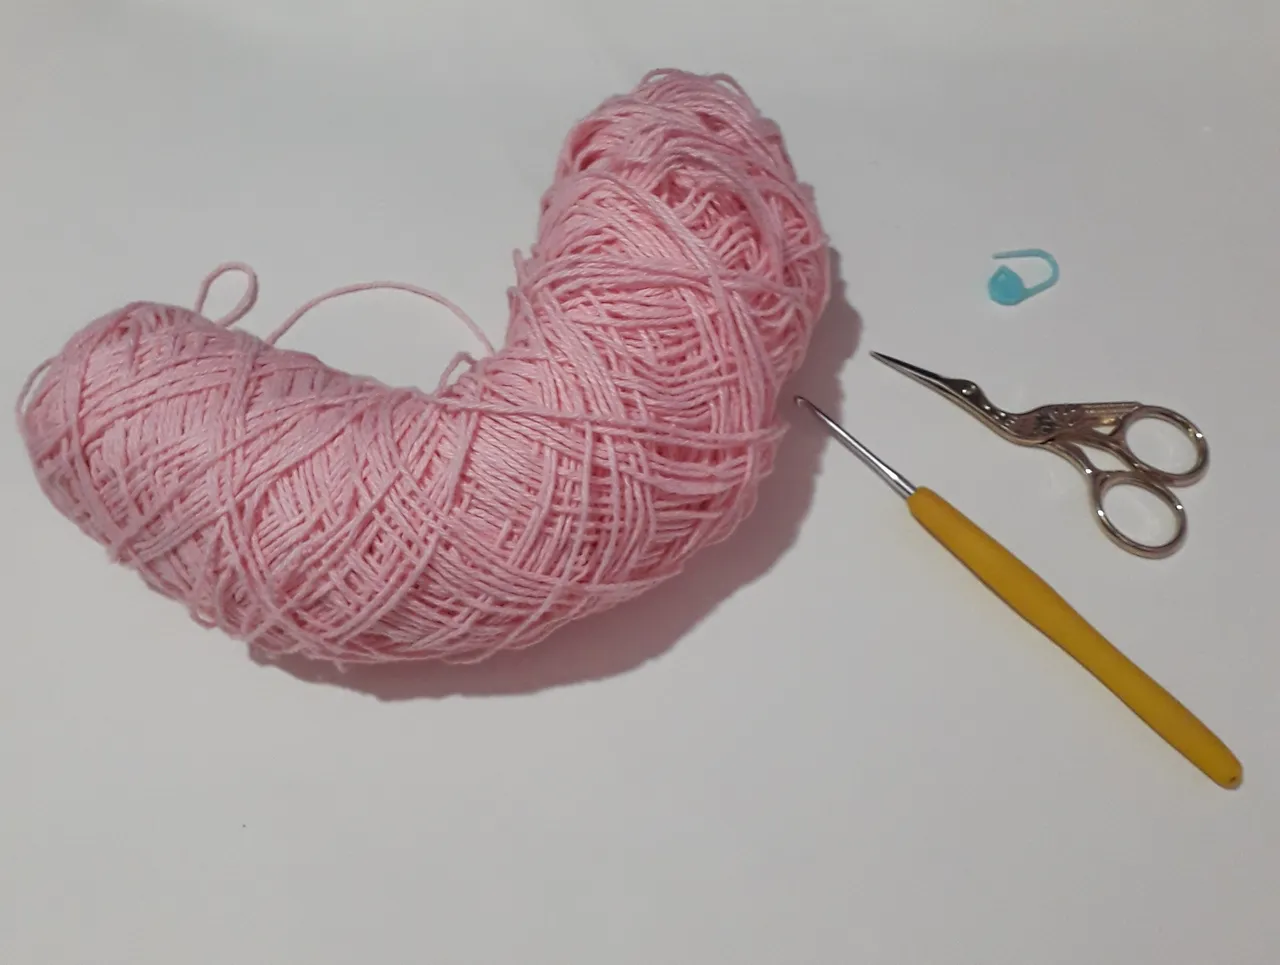
| ¿Qué materiales son necearios? | What materials are needed? |
|---|---|
| Hilo de algodón | Cotton thread |
| Tijera | Scissors |
| Ganchillo en función al hilo seleccionada | Hook according to the selected thread |
| Aguja lanera | Blunt yarn neddle |
| Marcador de puntos | Dot marker |
| Abreviaturas | Abbreviations |
|---|---|
| Anillo mágico (am) | Magic ring (mr) |
| Punto bajo | Single crochet (sc) |
| Punto deslizado (pd) | Slip stich (ss) |
Pasos
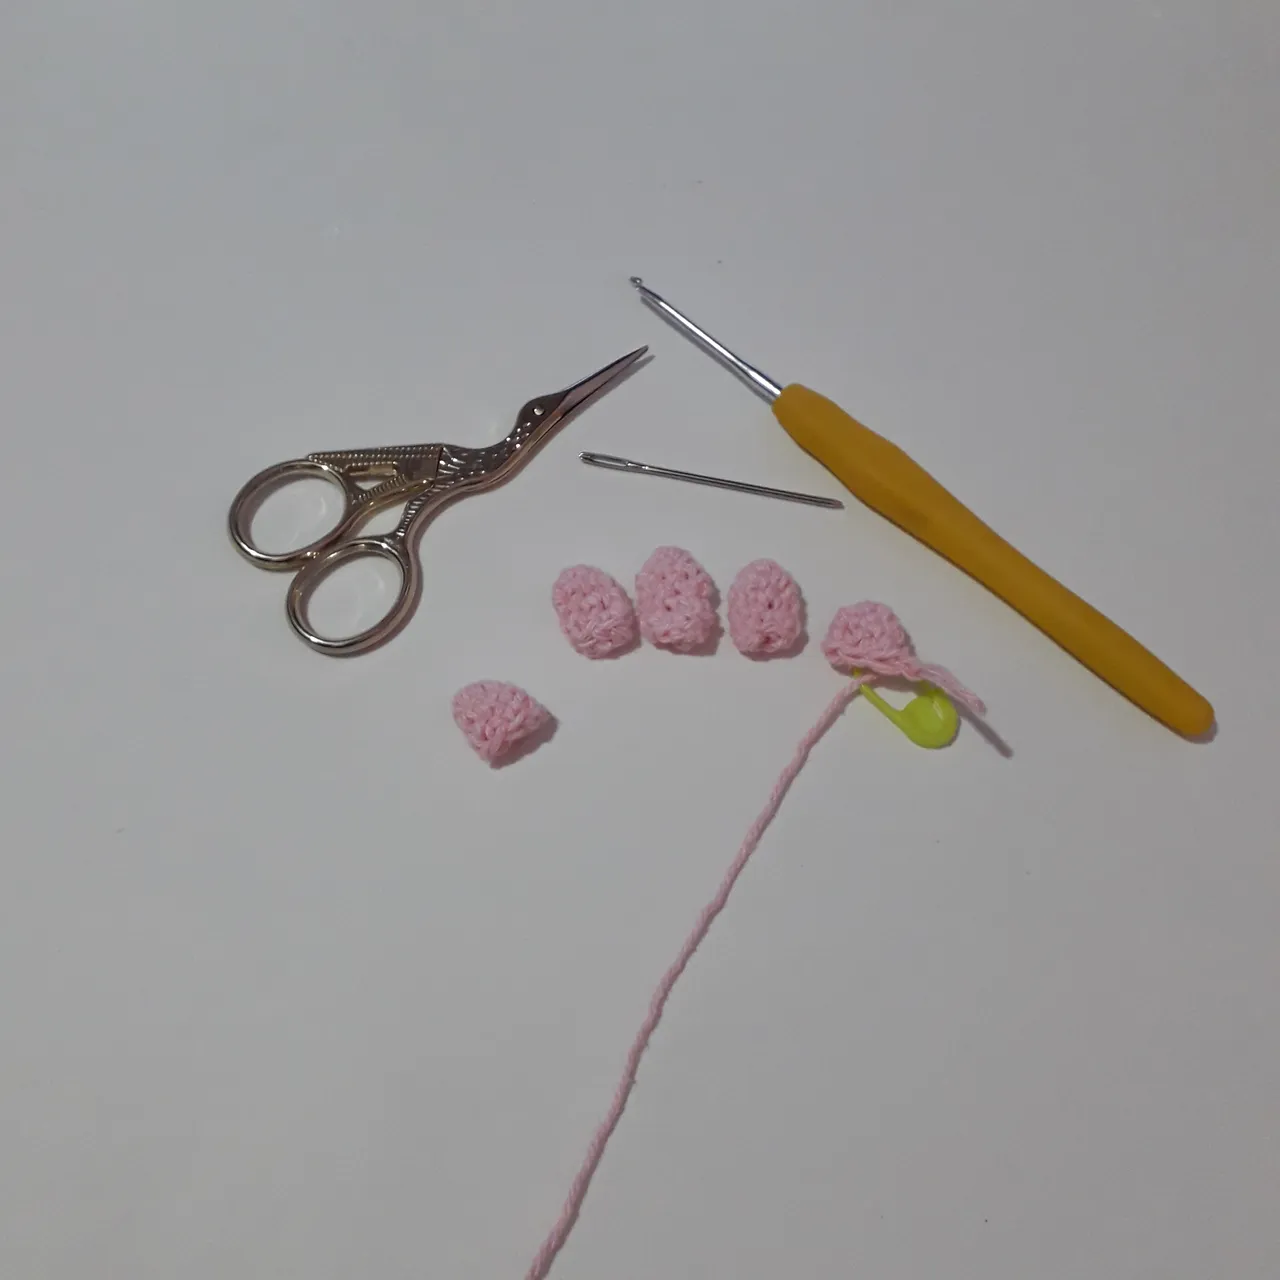
Mano: Comenzar tejiendo los deditos de la mano izquierda
Por cada dedito seguir la secuencia correspondiente:
Pulgar:
1- 6 pb en un am [6]
2 a 3 6 pb [6]
Cortar y esconder hilos
Índice
1- 6 pb en un am [6]
2 a 4- 6 pb [6]
Cortar y esconder hilos
Medio
1- 6 pb en un am
2 a 5 - 6 pb [6]
Cortar y esconder hilos
Anular
1- 6 pb en un am [6]
2 a 4- 6 pb [6]
Cortar y esconder hilos
Meñique
1- 6 pb en un am [6]
2 a 3 6 pb [6]
No cortar el hilo
Steps
Hand: Start by weaving the little fingers of the left hand
For each finger follow the corresponding sequence:
Thumb:
1- 6 pb in a mr [6]
2 a 3 6 sc [6]
Cutting and hiding threads
Index
1- 6 pb in a mr [6]
2 a 4- 6 sc [6]
Cutting and hiding threads
Middle
1- 6 pb in a mr [6]
2 a 5 - 6 sc [6]
Cutting and hiding threads
Ring
1- 6 pb in a mr [6]
2 a 4- 6 sc [6]
Cutting and hiding threads
Pinky
1- 6 pb in a mr [6]
2 a 3 6 sc [6]
Do not cut the thread

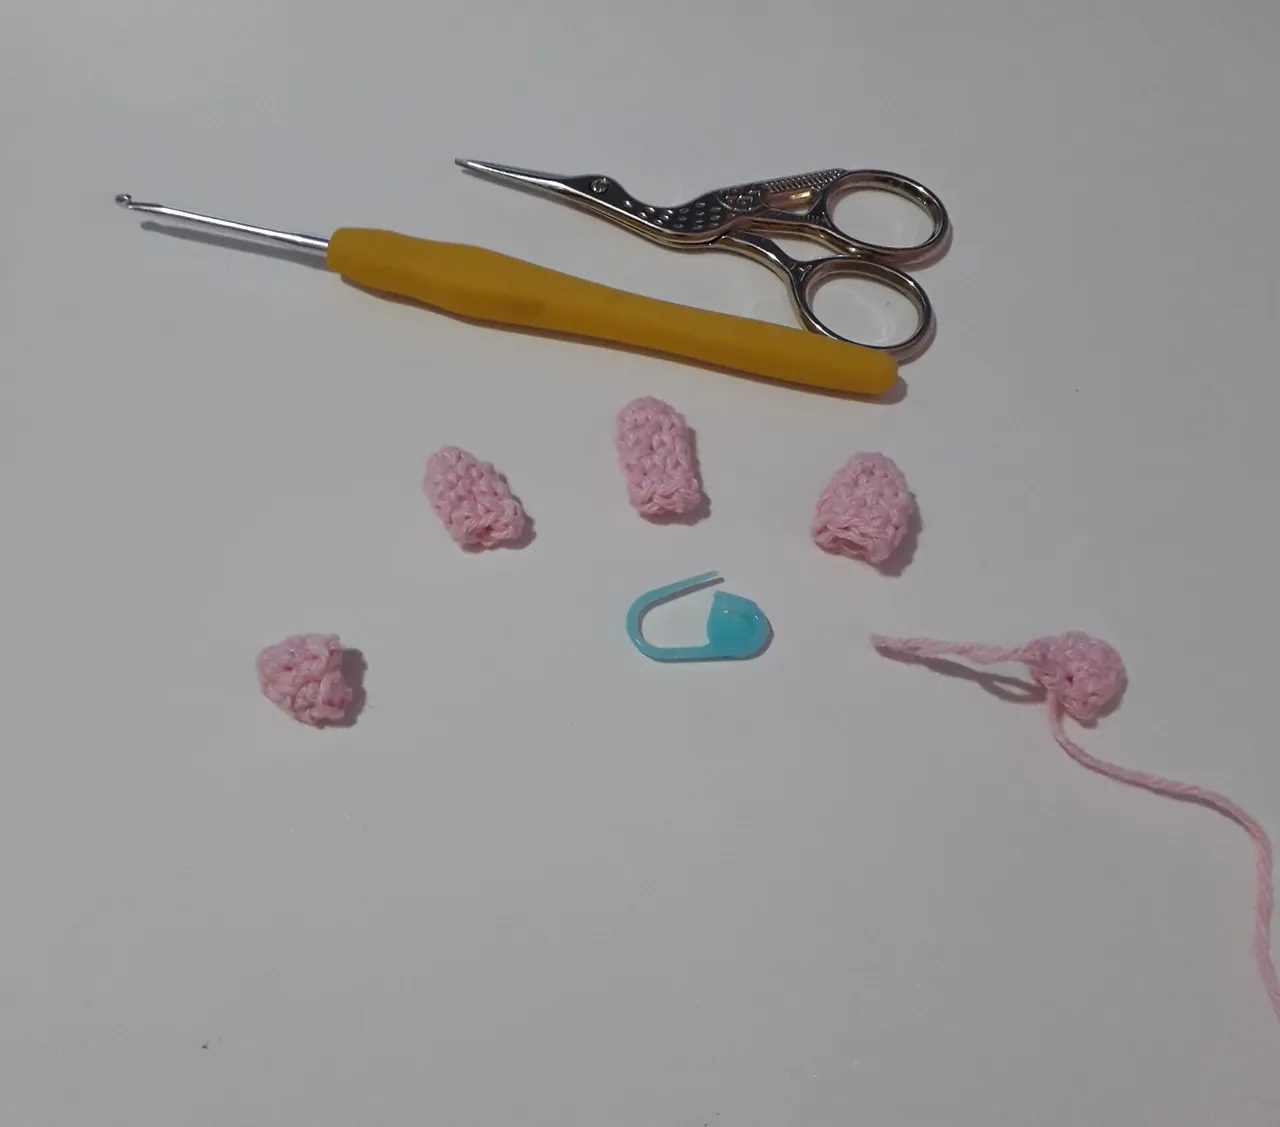
Unir los dedos de la mano izquierda
Luego de haber tejido todos los deditos comenzar a unir. El último dedo tejido fue el meñique, a continuación unir el dedito anular al meñique a través de medio punto, tejer dos pb, en total se tejieron 3 pb para el primer dedo. No se une aún el pulgar.
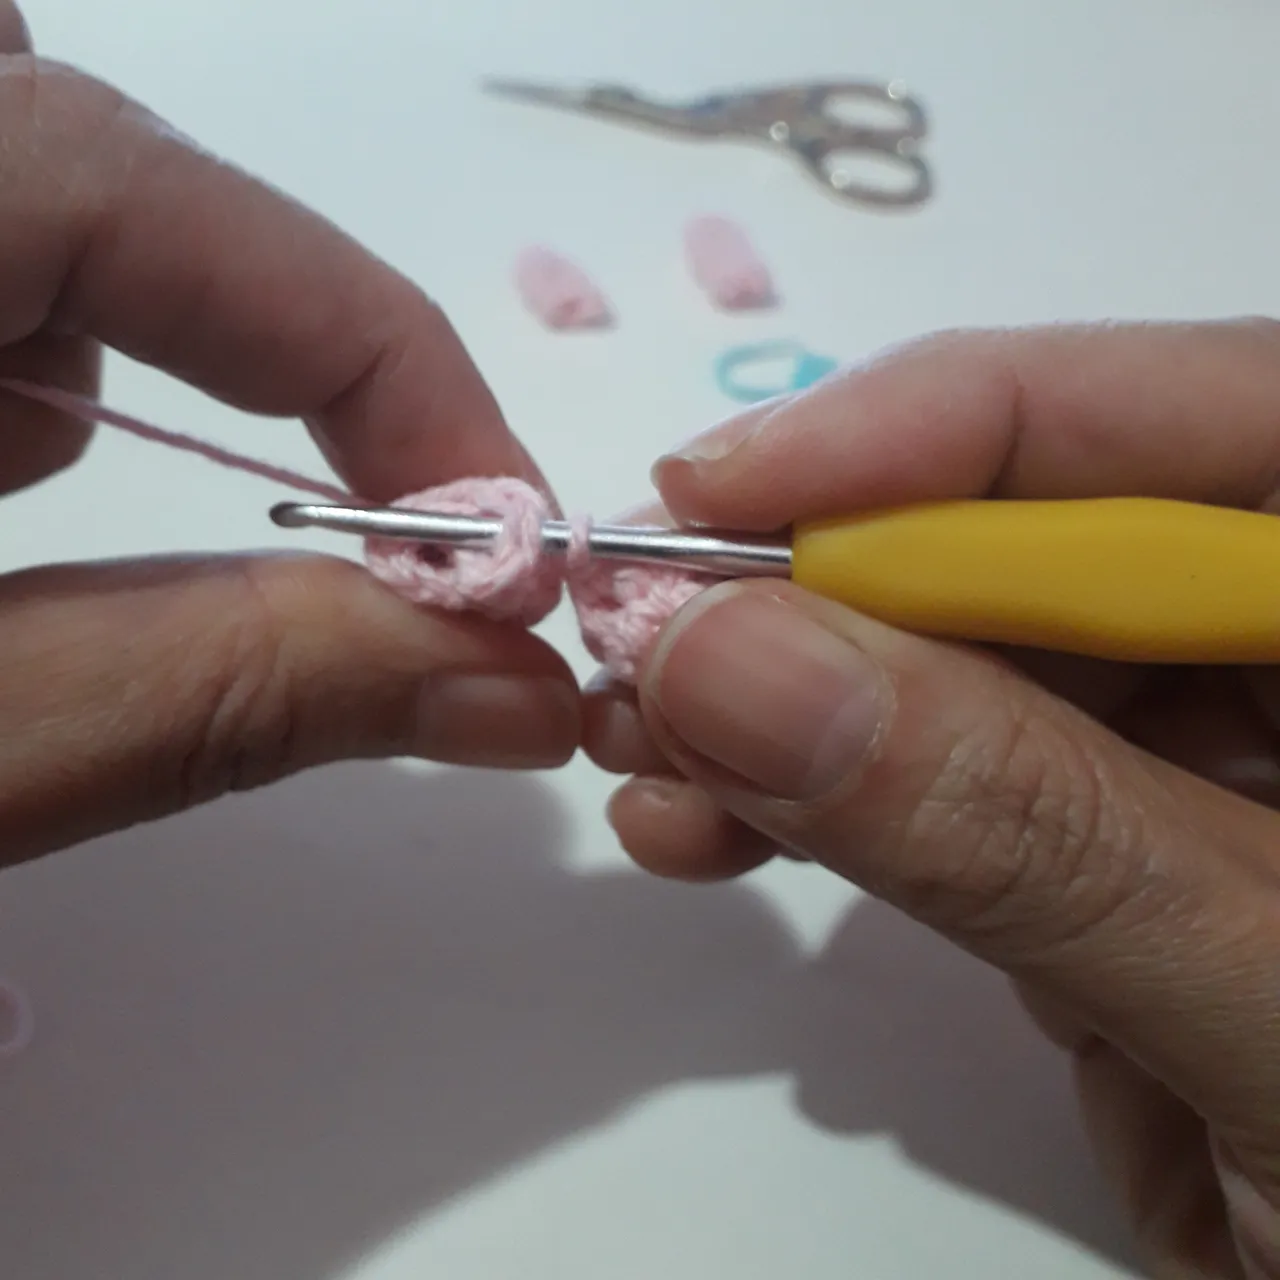
Unir el dedo medio y anular siguiendo lo mimos paso. El dedo pulgar aún no se une.
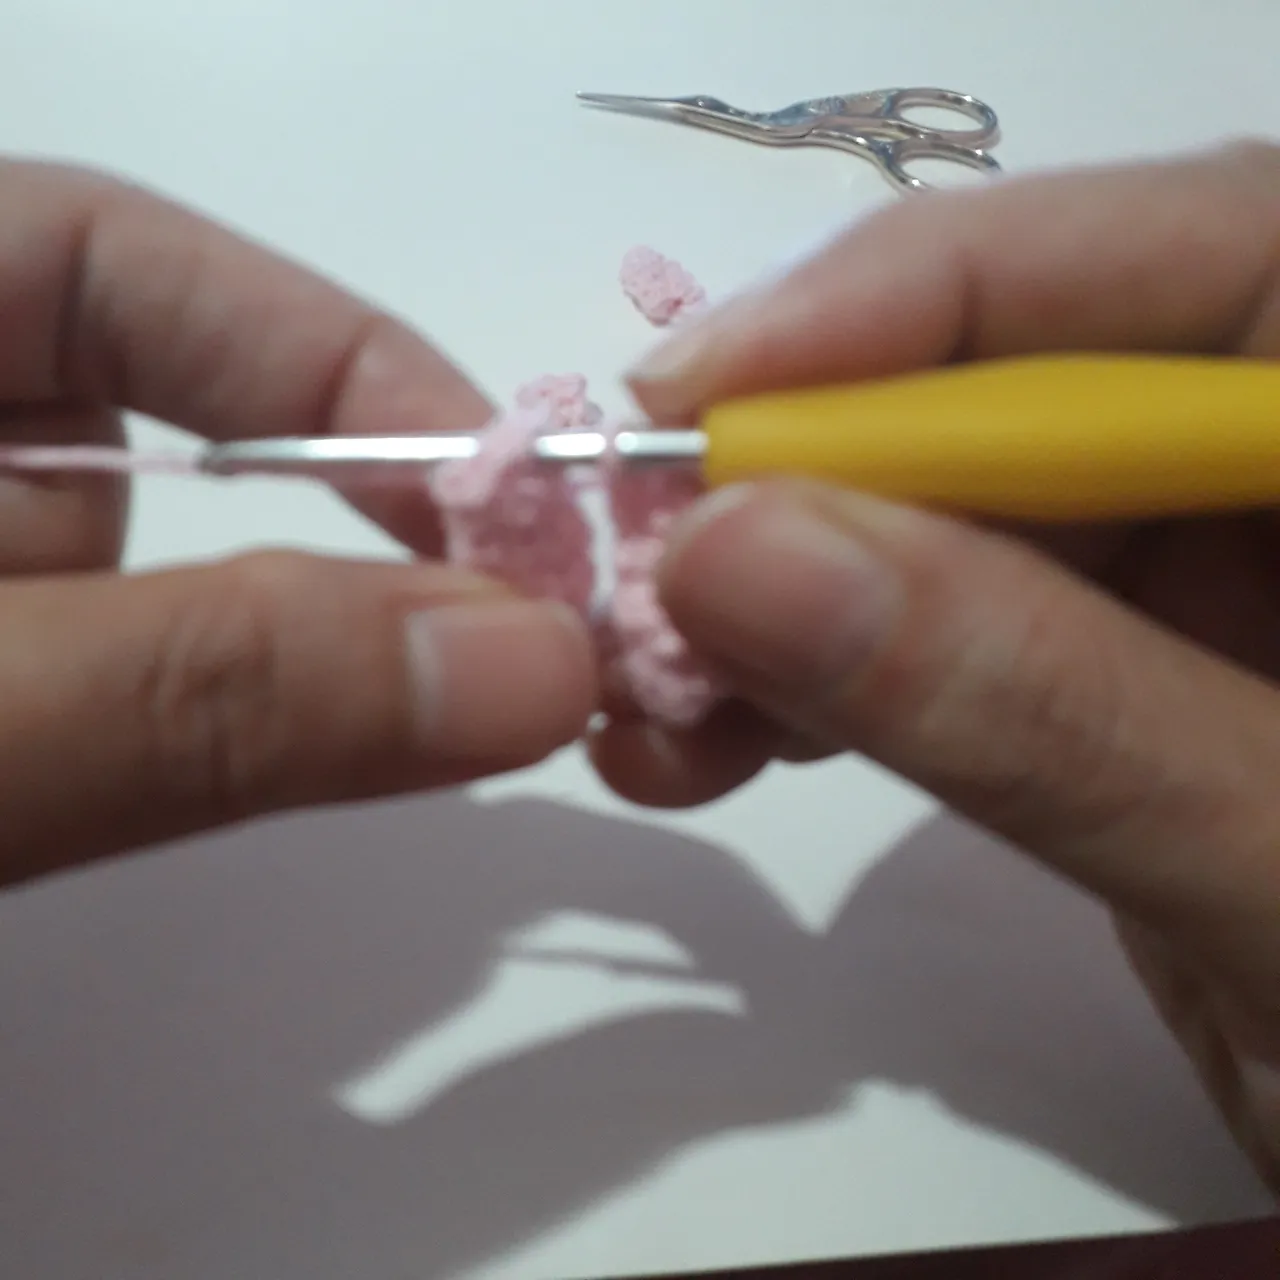
Luego de la unión quedan 24 pb, tejer tres vueltas en pb cada una de 24 pb.
Join the fingers of the left hand
After you have woven all the little fingers together, begin to join them. The last finger woven was the little finger, then join the ring finger to the little finger through half stitch, weave two c, in total 3 sc were woven for the first finger.
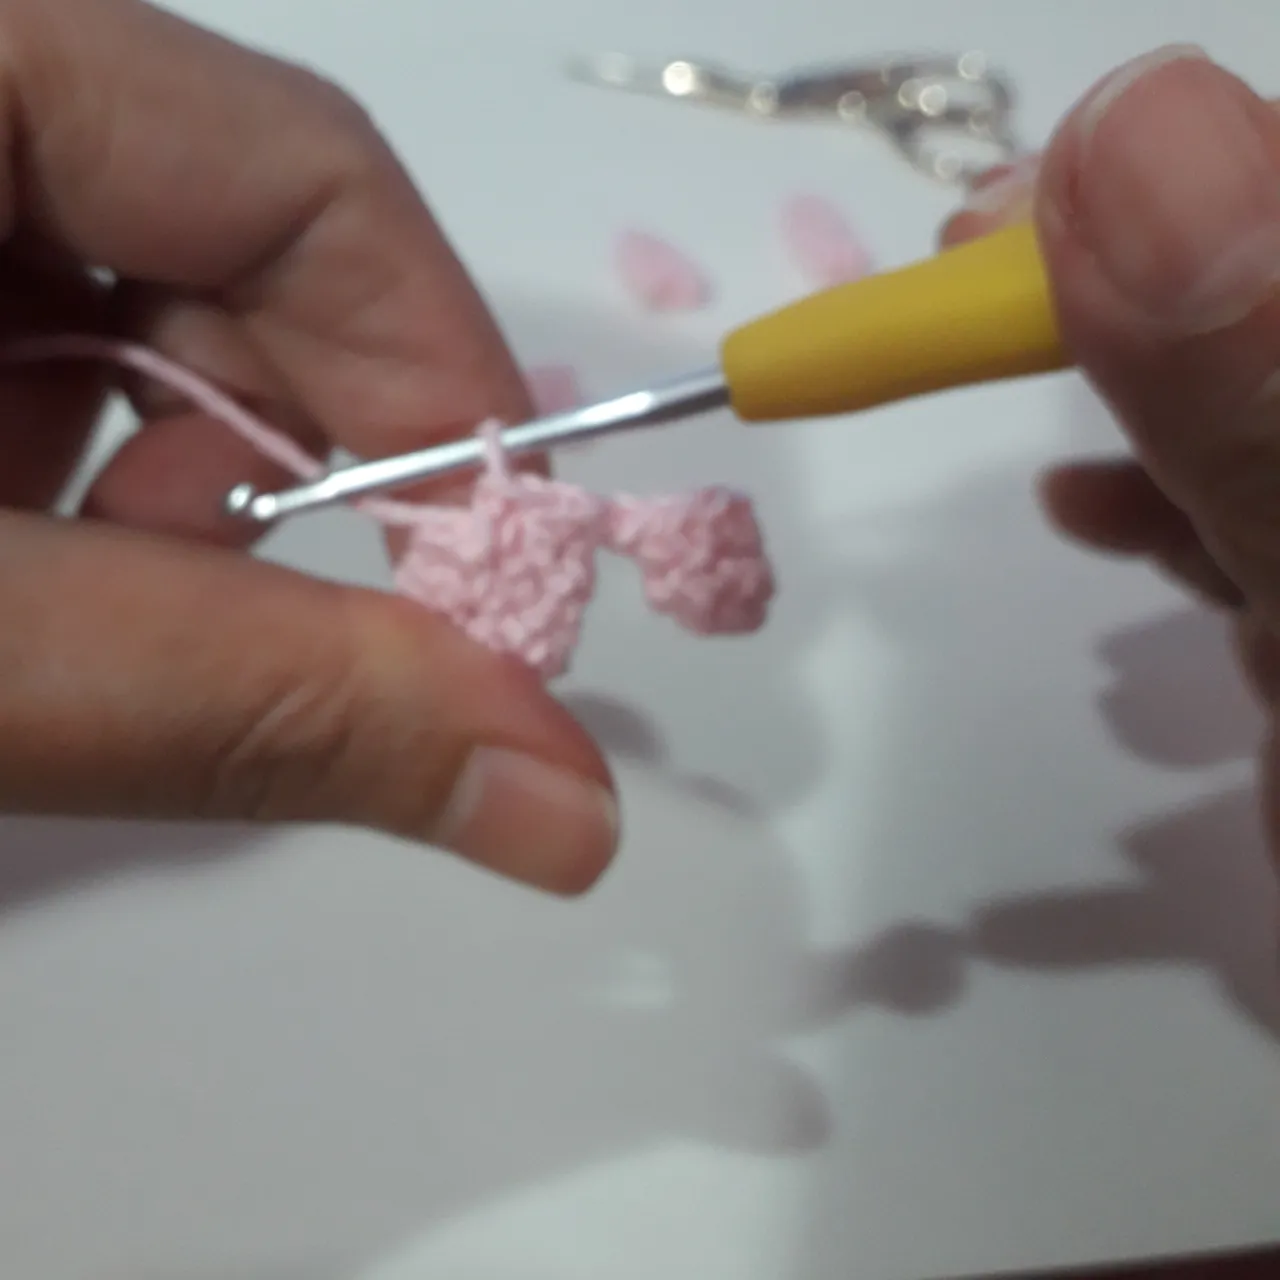
Join the middle and ring finger following the same step. The thumb is not yet joined.
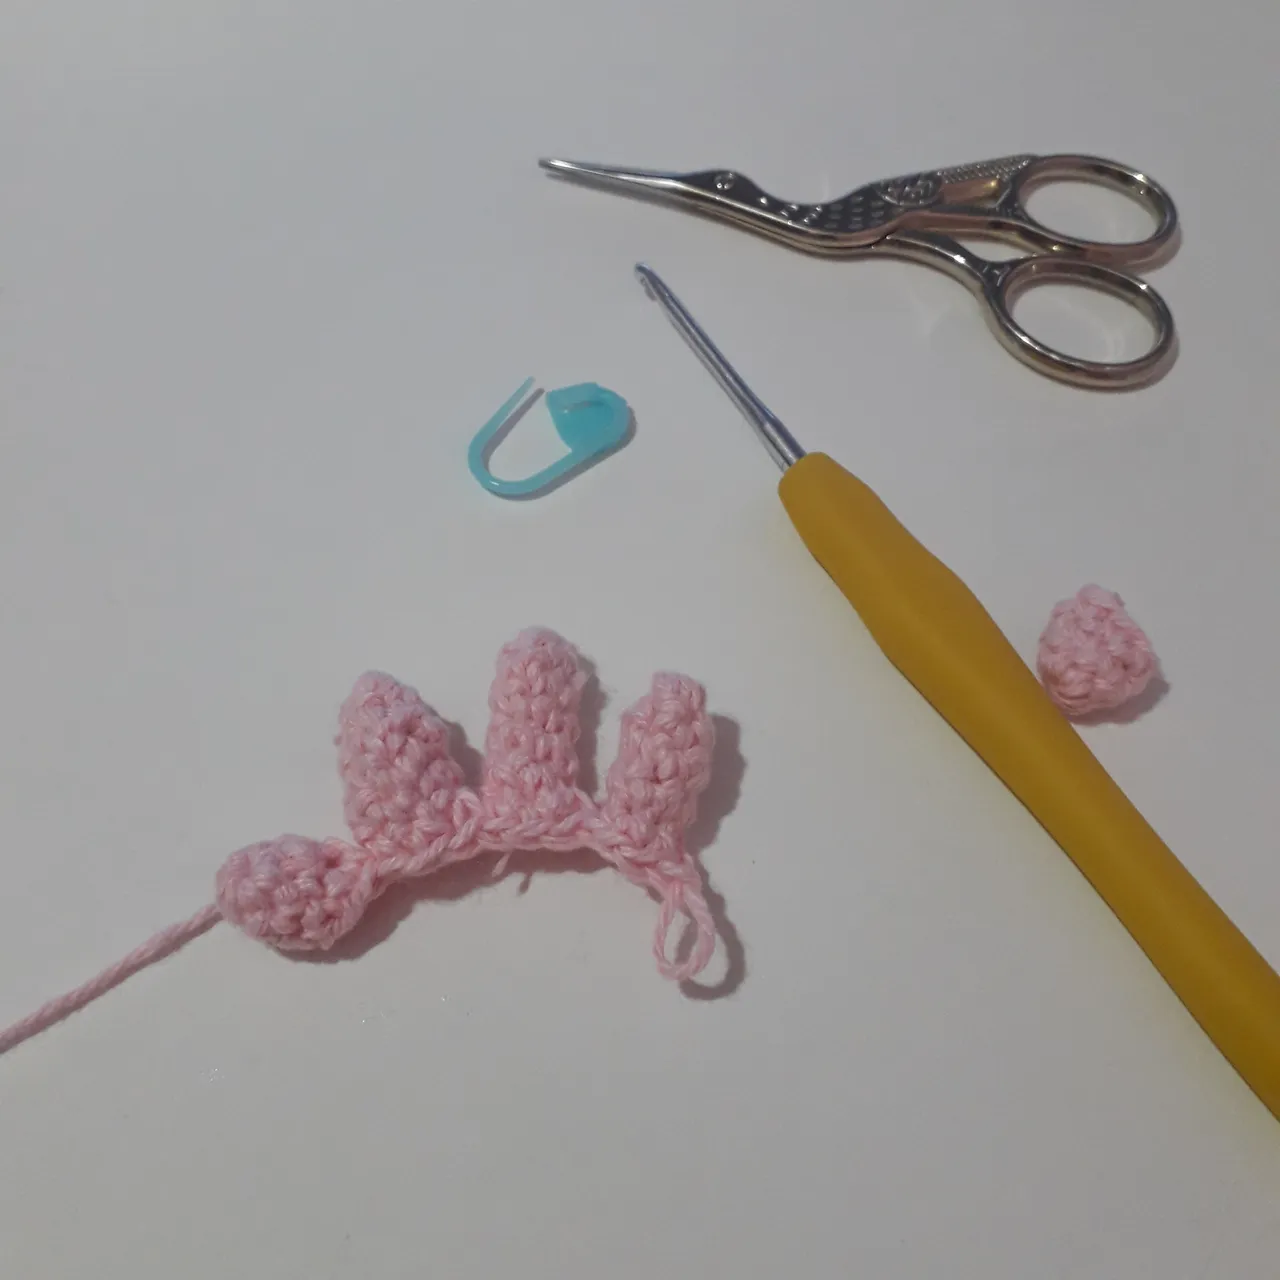
After the union there are 24 sc left, weave three turns in bp each of 24 sc.

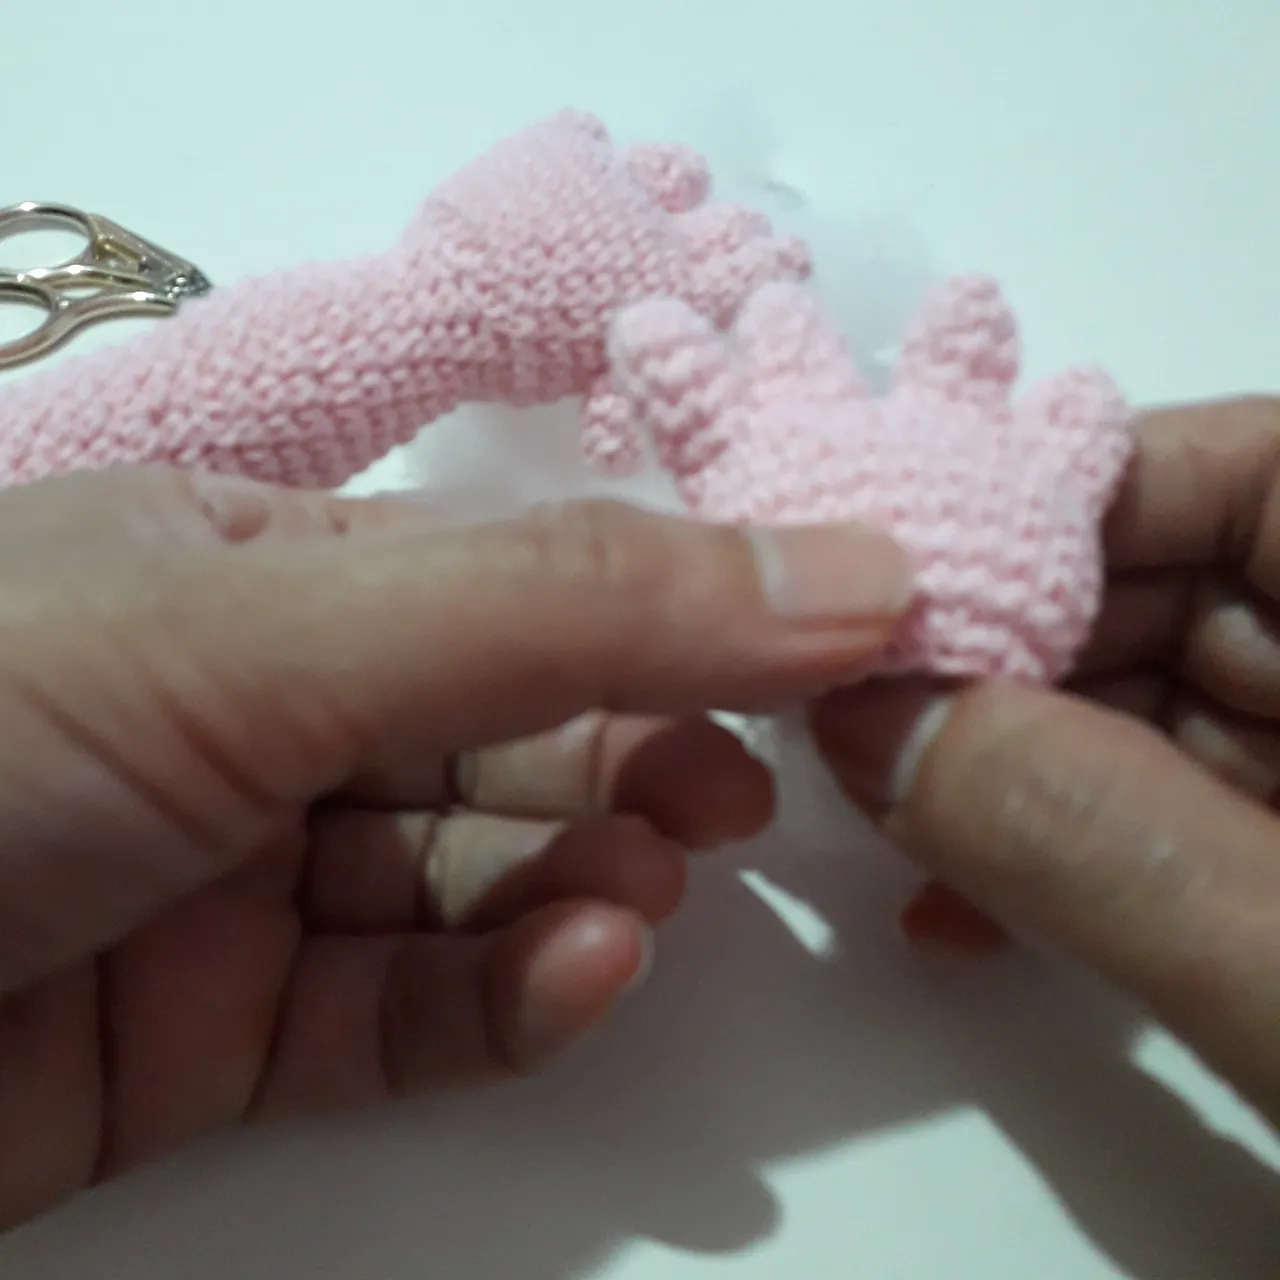
Unir el dedo pulgar de la mano izquierda
Luego de haber completado las tres vueltas de 24 pb, en la siguiente vuelta tejer 13 pb, agarrar el dedo pulgar y pasar el ganchillo agarrado las dos mitades del dedo, unir con un pb y tejer 2 pb, seguir tejiendo. Al finalizar la vuelta tendrán 24 pb. Tejer tres vueltas más de 24 pb.
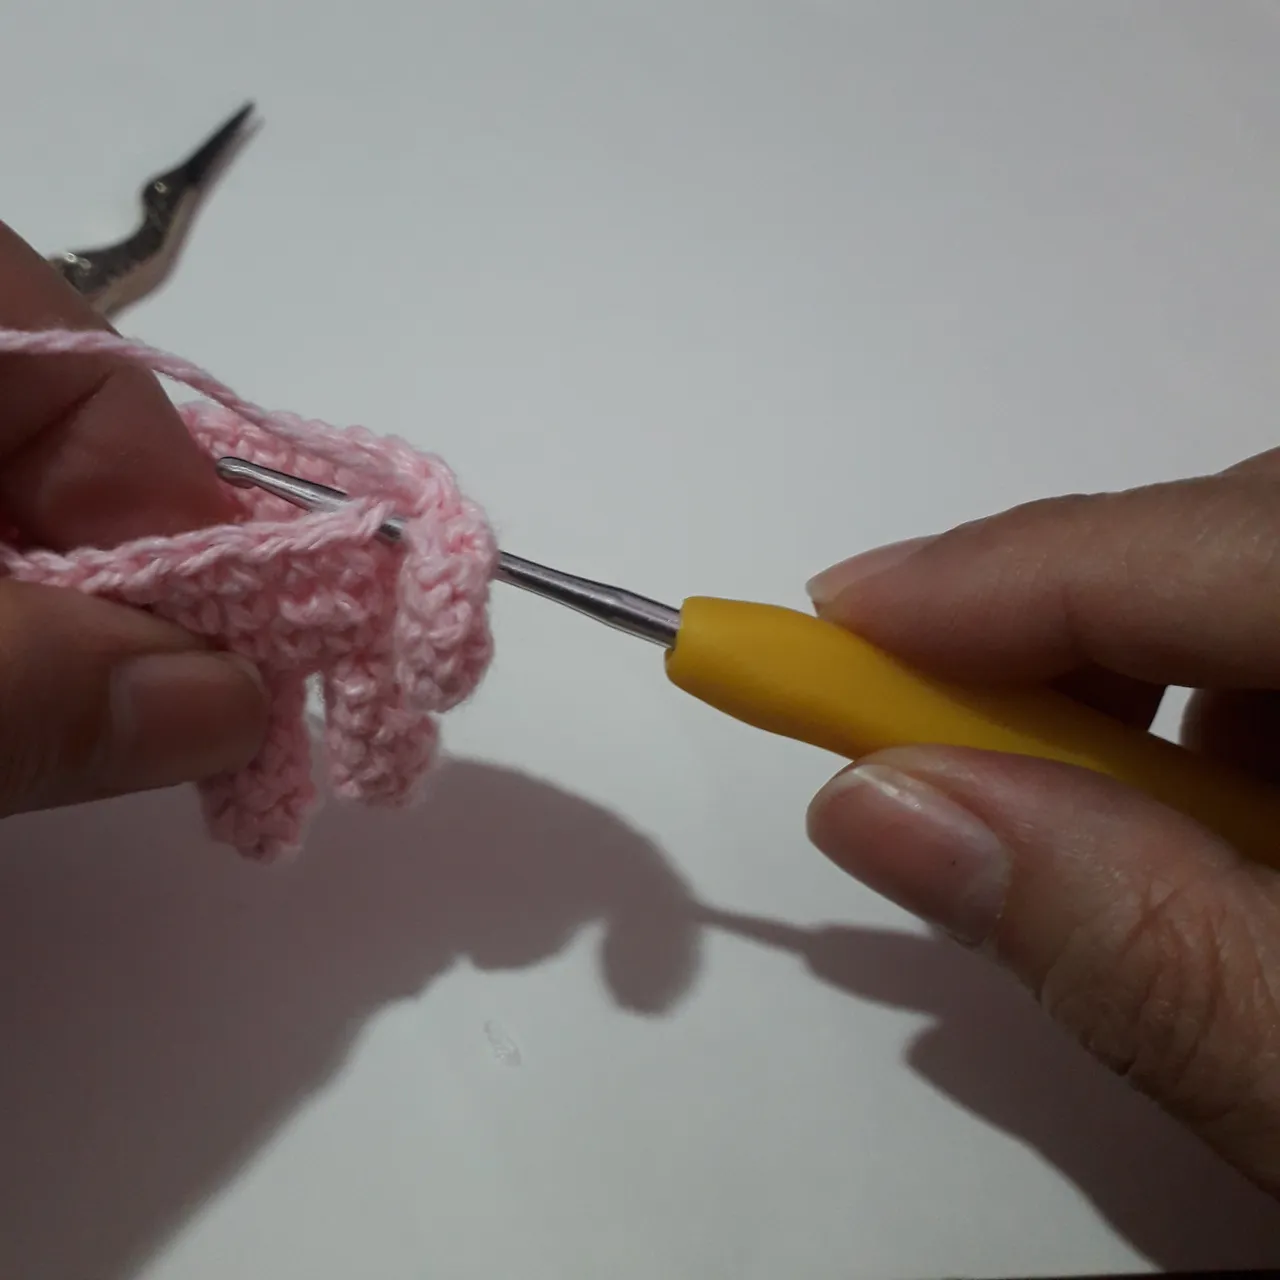
Join the thumb of the left hand
After having completed the three rounds of 24 sc, in the next round knit 13 sc, take the thumb and pass the crochet holding the two halves of the finger, join with one sc and knit 2 sc, continue knitting. At the end of the lap you will have 24 sc. Weave three more rows of 24 sc.
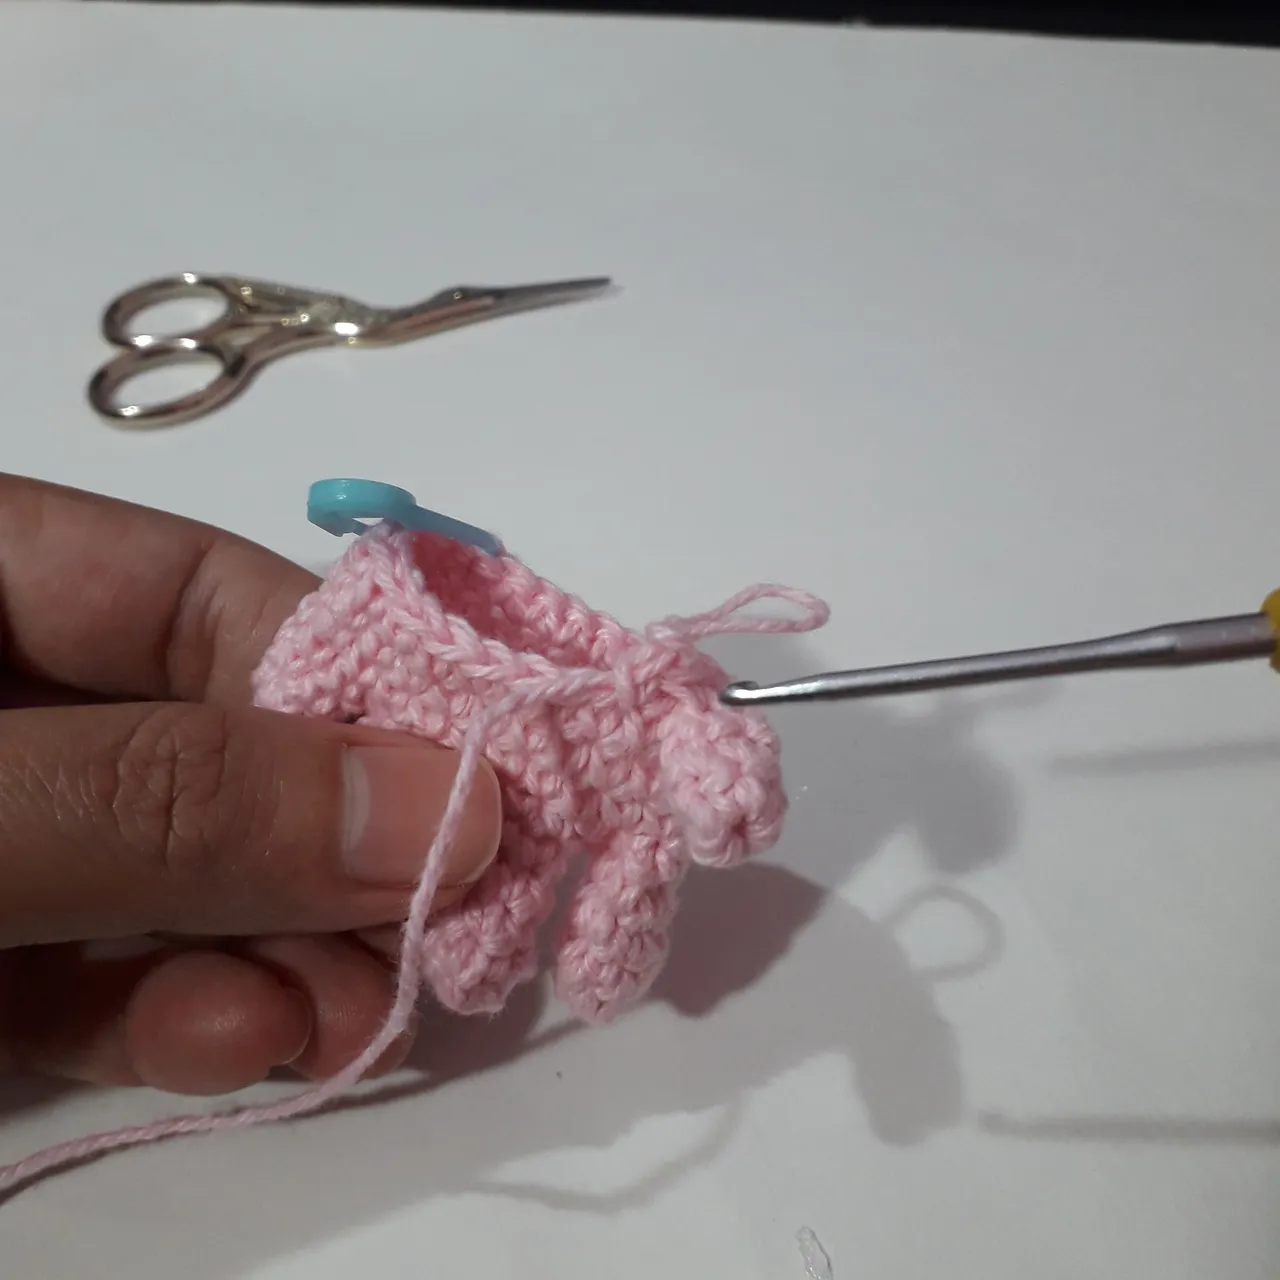
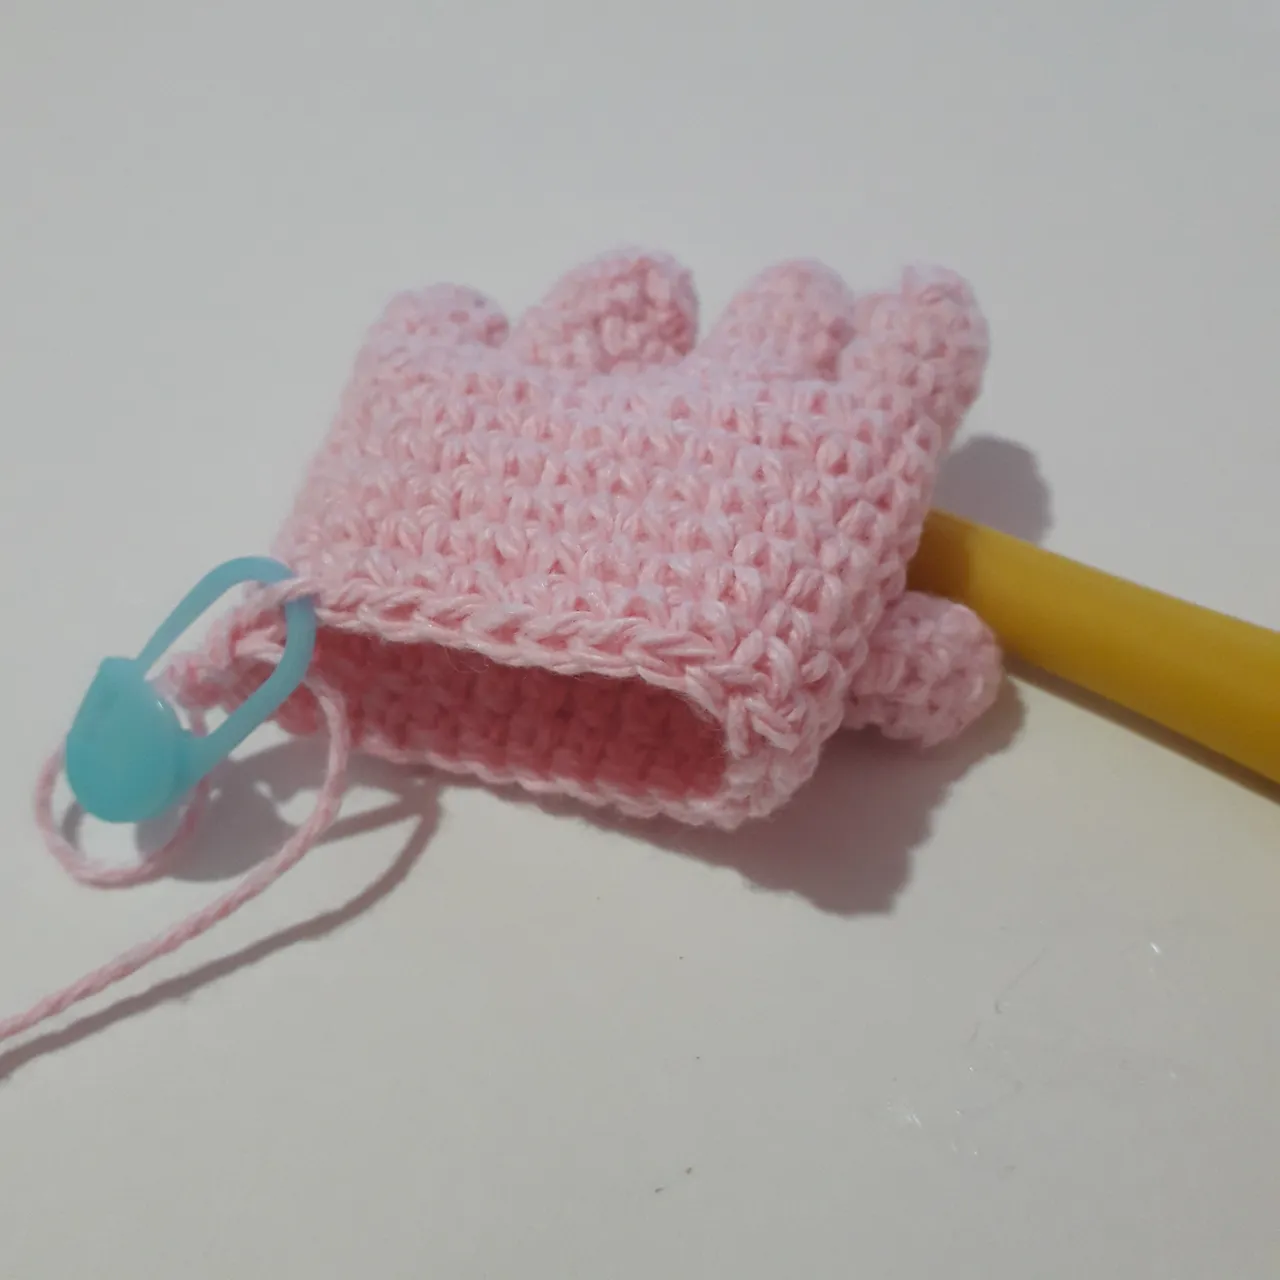
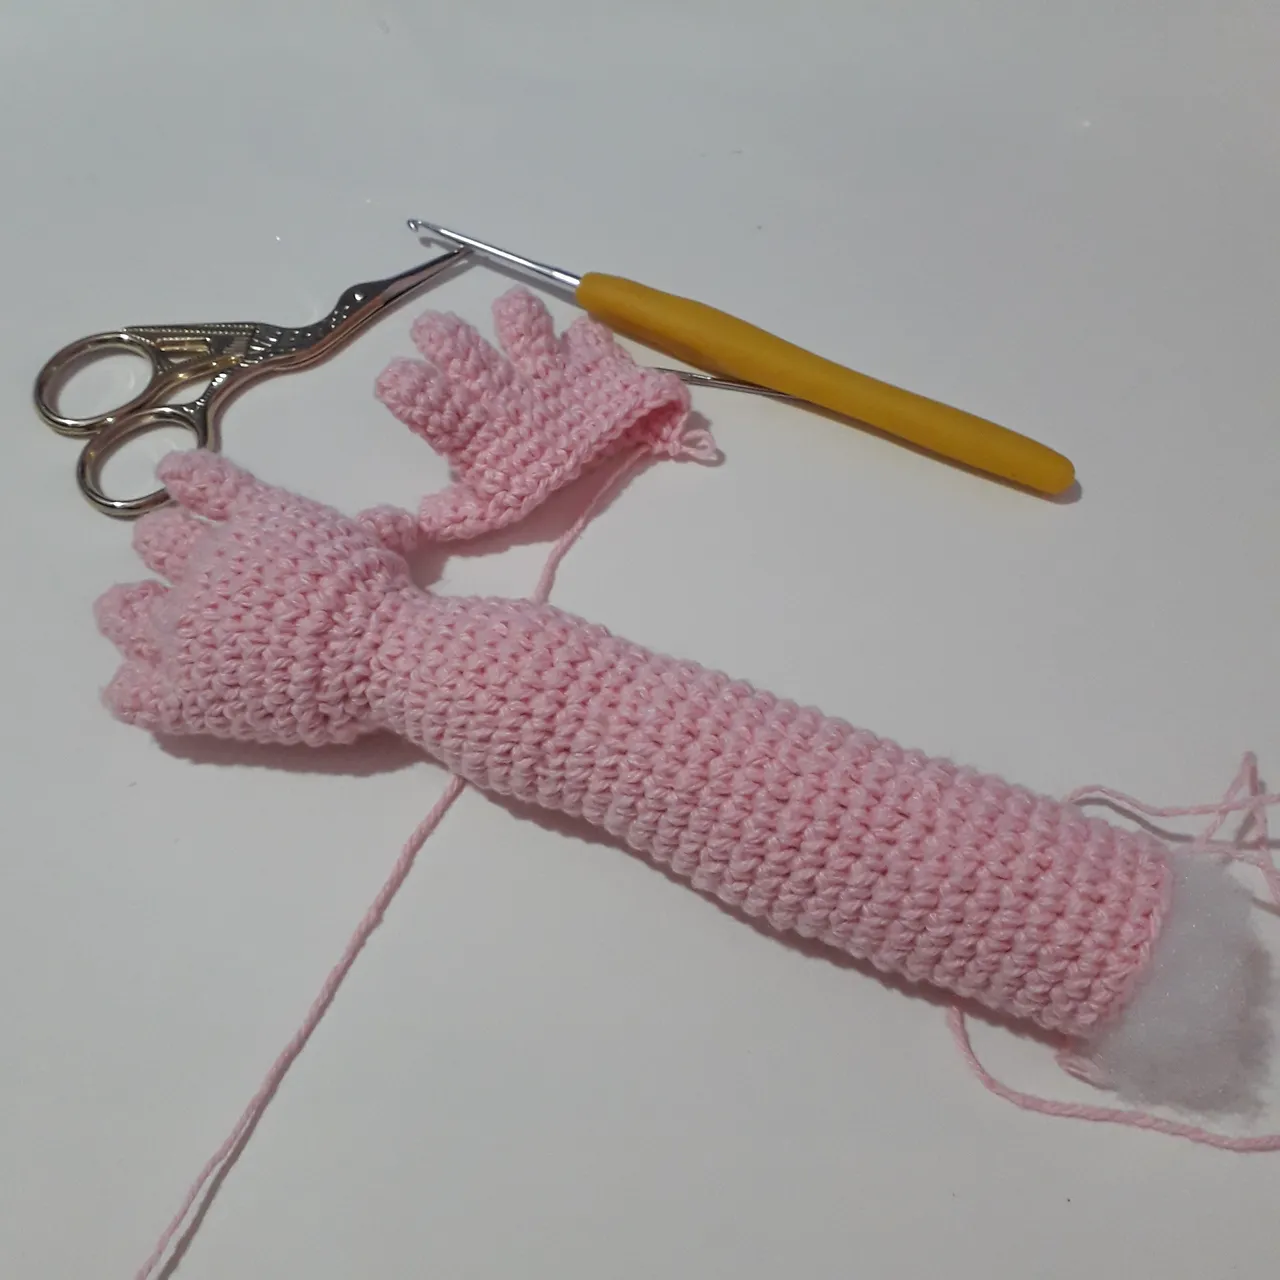
Continuar tejiendo, ahora el turno de la muñeca y brazo de la mano izquierda
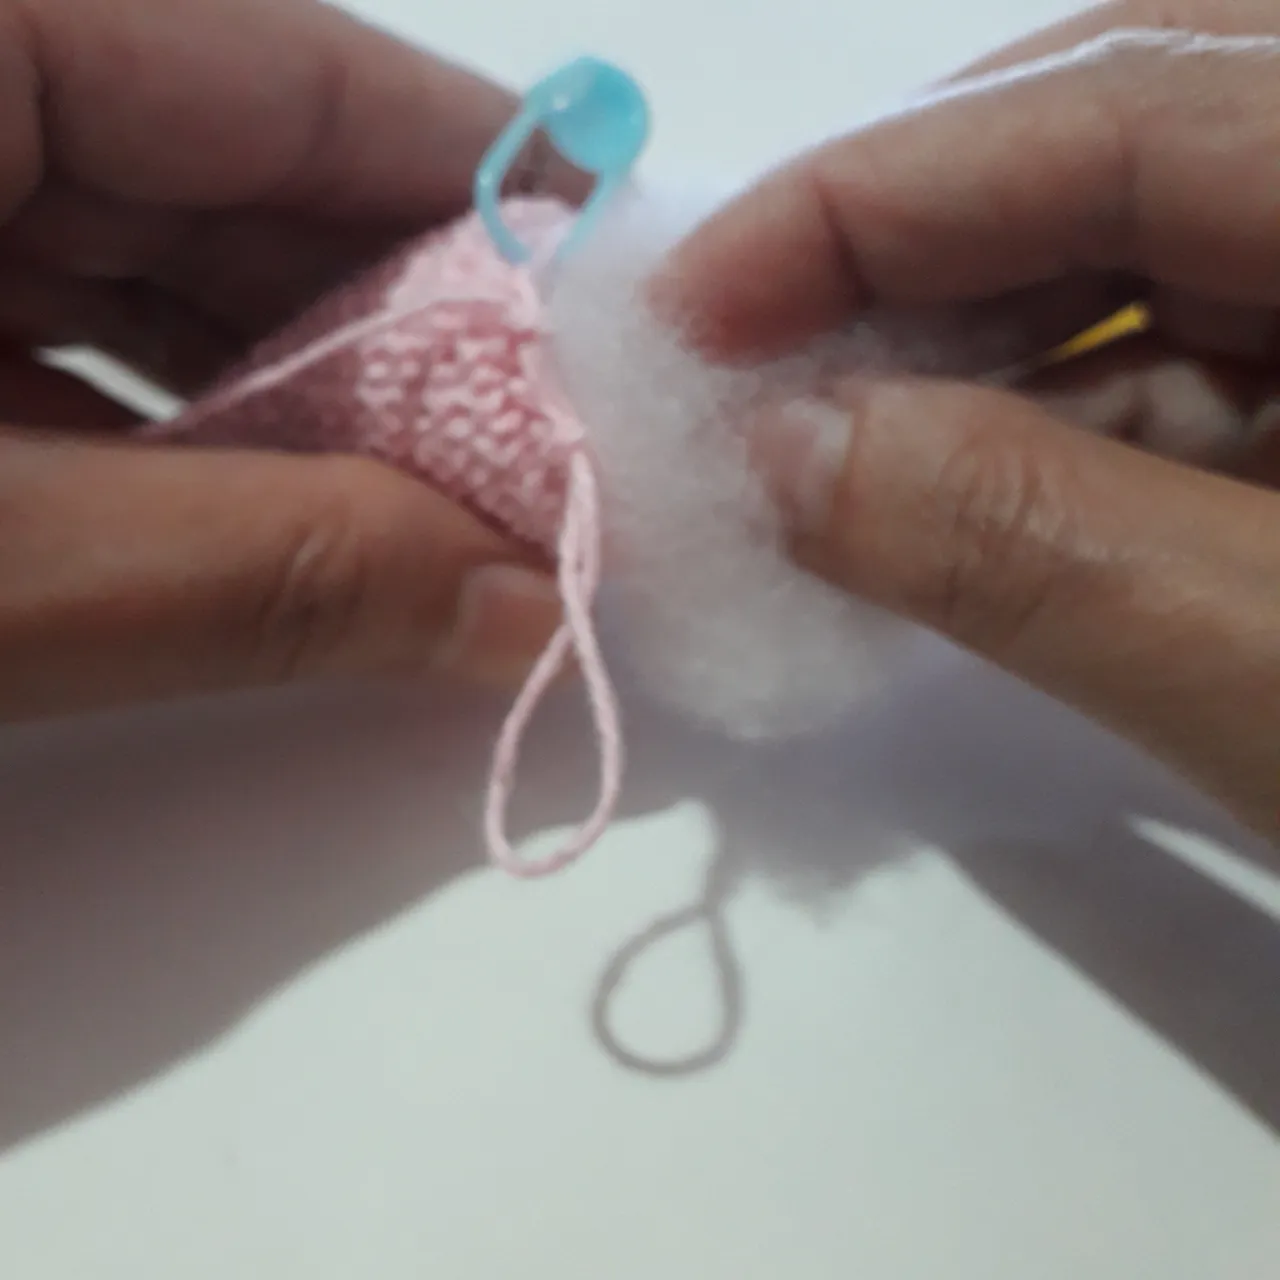
Seguir con 12 dis, rellenar. Hacer 1 pb en cada punto de la vuelta anterior. Seguidamente en la vuelta siguiente 3 pb y un aum. La siguiente vuelta tejer 1 pb en cada punto de la vuelta anterior para tun total de 15 pb. A continuación, 4 pb y un aum, al cerrar la vuelta tendrán 18 pb. Seguir con 8 pb y 1 aum, al terminar la vuelta tendrán un total de 20 puntos. Luego tejer hasta la vuelta 33, 20 pb bajos en cada vuelta.
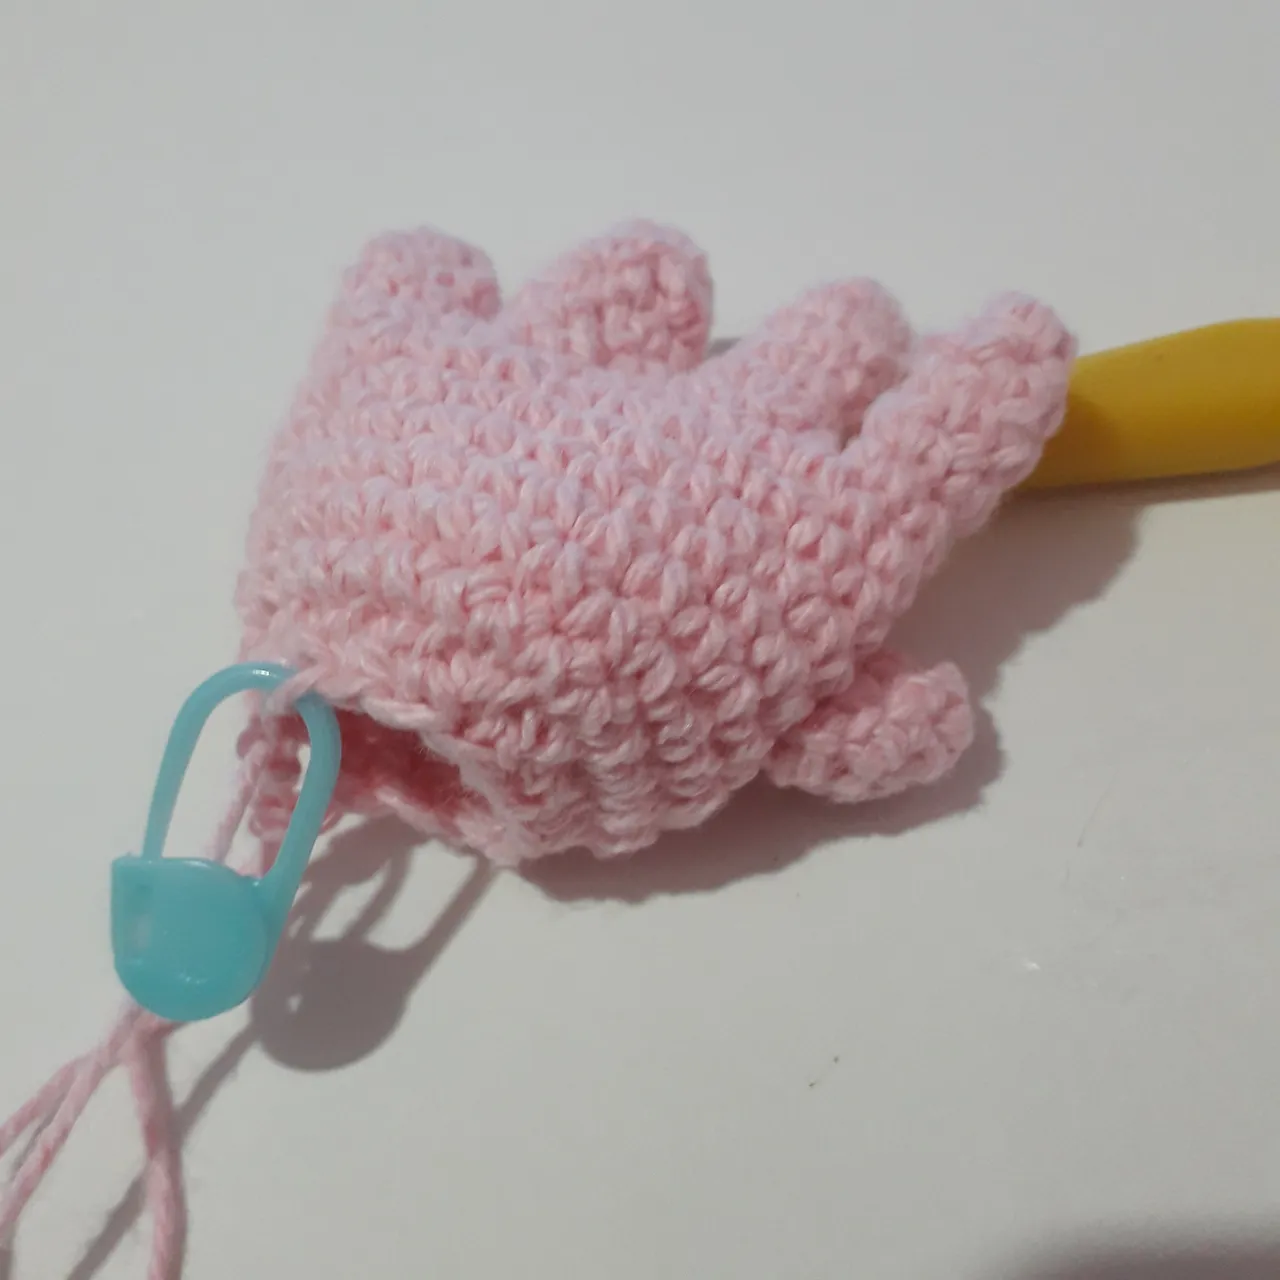
Mano y brazo izquierdo terminado.
Continue knitting, now the turn of the wrist and arm of the left hand
Continue with 12 dec, fill in. Make 1 sc at each point of the previous turn. Then in the next round 3 sc and an inc. The next round knit 1 scon each stitch of the previous round for a total of 15 sc. Then 4 sc and an inc, at the end of the lap you will have 18 sc. Continue with 8 sc and 1 inc, at the end of the lap you will have a total of 20 sc. Then weave until the 33rd lap, 20 sc low on each lap. Cut the yarn.
Hand and left arm finished.
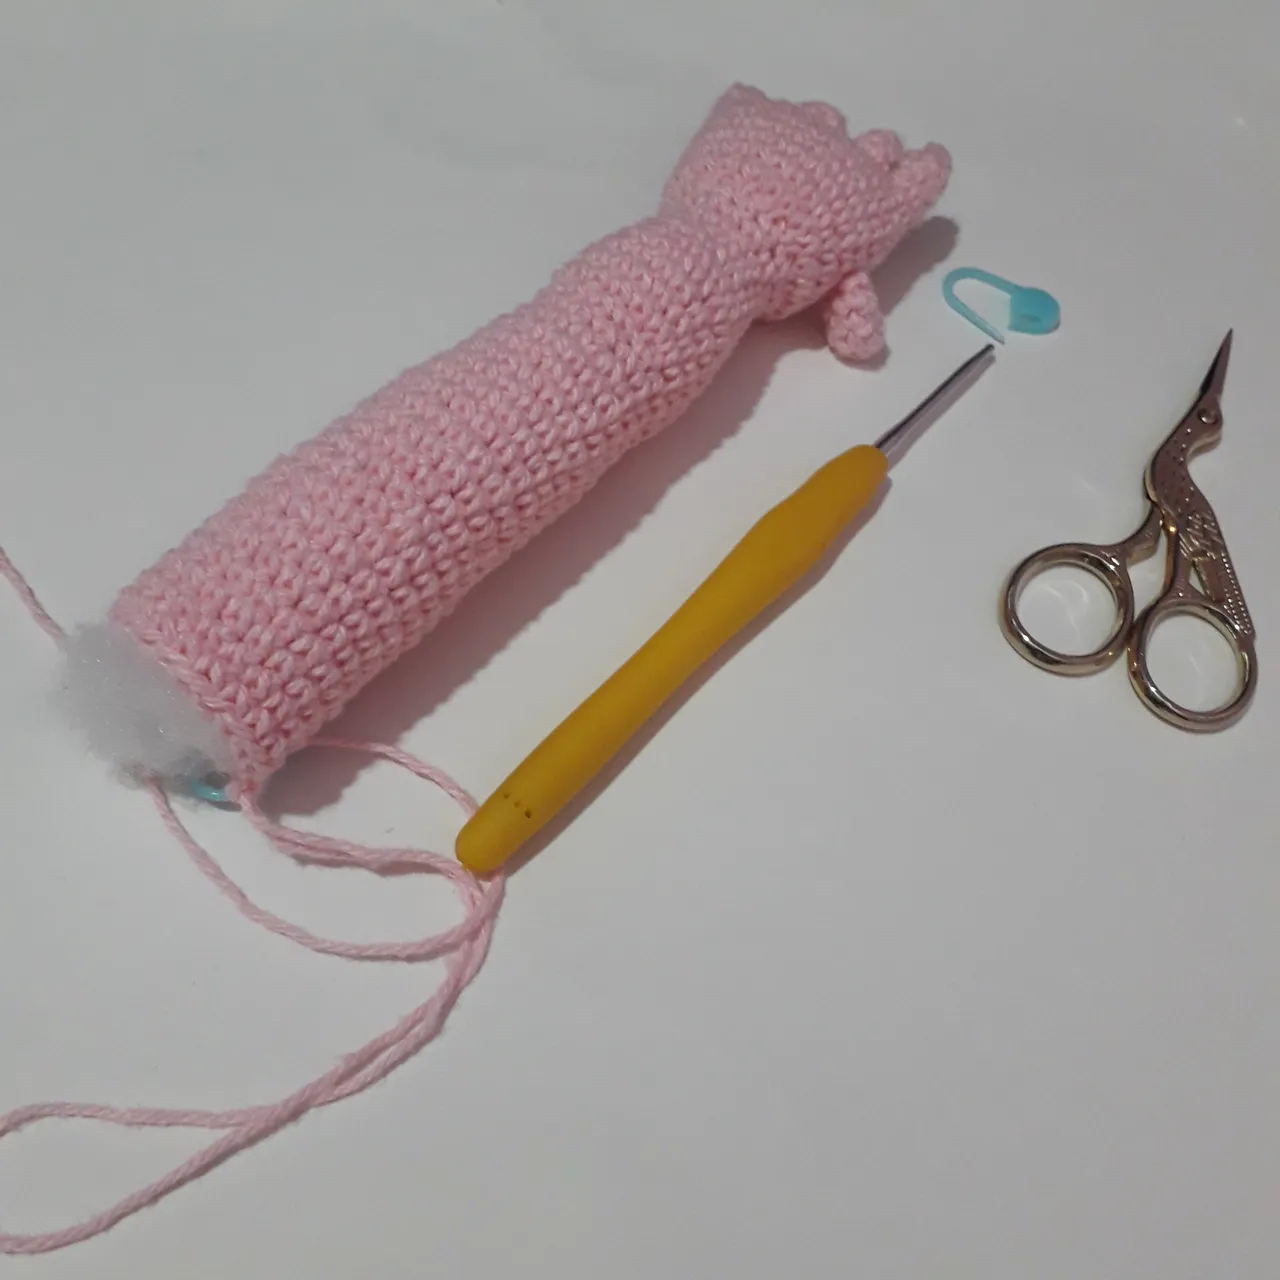
Ahora es el turno de tejer la mano y el brazo derecho
Seguir la misma secuencia usada para realizar el brazo con excepción de cuando se va unir el dedo pulgar en vez de tejer 13 pb se tejen 9 pb. Del resto todos los pasos son iguales.
Now it is the turn to knit the hand and the right arm
Follow the same sequence used to make the arm except that when you are going to join the thumb instead of knitting 13 sc you knit 9 sc. From the rest all the steps are the same
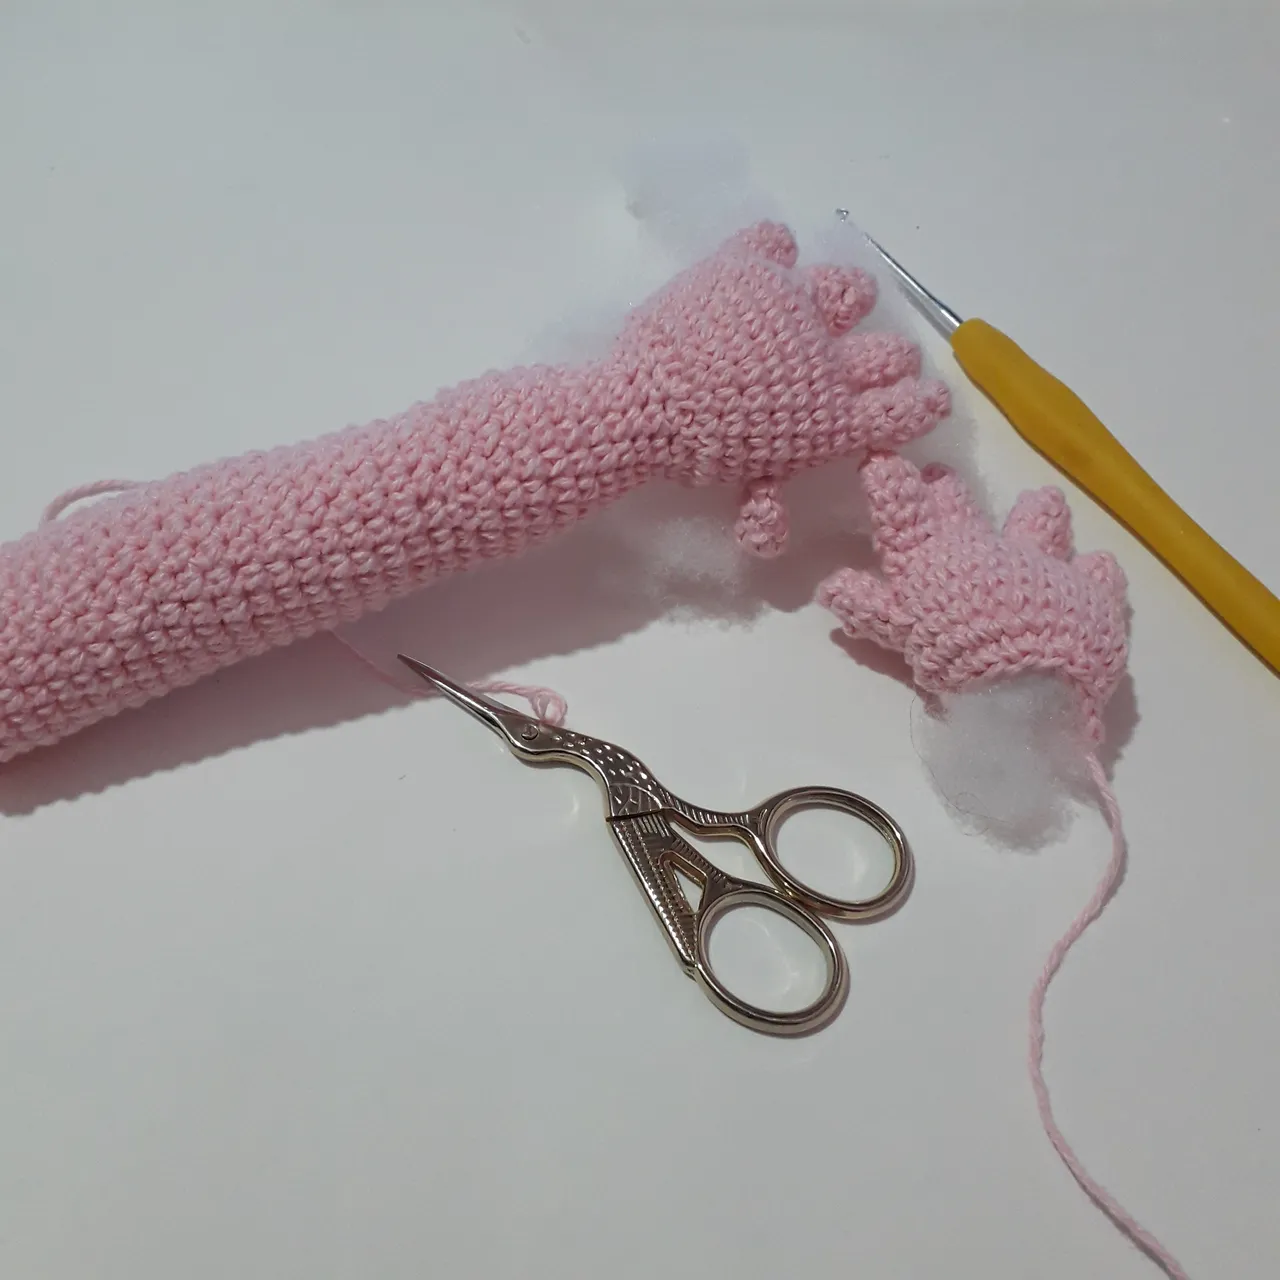
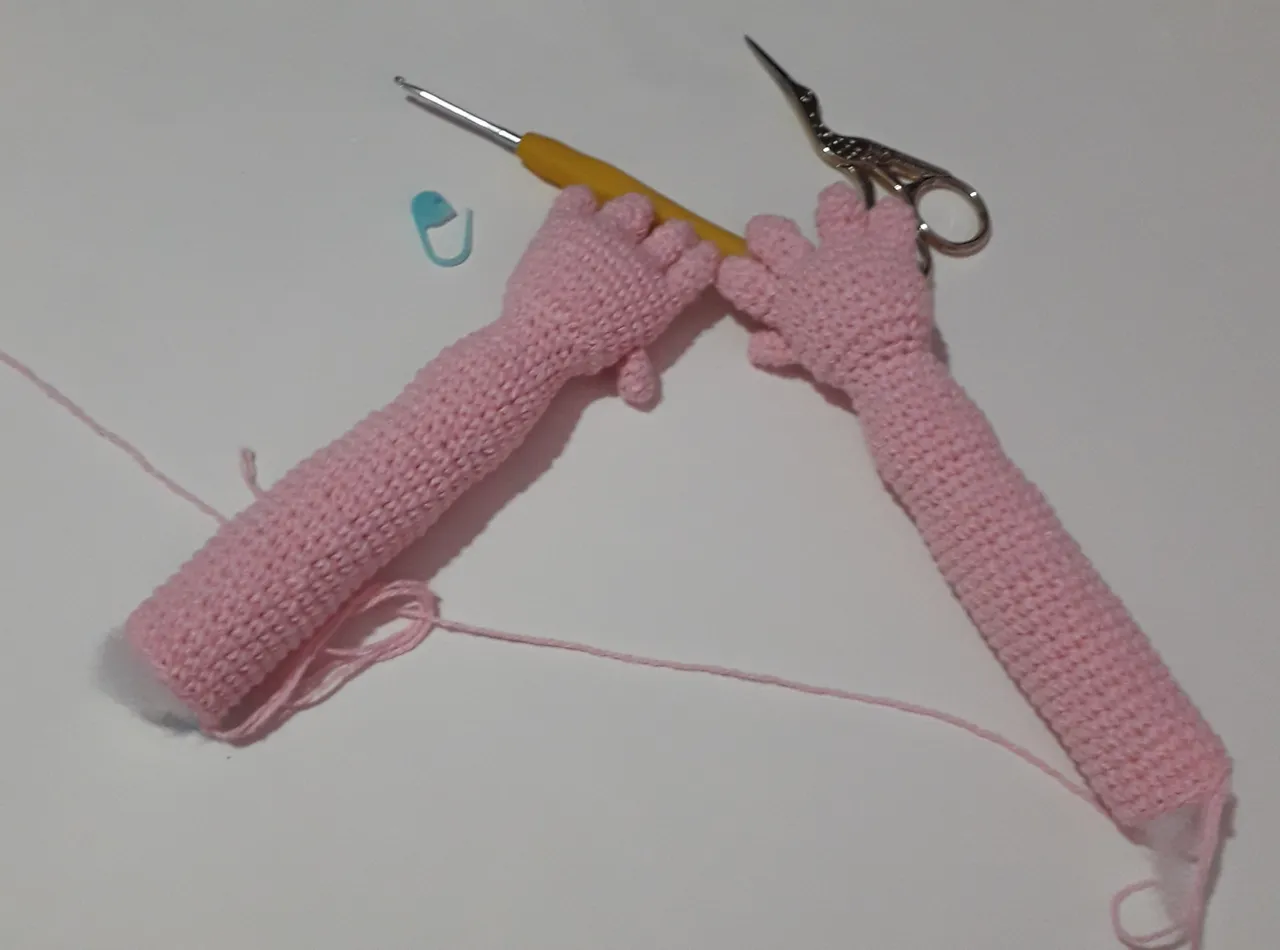
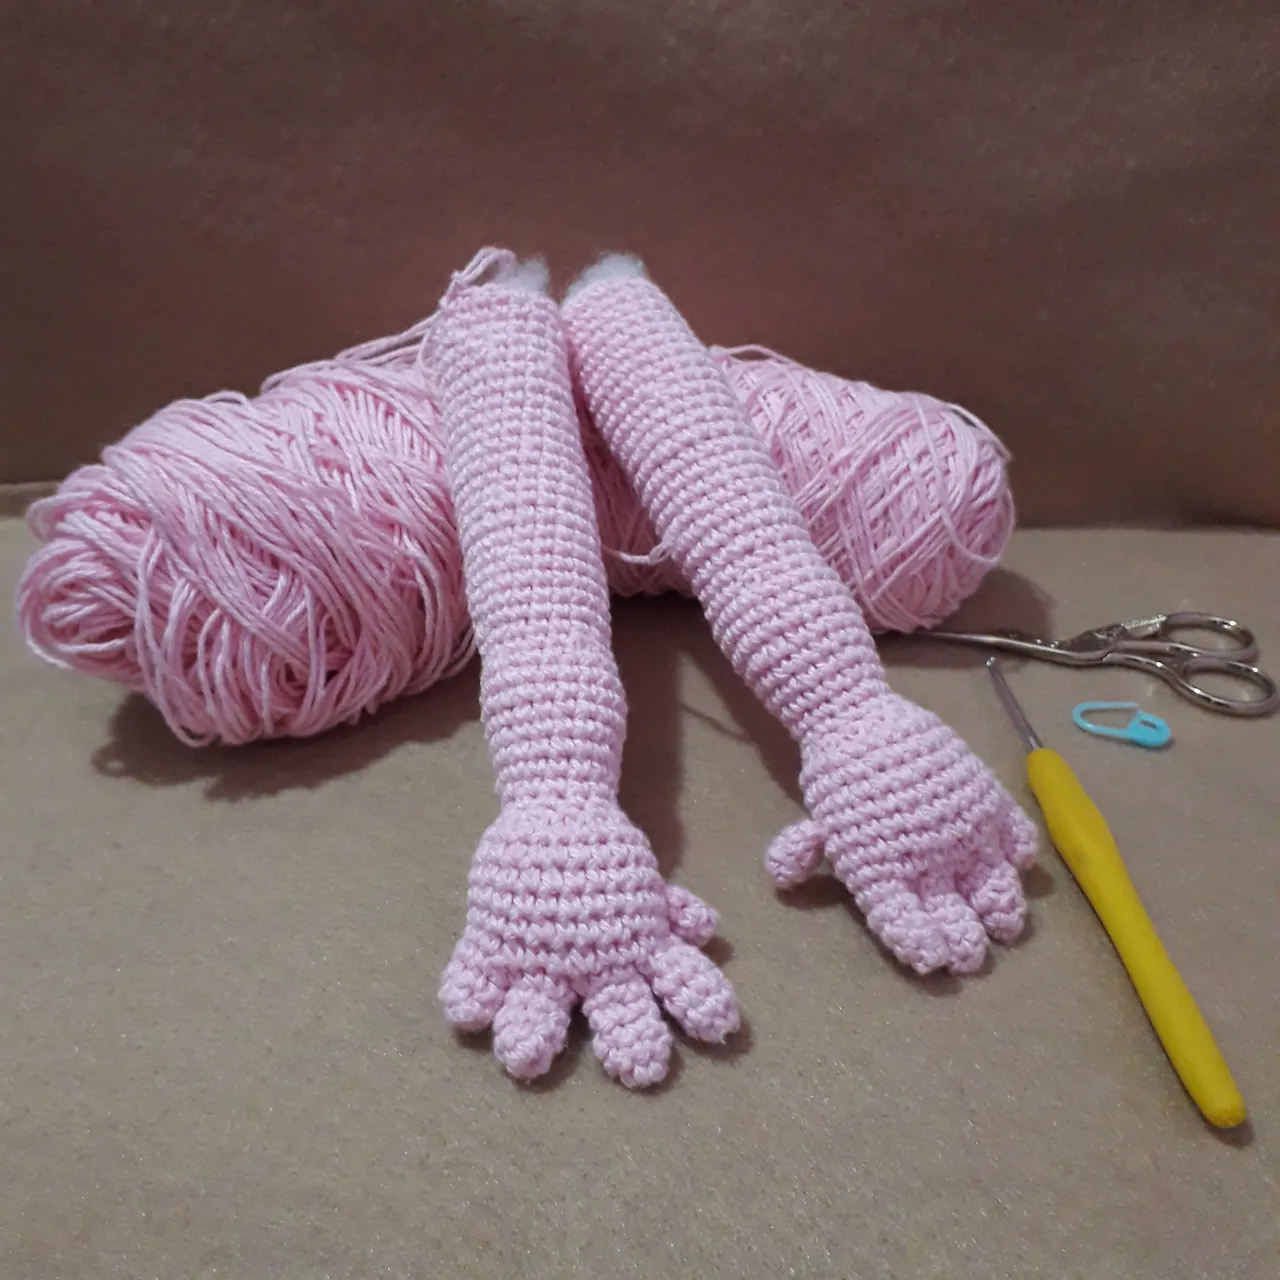
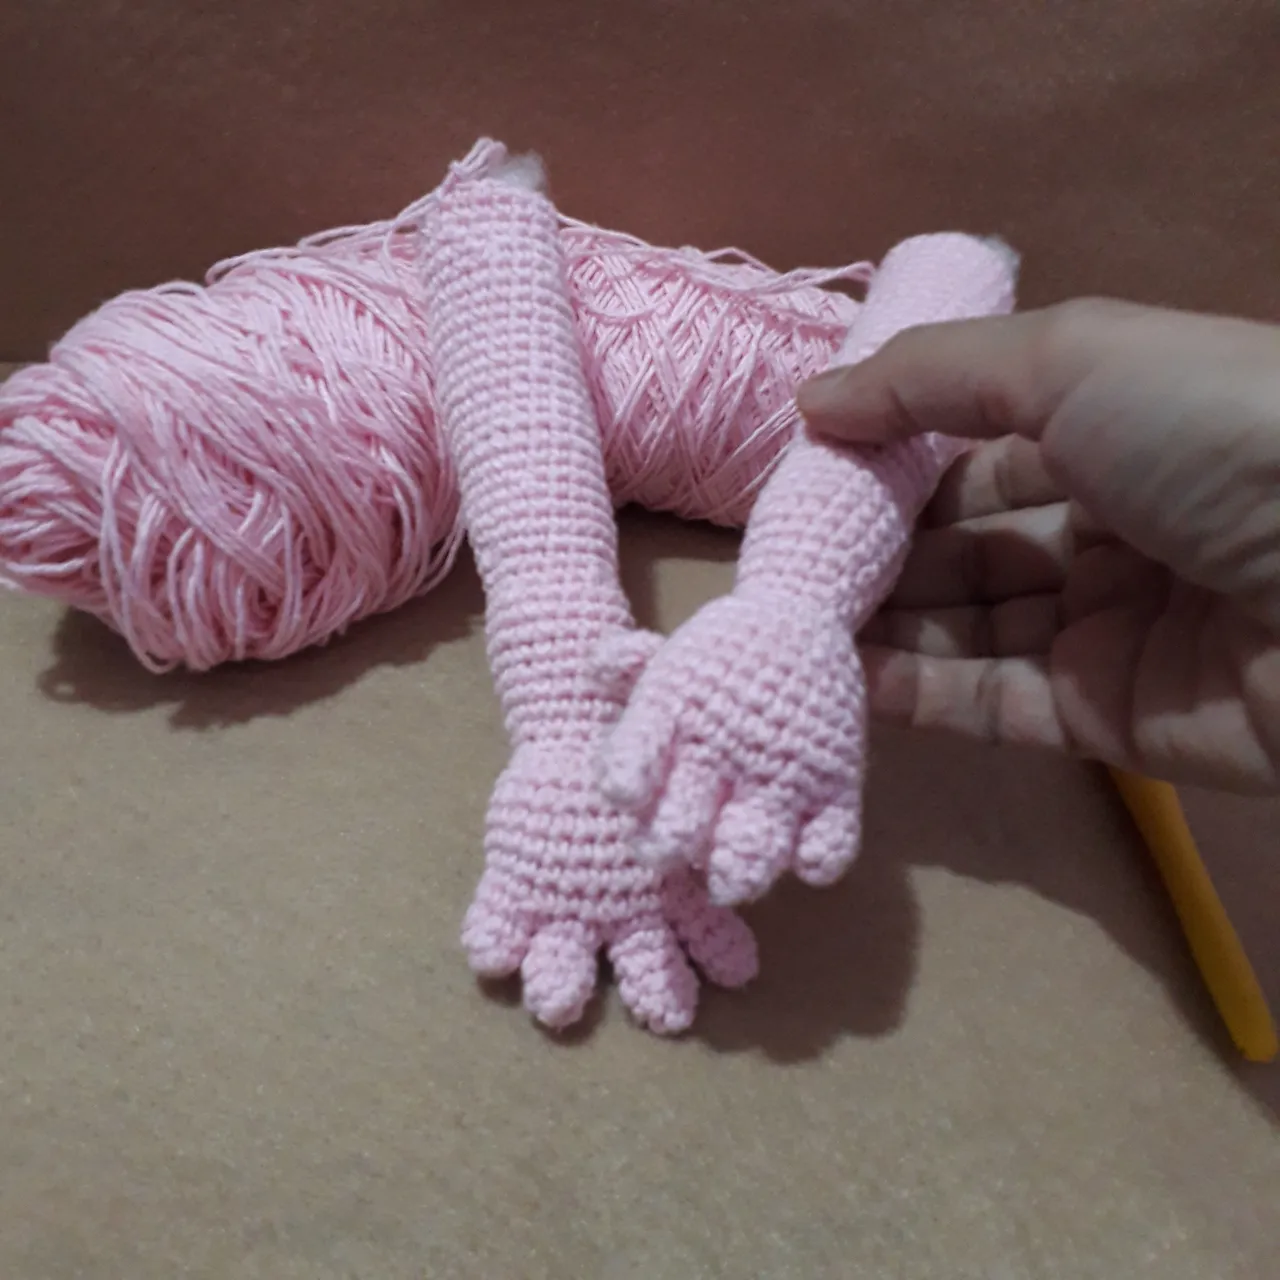
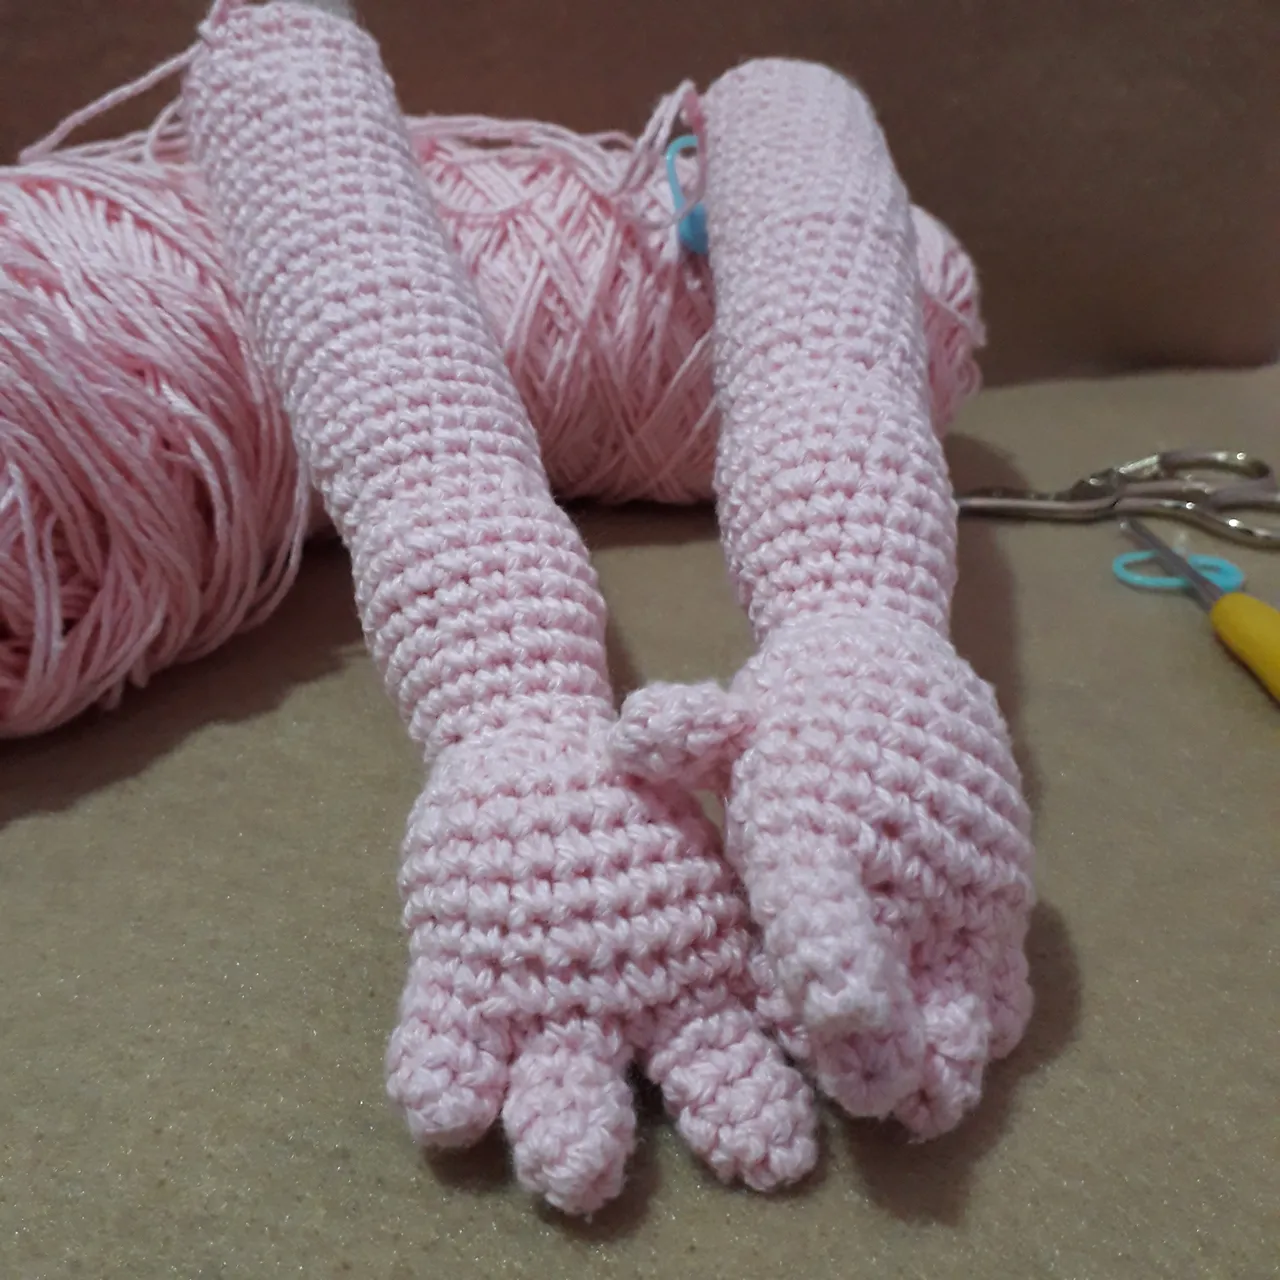
Luego de haber completado la secuencia hemos realizado las manos y brazos para una muñeca. Le estaré compartiendo en el próximos post como realizar los pies y piernas para la muñeca.
After completing the sequence we have made the hands and arms for a doll. I will be sharing in the next post how to make the feet and legs for the doll.
Gracias por dedicar un espacio de su tiempo para leer la publicación. Si hay alguna pregunta, por favor pregúntame en la sección de comentarios a continuación.
Thank you for taking the time to read this publication. If there are any questions, please ask me in the comments section below.
Texto e imágenes: Por @jicrochet
Text and Images: By @jicrochet
