¿Cuántas maneras de colocar el cabello conoces?
¡Hola, espero la estén pasando bien!
Hi, I hope you are having a good time!
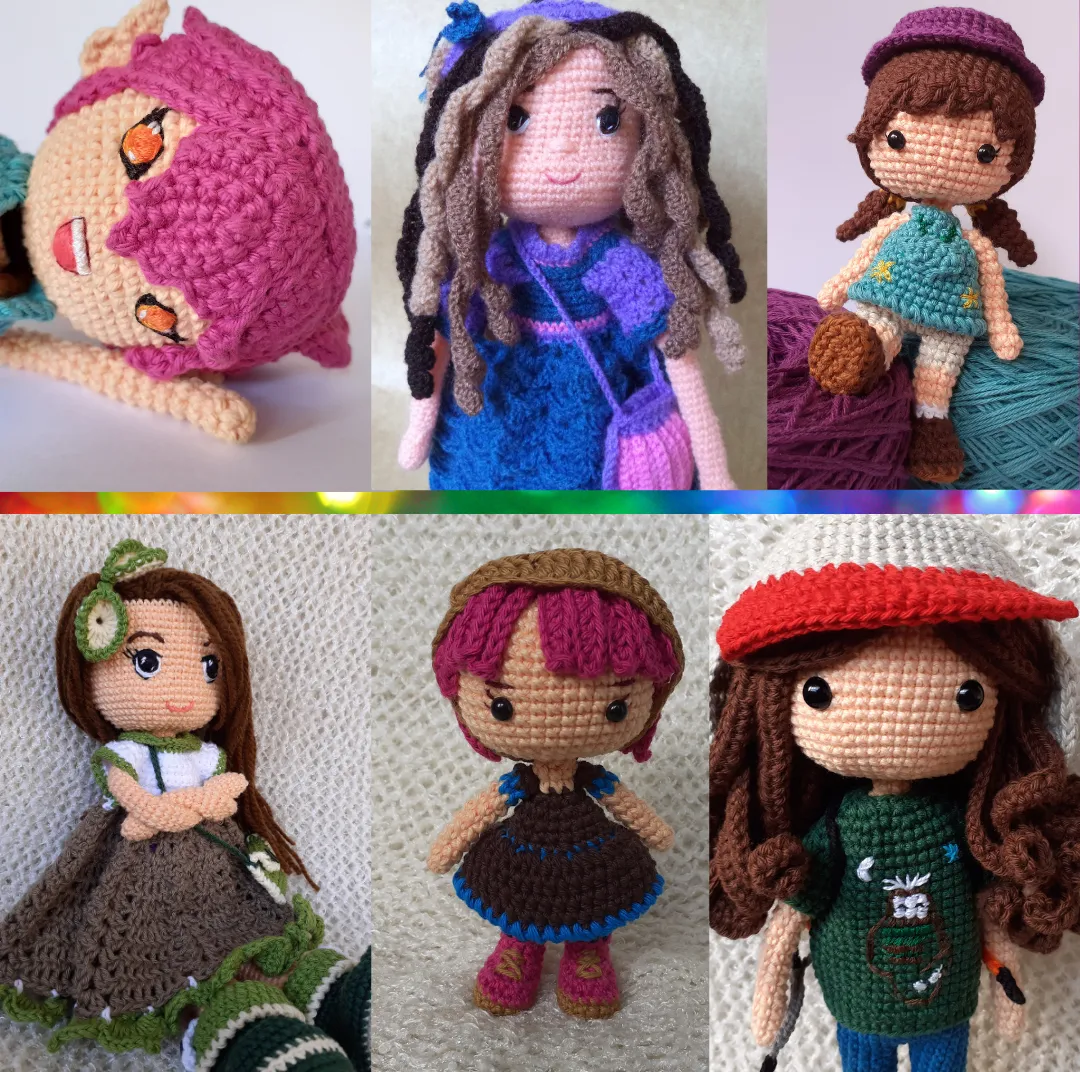
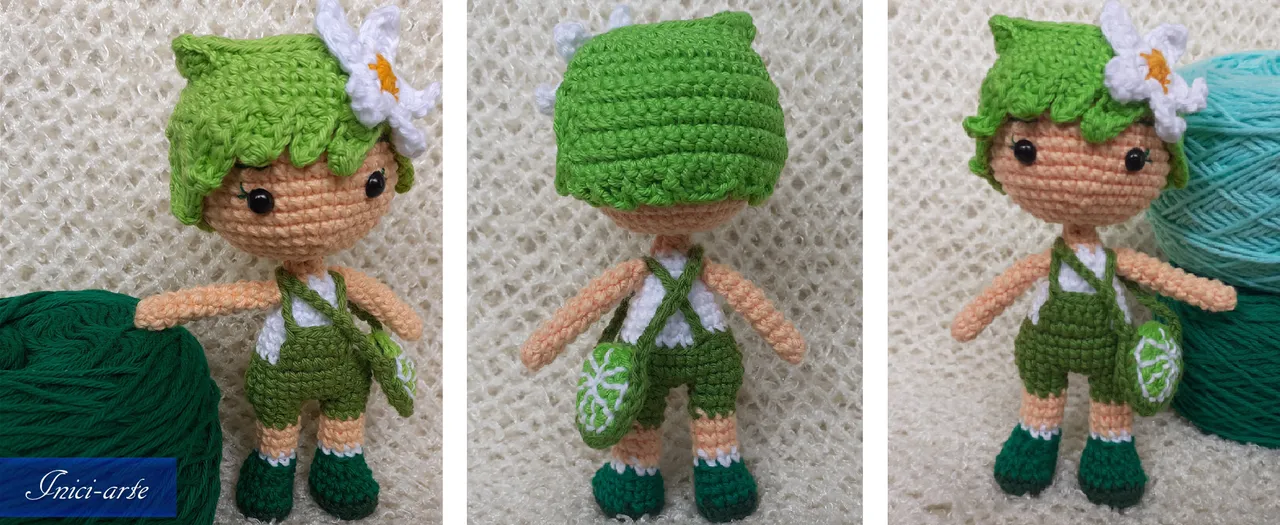
En las publicaciones anteriores vimos el tipo de cabello que para mí es el más complejo. Poco a poco iremos disminuyendo la dificultad. Así que el tipo de cabello que tocó hoy es medianamente complejo. Se trata del cabello “tipo Pixie” (imagen extremo superior izquierdo), al ser extravagante se puede jugar con los colores, inclusive combinarlos.
In the previous publications we saw the type of hair that for me is the most complex. Little by little we will decrease the difficulty. So today's hair type is moderately complex. It is the "Pixie type" (Top left image) hair, as it is extravagant you can play with the colours, even combine them.
Tipo de cabello Nº 2: / Hair type No. 2:
-Complejidad: Este cabello requiere bastante creatividad para darle forma y volumen al cabello.
-Tamaños: Es ideal para amigurumis pequeños (13cm de altura) y medianos (20cm de altura).
-Tipo de material a tejer: Por lo general hilo de algodón.
-Dato extra: Se trata de tejer piezas de cabello y luego unirlos dándole volumen.
-Complexity: This hair requires a lot of creativity to give shape and volume to the hair.
Sizes: It is ideal for small amigurumis (13cm high) and medium amigurumis (20cm high).
-Type of material to knit: Usually cotton yarn.
-Extra fact: It involves weaving pieces of hair and then joining them together to give them volume.
Materiales /materials :
- Hilos de algodón (4 hebras) / Cotton thread (4 strands)
- crochet 2 mm
- tijera / scissor
- aguja lanera / wool needle
- alfileres con cabeza / headed pins
a) Tipo Pixie simple:
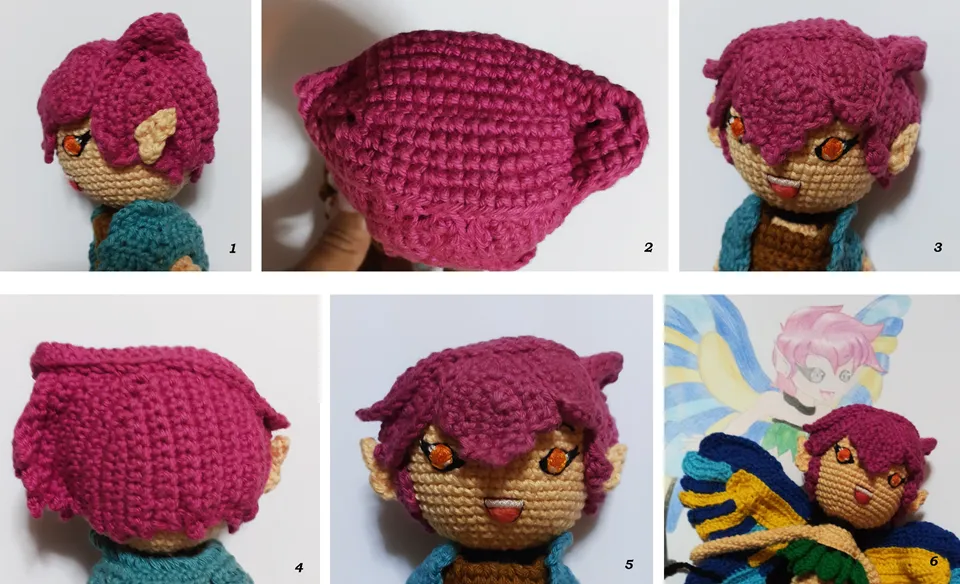
Aquí se tejió el punto en sí. Consiste en tejer piezas de forma vertical a manera de hojas de las plantas.
Fig. 1: 8 cadenas, volteo y tejo 7puntos, 4 cadenas, regreso con 5 puntos, 1 cadena.
Volteo el tejido y tejo por las hebras de atrás 5 puntos y en el agujero anterior tejo (2 puntos, 4 cadenas, 2 puntos) juntos, regreso con 5 puntos, 1 cadena. Volteo y por atrás tejo 5 puntos, (2puntos, 4 cadenas, 2 puntos) y 5 puntos. Y así hasta lograr el tamaño requerido.
Fig. 2: Para esta pieza, en el extremo donde se disminuía, se tejió 2 puntos, 4 cadenas y 2 puntos; para que aumente y se obtenga una forma alargada.
Fig. 3: Se tejió 3 piezas pequeñas similares y luego se las unió.
Fig. 4: En lugar de aumentar los extremos verticales, se fue aumentando los extremos horizontales.
Fig. 5: A medida que se va tejiendo también se le va dando forma al volumen del cabello.
Fig. 6: Depende mucho de la imagen/peinado que se quiera obtener.
Here the actual stitch was knitted. It consists of knitting pieces vertically in the manner of plant leaves.
Fig. 1: 8 chains, turn and knit 7 stitches, 4 chains, return with 5 stitches, 1 chain.
I turn the fabric over and knit 5 stitches through the back strands and in the previous hole I knit (2 stitches, 4 chains, 2 stitches) together, return with 5 stitches, 1 chain. I turn over and knit 5 stitches, (2 stitches, 4 chains, 2 stitches) and 5 stitches. And so on until the required size is reached.
Fig. 2: For this piece, at the end where it was decreasing, I knit 2 stitches, 4 chains and 2 stitches; so that it increases and an elongated shape is obtained.
Fig. 3: We knitted 3 similar small pieces and then joined them together.
Fig. 4: Instead of increasing the vertical ends, the horizontal ends were increased.
Fig. 5: As you weave, you also shape the volume of the hair.
Fig. 6: It depends a lot on the look/style you want to achieve.
b) Tipo Pixie combinado:
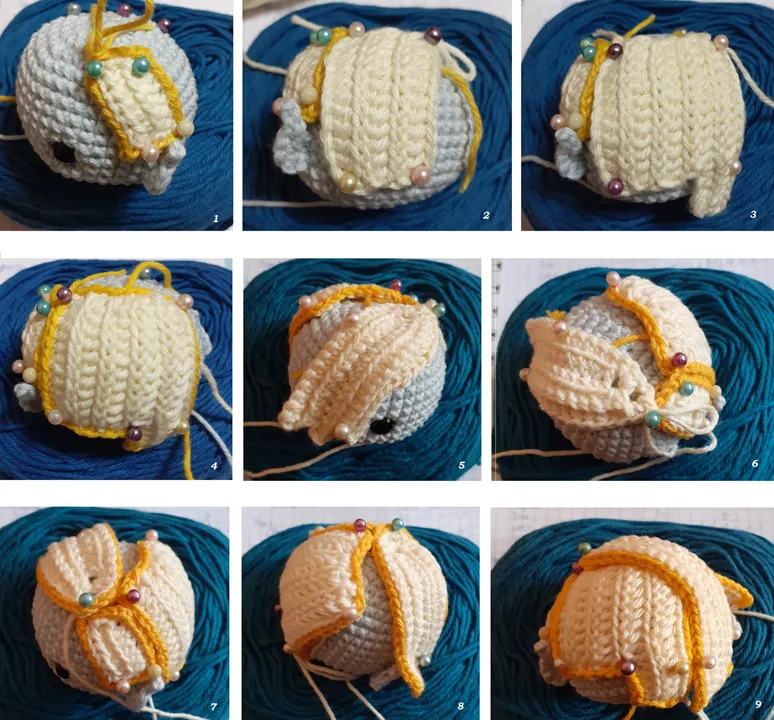
Aquí se utilizó 2 estilos de tejido debido al volumen y peinado, además se tejió puntos deslizados en el borde de cada pieza. Se tejió 5 piezas en total.
Fig. 1: Pieza 1: Teje 8 cadenas, regresa con medios puntos altos, voltear el tejido y tejer deslizados, tejer una cadena y voltear el tejido y tejer medios puntos altos. Cortar. Para el borde se tejió puntos deslizados y en las esquinas se tejió 1 cadena, para que marque la forma rectangular (el personaje lo requería).
Fig. 2: Pieza 2: Tejer 13 cadenas, seguido de puntos medios altos y deslizados, siendo 3 vueltas.
Fig. 3: Para obtener mechones más largos, se agregó 6 cadenas, seguido de puntos medios altos y deslizados.
Fig. 4: Poco a poco vamos cubriendo la cabeza.
Fig. 5: Pieza 3: Este mechón es característico del peinado Pixie. Se teje 17 cadenas, luego 16 puntos y 4 cadenas, regreso normal con 14 puntos. La idea de este tipo de tejido es poco a poco y disminuyendo los puntos tejidos de un extremo y agregarlos por el otro, manteniendo la forma de una hoja alargada.
Fig. 6: Al llegar al otro extremo, tejer 4 cadenas y luego los 16 puntos. Para este tipo de mechón, quise que sea en degradé, por lo que agregué 2 cadenas, obteniendo 18 puntos. Voltear el tejido y regresar con 17 puntos, (2puntos, 4 cadenas, 2 puntos) en el agujero grande y regresar con 17 puntos. En la imagen se nota los agujeros que deja el punto por un extremo.
Fig. 7 y 8: Al momento de unir las piezas, vemos que hay un espacio sin rellenar.
Fig. 9: Pieza 4: Esta pieza deberá ser larga y cubrir la cabeza por completo.
Here 2 styles of knitting were used because of the volume and combing, plus slipped stitches were knitted on the edge of each piece. A total of 5 pieces were knitted.
Fig. 1: Piece 1: Knit 8 chains, return with half double crochet, turn the fabric and knit slip stitch, knit one chain and turn the fabric and knit half double crochet. Cut. For the border knit slipped stitches and in the corners knit 1 chain, to mark the rectangular shape (the character required it).
Fig. 2: Piece 2: Knit 13 chains, followed by stockinette and slip stitch, making 3 rounds.
Fig. 3: To obtain longer tresses, 6 chains were added, followed by slipped and high medium stitches.
Fig. 4: Little by little we cover the head.
Fig. 5: Piece 3: This lock is characteristic of the Pixie hairstyle. It is knit 17 strands, then 16 stitches and 4 strands, then a normal return with 14 stitches. The idea of this type of weave is to gradually decrease the stitches knitted at one end and add stitches at the other end, keeping the shape of an elongated leaf.
Fig. 6: When you reach the other end, knit 4 chains and then the 16 stitches. For this type of tuft, I wanted it to be a gradient, so I added 2 chains, making 18 stitches. Turn the fabric over and return with 17 stitches, (2 stitches, 4 chains, 2 stitches) in the big hole and return with 17 stitches. In the picture you can see the holes left by the stitch at one end.
Fig. 7 and 8: When we join the pieces together, we can see that there is an unfilled space.
Fig. 9: Piece 4: This piece should be long and cover the head completely.

Fig. 10, 11 y 12: Tejer 24 cadenas, voltear con 23 puntos, tejer 4 cadenas y regresar con 23 puntos. Aquí por un extremo agregué puntos y por el otro fui reduciendo puntos y agregando cadenas. Detenerse 2 puntos antes del final y voltear el tejido, tejer 21 puntos, (2 puntos, 4 cadenas, 2 puntos) en el agujero grande (de las 4 cadenas) y regresar con 21 puntos. Para esta última fila le dí una forma ondulada. Tejer 5 puntos, 2 medios puntos altos, 4 puntos altos, 1 medio punto alto y 9 puntos. Cortar.
Fi. 13: Dejar hebra para coserlo a la cabeza.
Fig. 14 y 15: Piezas 5: Aquí jugué con las disminuciones y aumentos para darle una forma de caída al mechón.
Fig. 10, 11 and 12: Knit 24 chains, turn with 23 stitches, knit 4 chains and return with 23 stitches. Here at one end I added stitches and at the other end I reduced stitches and added chains. Stop 2 stitches before the end and turn the knitting, knit 21 stitches, (2 stitches, 4 chains, 2 stitches) in the big hole (of the 4 chains) and return with 21 stitches. For this last row I gave it a wavy shape. Knit 5 stitches, 2 double crochets, 4 double crochets, 1 double crochet and 9 stitches. Cast off.
Fi. 13: Leave yarn for sewing to the head.
Fig. 14 and 15: Pieces 5: Here I played with the decreases and increases to give a fall shape to the tuft.
¡Y eso es todo!,
¡…Hasta la próxima!
See you next time!
Dato curioso: Al inicio es complicado, con la práctica se puede moldear varias formas y sobre todo para el cabello corto / At the beginning it is complicated, but with practice you can mould various shapes, especially for short hair.
►Encuéntranos en:
- Instagram: https://www.instagram.com/inici_arte_craft/
- Creary: https://creary.net/@diana.waranqa/
- Facebook: https://www.facebook.com/iniciartecraft/