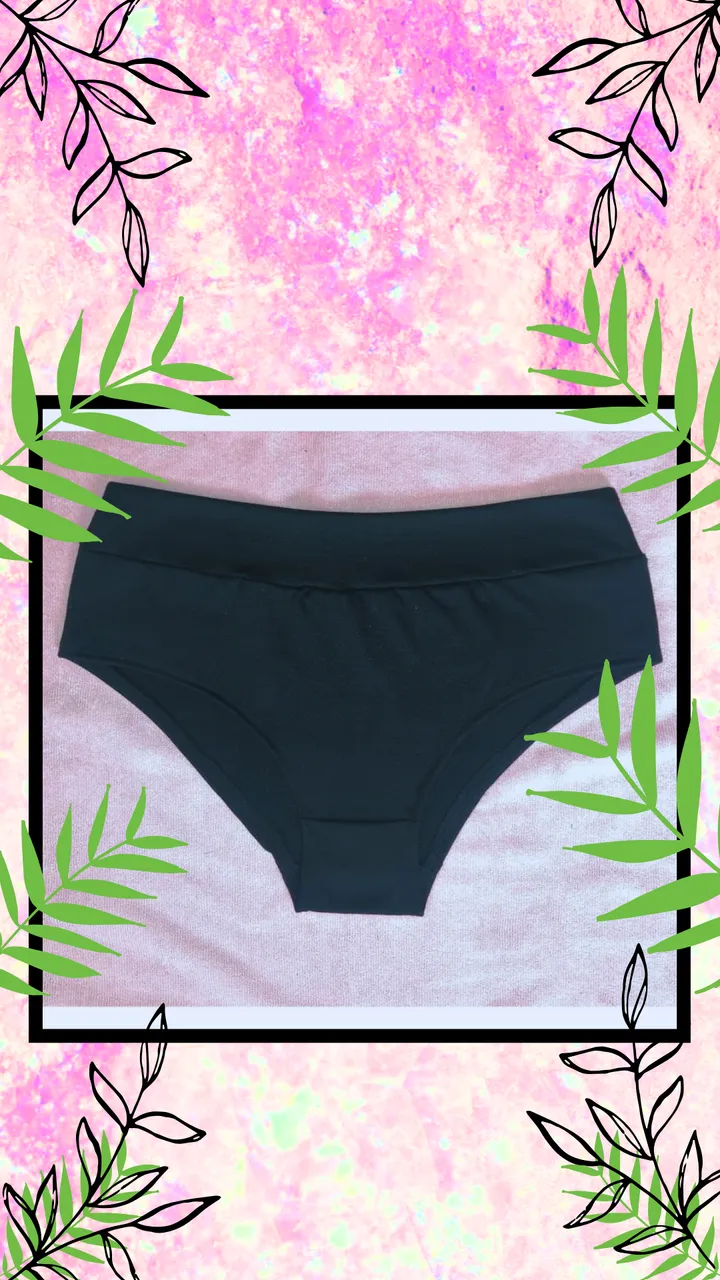
Hello friends of this beautiful community. Some time ago I wanted to do a tutorial on how I make my underwear, I think it's a pretty useful and simple way to do it. I have always preferred to wear my undergarments that are comfortable and soft, lace and I don't have a very good relationship 🫢 I only wear it on occasion hahahaha. When I gave birth to my baby girl, I had a cesarean section, that was a year and a half ago but this still bothers me and has to give me more reasons to use this type of garments. Because of this, I make my own underwear. The first thing I keep in mind is that it must be high-waisted and instead of having elastic in the waistband, I make the same fabric but thicker so it won't bother me.
Hola amigos de esta hermosa comunidad. Hace tiempo quería hacer un tutorial de como hago mi ropa interior, creo que es una forma bastante útil y sencilla de realizar. Siempre he preferido usar mis prendas íntimas que sean cómodas y suaves, el encaje y yo no tenemos muy buena relación 🫢 solo lo uso en ocasiones jajajaja. Al dar a luz a mi bebita, me hicieron cesárea, eso ya hace año y medio pero esta aun me molesta y ha de darme más razones para usar este tipo de prendas. Debido a esto, yo misma hago mi ropa íntima. Lo primero que tengo en cuanta es que debe ser de tiro alto y en vez de tener goma (elástica) en la pretina, le hago la misma de tela pero gruesa así no me molestará.
I have met women who share this quality in me and also for the same reason. In fact my mommy, who is 31 years since her first cesarean, still hurts, of course in her time the cesarean sections were vertical. Anyway, I hope you like what I will share with you and that it will be useful.
He conocido mujeres que comparten está cualidad en mi y también por la misma razón. De hecho mi mami, quién ya hace 31 años de su primera cesárea, aun le duele, claro en su tiempo las cesáreas eran de forma vertical. En fin, espero sea de su agrado lo que les compartiré y les sea de utilidad.
Materials:
Step 1:
Depending on the size of your garment, take out the patterns marking the bag, as this will not carry bias, I make the armhole of the legs wider.
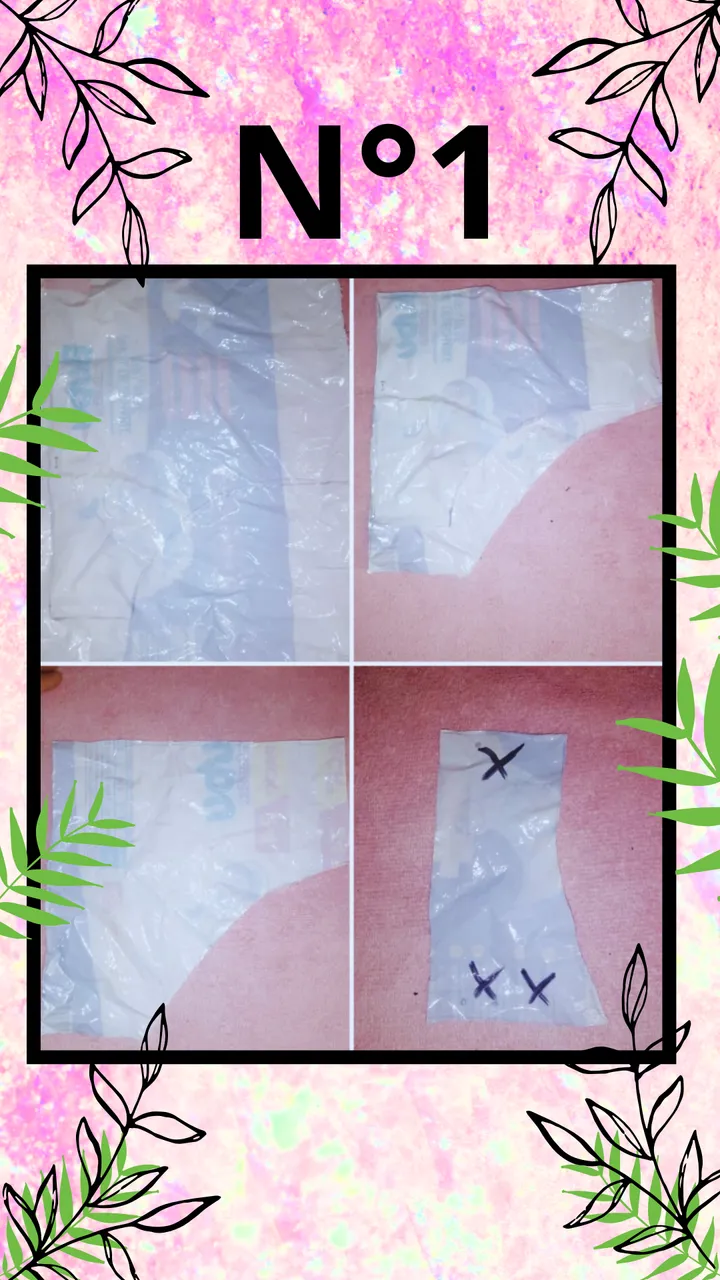
Dependiendo del tamaño de tu prenda, sacar los patrones marcando la bolsa, como esta no llevará sesgo, hago la sisa de las piernas más anchas.
Step 2:
Cut the pieces holding the patterns to the fabric with pins, for the crotch piece we will take out 2 of these, one should have a centimeter less. Also cut the waistband a little smaller than the width of the garment and on the sides we will make a diagonal cut not too pronounced.
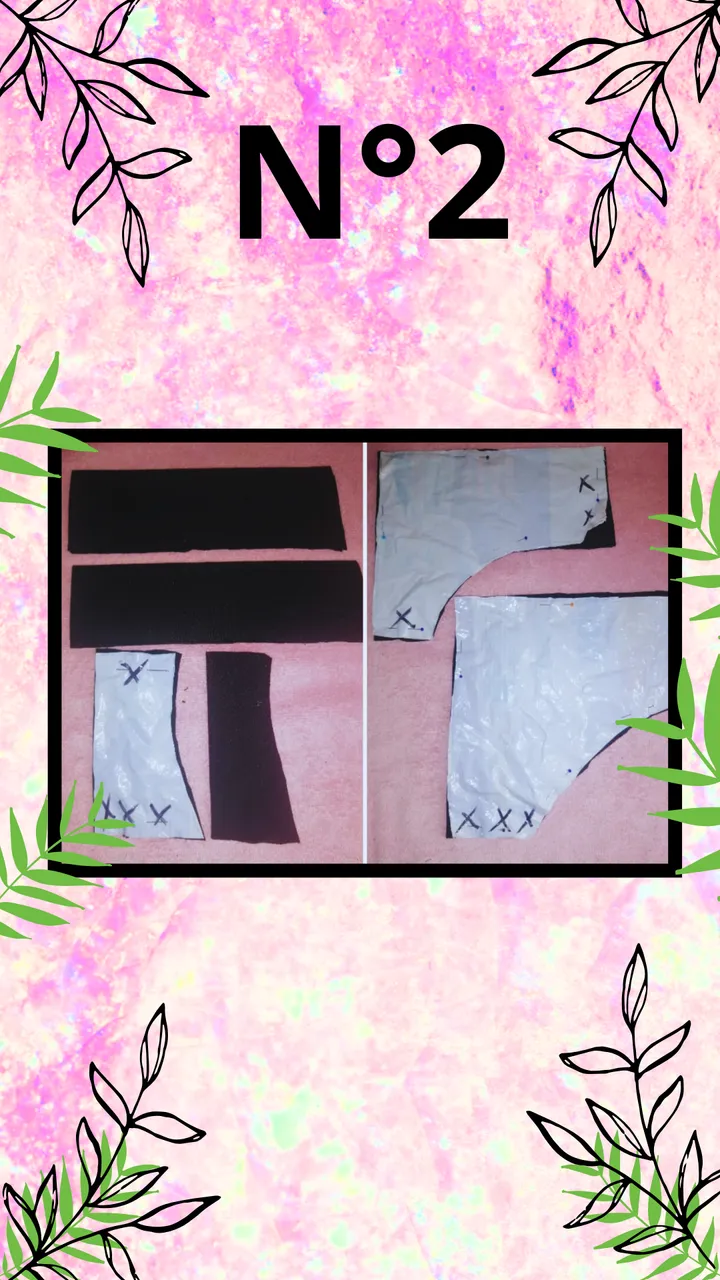
Cortar las piezas sosteniendo los patrones a la tela con alfileres, para la pieza de la entrepierna sacaremos 2 de estás, una deberá tener un centímetro menos. También cortar la pretina un poco más pequeña del ancho de la prenda y a los lados haremos un corte diagonal no muy pronunciado.
Step 3:
Center the pieces by placing the small crotch piece inside. Stitch zigzag and straight stitch.

Centrar las piezas colocando la pequeña de la entrepierna hacia adentro. Pasar puntada zigzag y recta.
Step 4:
Make sure that the pieces have been well placed, so we can make the edge. It should look as shown in the pictures.
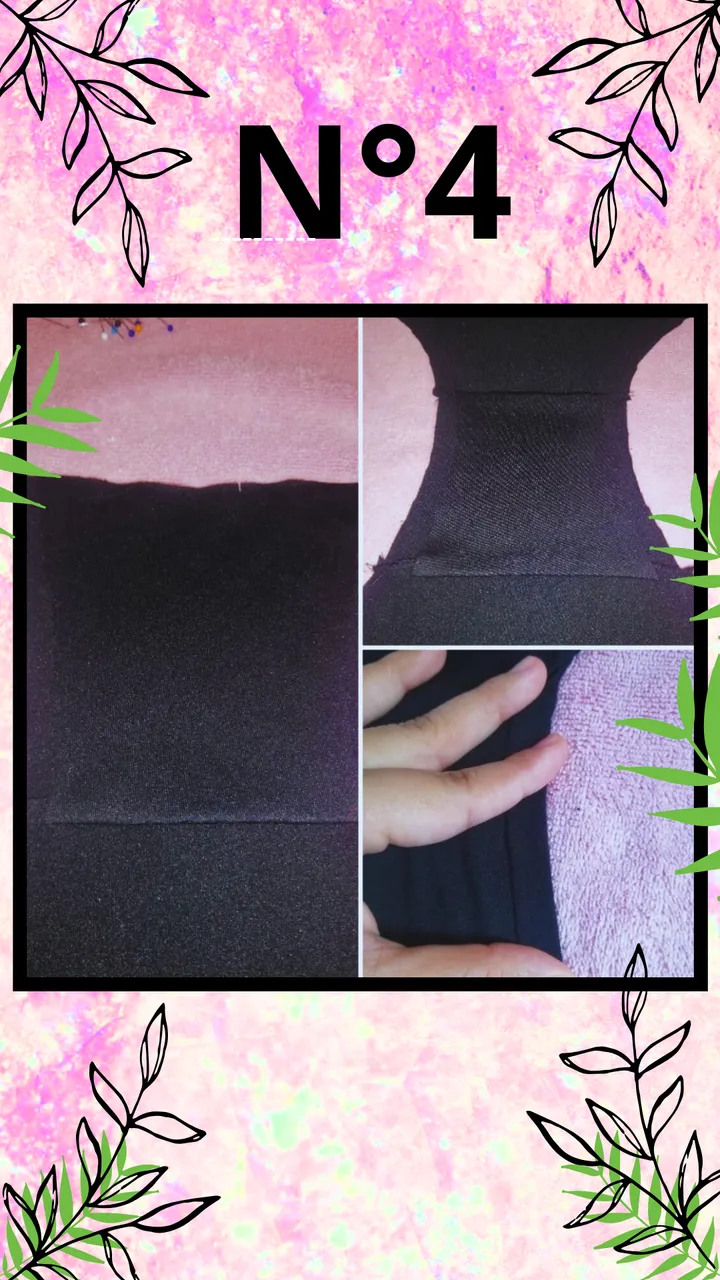
Asegurarse de que hayan quedado bien las piezas, así podremos hacer el borde. Debe quedar como se ven en las fotos.
Step 5:
Make the edges with a straight stitch, stretching the fabric slightly, I made two lines. Ideally, you should use the stretch stitch or sew with a twin needle, but my machine doesn't take the twin needle and doesn't do the stretch stitch. It only does the basic zigzag and straight. For this reason I make the leg armhole cut fairly wide, this way they won't be tight. Once this is done, sew the sides.

Hacer las orillas con puntada recta estirando levemente la tela, yo le hice dos líneas. Lo ideal es pasar la puntada para elástica o coser con una aguja gemela, pero mi máquina no agarra la aguja gemela y no hace la puntada para elástica. Solo hace el zigzag básico y recta. Por esta razón hago el corte de la sisa de la pierna bastante ancho, de esta manera no quedarán ajustadas. Hecho esto, coser los costados.
Step 6:
Finally we will join the waistband pieces, with the help of the pins center the halves and the sides, sew with zigzag stretching the waistband and pass the zigzag again.
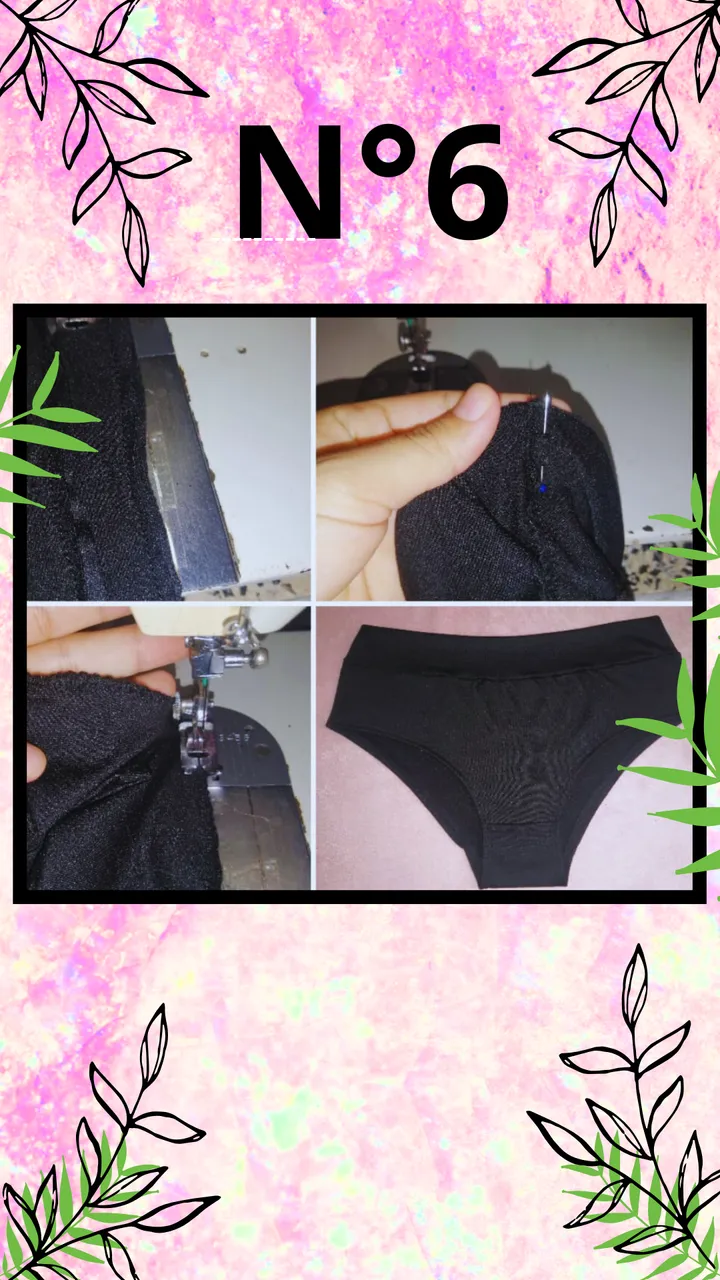
Finalmente uniremos las piezas de la pretina, con ayuda de los alfileres centrar las mitades y los costados, coser con zigzag estirando la pretina y pasar nuevamente el zigzag.
And that's it, we're done. I really think this is a great idea for people who are into sewing and for those who want to learn. It is very simple and looks very nice. I personally like them better this way because I can make them to the size that I know suits me.

Y listo, ya terminamos. Realmente me parece una grandiosa esta idea para las personas que están en esto de las costuras y los que quieren aprender. Es muy sencillo y queda muy bonito. A mí en lo personal me gustan más de esta manera ya qué, las puedo hacer a la medida que yo sé que me favorece.
It has been a pleasure to share with you my knowledge, although I am not a professional I am quite good at it and I make the most of it to continue learning.
Ha sido un gusto, compartir con ustedes mi conocimiento, que aunque no soy una profesional se me da bastante bien y le saco el máximo provecho para seguir aprendiendo.

Translation with DeepL
Photos taken with Redmi 12
Editing done in Canva
Traducción con DeepL
Fotos tomadas con Redmi 12
Edición realizada en Canva