Good morning everyone,
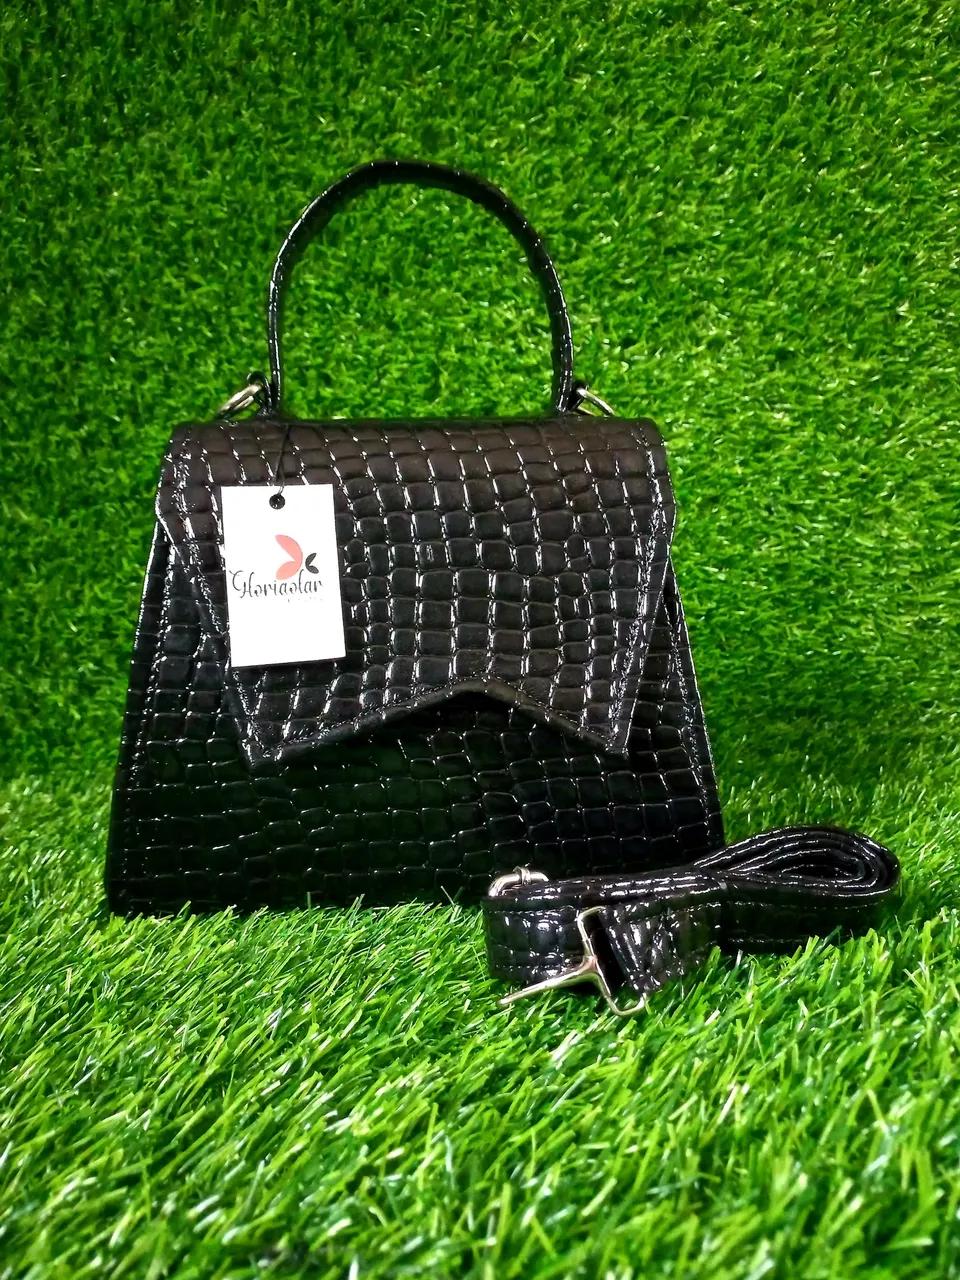
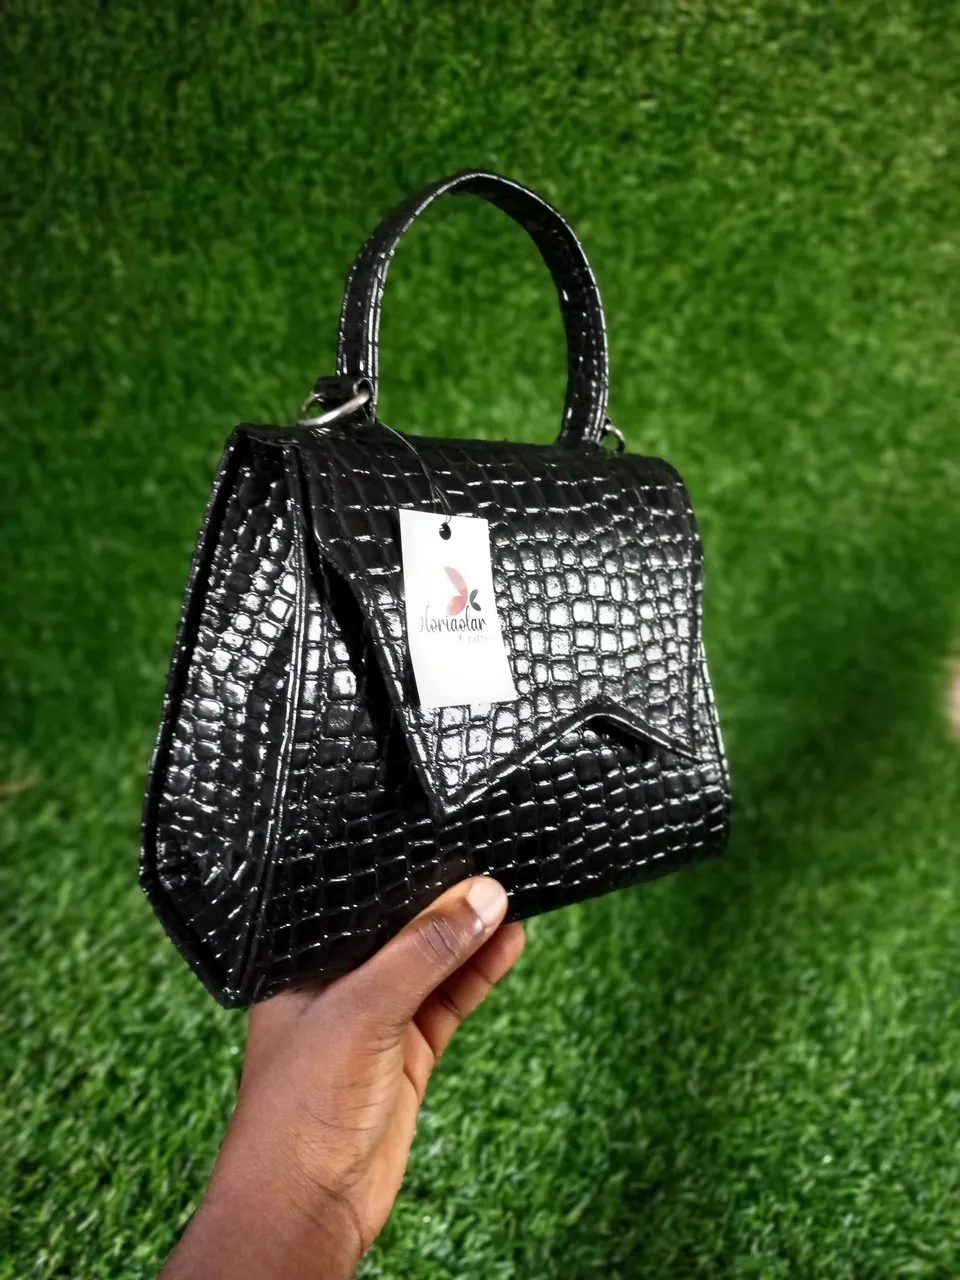
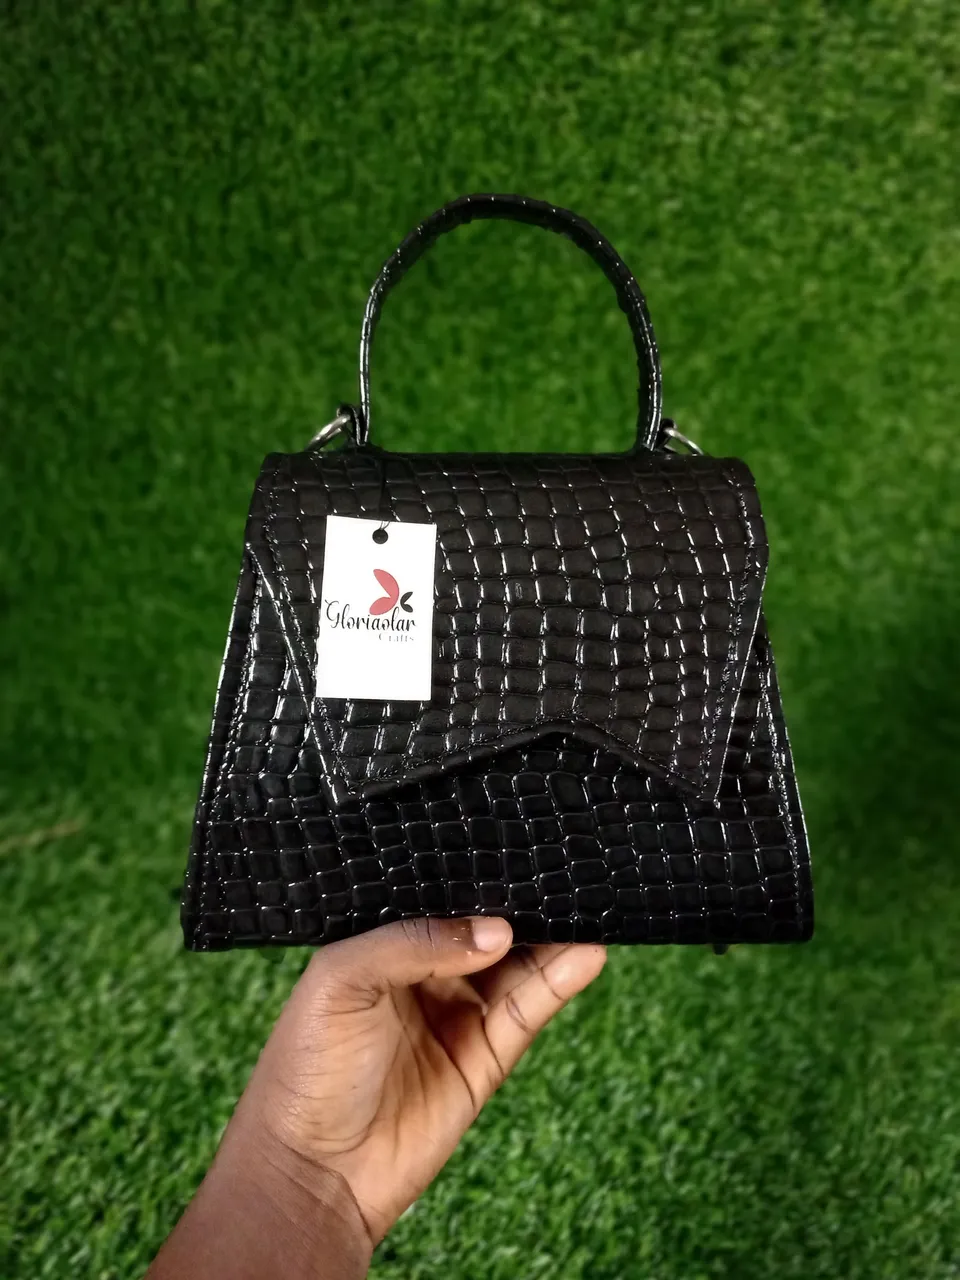
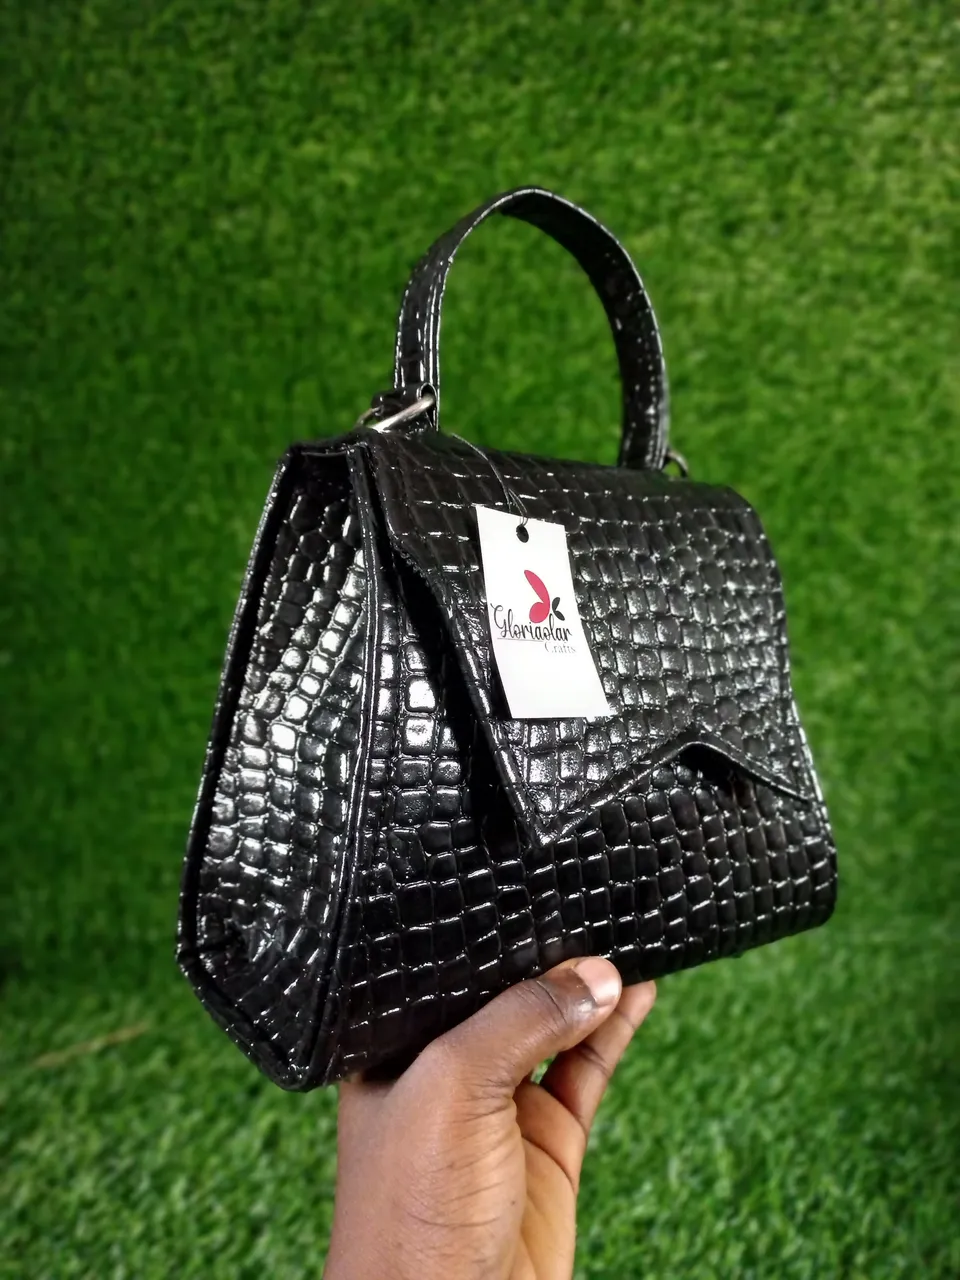
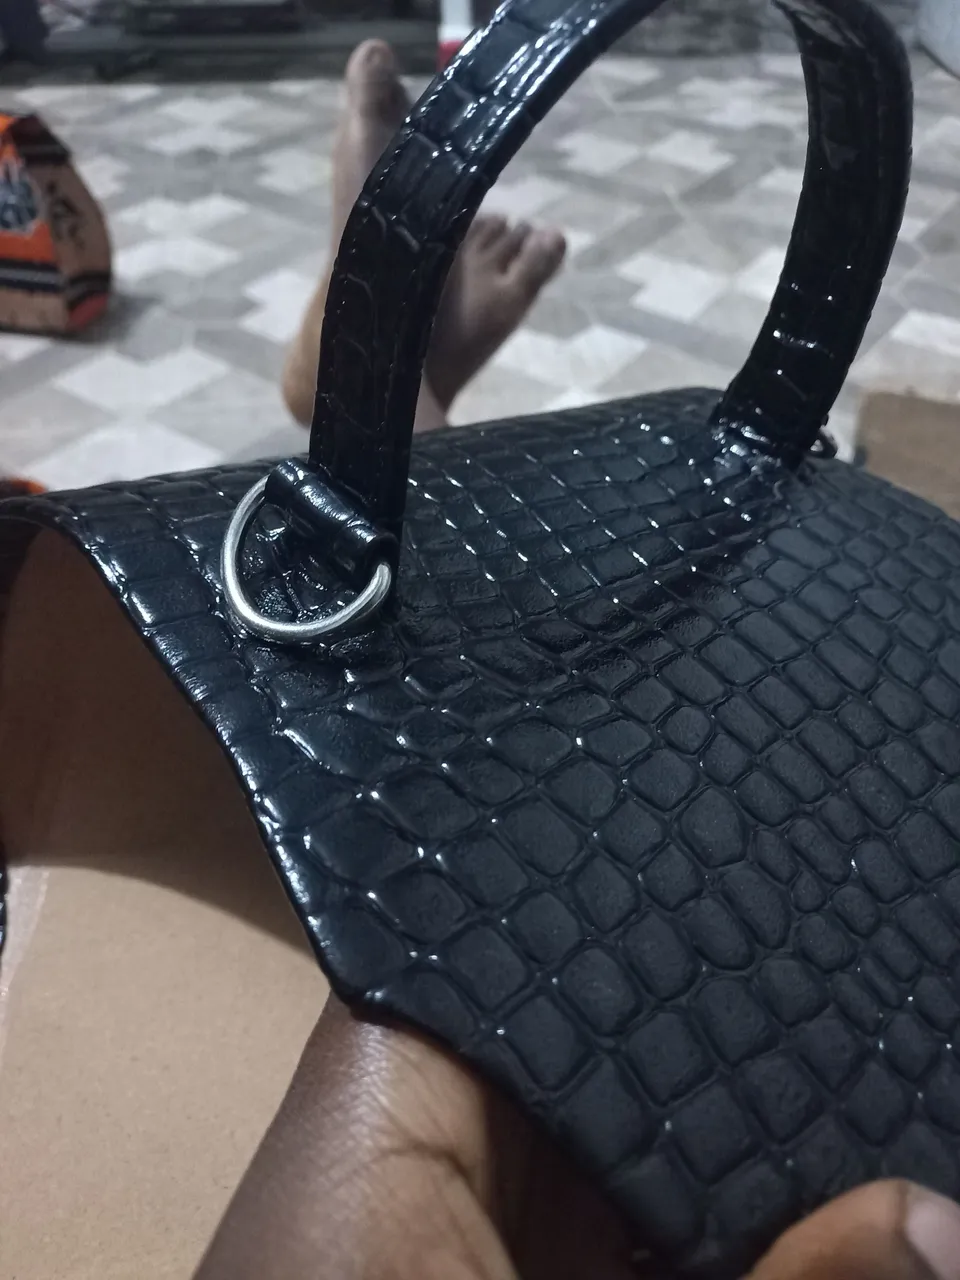
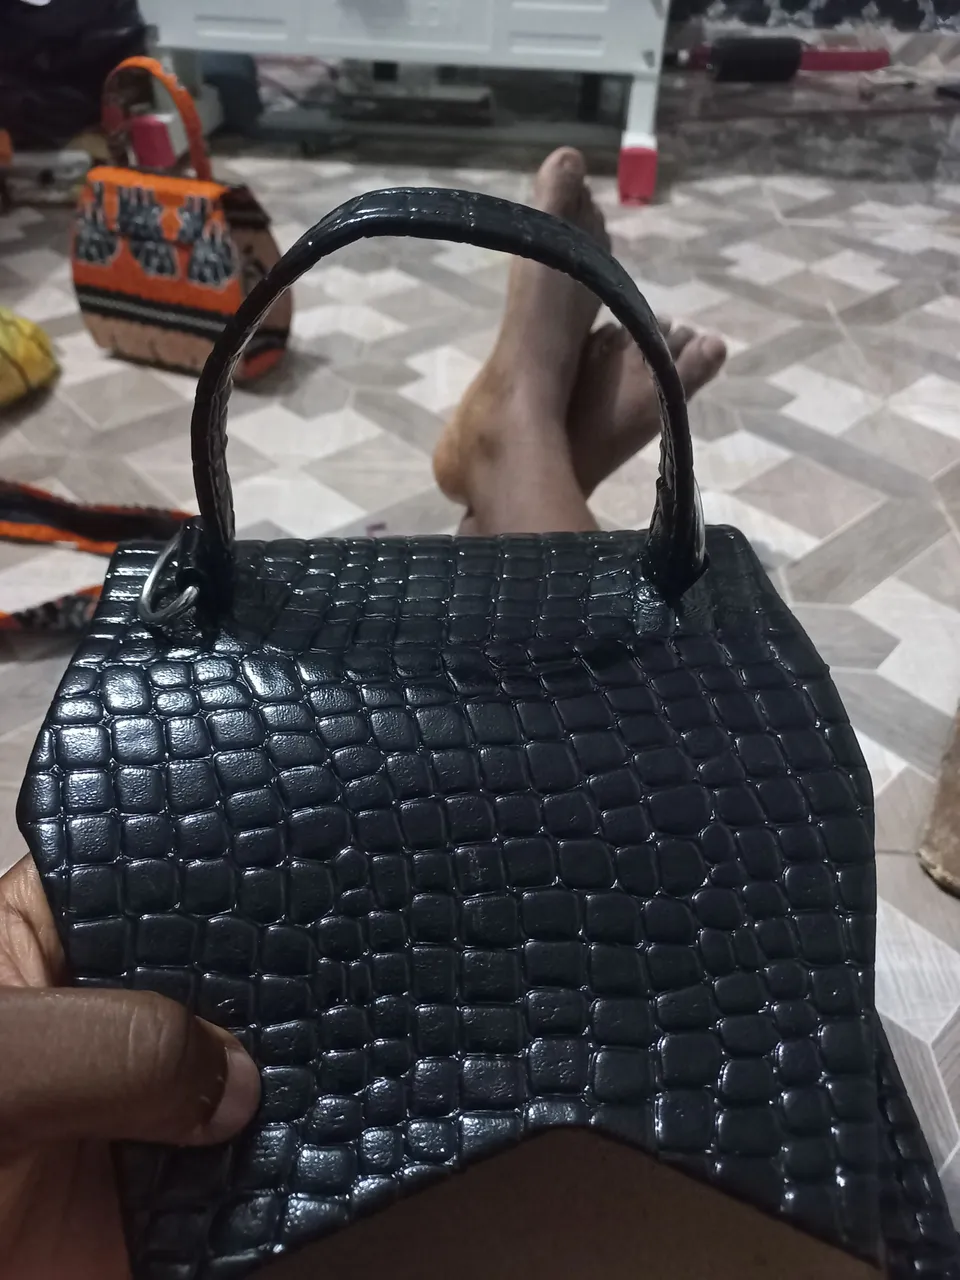
This morning I wanna share with us my latest bag design that I made yesterday. It is a new design and I decided to use a different short handle compared to my previous designs in this design and I'm happy it turned out well. The bag has a short handle and a longer handle which is detachable. I used simple materials for this bag like leather board and thick leather for the sides.
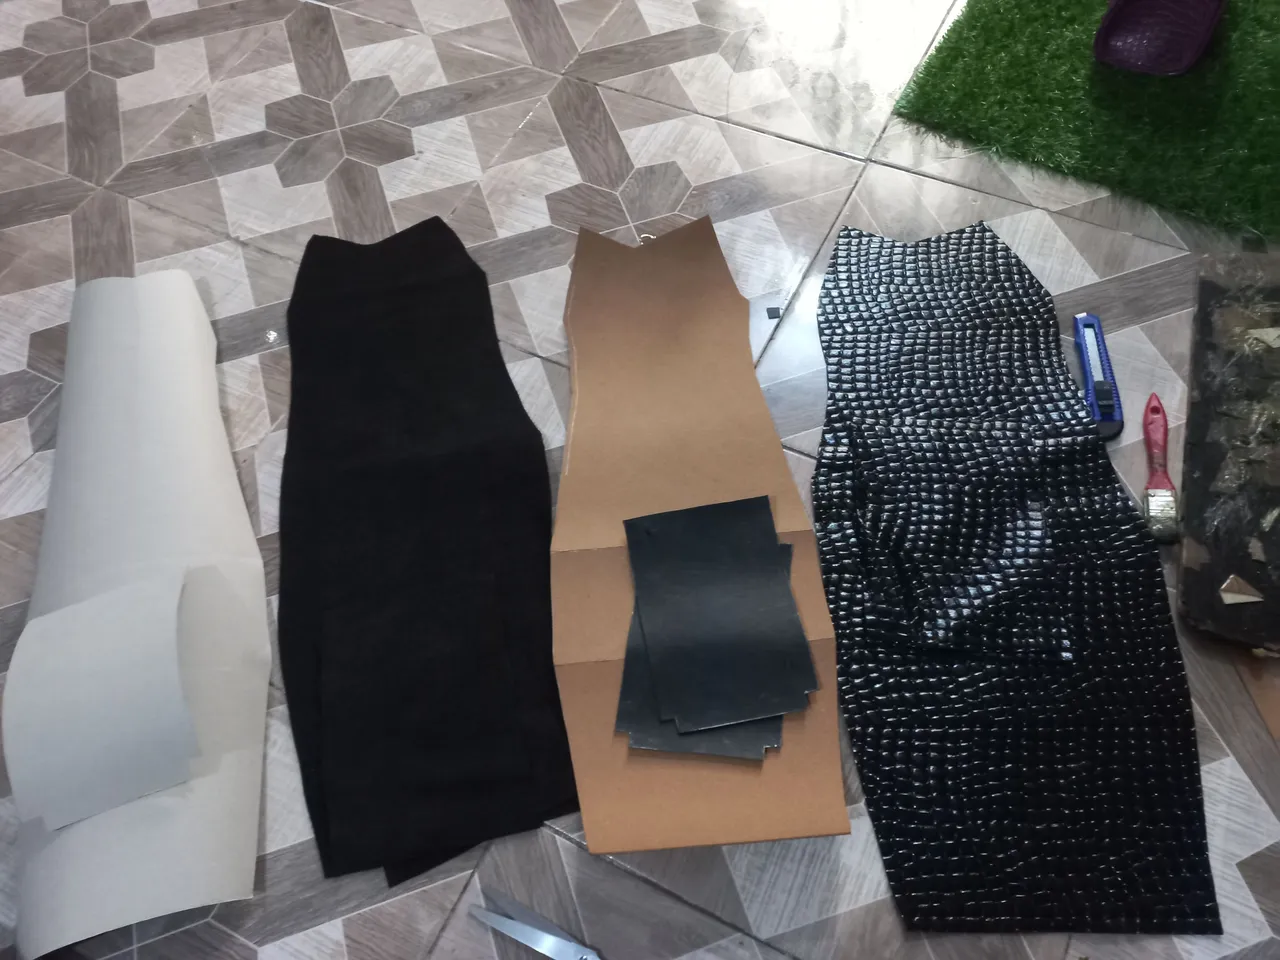
MATERIALS USED
- Leather-board
- Thick black leather for the sides
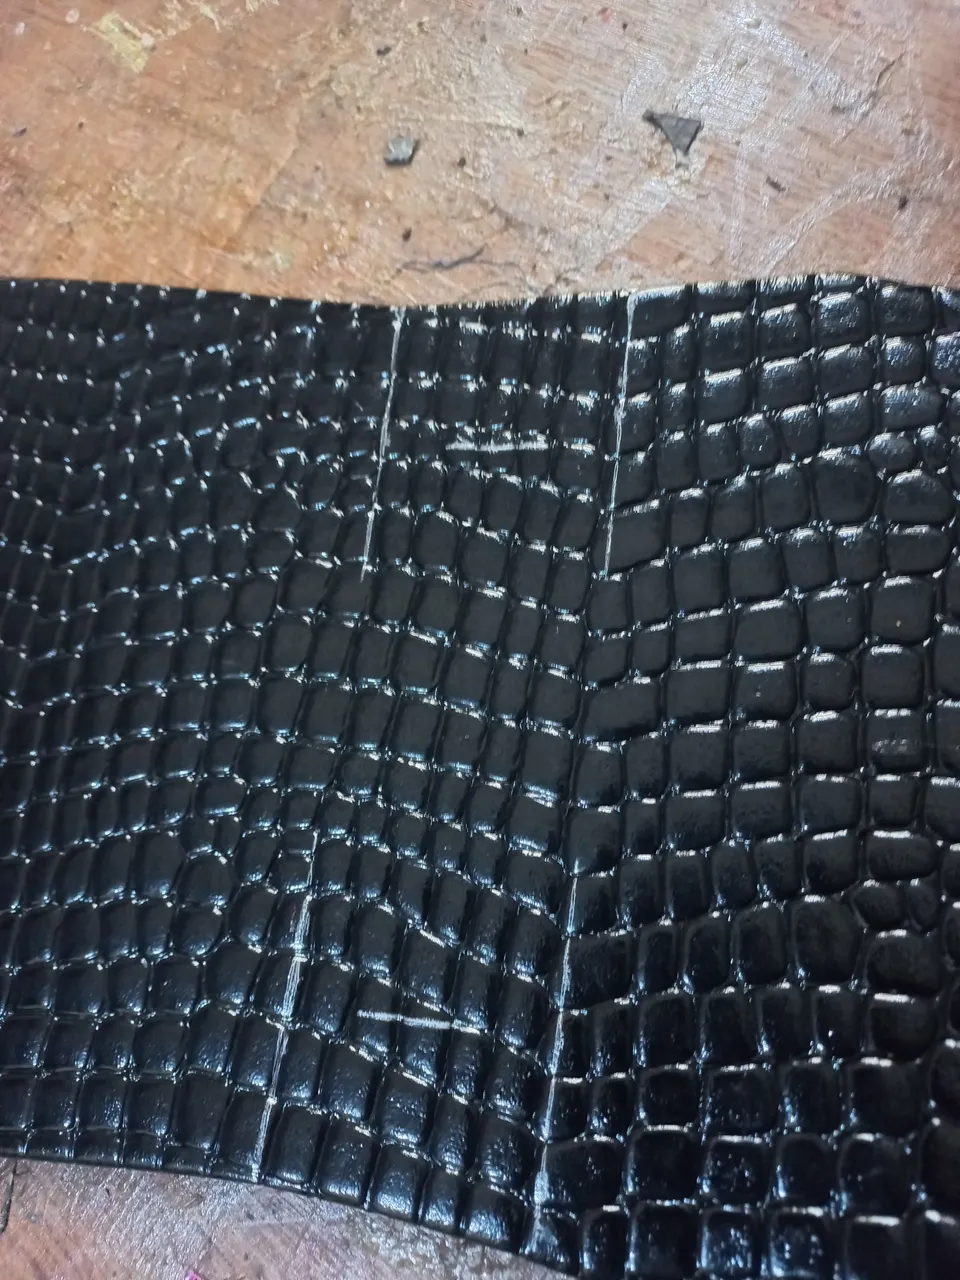
- Leather of choice
- D rings
- Bottom pins
- Gum
- Strong super glue
- Suade material for the lining
- A pair of magnets
- Chip-board for the pattern
PROCESS
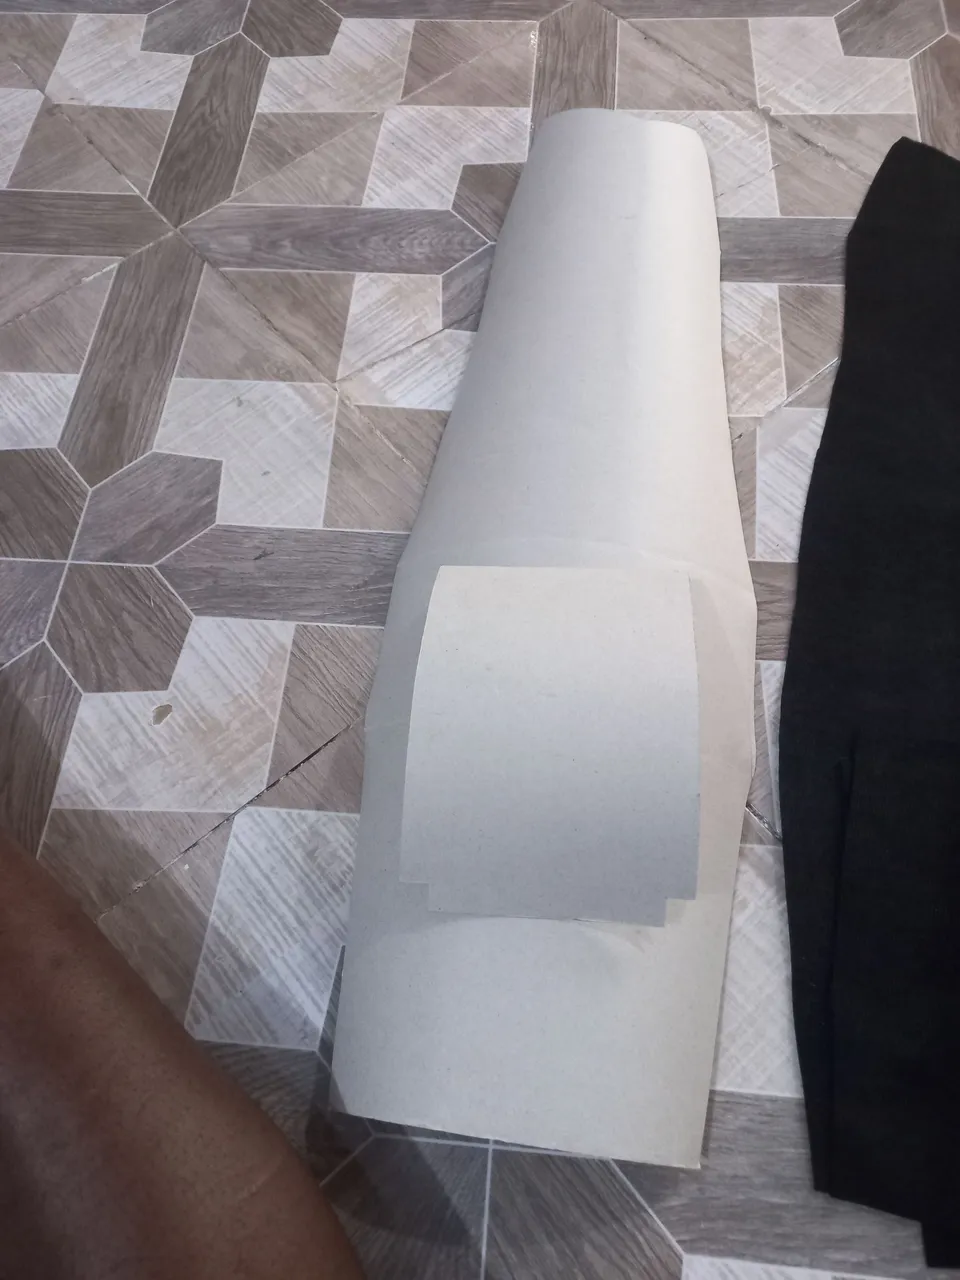
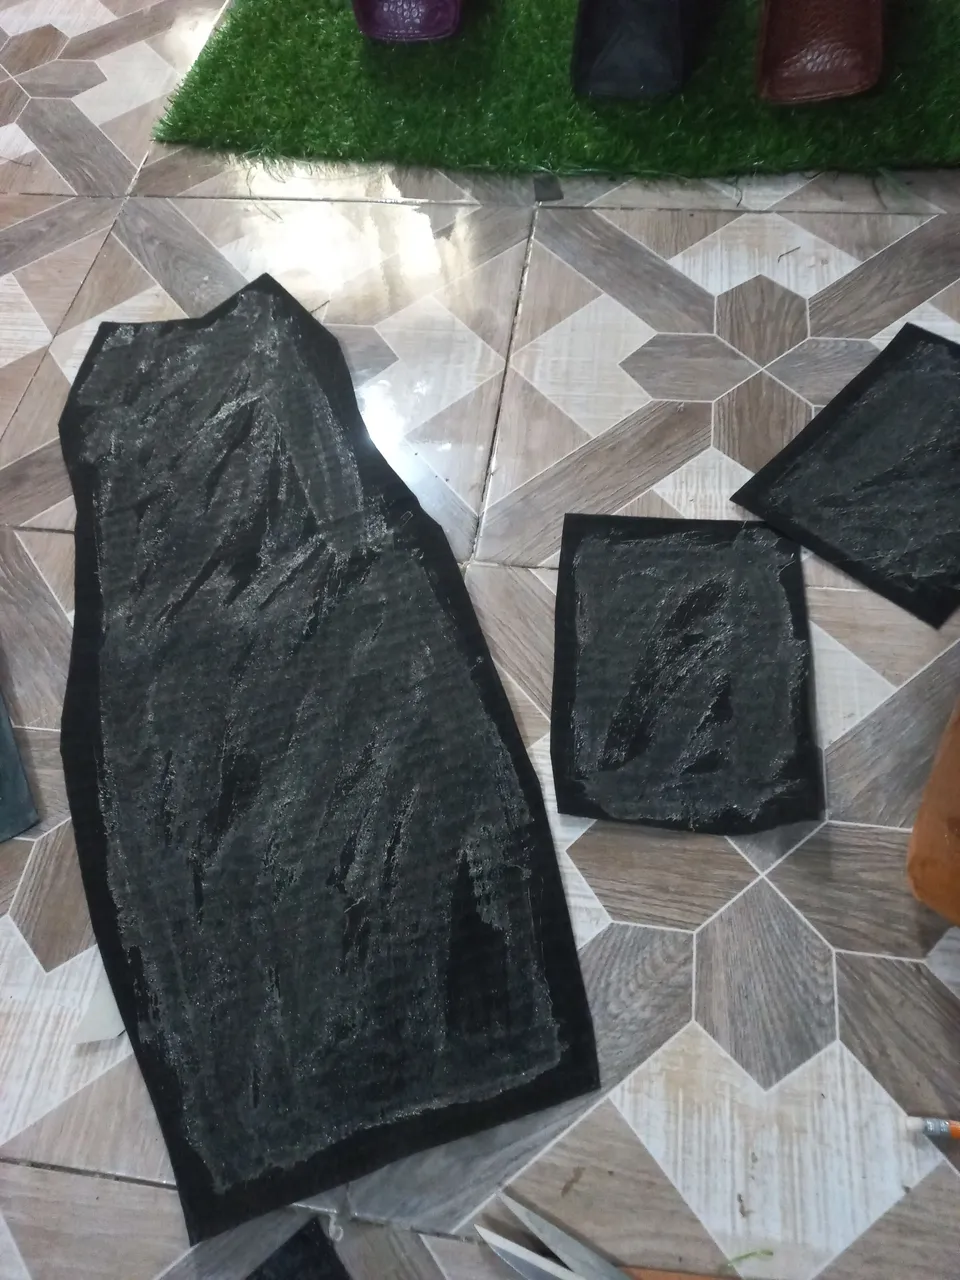
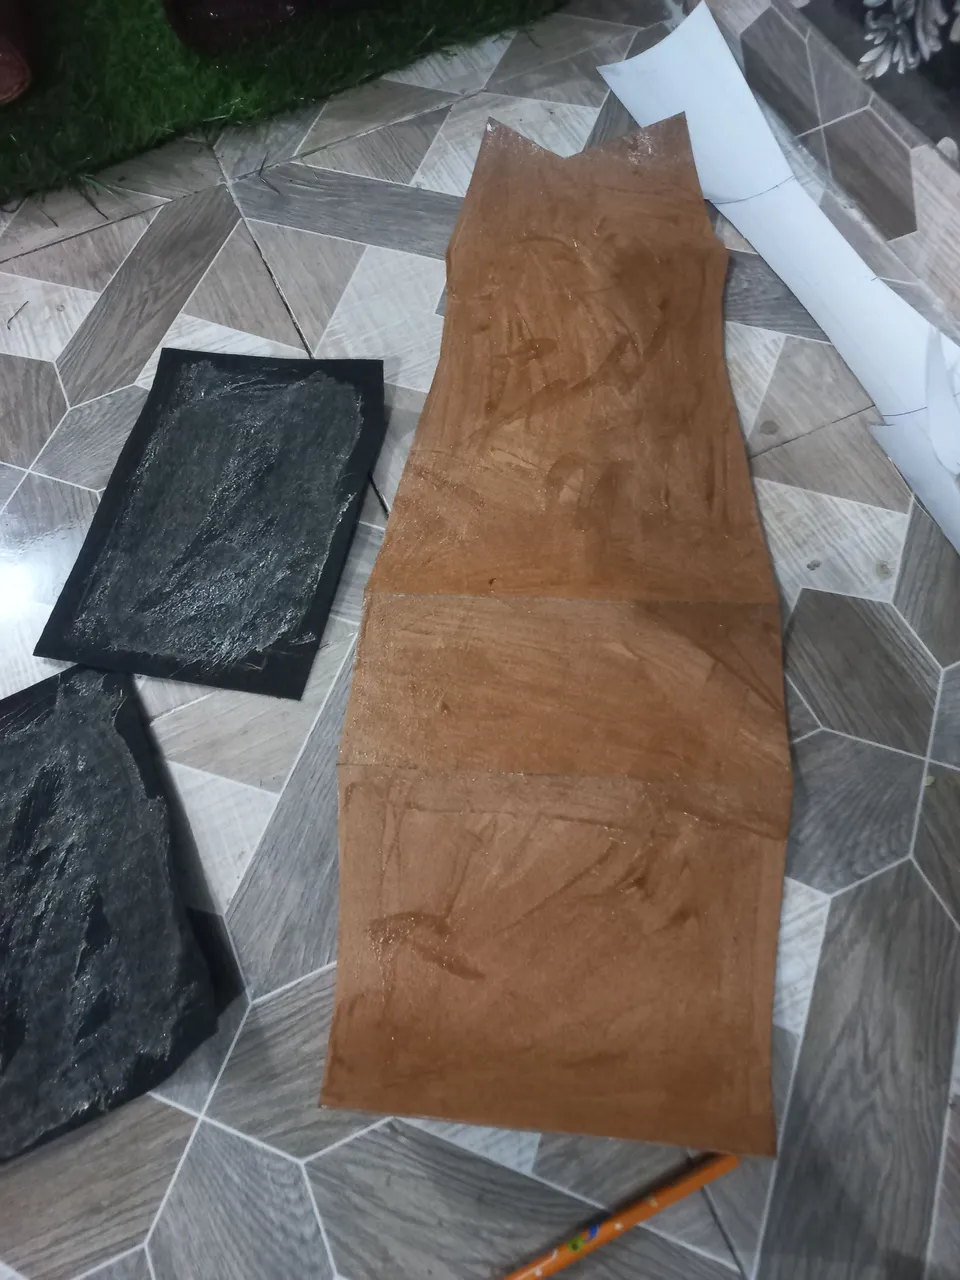
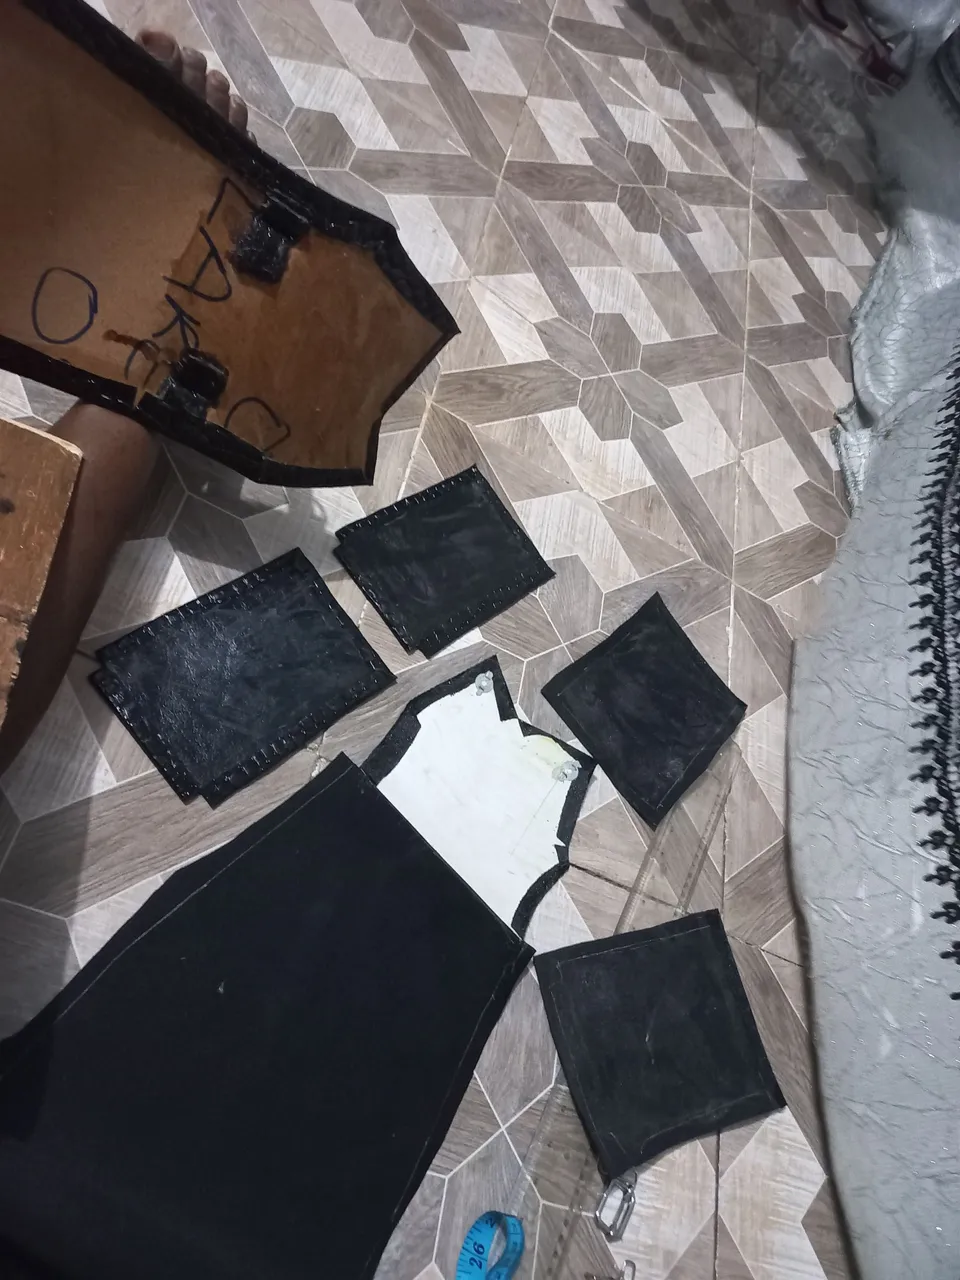
The first thing I did was to make the pattern of the bag and I did that on a chipboard. The measurements I used was 7 inches height for the front, 4 inches for the base, 7 inches for the back, 3 inches for the top and 5 inches for the flap. For the base, I used 9 inches width and top 7 inches width. That's why the bag was shaped in that manner.
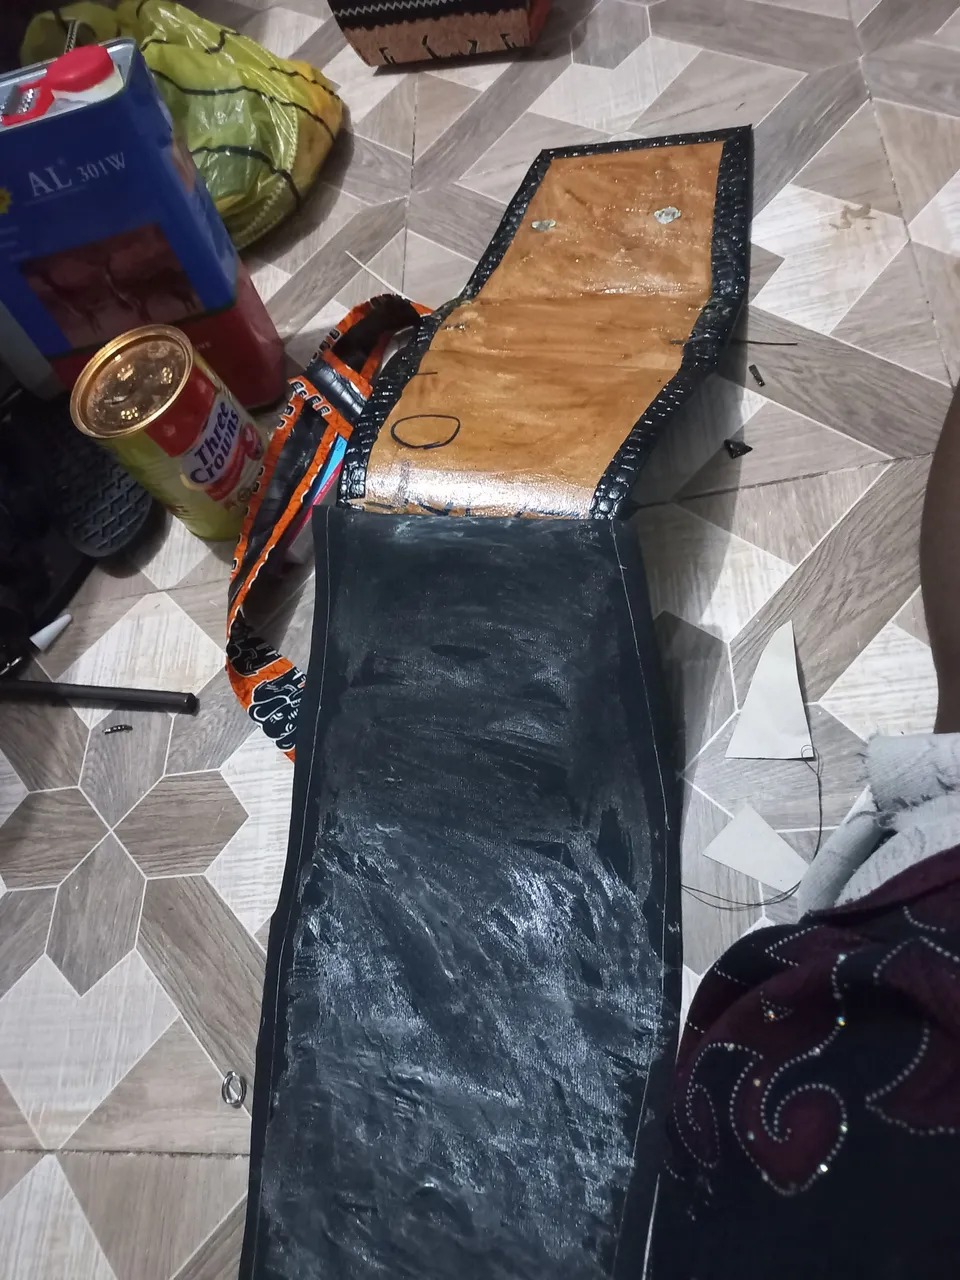
Once the pattern was created, I marked it out on the Chip-board and on the leather of choice. Next I gummed them together and I made the short handle by wrapping a 12 by 0.7 inch leatherboard in the black leather with gum. Next I stiched both sides and fixed it on the top part of the main bag. Then I gummed it with a strong glue.
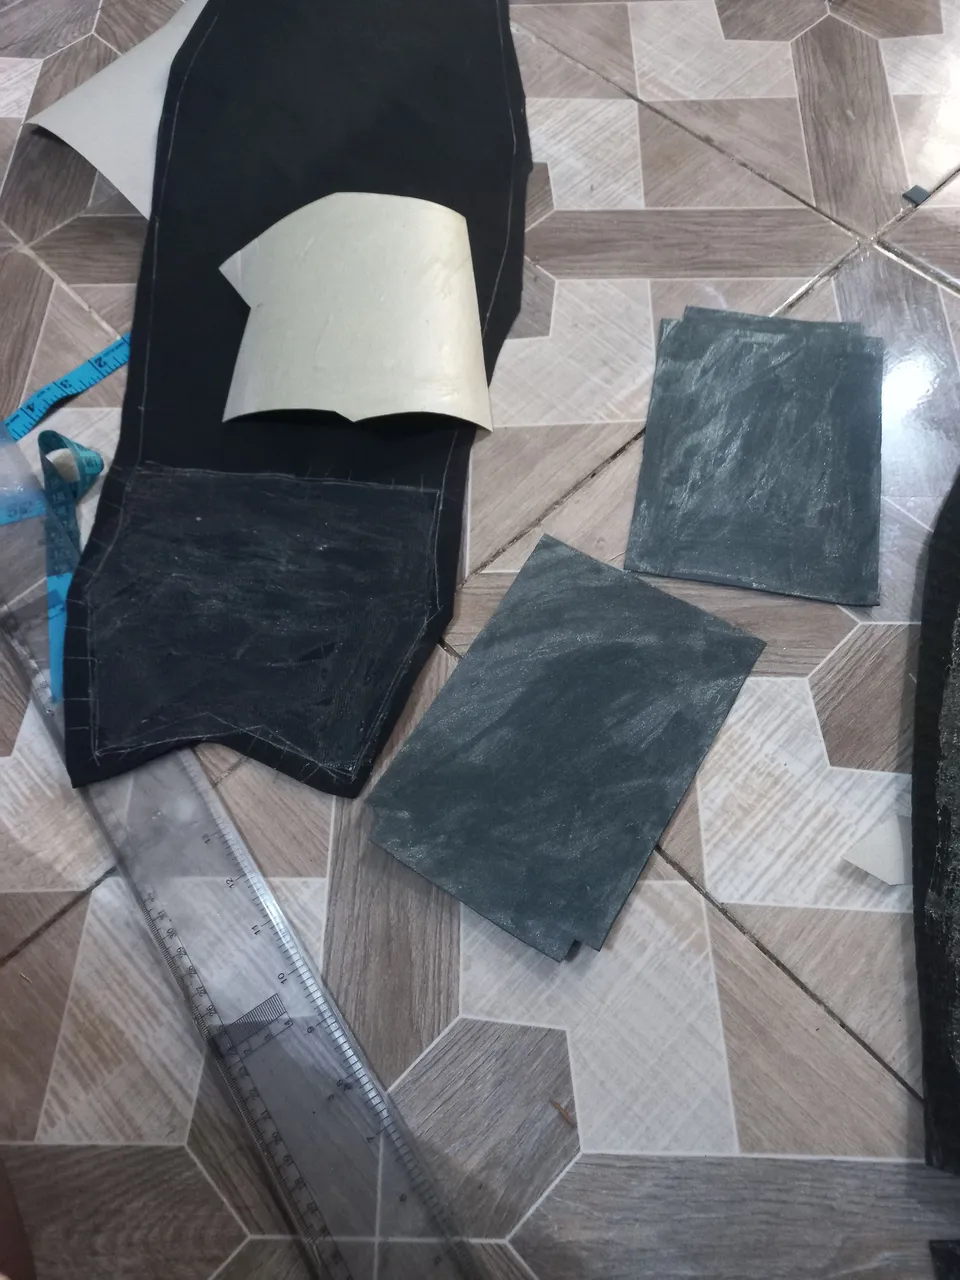
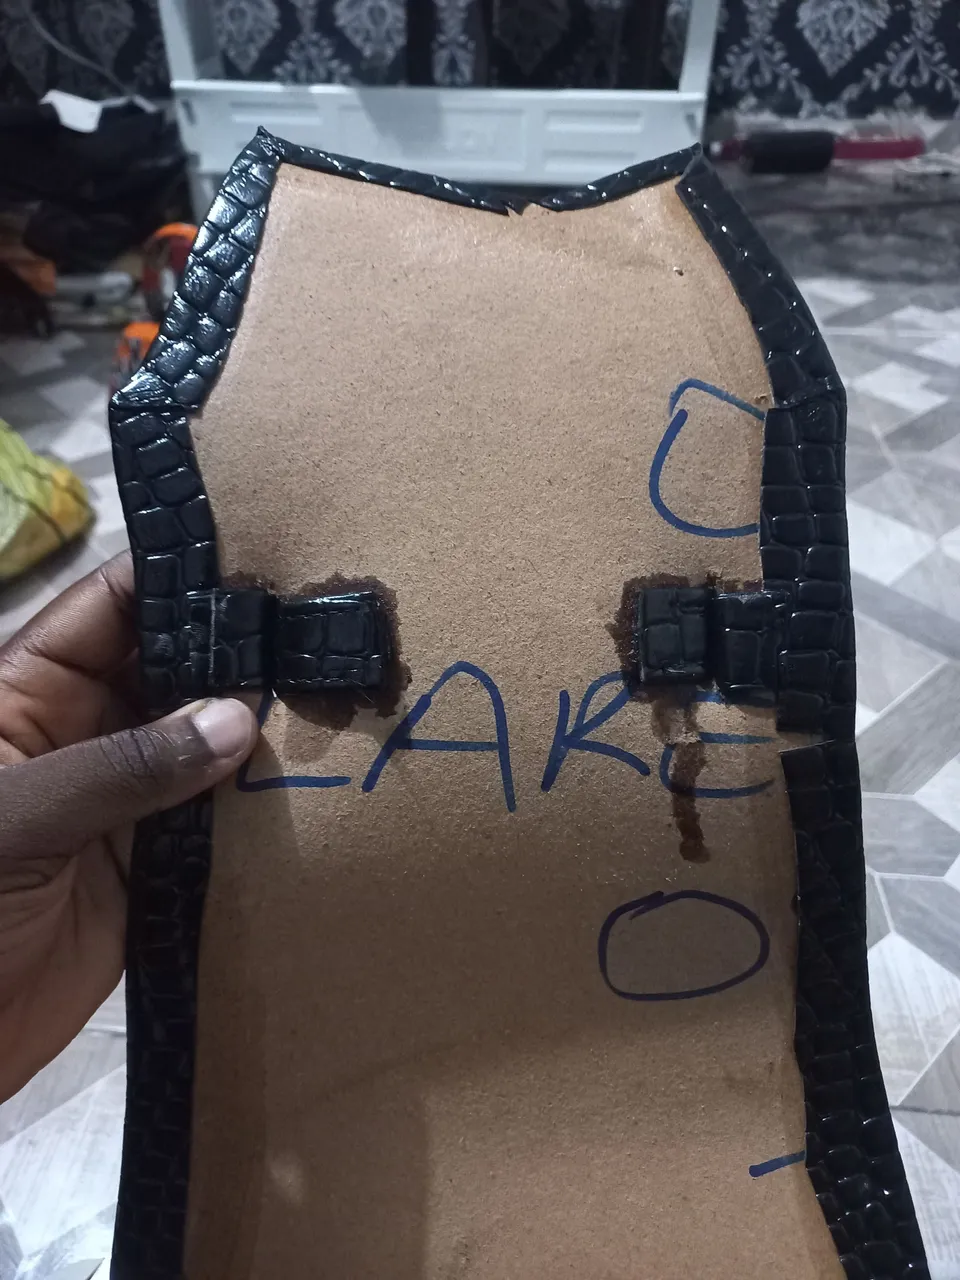
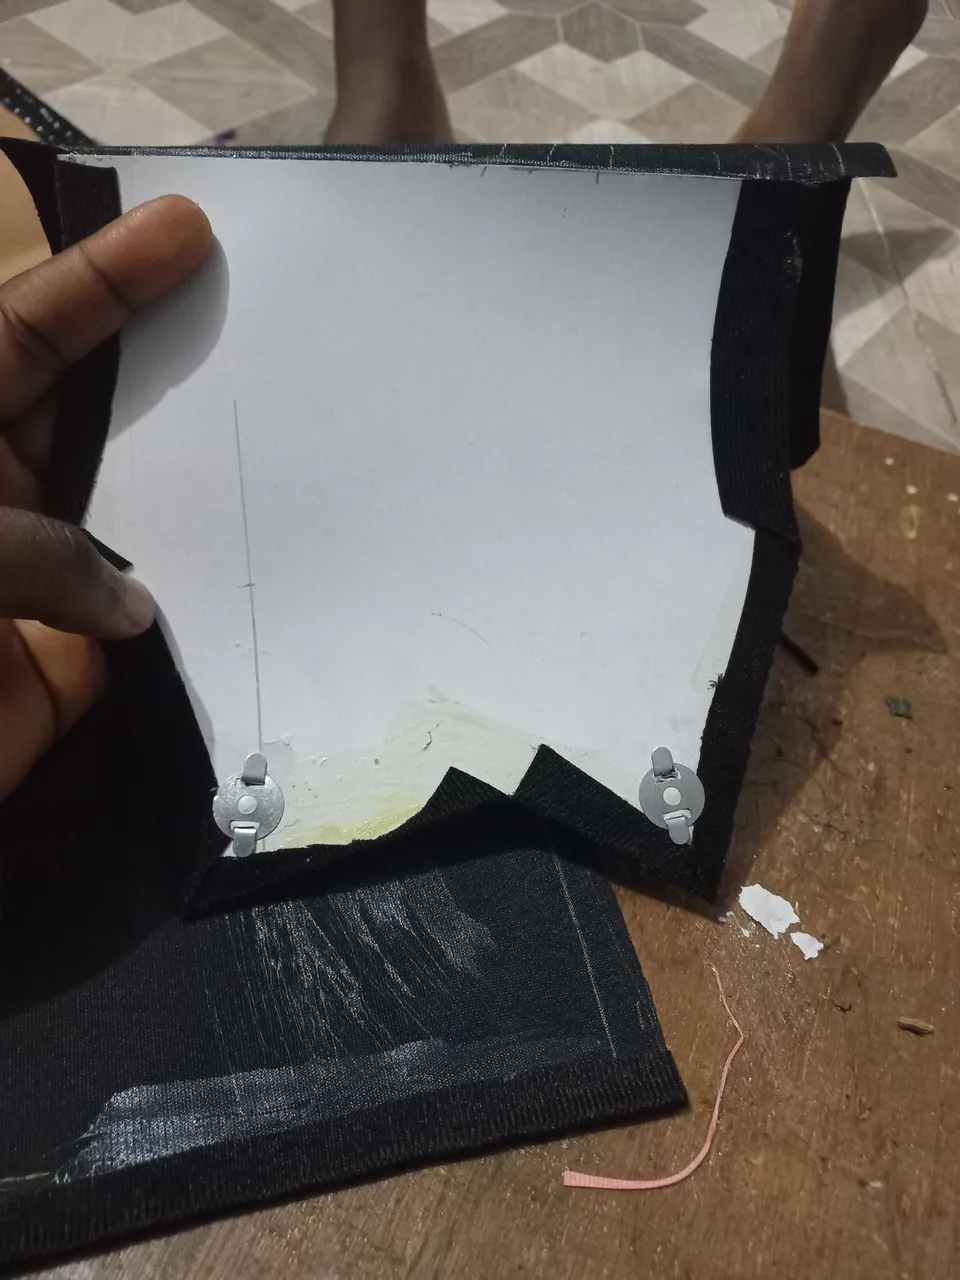
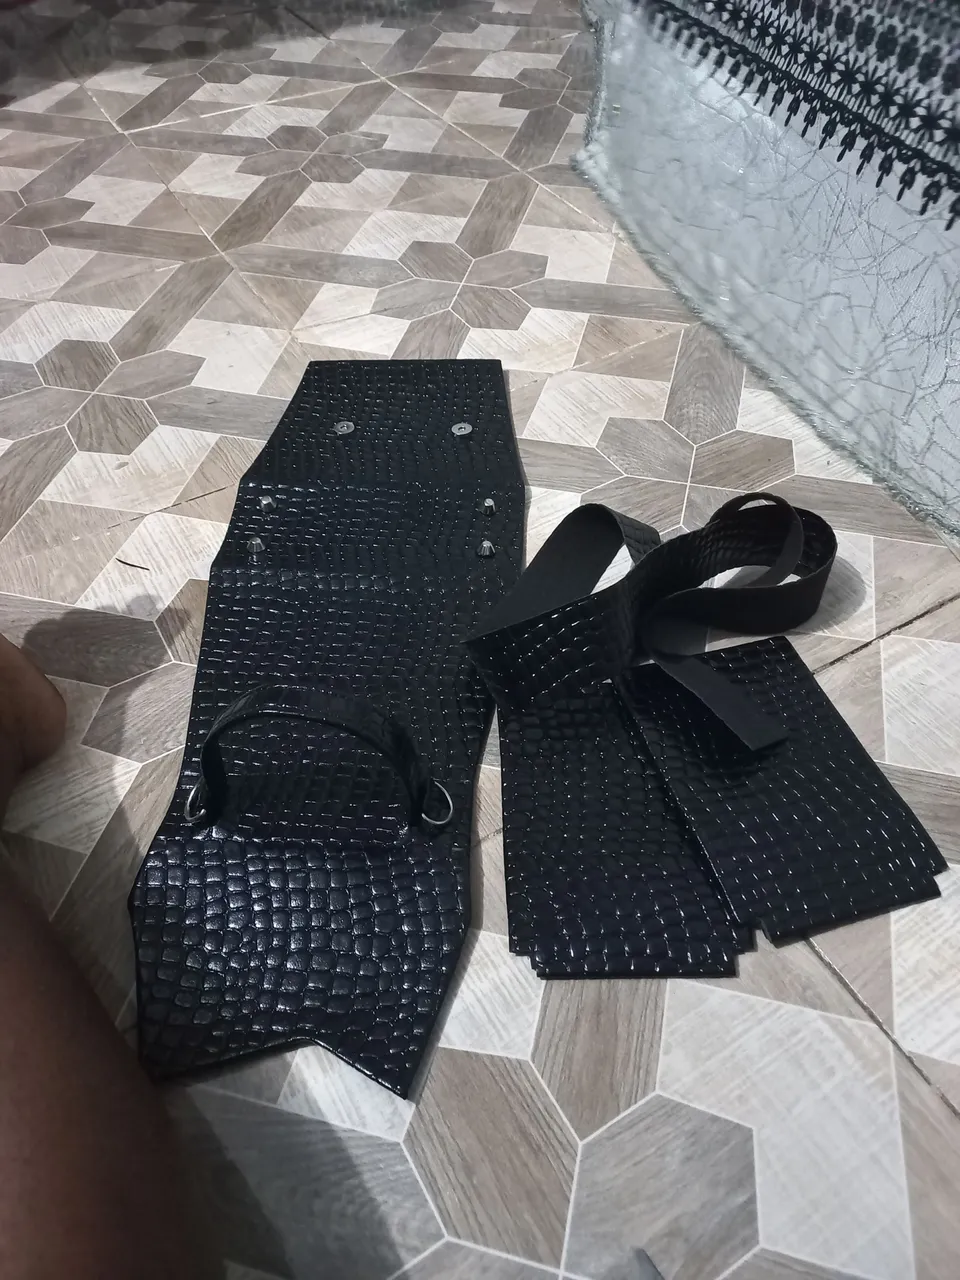
Next, I fixed the lining with Chip-board at the upper part, fixed the magnet and gummed it with the main part of the bag at the upper part. Then I fixed the other side of the magnet, fixed the bottom pins and gummed the rest of the lining with it. I did same for the sides and I stiched the sides together with the bag. Finally I stitched the longer handle and fixed the adjuster and ring anchor to it.

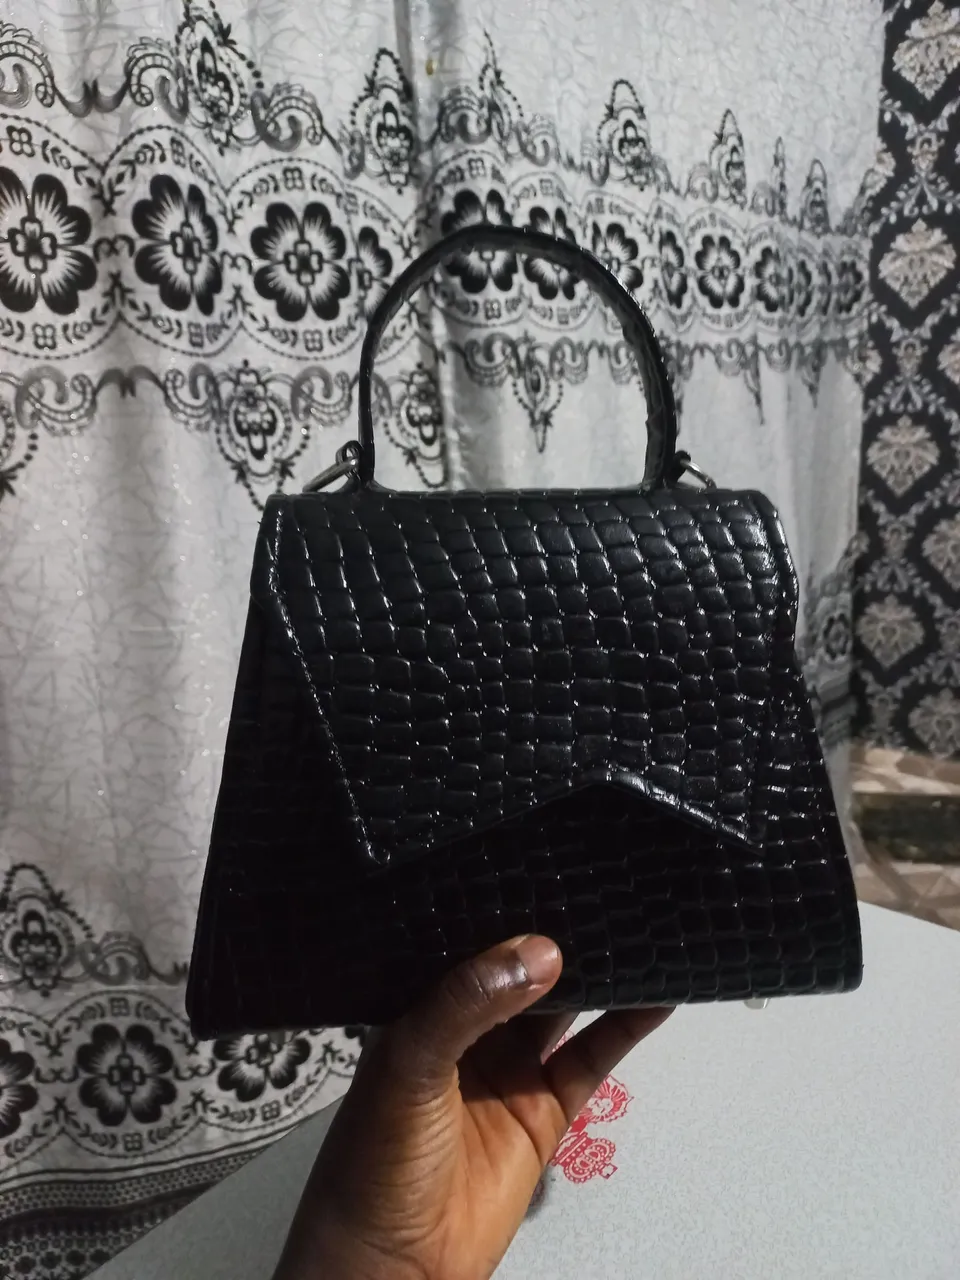
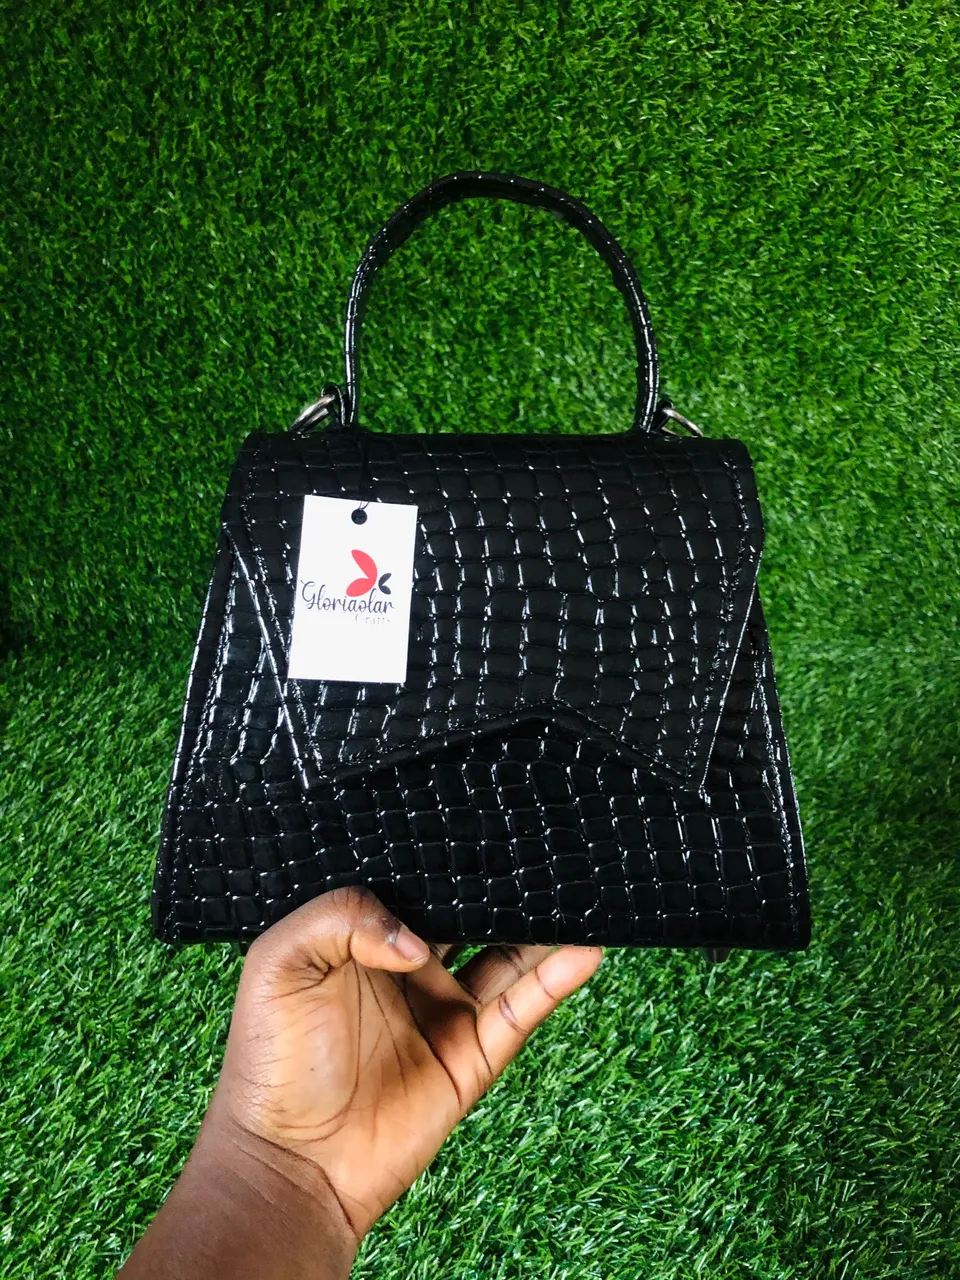
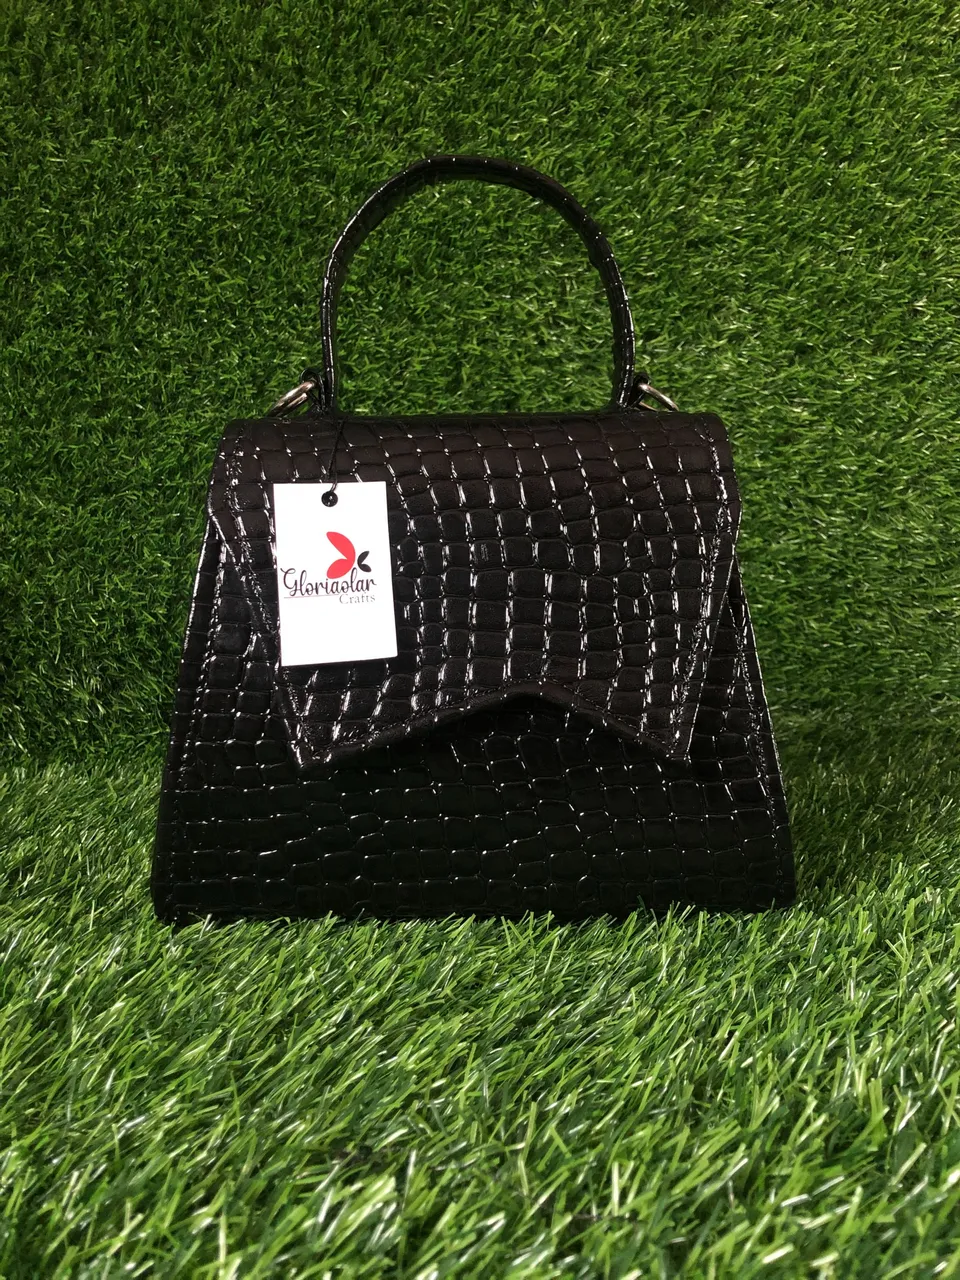
FINAL LOOK