Hola mis queridos amigos de Hive, feliz martes para todos. El día de hoy quiero compartir con ustedes un nuevo proyecto que me tomó unos cuantos días hacerlo.
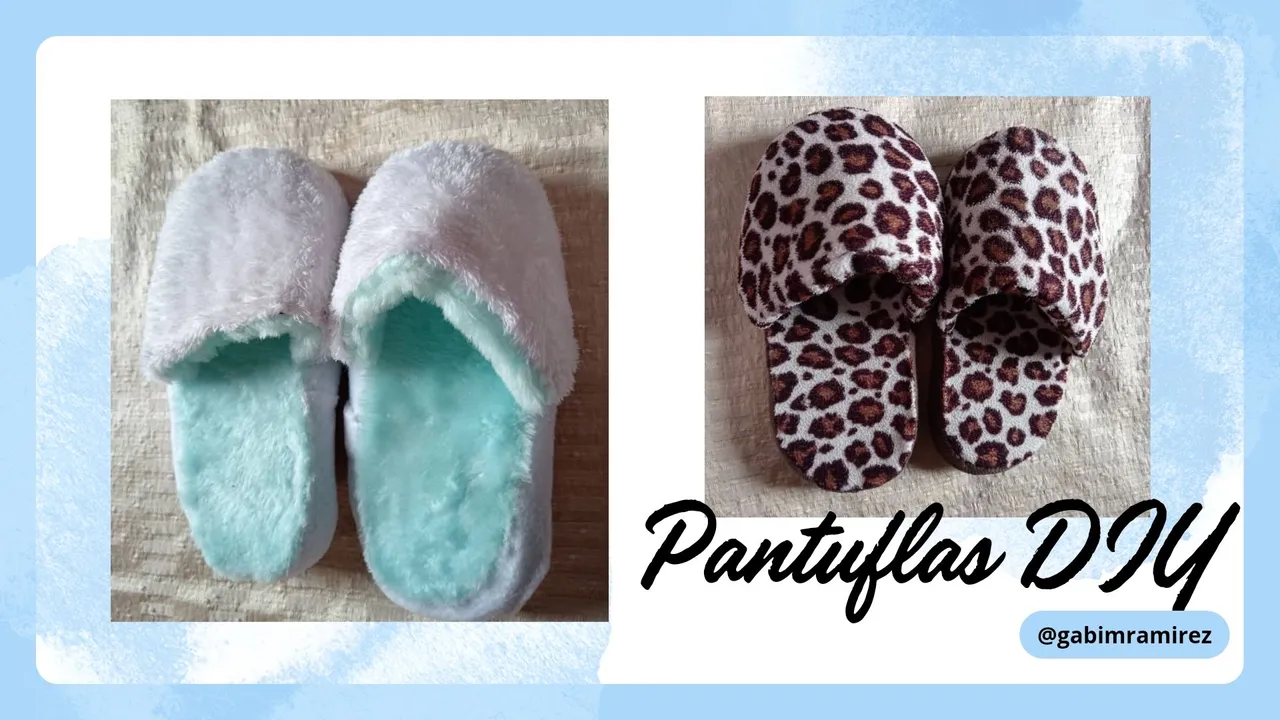
Se trata de unas hermosas pantuflas de dama, muy cómodas para estar en casa. En este tutorial les enseñaré a elaborarlas desde cero para que ustedes puedan recrearlas.
Para ello van a necesitar:
- Goma espuma de 4cm de grosor.
- Suela tipo galleta.
- Tela :puede ser en algodón, paño, en peluche o cualquier tipo de tela que sea suave más no tan elástica.
- Hilo, aguja, tijeras.
- Molde
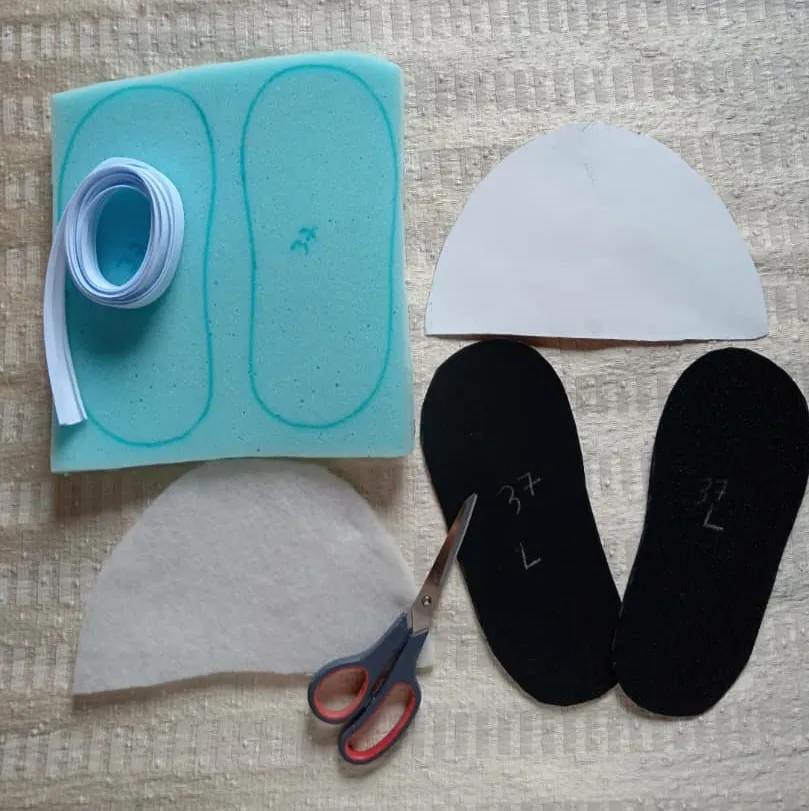
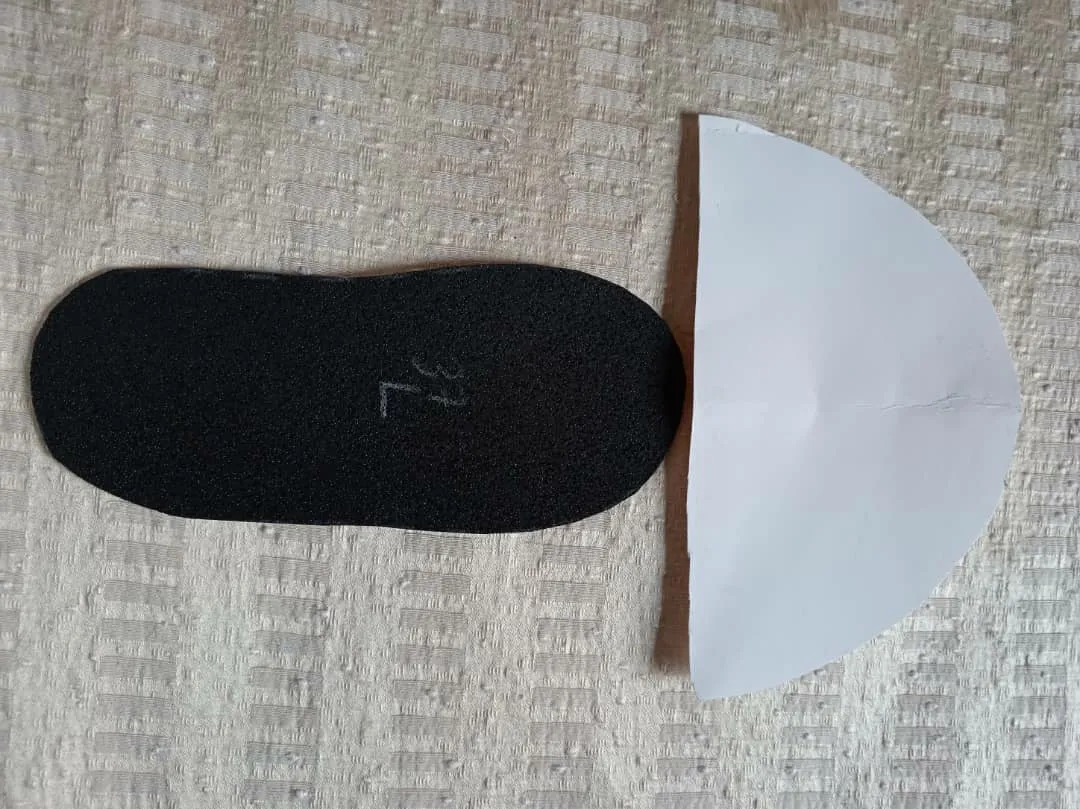
Como primer paso vamos a sacar el molde y para ello utilizaremos unas cholas o sandalias de casa y la tomamos de patrón, luego lo cortamos en la tela deseada.
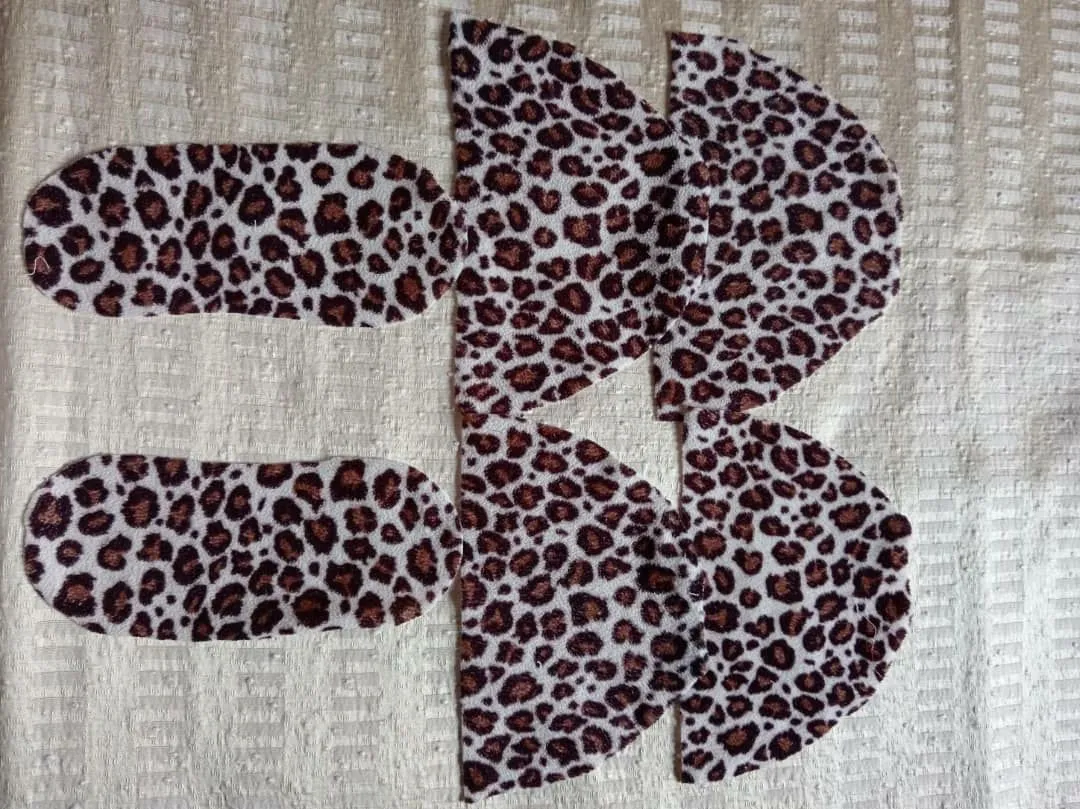
De la parte de la plantilla se corta una de cada pie en tela, también en la goma espuma y poe último en la suela.
De la parte de arriba que cubre el pie se corta
Una de forro, que en mi caso lo hice de la misma tela, también cortamos una de guata o goma espuma más delgada y se hace el mismo procedimiento para el otro pie.
Forramos la parte de arriba que cubre el pie, para ello se puede coser a mano con puntada festón o a máquina. Pero en esta ocasión decidí hacerla toda a mano.
Luego de la parte del plataforma o plantilla, vamos a medir el contorno y sacamos dos tiras o sesgo de 3 cm ancho, y a esa medida se le suman 4 cm.
De revés a derecho cosemos la tira o sesgo a la suela y cubrimos todo el contorno de la suela.
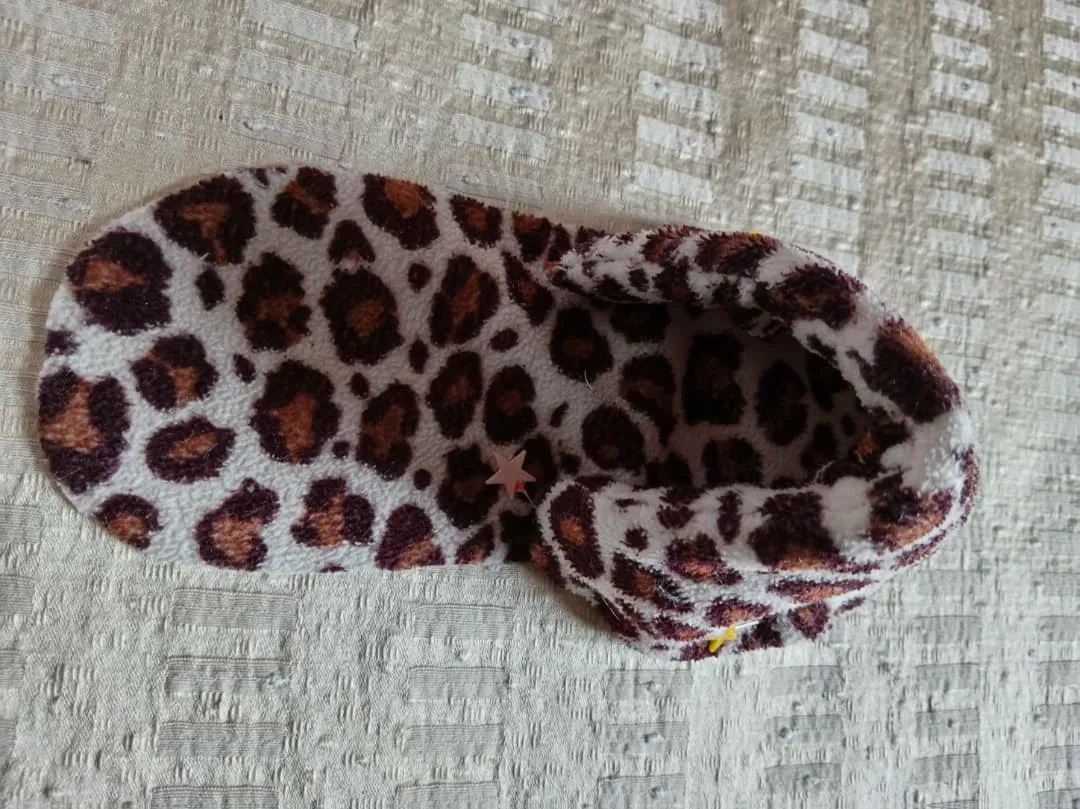
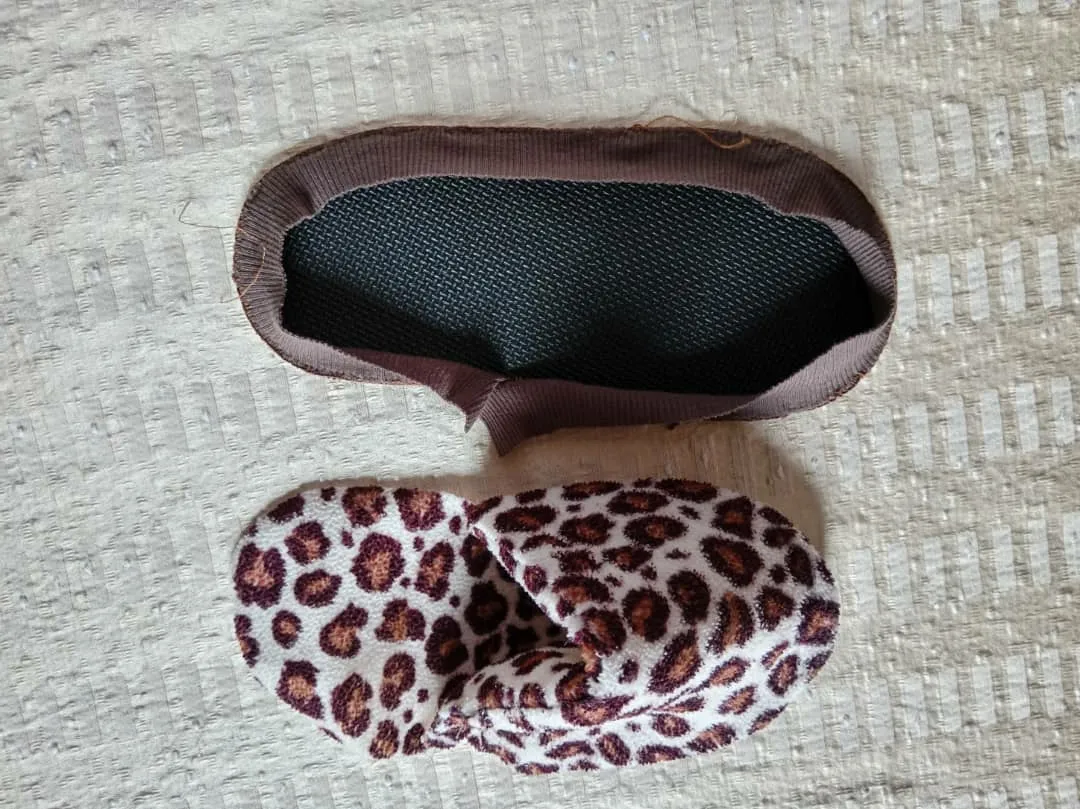
Cosemos la parte de arriba de la chola con la plantilla de tela cuadrando las mitad a lo largo y ancho.
Luego colocamos la parte de la pantuflas unida a la plantilla de tela y cosemos dejando una abertura por donde se pueda voltear a la parte derecha.
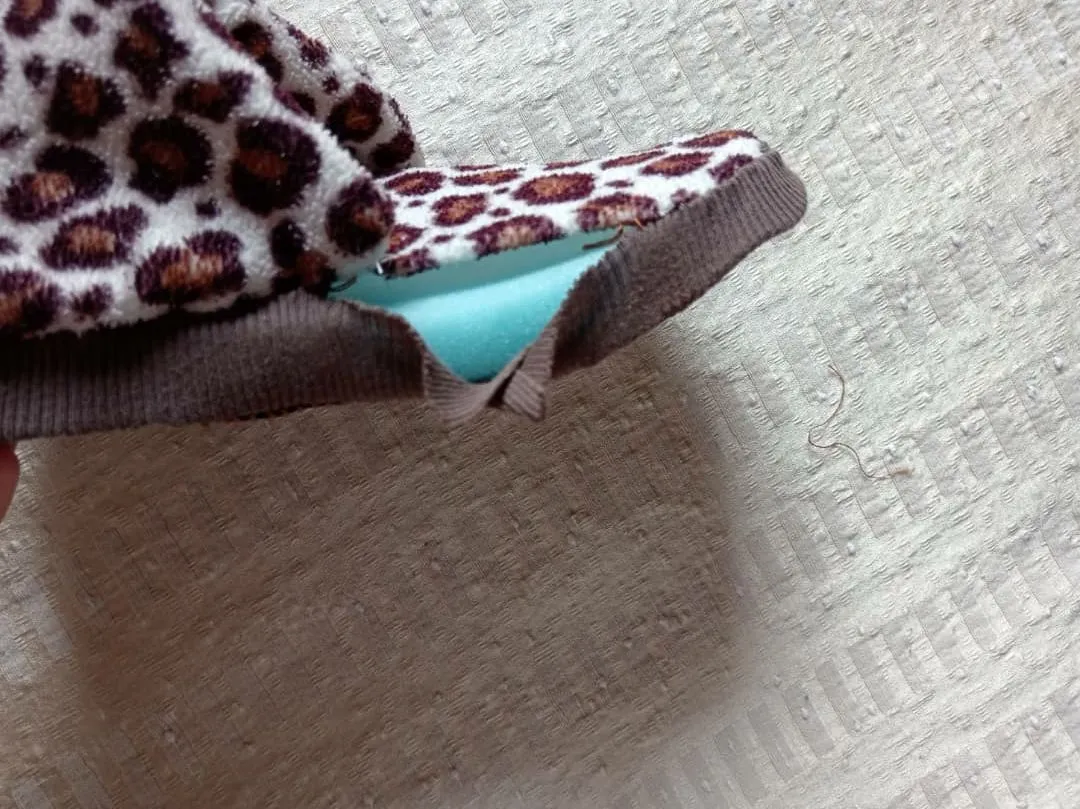
Por la parte o abertura introducimos la goma espuma gruesa y la cosemos con costura escondida para que se vea con un buen acabado.

El mismo procedimiento debemos hacer con la otra pantufla, es decir, repetimos el proceso, teniendo cuidado a la hora de hacer las medidas para que nos quede lo mas similar posible una a la otra.
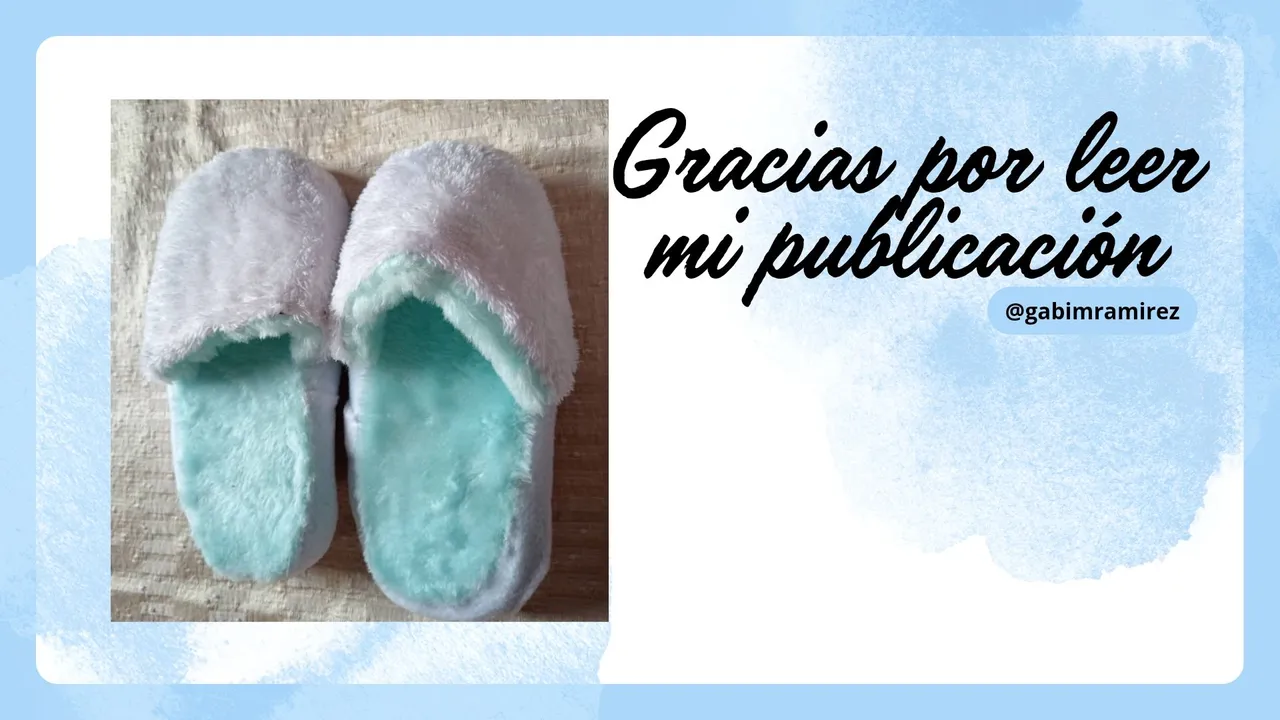
El resultado de ellas me gustó mucho, quedan muy lindas, no se le ve la costura, son muy cómodas para estar en casa y además de todo son fáciles de hacer. Hasta aquí mi blog del dia de hoy, muchas gracias por llegar hasta aquí, les deseo que tengan un feliz día y noche.

Hello my dear friends of Hive, happy Tuesday to all of you. Today I want to share with you a new project that took me a few days to make.
It is a beautiful slippers for ladies, very comfortable to be at home. In this tutorial I will show you how to make them from scratch so you can recreate them.
For this you will need:
- 4cm thick foam rubber.
- Sole type cookie.
- Fabric: it can be cotton, cloth, plush or any type of fabric that is soft but not so elastic.
- Thread, needle, scissors.
- Mold
As a first step we are going to take the mold and for this we will use some cholas or sandals from home and we take it as a pattern, then we cut it in the desired fabric.
From the part of the insole is cut one of each foot in fabric, also in the foam rubber and finally in the sole.
From the top part that covers the foot we cut out
A lining, which in my case I made from the same fabric, we also cut a thinner wadding or foam rubber and do the same procedure for the other foot.
We lined the top part that covers the foot, it can be sewn by hand with scallop stitch or by machine. But this time I decided to do it all by hand.
Then from the part of the platform or template, we will measure the contour and take two strips or bias of 3 cm wide, and add 4 cm to that measure.
From back to front we sew the strip or bias to the sole and cover the entire contour of the sole.
We sew the upper part of the chola with the fabric insole, squaring the halves lengthwise and widthwise.
Then we place the part of the slippers attached to the fabric template and sew leaving an opening where it can be flipped to the right side.
Through the opening we introduce the thick foam rubber and we sew it with a hidden seam so that it looks with a good finish.
The same procedure should be done with the other slipper, that is, we repeat the process, being careful when making the measurements so that they are as similar as possible to each other.
I really liked the result of them, they look very nice, you can't see the seam, they are very comfortable to wear at home and besides everything they are easy to make. So far my blog for today, thank you very much for coming this far, I wish you a happy day and night.
Fotos tomadas de mi teléfono Xiaomi Redmi Note 6 Pro || Photos taken from my Xiaomi Redmi Note 6 Pro phone.
Fuente del editor de imágenes || Image editor source