Hello needleworkers! It's been ages since my last post in the community. I believe it was last year as I know before New Year I put my sewing machine back in the box and took it out only this month.
The good news is last week I got my first bag commission! It is big news as it came after the lady saw my denim bag I have created for myself, liked it and ordered one for herself.
I've never worked based on commissions, but I'm glad this lady gave me plenty of freedom regarding the design. The only thing she asked was the bag to have double compartment. I've never done that before but I knew there are plenty of good tutorials on YouTube, so it shouldn't be a problem.
Materials Used
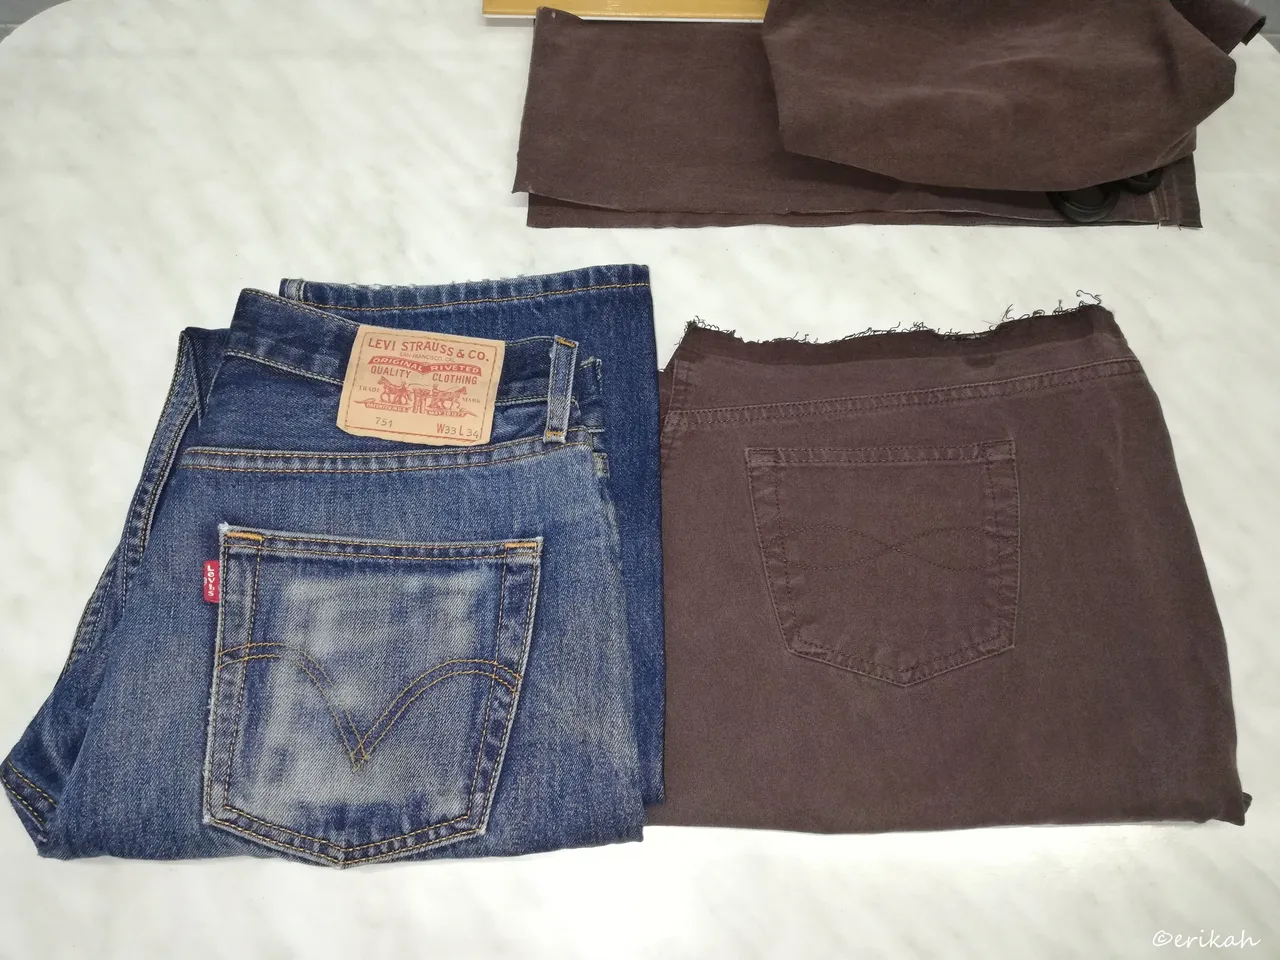
Those of you who know me also know I'm working with recycled fabrics almost 100%. I believe in reusing, recycling, repurposing and giving fabrics a second life.
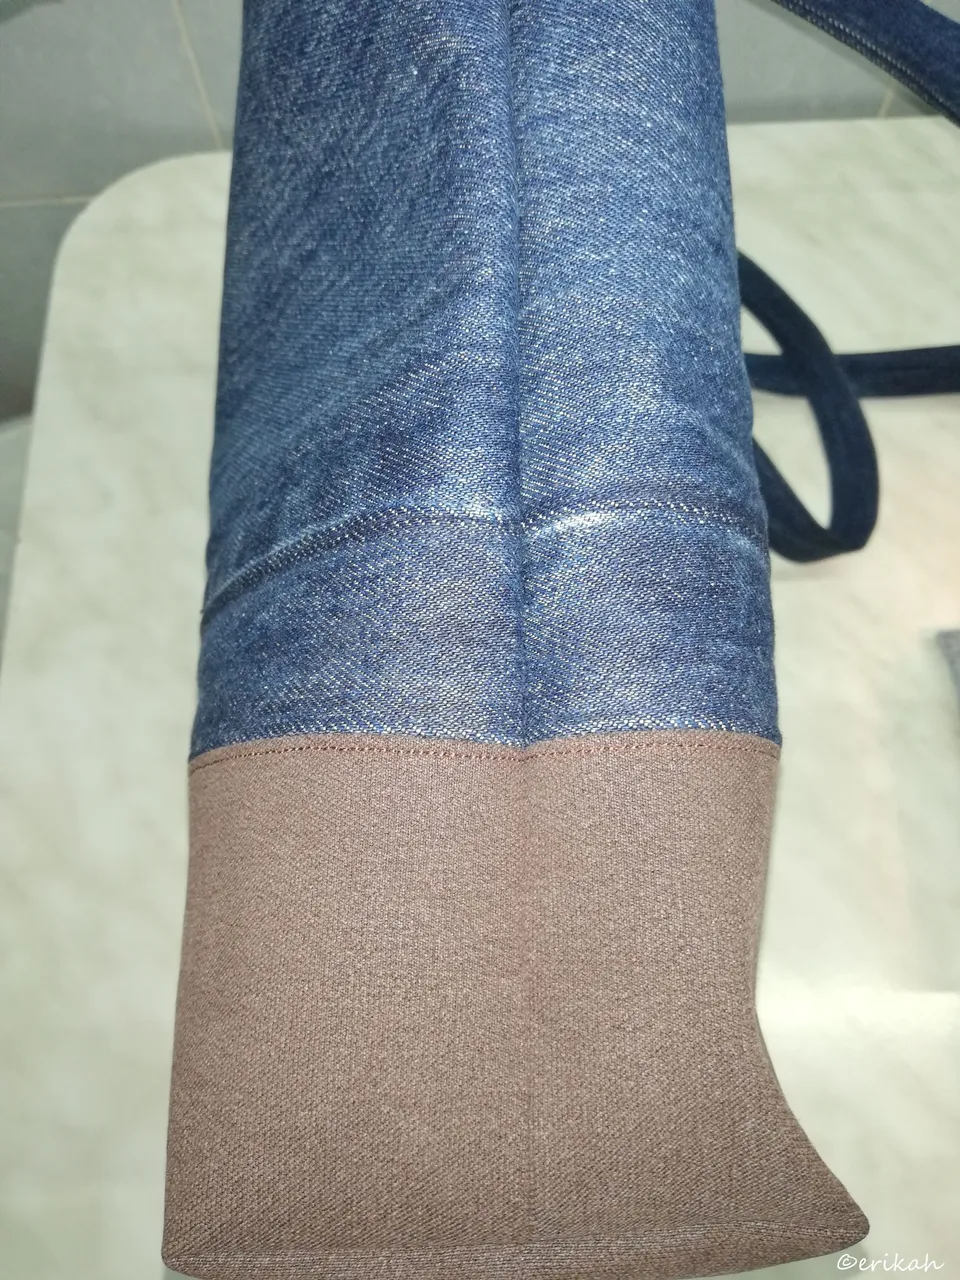
After some thinking I decided to go with blue denim and brown denim-like fabric. The two colors are a perfect match in my eyes, plus you have the opportunity to wear it with blue as well as brown. I had a genuine Levi Strauss & Co, very good quality and a similar fabric, only brown.
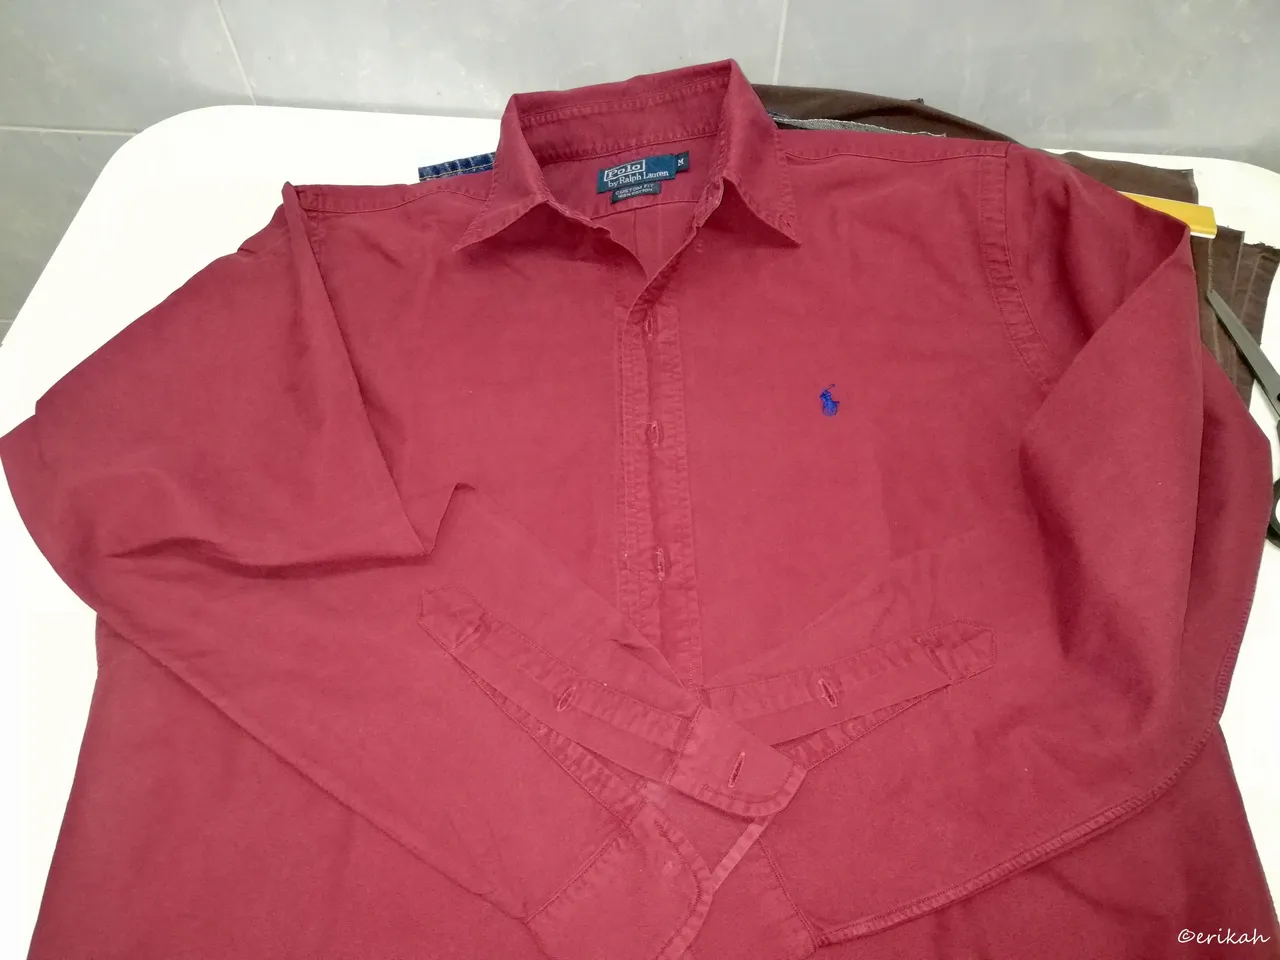
For the lining I chose a dark red shirt that I think goes well with the two fabrics I picked and the brown zipper. The lining is only visible when the bag is open and can be a totally different color but when it's not for me, I don't like to experiment or exaggerate.
The Process
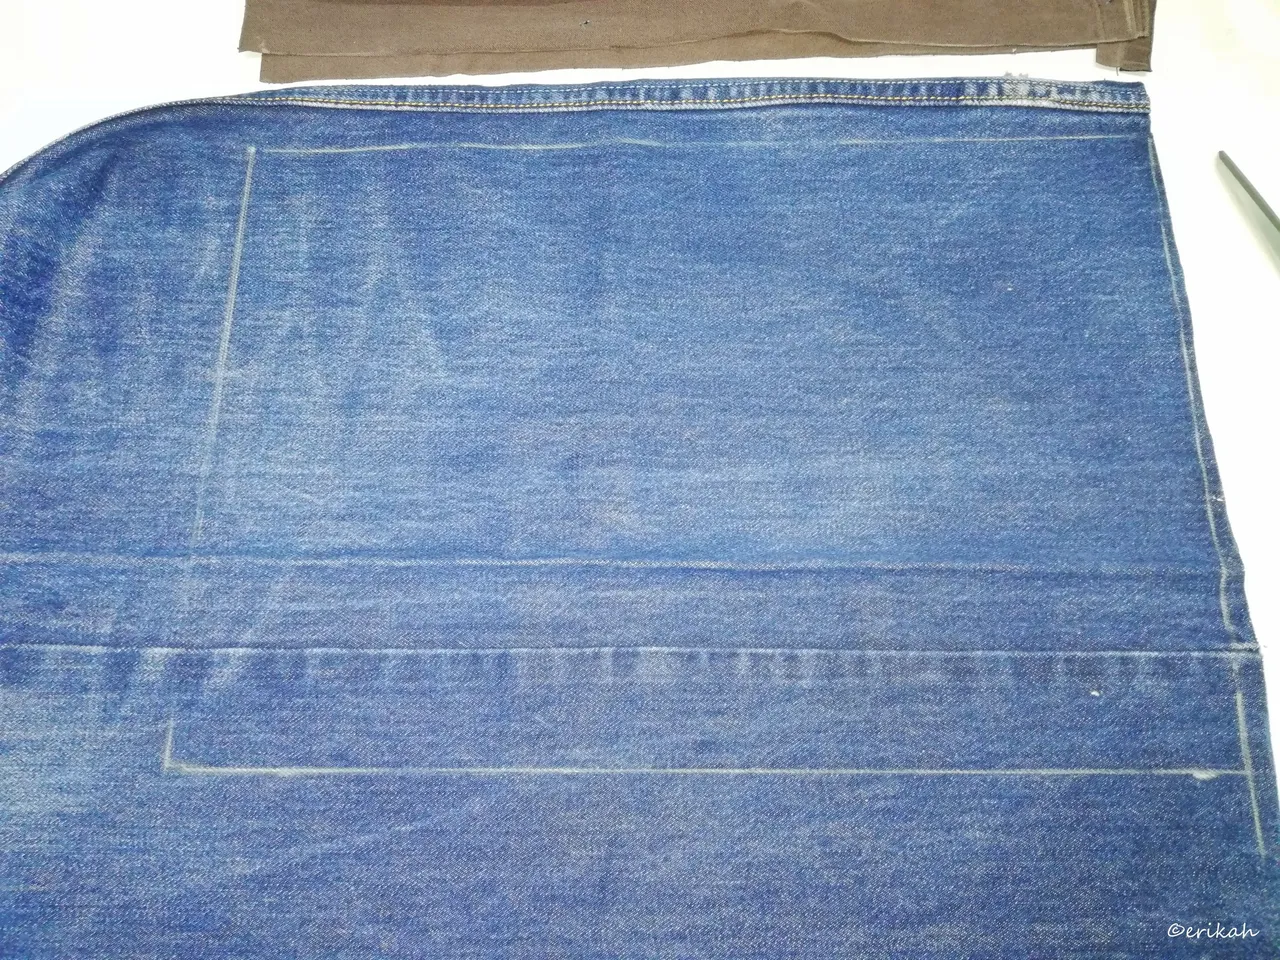
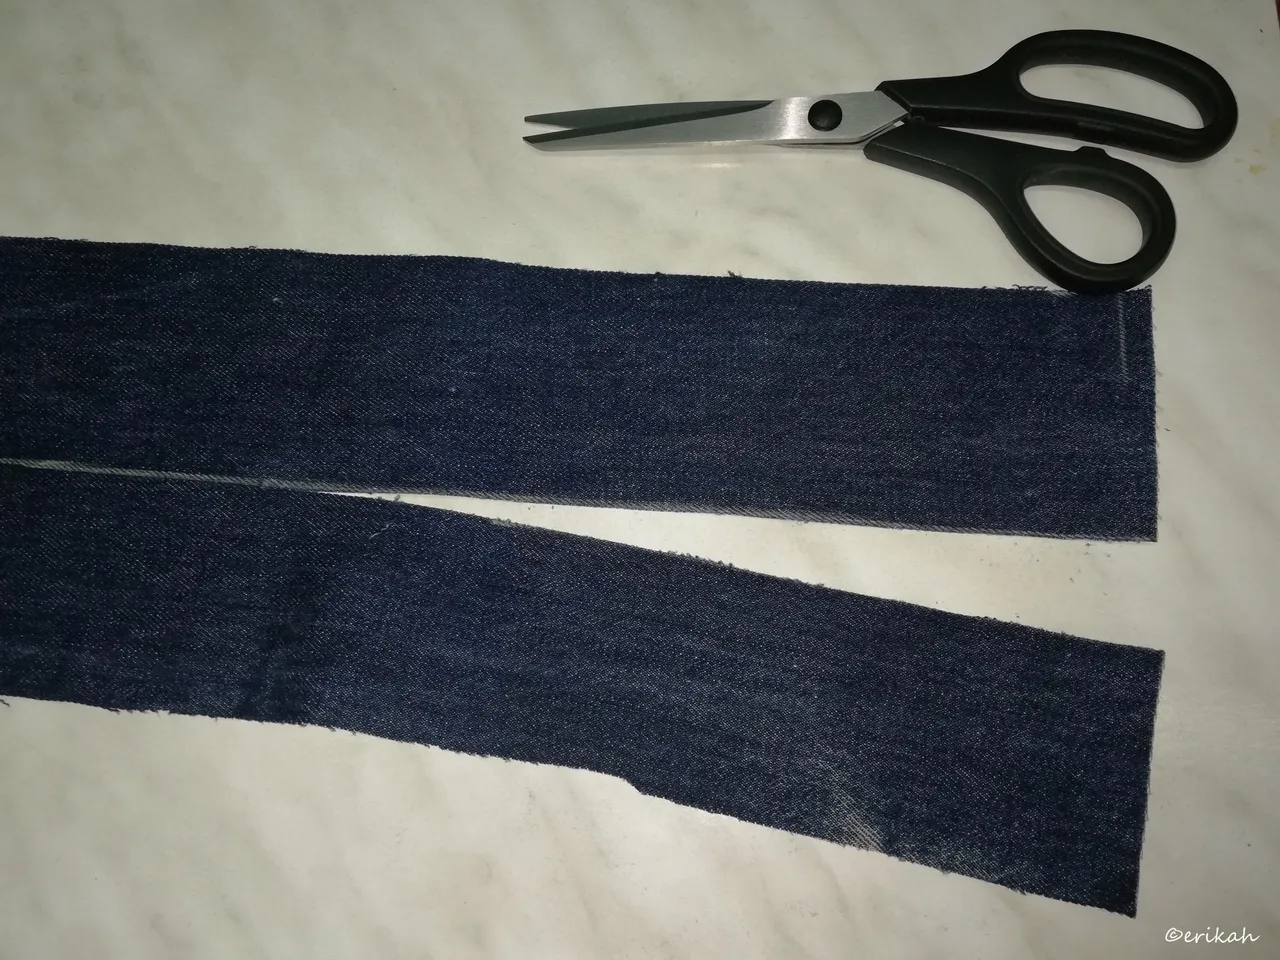
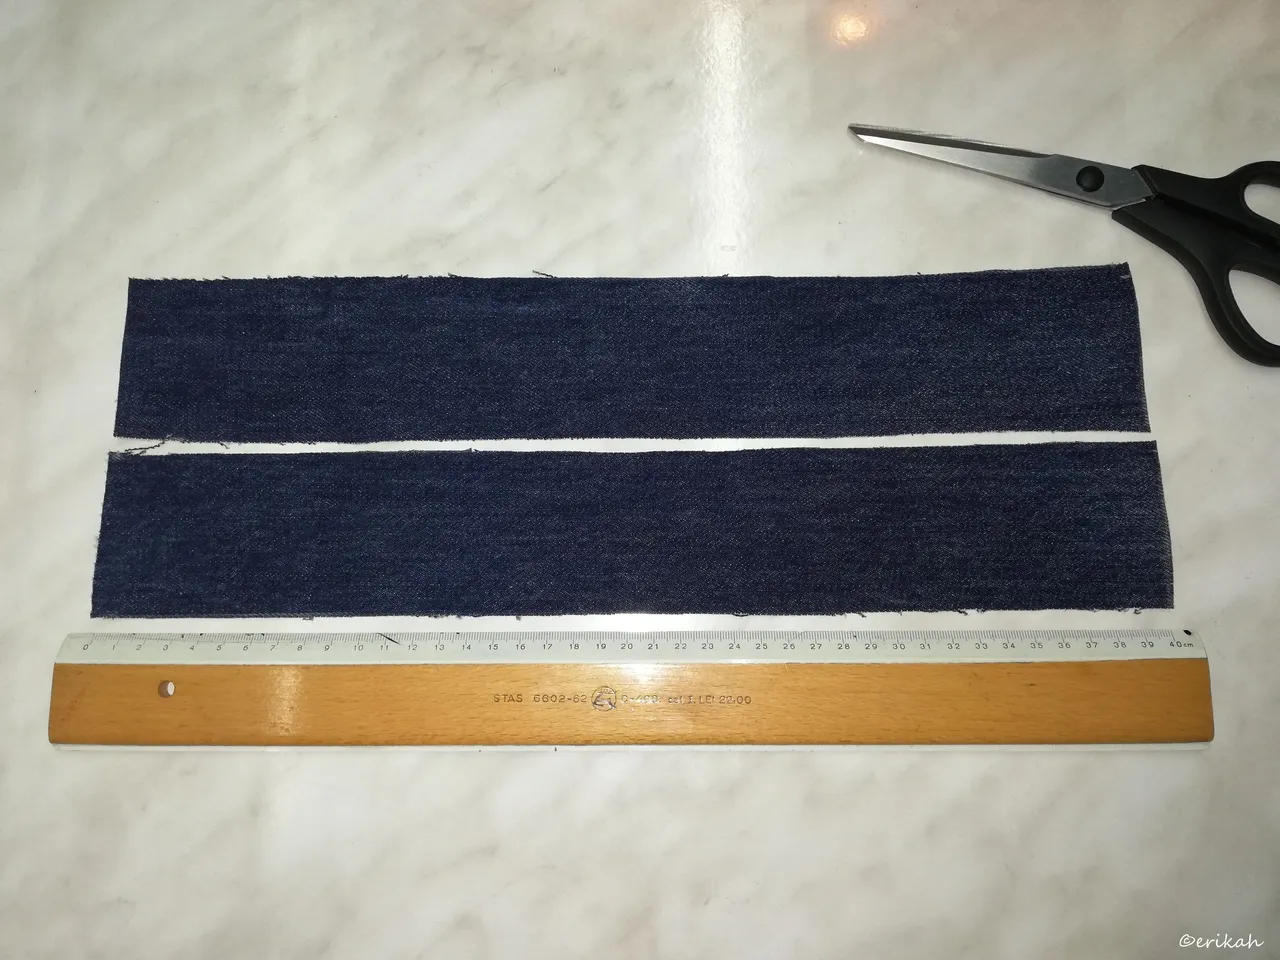
The bag size is 40cm x 40cm before sewing. So I needed two pieces of 40x40. I'm usually using the leg part of the jeans and to make it more unique, most of the time I'm using the sewing on them as well. It makes it mot interesting. This time decided to not use the double line sewing because it was made with two different thread and would have ruined everything.
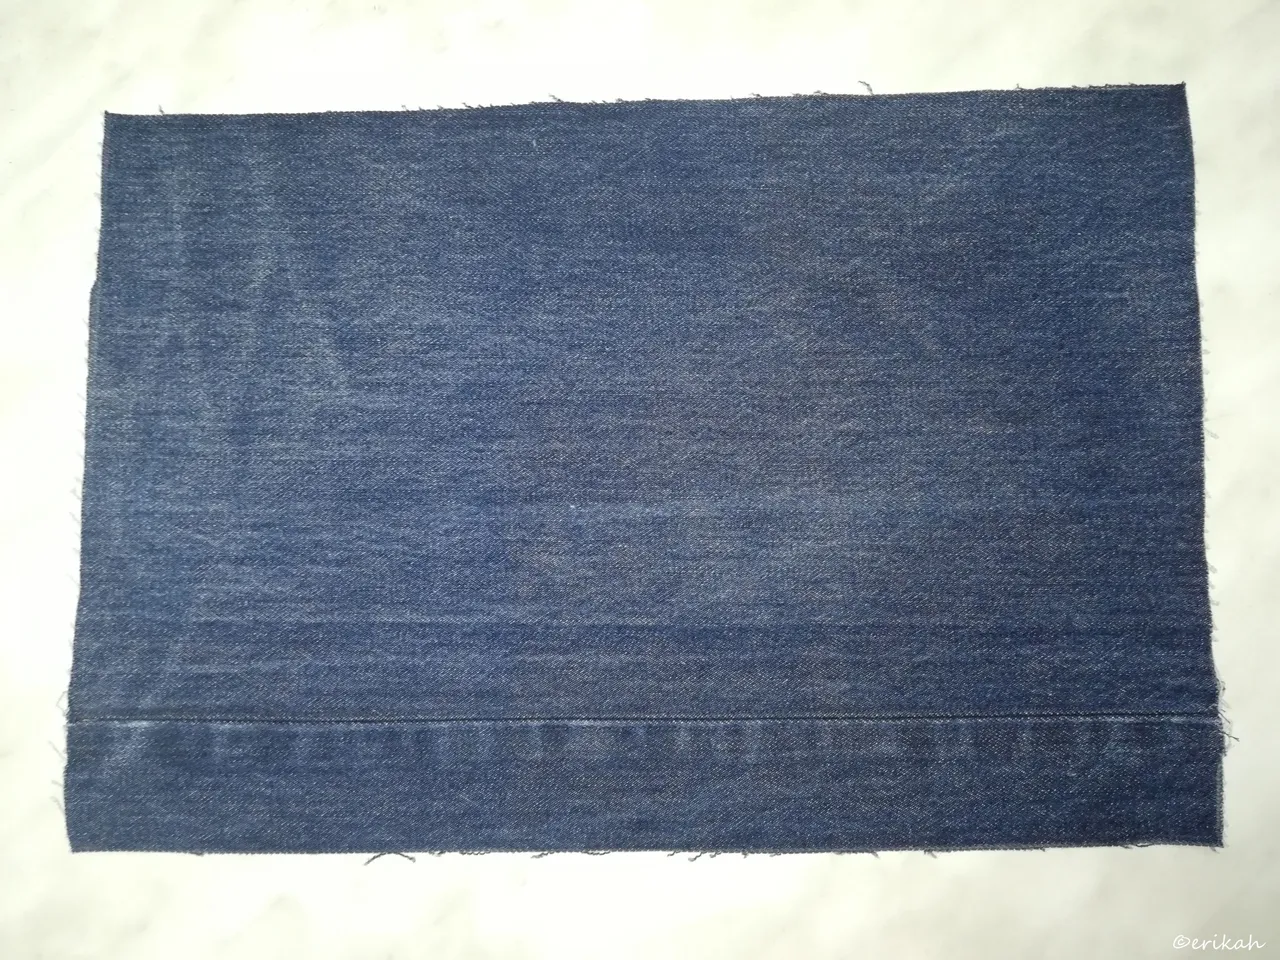
I got two pieces of 40cm x 26cm and two brown fabric pieces of 40cm x 15cm. These measurements include the 1cm allowance on each part.
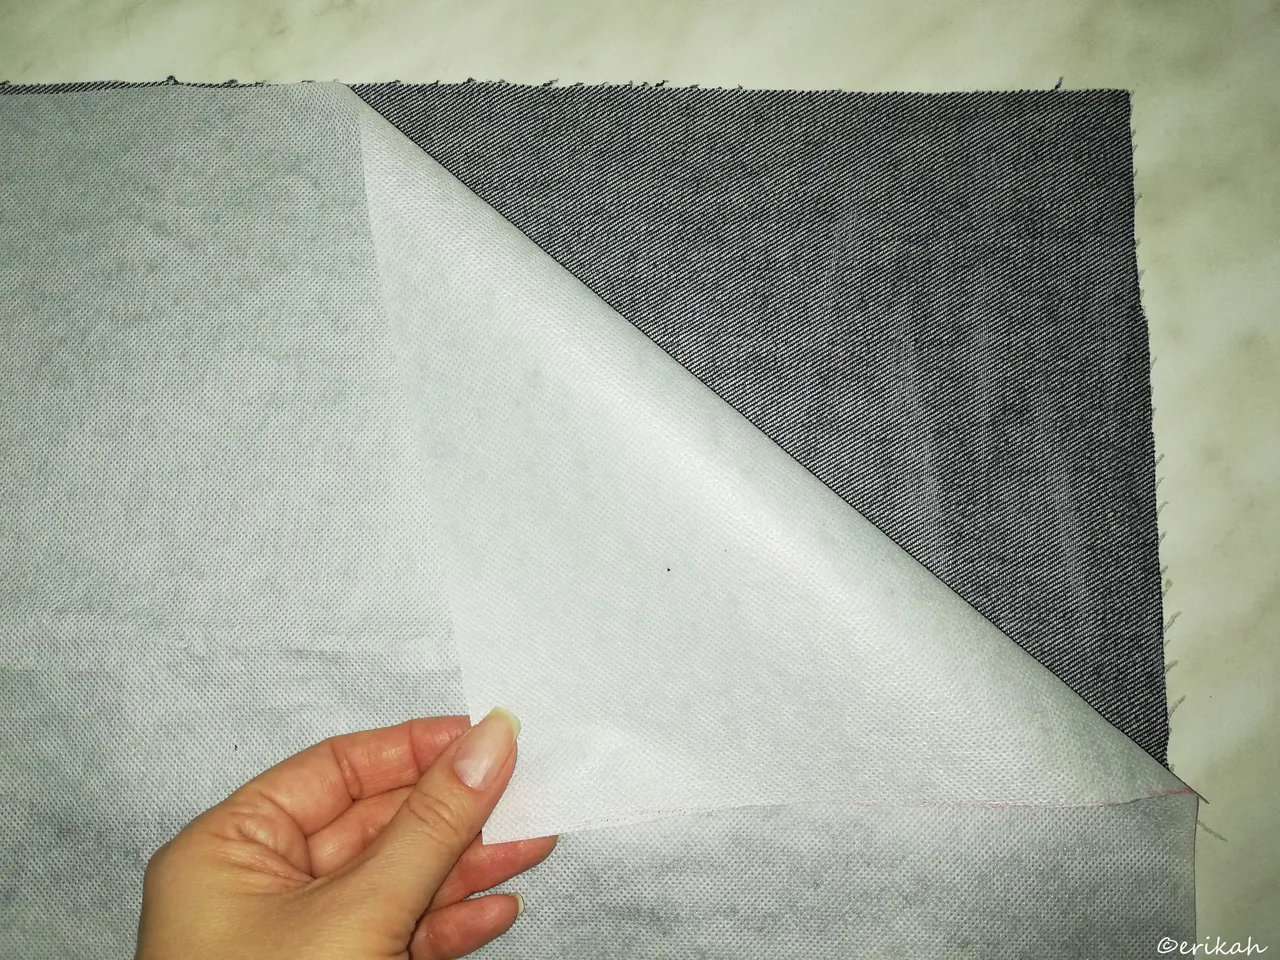
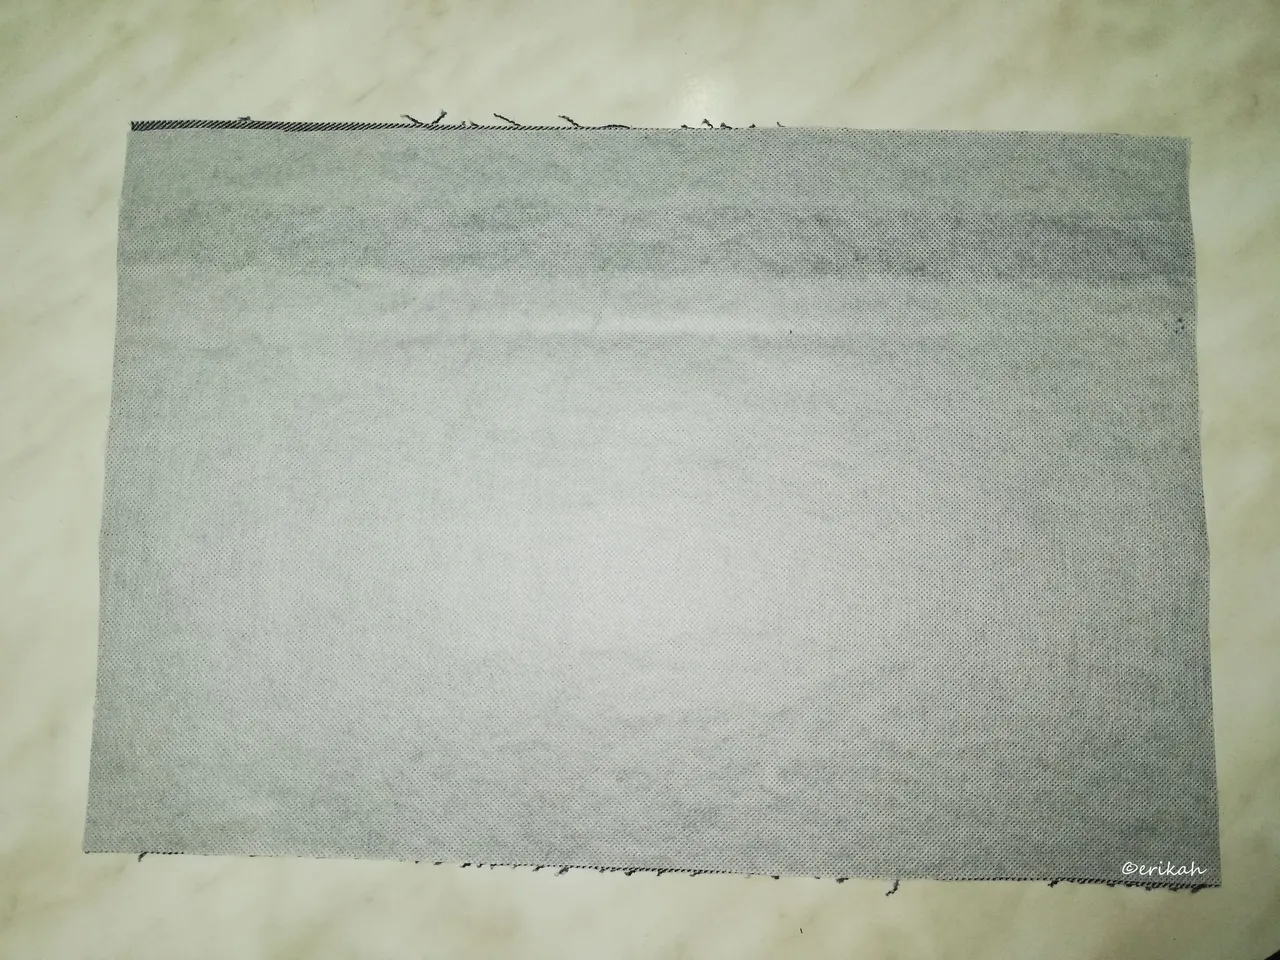
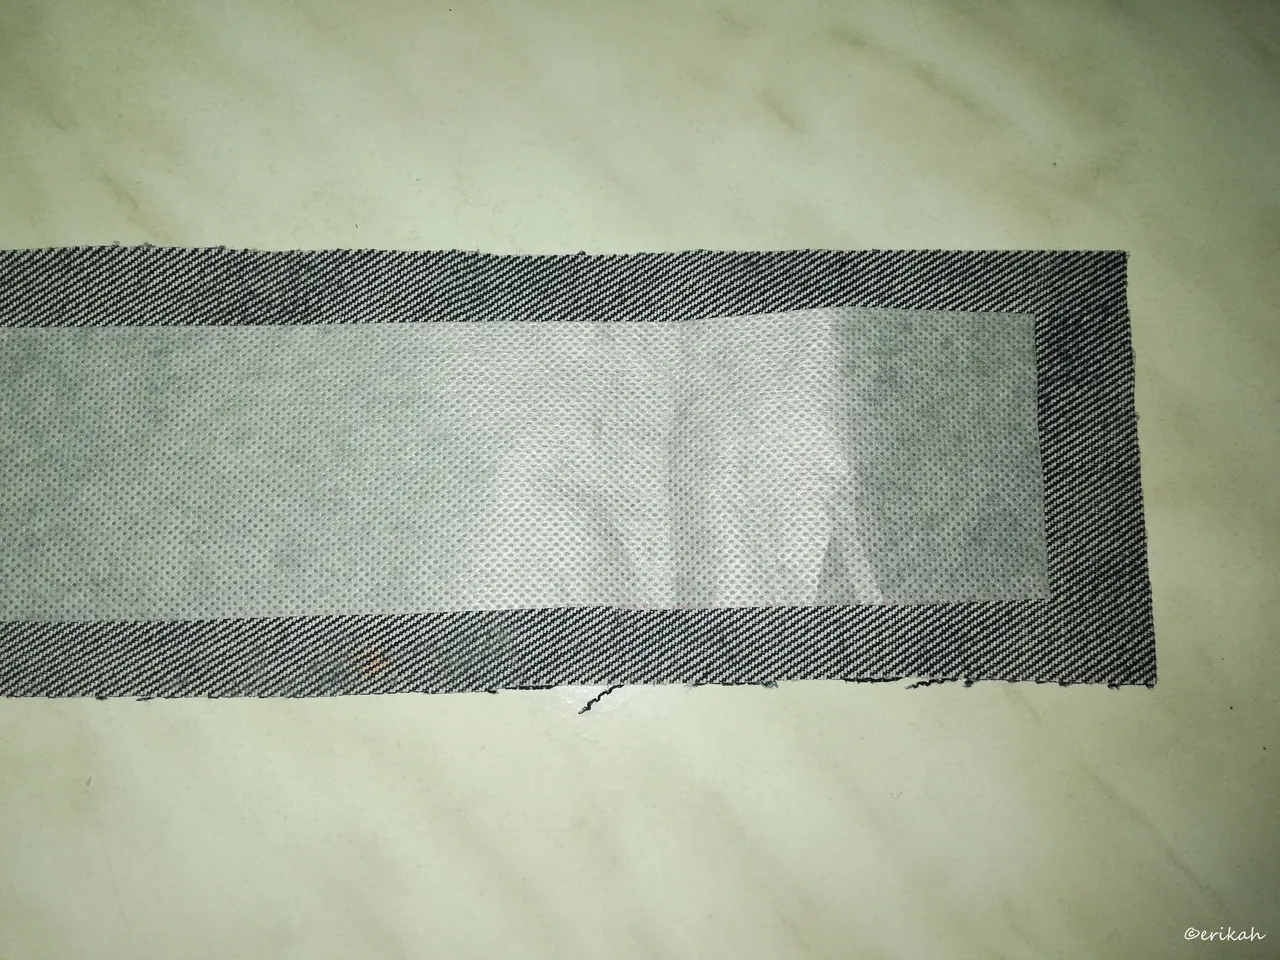
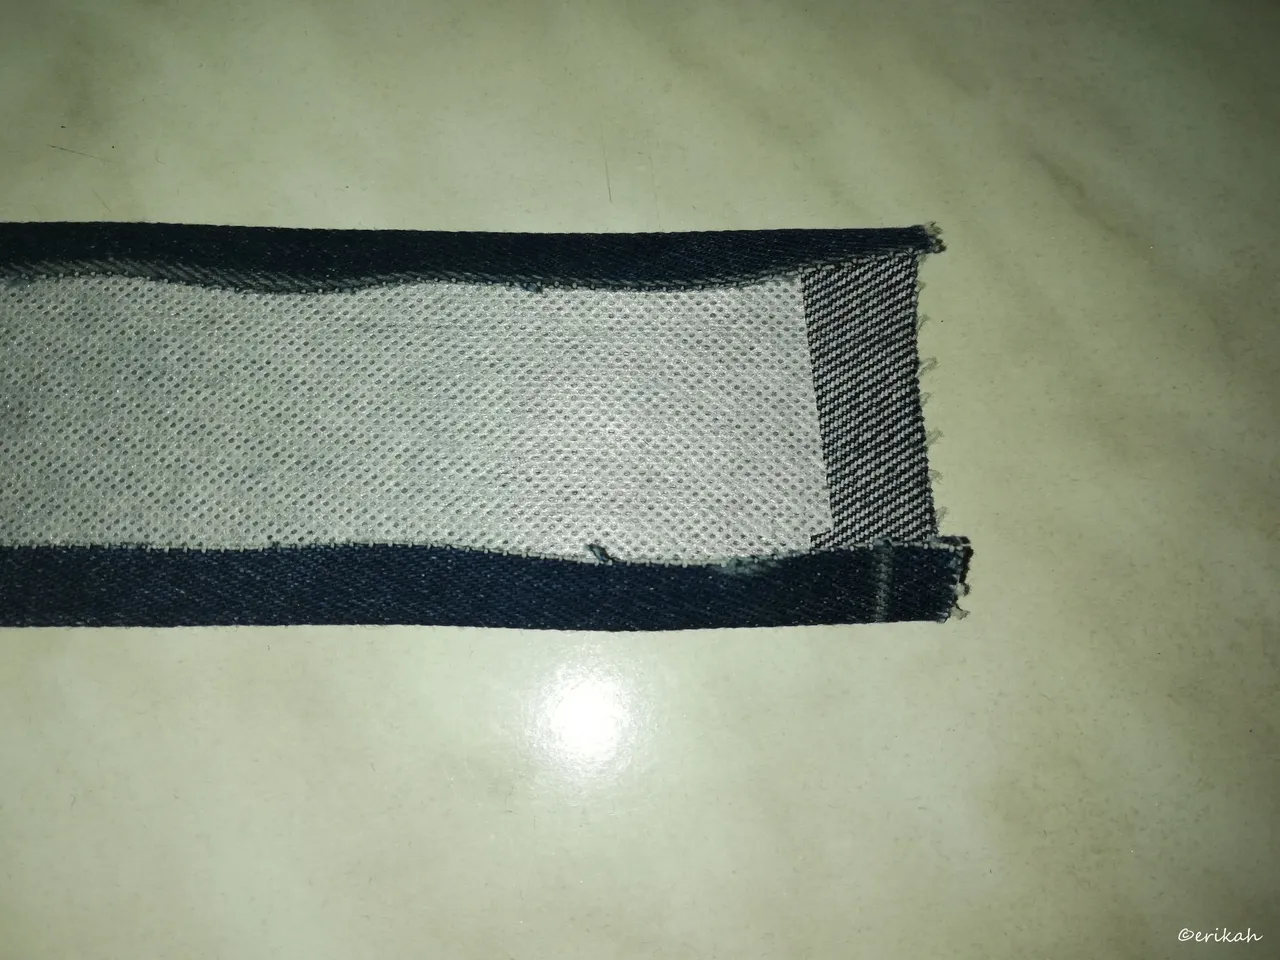
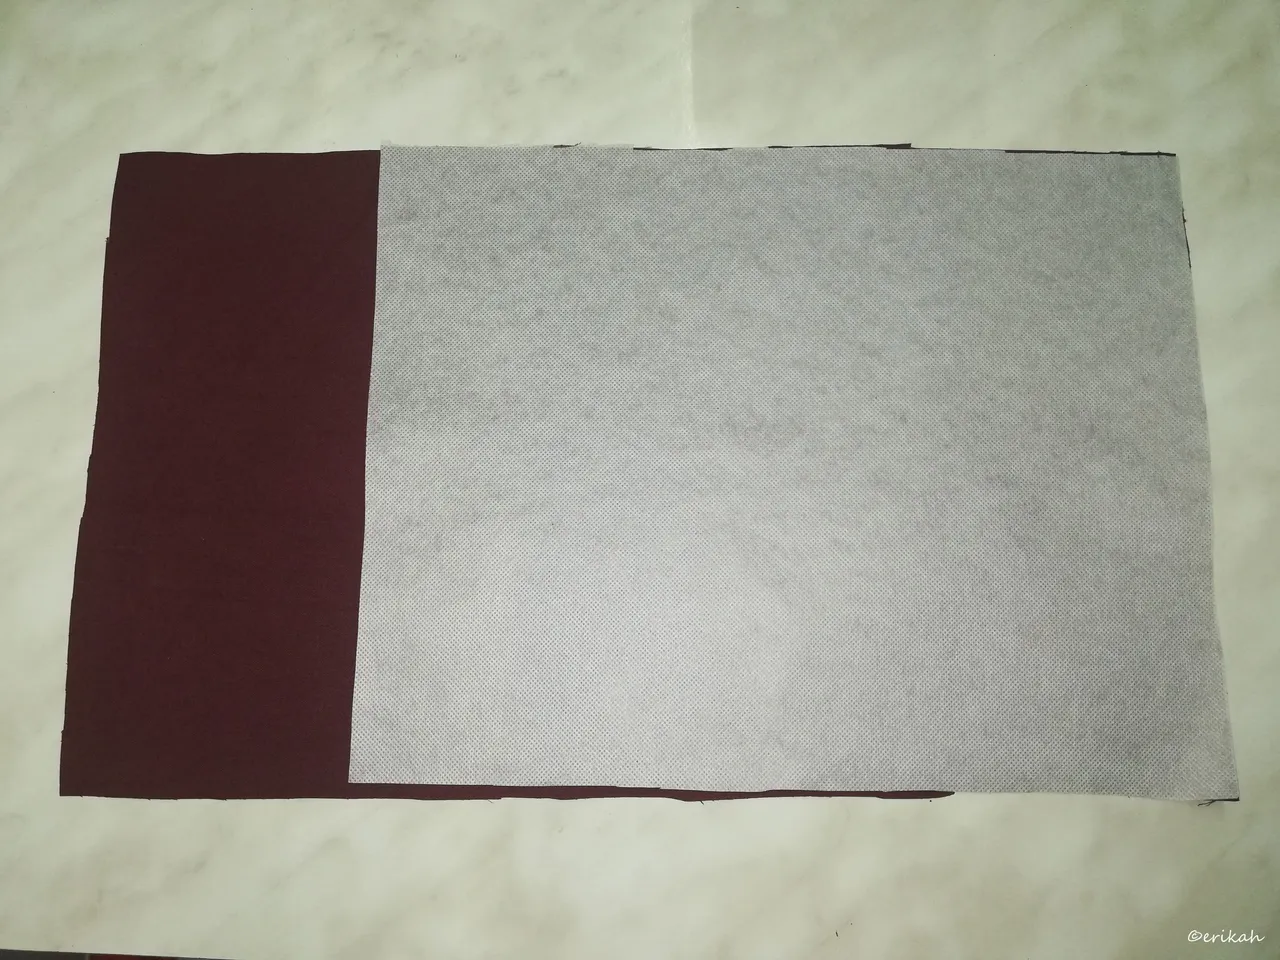
I'm always using interface to make the fabric more thicker. This is the one you have to iron on the wrong side of the fabric.
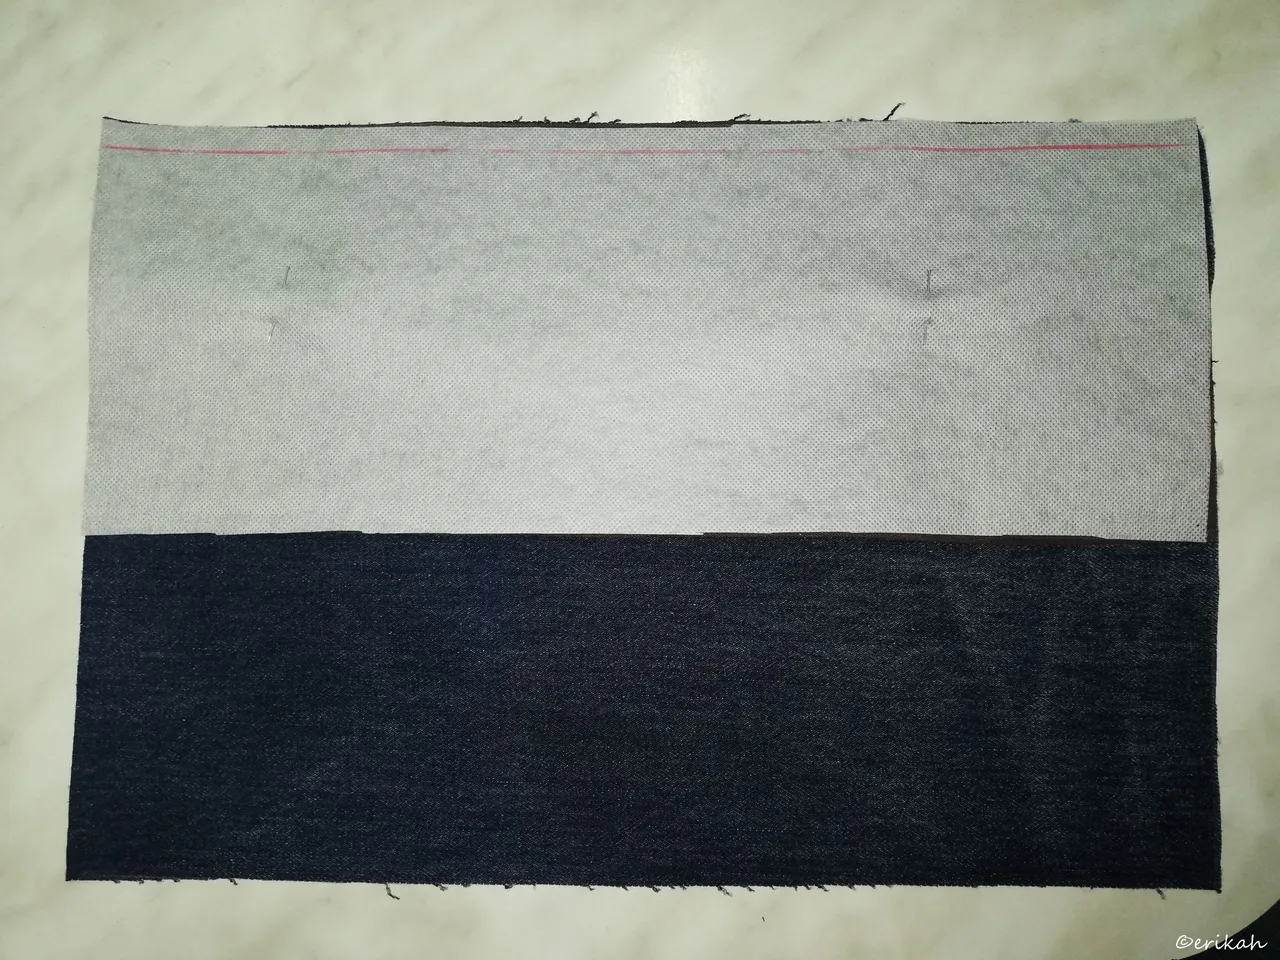
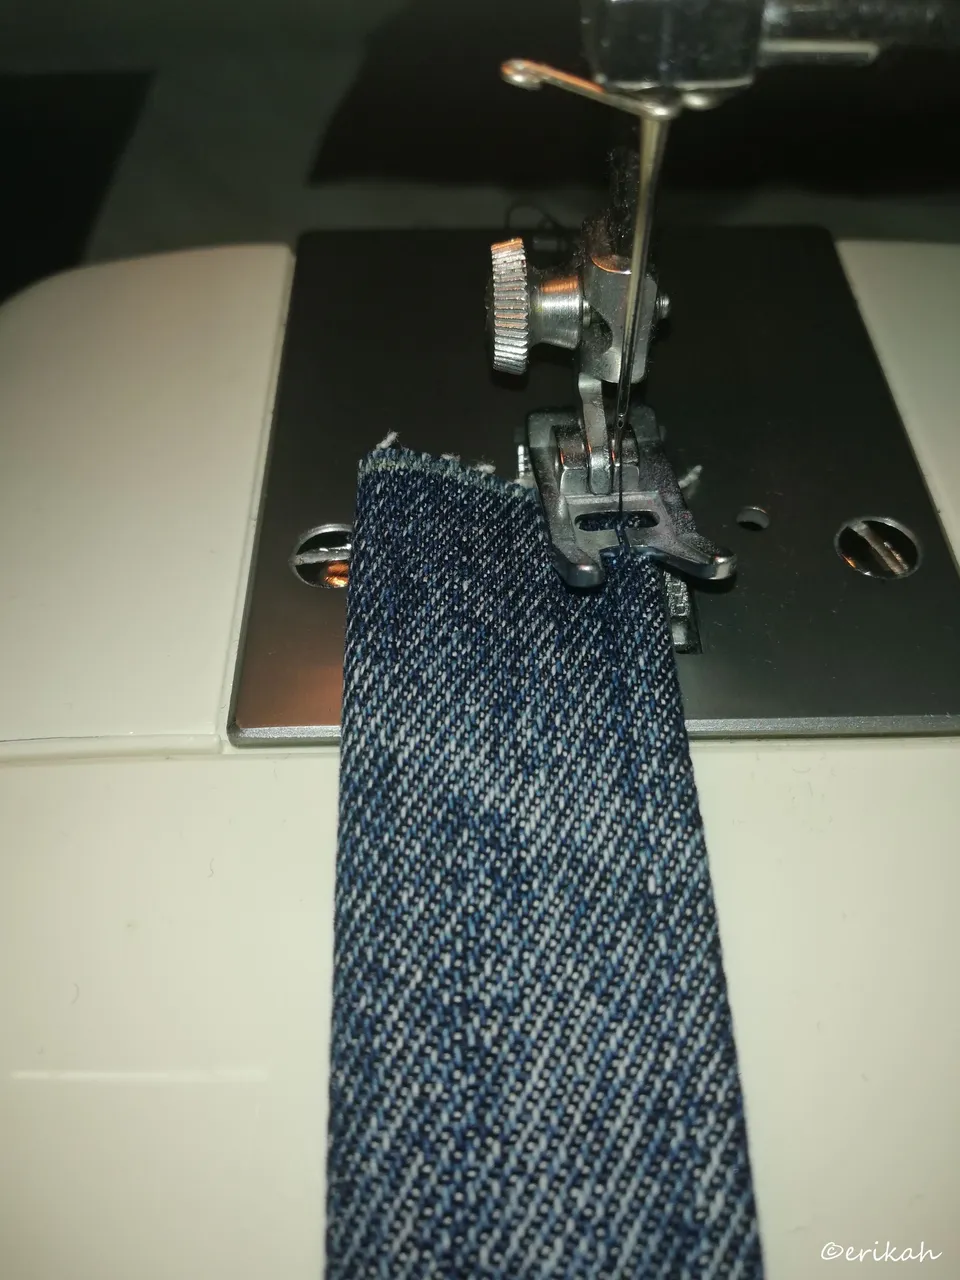
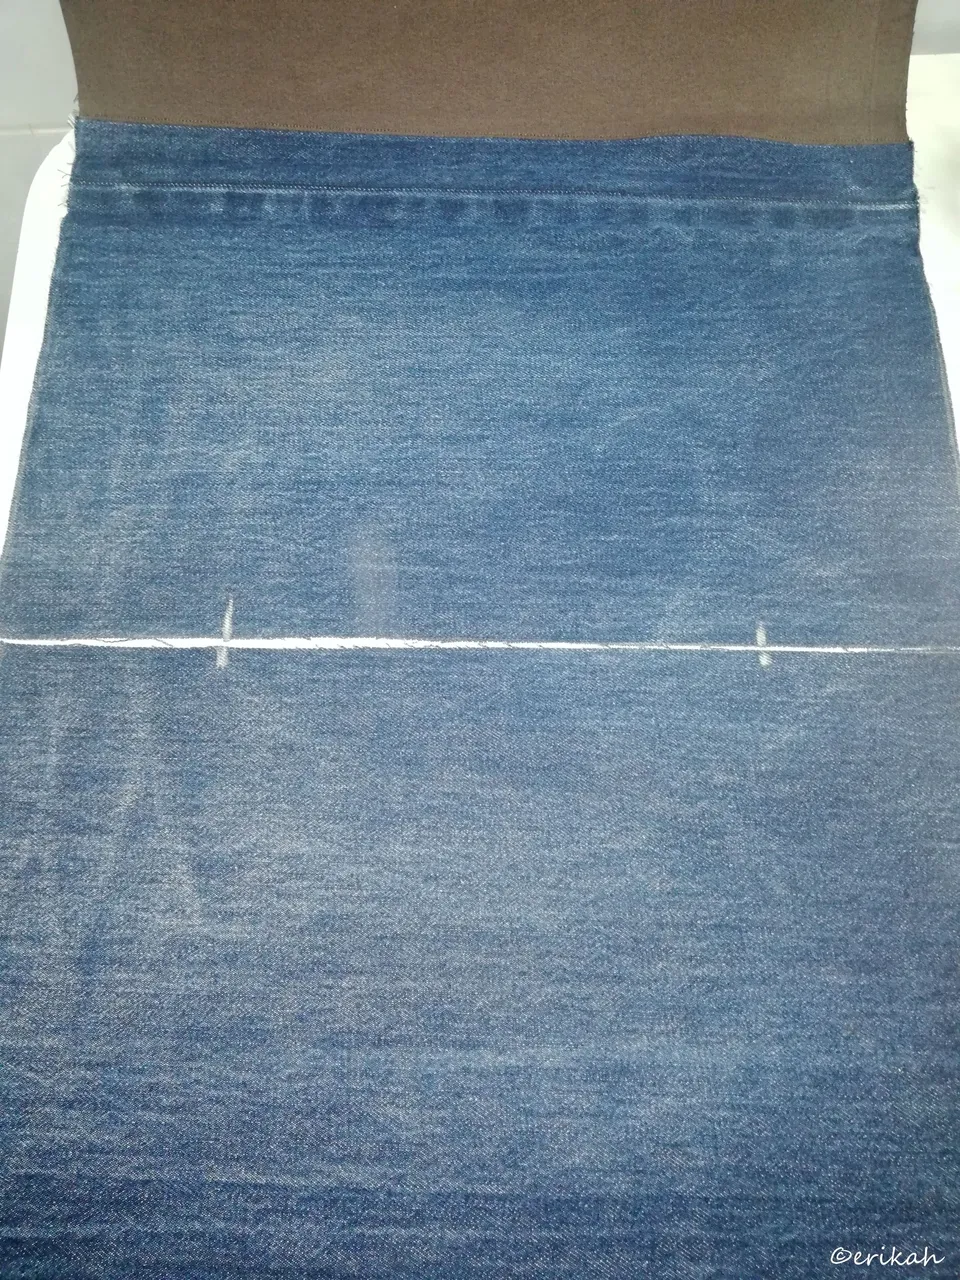
This is the part where I sewed the two fabrics for both pieces. I'm still using the line to cheat as I'm still a beginner, barely have one year experience, so a little guidance is always helpful.

This is the front part of the bag, with a close up photo, to show you the lines.
Shoulder Straps
I like the shoulder straps for this design a little bit longer, so I made these 70cm long and 7.5cm wide.
Straps always need interfacing to be more resistant, so I used a 5cm wide band.
After ironing the interface on the wrong side of the straps, ironed the tho sides too.
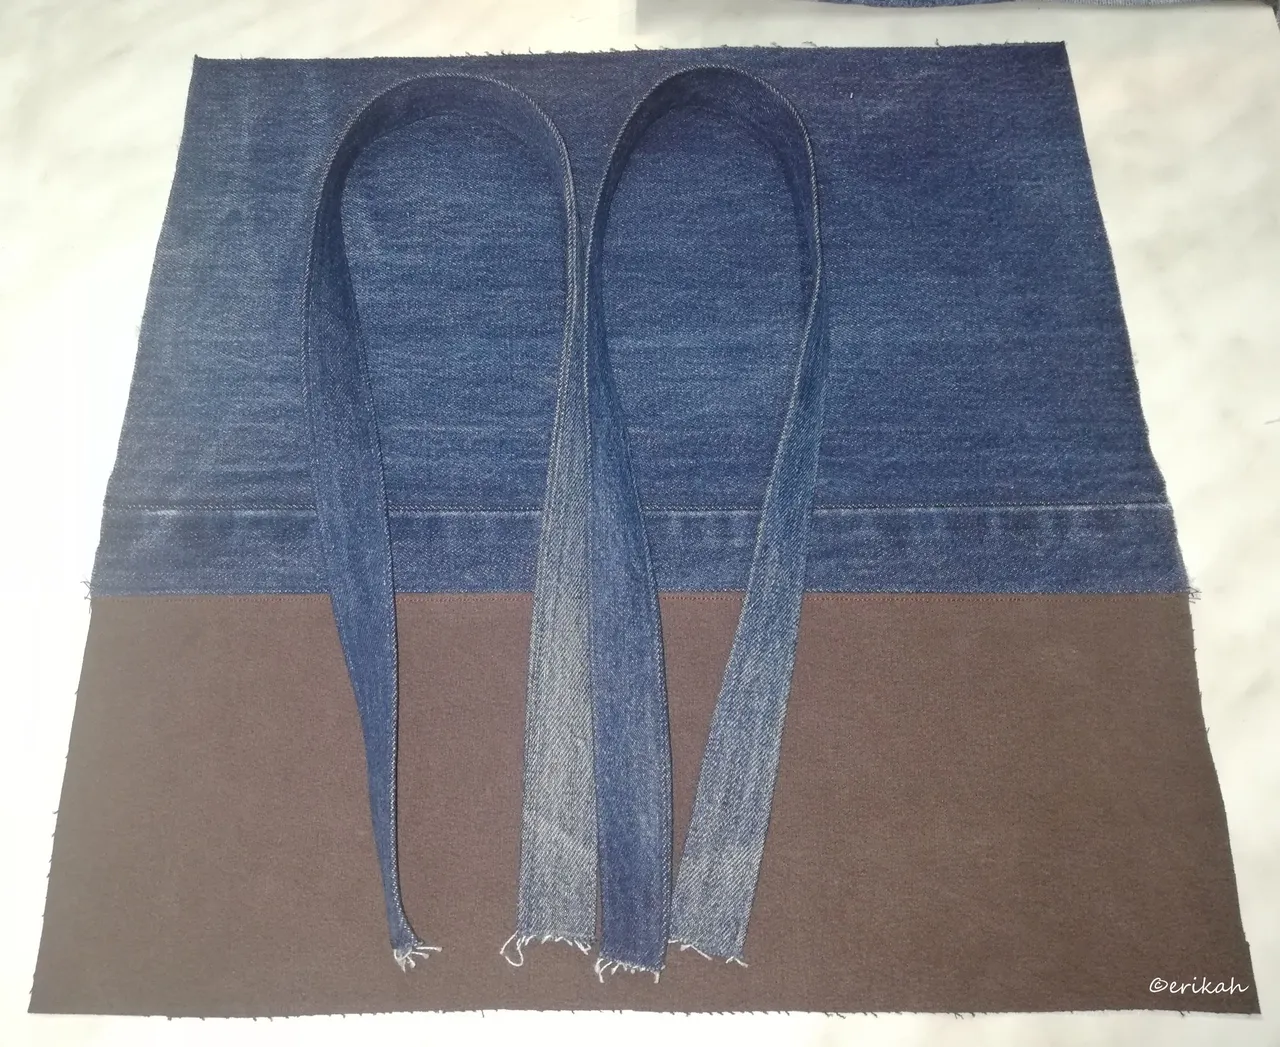
Straps are always tricky, it's not easy to do them right and I've had quite a lot of problems with them in the past, but if the fabric is of quality, it is easy. This Levi Strauss & Co was of a very good quality and I can say I've never made such nice straps.
Straps must be positioned 9cm from the side and the best method to do that is to put one piece on the other and make the mark on both at the same time.
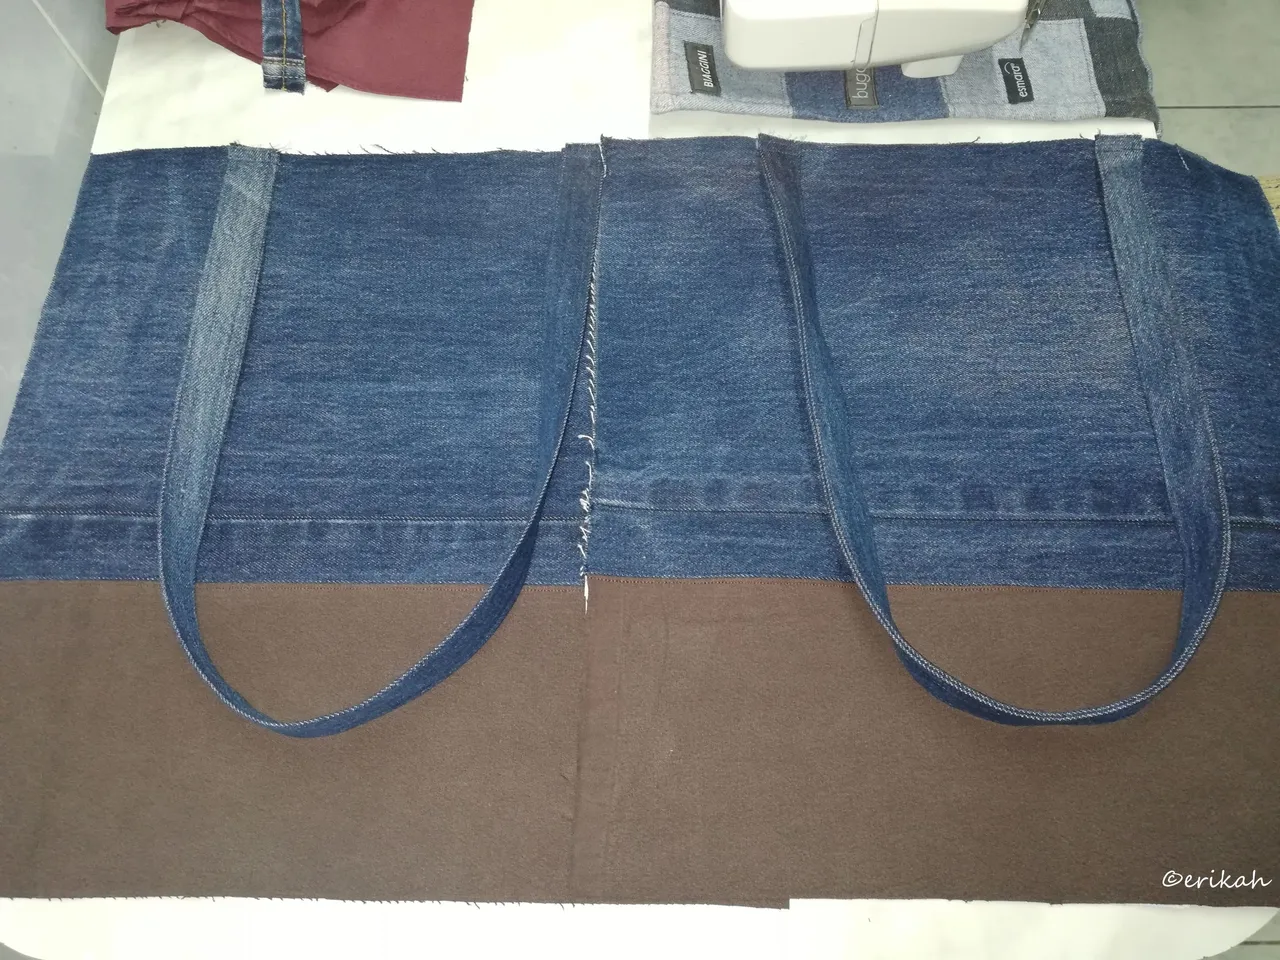
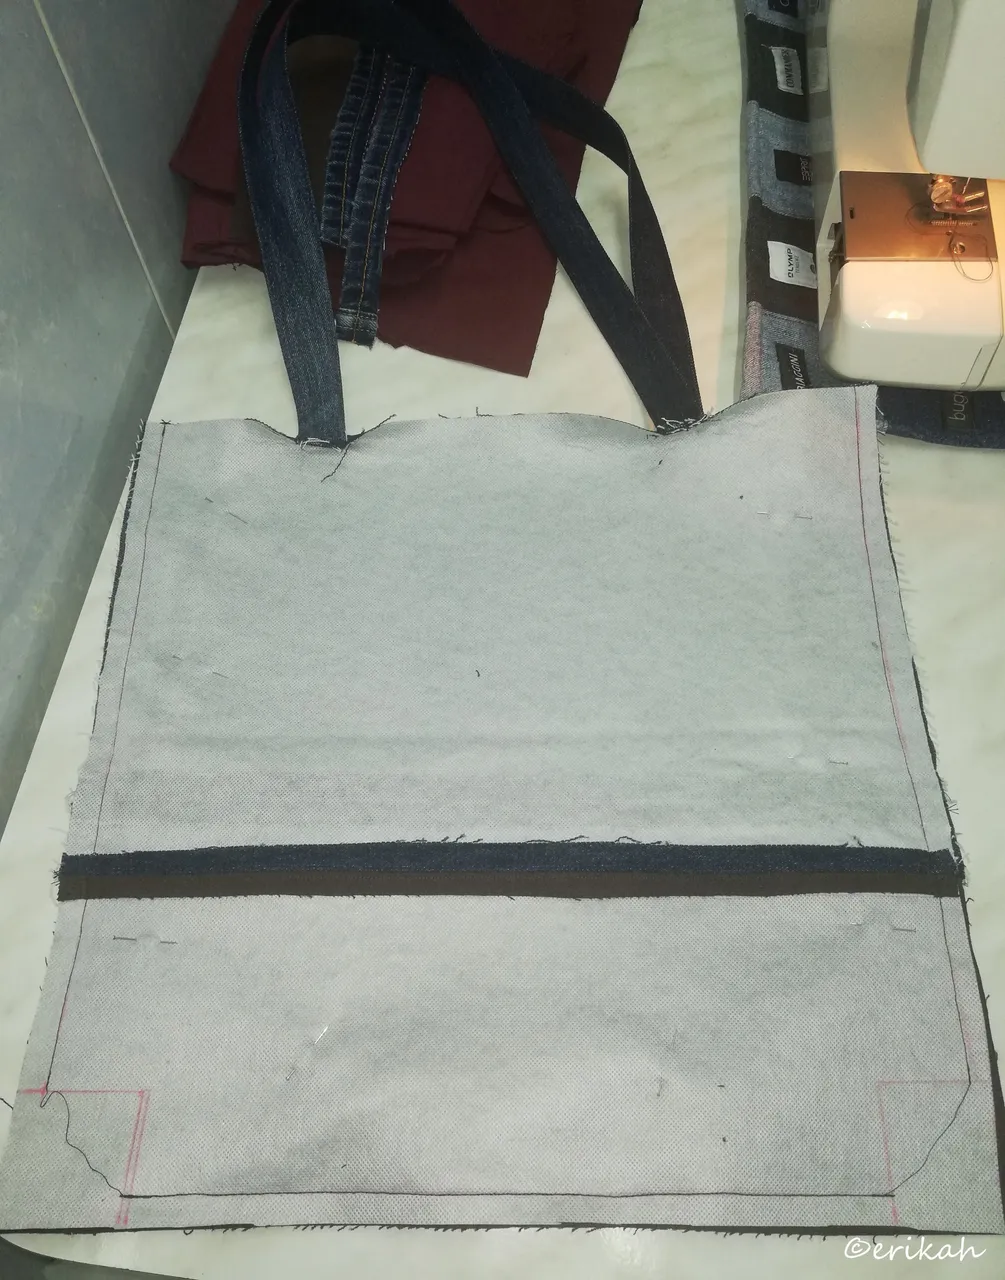
This is the best part as you can already see the bag taking shape. Some like to cut the corners out before sewing together the two parts, I don't, so I cut it out after.
When you are working with two different colors, something that needs your attention is how to sew together the pieces. The two sides has to match as even a few millimeter difference can look bad.
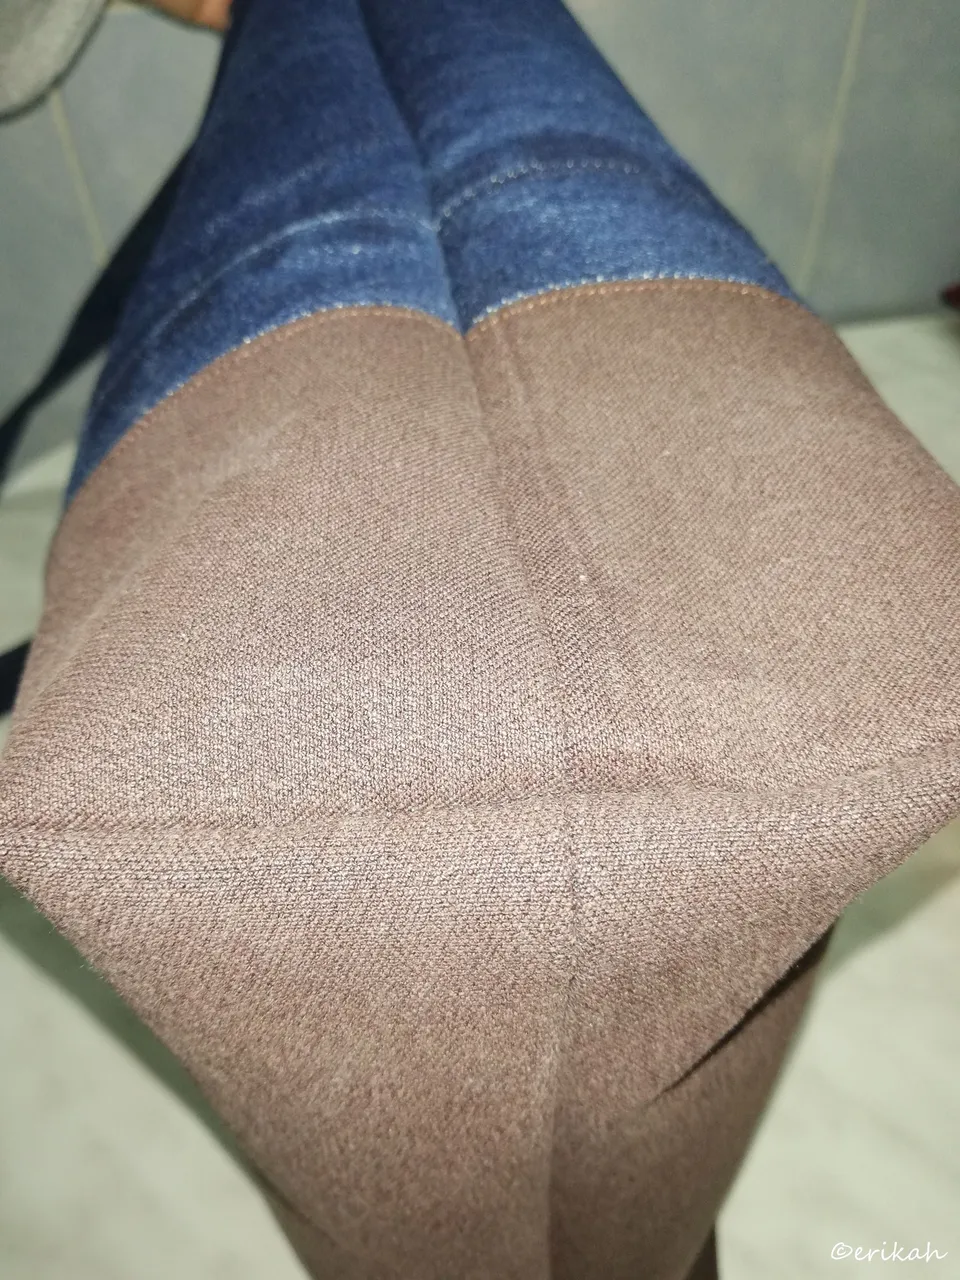
Looks like I did a great job as every little detail is good, sewing lines match everywhere.
2 pieces of 40cm x 6cm for the zipper part, that still needs interface applied.
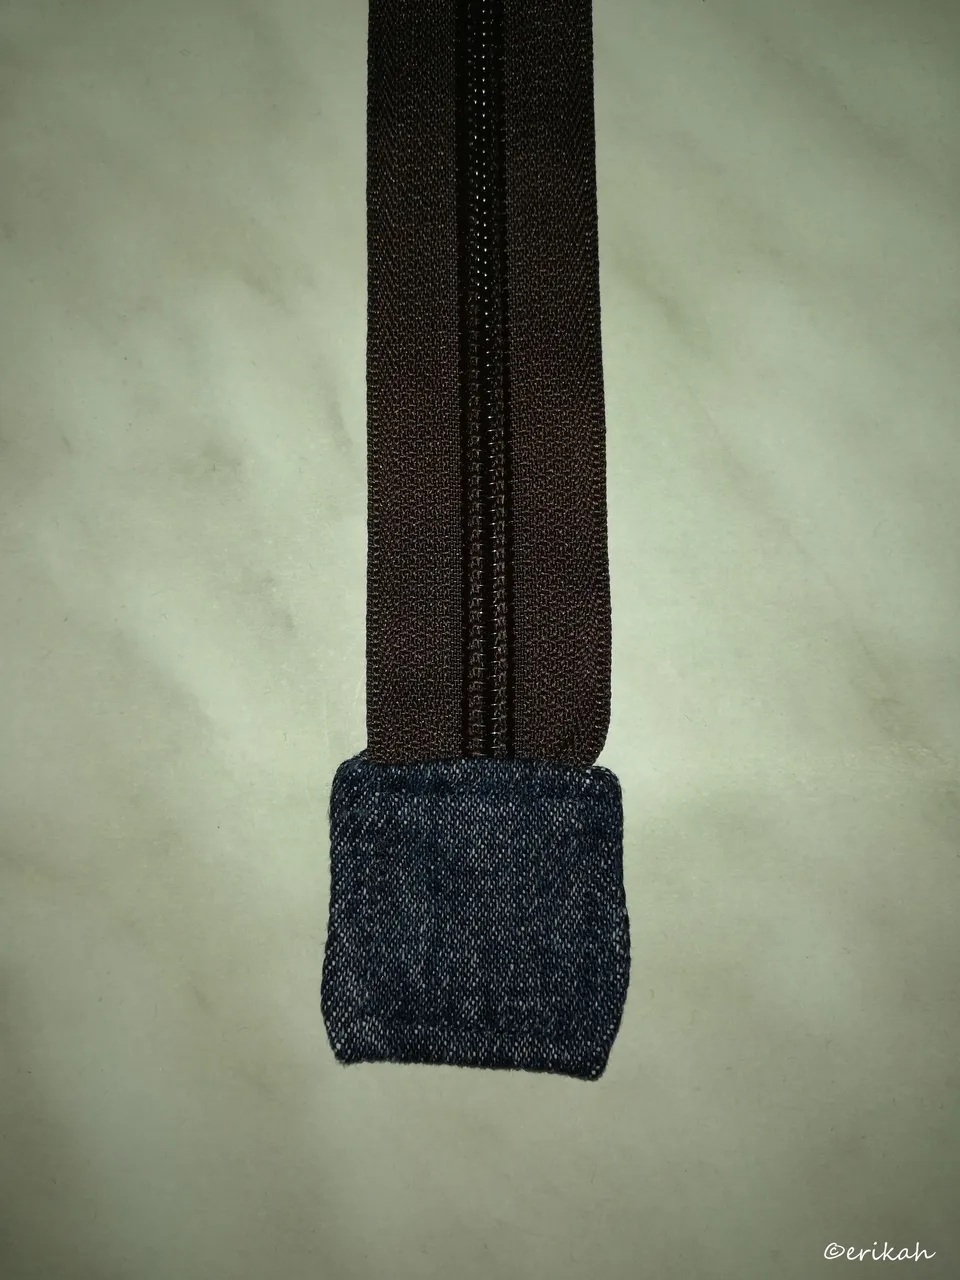
Here's the end of the zipper hidden with denim. I had to do it twice as it's not easy, but I like my work to be good, so worth the effort.
Lining
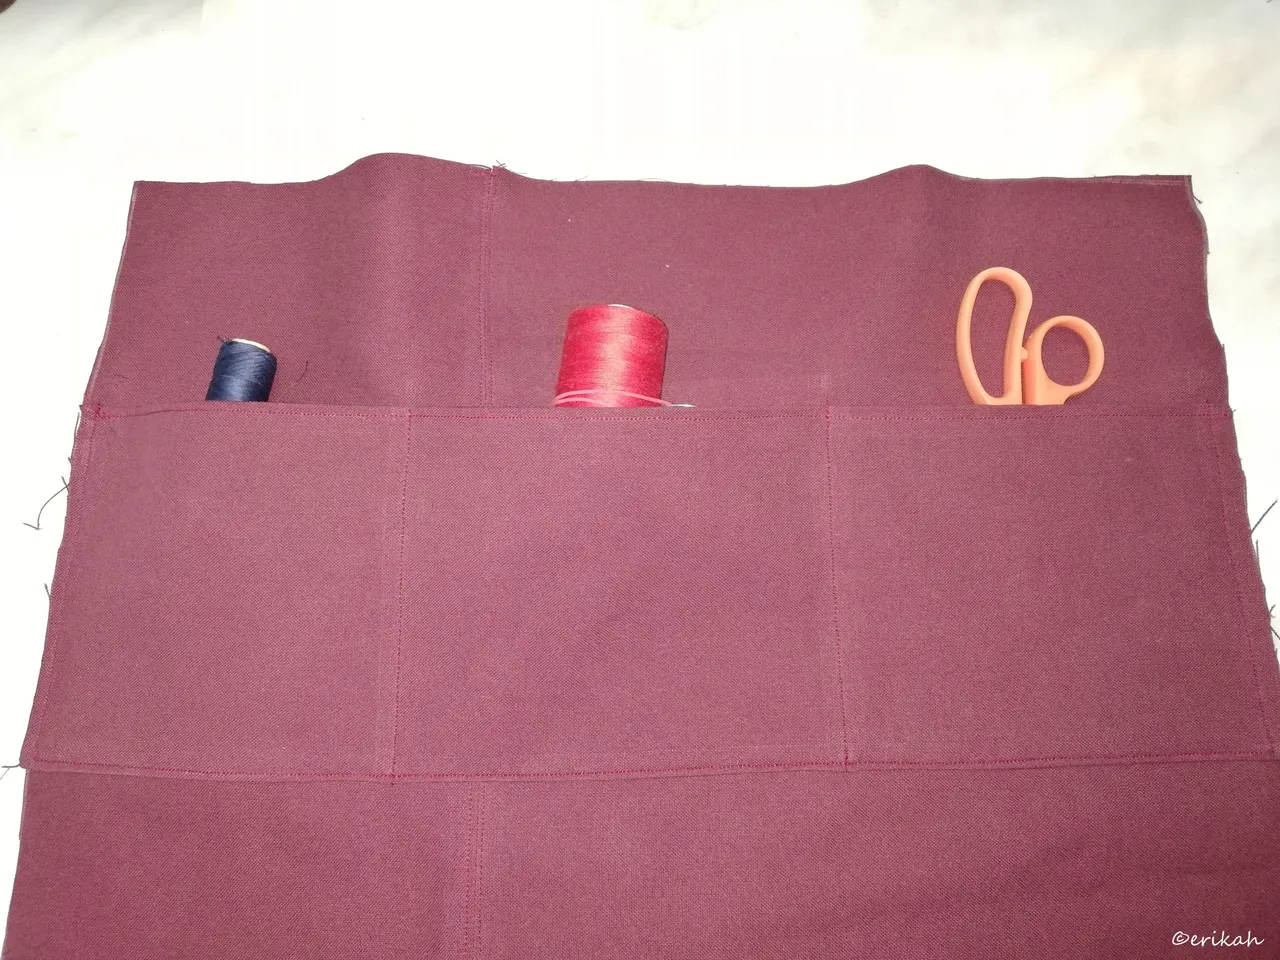
The lining was different this time as the lady asked for a two compartment bag and I've never done that before. On the photo above there's one side of the lining with three pockets. The other side was simple, I put no pocket on it as three pockets plus two compartments are enough I believe. Most of the bags you buy have one pocket.
This is the compartment separator. I thought I use interfacing to make it more stronger and it turned out to be a good idea.
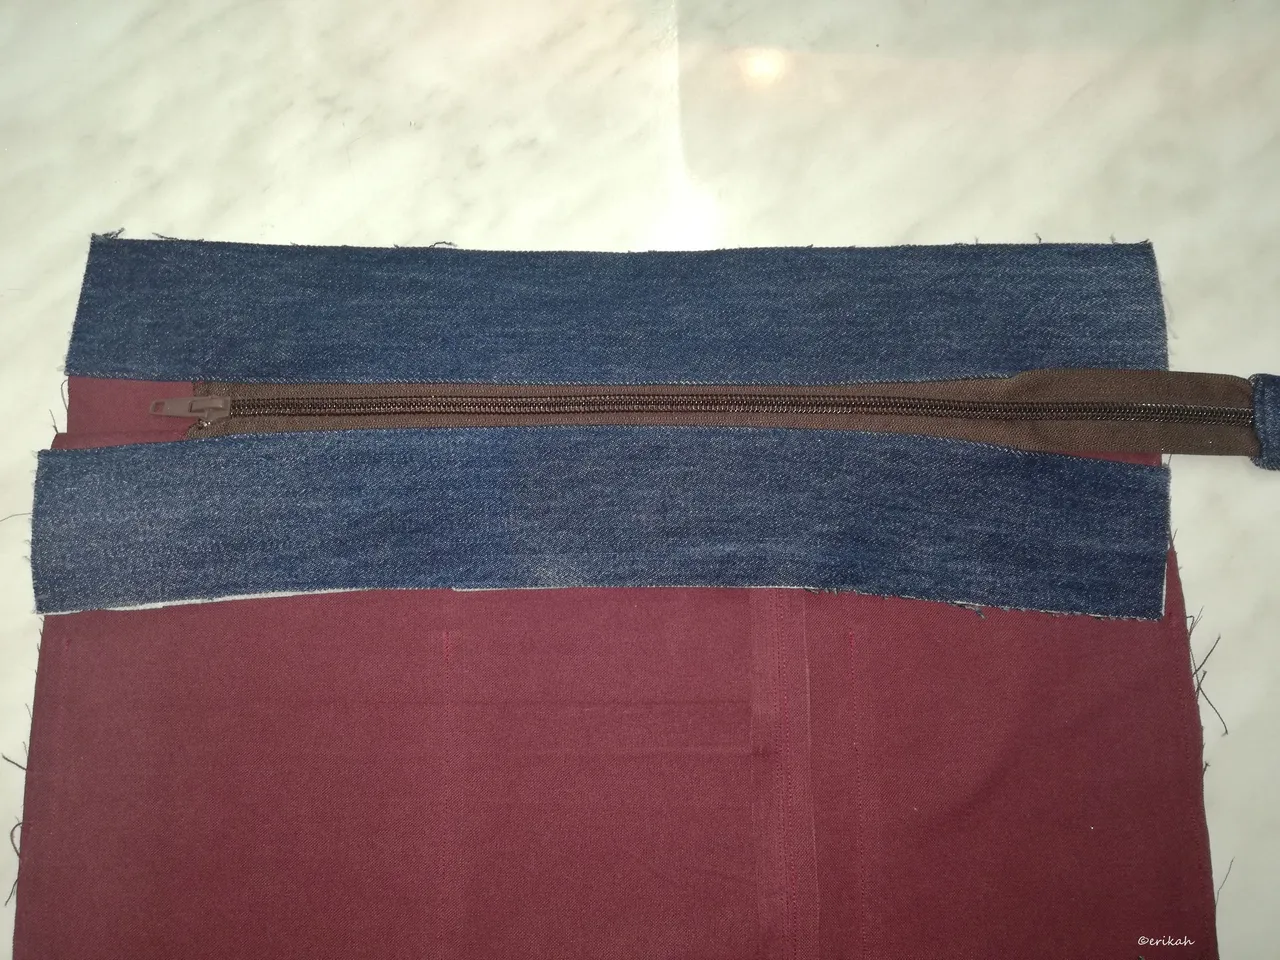
I'm also satisfied with how the zipper is integrated. Usually it's not easy and takes some time but this one was quite ok.
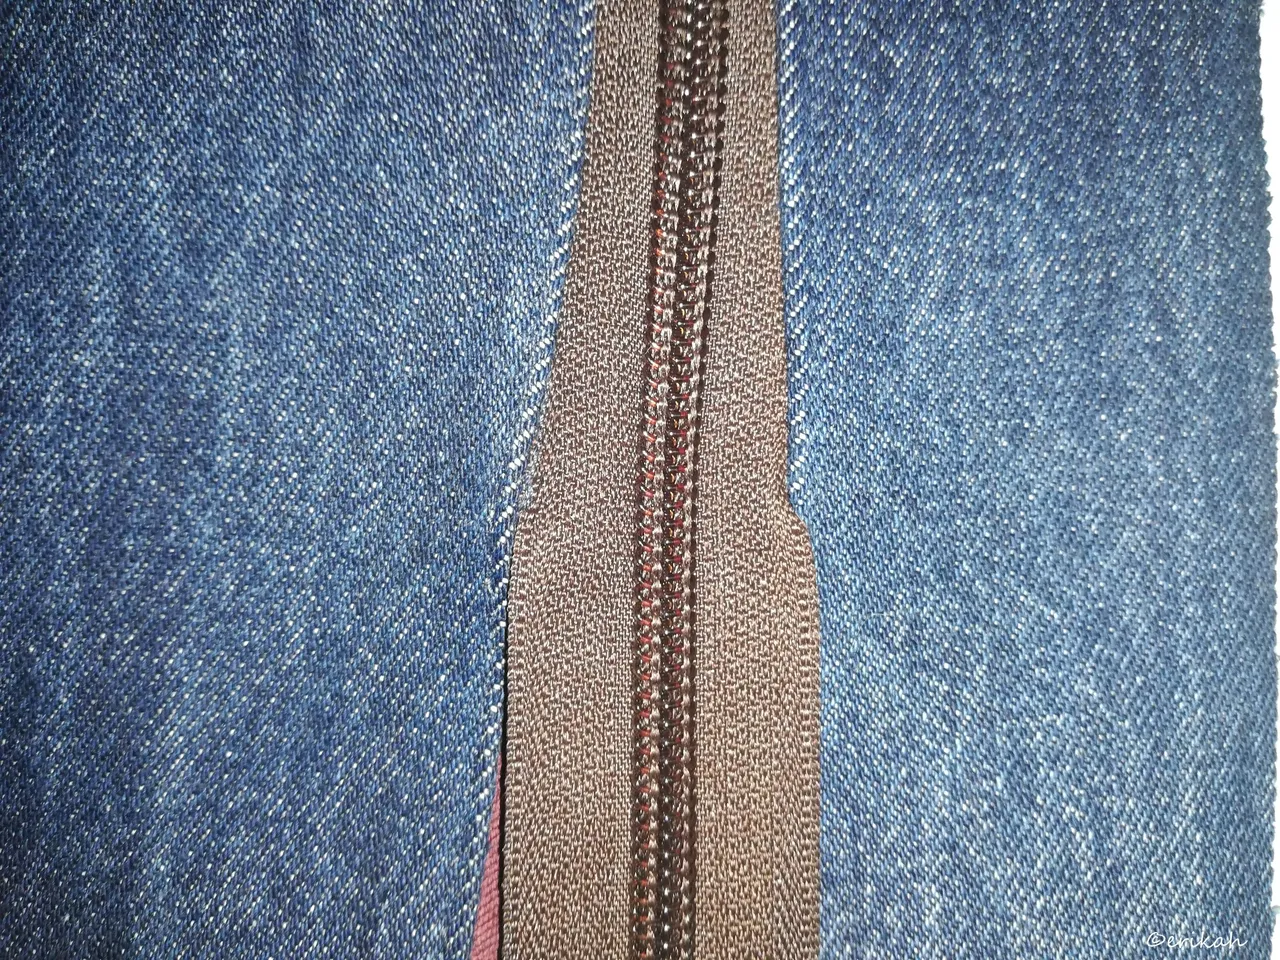
The hardest part is to let the zipper out of the fabric at the same place on both sides.
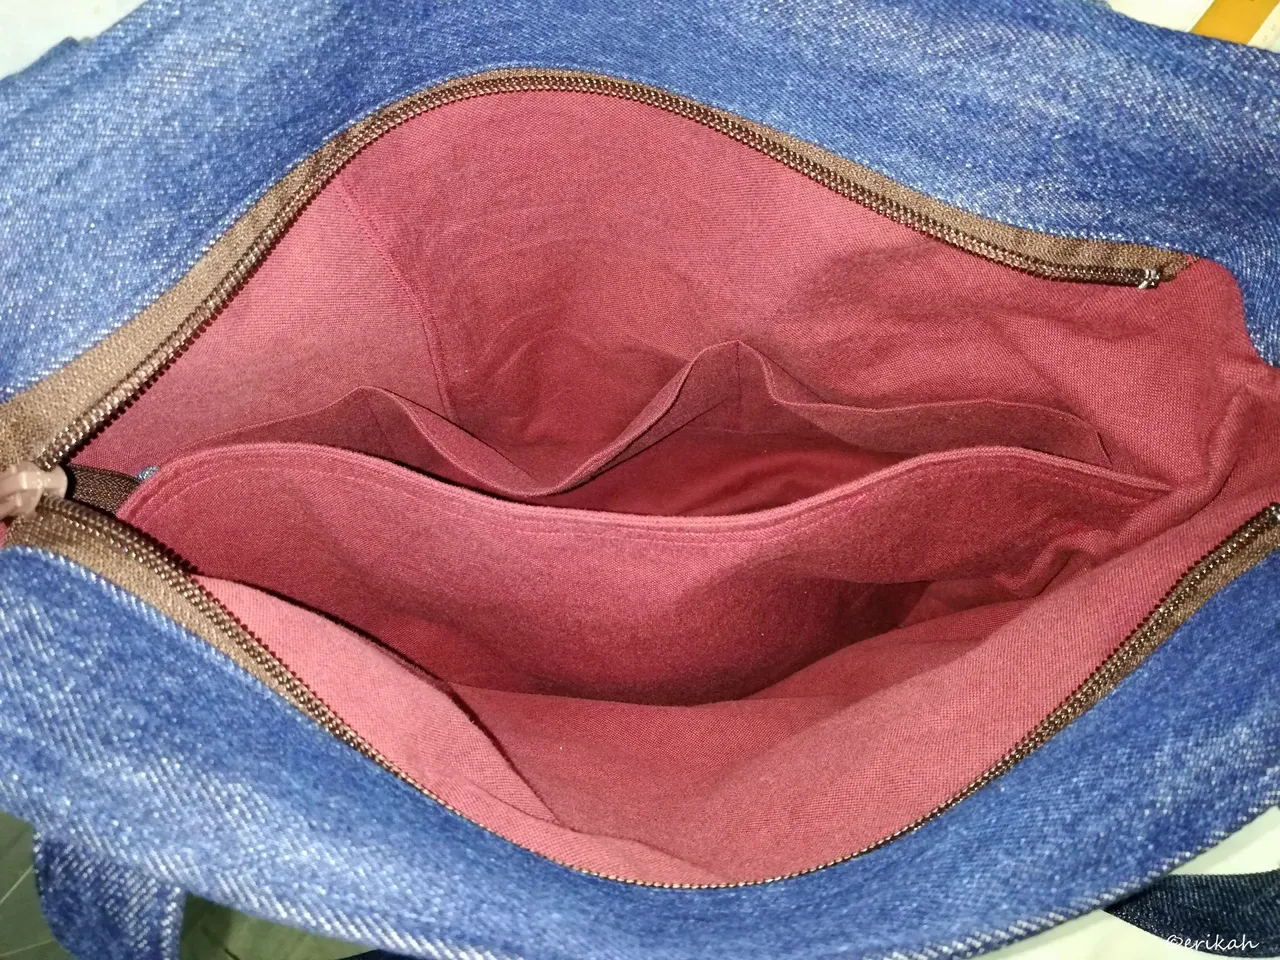
The interior of the bag with the pockets and the compartments.
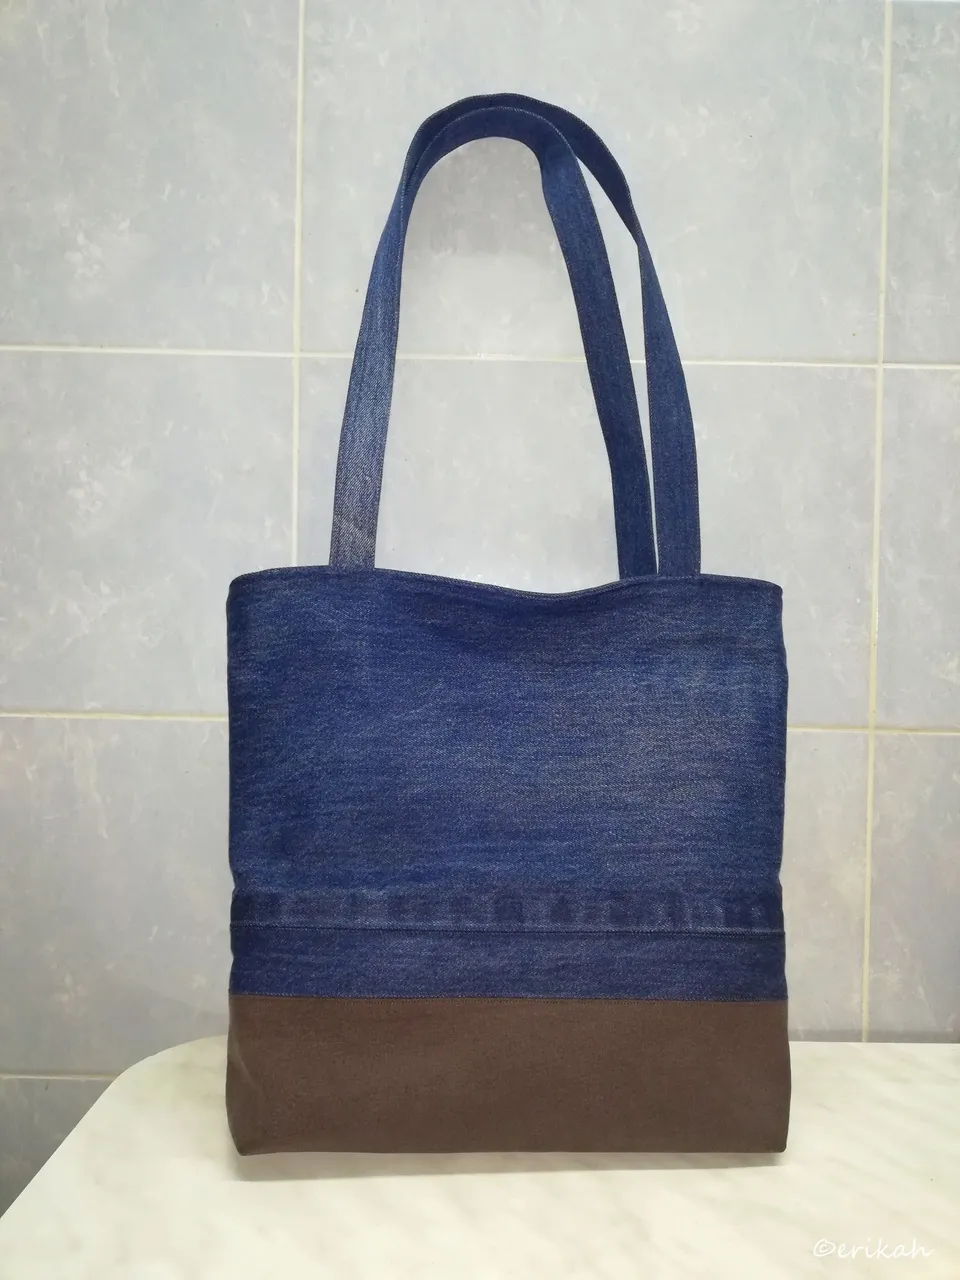
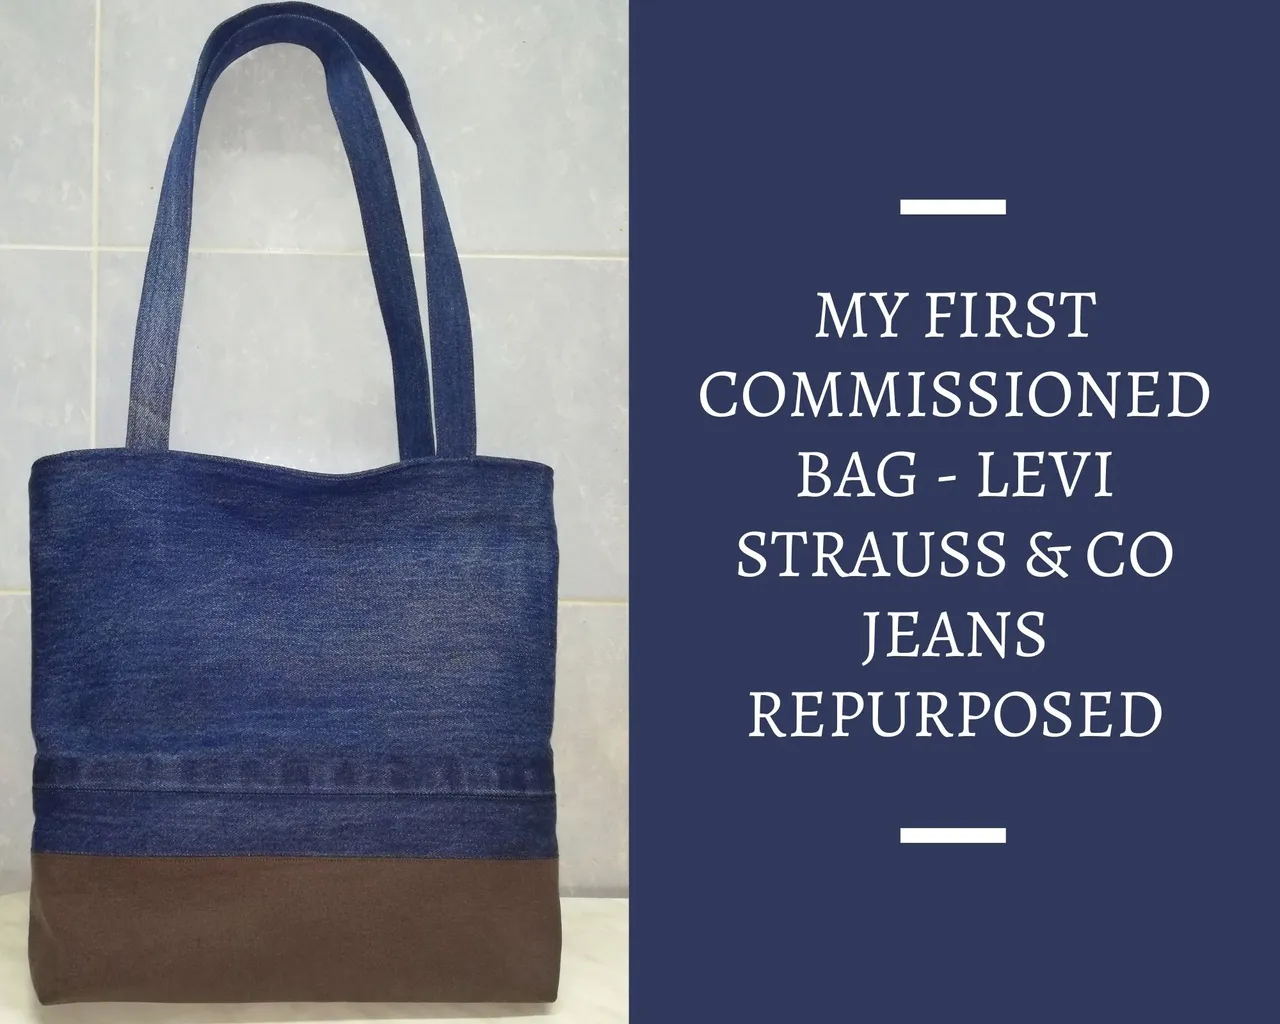
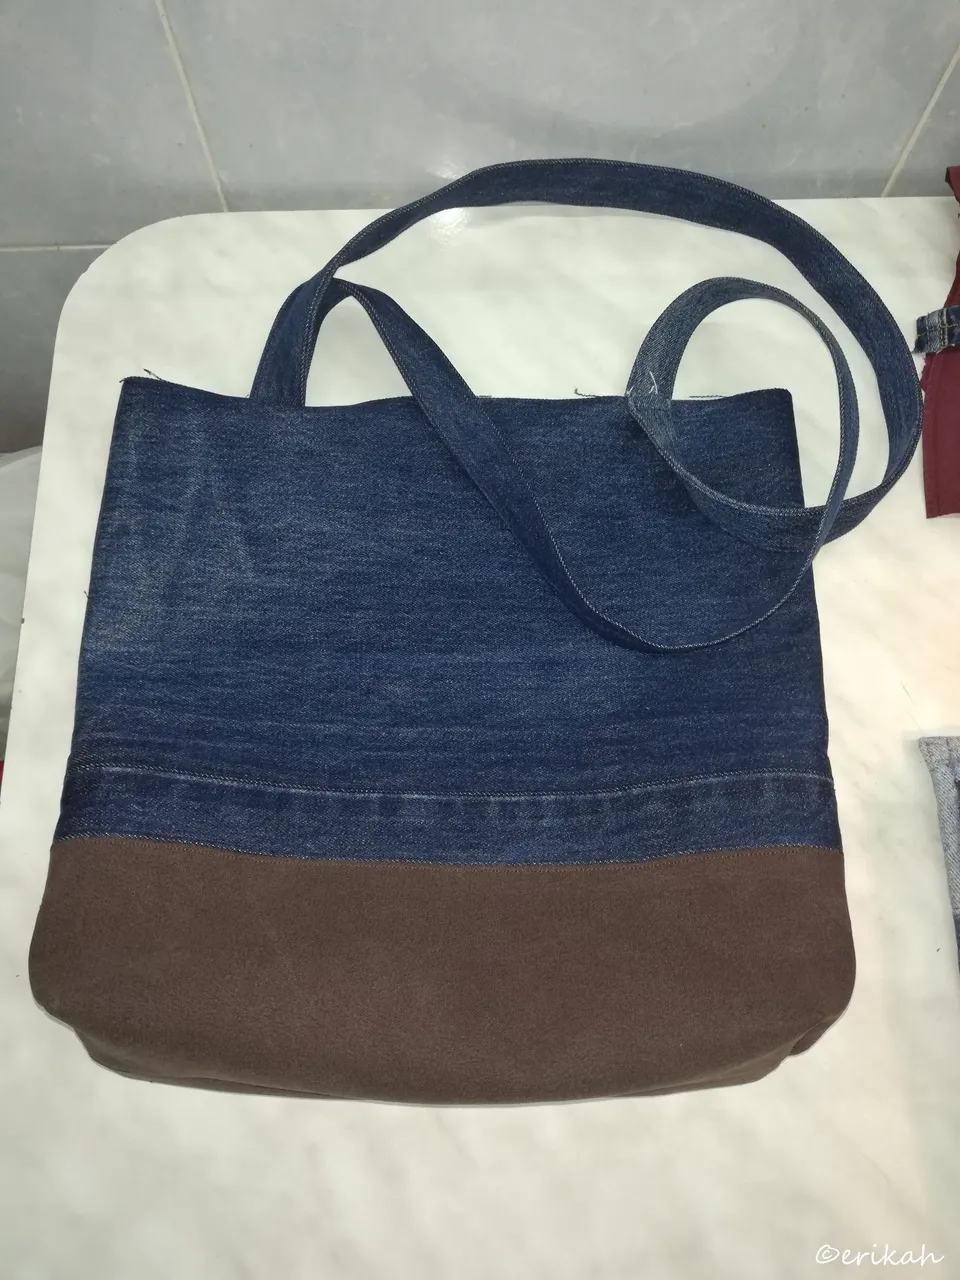
And here's the masterpiece!
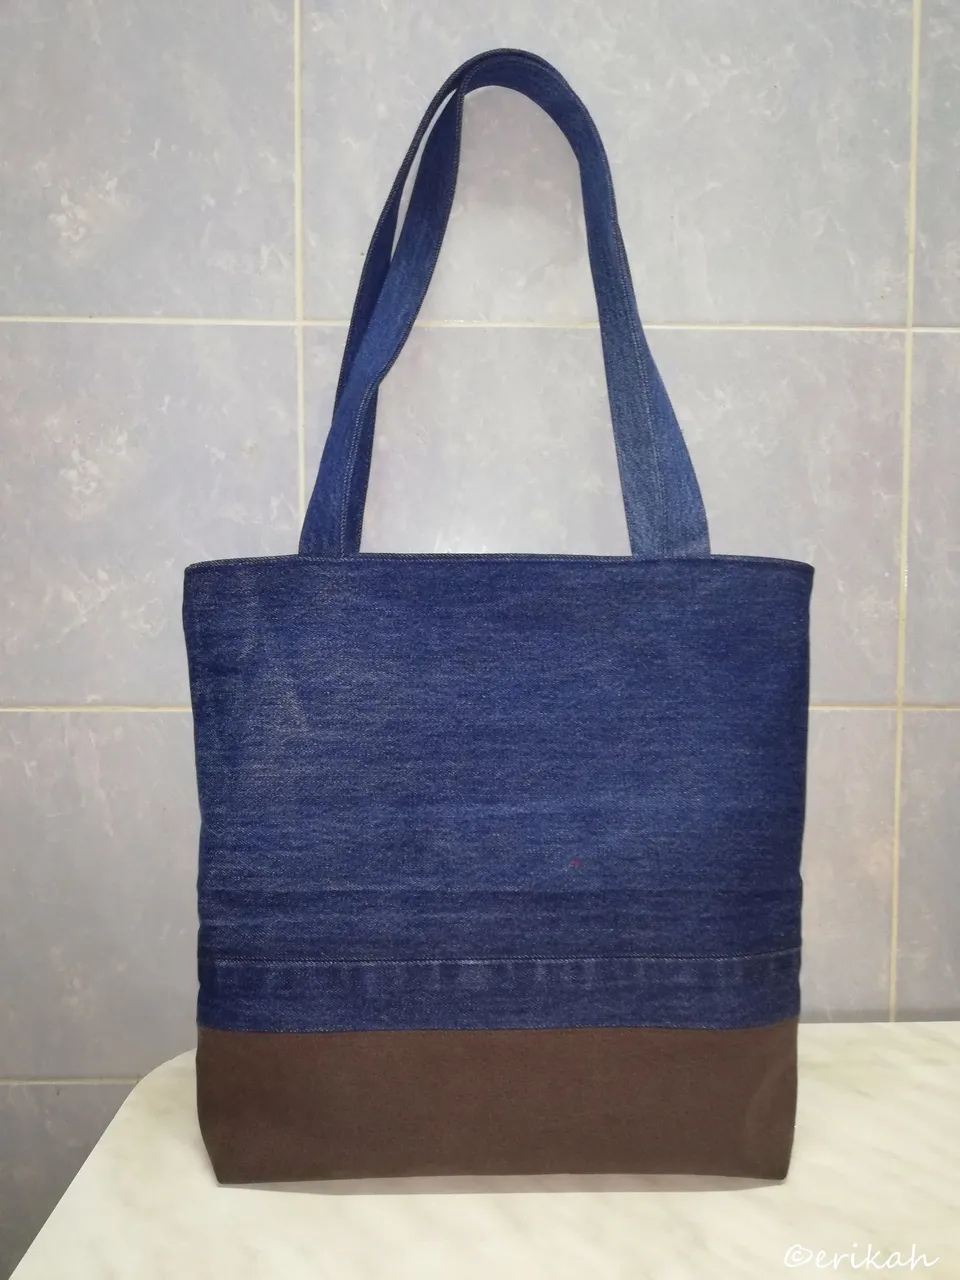
The other side of the bag. There's not much difference between the two though.
Share a needlework project that represents your character
This is an @ocd initiative that ends in a couple of days. I thought I'd join with this bag, even though it is not mine. This is the design I'm usually creating. Those of you know know me in this community have seen quite a few bags like this. The color is perfect fro me and at the end I felt a bit jealous as I had to hand the bag over to the lady. I love it and may create something similar for myself. These are two of my favorite colors by the way.
The bonus for my work was the lady's reaction, when I handed the bag over to her. She was absolutely thrilled, loved it. This is a huge appreciation for me, knowing that someone loves my work.
Once the bull run is over, I can contribute more to the community. This year was a hectic one and I have a feeling that the hard part is yet to come.
Get started with my referral code: m3yjA
https://www.bybit.com/en-US/invite?ref=m3yjA
