
Hola Comunidad ❤️ en ésta oportunidad me alegra formar parte una vez más de la iniciativa organizada por el equipo de @ocd, en dónde cada semana seleccionan una comunidad para alentarnos a nosotros los hiver a participar en ella, y esta vez para la ronda #7 el centro de atención serán las agujas y todo lo relacionado al trabajo realizado con ellas. NeedleWorkMonday a sido una de mis comunidades favoritas en la plataforma porque a pesar de ser un poco novata en éste arte, cada proyecto que realizo trato de hacer lo mejor posible y poniéndole todo el cariño y amor que la comunidad merece.
Como se pudieron dar cuenta, decidí traerles un tutorial divertido, muy hermoso y a la vez fácil para las principiantes como yo. Les cuento que toda la cultura mexicana me encanta, y cuando encontré este amiguito hecho a crochet no dude en compartirlo a este concurso. Mi personaje es muy característico porque si lo vez a simple vista sabrás de dónde proviene y que acento tendrá 😄, con su divertido mostacho y un sombrero gigante más grande que él, un personaje que refleja la tradición mexicana y expresa su cultura tan especial.
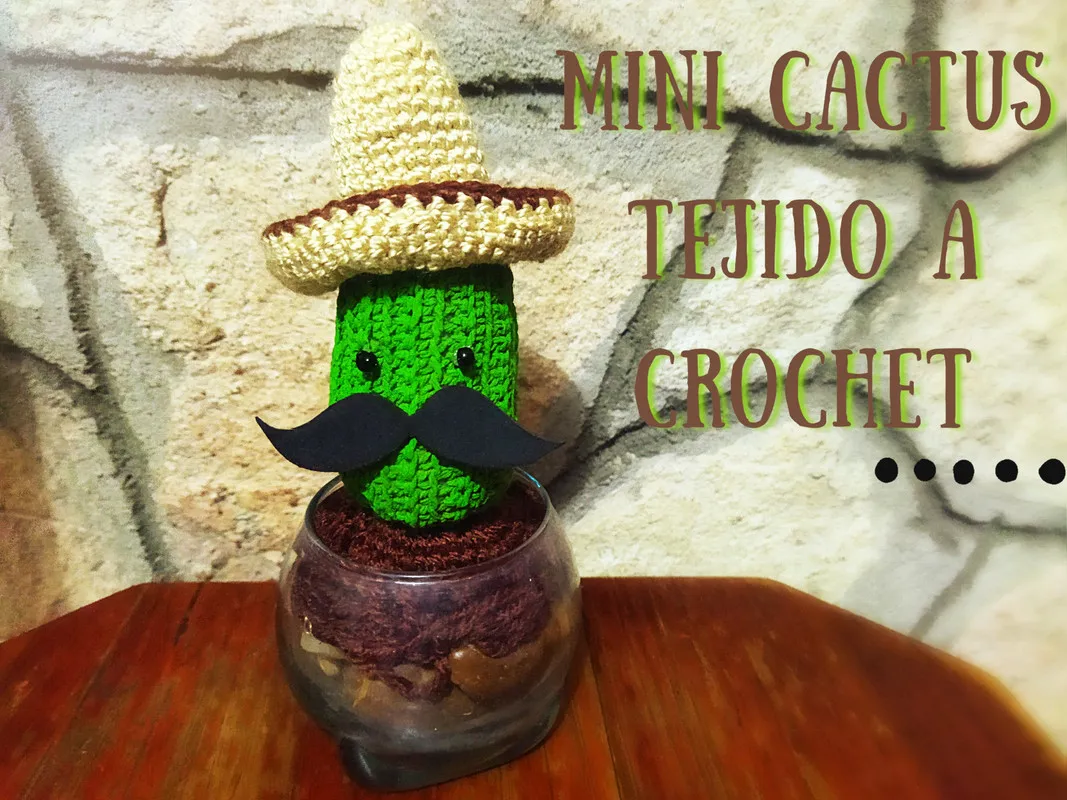
Hello Community ❤️ this time I'm glad to be part once again of the initiative organized by the @ocd team, where every week they select a community to encourage us to participate in it, and this time for round #7 the focus will be the needles and everything related to the work done with them. NeedleWorkMonday has been one of my favorite communities on the platform because despite being a bit of a novice in this art, every project I do I try to do my best and putting all the love and affection that the community deserves.
As you could see, I decided to bring you a fun tutorial, very beautiful and at the same time easy for beginners like me. I love Mexican culture and when I found this little crochet friend I didn't hesitate to share it in this contest. My character is very characteristic because if you see him at first glance you will know where he comes from and what accent he will have 😄, with his funny mustache and a giant hat bigger than him, a character that reflects the Mexican tradition and expresses its very special culture.

🧶Ahora sí...¡manos a la obra!🙌🏻

- hilo de estambre (verde, marrón claro y oscuro)
- aguja de tejer n°2 y n°3
- Aguja lanera
- Relleno
- piedras decorativas (negro)
- Foami o goma Eva (negro)
- Silicón líquido (frío o caliente)
- Tijera
- Envase del material de su preferencia (servirá de maceta)
-worsted yarn (green, light and dark brown)
- knitting needle n°2 and n°3
- Wool needle
- Filling
- decorative stones (black)
- Foami or Eva rubber (black)
- Liquid silicone (cold or hot)
- Scissors
- Container of the material of your choice (will serve as a flowerpot)
- Paso 1 y 2; Primero tomaremos nuestra aguja n°3 y comenzamos tejiendo 20 cadenas, y seguidamente 20 puntos bajos.
Tip: "Cuando comencemos a tejer la segunda vuelta de puntos bajos, tenemos que insertar la aguja en la oreja posterior de la cadena, así crearemos una línea en el tejido que resalta y dará la apariencia de un cactus real."
- Step 1 and 2; First we will take our n°3 needle and start knitting 20 chains, and then 20 single crochet stitches.
Tip: "When we start knitting the second round of single crochet, we have to insert the needle in the back ear of the chain, this way we will create a line in the knitting that stands out and will give the appearance of a real cactus."

- Paso 3 y 4; Continuamos tejiendo así hasta repetir 21 vueltas.
- Step 3 and 4; Continue knitting like this until you repeat 21 rounds.
- Paso 5 y 6; Cosemos con nuestra aguja lanera la parte de atrás y la de arriba del cactus, luego rellenamos lo suficiente y necesario para terminar de cerrar el extremo que falta.
- Step 5 and 6; We sew the back and the top of the cactus with our knitting needle, then fill in just enough to close the missing end.
- Paso 7 y 8; Ahora tomamos nuestra aguja n°2 y realizamos un anillo mágico, luego 6 puntos bajos, 6 aumentos, 1 punto bajo y un aumento consecutivamente.
- Step 7 and 8; Now we take our needle n°2 and make a magic ring, then 6 single crochets, 6 increases, 1 single crochet and 1 increase consecutively.
- Paso 9 y 10; Luego repetimos 18 puntos en 8 vueltas consecutivamente, 2 puntos altos, un aumento. Ahora Repetiremos la misma vuelta sin aumento 9 veces y después haremos 20 aumentos.
- Step 9 and 10; Then we repeat 18 stitches in 8 rows consecutively, 2 double crochets, one increase. Now we will repeat the same round without increase 9 times and then make 20 increases.
- Paso 11 y 12; Continuamos con 2 puntos, un aumento, luego las siguientes 3 vueltas sin aumento, 4 puntos y una disminución, así hasta notar el largo de la solapa del sombrero deseado. Una vez terminada esa parte ahora cambiamos el color de hilo y formaremos un borde muy bonito de puntos bajos.
- Step 11 and 12; We continue with 2 stitches, an increase, then the next 3 rows without increase, 4 stitches and a decrease, so until we notice the desired length of the hat flap. Once we have finished that part we now change the yarn color and we will form a very nice border of low stitches.
- Paso 13 y 14; En esta parte solo nos queda recortar la forma del bigote en el foami y pegarlo junto con los ojos en el lugar deseado.
- Step 13 and 14; In this part we only have to cut out the shape of the mustache in the foami and glue it together with the eyes in the desired place.
- Paso 15 y 16; Finalmente como decoración opcional le añadimos una alfombra improvisada hecha con el estambre que sobró que simulará la tierra, ustedes lo pueden sustituir con arena o piedras decorativas. Luego lo pegamos a la base que hayamos encontrado que más nos guste y quedaría terminado nuestro lindo cactus amigurumi con todo el estilo de un charrito mexicano.
- Step 15 and 16; Finally as an optional decoration we add an improvised carpet made with the leftover yarn that will simulate the earth, you can replace it with sand or decorative stones. Then we glue it to the base that we have found that we like the most and our cute amigurumi cactus with all the style of a Mexican charrito will be finished.


- Todo el contenido es de mi autoría y las imágenes son de mi propiedad
- All content is my own and images are my property
Edición y Separador|Editing and Separator
App Picmonkey
Traductor|Translator
DeepL
