My mother had some knitting machines for making sweaters, wool cap and shorts when I was 7. I do sit and watch her make different needleworks and she was good at it. At that time, I looked at knitting as a handiwork for the females, so I settled for tailoring, and I learnt sewing for both the male and female. There's joy when you realize how creative you can be with materials, making something beautiful from almost out of nothing.
The fashion industry is advancing, so is our skills and initiatives improving to match the current status.
Today I made a baby gown and an adult skirt and blouse.
Material used for the baby gown
I used
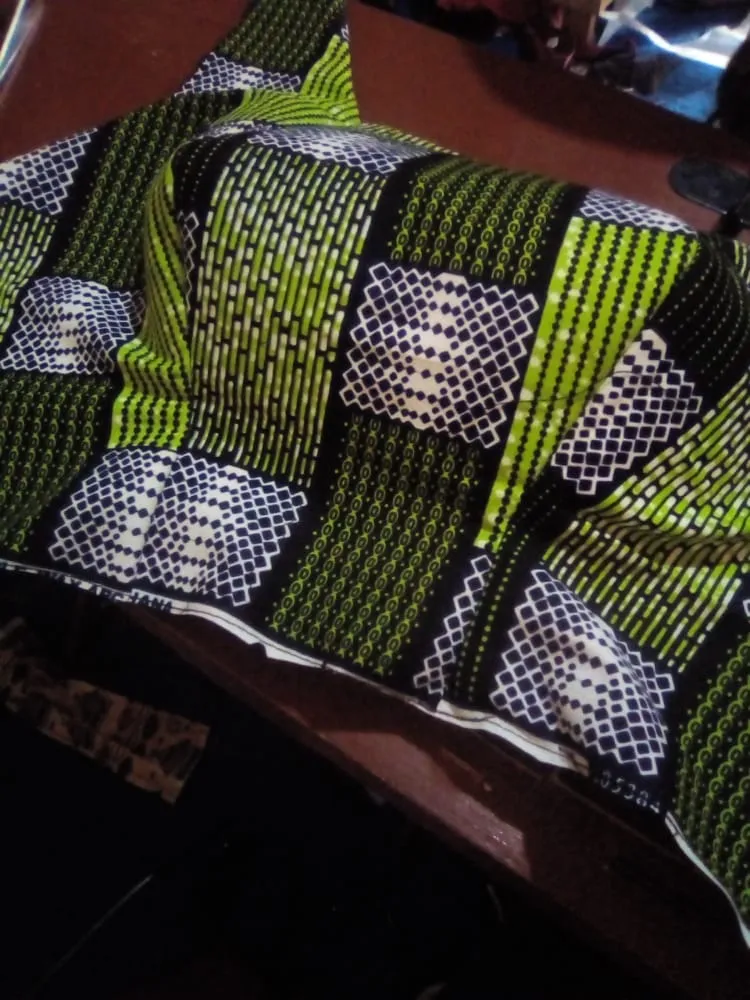
1.8 yards of vein net
2.2 yards of dulface
3.1yard of hard net
4.1 yard of lining and
5.3.5 yards of sequence material then thread, and zip
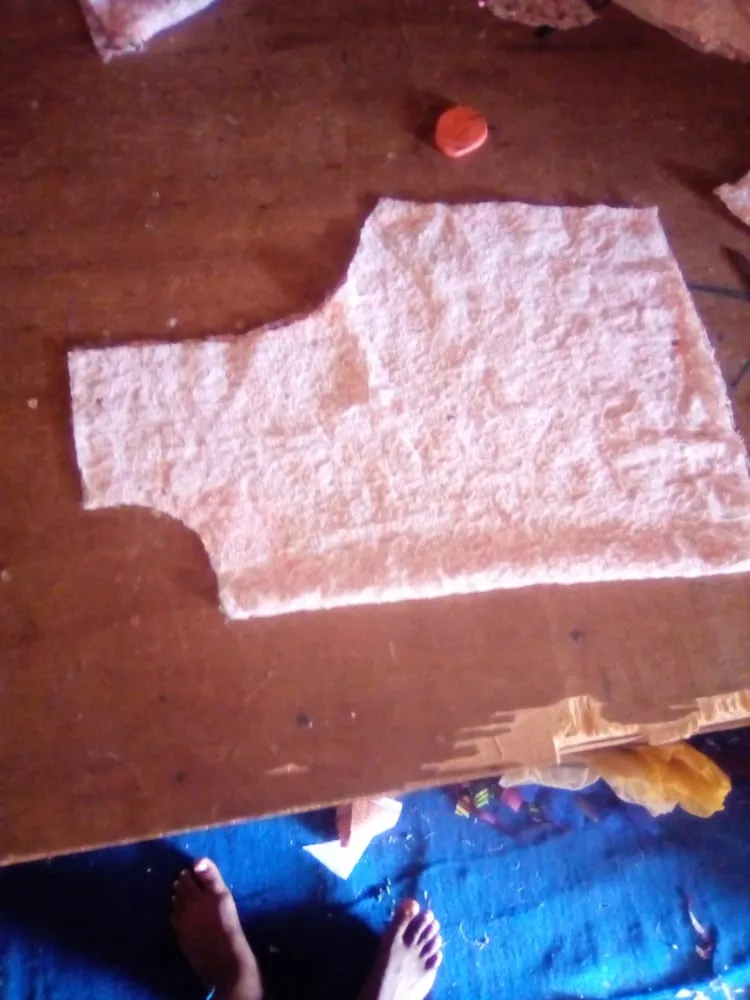
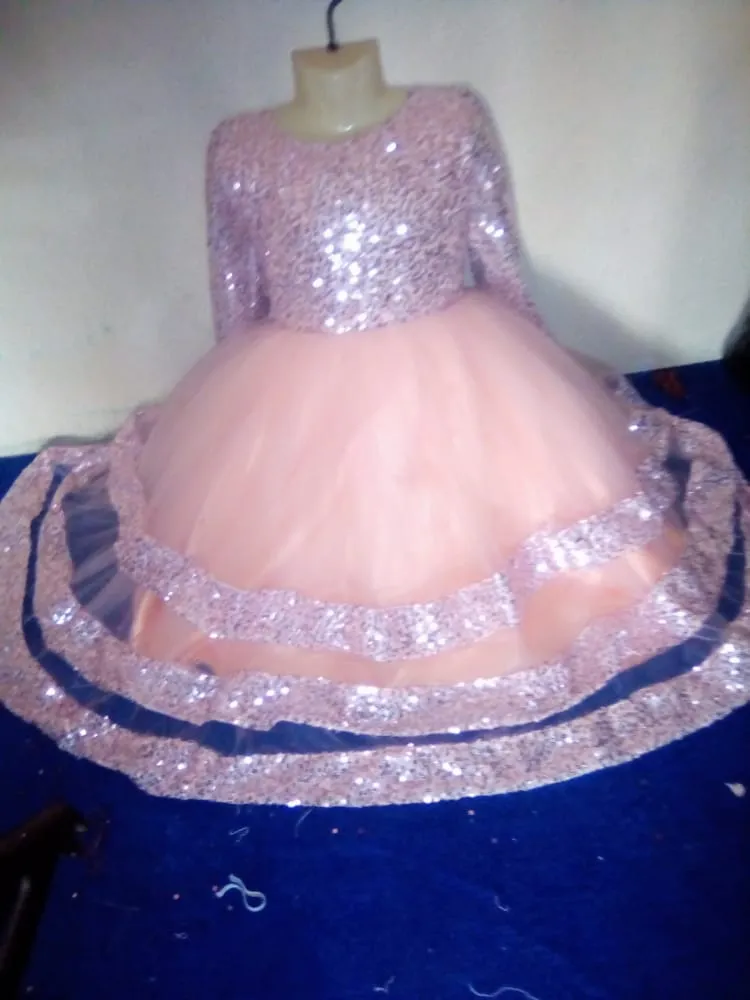
This is the front of the baby gown with half length of 11
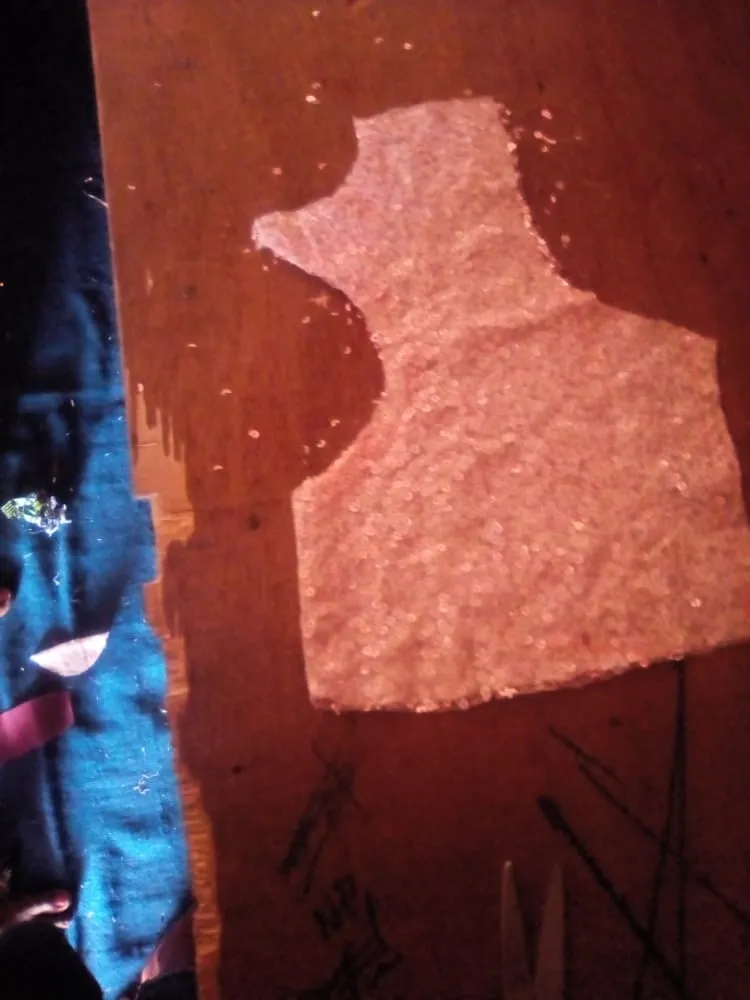
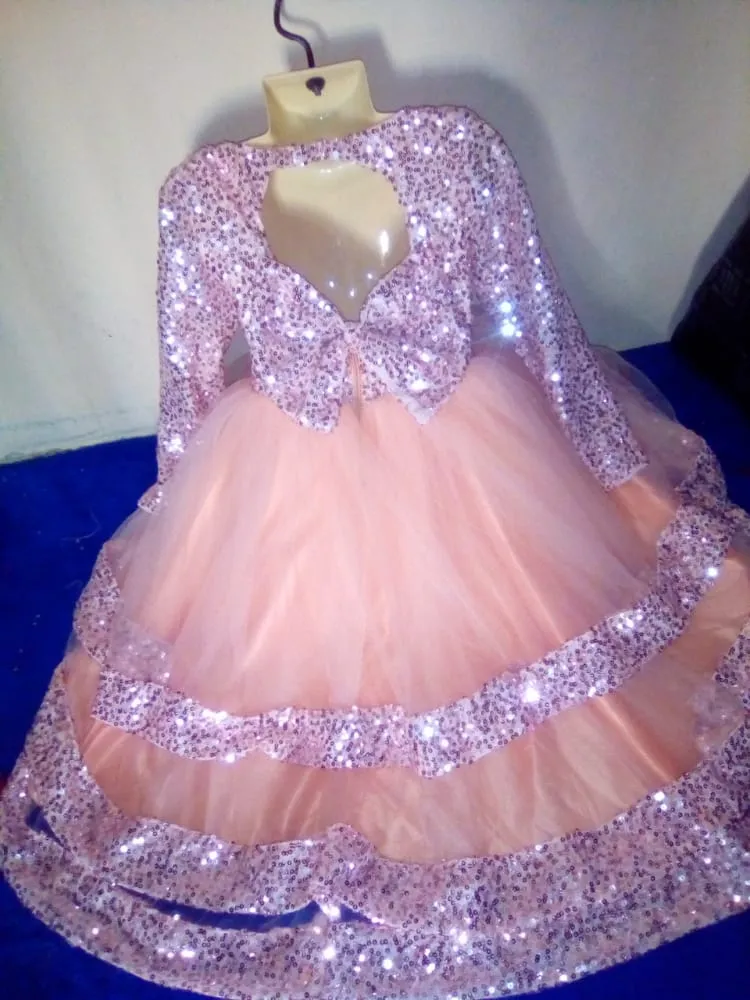
The back of gown
The back
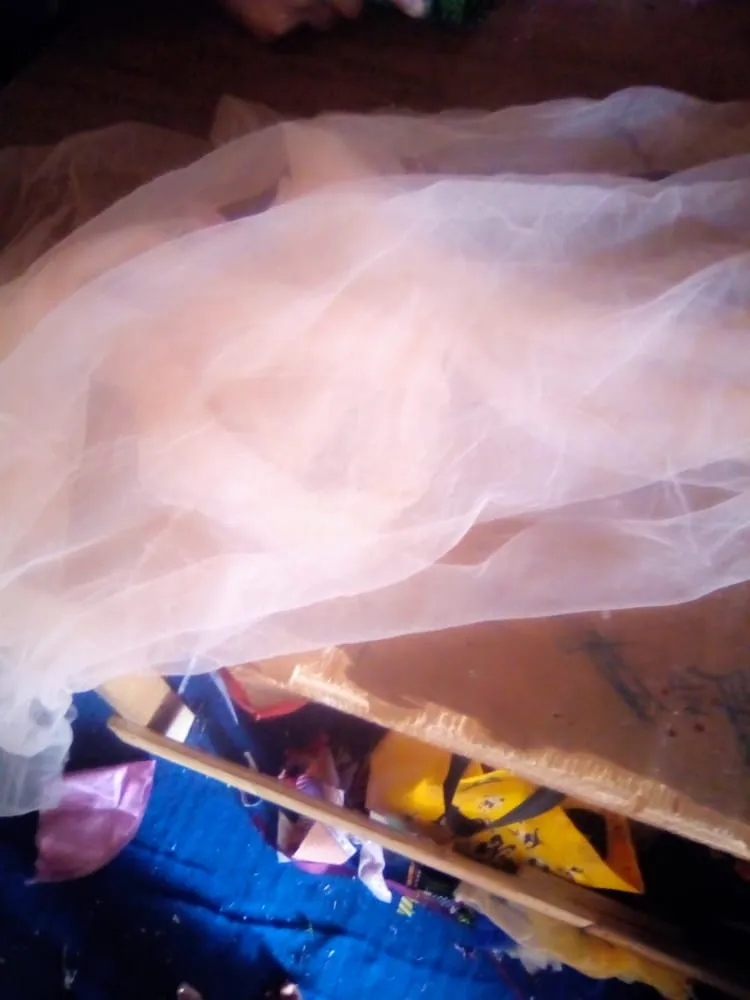
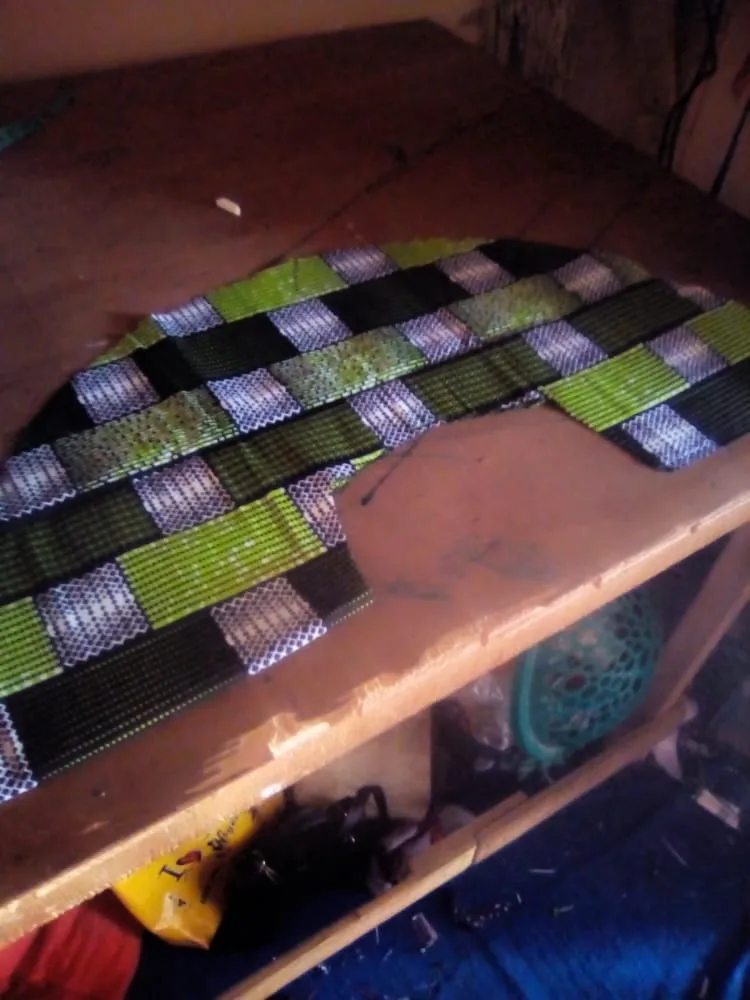
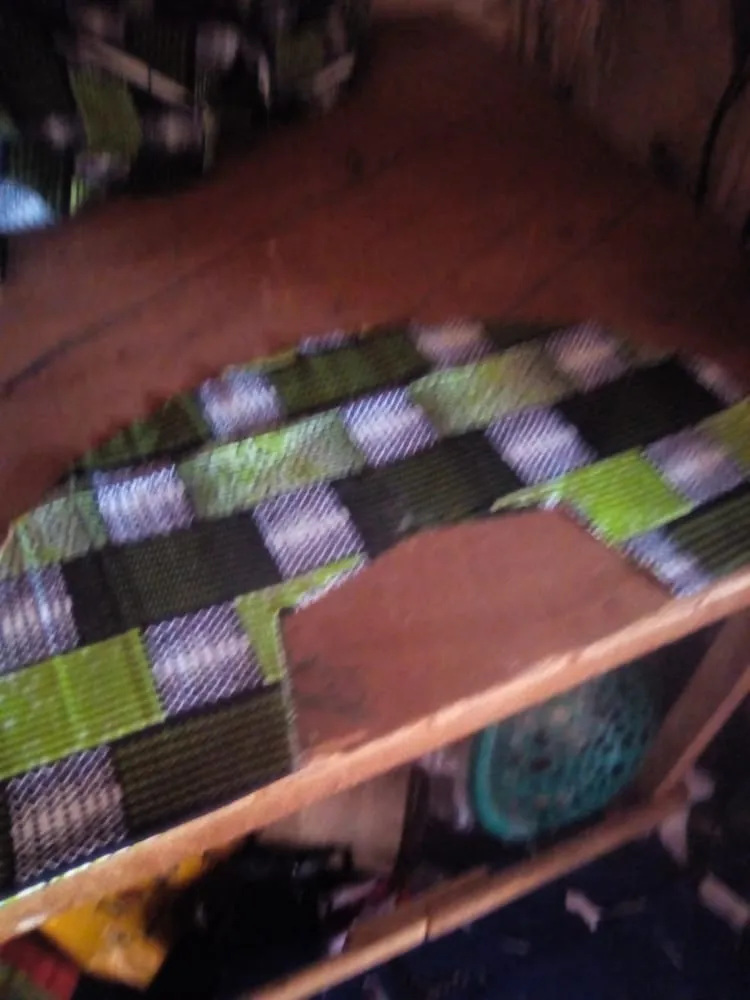
The vein net for the gown
Inside fled

how it was sew
I used 11 as the half length of the gown, and sewed the upper body. Taking my full length measurement of 38. I split my vein net into 3 step leaving 3 inches gap as you can see there, I divided the waist measurement by 6 to get my full fled for the inside then after which I cut the hard net and the lining for turning. then fix my zip.
Steps
- After using 11 to cut the half length
- I cut the lining for the turning,and after turning the half length, I coupled it, then sew it with the baby's measurement
- After which I minus 11 from the full length. Let's assume the full length is 38, I will minus 11 from the full length.
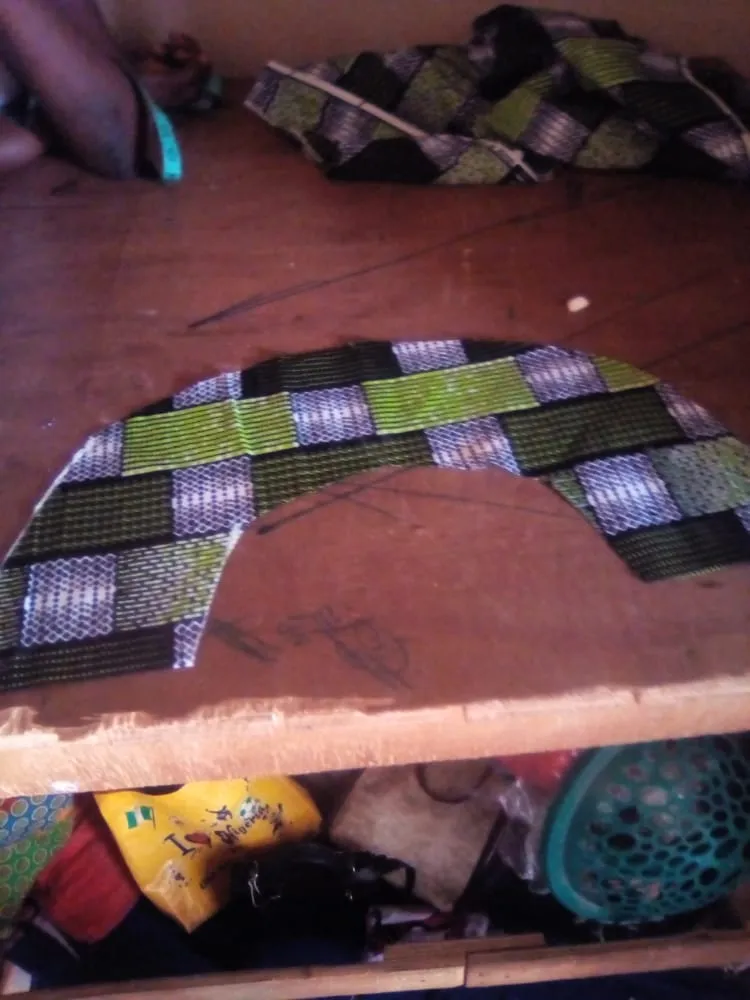
- Then cut the fled and give it 3 inches gap each.
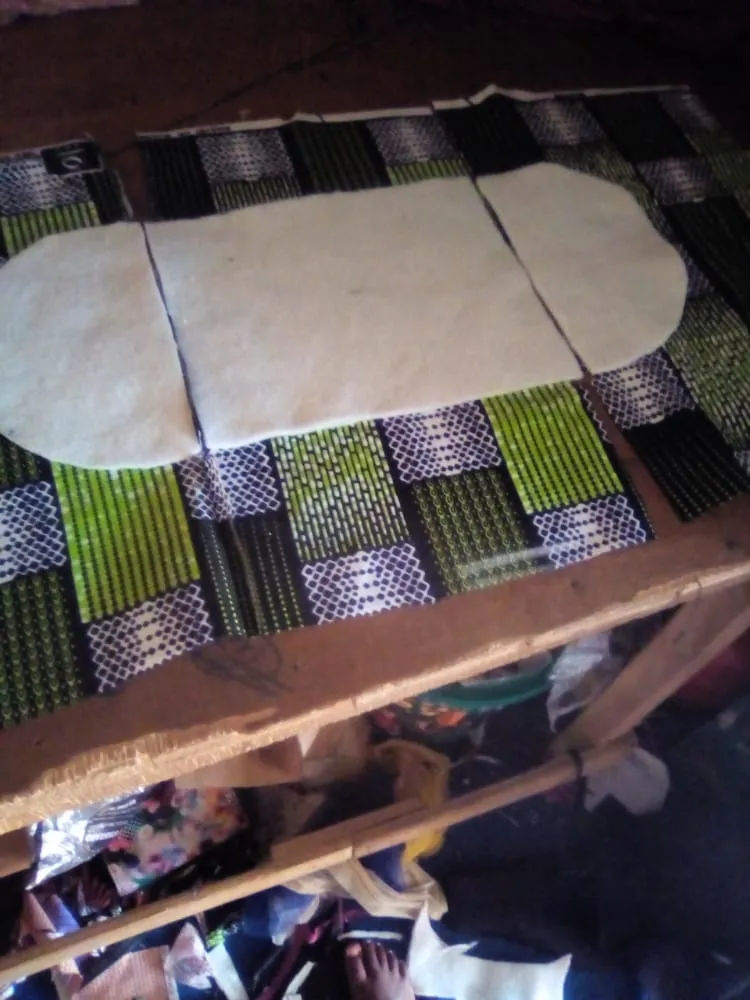
- From the one I had coupled, I will start from the small vein net and put the first, second and third layer.
- Then use the dulface inside the vein net and put my hard net and the lining to turn the rough edges inside.
- After the process above, I sew them separately (the zip allowance to avoid squeezing at any edge)
- Finally, I fixed the zip
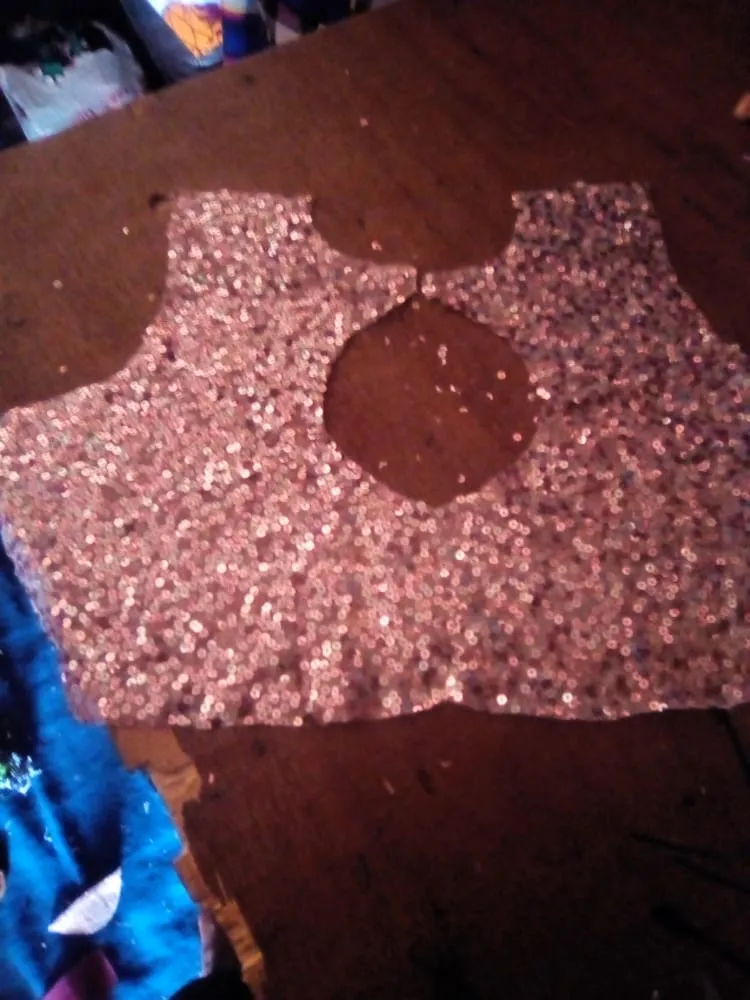
Cutting of six piece the back side of the piece
First peplum
Second peplum
Third peplum
The breast tub
Breast tub sewing
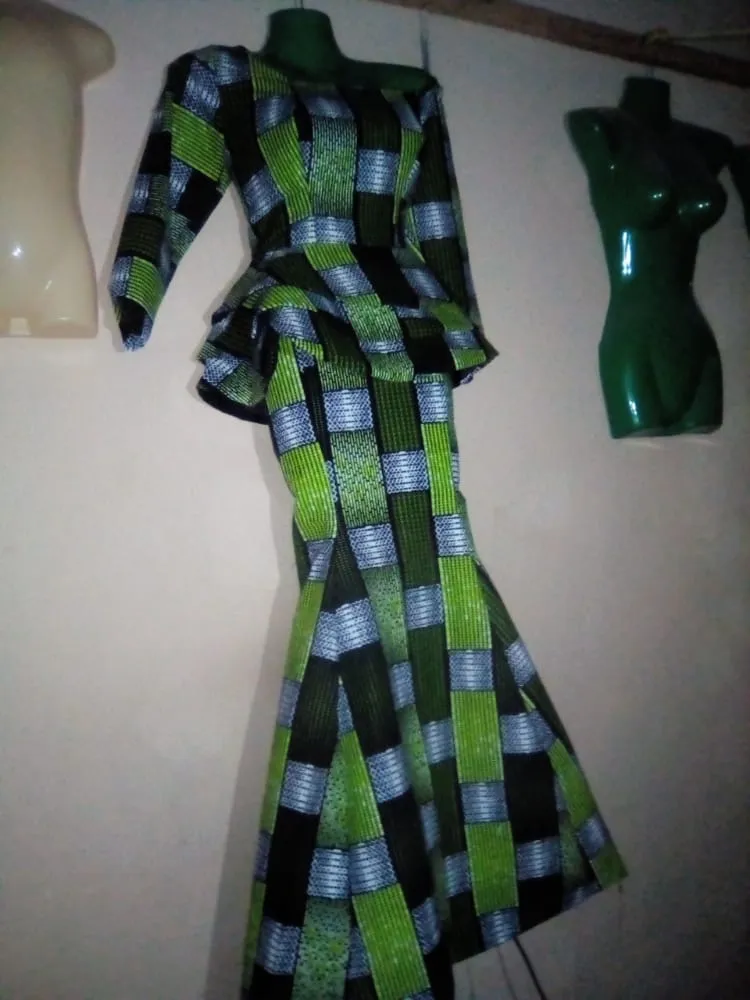
Finishing
The above photos are the process involved, though one must still have the knowledge to understand how its done.
I hope the work is beautiful and that you like it.