

Good evening my dear friends of hive and our dear NeedleWordMonday community. Greetings to all of you, success and blessings.
I hope you are feeling very well. Today I want to show you step by step of a Shepherdess costume that I have made with love for my dear neighbor Leonela.
This week is surely the closing of the school project and among the costumes that stand out in this community are the shepherds' robes, which can also be adapted to the costume of the magi and angels.

- White cloth
- Scissors
- Blouse ( It will be our pattern )
- Zipper
- Elastic
- Thread
- Sewing machine
Step 1
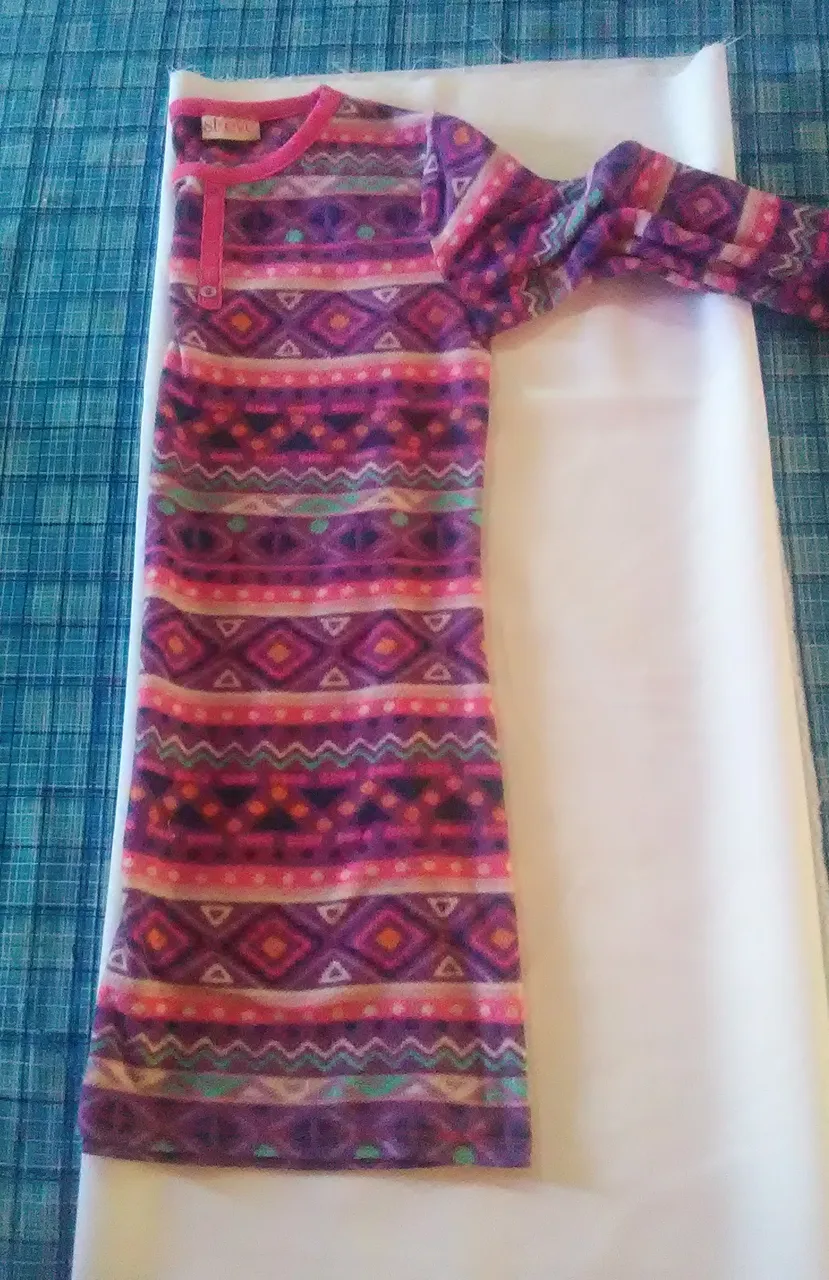
The fabric is folded in half just like the base pattern and proceed to mark the entire silhouette.

In the arm and armhole area, the sleeve should be folded and only the curve of this area should be marked.

Step 2

Then mark the sleeves on the fabric, making 4 equal pieces.
Step 3: Cut the garment*


Cut both pieces with the scissors.
Step 4: Front part


Then a more pronounced curve should be made for the neck area.
Step 5: Neckline


Proceed to join the two pieces of the gown and then join the sleeves to the gown.
Step 6

Then in the back of the dress is cut in the middle with the scissors.

The zipper is attached to the gown with the help of the sewing machine.
Step 7

The edge of the gown is sewn.
Step 8: Turban

Take a plate and trace a circle on the fabric.

Then the elastic should be sewn along this circle.
Result


Greetings and infinite blessings dear friends.
Thank you for reading!
The images are my own and were taken with a ZTE BLADE phone.
Translator used: Deepl
The editing of the photos was done using Polish Photo Editor and the separators were edited in canva.
To my neighbor Leonella for giving me the opportunity to create her costume and also to be the model of this post.


Buenas noches mis queridos amigos de hive y de nuestra querida comunidad NeedleWordMonday. Saludos para todos ustedes, éxitos y bendiciones.
Espero se encuentren muy bien. El dia de hoy quiero mostrarle le paso a paso de un traje de Pastorcita que he realizado con mucho amor para mi querida vecina Leonela.
Esta semana seguramente es el cierre de proyecto en las escuela y dentro de los trajes que resaltan en esta comunidad están las batas o togas de los pastores, que además se pueden adaptar al traje de los reyes magos y de los ángeles.
- Tela blanca
- Tijera
- Blusa ( Sera nuestro patron )
- Cierre
- Elastica
- Hilo
- Maquina de coser
Paso 1
La tela se dobla a la mitad al igual que el patrón base y se procede a marcar toda la silueta.
En la zona del brazo y de la sisa se debe doblar la manga y solo marcar la curva de esta área.
Paso 2
Luego se deben marcar las mangas sobre la tela, realizando 4 piezas iguales.
Paso 3: Corte de la prenda
Se procede a cortar ambas piezas con la tijera.
Paso 4: Parte Frontal
Luego se debe hacer una curva más pronunciada para la zona del cuello.
Paso 5: Costura
Se procede a unir las dos piezas de la bata y luego se unen a esta las mangas.
Paso 6
Luego en la parte trasera del vestido se corta por el medio con la tijera.
Se fija el cierre a la bata con la ayuda de la máquina de coser.
Paso 7
Se cose el borde de la bata.
Paso 8:Turbante
Se toma un plato para trazar un círculo sobre la tela.
Luego la elástica se debe coser a lo largo de ese circulo.
Resultado
Saludos y bendiciones infinitas queridos amigos.
Gracias por leer!

Las imagenes son de mi autoria y fueron Tomadas a traves de un Telefono ZTE BLADE.
Traductor utilizado: Deepl
La edicion de las fotos la realicé mediante la aplicaciones Editor de Fotos Polish y los separadores se editaron en canva.
A mi vecina Leonella por darme la oportunidad de crear su traje y además ser la modelo de este post.