Welcome to my Blog.
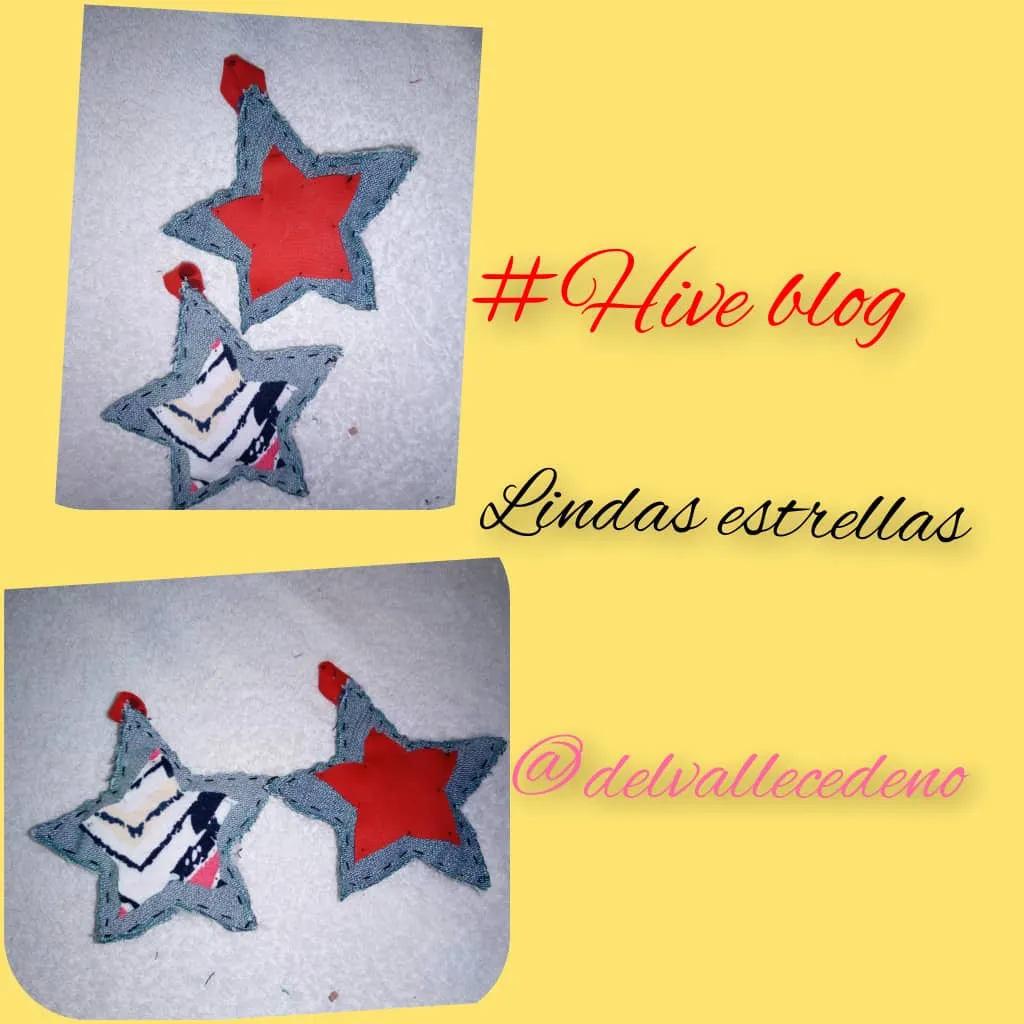
Hola colmena reciban un cordial saludo de mi parte espero estén muy bien haciendo lo que más les gusta, les deseo un feliz sabado para todos los que hacen vida en esta linda comunidad de @Needleworkmonday, contenta de poder compartir mis trabajos con ustedes. En esta oportunidad les traigo la creación de unos lindos adornos en forma de estrella para colgar en nuestro árbol esta época decembrina que se aproximan, y lo mejor de todo con materiales que tenemos en el hogar retazos de tela. Espero les guste y se animen a realizarlo. A continuación pasos a seguir.
Hello hive, receive a cordial greeting from me, I hope you are very well doing what you like the most, I wish you a happy Saturday for all those who make life in this beautiful community of @Needleworkmonday, happy to be able to share my work with you. This time I bring you the creation of some cute star-shaped ornaments to hang on our tree this Christmas season that is approaching, and best of all with materials that we have at home with pieces of fabric. I hope you like it and are encouraged to do it. Here are the steps to follow.

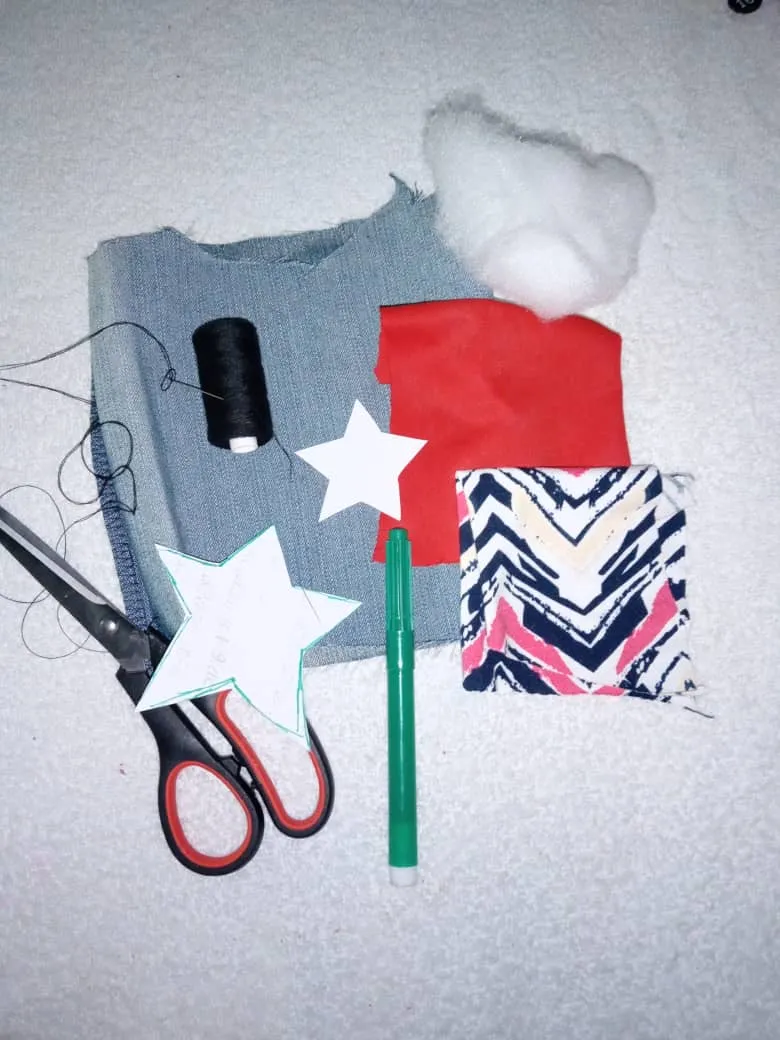
Materiales:
- Tela de jean.
- Tijera.
- Hilo.
- Aguja.
- Retazos de tela de algodón.
- Relleno.
- Patrón.
- Lápiz.
Materials:
- Jean fabric.
- Scissor.
- Thread.
- Needle.
- Patchwork of cotton fabric.
- Filling.
- Pattern.
- Pencil.
Step by Step || Pasó a paso:
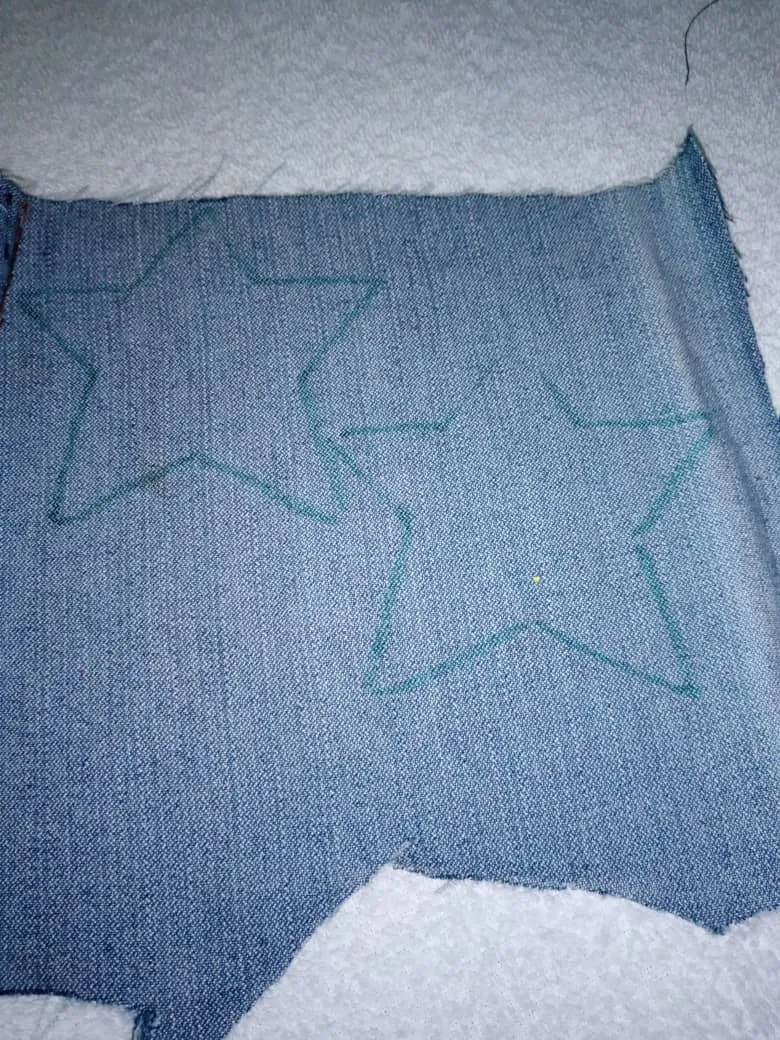
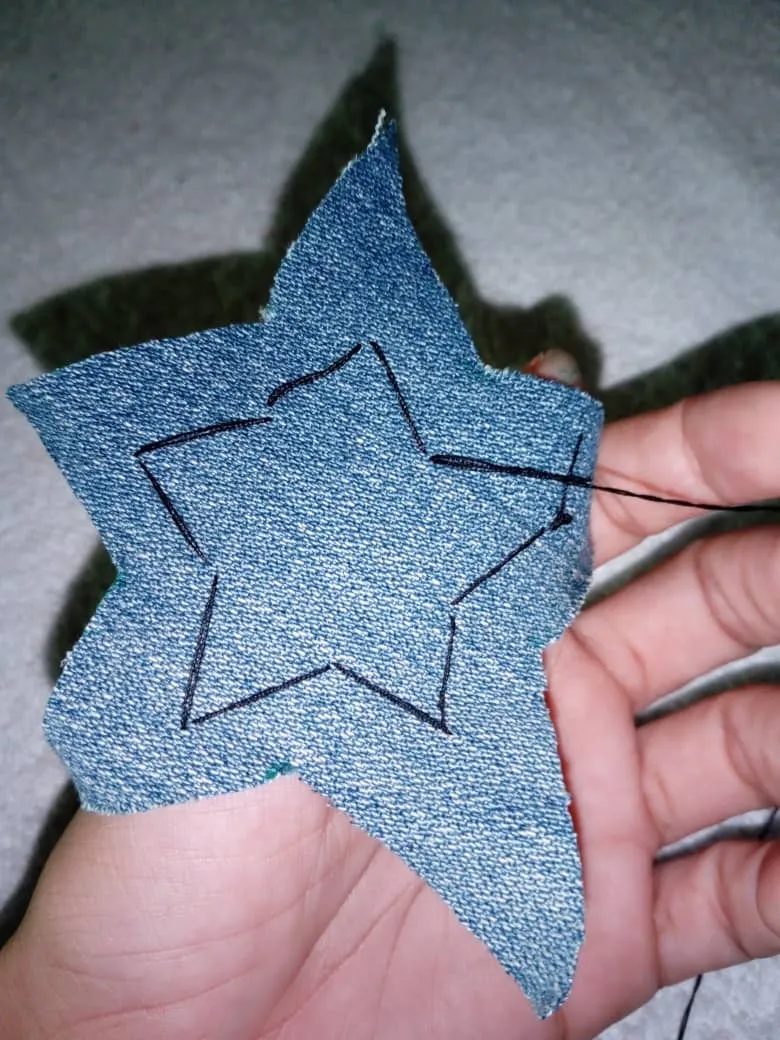
1er paso: Lo primero que haremos en la tela de jean marcar las estrellas para luego recortar en este caso marque 4 para hacer dos estrellas.
1st step: The first thing we will do on the jean fabric, mark the stars and then cut out in this case mark 4 to make two stars.
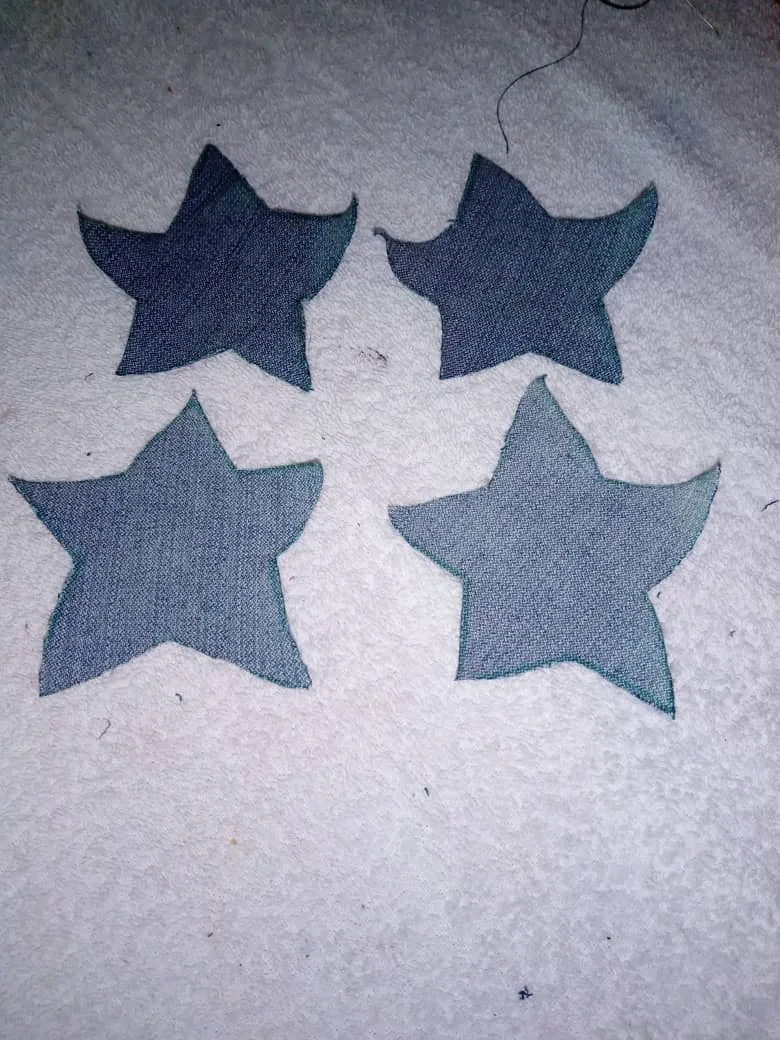
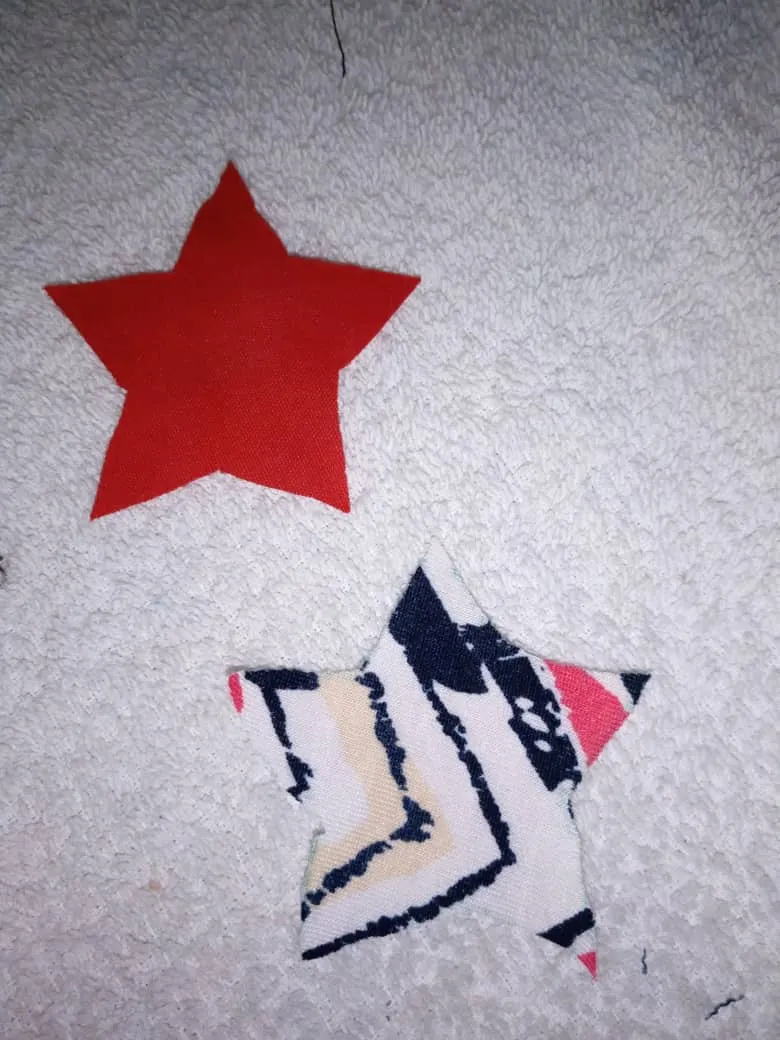
2do paso: Seguidamente cortar dos estrellas un poco más pequeñas de las antes cortadas.
2nd step: Next, cut two stars a little smaller than the ones previously cut.
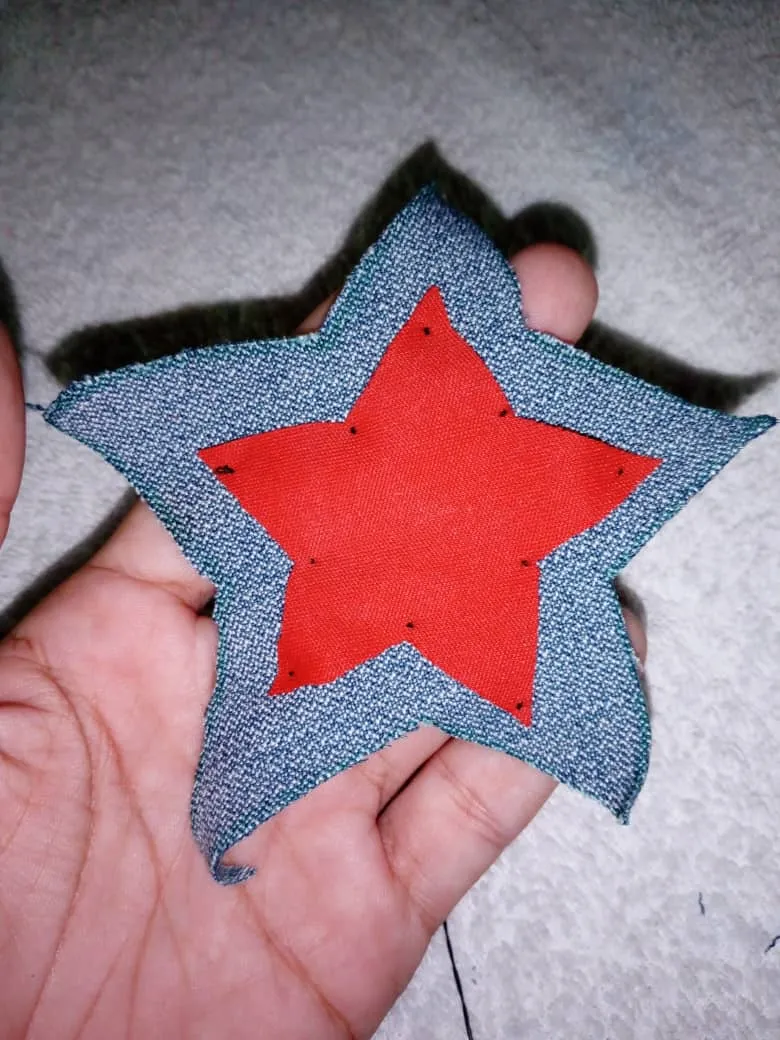
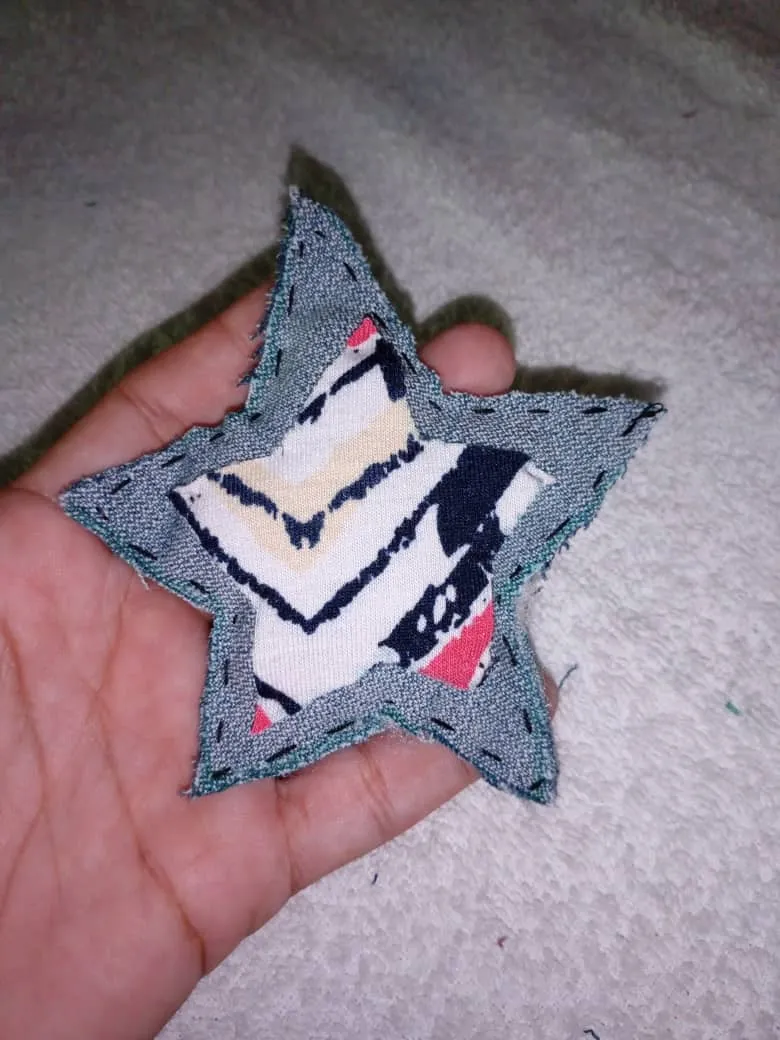
3er paso: Luego proceder a coser en el centro como se va apreciando y después por los bordes para cerrar y rellenar.
3rd step: Then proceed to sew in the center as you can see and then along the edges to close and fill.
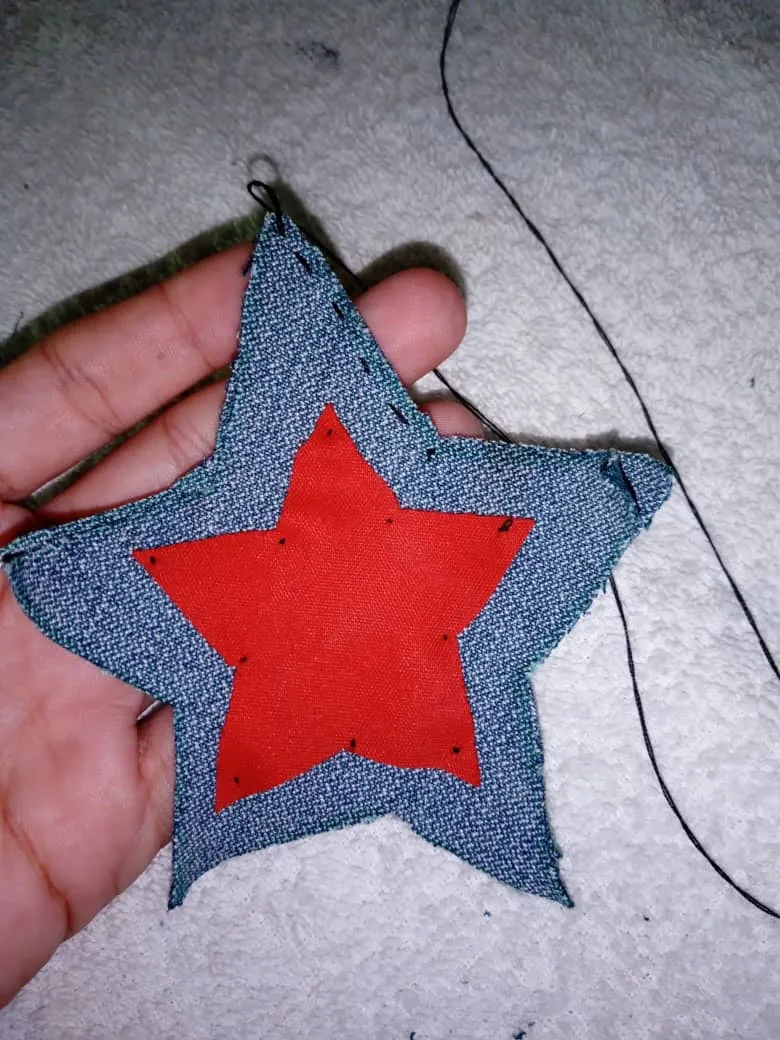

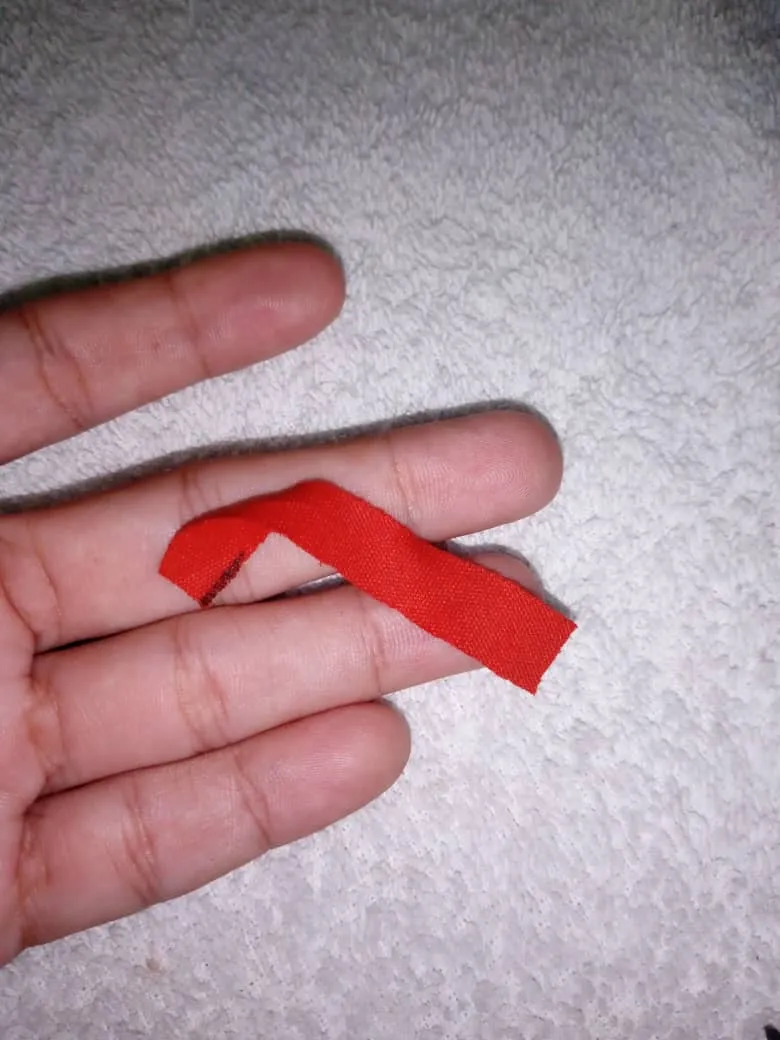
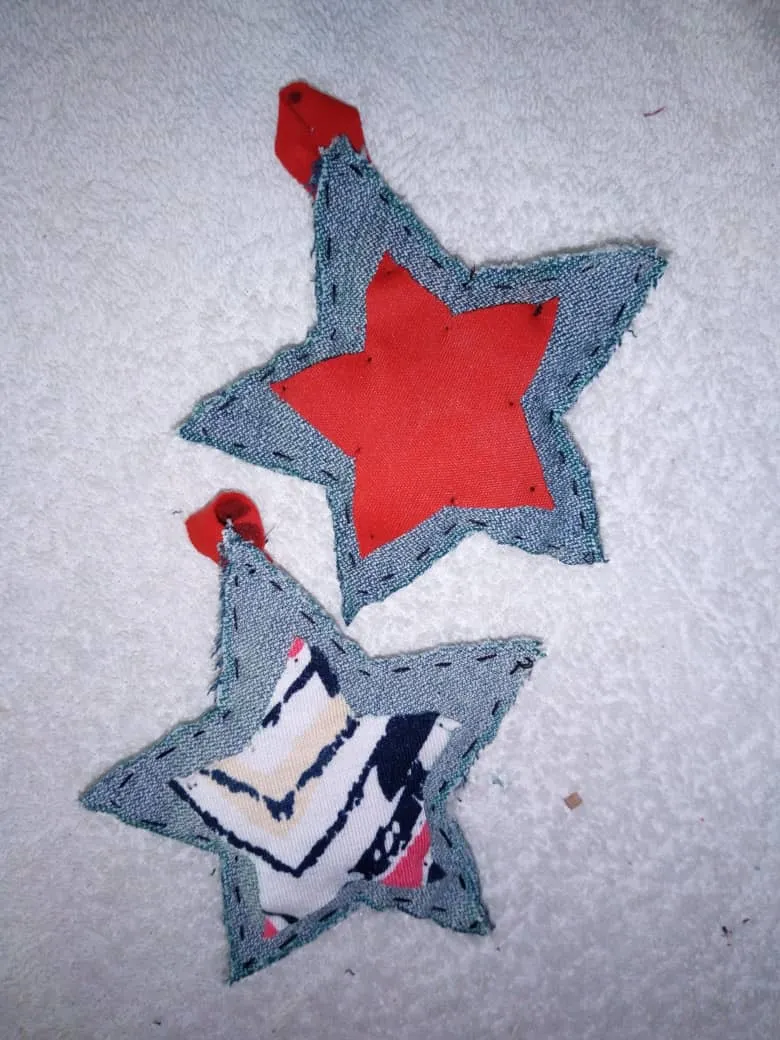
4to paso: Para finalizar cortar una pequeña tira para coser y listo mis amigos así podemos colgar.
4th step: To finish, cut a small strip to sew and that's it my friends so we can hang.
Muchas gracias por visitar mi Blog.
Thanks so much for visiting my blog.