Spanish
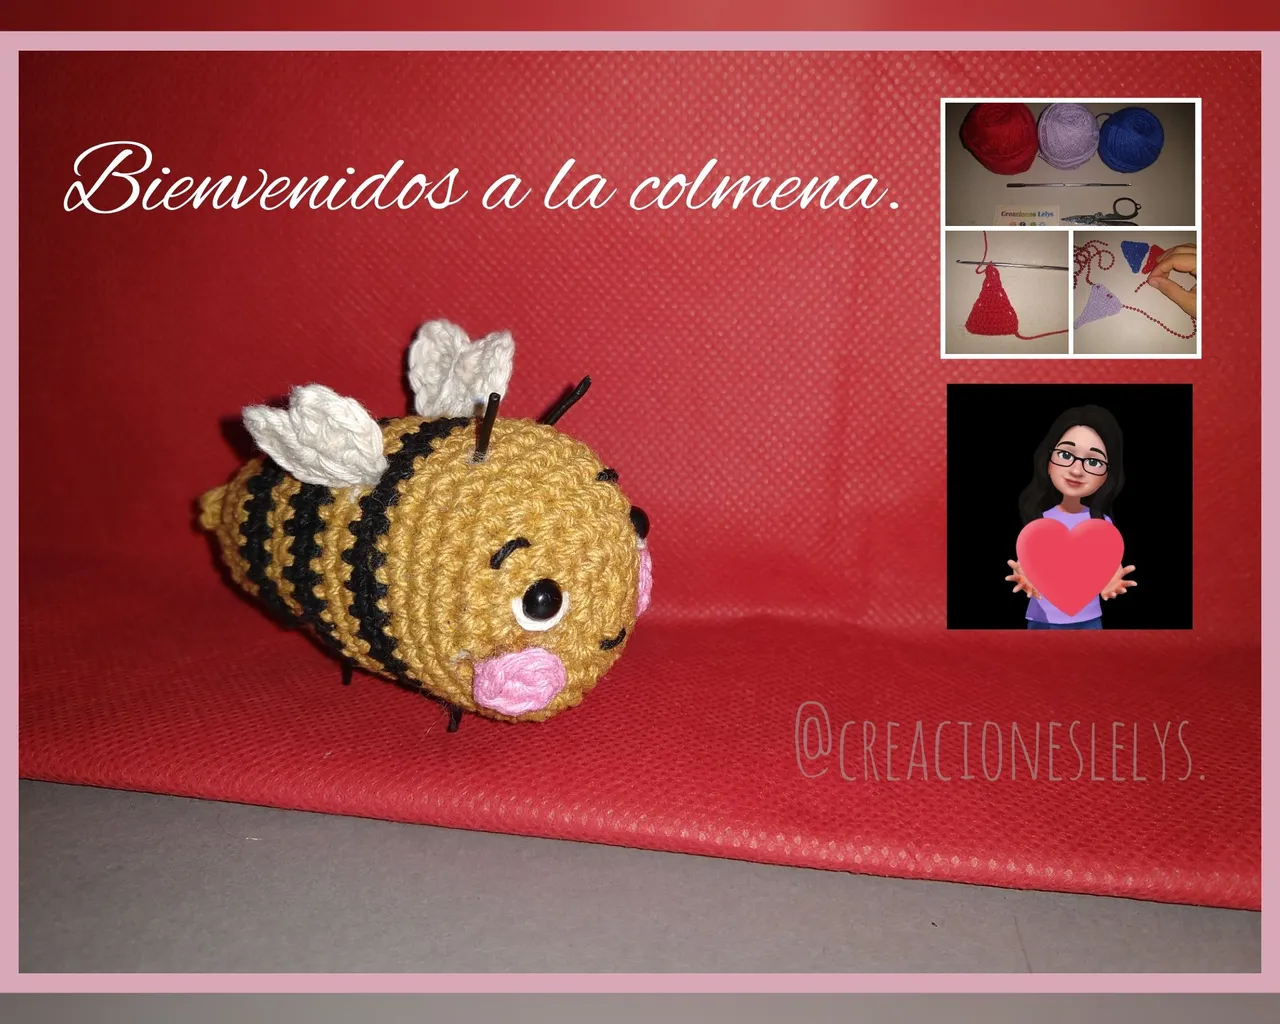
Estimados amigos, miembros y visitantes de esta prestigiosa comunidad vengo muy emocionada a presentarles la primera parte de lo que será mi participación en el Concurso promocionado por #needleworkmonday. Les deseo muchísima paz, armonía y bendiciones para cada uno de ustedes.
Estamos acostumbrados a ver hermosos tutoriales y variadísimos post muy bien elaborados durante toda la semana, esta es una ocasión muy especial y de mi parte estará dedicada a los nuevos usuarios de #hive, con todo mi cariño para quienes han elegido esta comunidad como el espacio ideal para la exposición de sus creaciones en las que se involucra la aguja necesariamente. Espero que les agrade, esto es para ustedes.
English
Dear friends, members and visitors of this prestigious community, I am very excited to present you the first part of what will be my participation in the contest promoted by #needleworkmonday. I wish a lot of peace, harmony and blessings to each of you.
We are used to see beautiful tutorials and very varied posts very well elaborated throughout the week, this is a very special occasion and from my part will be dedicated to the new users of #hive, with all my love for those who have chosen this community as the ideal space for the exhibition of their creations in which the needle necessarily involved. I hope you like it, this is for you.

Me gustó siempre la imagen representativa de la colmena, particularmente la figura de la abeja. A pesar de que la he visto en varios trabajos manuales y empleada como imagen en los banners de otros usuarios, no me había decidido aún a presentarles algún proyecto en donde esté incluído. Hoy es el día para hacerlo. Vamos a realizar lindas abejas tejidas a crochet. Empecemos.
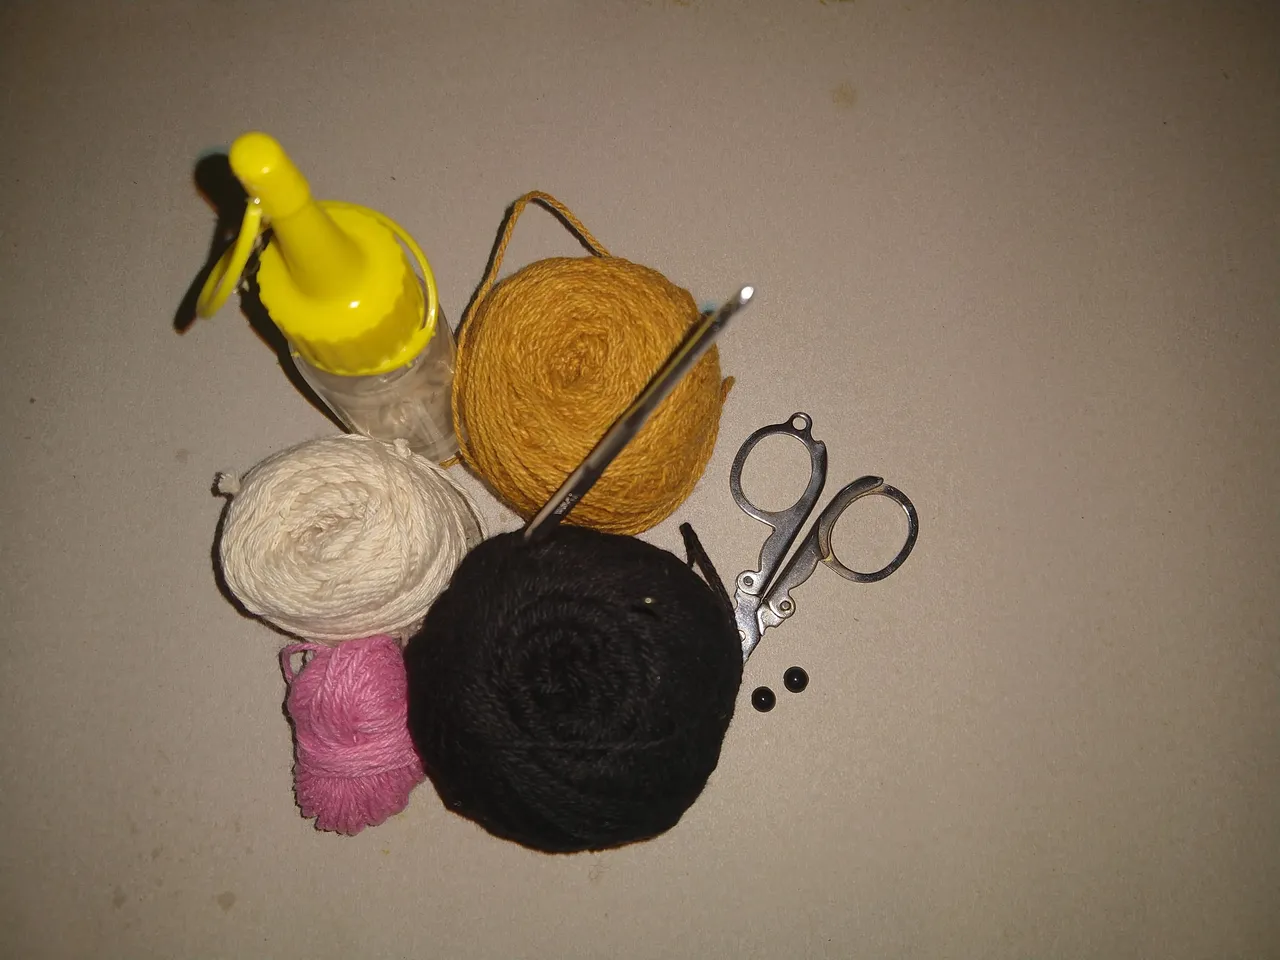
Materiales:
- Hilos pabilos. (Utilicé un hilo color mostaza para sustituir al amarillo)
- Aguja de crochet de 2,5 mm.
- Aguja lanera.
- Algodón para rellenar.
- Ojitos plásticos.
I always liked the image representing the beehive, particularly the figure of the bee. Although I have seen it in several handmade works and used as an image in other users' banners, I had not decided yet to present you a project where it is included. Today is the day to do it. We are going to make cute crocheted bees. Let's start.
Materials:
- Thread wicks. (I used a mustard colored yarn to replace the yellow one).
- Crochet needle of 2.5 mm.
- Wool needle.
- Cotton for stuffing.
- Plastic eyes.
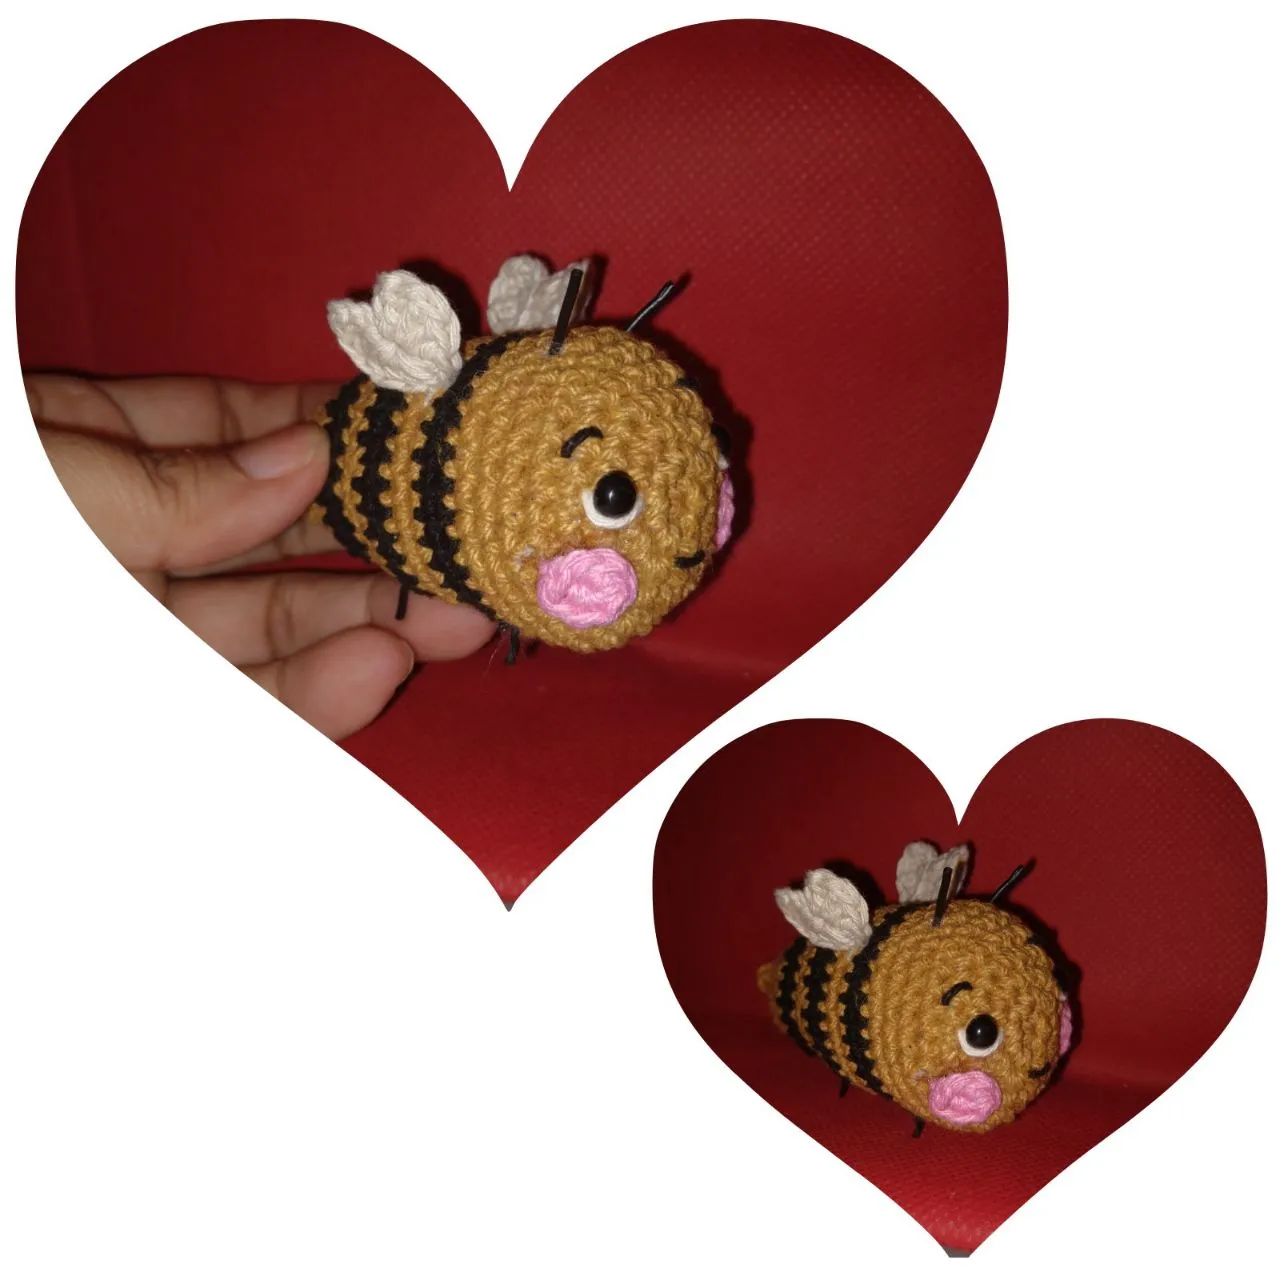
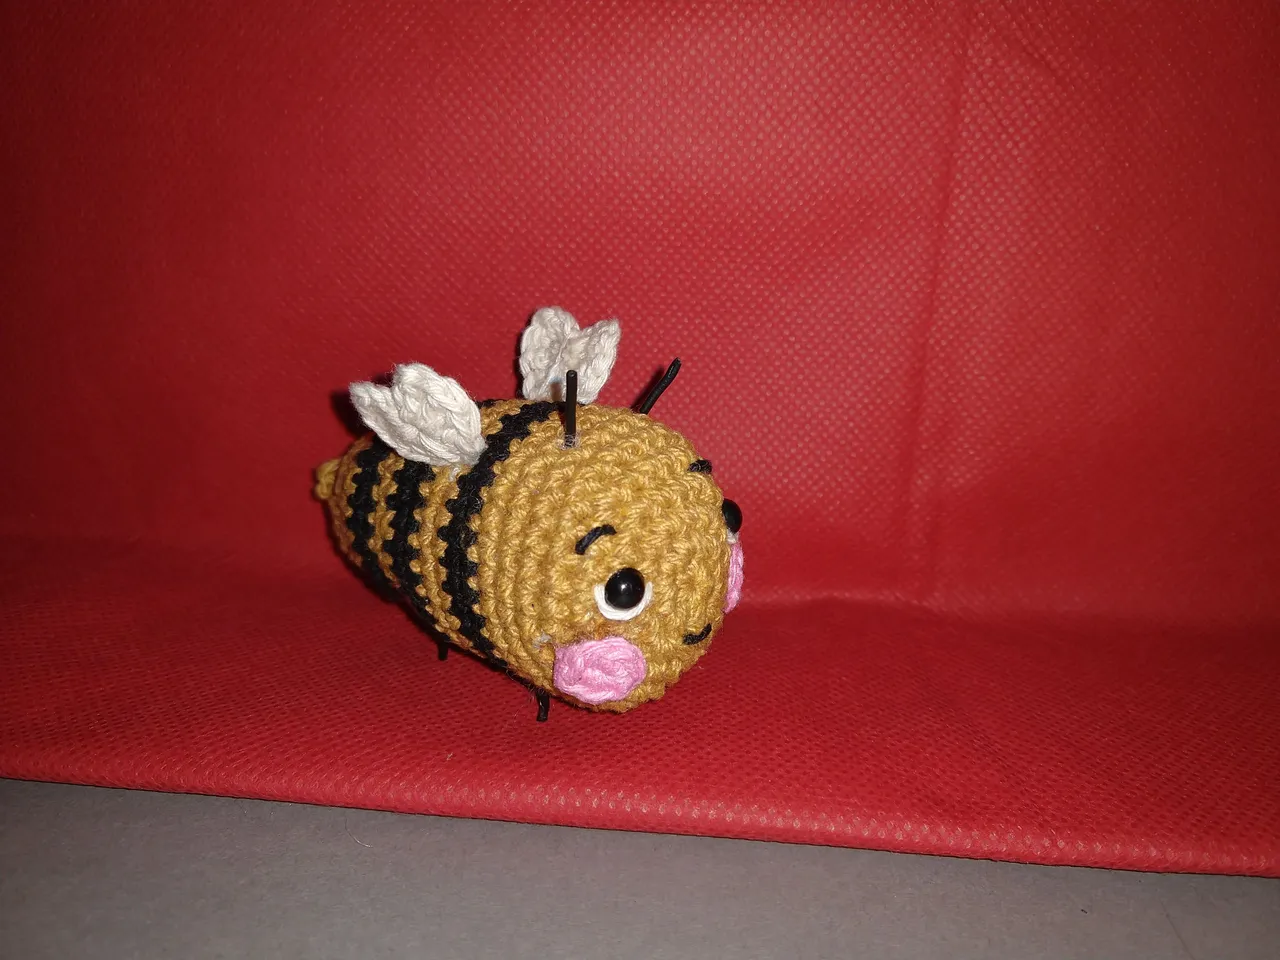
Abeja tejida
Para hacer esta abeja he empleado la imaginación. He visto abejitas de diferentes modelos y traté de recrear un poquito de cada una. Te explico cómo la hice 👇
- Teje 6 pb (puntos bajos) en un anillo mágico (am)
- 6 aumentos de pb.
- 1 pb.-1 aumento.
- 2 pb.-2 aumentos.
- 3 pb.-3 aumentos.
- Teje 4 vueltas de solo pb.
- A partir de aqui teje combinando, por cada dos vueltas el color mostaza y el color negro. Dos vueltas con cada color.
- Vuelta 16. teje 3 pb.-1 disminución luego una vuelta sin dism. Con el color que corresponda (negro o amarillo)
- Vuelta 20. teje 2 pb.-1 disminución. Luego una vuelta sin disminución.
- Vuelta 24. teje 1 pb.-1 disminución. Rellena con el algodón siliconado.
- Teje solo vueltas con disminuciones. Cierra y levanta una cadeneta de 6 puntos. Devuélvete con solo pb. y remata.
Knitted bee Woven bee.
To make this bee I used my imagination. I have seen bees of different models and I tried to recreate a little bit of each one. I'll explain how I made it 👇.
- Knit 6 sts (low stitches) in a magic ring (am).
- 6 sts increase.
- 1 bp.-1 increase.
- 2 bp.-2 increases.
- 3 sts -3 increases.
- Knit 4 rows of single crochet.
- From this point on, knit a combination of mustard and black for every two rows. Two rows with each color.
- Row 16. knit 3 sts -1 decrease then knit one row without decreasing. With the corresponding color (black or yellow).
- Row 20. knit 2 sts.-1 decrease. Then knit 1 row without decreasing.
- Row 24. knit 1 stitch -1 decrease. Fill in with the silicon cotton.
- Knit only rows with decreases. Close and pick up a chain of 6 stitches. Return with single crochet and finish off.
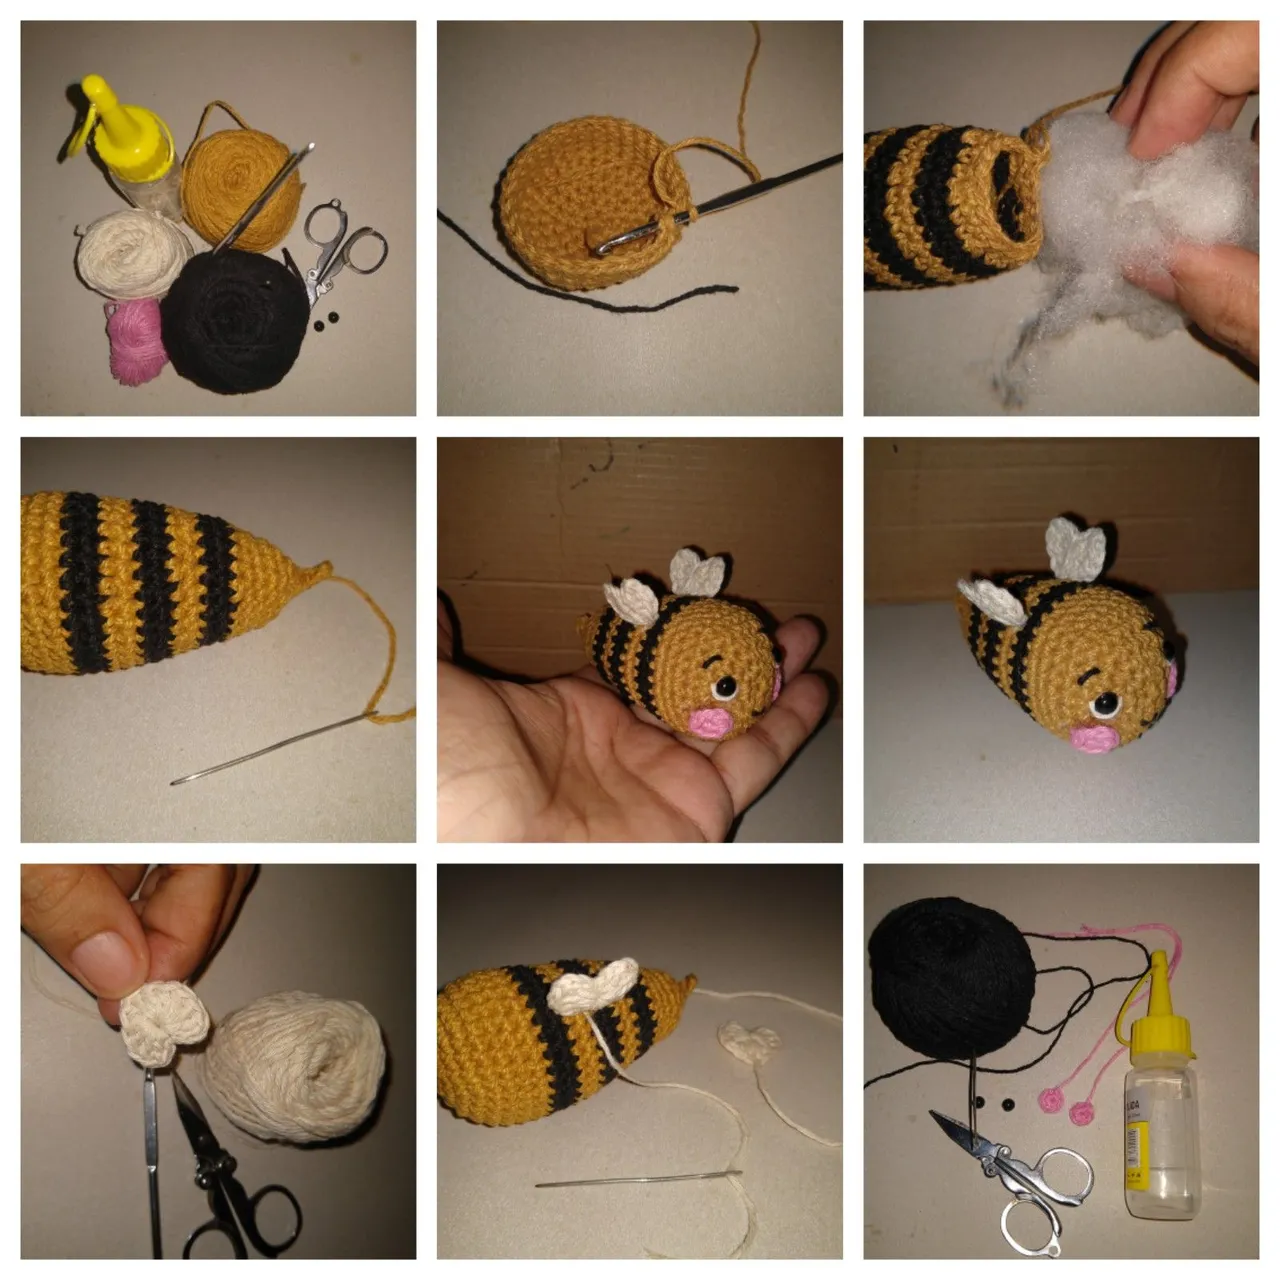
Alitas de la abejita
Para tejer las alitas realicé dos corazones sencillos en color blanco 👇
- Haz un anillo mágico. Levanta dos cadenas y tres puntos altos.
- 2 puntos medios altos (pma.)
- 1 pa. (punto alto)
- 2 pma.
- Tres puntos altos. Dos cadenas y cierra con pd. (punto deslizado)
Mejillas de la abejita.
Sencillo, con color rosado teje un 6 pb. en un am. Cierra.
Bee wings.
To knit the wings I made two simple hearts in white color 👇.
- Make a magic ring. Pick up two chains and three high stitches.
- 2 medium high stitches (pma.)
- 1 pa. (high stitch)
- 2 pma.
- Three double crochet. Two chains and close with pd. (slipped stitch)
Beezle stitches Beezle stitches.
Single, with pink color knit a 6 sb. in an am. Close.
Detalles de la abejita.
- Pegas los ojitos. Bordas las cejas y la boquita.
- Con un trocito de alambre forrado color negro (compré un mouse y el cable vino sujetado con este alambre) le haces las antenas (2) y las patas (4)
- Coses o pegas las dos mejillas.
Details of the little bee.
- Glue the eyes. Embroider the eyebrows and the mouth.
- With a small piece of black wire (I bought a mouse and the wire came attached with this wire) you make the antennae (2) and the legs (4).
- Sew or glue the two cheeks.
Estoy muy emocionada tejiendo abejitas por primera vez. Espero que les agraden a todos los nuevos hivers. También a los miembros de la comunidad y a ti que en este momento lees este post.
I am very excited about knitting bees for the first time. I hope all the new hivers like them. Also to the members of the community and to you who are reading this post right now.
BAMBALINAS TEJIDAS.
Como estamos de celebración dándole la bienvenida a los nuevos hiver, entonces vamos a colaborar con la abejita y decoraremos el ambiente para recibirlos. Para ello les adelanto parte de la ambientación 👇
- Inicia con 12 cadenas de base. Luego subes con 2 cadenas y tejes toda la vuelta con pa.
- En las siguientes vueltas siempre vas a tejer 1 disminución iniciando y 1 disminución terminando. De esta manera te quedará formada la bambalina triangular.
- Las colocaré entre una cadena de cuentas pequeñas para luego guindarlas.
KNITTED BAMBALINAS.
As we are celebrating by welcoming the new hiver, then we are going to collaborate with the little bee and decorate the environment to welcome them. To do this I give you a preview of part of the setting 👇.
- Start with 12 base chains. Then you go up with 2 chains and knit the whole round with pa.
- In the following rows you will always knit 1 decrease beginning and 1 decrease ending. In this way, you will have a triangular bambaline.
- I will place them between a chain of small beads to attach them later.

Hasta aquí la primera parte de mi proyecto para la entrada al concurso anímate y participa. Lee las reglas y si te da tiempo por aquí te esperamos!
So far this is the first part of my project for the entry to the contest, come on and participate. Read the rules and if you have time, we'll be waiting for you!
Todas las fotos son de mi propiedad. Editadas con Picsa, TexgramX y Polish. Usé el traductor de Deepl. Hasta pronto.
All photos are my property. Edited with Picsa, TexgramX and Polish. I used Deepl translator. See you soon.