Saludos, en esta ocasión quiero mostrarles el proceso de fabricación de un bluson maternal que le realice hace algunas semanas atrás a una vecina, quien vino a mi para que le confeccionara dicho bluson y usarlo el día del baby shower que le haría a su bebé.
Greetings, this time I want to show you the process of making a maternity blouse that I made a few weeks ago to a neighbor, who came to me to make this blouse and use it the day of the baby shower that she would do to her baby.
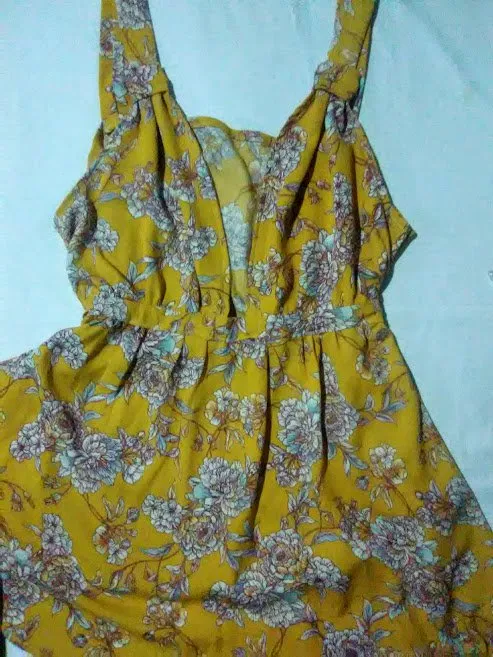
Bluson Maternal
Para la medida use un bluson de referencia que la cliente (mi vecina) me trajo, tomando en cuenta de que ella no quería el mismo modelo como tal sino que le realizara algunas modificaciones a la hora de cortar el patrón en la tela y así elaborar el otro modelo.
For the measurement I used a reference blouse that the client (my neighbor) brought me, taking into account that she did not want the same model as such, but that I would make some modifications when cutting the pattern in the fabric and thus make the other model.
Para la elaboración del bluson utilice 1 metro de tela de rayón estampado por 1.50 metros de ancho. A la hora de trazar y cortar el patrón delantero para el área del busto hice un aumento de 1 cm y para el área de la barriga aumente 3 cm por petición de la clienta, ya que su vientre sigue aumentando cada día.
To make the blouse I used 1 meter of printed rayon fabric by 1.50 meters wide. When tracing and cutting the front pattern for the bust area I made an increase of 1 cm and for the belly area I increased 3 cm at the request of the client, as her belly continues to grow every day.
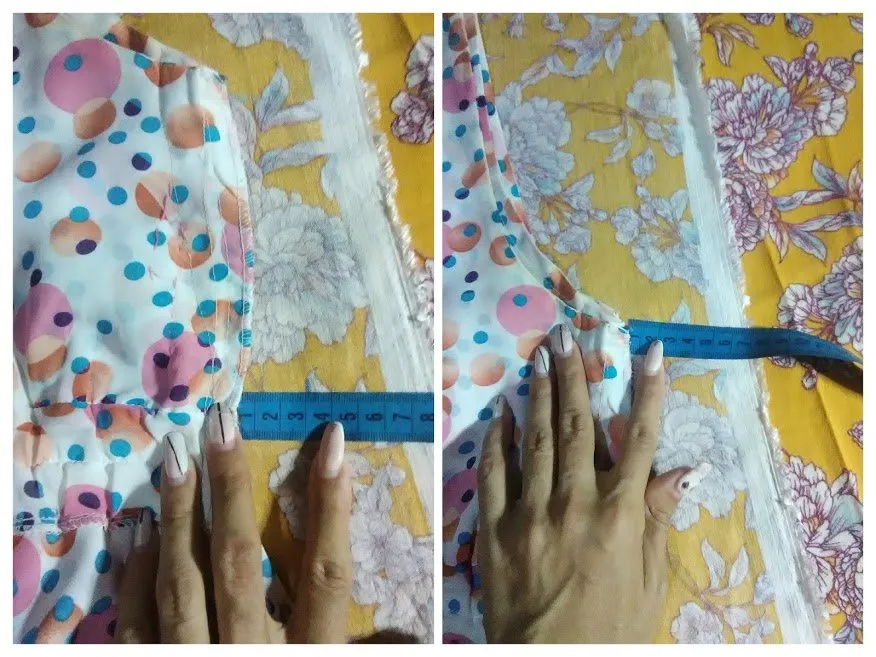 Aumento del area de la cintura y del busto
Para el patrón de la parte trasera debido a que el modelo que me dio la clienta era de espalda cubierta, ya que en este caso ella lo quería de espalda descubierta y con tirantes, saque la medida de la mitad de la sisa para realizar la transformación de la espalda.
For the pattern of the back, because the model that the client gave me was a covered back, since in this case she wanted it open back and with straps, I took the measurement of the middle of the armhole to make the transformation of the back.
 sisa de la espalda
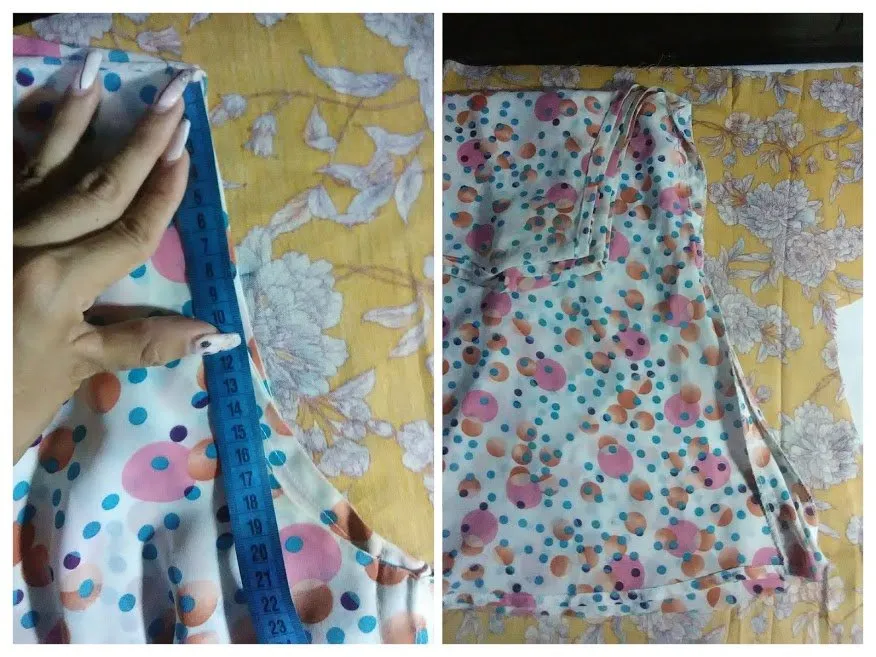
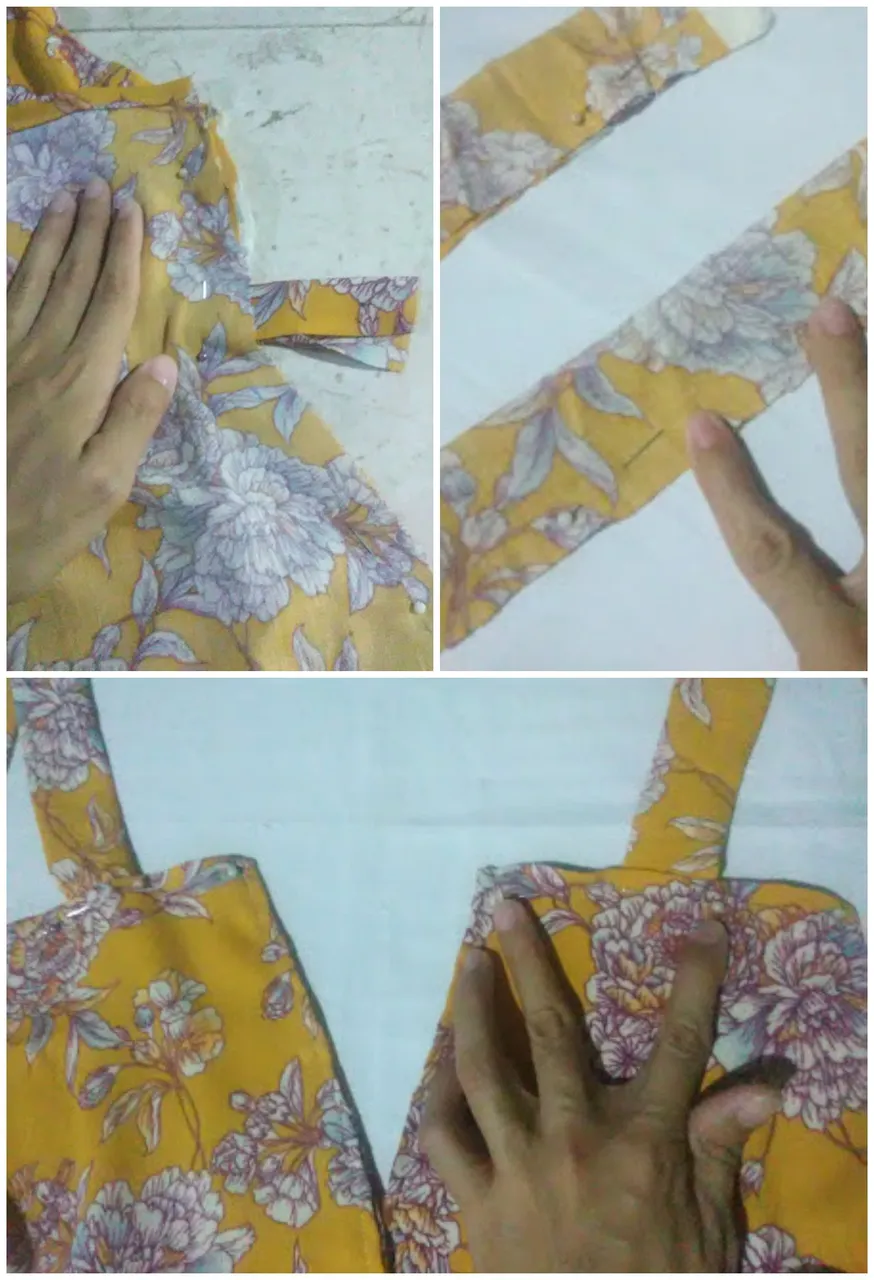
Para los tirantes; corte 2 tiras de 30 cm de largo por 12 cm de ancho que al dobles serian de 6 cm, y otra tira con las mismas medidas la cual utilizaremos como la unión entre el area del busto y la parte baja delantera del bluson.
For the straps; cut 2 strips of 30 cm long by 12 cm wide that when doubled would be 6 cm, and another strip with the same measures which we will use as the union between the bust area and the lower front part of the blouse.
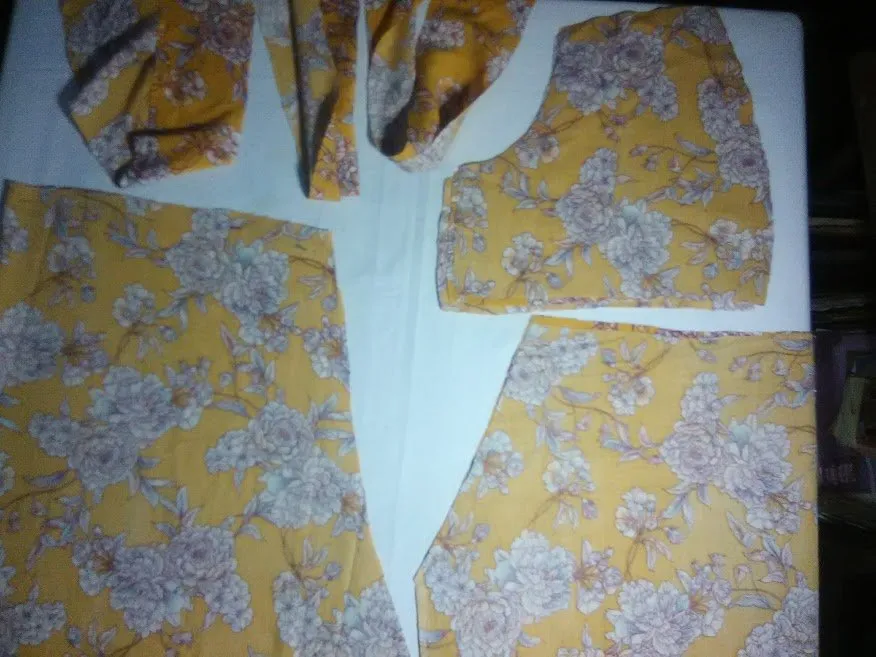
Ya cortadas todas las piezas procedemos a coser. Primero pase costura a ambos costados de las piezas del busto, tomando en cuenta que para ello deben colocarse las piezas de las telas derecho con derecho,en la tira que nos servirá de unión le realizamos unos pequeños ojales por donde más adelante introduciremos otra tira que nos funcionará para adaptar el tamaño del bluson maternal.
Once all the pieces are cut, we proceed to sew. First sew both sides of the bust pieces, taking into account that the pieces of the fabrics must be placed right sides together, in the strip that will serve as a union we make some small buttonholes through which later we will introduce another strip that will work to adapt the size of the maternity blouse.
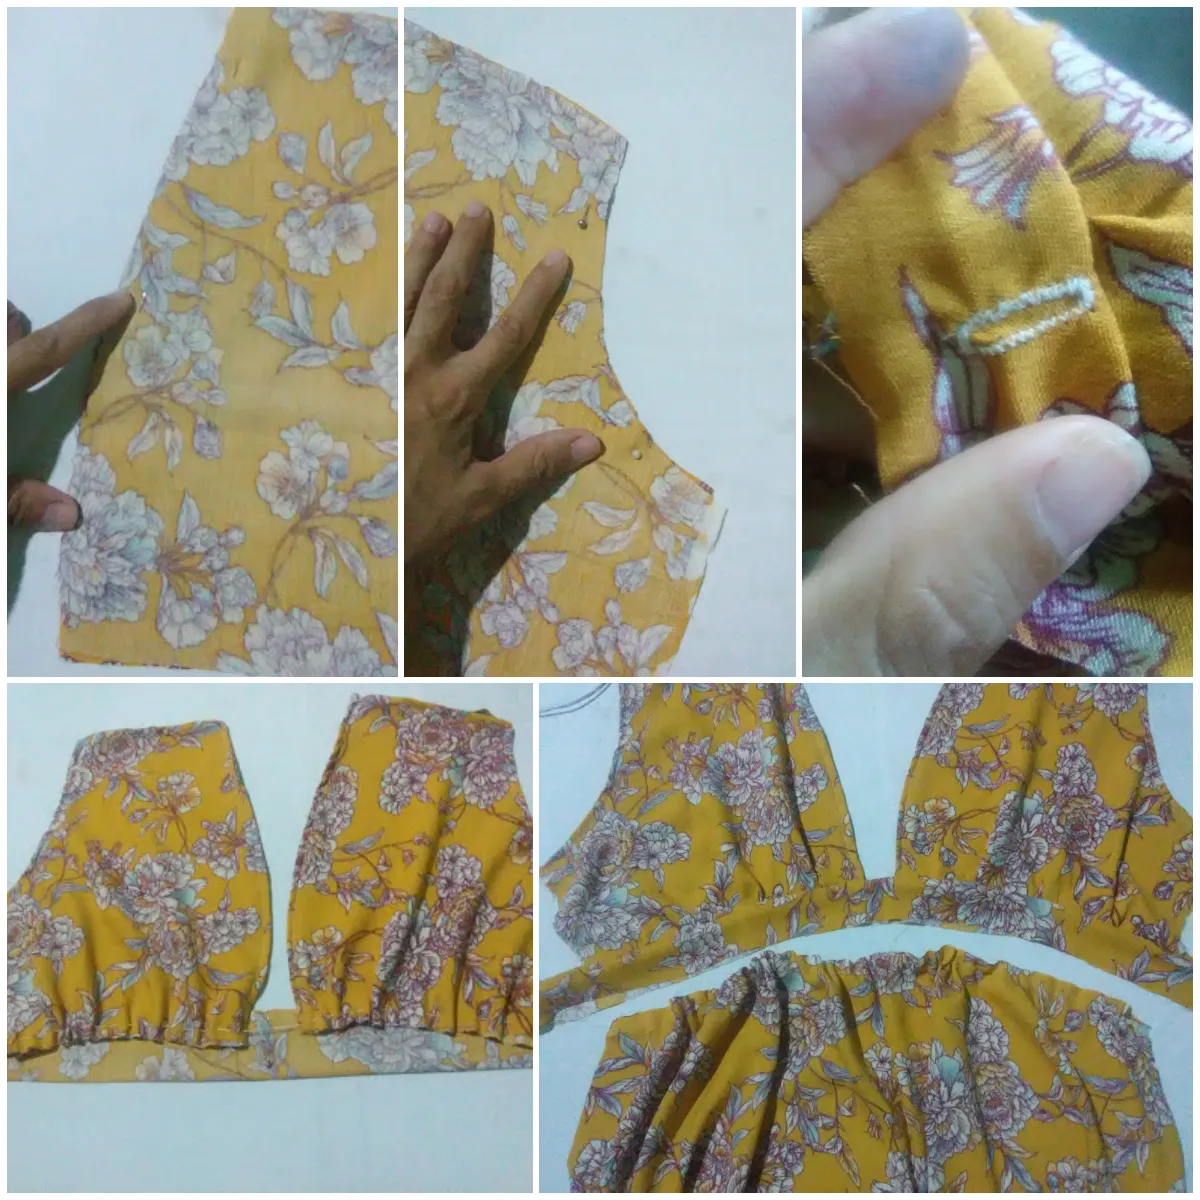
Unimos la parte del busto a dicha tira y luego unimos también a la parte baja del bluson, esta unión la realice con pequeños pliegues para darle un efecto de arruchado y movimiento a la pieza delantera.
We join the bust part to this strip and then we also join it to the lower part of the blouse, this union is made with small pleats to give a ruffled effect and movement to the front piece.
Para la parte trasera; realizamos un dobladillo en la parte superior y dentro de este colocamos una goma de 1 cm de ancho por 10 cm de largo, de manera que quedara centrada en la pieza. Luego cosemos ambas partes delantera y trasera por los costados y a su vez le realice el dobladillo inferior al bluson. Para coser los tirantes primero los cosí al dobles interno, volteamos y planchamos para darle la forma de tirante,primero unimos dicho tirantes al area del busto y luego a la parte de la espalda. Añadí unos pequeños detalles al rededor de la punta de los tirantes para decorar la unión de los tirantes al busto.
For the back part; we make a hem at the top and inside it we place a 1 cm wide by 10 cm long rubber band, so that it will be centered on the piece. Then we sew both front and back sides and in turn we sew the bottom hem of the blouse. To sew the straps I first sewed them to the inside double, turned and ironed them to give it the shape of a strap, first we attached the straps to the bust area and then to the back part. I added a few small details around the end of the straps to decorate the bust area of the straps.
Y así culminamos nuestro bluson espero les guste el acabado como también espero que hayan podido comprender la explicación, la verdad que me costo mucho el explicar textualmente el proceso de elaboración.
And so we culminate our blouse I hope you like the finish as I hope you have been able to understand the explanation, the truth is that it cost me a lot to explain verbatim the process of elaboration.
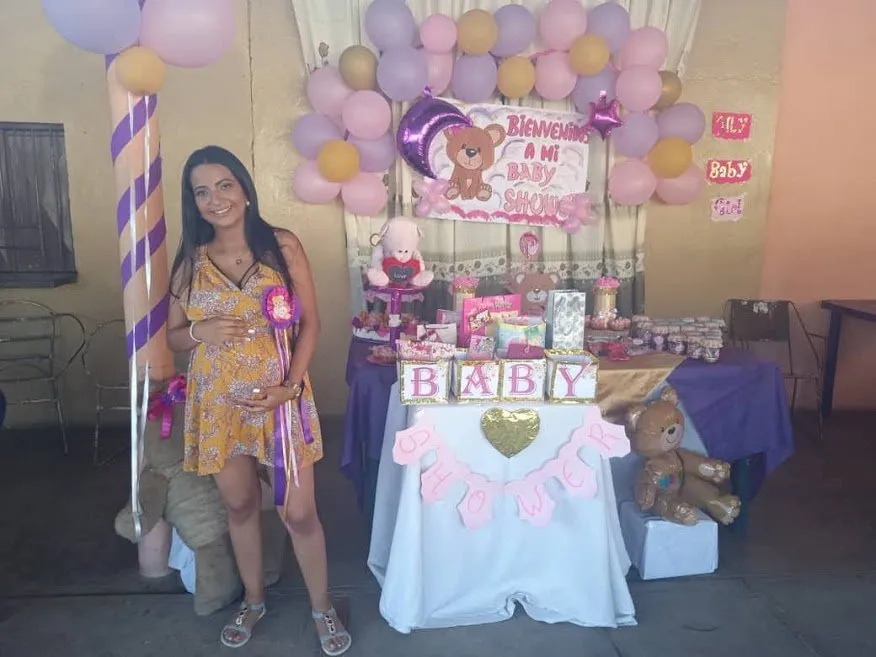 Esta foto me la envió mi vecina,luciendo su bluson
Tomas las Imágenes son de mi total autoria tomadas con mi dispositivo movil excepto donde sale mi vecina.The images are of my total authorship taken with my mobile device, except where my neighbor appears.