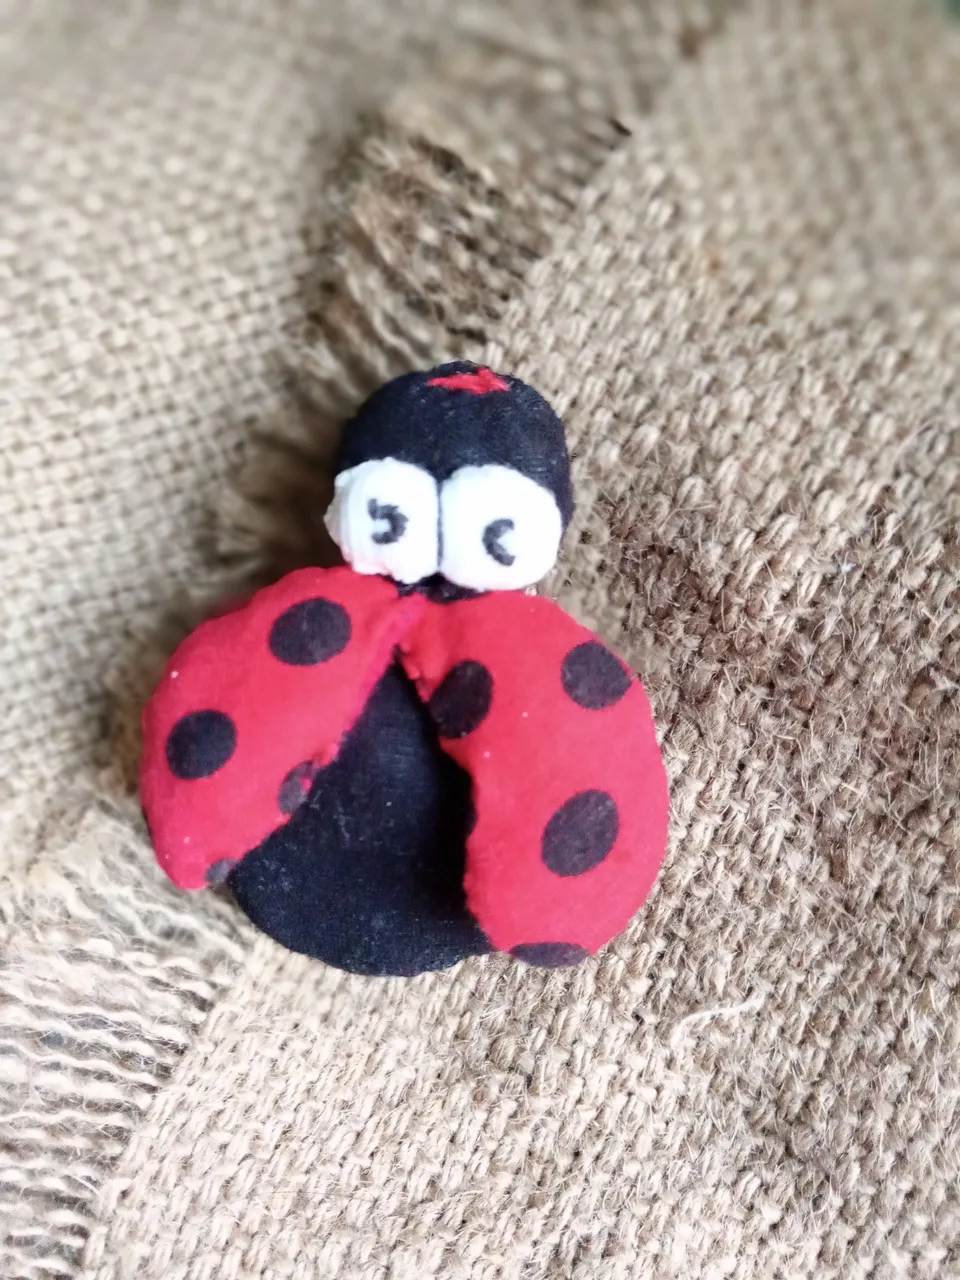
Hello everyone! My friends who love needles, today I want to share with you a simple work full of love. It's about the memories of my daughter's first birthday, I made little ladybugs with magnet to put on the fridge or any metal surface.
Hola a todos! Mis amigos amantes de las agujas hoy quiero compartir con ustedes un trabajo sencillo y lleno de amor. Se trata de los recuerdos del primer cumpleaños de mi hija, hice pequeñas mariquitas con imán para poner en la nevera o cualquier superficie metálica.
Materials:
🐞Black, red with black, white and red polka dots, white and red fabric scraps
🐞Scissors
🐞Thread and needle
🐞Cardboard for molds
🐞Plush or cotton stuffing
🐞Magnet
🐞Silicone
Materiales:
🐞Retazos de tela de color negro, rojo con lunares negros, blanco y rojo
🐞Tijera
🐞Hilo y aguja
🐞Cartón para moldes
🐞Relleno de felpa o algodón
🐞Imán
🐞Silicón
🐞
Procedure: Procedure:
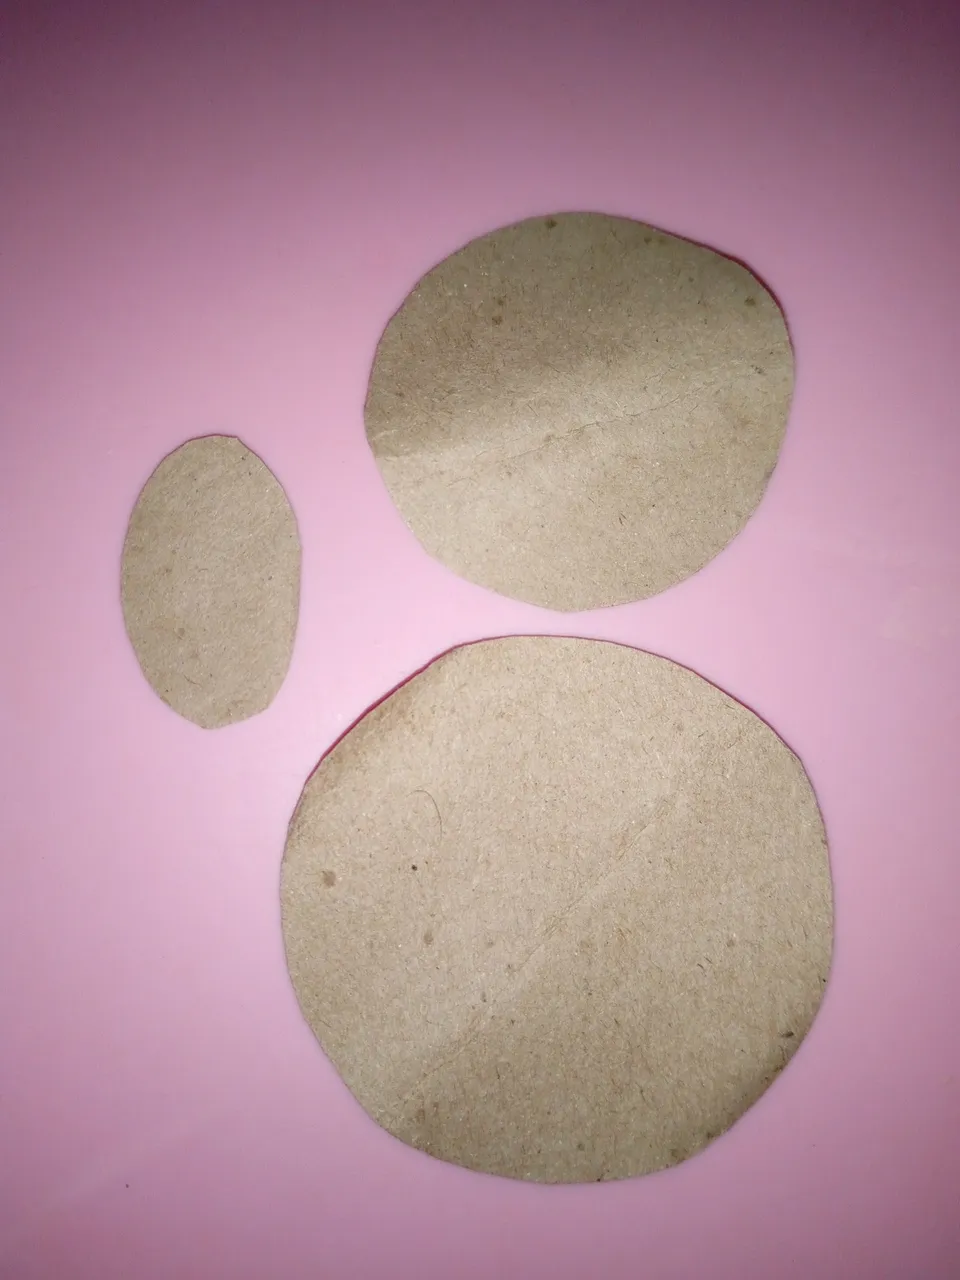
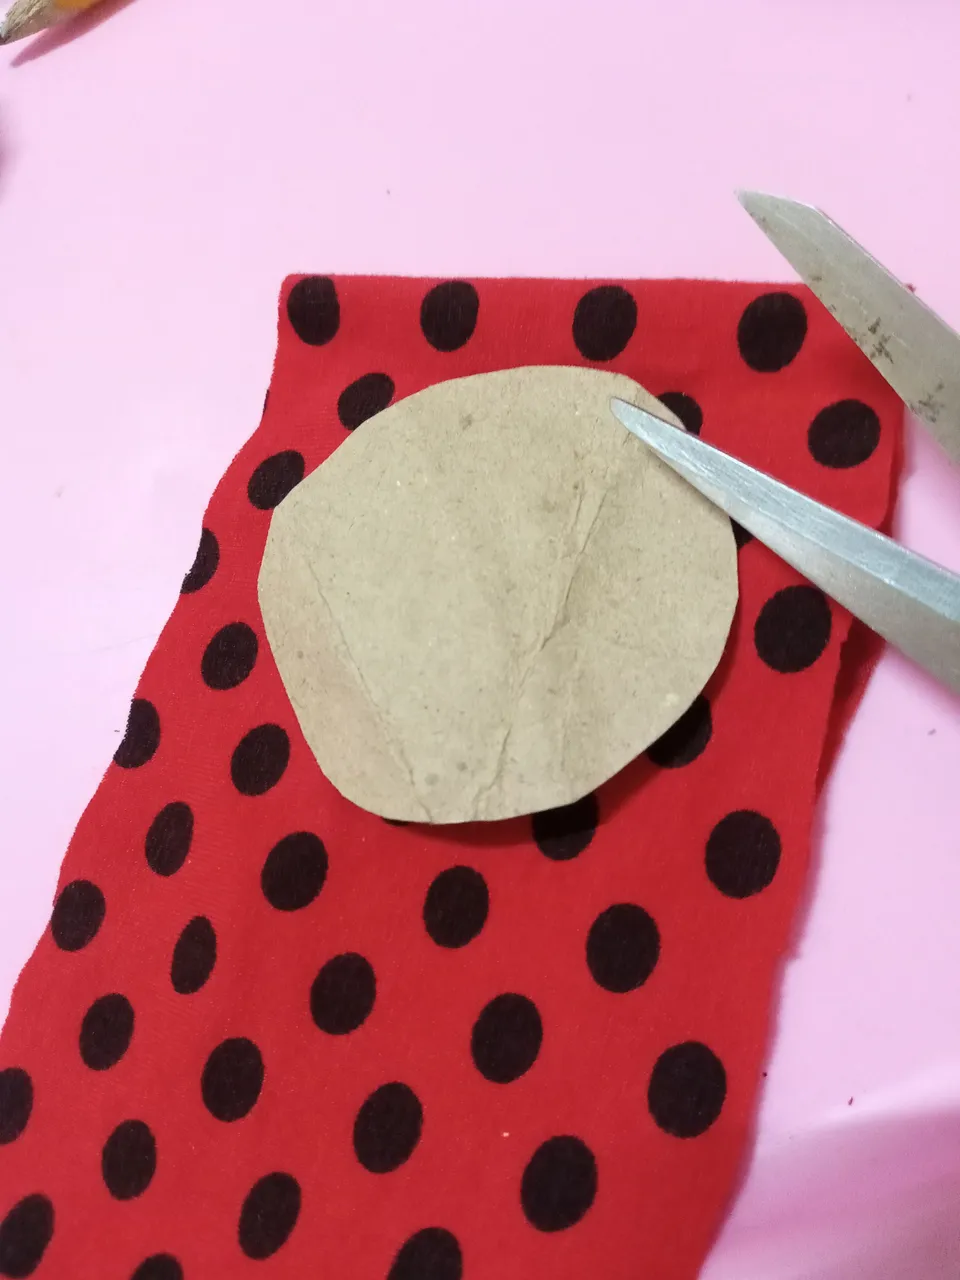
-First we are going to make the cardboard molds, we need 1 large circle, a small circle and a small oval.
Procedimiento:
-Primero vamos a hacer los moldes en cartón, necesitamos 1 círculo grande, un círculo pequeño y un óvalo pequeño.
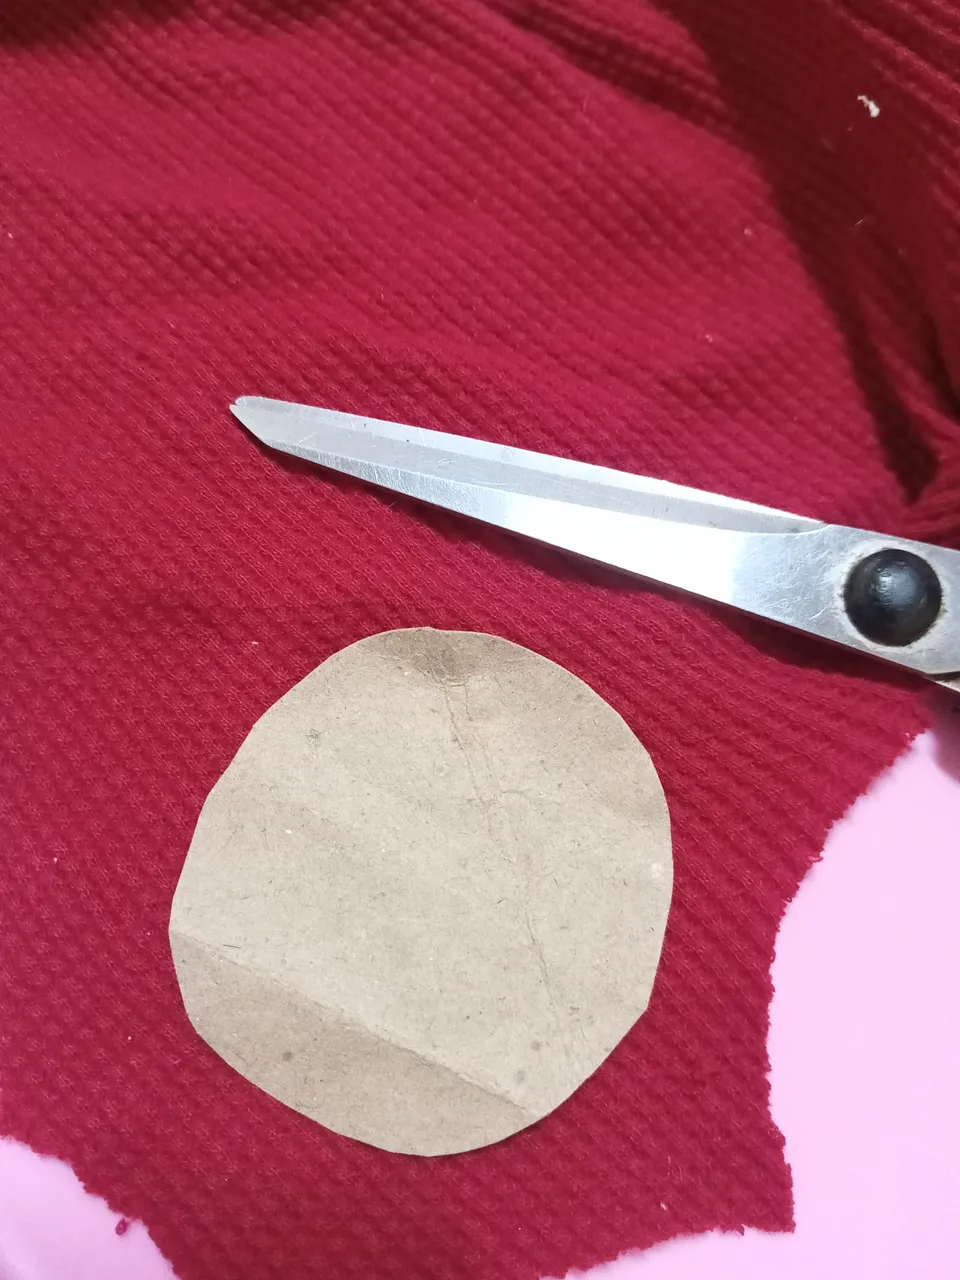
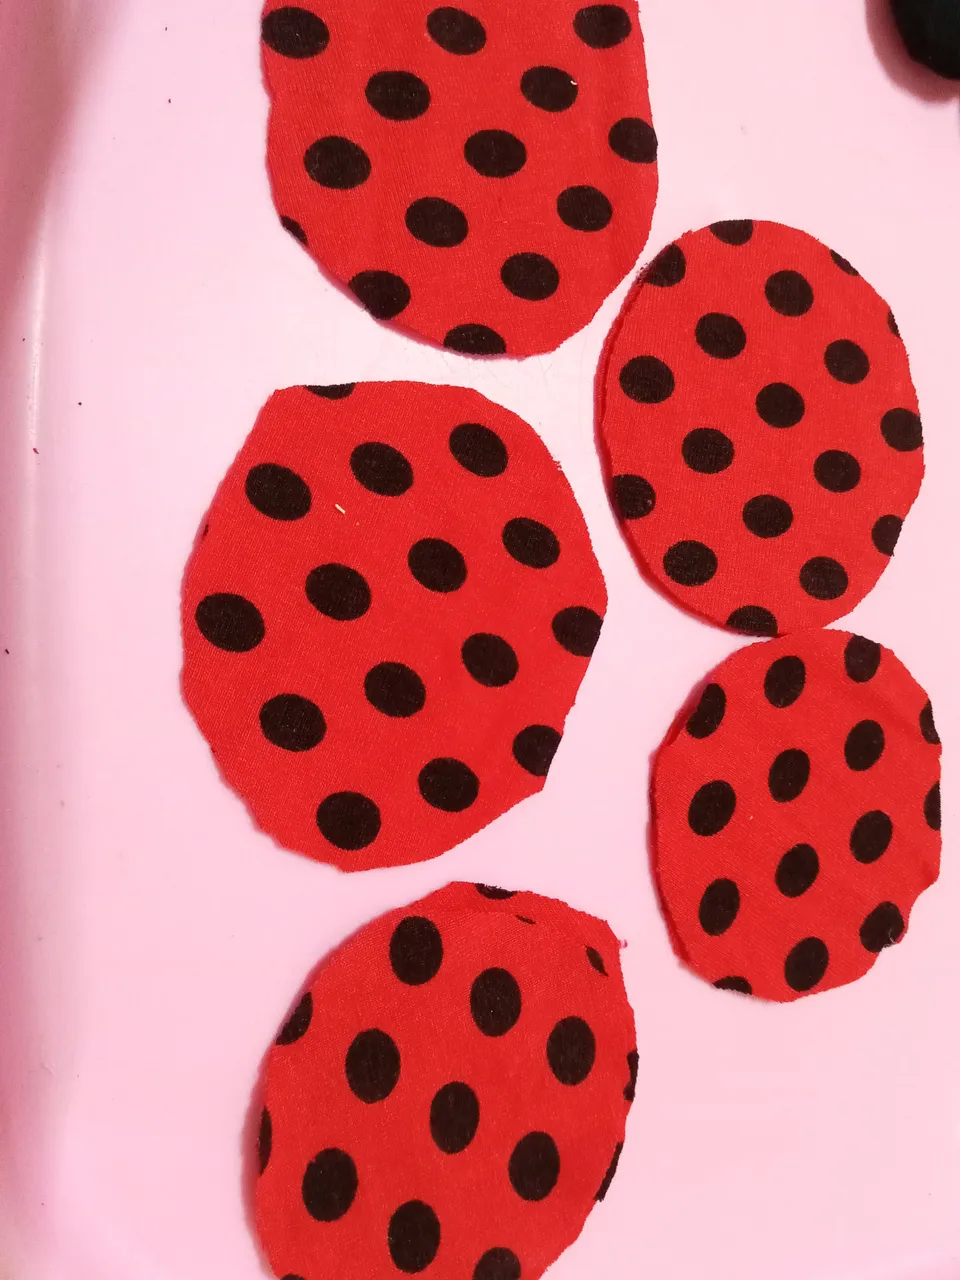
-We pass the molds to the fabric, we need:
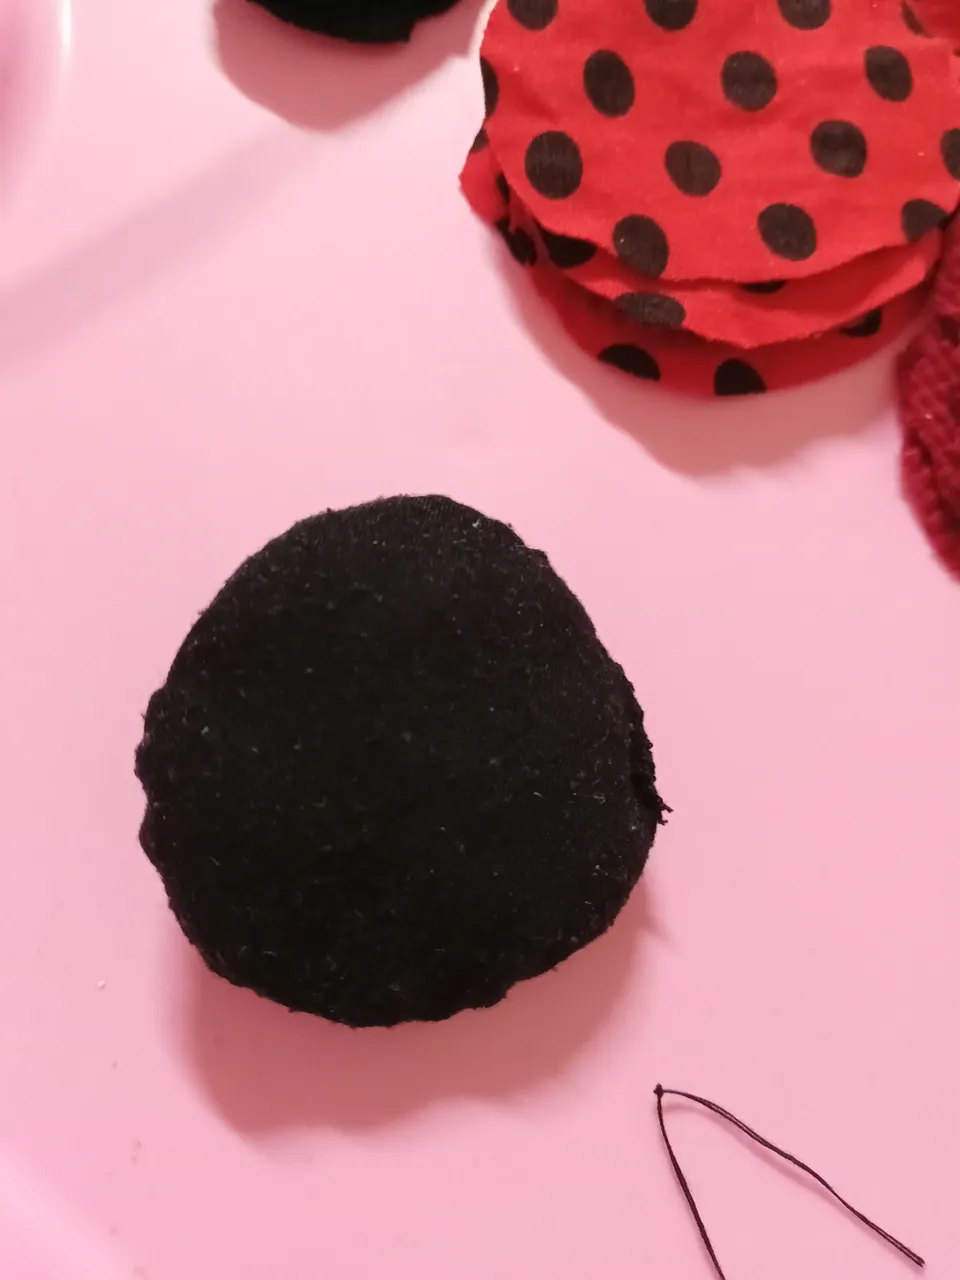
2 pieces in black fabric of the large circle, this will be the body of the ladybug.
2 pieces of black fabric of the small circle that will be the head of the ladybug.
1 piece of the large circle in red fabric with black polka dots that will be the top of the ladybug's wings.
1 piece of red fabric from the large circle, which will be the bottom of the ladybug's wings.
2 pieces of the oval in white fabric that will be the eyes of the ladybug.
-Pasamos los moldes a la tela, necesitamos:
2 piezas en tela negra del círculo grandes, esto será el cuerpo de la mariquita.
2 piezas de tela negra del círculo pequeño que será la cabeza de la mariquita.
1 pieza del círculo grande en tela roja de lunares negros que sera la parte superior de las alas de la mariquita.
1 pieza de tela roja del círculo grande, que va a ser la parte inferior de las alas de la mariquita.
2 piezas del óvalo en tela blanca que van a ser los ojos de la mariquita.
 |  | |
|---|---|---|
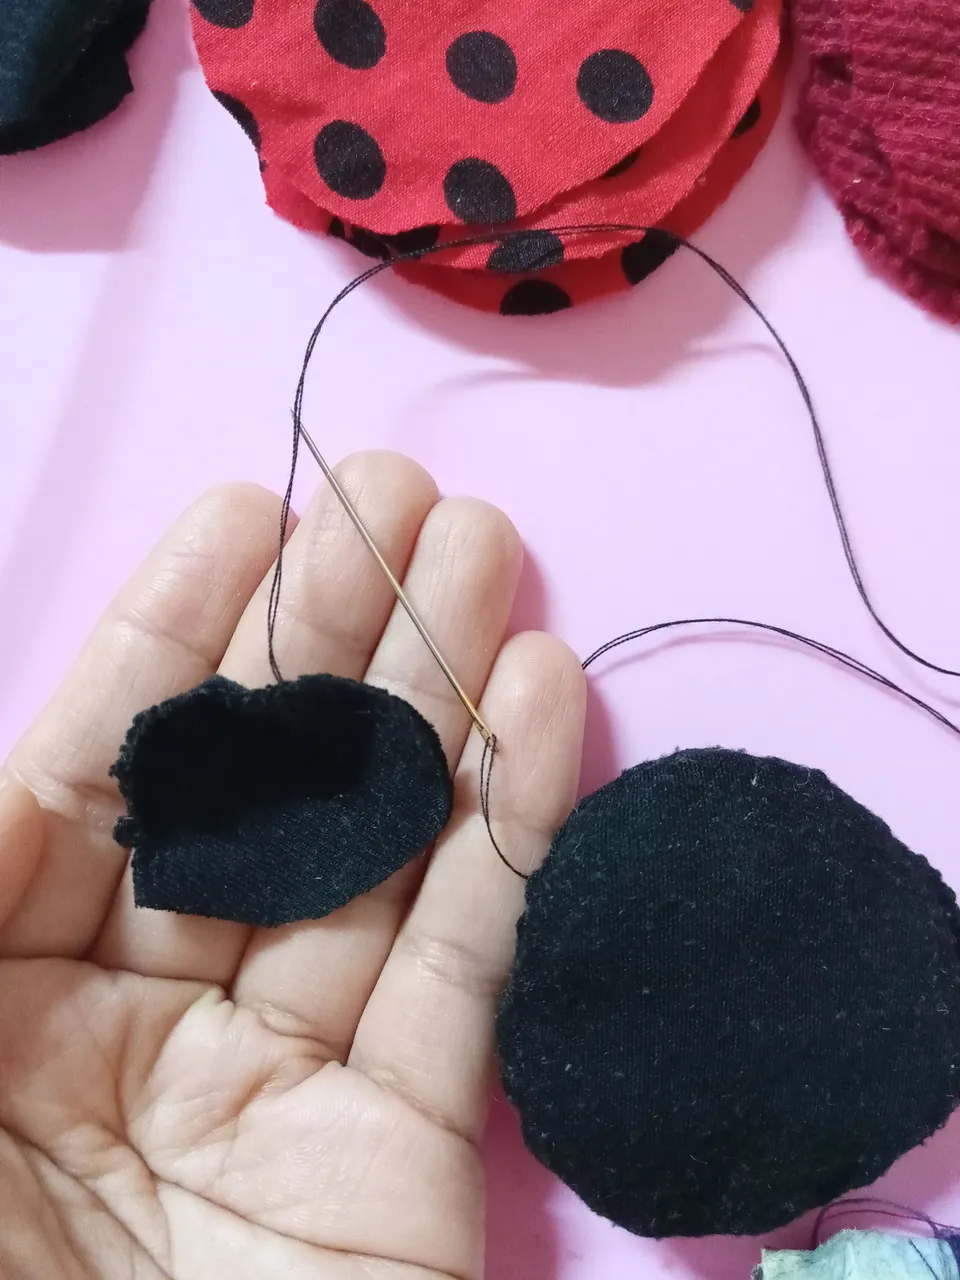
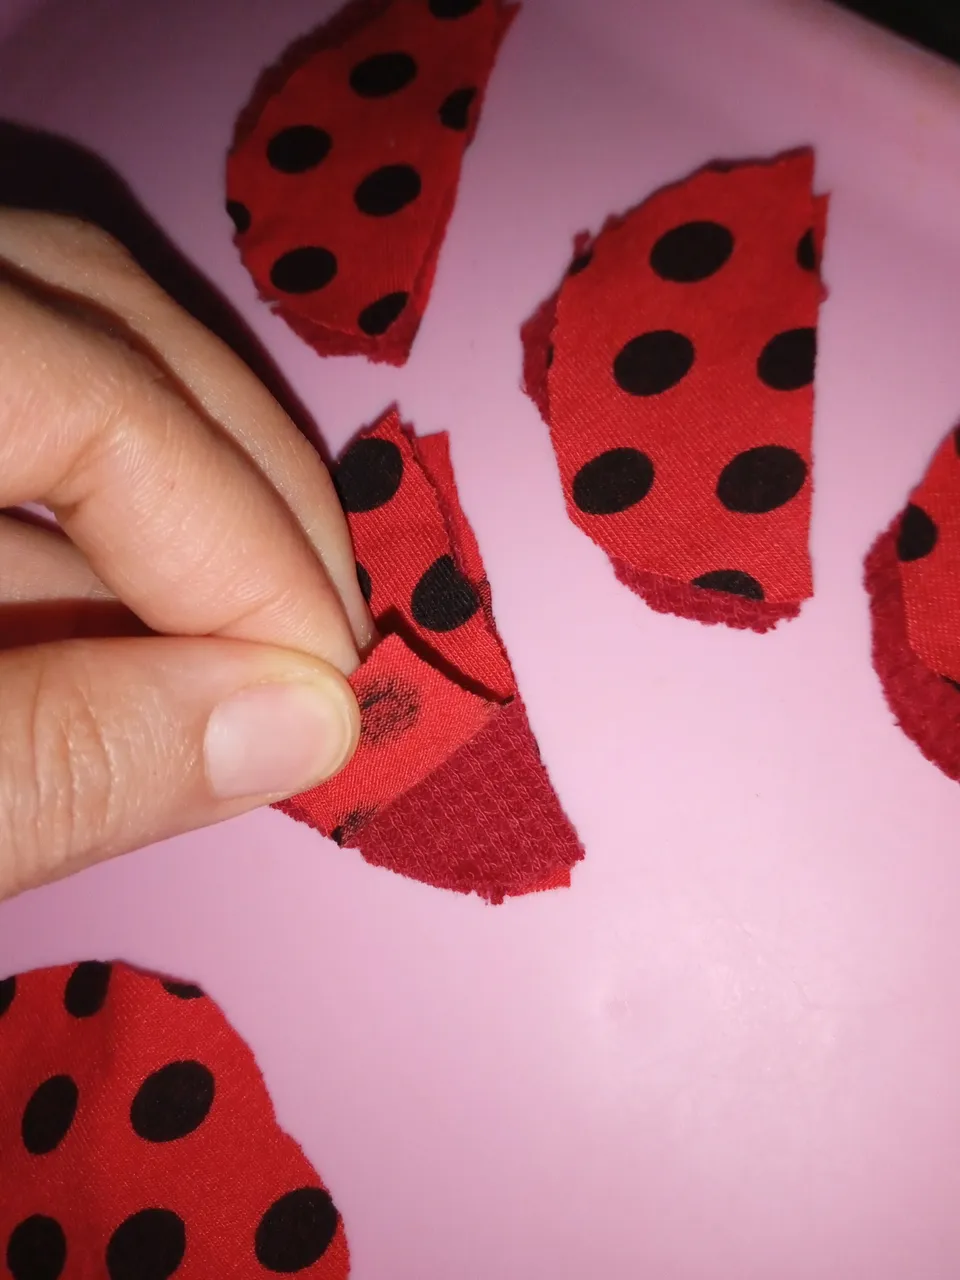
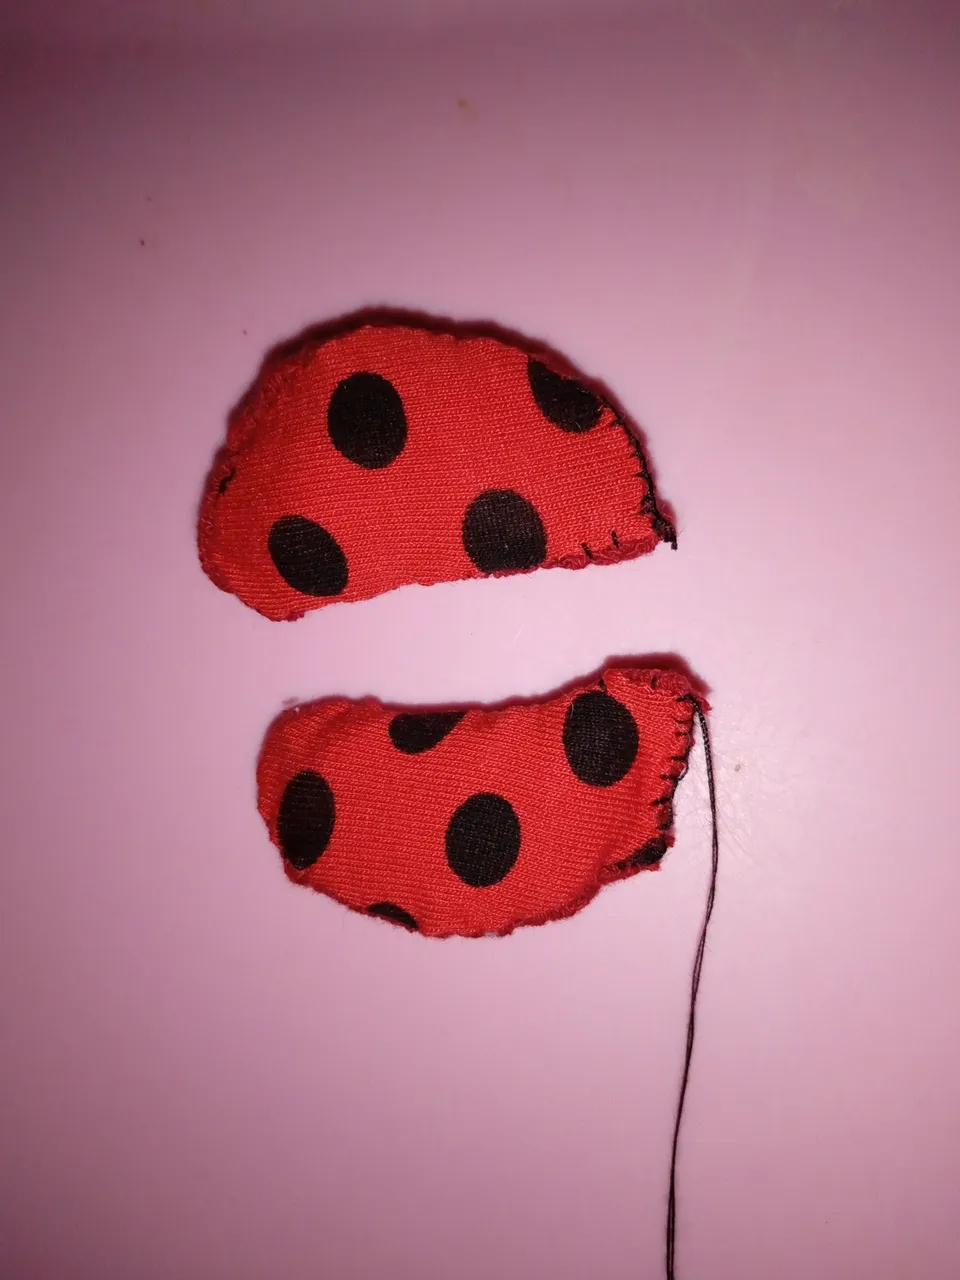
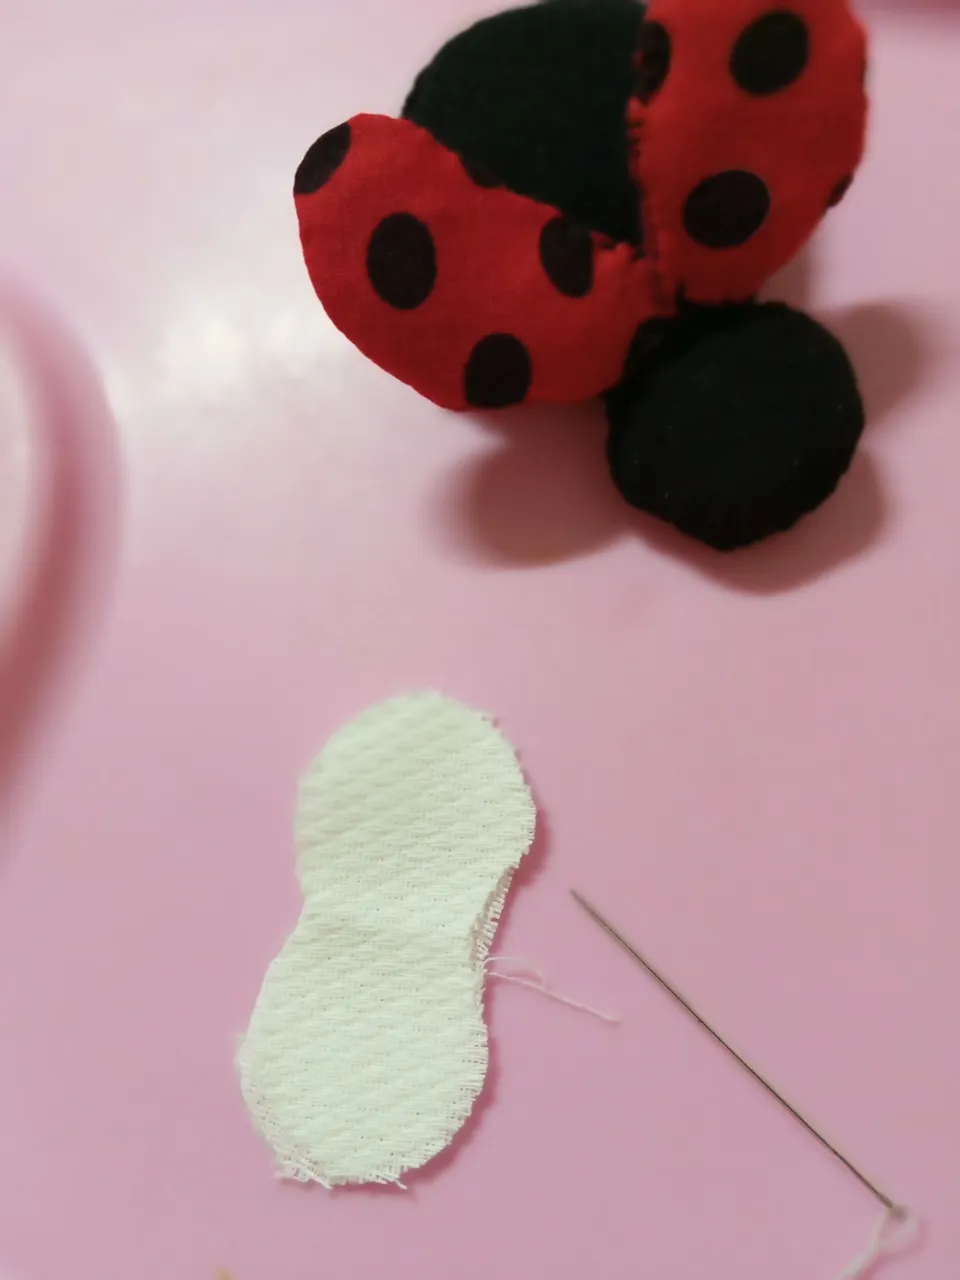
-Once we have all the pieces cut we are going to assemble the ladybug.
-Una vez que tenemos todas las piezas cortadas vamos a armar la mariquita.
-The process is the same with all the pieces: Join on the reverse side, leave an opening to fill, turn over, fill and close the opening.
-El proceso es el mismo con todas las piezas: Unimos por el revés, dejamos una abertura para rellenar, volteamos, rellenamos y cerramos la abertura.
 |  |  |
|---|---|---|
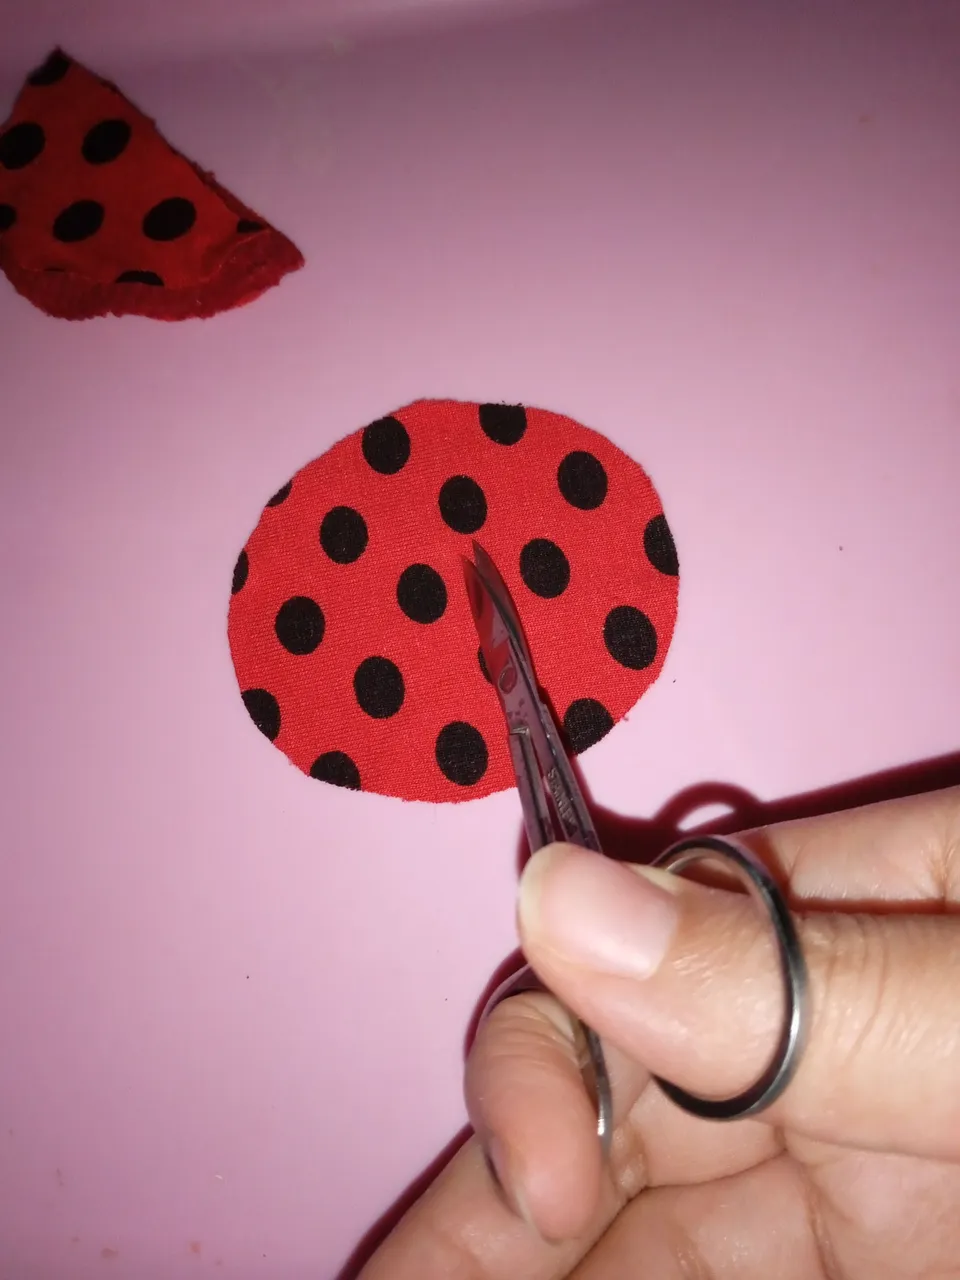
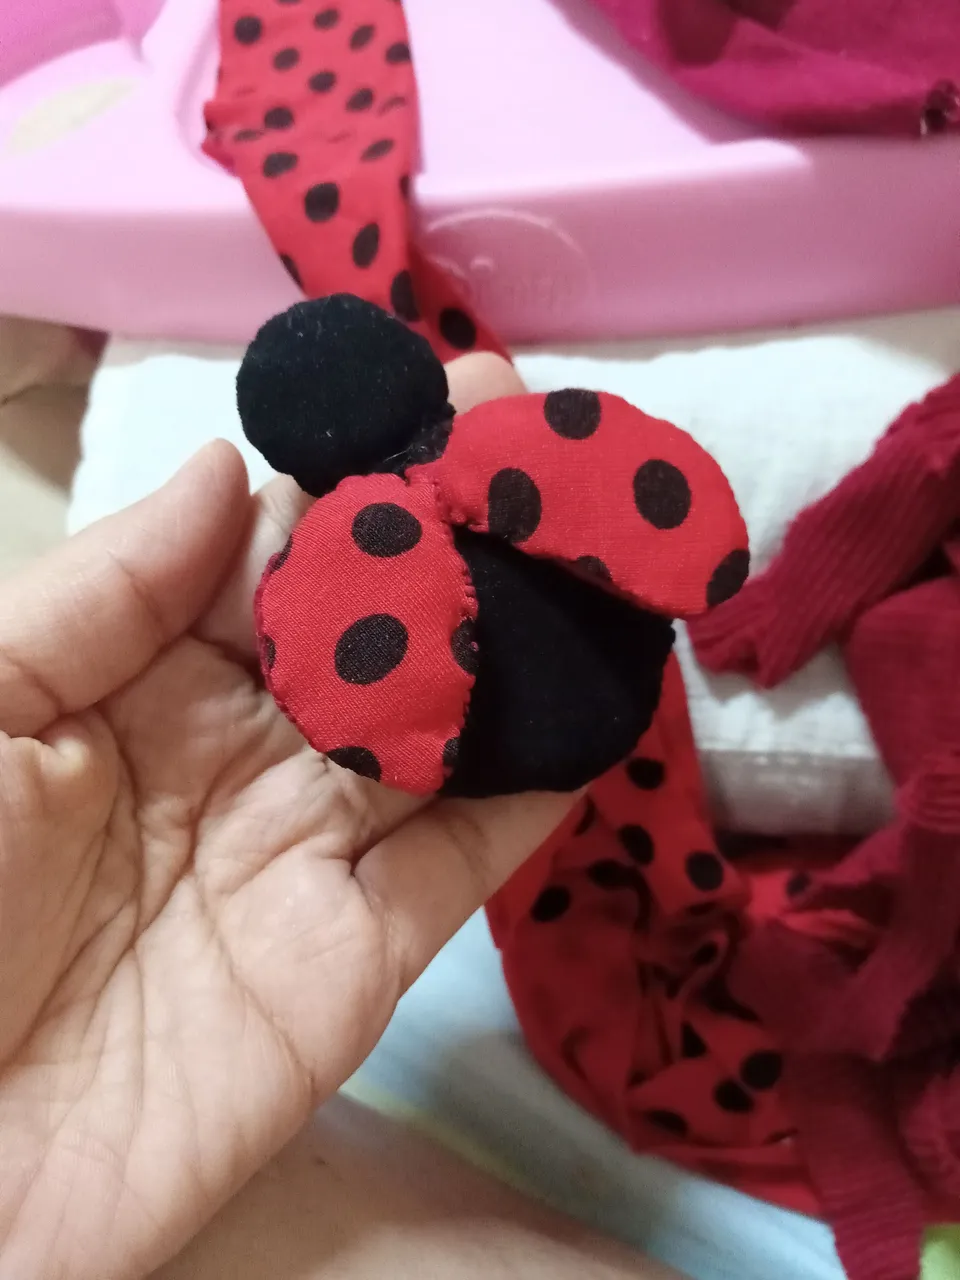
-To assemble the wings, we must take a red circle of black polka dots and some red ones to cut them in half as follows:
-Para armar las alas, debemos tomar un círculos rojo de lunares negros y unos rojo para cortarlos a la mitad de la siguiente manera:
 |  |
|---|---|
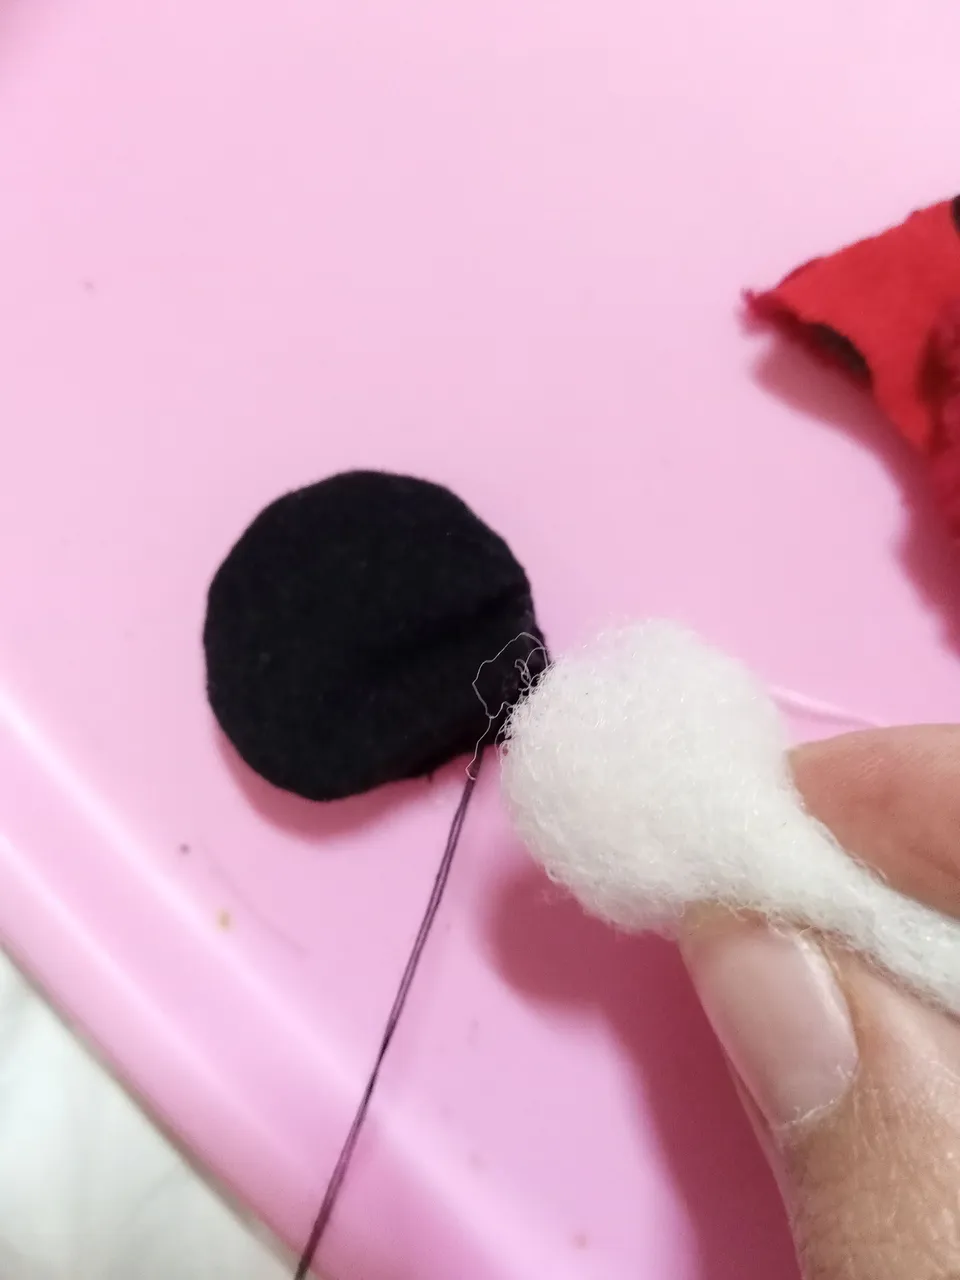
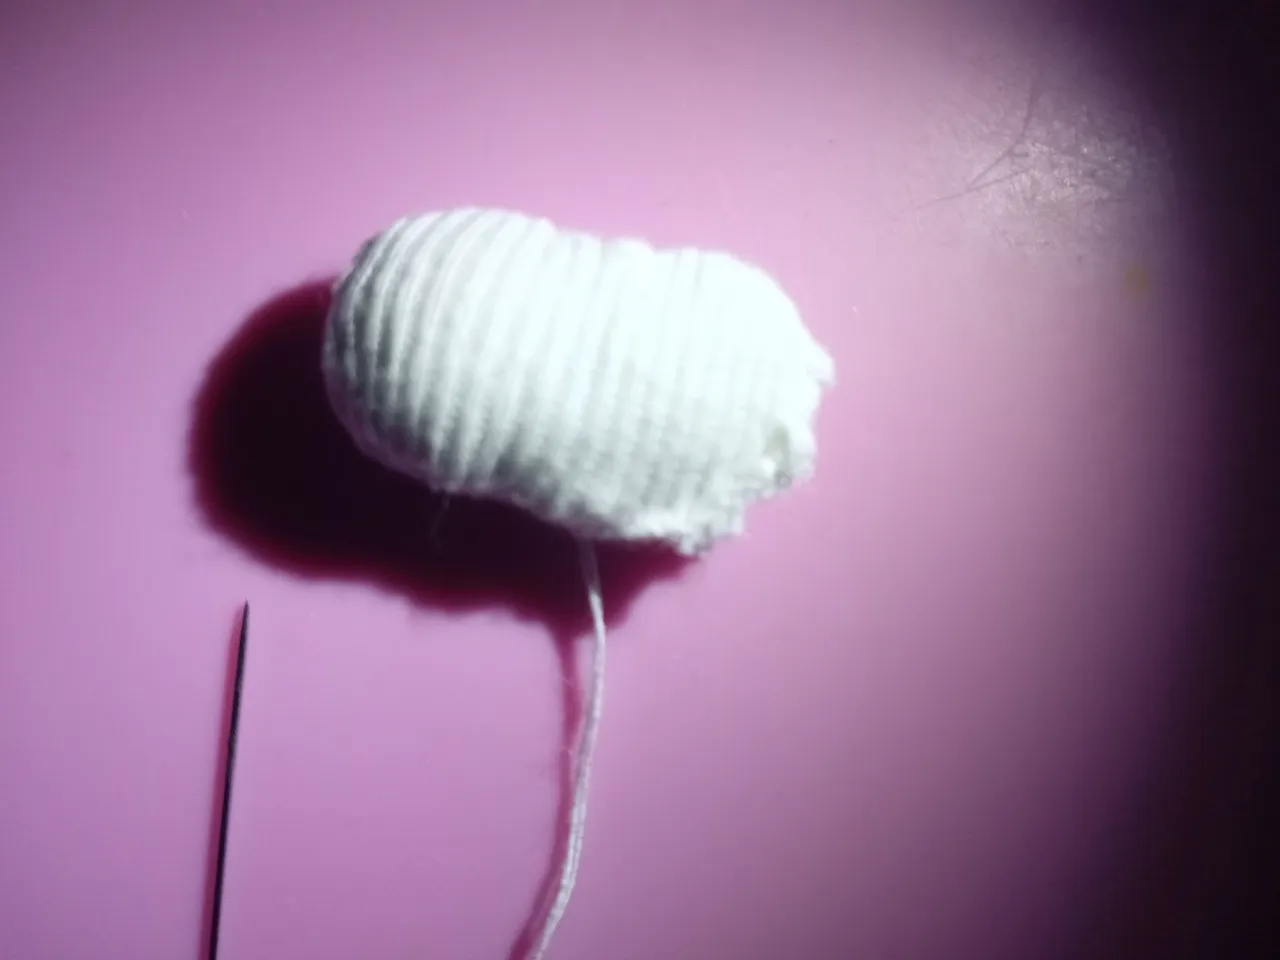
-For the eyes, we join the 2 white ovals, fill them and roll black thread in the middle to demarcate the 2 eyes. Then we embroider with black thread the center of the eye. Glue to the head.
-Para los ojos, unimos los 2 óvalos blancos rellenamos y vamos a enrrollar hilo negro en la mitad para demarcar los 2 ojos. Luego bordamos con hilo negro el centro del ojo. Pegamos a la cabeza.
-We embroider a small mouth with red thread.
-Bordamos una pequeña boca con hilo rojo.
-We proceed to glue the magnet with silicone.
-Procedemos a pegar el imán con silicona.
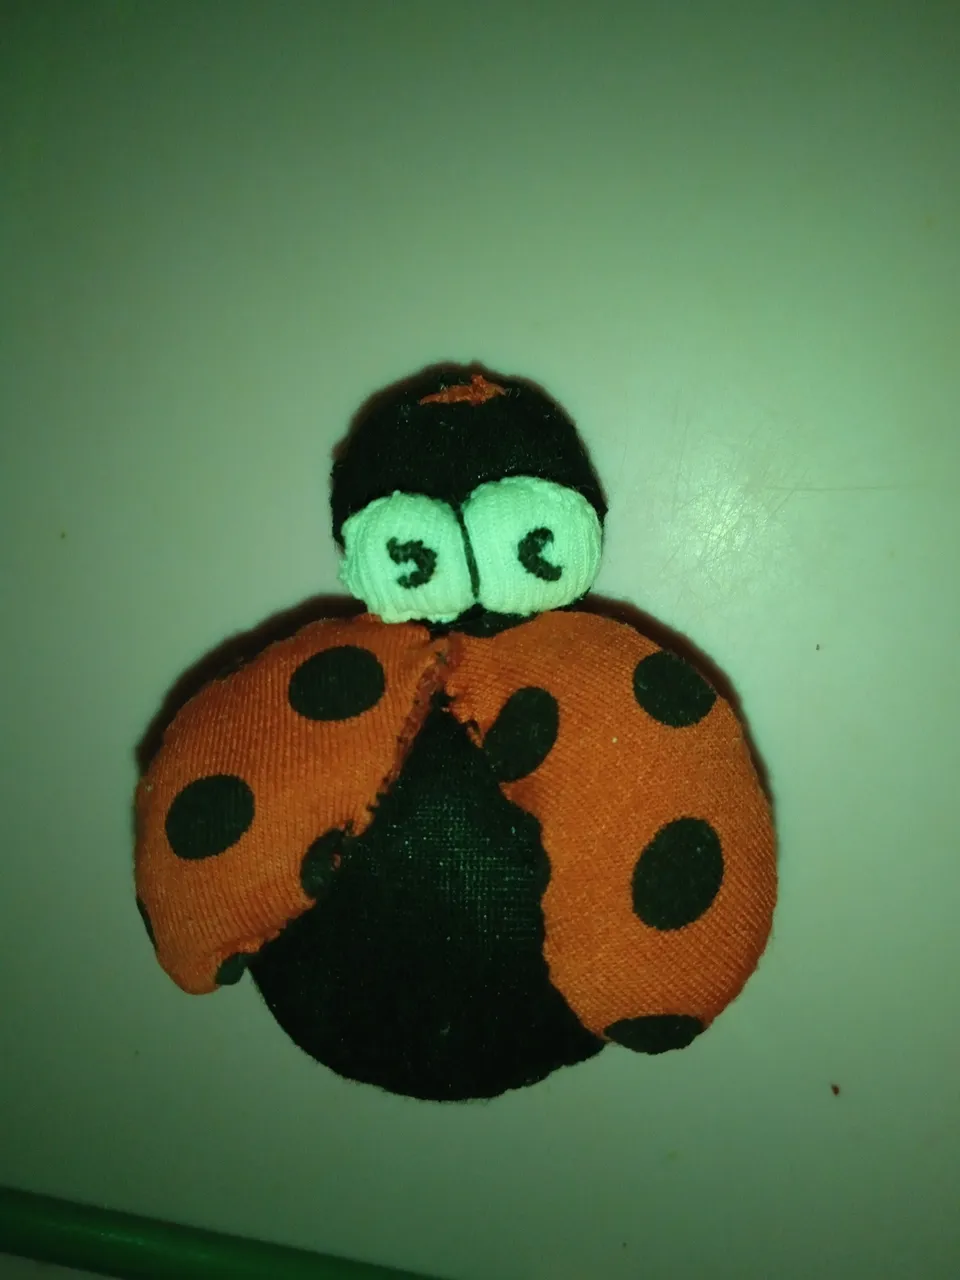
And so our ladybug with magnet is ready.
I made 10 to hand out to family members who could not come because of the covid-19 quarantine, so I made these cute souvenirs and sent them to each of them at home.
I hope you like my work. Thanks for reading me, see you next time.
Y así está lista nuestra mariquita con imán.
Yo hice 10 para repartir a los familiares que no pudieron venir por la cuarentena de covid-19, así que hice estos lindos recuerdos y se los envié a cada uno a sus casas.
Espero que les guste mi trabajo. Gracias por leerme, hasta la próxima ocasión.


Contenido original del autor.
Recursos: Power Point/ Canva || 📷Sony Cyber-Shot / Alcatel 3 5029E Smartphone
Traducido con Deepl.com
✿ Todos los Derechos Reservados || © @chacald.dcymt // 2021 ✿
💌 Discord: chacald.dcymt#3549
_
Original content by the author.
Resources: Power Point/ Canva || 📷Sony Cyber-Shot / Alcatel 3 5029E Smartphone
Translation done with Deepl.com
✿ All Rights Reserved || © @chacald.dcymt // 2021 ✿
💌 Discord: chacald.dcymt#3549