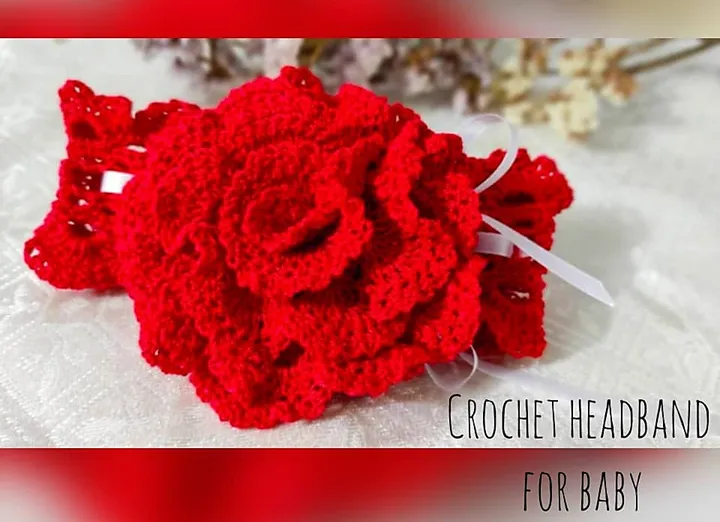
Una diadema para mi sobrina 🌷 A headband for my niece
Un saludo a todas mis amigas bellas de las agujas; hoy es lunes y mi cuerpo se activó para realizar algo hermoso, glamoroso, muy rojo, pero también muy tierno y delicado. Se trata de un cintillo para bebé de un mes a 3 meses de nacida tejido en crochet.
Todo se debe a que por fin llegó el día y mi sobrina Keila se encuentra en la dulce espera de Arianna, quien será la nueva integrante de nuestra familia.
A greeting to all my beautiful friends of the needles; today is Monday and my body was activated to make something beautiful, glamorous, very red, but also very tender and delicate. It is a crochet headband for a baby from one month to 3 months old.
It's all because the day has finally arrived and my niece Keila is sweetly expecting Arianna, who will be the newest member of our family.

Mi sobrina Keila en la dulce espera 🌷 My niece Keila is in sweet waiting
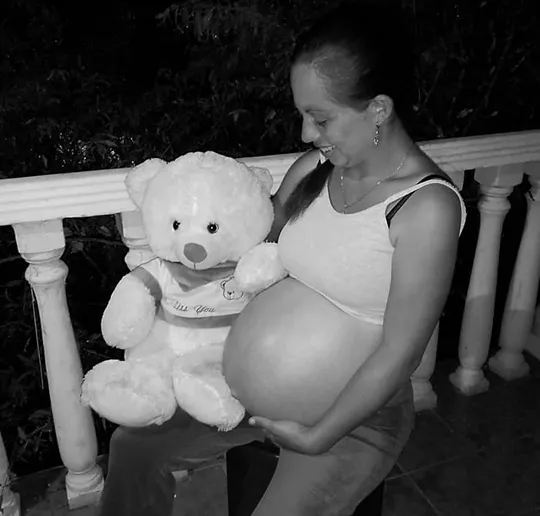
Con el favor de Dios este martes mi sobrina Keila se va rumbo a la clínica para dar a luz al bebé; toda la familia está muy contenta porque por fin llegó el día y vamos a poder celebrar la vida. Dentro de mí solo puedo orar para que todo salga bien y ambas regresen a casa con bien.
Poco a poco quiero ir tejiendo algunas cosas para enviarle pronto ya que no vivimos en la misma ciudad, así que las invito a seguir el paso a paso que hice y que encontré en internet.
With God's favour this Tuesday my niece Keila is on her way to the clinic to give birth to the baby; the whole family is very happy because the day has finally arrived and we are going to be able to celebrate life. I can only pray that everything goes well and that they both go home safely.
Little by little I want to knit some things to send her soon as we don't live in the same city, so I invite you to follow the step by step that I made and found on the internet.
Materiales:

Hilo de crochet rojo
aguja de tejer 2 m.m.
cinta de raso.
tijeras
Red crochet thread
knitting needle 2 m.m.
satin ribbon.
scissors
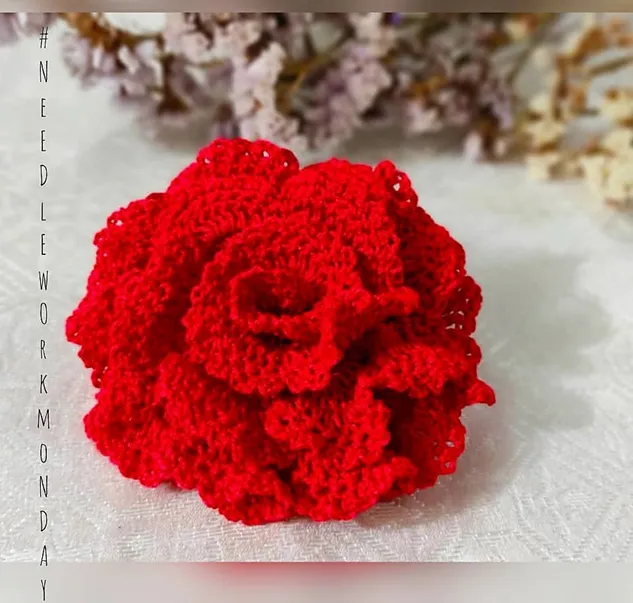
La flor 🌷 The flower
Primera vuelta: Empezamos tejiendo 62 cadenetas, si gustas hacerla más grande vas aumentando de 10 en 10, el tamaño de la flor dependerá del tipo de hilo que estemos usando.
First row: We start knitting 62 chains, if you want to make it bigger you increase it by 10, the size of the flower will depend on the type of yarn we are using.
Seguidamente metemos con un punto alto en la sexta cadeneta, luego pasamos un espacio de cadena de base y en el siguiente tejemos un punto alto, una cadena de separación y en el mismo espacio tejemos un punto alto, así vamos formando una V; continuamos tejiendo este mismo procedimiento hasta la última cadeneta.
Next we knit a single crochet in the sixth chain, then we pass a space of base chain and in the next one we knit a single crochet, a separating chain and in the same space we knit a single crochet, in this way we form a V; we continue knitting this same procedure until the last chain.

Segunda vuelta: Tejemos 3 cadenetas y en el espacio de cadeneta de la vuelta anterior tejemos un punto alto, dos cadenetas y dos puntos altos, es decir que vamos a tejer un abanico de dos puntos altos dos cadenetas y dos puntos altos dentro de la V de la vuelta anterior. Repetimos hasta terminar la vuelta.
Tercera vuelta: Tejemos 3 cadenetas y luego tejemos 8 puntos altos dentro del espacio de dos cadenetas de la vuelta anterior.
Si quieres un pétalo de flor más grande tejemos una vuelta más y para eso tejemos una cadeneta y luego un punto alto en el segundo punto de base, en el cuarto y quinto punto de base tejemos doble punto alto, continuamos tejiendo puntos altos y finalizamos con un punto bajo en medio de cada pétalo de la vuelta anterior.
Quinta vuelta: Tejemos 3 cadenetas y ensartamos la aguja con un punto bajo en el siguiente punto de base, continuamos repitiendo el mismo proceso hasta terminar esa vuelta. Cortamos el hilo y tomando cualquiera de las dos puntas vamos girando el tejido dándole forma a la flor, cosemos con aguja e hilo del mismo color; trata que el centro de la flor quede lo más cerrado posible. Si gustas puedes cambiar el color del hilo en la quinta vuelta.
Second row: We knit 3 chain stitches and in the chain stitch space of the previous row we knit one double crochet, two chain stitches and two double crochets, that is to say, we are going to knit a fan of two double crochets, two chain stitches and two double crochets inside the V of the previous row. Repeat until the end of the row.
Third row: Knit 3 chain stitches and then knit 8 double crochet stitches inside the space of two chain stitches of the previous row..
If you want a larger flower petal, we knit one more row and for that we knit a chain and then a single crochet in the second base stitch, in the fourth and fifth base stitch we knit a double crochet, we continue knitting double crochet and we finish with a single crochet in the middle of each petal of the previous row.
Fifth row: We knit 3 chains and thread the needle with a single crochet in the next base stitch, we continue repeating the same process until the end of this row. We cut the yarn and taking any of the two ends we turn the fabric giving shape to the flower, we sew with needle and yarn of the same colour; try that the centre of the flower is as closed as possible. If you like, you can change the colour of the thread in the fifth turn.
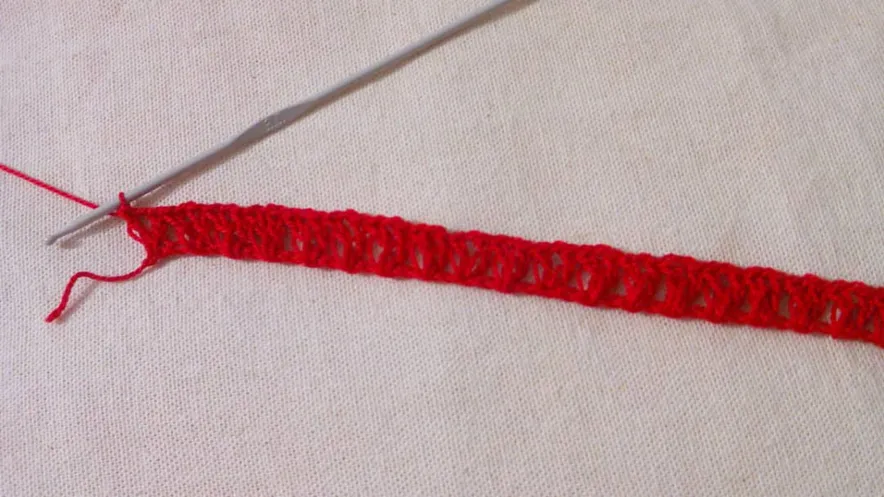
Diadema
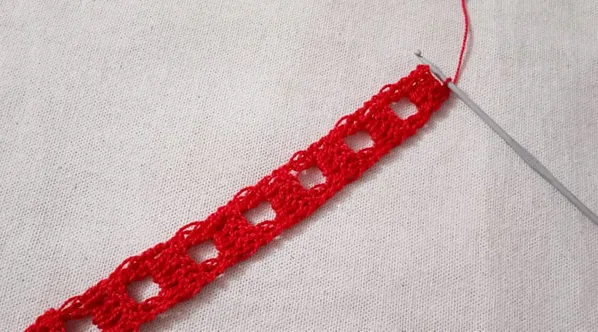
Tejemos 8 cadenetas, luego tejemos un punto alto pasando 3 cadenetas de base, tejemos dos cadenetas y nos saltamos dos cadenetas de base y en los últimos dos cadenetas de base tejemos dos puntos altos. En la siguiente vuelta tejemos 3 cadenetas, un punto alto en el siguiente punto de base, luego dos puntos altos dentro del espacio de os cadenetas de la vuelta anterior y por ultimo dos puntos altos más, repetimos estas vueltas así como se puede ver en la imagen. En total hice 32 centímetros de largo, unimos los extremos y comenzamos a trabajar los bordes.
We knit 8 chain stitches, then knit a single crochet past 3 base chain stitches, knit two chain stitches and skip two base chain stitches and in the last two base chain stitches we knit two double crochet stitches. In the next row we knit 3 chain stitches, a single crochet in the next base stitch, then two double crochets in the space of the chain stitches of the previous row and finally two more double crochets, we repeat these rows as you can see in the picture. In total I made 32 centimetres long, we join the ends and start working the edges.
Nos ubicamos en la unión de los extremos y tejemos una cadeneta, en cada espacio de borde vamos tejiendo dos puntos bajos y en el siguiente 3 puntos bajos, así vamos repitiendo hasta terminar.
Tejemos 4 cadenetas, saltamos 3 puntos de base y en el cuarto ensartamos con un punto bajo. Luego tejemos 5 cadenetas y volvemos a ensartar saltando 3 puntos de base y ensartamos con un punto bajo en el siguiente punto de base. Repetimos hasta terminar.
We position ourselves at the junction of the ends and we weave a chain, in each edge space we we weave two single crochet stitches and in the next one we weave 3 single crochet stitches, so we repeat until we finish.
We weave 4 chain stitches, skip 3 basic stitches and in the fourth chain we thread with a single crochet. Then knit 5 chain stitches and knit again skipping 3 basic stitches and knit a single crochet in the next basic stitch. Repeat until finished
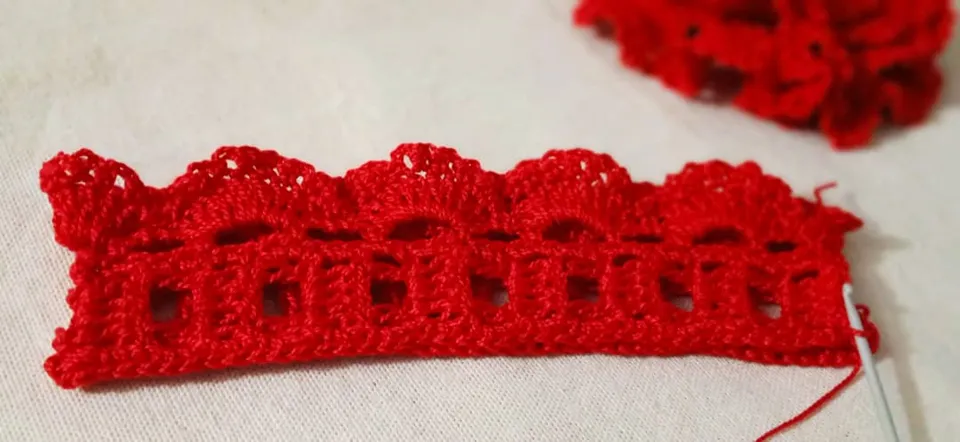
Al terminar nos deslizamos con puntos rasos hasta la segunda cadeneta y comenzamos a tejer 9 puntos altos dentro del arco de 5 cadenetas que hicimos en la vuelta anterior, seguido tejemos un punto bajo en el arco de 4 cadenetas. Repetimos el mismo procedimiento hasta terminar. Por ultimo tejemos 3 cadenetas y nos metemos con un punto bajo en el siguiente punto, repetimos hasta terminar.
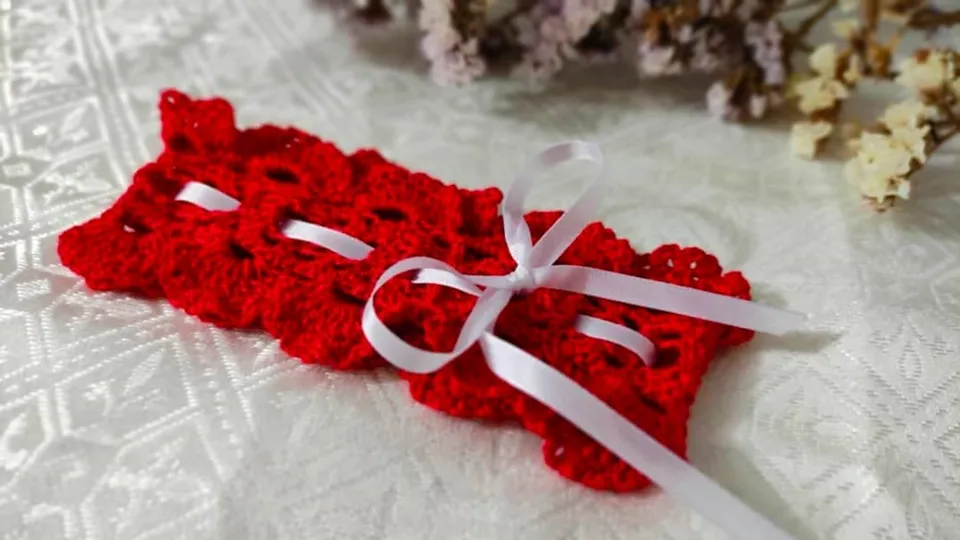
Por ultimo decoramos con una cinta que resalte y unimos ambas piezas.
When finished, slip stitch to the second chain and begin to knit 9 double crochet into the 5-chain arc we made in the previous round, then knit a single crochet into the 4-chain arc. We repeat the same procedure until we finish. Finally we knit 3 chain stitches and slip a single crochet into the next stitch, repeat until finished.
Lastly we decorate with a ribbon and join the two pieces together.
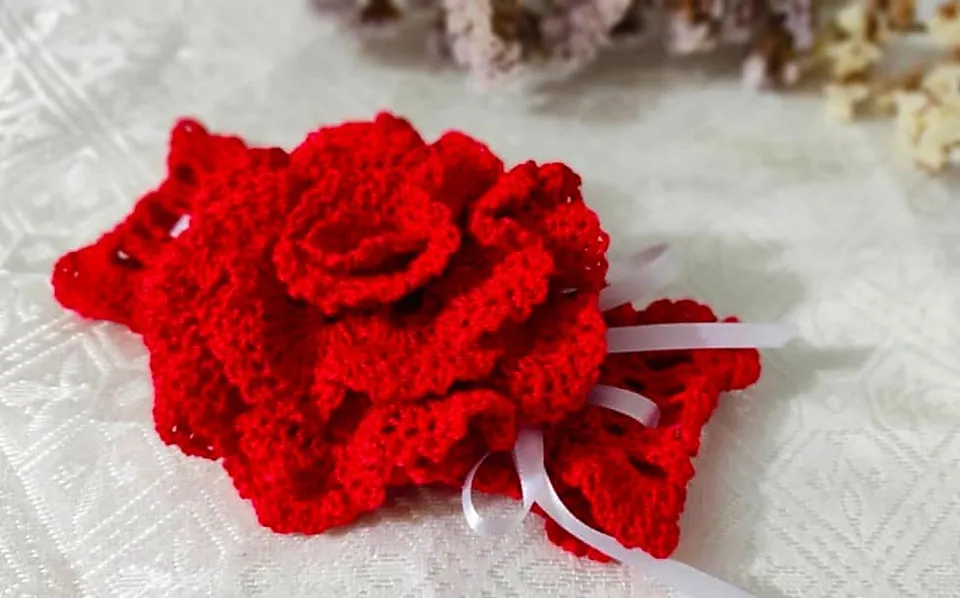
Como ven amigas es muy sencillo de elaborar, solo les digo que esta hermoso y que espero que llegue el día de podérselo ver puesto a mi sobrina hermosa.
Espero que les haya gustado y que lo hagan para sus seres queridos. Ahora no me canso de verlo y solo puedo soñar con ese día.
Les digo hasta pronto, cuídense mucho y disfruten la vida que es bella.
As you can see friends is very simple to make, just tell them that this beautiful and I hope that the day comes to be able to see it put on my beautiful niece.***
I hope you liked it and that you will make it for your loved ones. Now I can't get enough of it and I can only dream of that day.
I say see you soon, take care of yourselves and enjoy life that is beautiful.