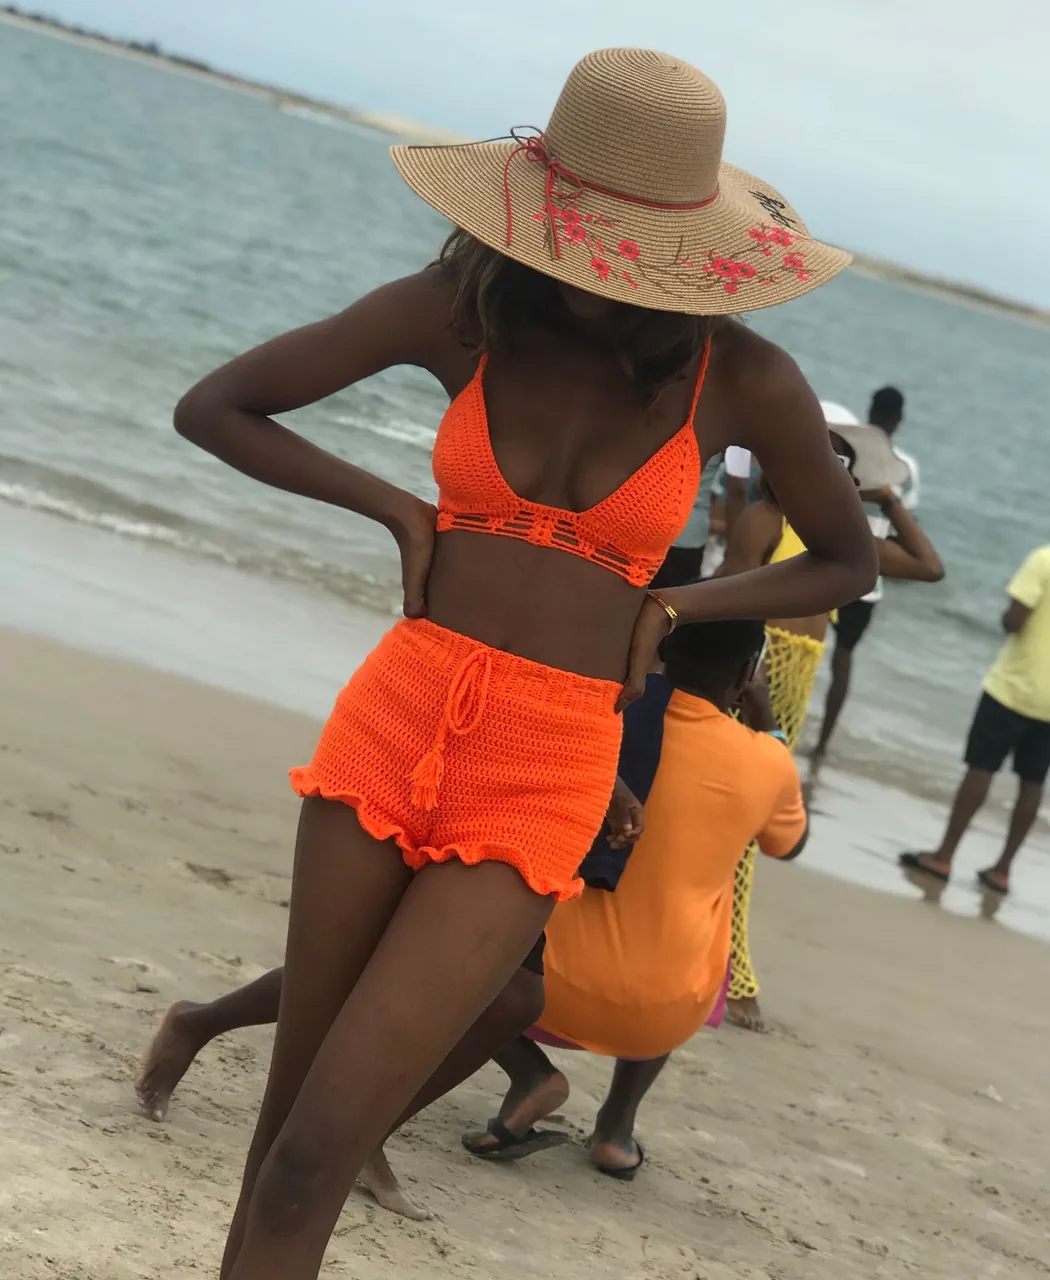
Hello everyone. Welcome back to my blog. Today I'll be sharing the process I used in achieving this booty short. I made this short sometime ago for an outing with my friends.
The initial idea for this short was supposed to be a bit longer but because I had to do it in a hurry, I decided to make it a booty short with ruffles which also worked for the purpose I needed it for.
Terms
RW - Row
SC - single crochet
DC - double crochet
HDC - half double crochet.
Materials
Any medium weight yarn ( I used 100% acrylic yarn)
Size 3.5mm crochet hook
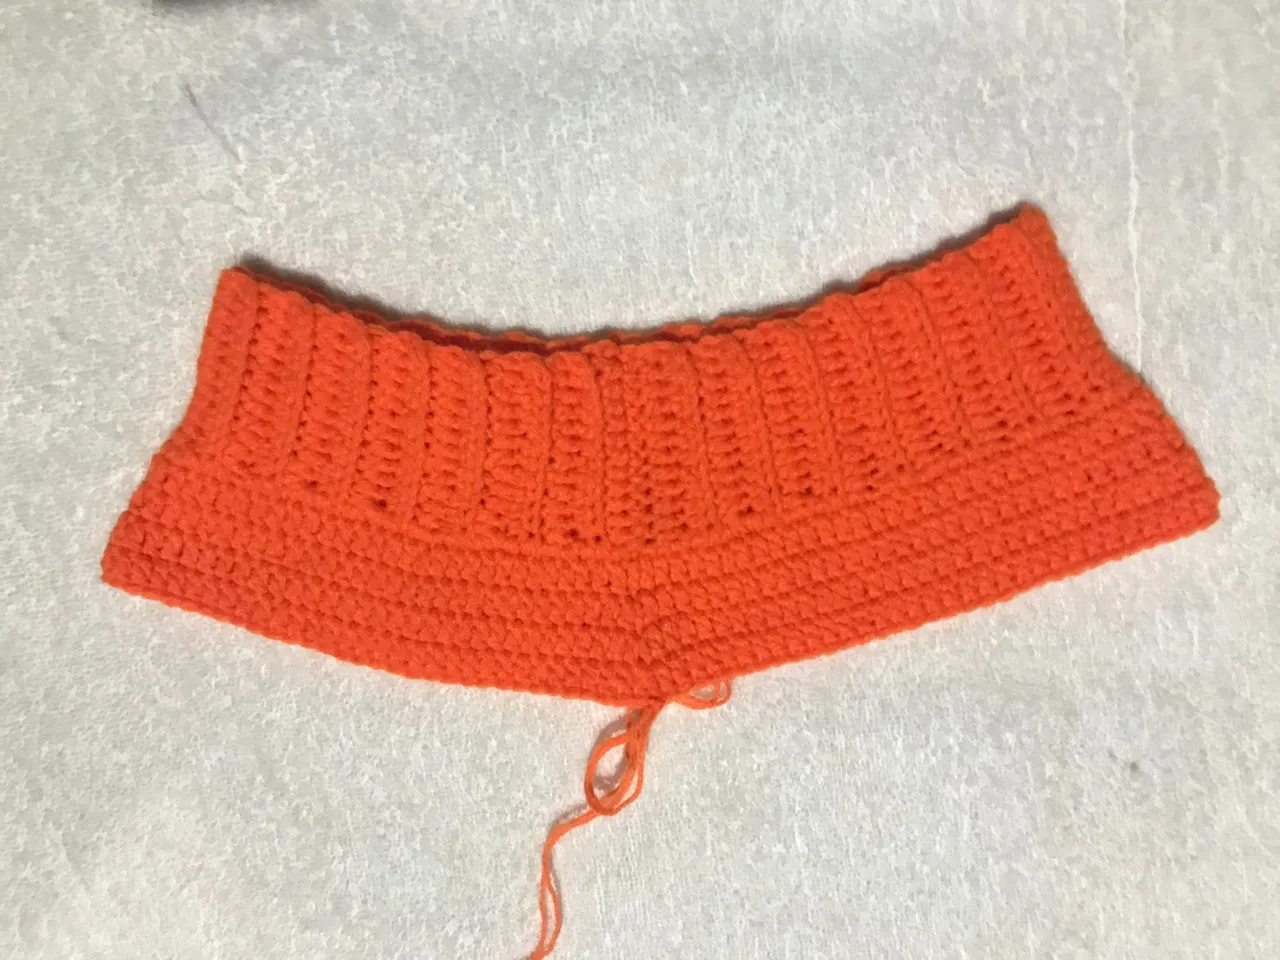
Step 1: THE WAIST BAND
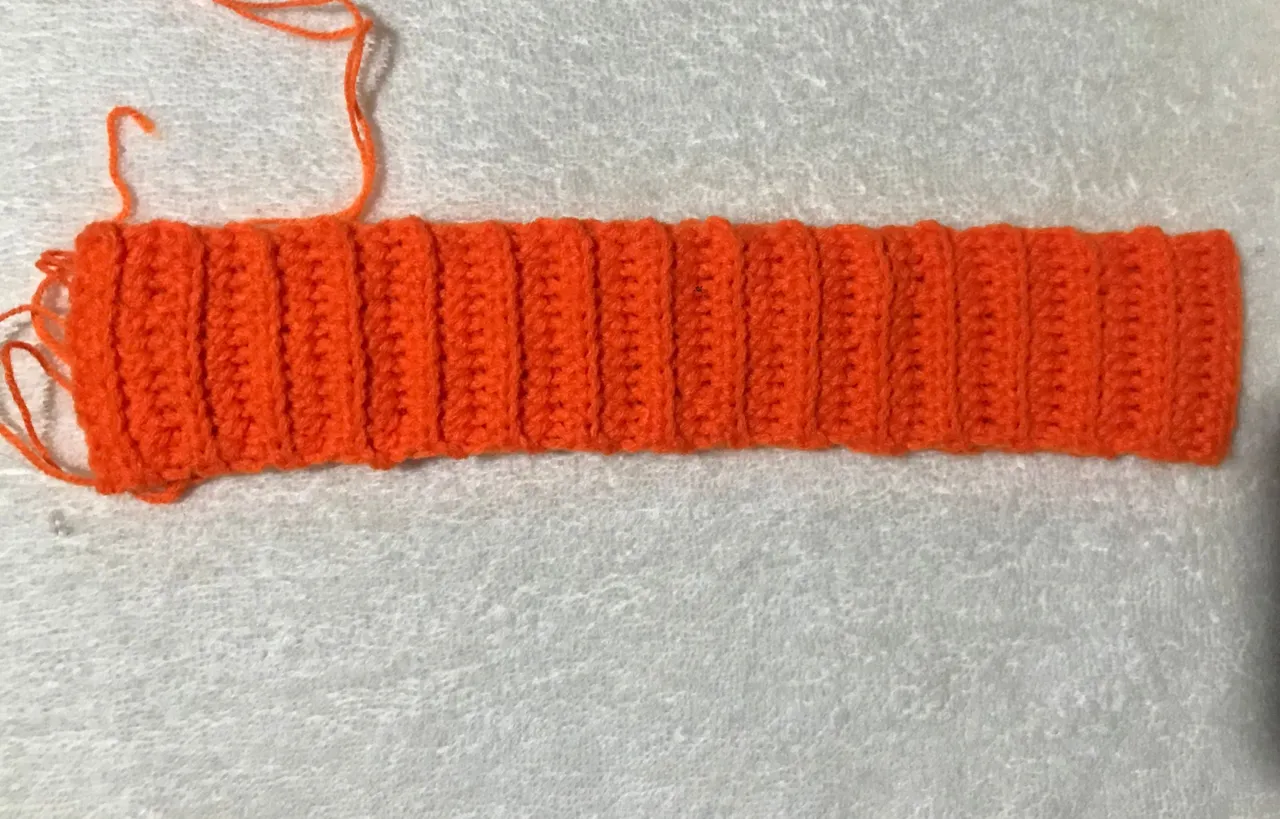
RW 1: I started by making 12 chains that were 3inches long. Then I went back to it with Hdc. When I got to the end of the RW, I chained 1 and turned.
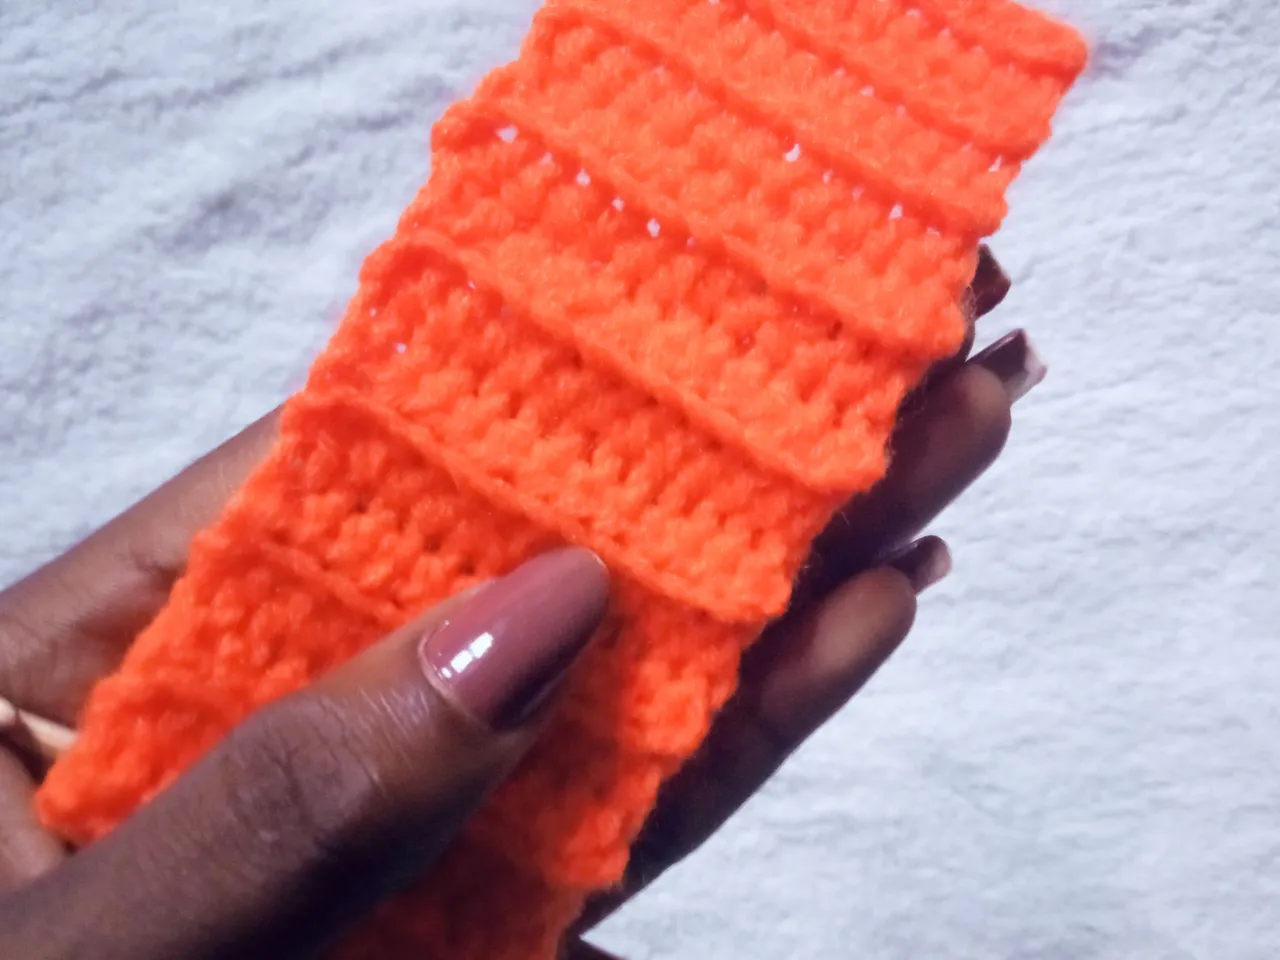
RW 2: to continue on RW 2, I inserted 1 Hdc in the back loop only from the previous RW. This is to give it some sort of a ribbed effect.
RW 3 - 60: I repeated the process of doing back loop Hdc till I had 60 rows. Which was 24.5 inches when stretched which is equal to my waist measurement.
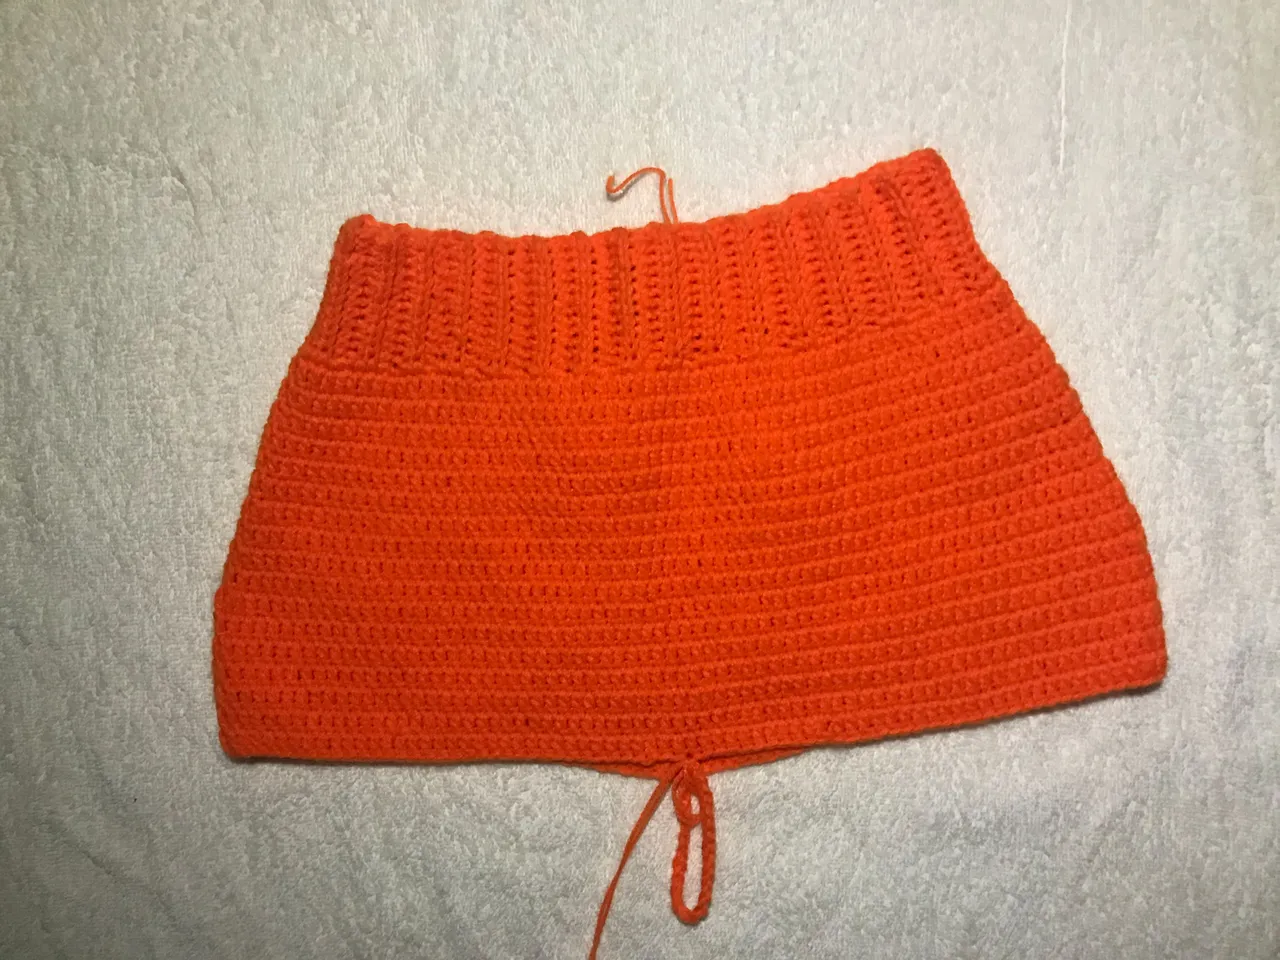
Step 2: THE SHORT
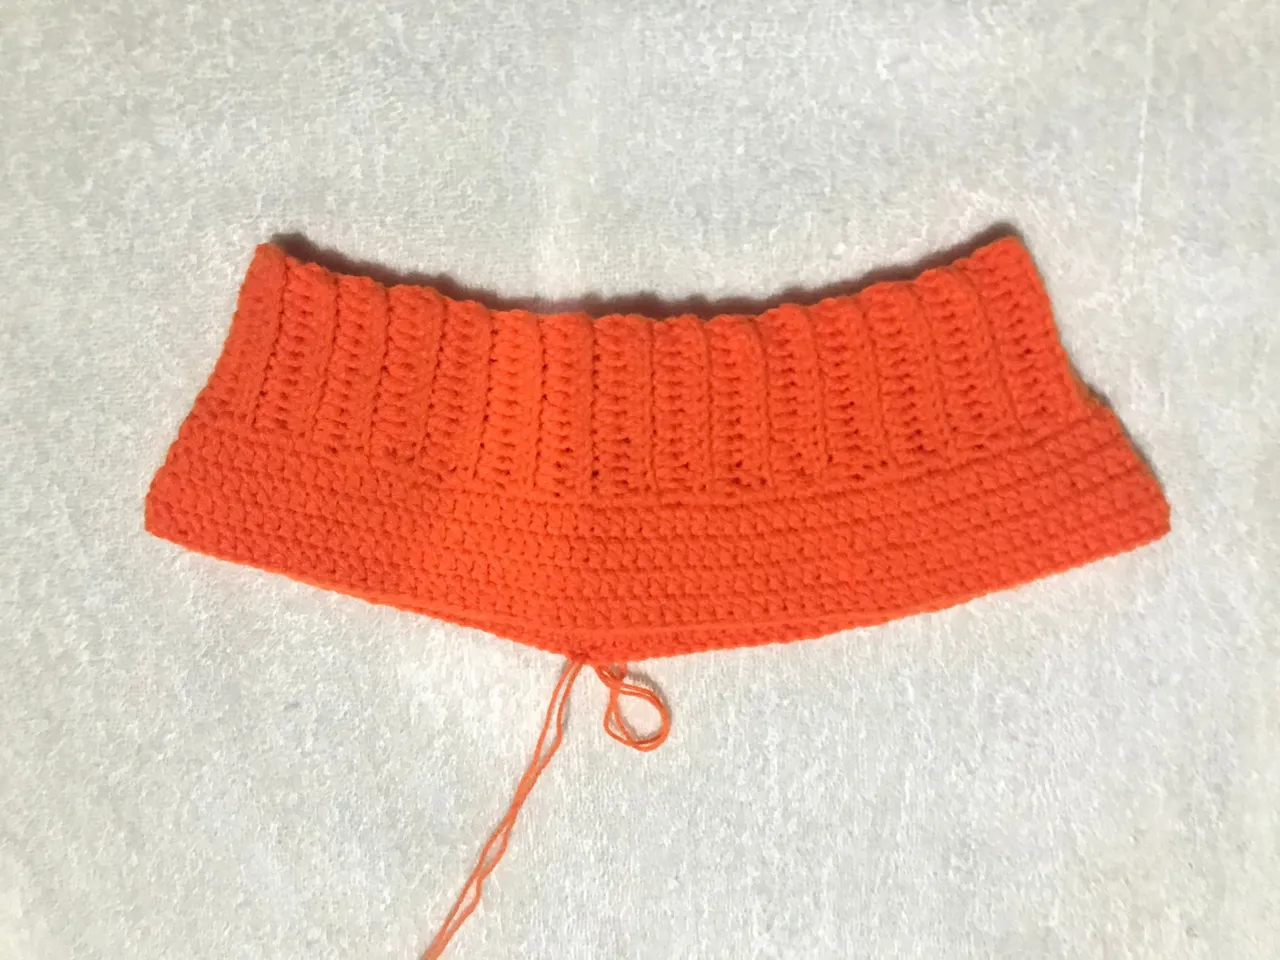
After I had gotten my waist measurement I joined it using SC joining.
RW 1: to start on the short, I made 2 SC in every Hdc row. This is the base row and it is done because I used the waist measurement for the band. So there has to be enough space with the short to enable it to pass through the hips.
Rw 2 - 3 : I used Dc and worked in rounds for the remaining part of the short. Here I inserted regular Dc in every stitch from the previous, then i closed up the row and repeated the same for Rw 3
Front view
Back view
Rw 4 - 13: from Rw 4 I started to increase to accommodate the hips. I did 2 increases on each side of the short, making a total of 4 increases. Rw 5 was done without any increase. The pattern is 1 Rw of increase and 1 regular row.
Rw 14-17: I did regular Dc for Rw 14 - 17. At this point the length of the short was about 10 inches which was time for me to separate the legs. So I made 20 chains and connected it in the exact middle on the other side.
RW 17-22: Now I just have to work on one side of the leg hole then move to the other side. I did a total of 5 Rws before the ruffle and I made 3 decreases on each of the 5 Rws.

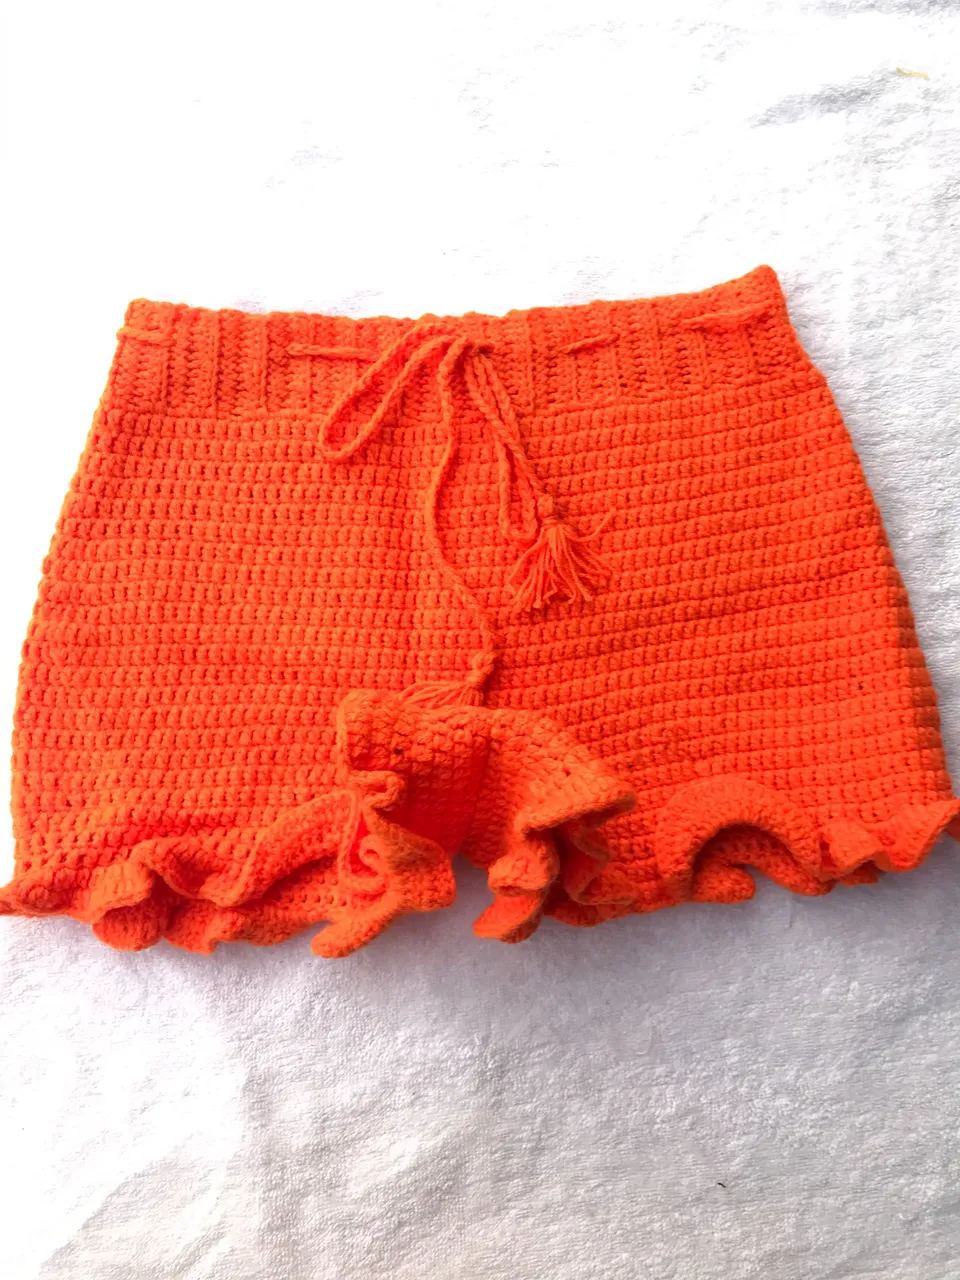
Step 3: THE RUFFLES
RW 1: For the ruffles I made 2 DC in every stitch from the previous Rw
RW 2: I did 2 DC in a stitch, the next stitch gets just 1 DC and I repeated that till the end of the RW.
I did just 2 Rws for the ruffles but if I wanted to make it longer. The subsequent Rws will have just regular DC in every stitch.
Here's the final look. I hope you like it
Thanks for stopping by ❤️