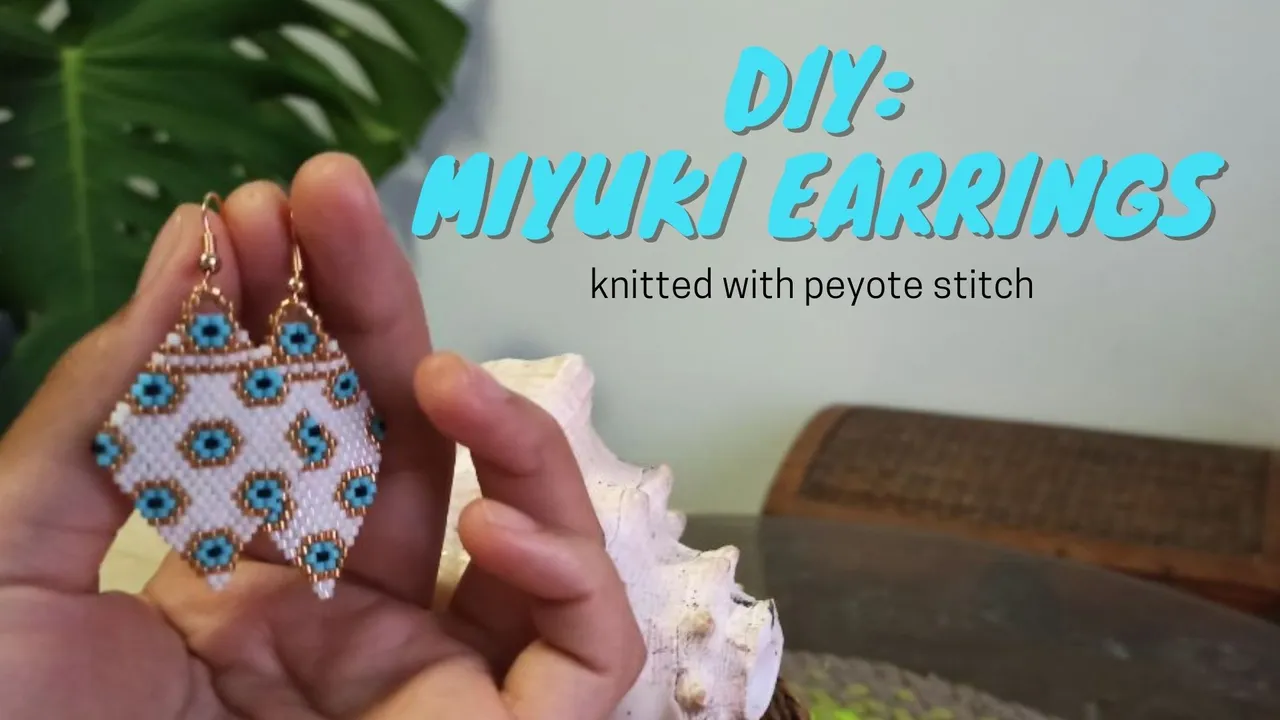
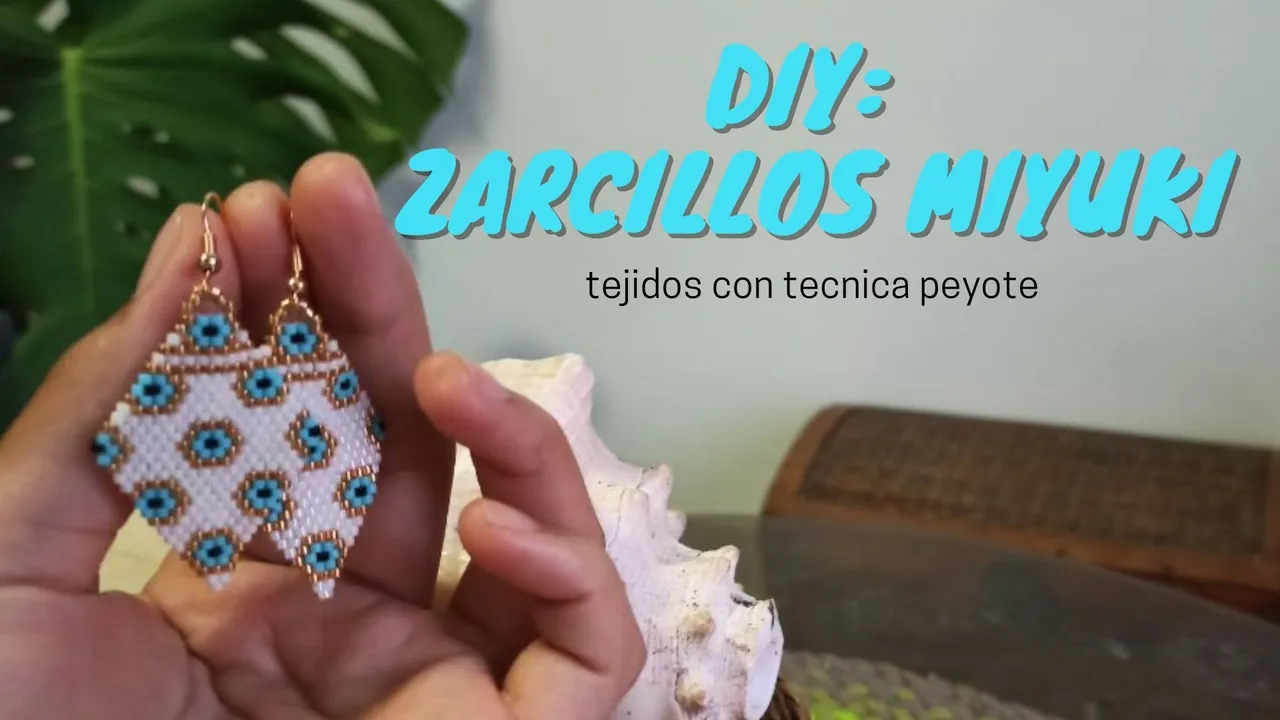
Hello everyone again, I hope this has been a week full of sparkle and good vibes. Today I would like to share the process of creating a pair of tendrils that I made with the peyote stitch technique. I found this particular model a while ago on Pinterest, I had not tried it before because the Miyuki type beads are not very easy to get and the places where you can get them, are somewhat expensive.
This is the first time I finish something made with this technique and the truth is that you have to be very careful to knit with peyote stitch, otherwise, it can become an impossible process. Before this one I made 3 attempts and the truth is that I had lost my patience as well as my faith that I was going to learn. Thank God I am very stubborn and sometimes I just try again because I don't want to give up hehe. Here is the process of my first pair of finished tendrils.
Hola a todos nuevamente espero esta haya sido una semana llena de chispa y buena vibra. El día de hoy me gustaría compartir el proceso de creación de un par de zarcillos que elabore con la técnica del punto peyote. Este modelo en particular lo encontré hace un tiempo en Pinterest, no lo había intentado antes debido a que las cuentas de tipo Miyuki no son muy fáciles de conseguir y los lugares en donde se consiguen, son algo costosas.
Esta es la primera vez que termino algo hecho con esta técnica y es que la verdad son muchos los cuidados que hay que tener para tejer con punto peyote, de forma contraria, puede llegar a convertirse en un proceso imposible. Antes de este realice 3 intentos y la verdad es que había perdido la paciencia además de la fe de que iba a aprender. Gracias a dios soy bien terca y a veces solo lo vuelvo a intentar por no dejarme vencer jeje. Aquí les dejo el proceso de mi primer par de zarcillos acabados.


Materials:
- 2 mt of cream or transparent Nylon for Miyuki weaving;
- 1 fine-headed needle;
- 1gr of Miyuki pearl white color;
- 1 gr of Miyuki gold color;
- 1gr Miyuki light blue opaque;
- 20 Black Miyukis;
- 2 goldfield hooks;
- Love and a lot of patience.
let's start...
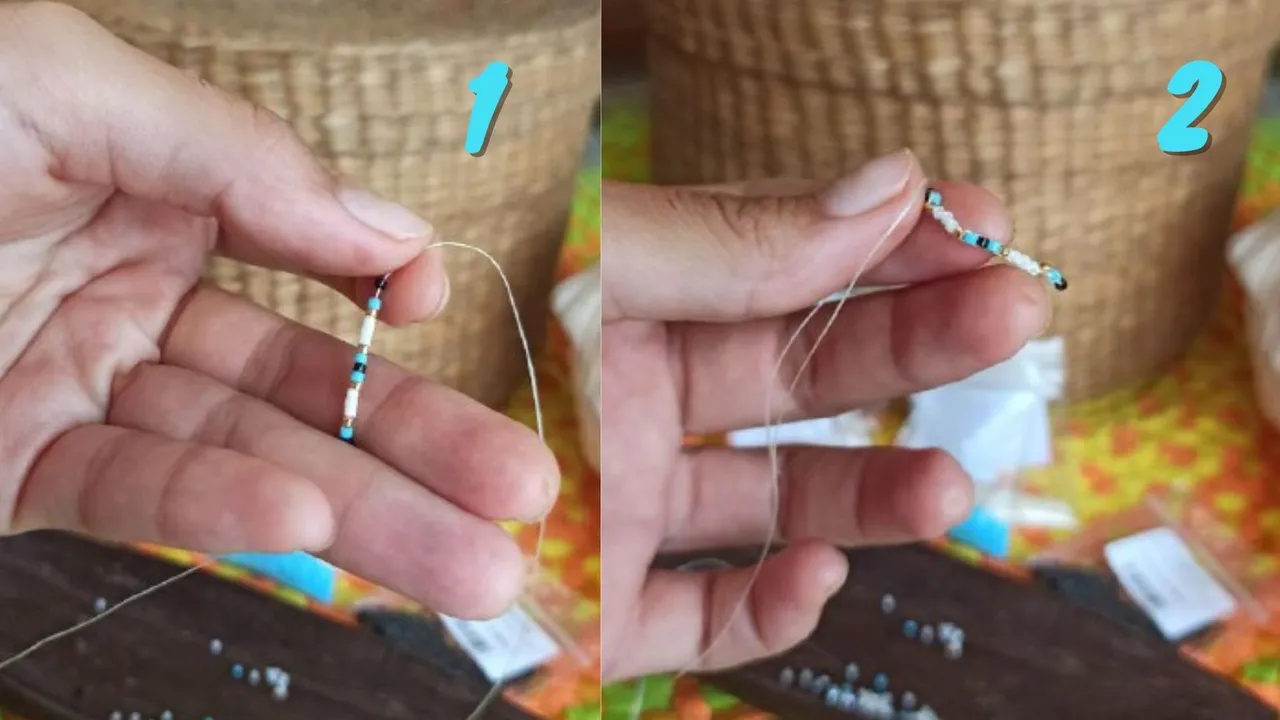
Normally the designs in peyote stitch, start knitting from the widest part of the piece, that is to say, the middle of the whole figure. This fact leaves us two parts to knit, in this case two equal parts but sometimes they can be a pattern that is not necessarily asymmetrical.
I explain this because when the work is divided into two halves what I particularly do, is that the first line I leave it right in the middle of the thread that I cut to make the complete bracelet, this way I avoid unnecessary ties and tips that can cause a loss of thread with normal use.
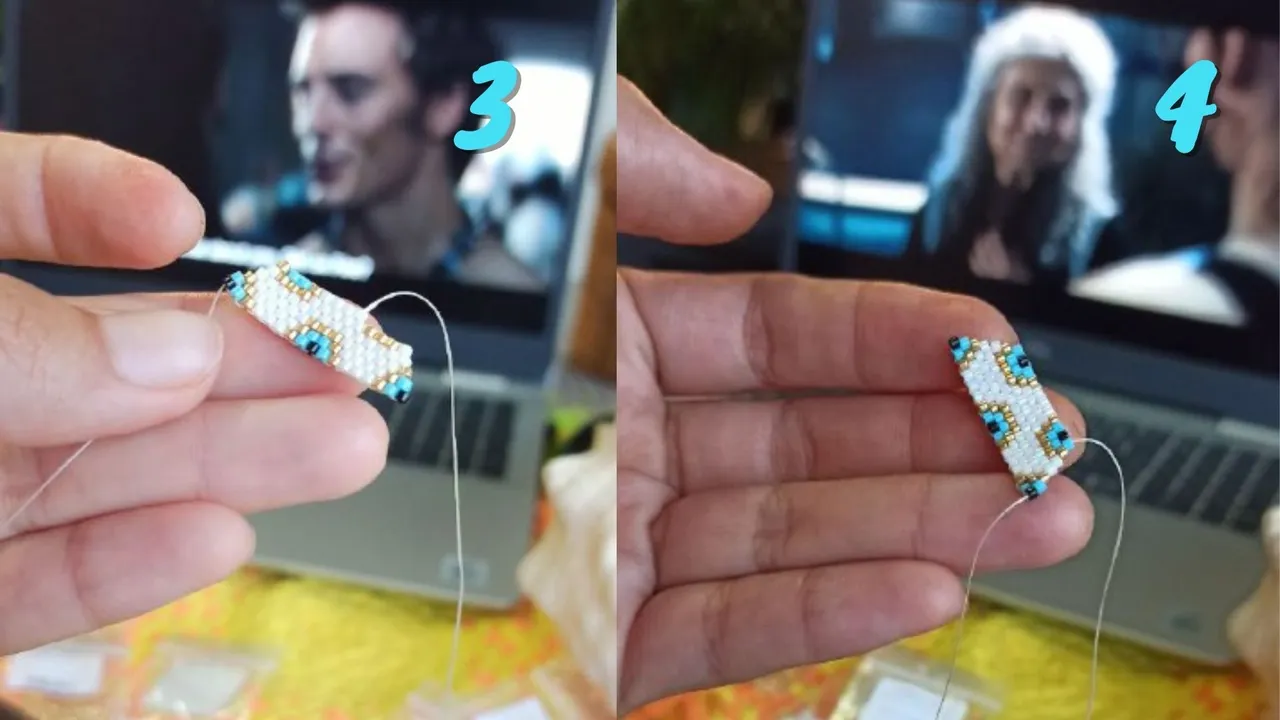
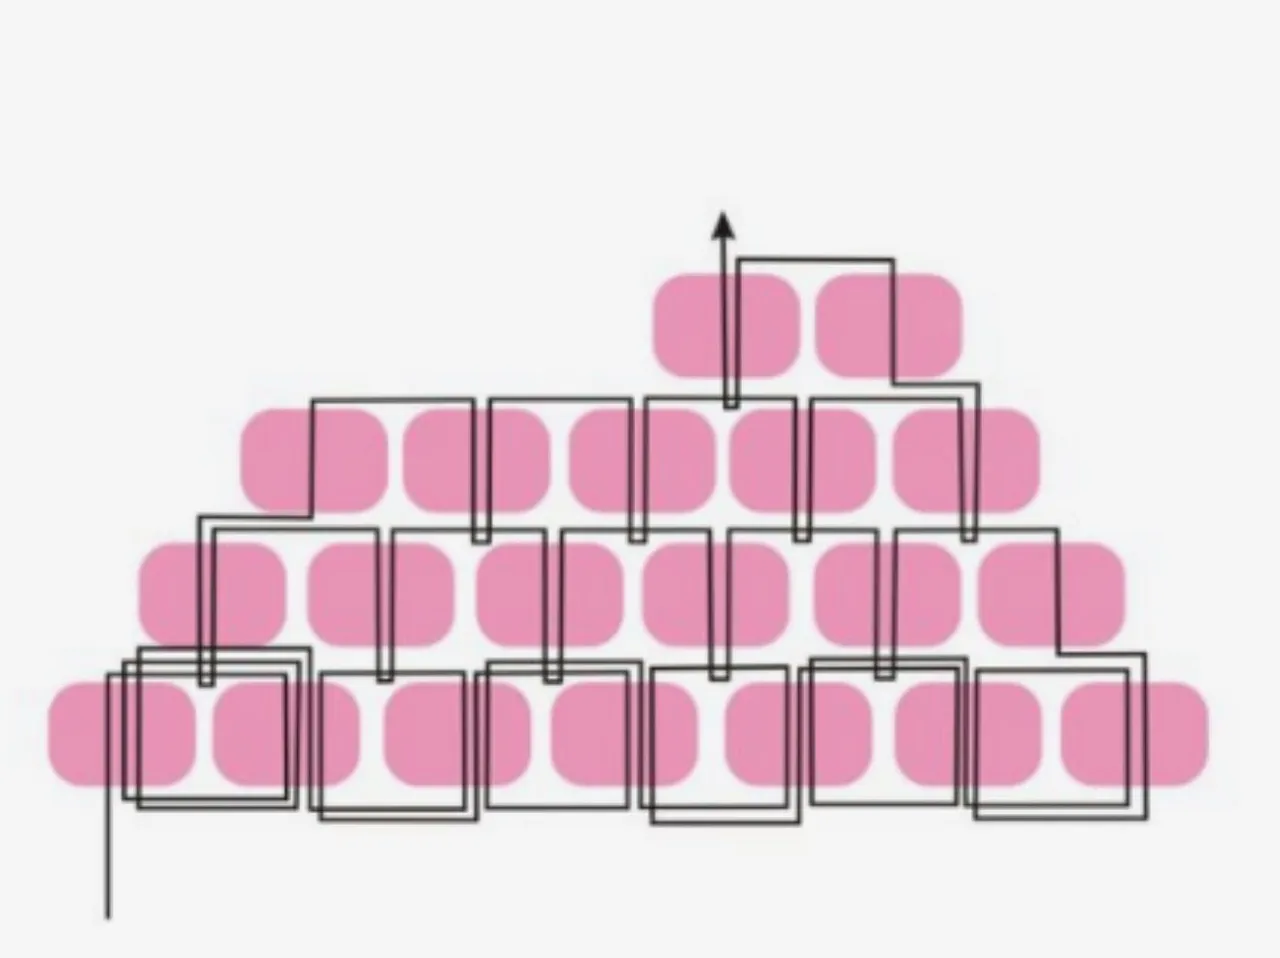
At the end of each line there are two ways to continue, enlarging or reducing a bead, for this pattern they were all reduced, the weave goes from larger to smaller, like a pyramid. That makes it a little easier.
At the end of the upper part, I decided to place a kind of hoop with the same beads (image 5), just for practicality so that the hook of the tendril will fit without any problem.
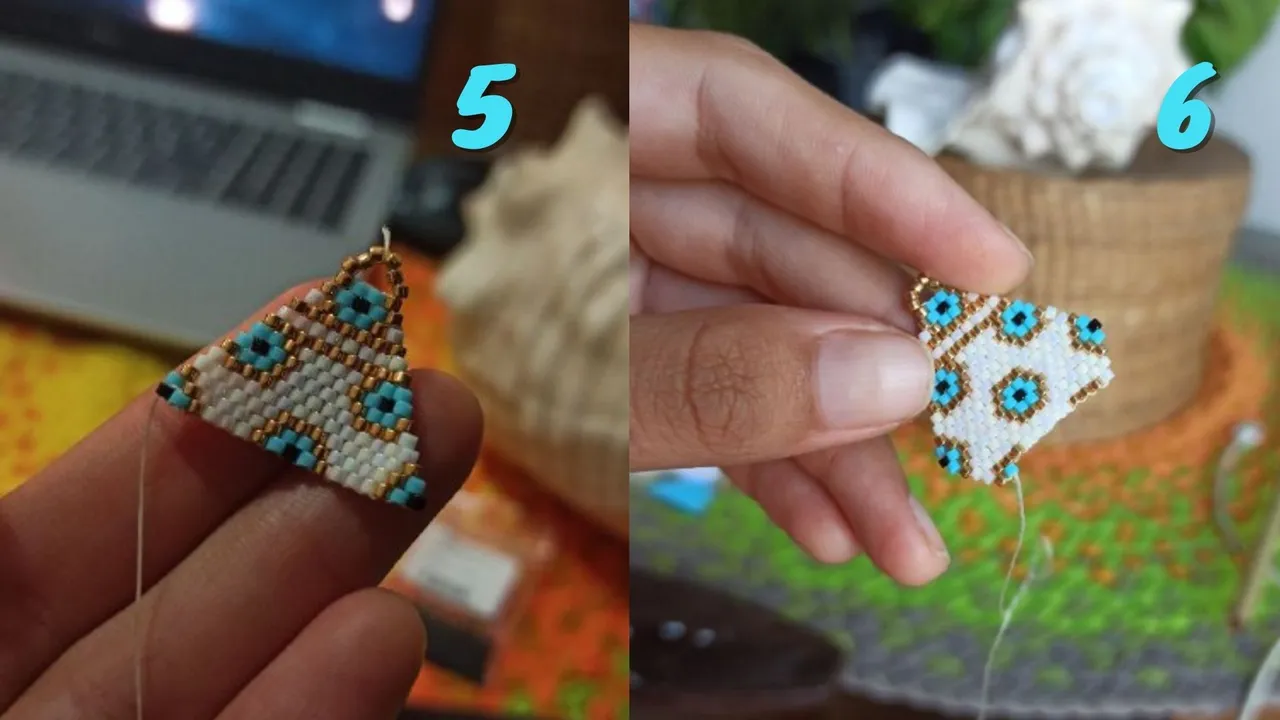
To make the second half, I show how the first step that I mentioned in the first image is very important, the half of the yarn that I left at the beginning, helps me to start without having to tie. For the second half I just start as I did at the beginning, bead by bead until I finish in one at the end of the pyramid.
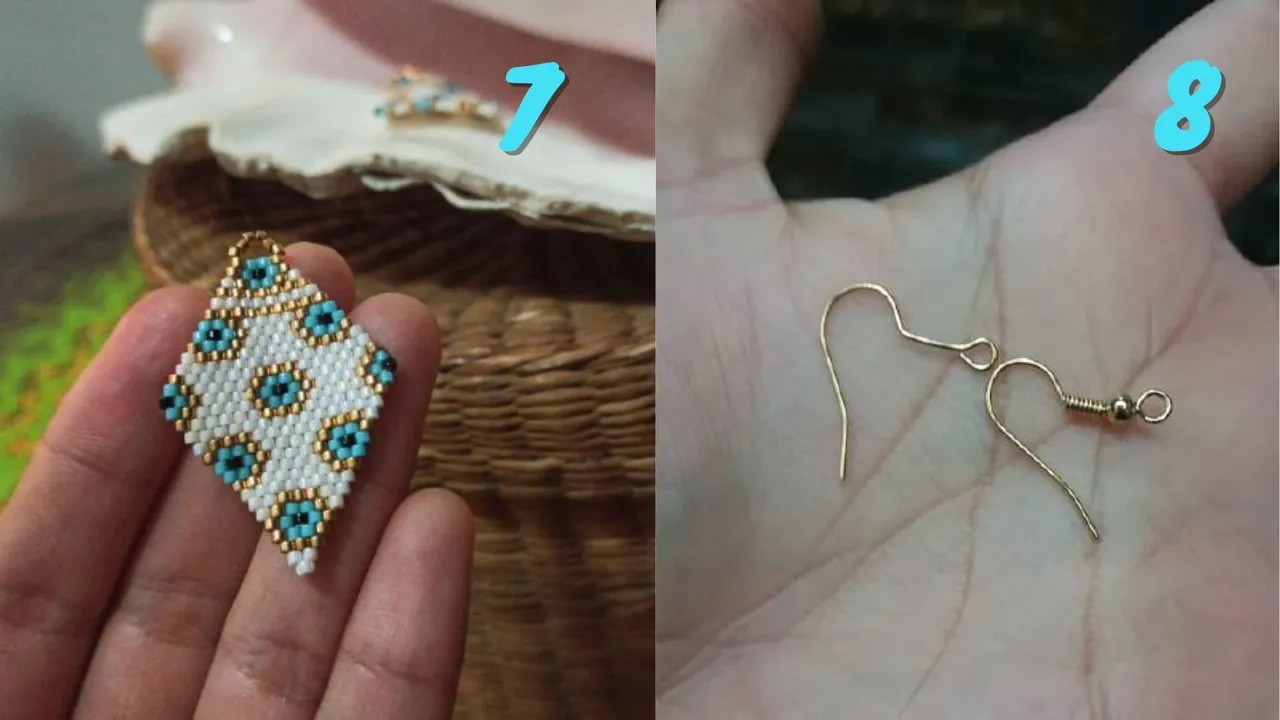
And that's how they turned out. The first tendril I made, I did it without pulling the thread too much but in the second one I tightened it enough and that generated that the beads could not be flat, so it made a curvature that will not be removed unless I disassemble the whole piece hahaha and well that will not happen, I prefer to think that for the next one they will be better.
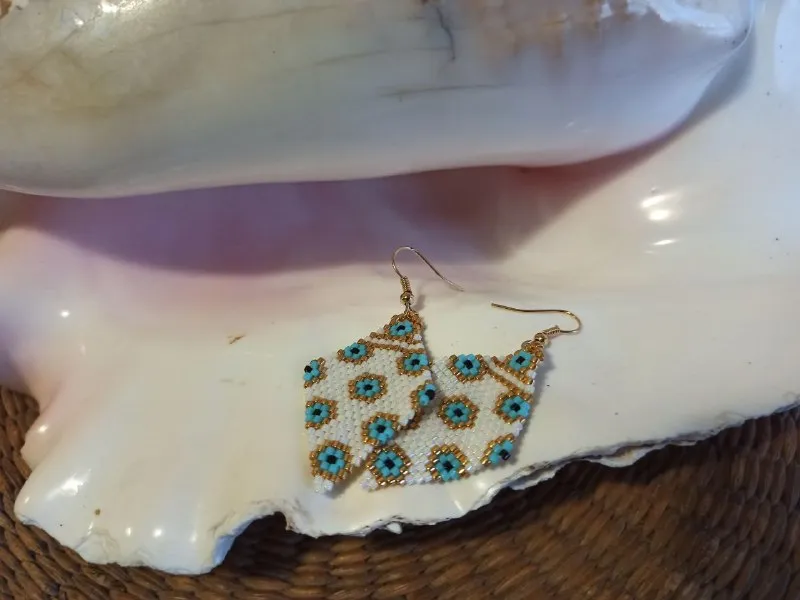
That's all for today, I hope you liked it and also motivated you to create with your hands, weaving moments with beads and nylon. Have a nice weekend. ADIWA!


Materiales:
- 2 mt de Nylon color crema o transparente para tejer Miyuki;
- 1 aguja de cabeza fina;
- 1gr de Miyuki color blanco perla;
- 1 gr de Miyuki color dorado;
- 1gr de Miyuki color azul claro opaco;
- 20 Miyukis de color negro;
- 2 anzuelos de goldfield;
- Amor y mucha paciencia.
Comenzamos...
Normalmente los diseños en punto peyote, se comienzan a tejer desde la parte mas ancha que tenga la pieza, es decir, la mitad de toda la figura. Este hecho nos deja dos partes para tejer, en este caso dos partes iguales pero en ocasiones pueden ser un patron que no necesariamente sea asimétrico.
Explico esto porque al dividirse el trabajo en dos mitades lo que yo particularmente hago, es que la primera línea la dejo justo a la mitad del hilo que corte para realizar la pulsera completa, de esta forma me evito empates y puntas innecesarias que pueden causar una perdida del hilo con el uso normal.
Al finalizar cada línea hay dos formas de seguir, ampliando o reduciendo una cuenta, para este patron todas se reducían, el tejido va de mayor a menor, como en forma de pirámide. Eso lo hace un poco mas fácil.
Al finalizar la parte superior, decidí colocar una especie de arito con las mismas cuentas (imagen 5), esto solo por practicidad para que luego el anzuelo del zarcillo calce sin mayor problema.
Para realizar la segunda mitad, muestro como el primer paso que les comente en la primera imagen, es muy importante, la mitad del hilo que deje al comienzo, me ayuda a comenzar sin tener que empatar. Para la segunda mitad solo comienzo como del principio, cuenta por cuenta hasta terminar en una sola al final de la piramide.
Y LISTO! así me quedaron. Los dos me quedaron ligeramente diferentes en cuanto a la curvatura que se genero por tensar más o menos el hilo. El primer zarcillo que hice, lo hice sin jalar mucho del hilo pero en el segundo lo tense bastante y eso genero que las cuentas no pudiesen quedar planas, por lo que se hizo una curvatura que no se quitará a no ser que desarme toda la pieza jajaja y bueeeeeno eso no pasara, prefiero pensar que para la próxima quedaran mejor.
Esto es todo por hoy, espero les haya gustado y también les haya motivado a crear con las manos, tejiendo momentos con cuentas y nylon. Bonito fin de semana. ADIWA!