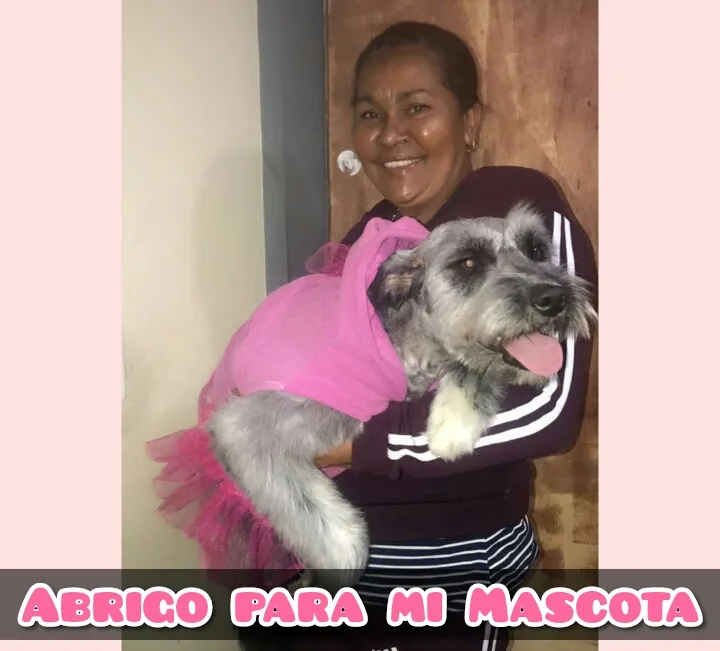
Hola linda comunidad de #Needlework, espero que hoy sea un día agradable para todos, me emociona poder compartir con ustedes un nuevo proyecto de costura, pero antes les cuento que en la ciudad donde vivo hace mucho frío y tengo una linda mascota llamada luna, es una perrita que adoptamos en casa, así que pensando en ella y en sus mascotas decidí utilizar la creatividad y mi máquina de coser para confeccionar un Lindo Abrigo con tela reciclada.
Hello cute #Needlework community, I hope today is a nice day for everyone, I'm excited to share with you a new sewing project, but first I tell you that in the city where I live is very cold and I have a cute pet named luna, she is a little dog that we adopted at home, so thinking about her and her pets I decided to use creativity and my sewing machine to make a Cute Coat with recycled fabric.
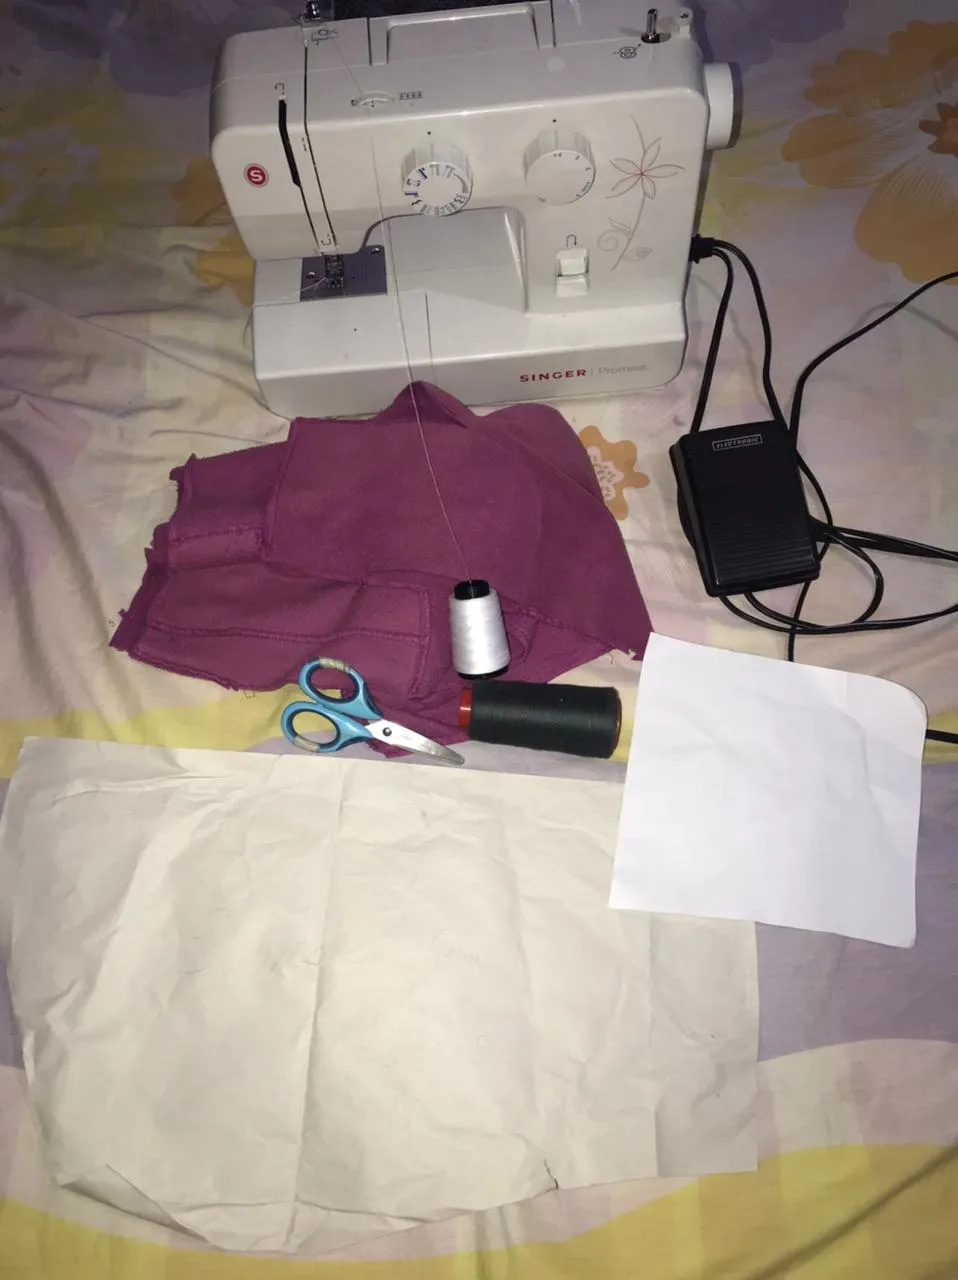
Patrón del cuerpo y del capirucho.
Máquina de coser.
Hilo.
Tijeras
Agujas.
Pattern of body and capirucho.
Sewing machine.
Thread.
Scissors.
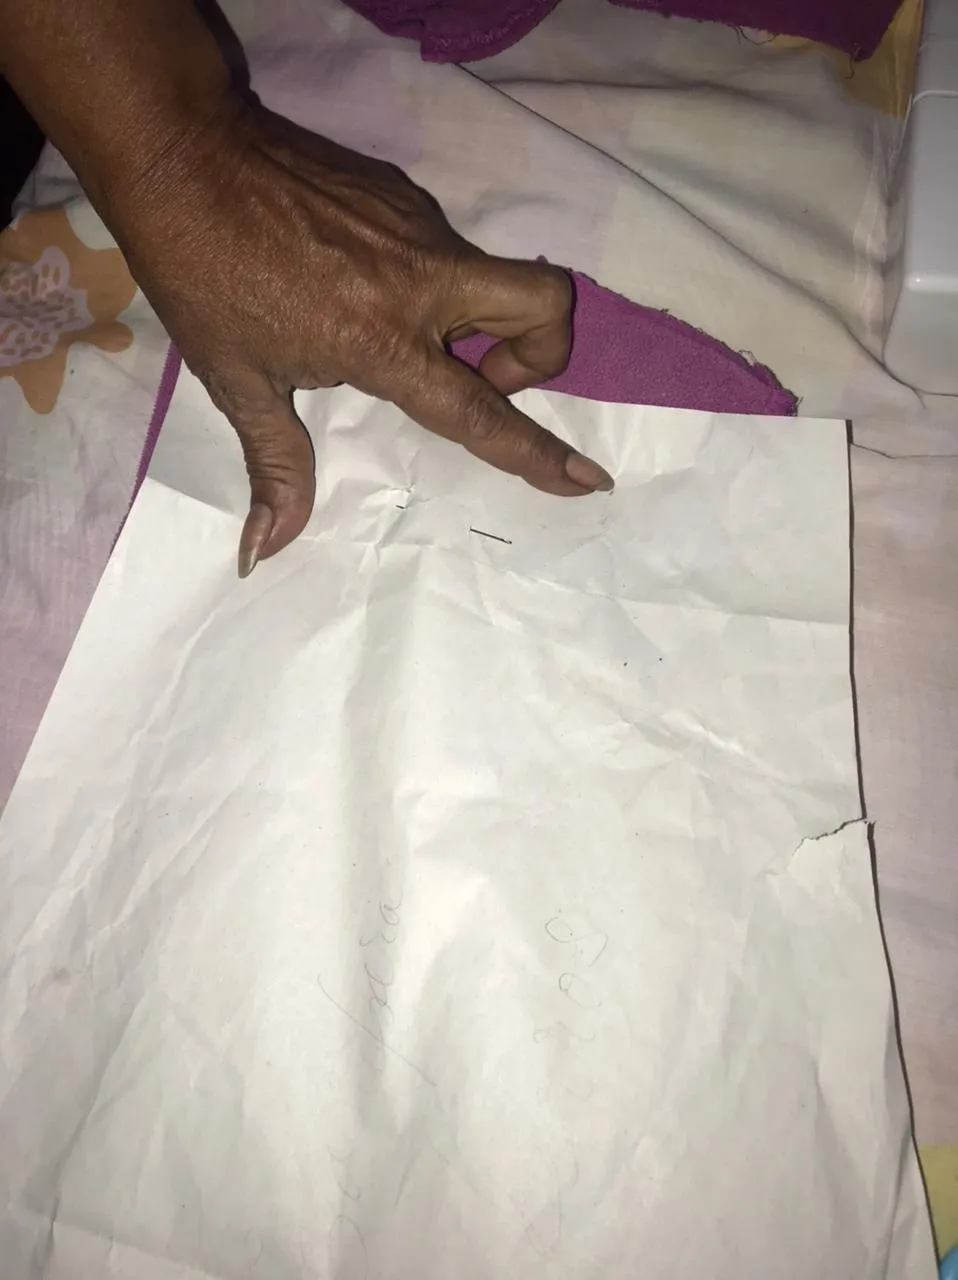
PASO 1:
Sujetamos con alfileres el patrón del cuerpo y la capucha con la tela, la cual vamos a doblar en dos para sacar una pieza completa.
STEP 1:
We pin the pattern of the body and the hood with the fabric, which we are going to fold in two to get a complete piece.
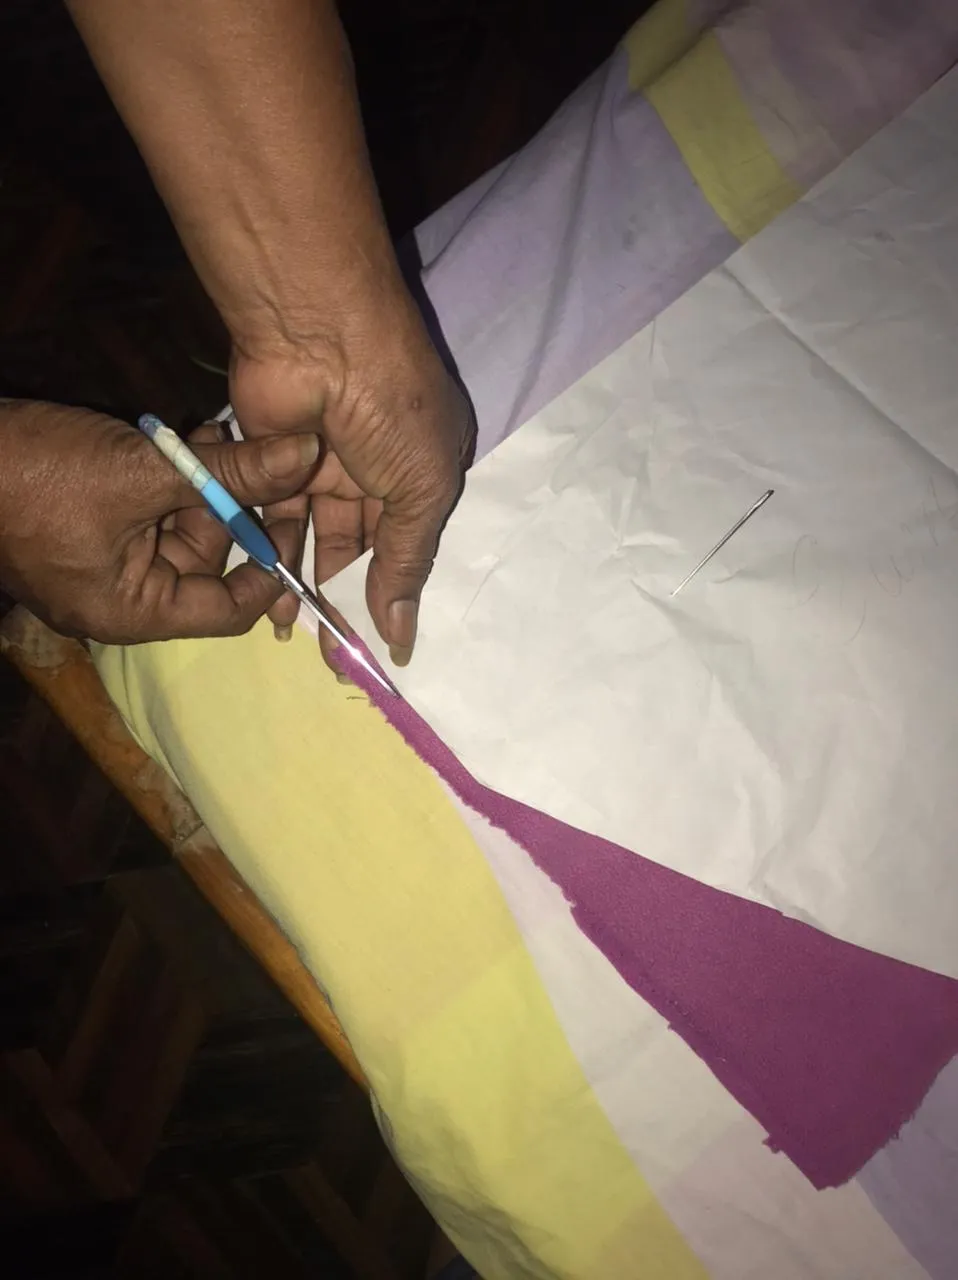
PASO 2:
Recortamos la tela, en éste caso no dejé el cm de costura porque ya lo tiene el patrón.
STEP 2:
Cut out the fabric, in this case I did not leave the cm of seam because the pattern already has it.

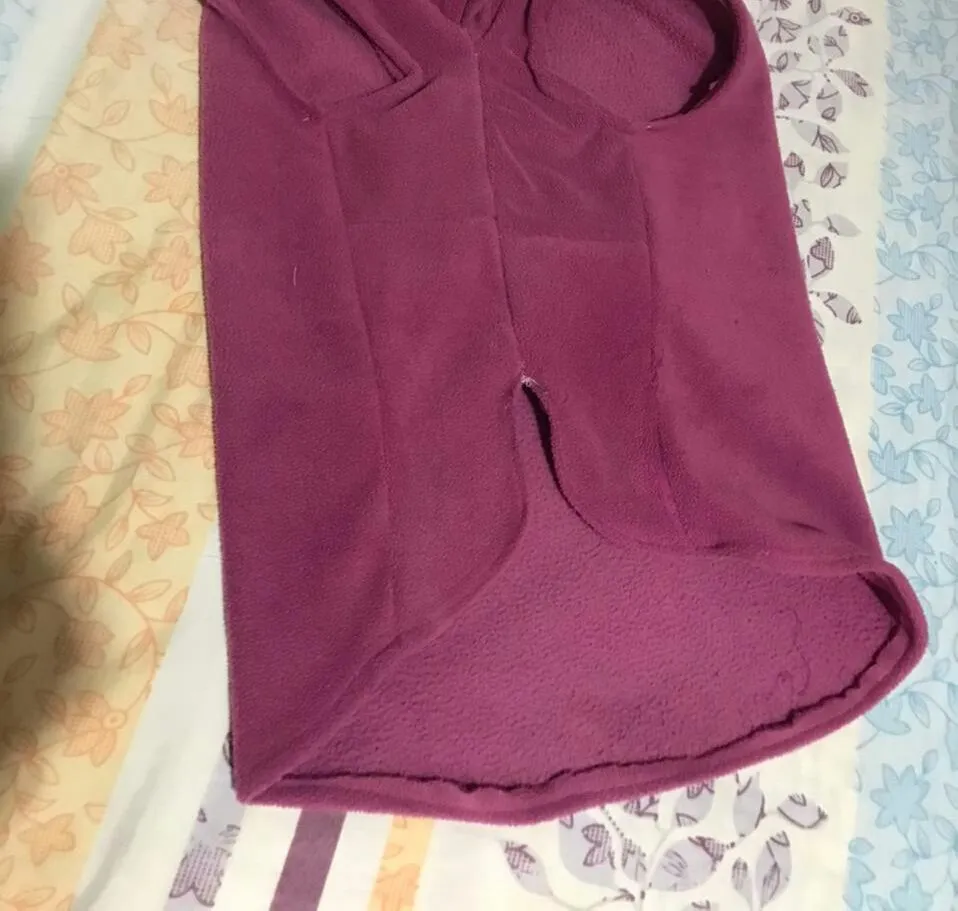
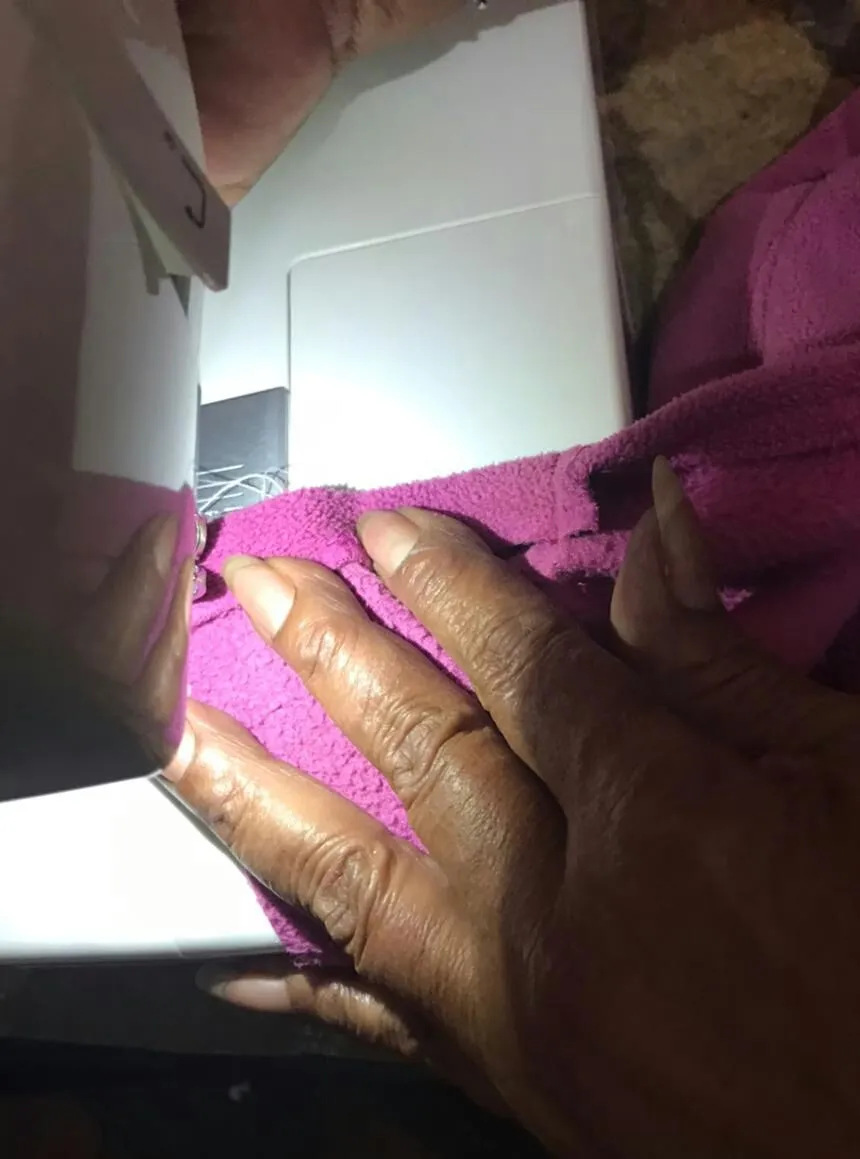
PASO 3:
Cosemos la parte del pecho y dejamos los dos agujeros para las patas delanteras. Le hacemos los ruedos a las mangas y a toda la orilla trasera.
STEP 3:
We sew the chest part and leave the two holes for the front legs. We make the hems on the sleeves and all the back edge.
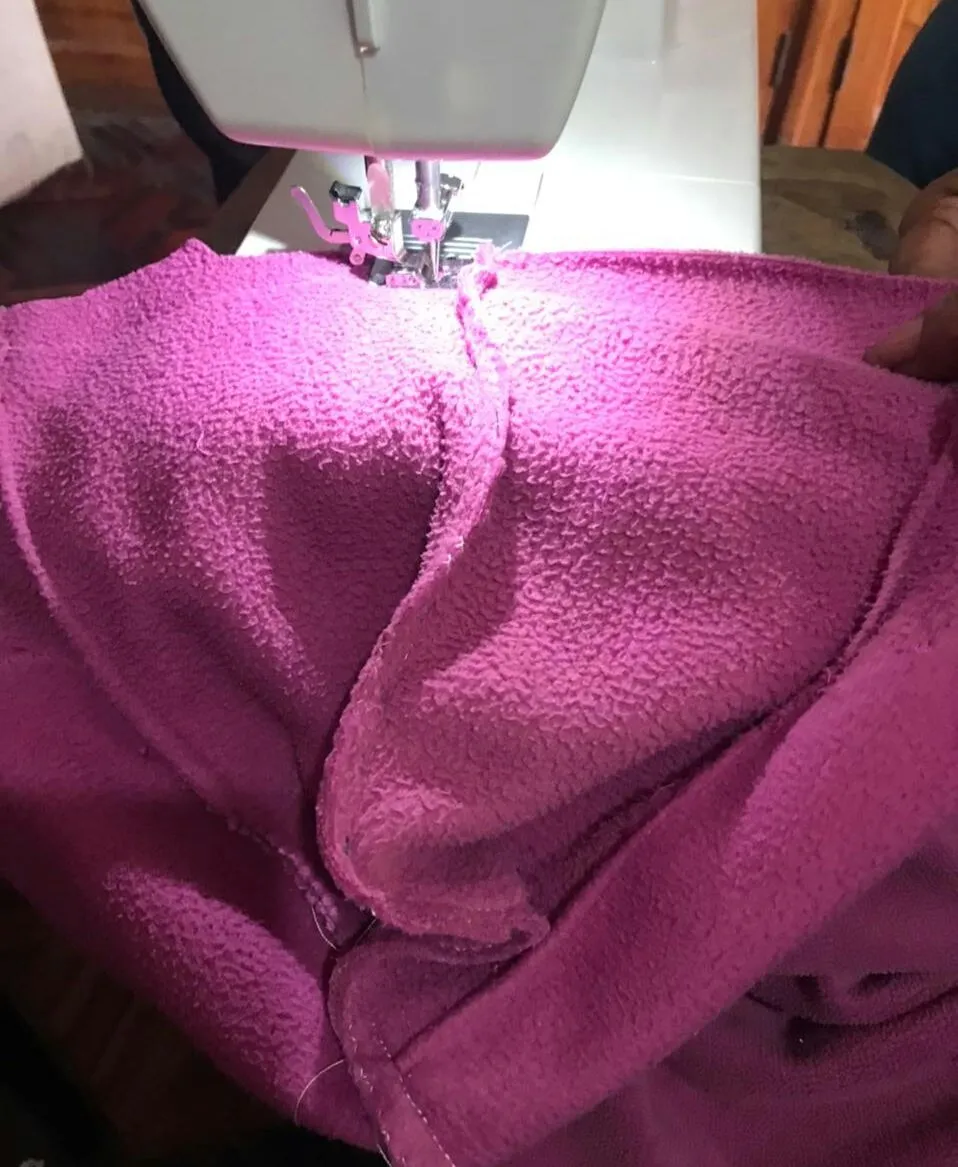
PASO 4:
Después cosemos la capucha y le hacemos el ruedo.
STEP 4:
Then we sew the hood and make the hem.

PASO 5:
Por último le Cosemos un pequeño tutu en los bordes traseros del abrigo.
STEP 5:
Finally we sew a small tutu on the back edges of the coat.


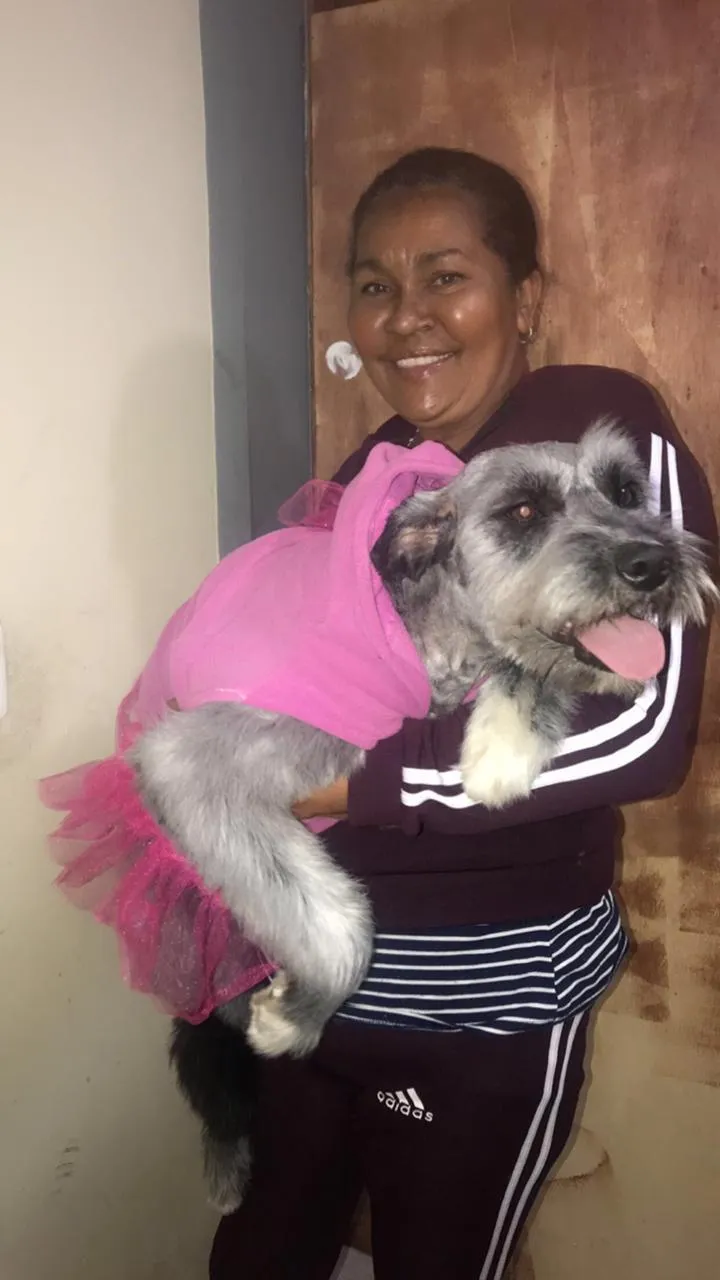

Gracias por leer mi post, será hasta una nueva publicación.
Thank you for reading my post, it will be until a new publication.