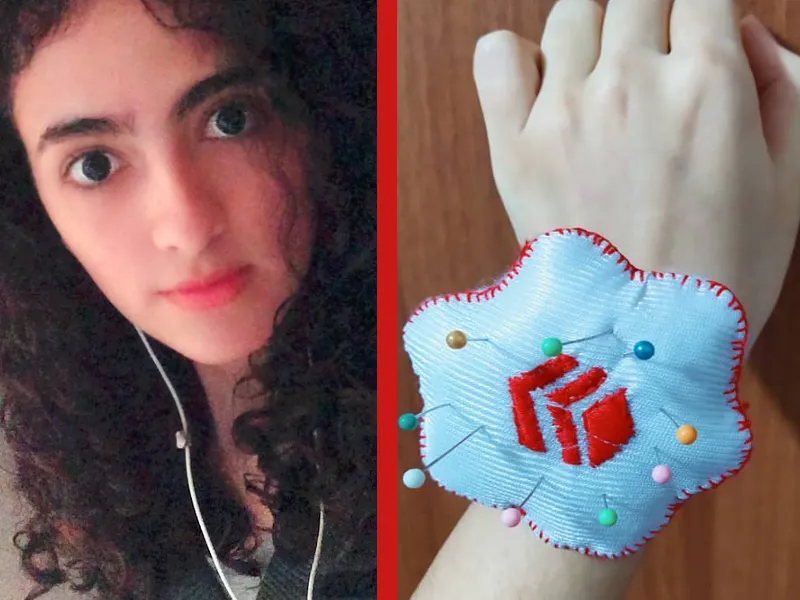
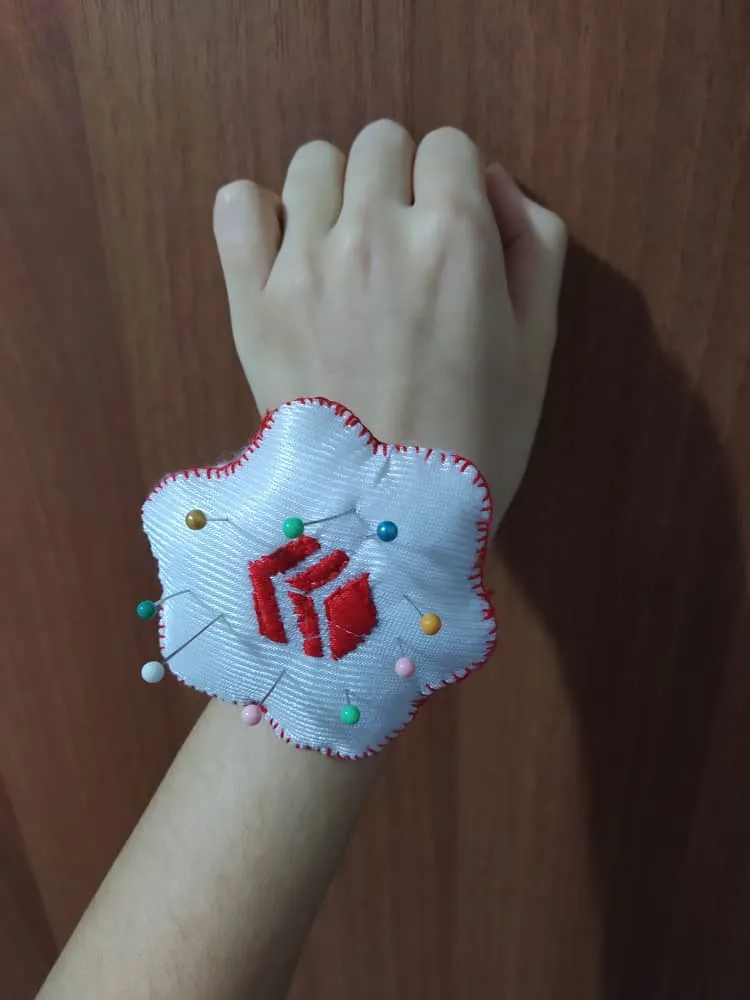
Hello, this is my first project for this community of needle lovers and it occurred to me to make a pincushion with the Hive logo, a platform for which I am very grateful for the support and receptivity that I have received from all its members.
Hola, este es mi primer proyecto para esta comunidad de los amantes de la aguja y se me ocurrió hacer un alfiletero con el logo de Hive, una plataforma que le estoy muy agradecida por el apoyo y receptividad que he recibido por todos sus miembros.
Used materials:
-White cloth.
-Scissors, cookie cutter and pencil.
-Needle and red embroidery thread.
-Elastic tape.
-Wadding.
Materiales usados:
-Tela blanca.
-Tijeras, cortador de galletas y lápiz.
-Aguja e hilo de bordar rojo.
-Cinta elástica.
-Guata.
Process:
1) We mark with a pencil on the fabric the figure chosen for the pincushion, in this case I took a cookie mold in the shape of a flower that I already had, but the figure is of your choice.
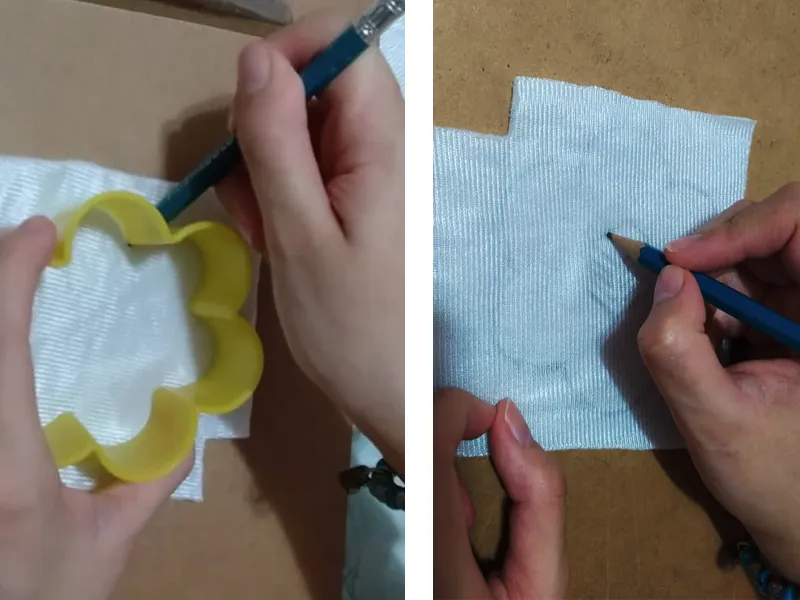
Marcamos con lápiz en la tela la figura elegida para el alfiletero, en este caso yo tomé un molde de galletas en forma de flor que ya tenía, pero la figura es de su elección.
2) Then we draw the Hive logo.
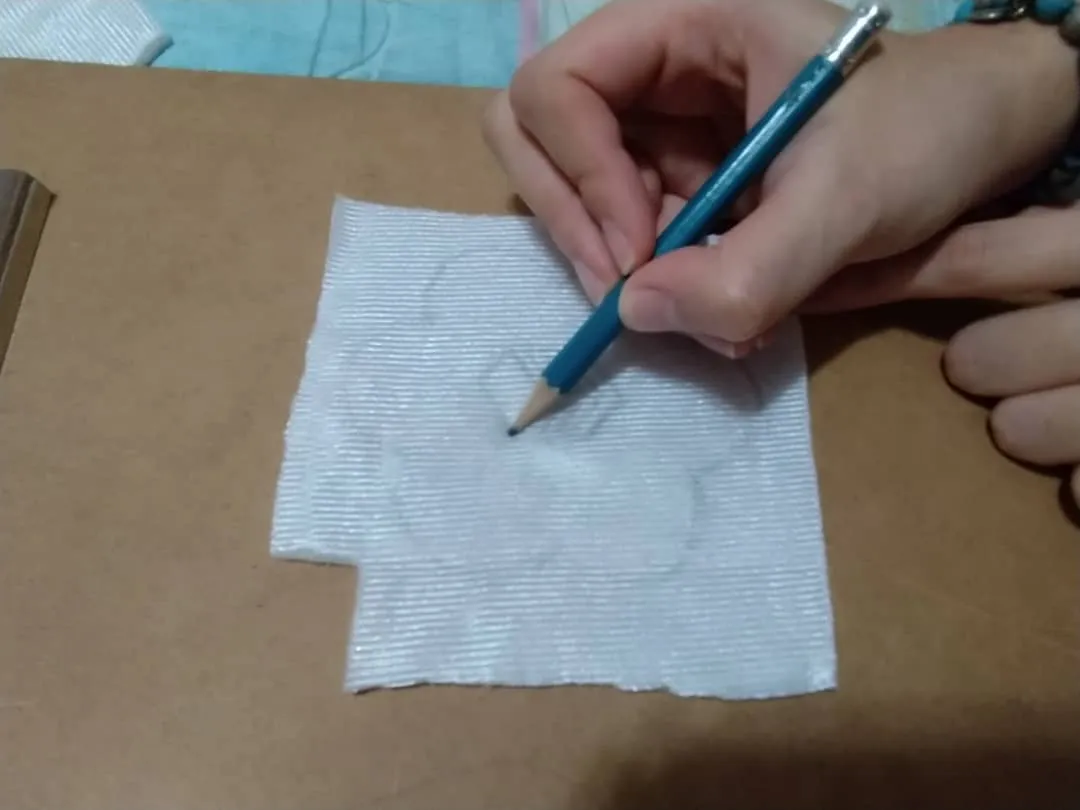
Luego a mano alzada dibujamos el logo de Hive.
3) With a needle and red thread we proceed to embroider the figure, trying to cover the entire logo.
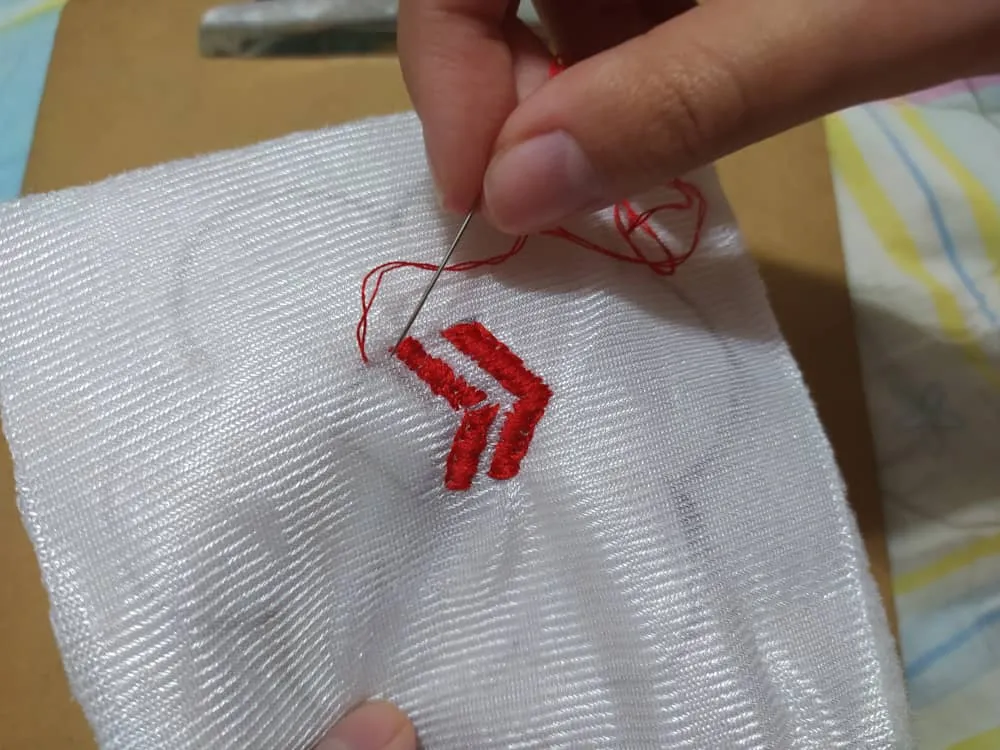
Con aguja e hilo rojo procedemos a bordar la figura, tratando de cubrir todo el logo.
4) Cortamos la figura y luego la enfrentamos con otro trozo de tela para hacer la base y cortamos la tela.
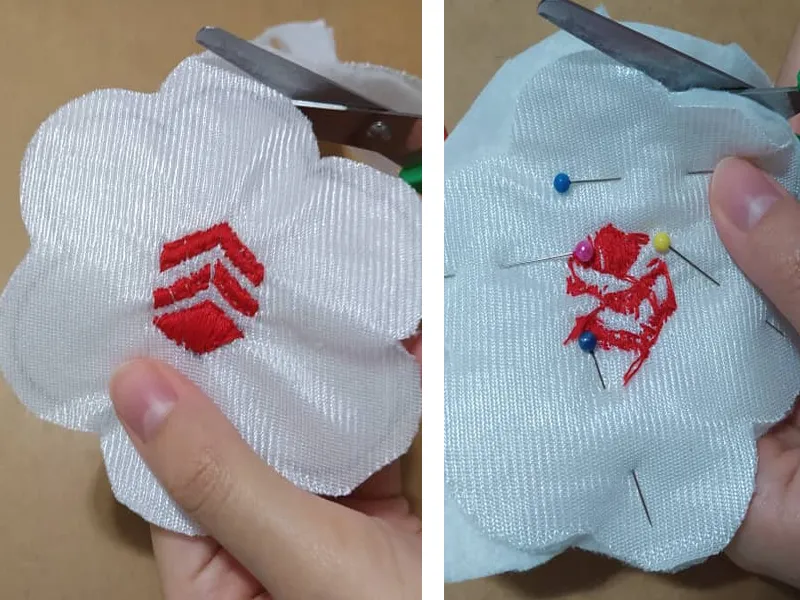
We cut the figure and then we face it with another piece of fabric to make the base and cut the fabric.
5) We sew with a needle and white thread along the edges, leaving a small space without sewing where we are going to turn.
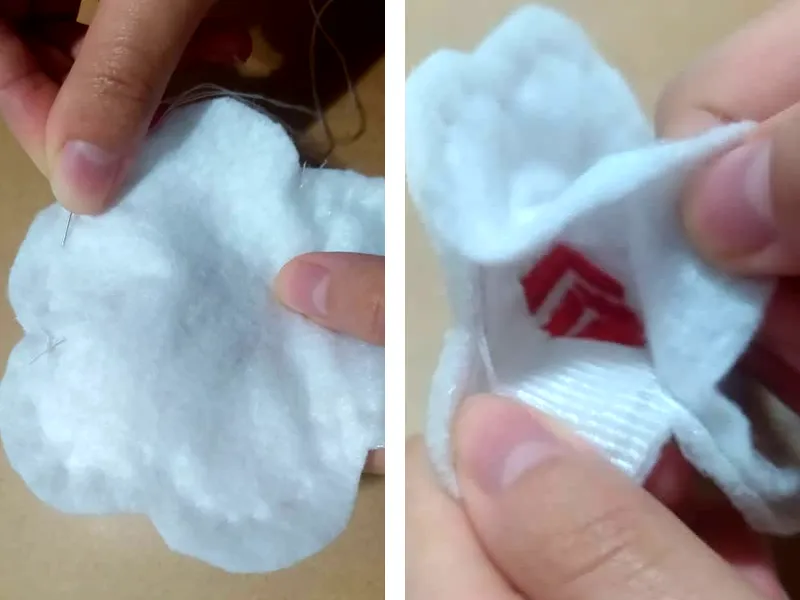
Cosemos con aguja e hilo blanco por los bordes dejando un pequeño espacio sin coser por donde vamos a dar vuelta.
6) After turning the pincushion, we stuff it with wadding to make it padded.
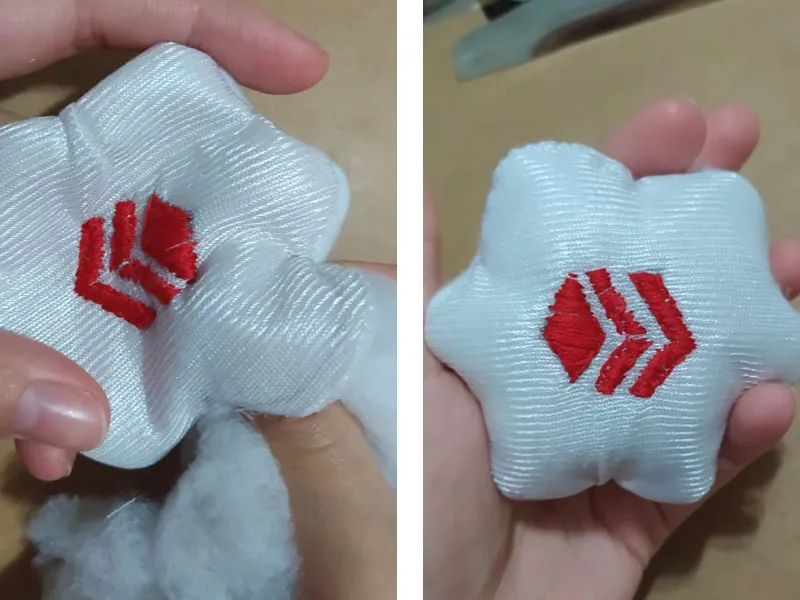
Luego de dar vuelta al alfiletero le introducimos guata para que quede acolchado.
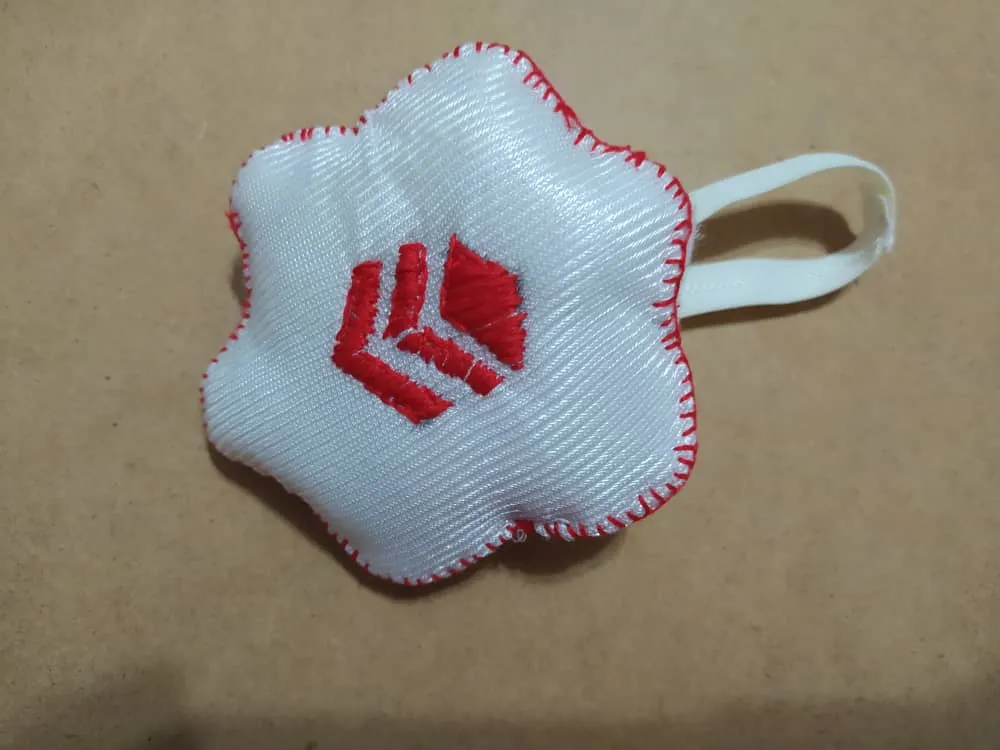
7) We measure the wrist arm and cut the elastic tape, then we sew it to the pincushion.
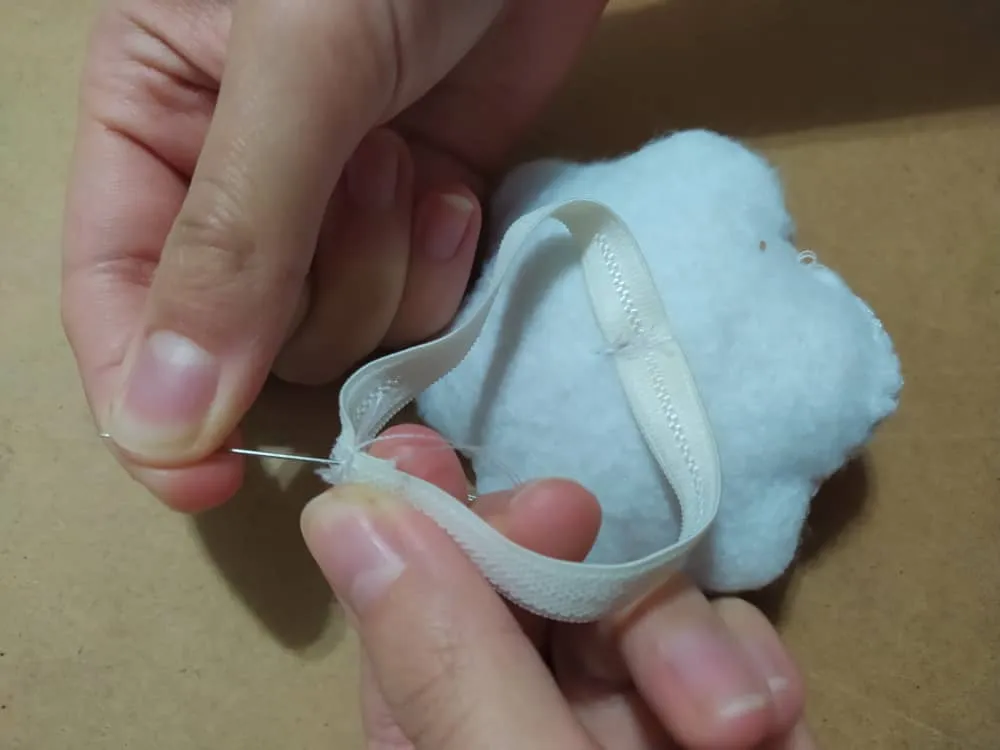
Tomamos la medida de la muñeca del brazo y cortamos la cinta elástica, luego la cosemos al alfiletero.
8) We finish by making a scallop stitch around the flower to give it a touch of color.
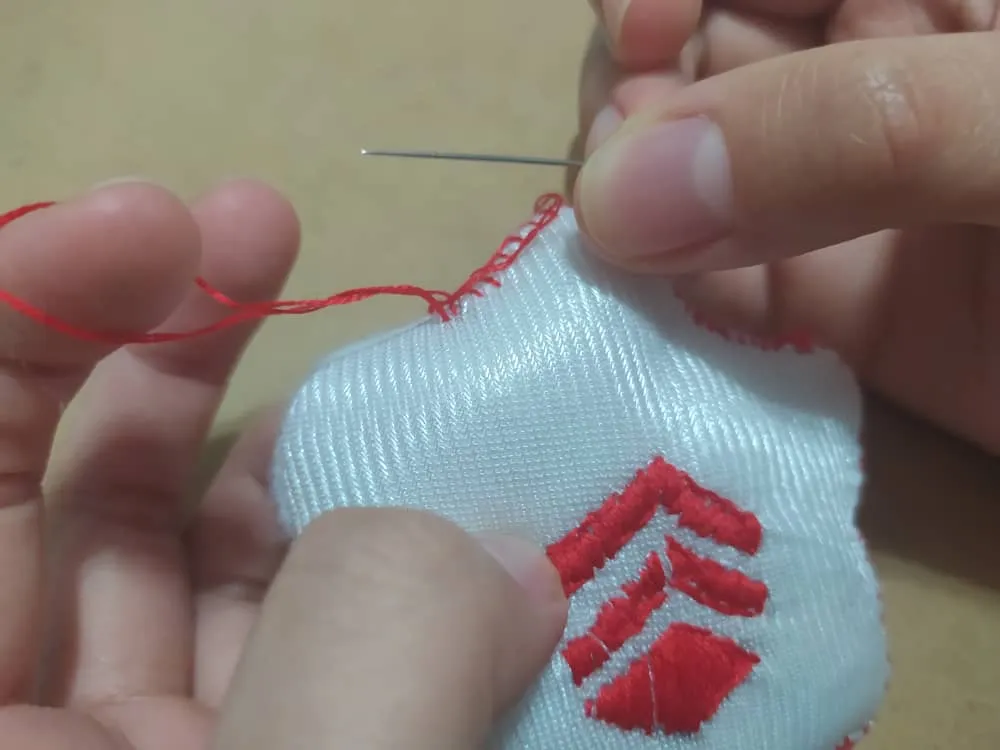
Finalizamos haciendo un punto festón alrededor de la flor para darle un toque de color.
I hope you are encouraged to do this beautiful project and come up with many ideas to put into practice what I explain in my post. Thank you very much in advance.
Espero que se animen a hacer este bonito proyecto y se les ocurran muchas ideas para poner en práctica lo que explique en mi post. Muchas gracias de antemano.
OCD Community Boost Contest #7: Highlighting NeedleWorkMonday