Hello Everyone
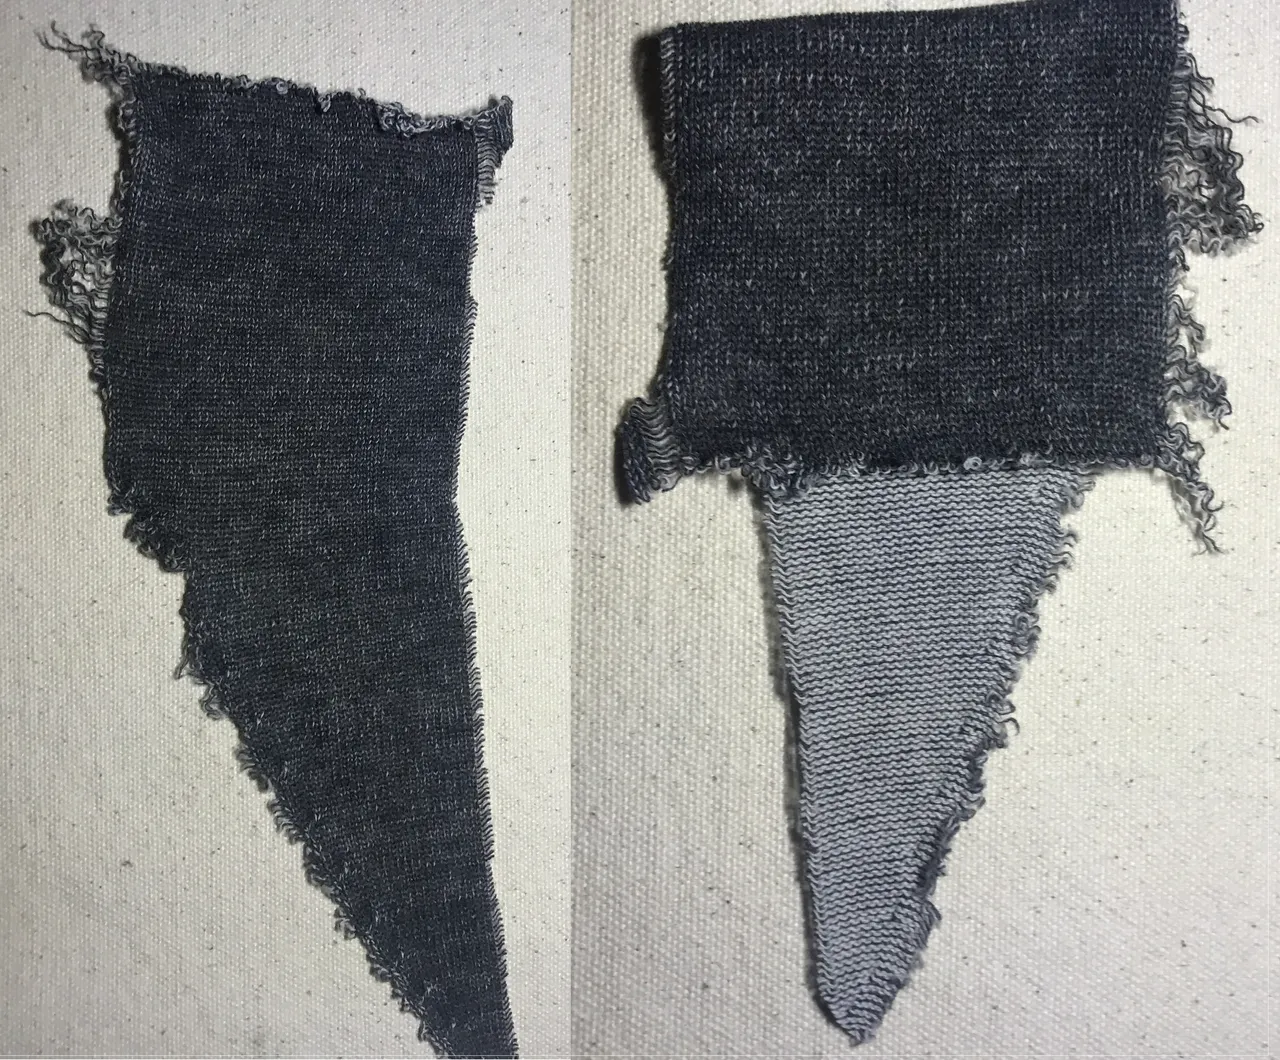
Today I will share with you the step in Felting a Mushroom. It starts with some scrap cloth to provide structure. Rolled and shaped for the size you desire.
I wrap the 100% wool around the shape of the cloth in a loose manner.
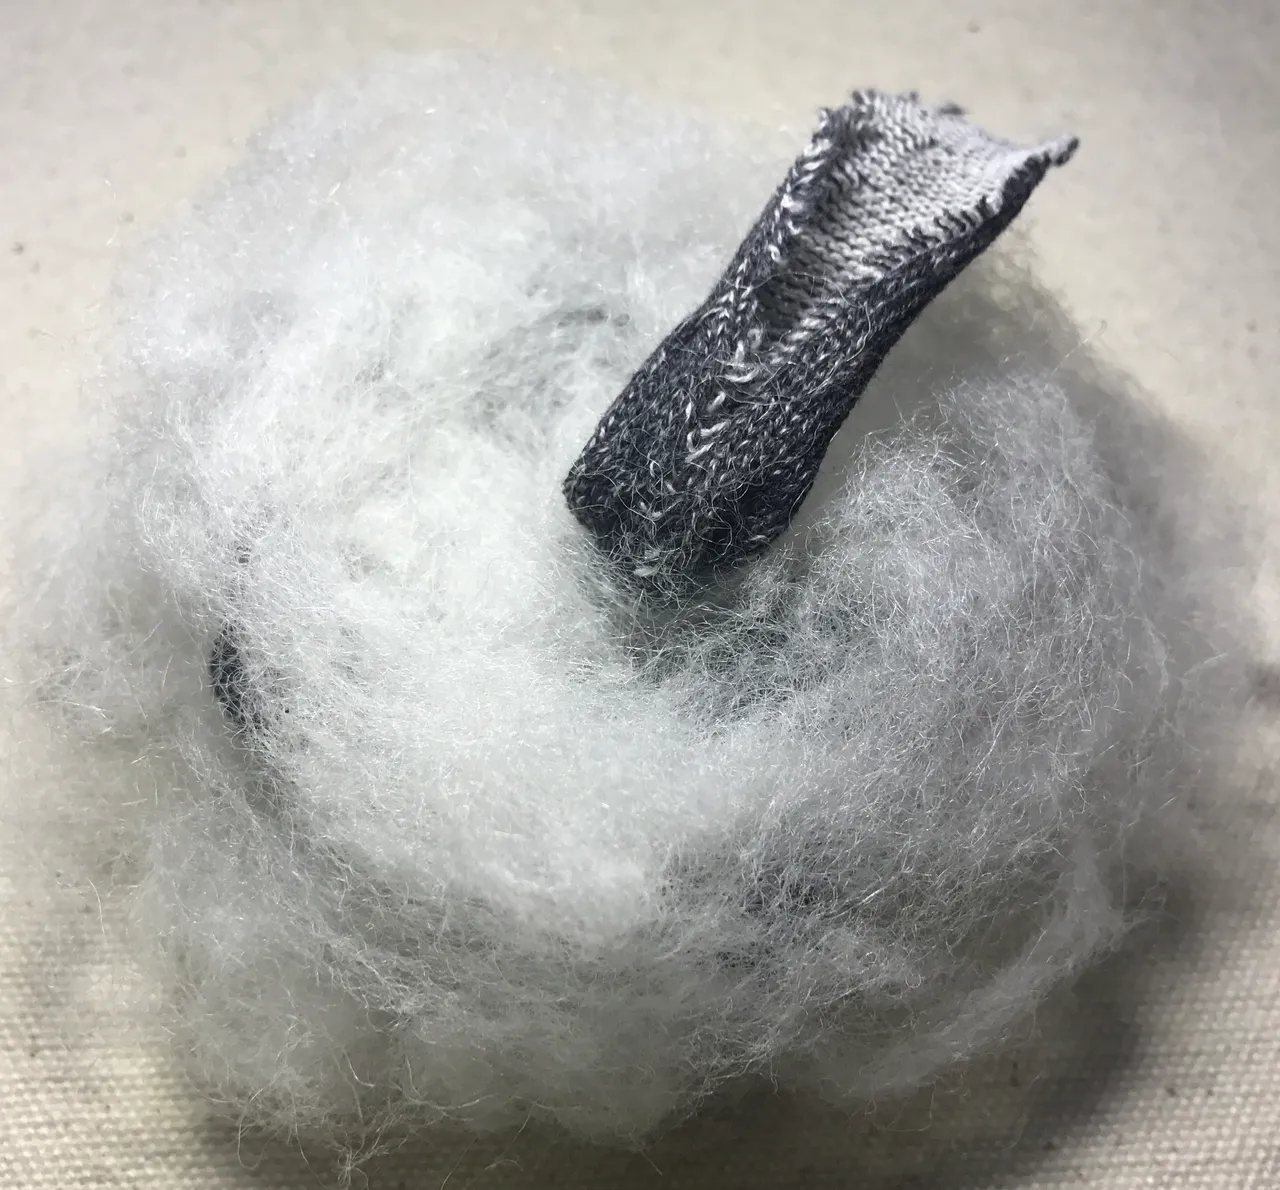
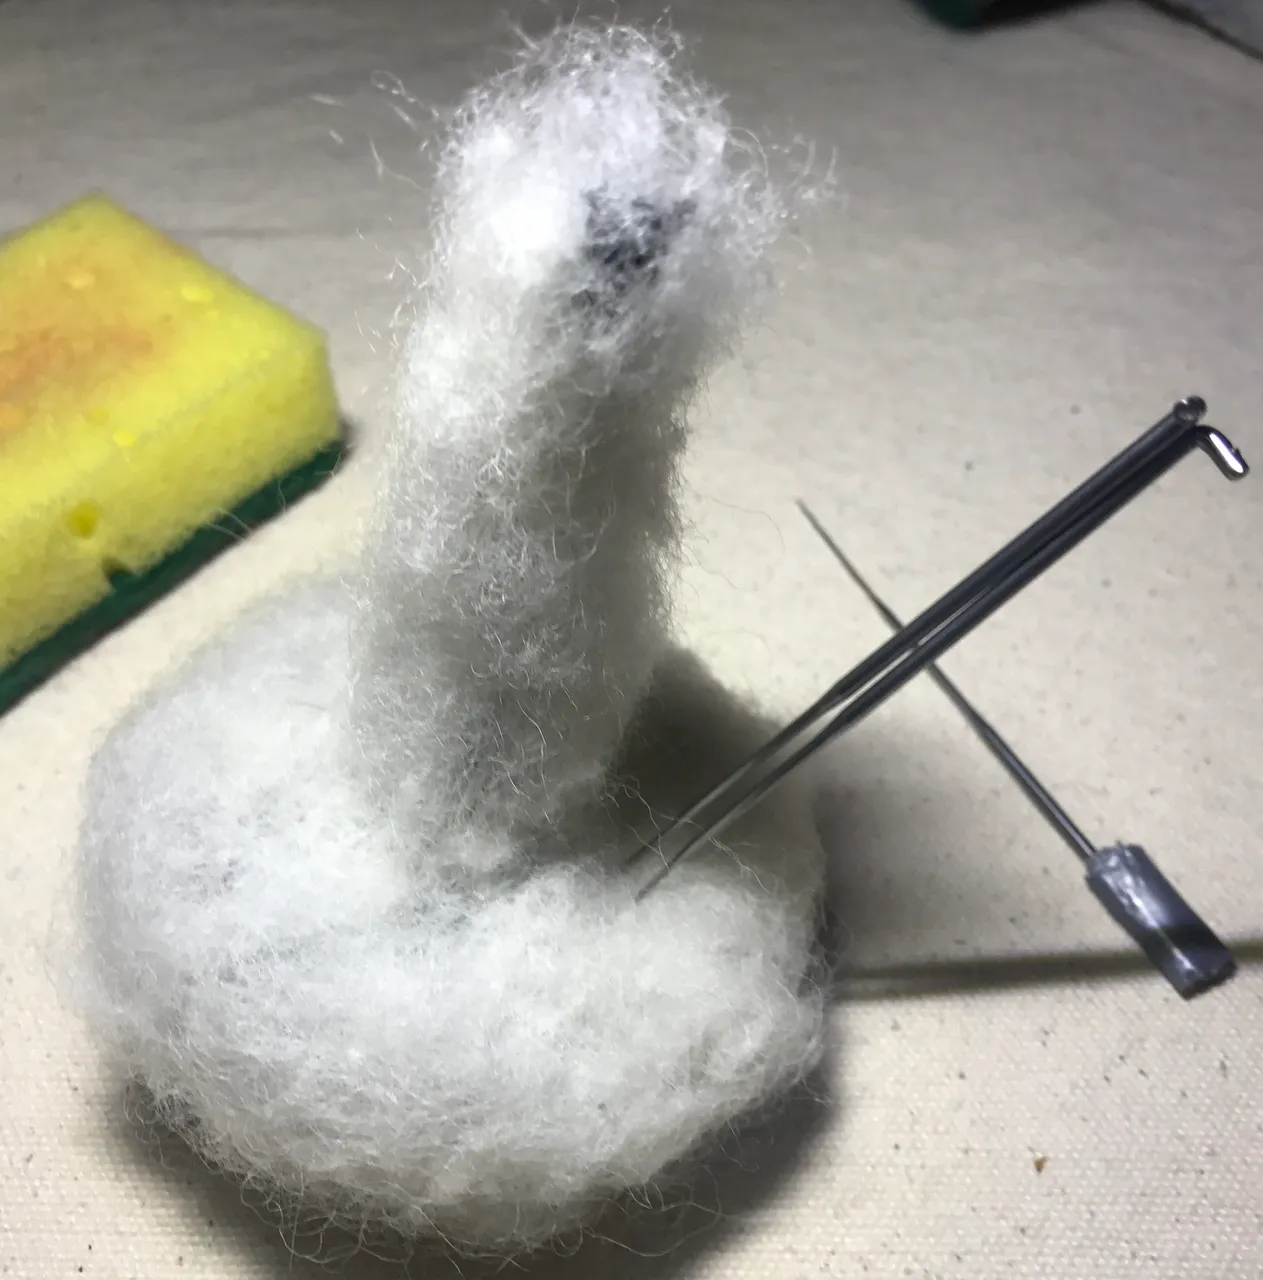
I use a few pokes of the large felting needle to secure spots of the wool. A few more pokes all around to keep the shape and wool in place.
Poke Poke
I use a dishwashing sponge as a base to provide protection from sticking myself too often. Every now and again the wool needs to be taken off the sponge as the wool will stick into the sponge. Then I roll and consistently use three needles in a line to have the stem take shape.
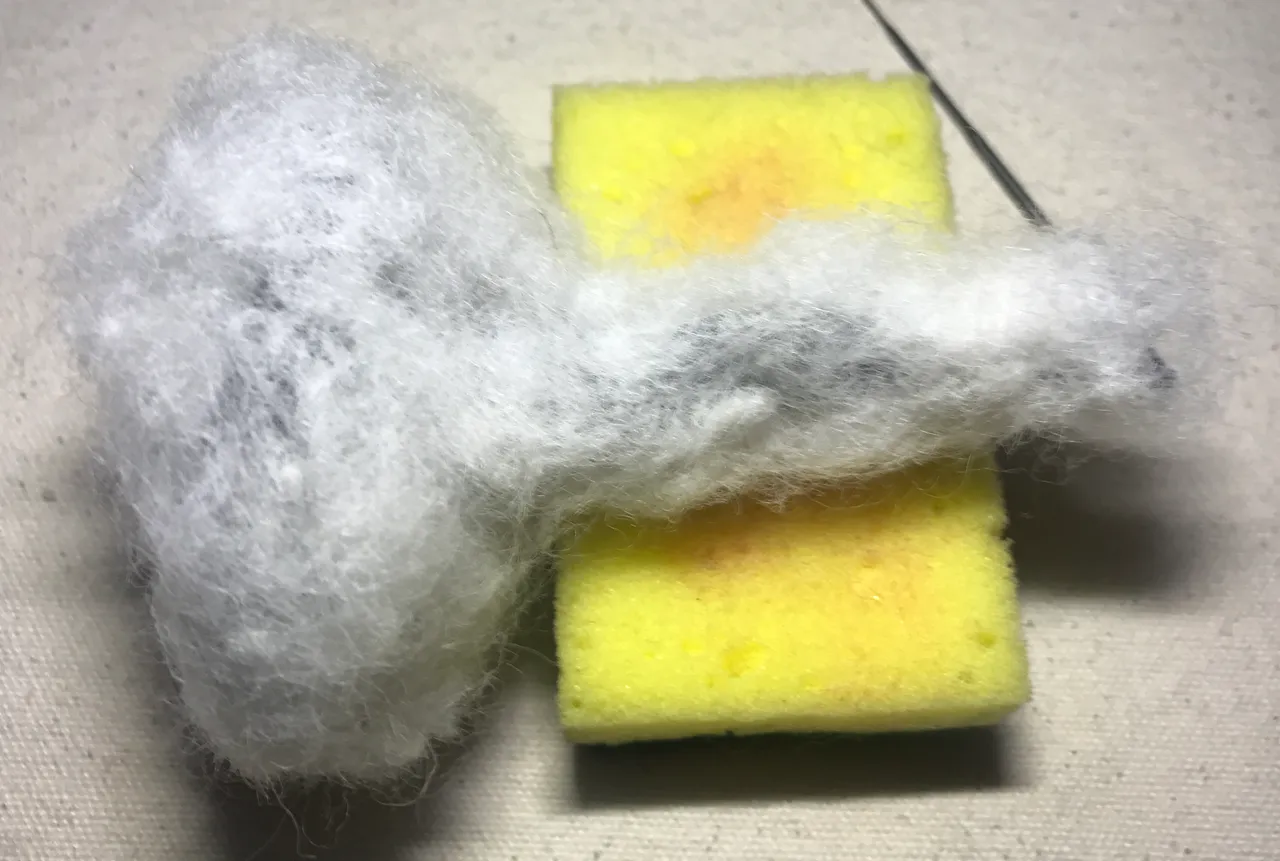
How quickly it takes shape.
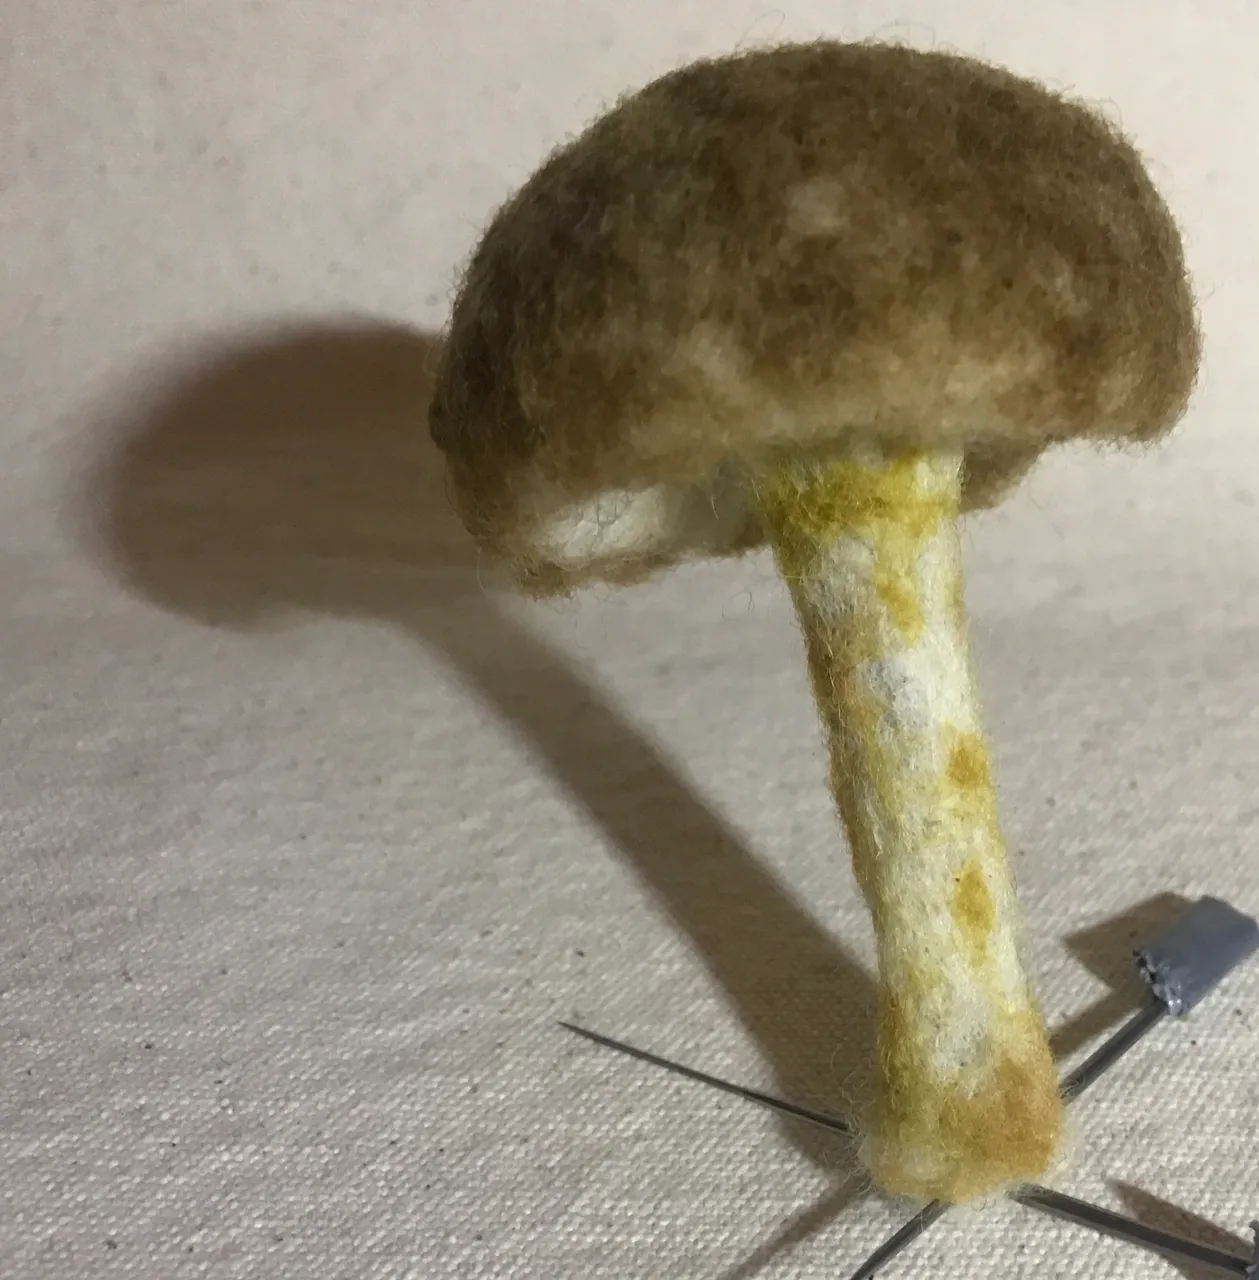
Once I like the overall shape of the base I cover it will the wool that I dyed. I string it out and wrap it around lightly. A poke or two here a poke or two there and the wool stays in place.
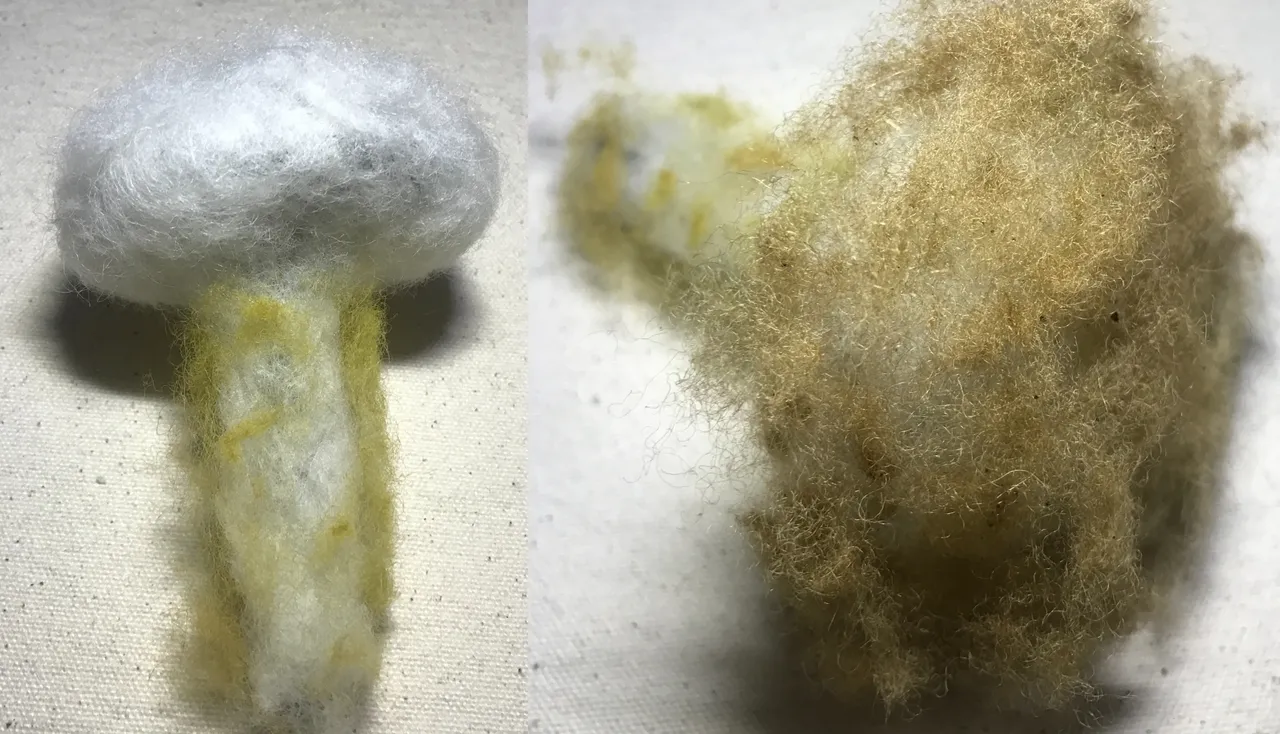
I use a medium sized needle to get the coloured wool into place turning as I go along. I space the needle and pokes to create a uniform consistent pattern along the body of the wool.
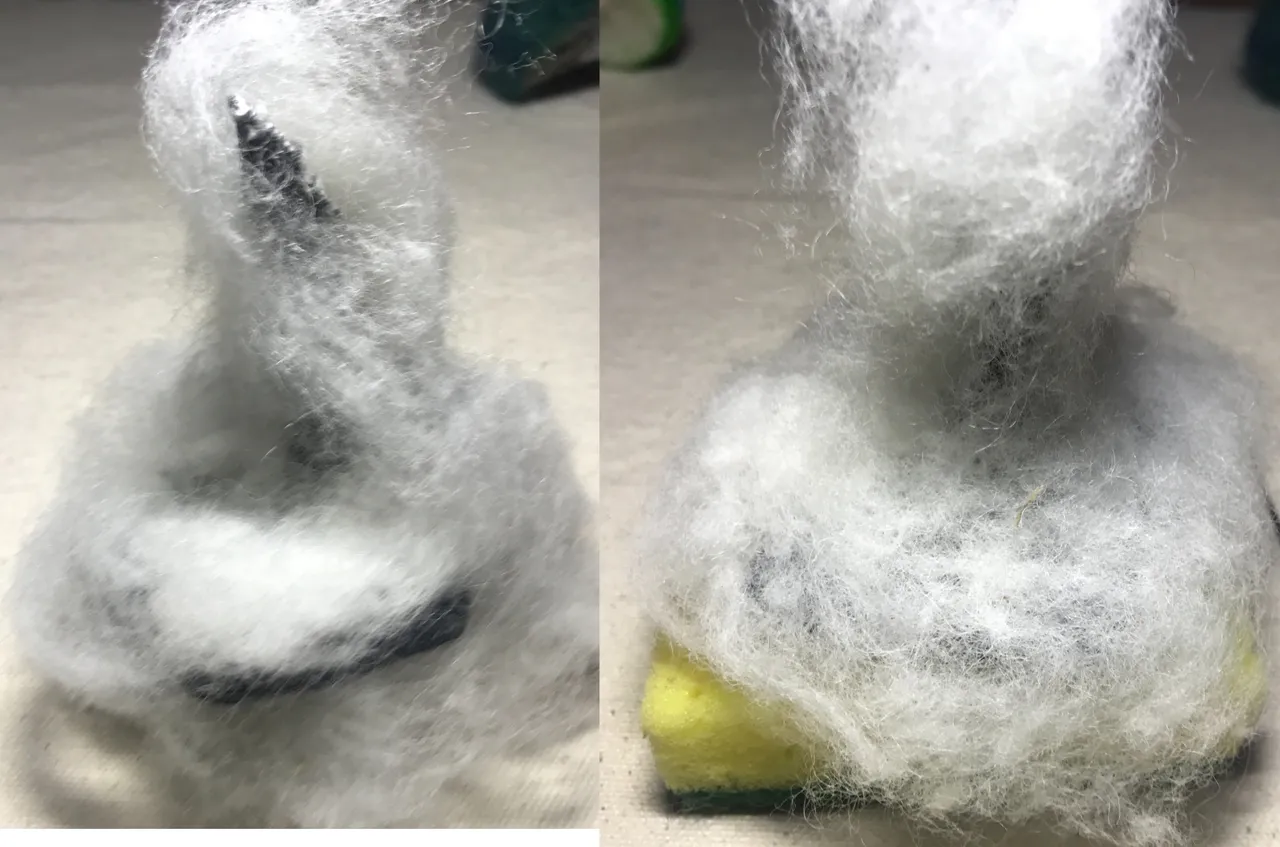
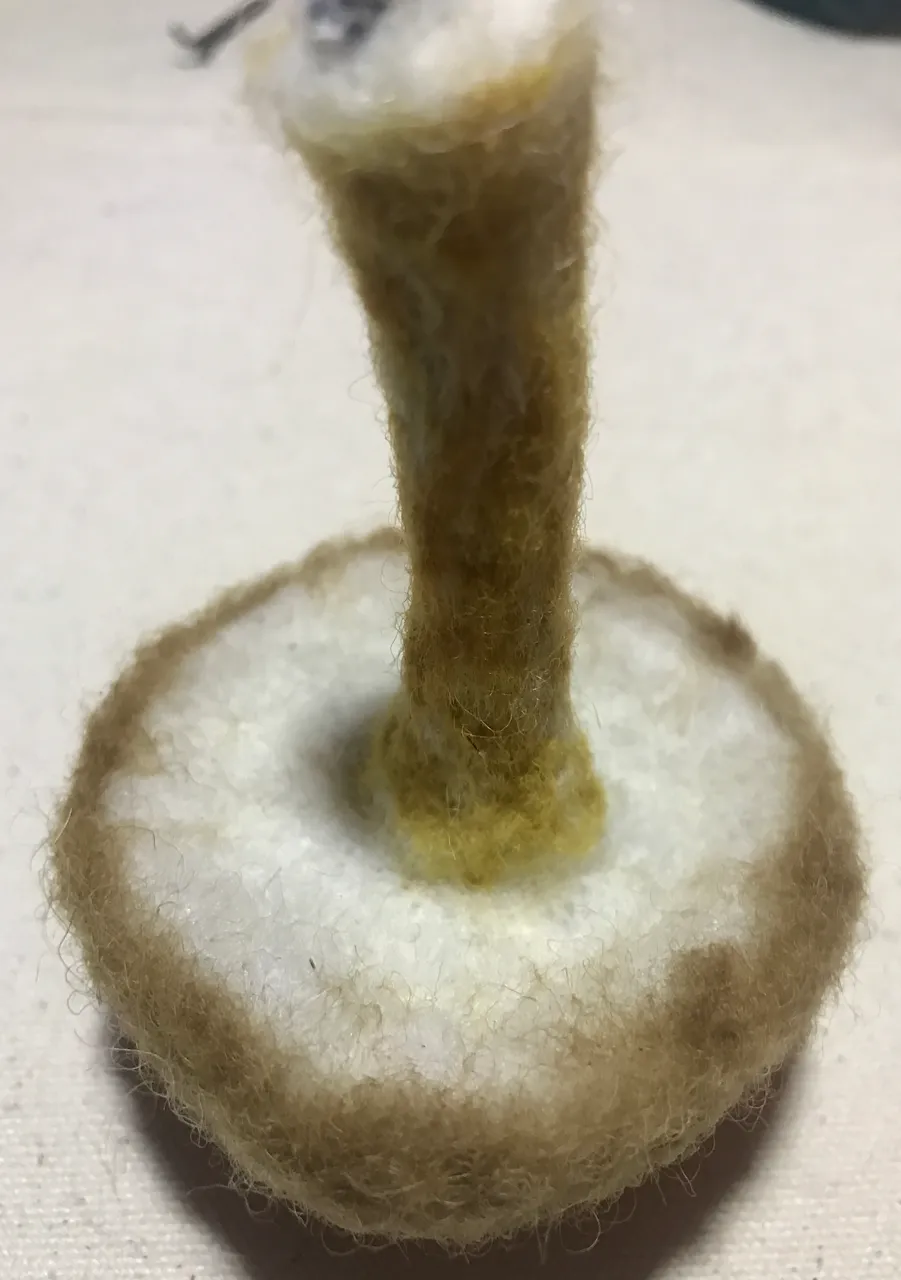
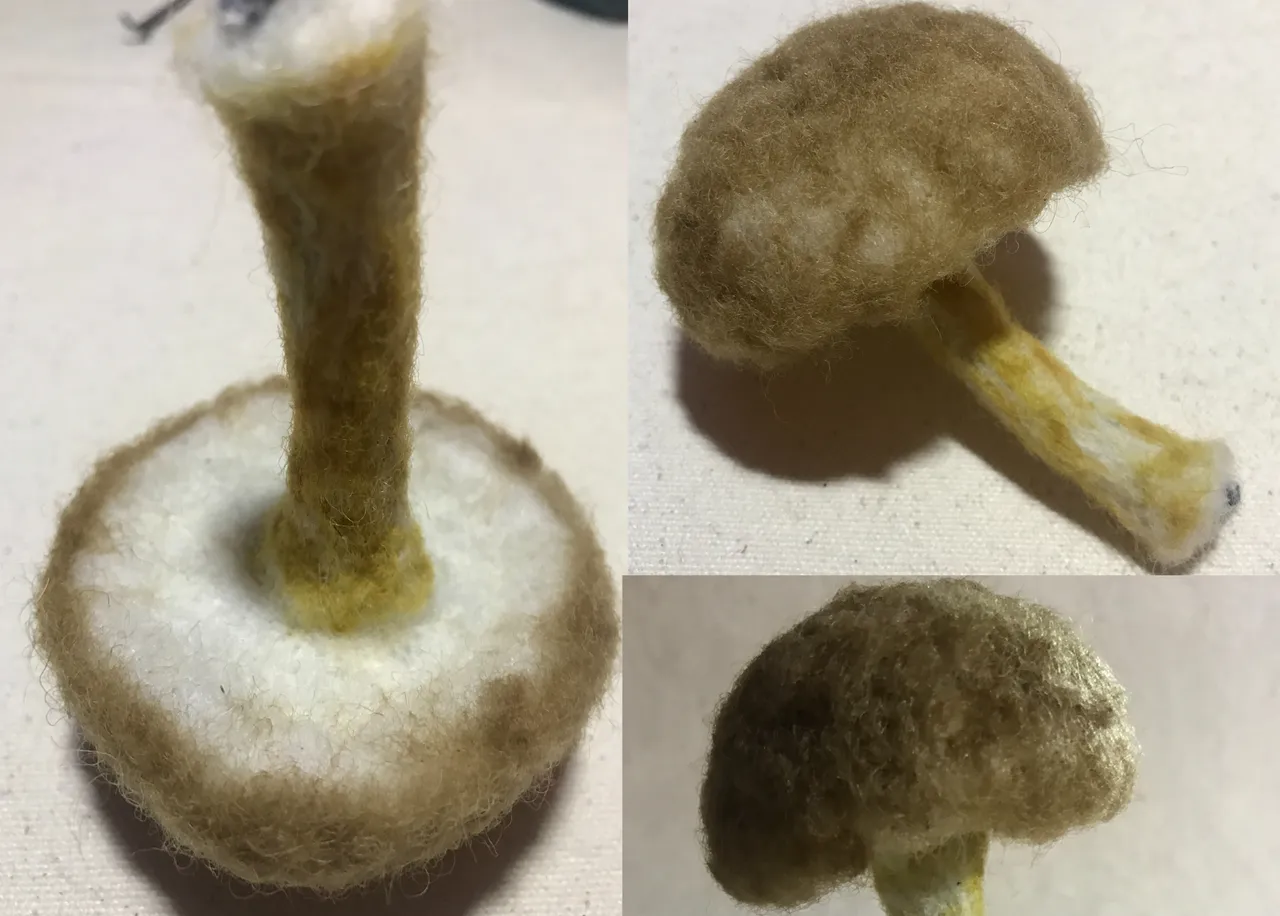
Here is another view of the shaping from below.
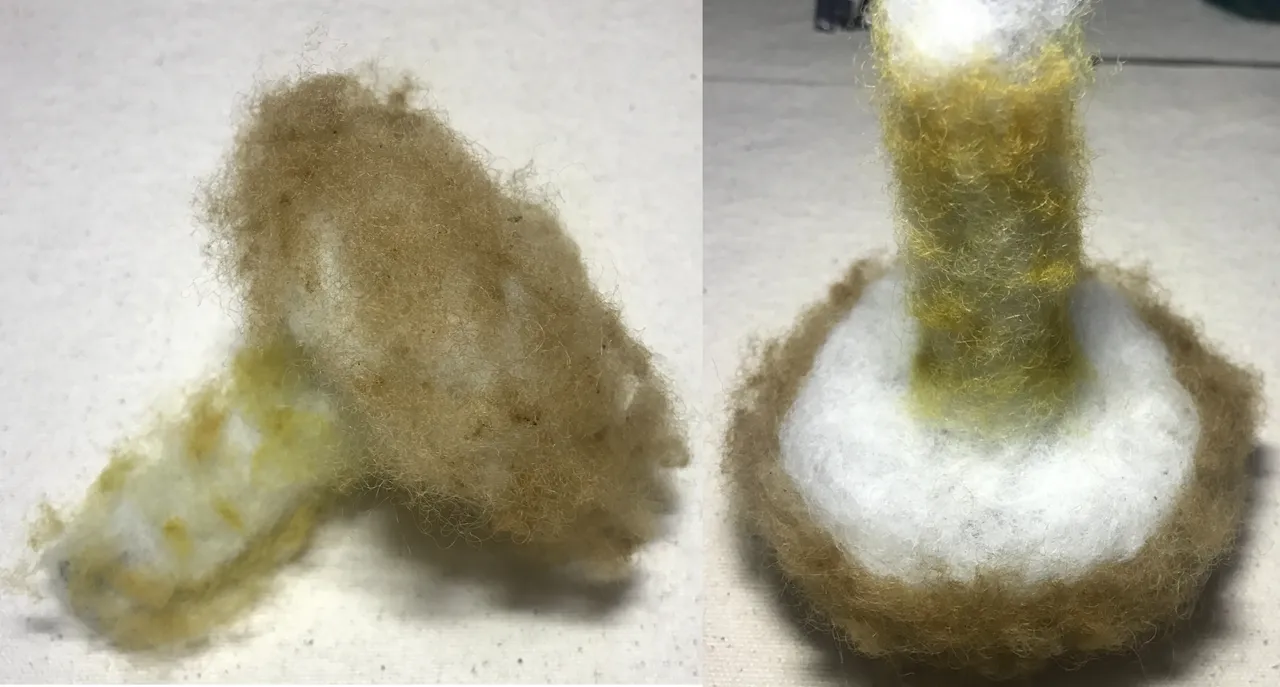
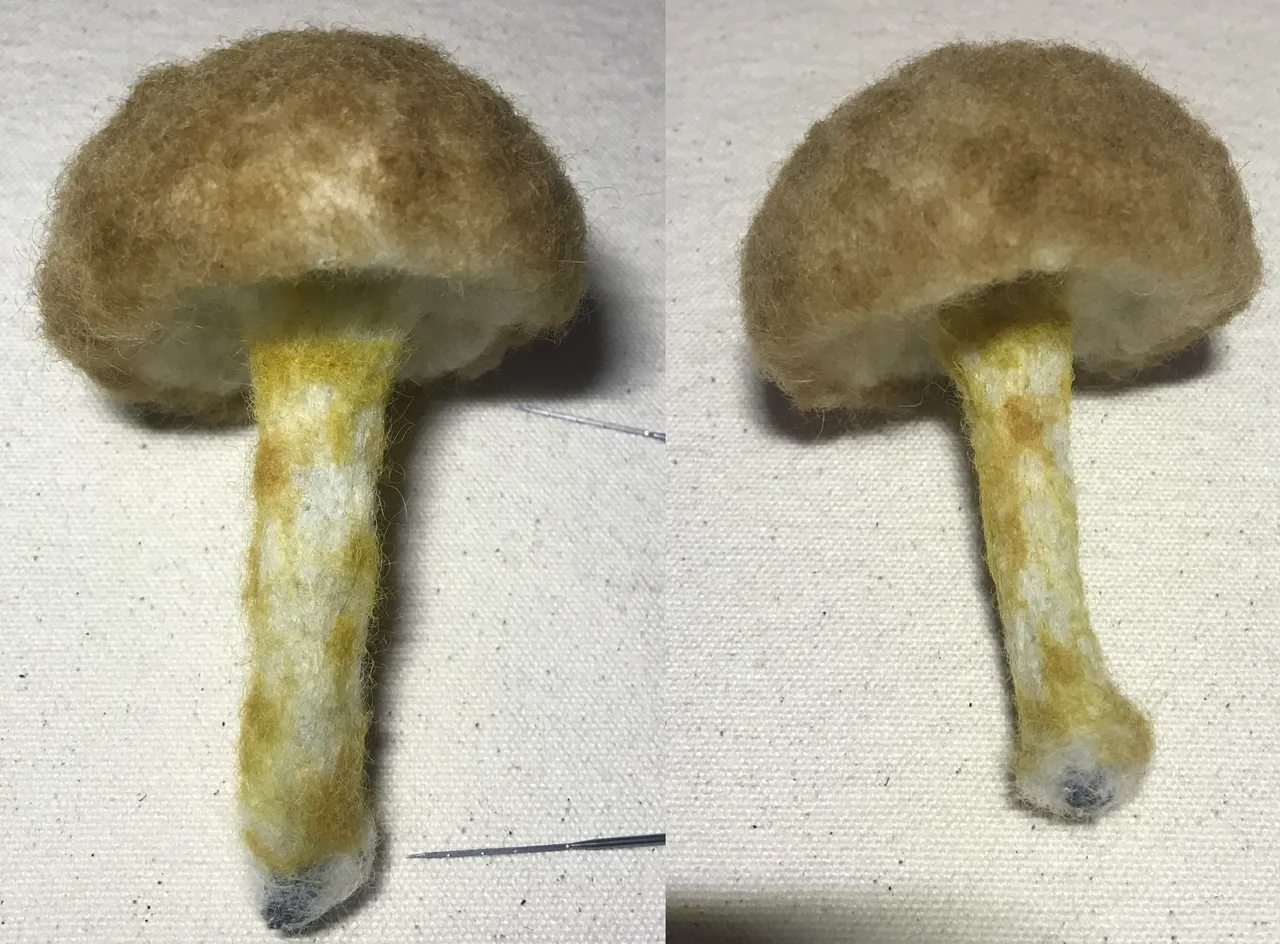
At this stage in the project I switch to a small gauge of needle as I want to get a finer direction of the shaping. As you can see the difference between the left and right picture. On the right picture where the needle is the project come together tighter quickly. I work from the top to the bottom and then back up again.
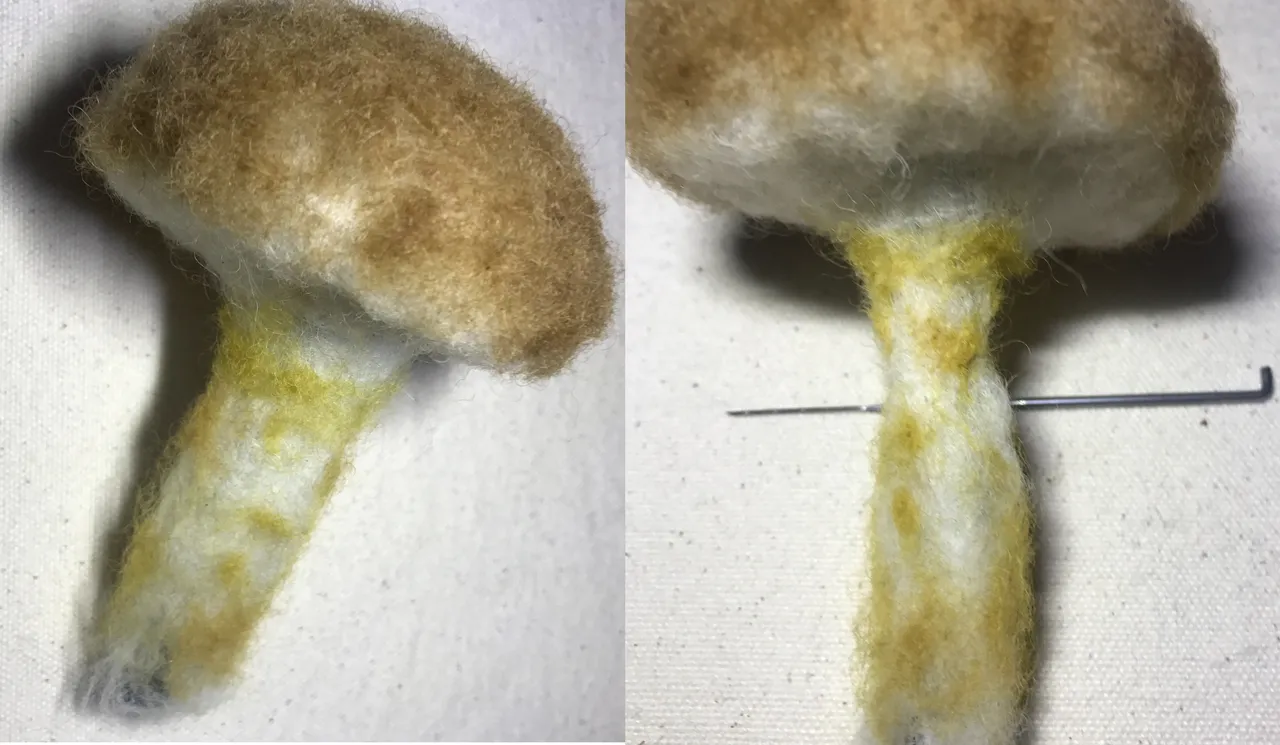
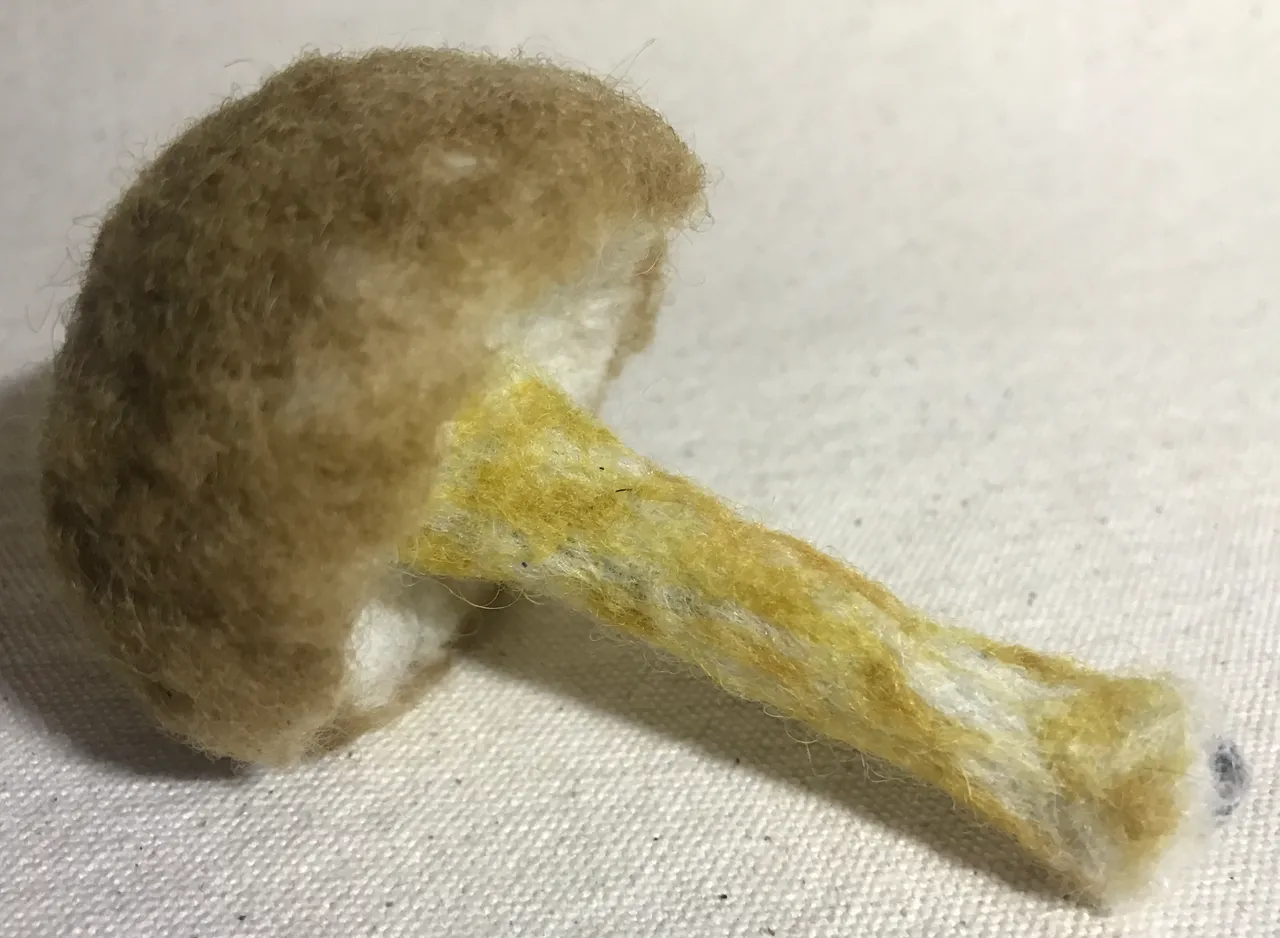
As I work the shape and colour of the stem I also work the cap to keep proportionality consistent.
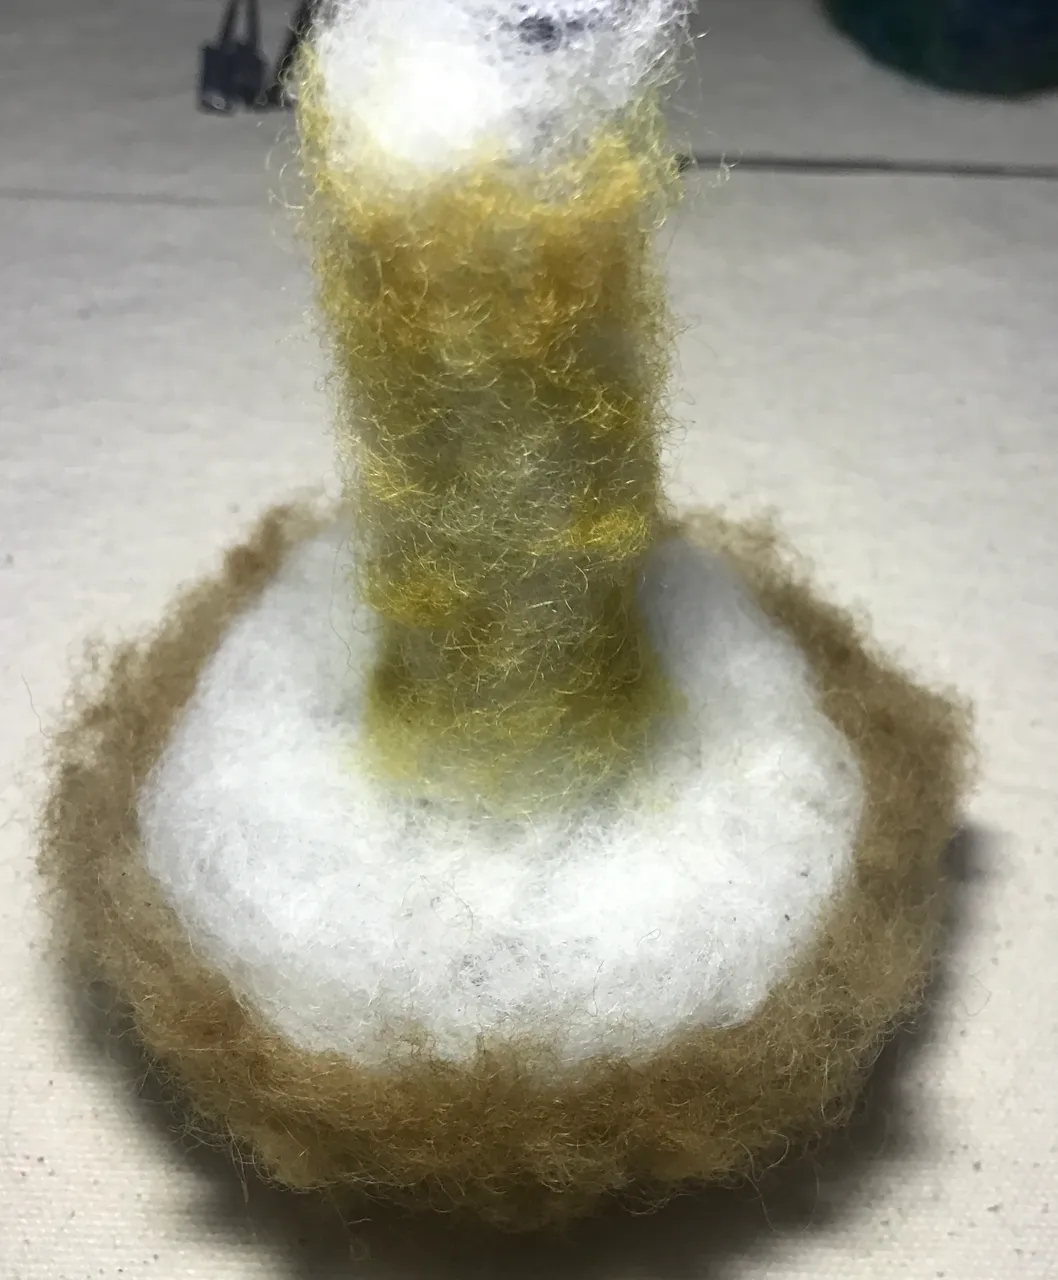
A view from an ants perspective, below. It is important to keep turning the project and feeling for loose areas and shaping this accordingly. It is also necessary for sizing consistency to check all angles of the piece.
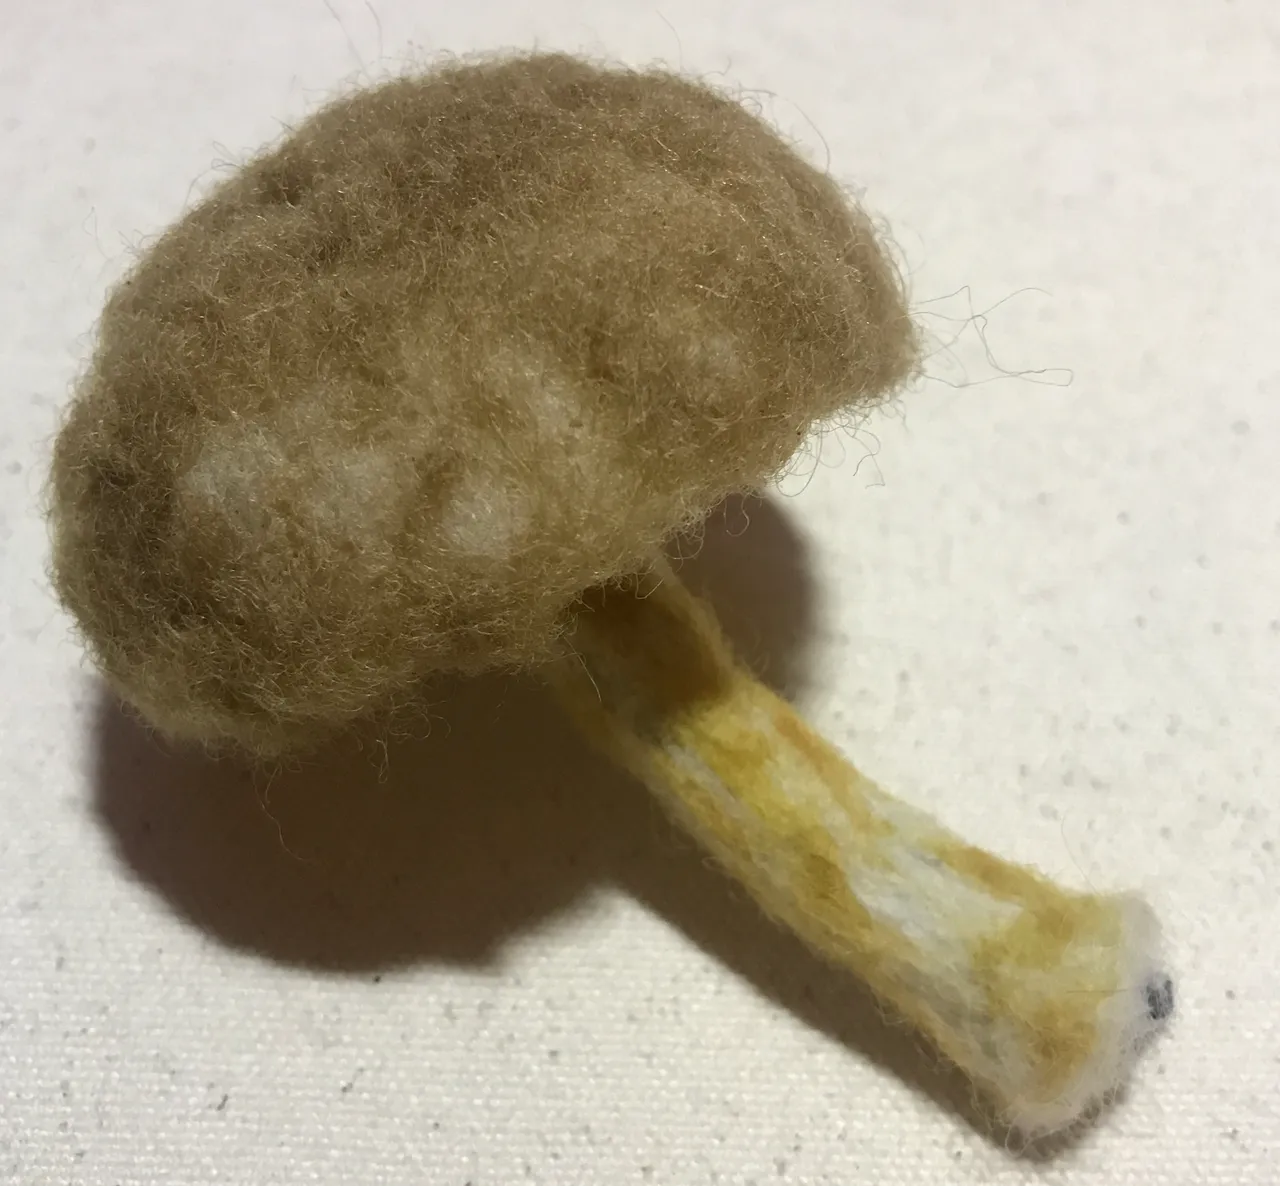
At any point in time, pun intended, you can ad more wool to areas that quickly become sparse from the wool migrating to another area. It is very easy to add more wool and fill in areas. It is not so easy to remove wool when it is at this stage. I typically only use the gauge needled once I switch to it a few stages back. It provides a more accurate finer tighter lock of wool.
The inspiration for the shape of mushroom was taken from this post I made from wandering in the woods on the BC island in Canada. Honey mushrooms, supposedly, growing out of a tree stump. They were the inspiration and perhaps you checking out this post will inspire you.
@an-man/a-cluster-of-random-mushrooms-bc-island-canada
Thank you for taking the time to walkthrough this fungi world with me. Ill bring more work like this and many other mediums as the months progress.