Hello friends of Hive & Needle Work Monday. Happy Monday to all of us, a new week has started and I hope you are feeling refreshed!
I just had a four day weekend including today, and of course I am feeling wonderful - so today I want to share with you the latest sewing project I've been working on. It's the same zipper idea I did to my last beach (rug) hoodie, but this time I’m documenting a little more of the process.
So, the whole "let's see how using wood stain to dye my hoodie brown" thing didn't pan out so well - who could've predicted that would have been a bad idea? If you missed it, you can find that post, here.
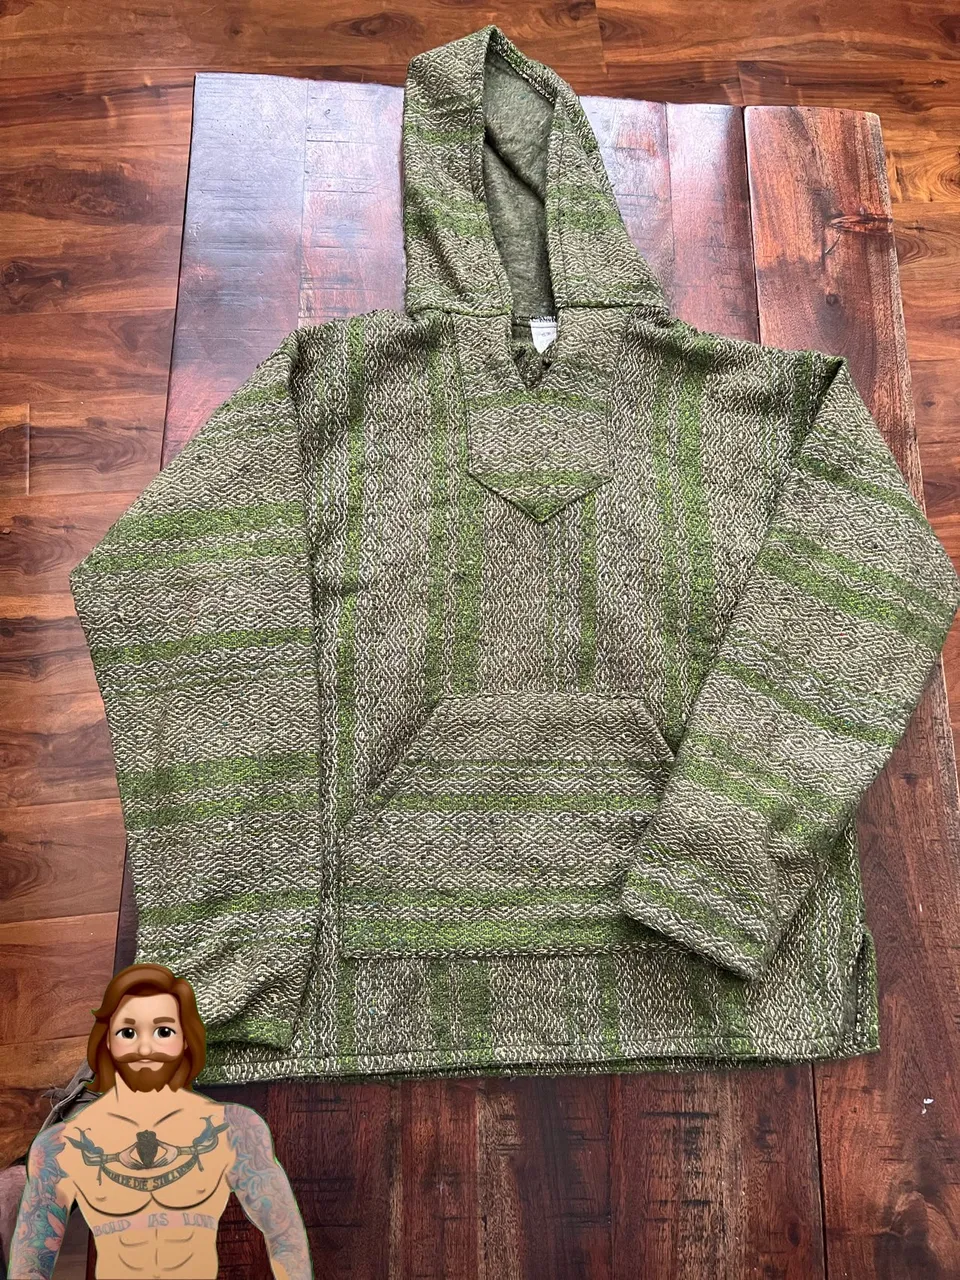
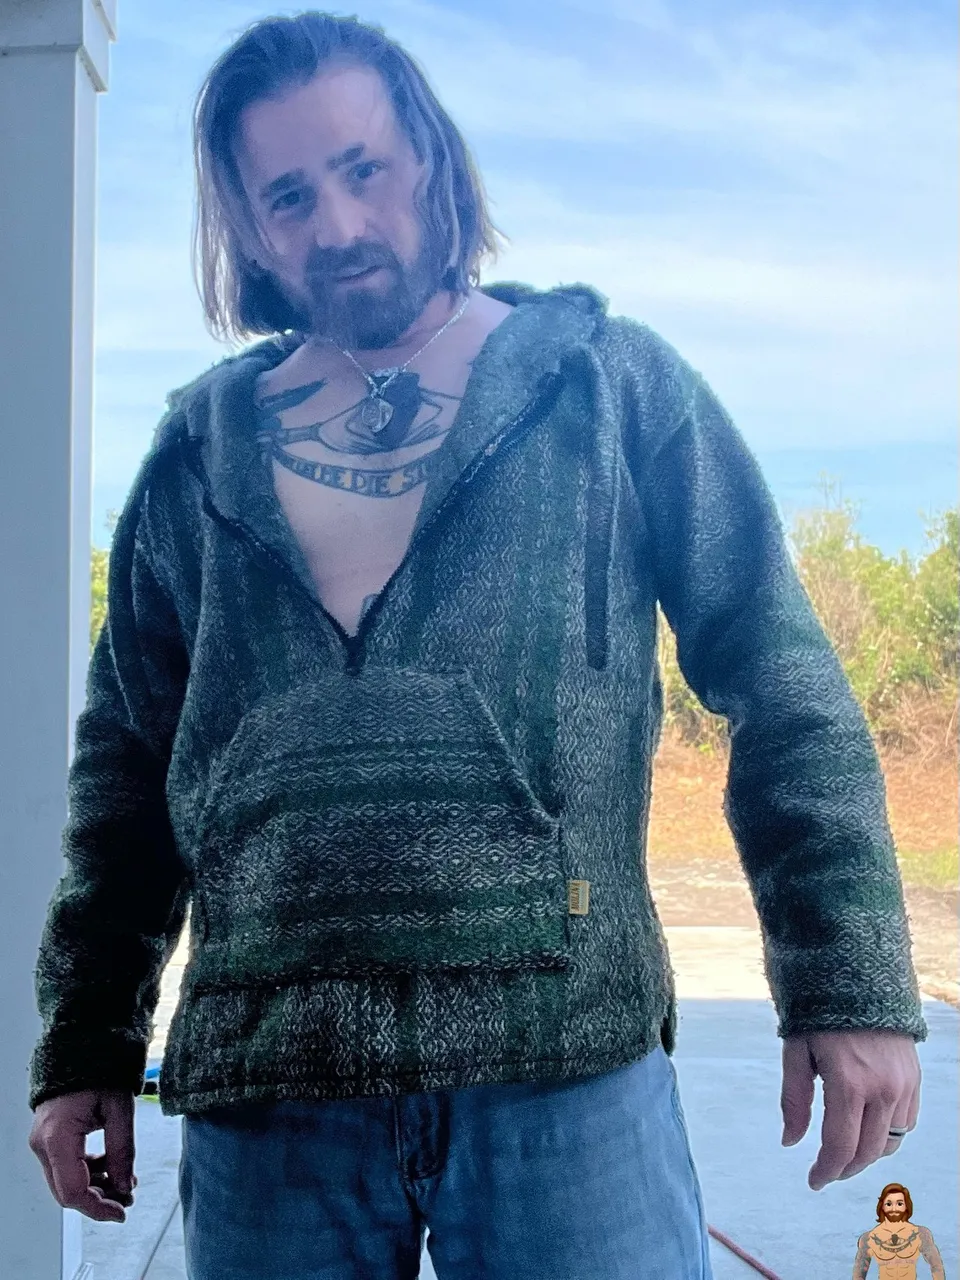
So I'm starting over. It's gonna be tough because I love my old hoodie...in fact, I'm saving it in case there is any way I can salvage it in the future. But for now, we're on to a new hoodie I’ve decided to cleverly name…’green hoodie’!
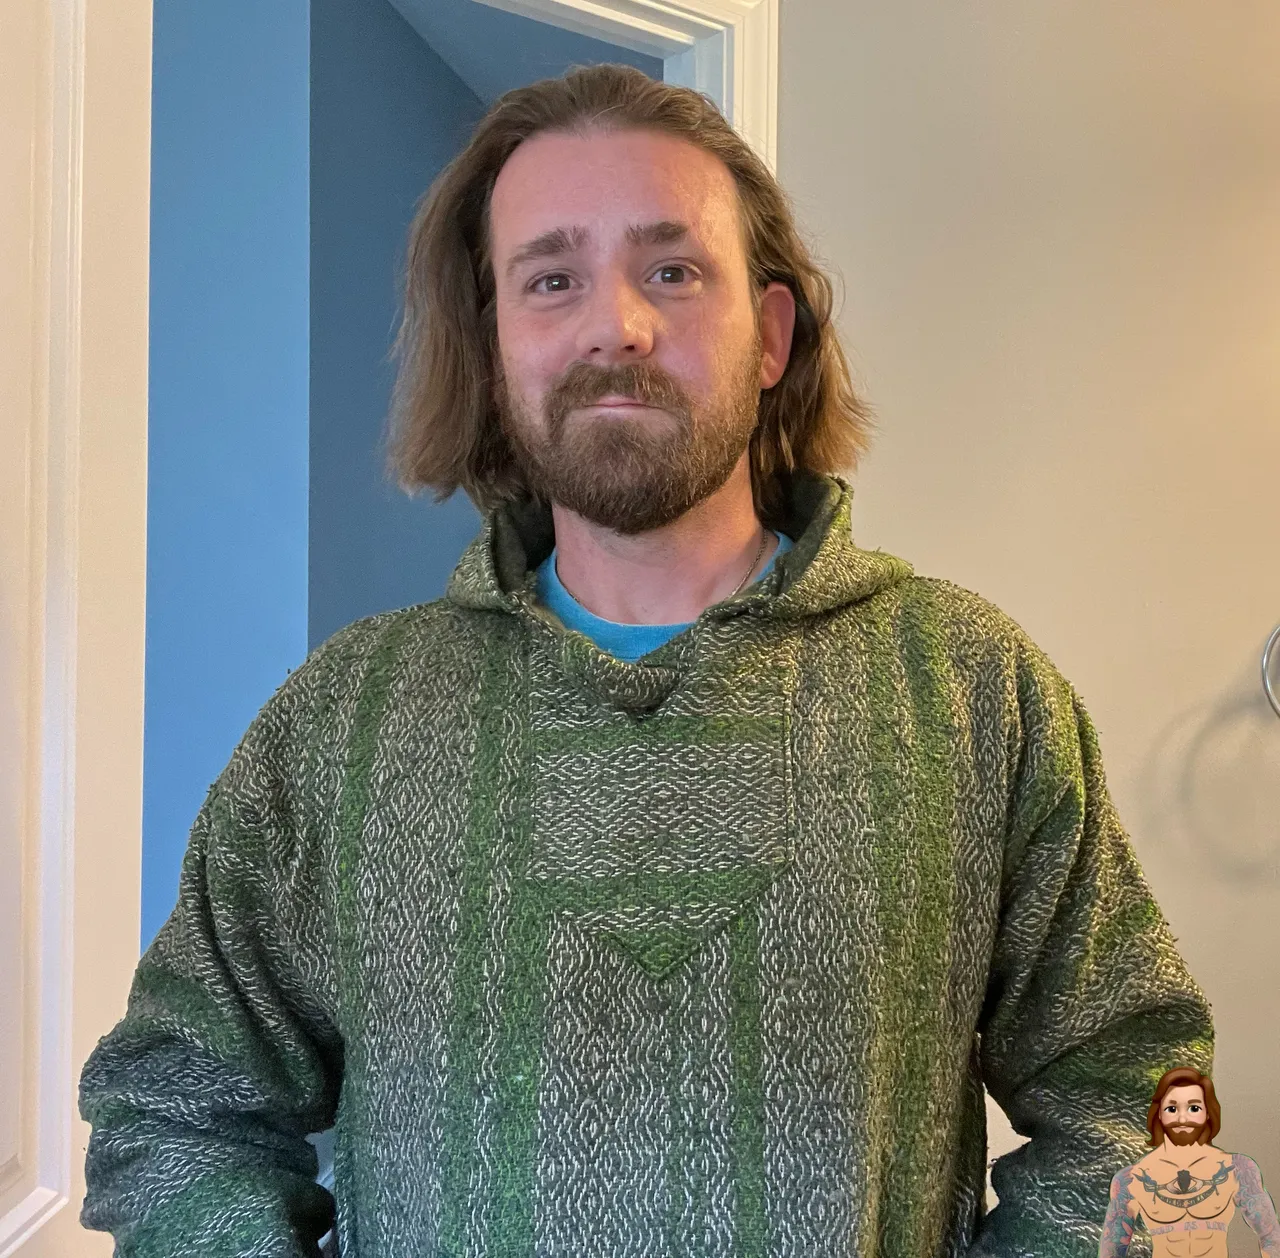
Nevermind the fact that my watermark/logo guy is way more attractive than me in real life.
I'm using positive visualization, so I'll get there :)

SOURCE
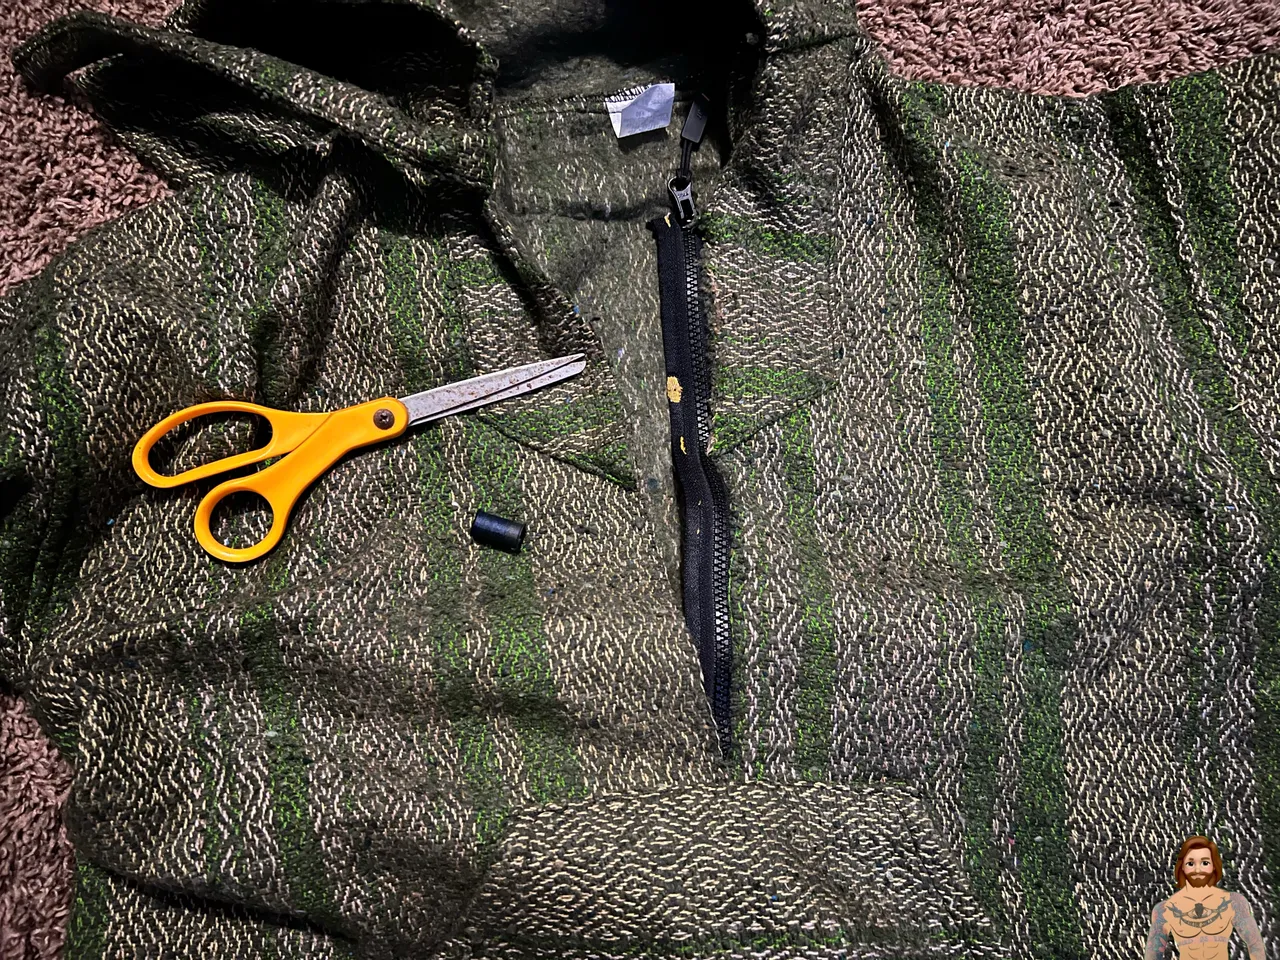
I stole this zipper from an old rain coat. I should have gotten a few pics to show how I broke the seam, but I was in a hurry at the time. Let me know if salvage/seam breaking is something of interest though because I would be happy to share some content on these topics as they come up in the background.
Anyway, you can see the zipper is a little longer than what I'll need. That's not a problem; I’ll just tuck it behind and sew across to limit the zipperhead’s travel.
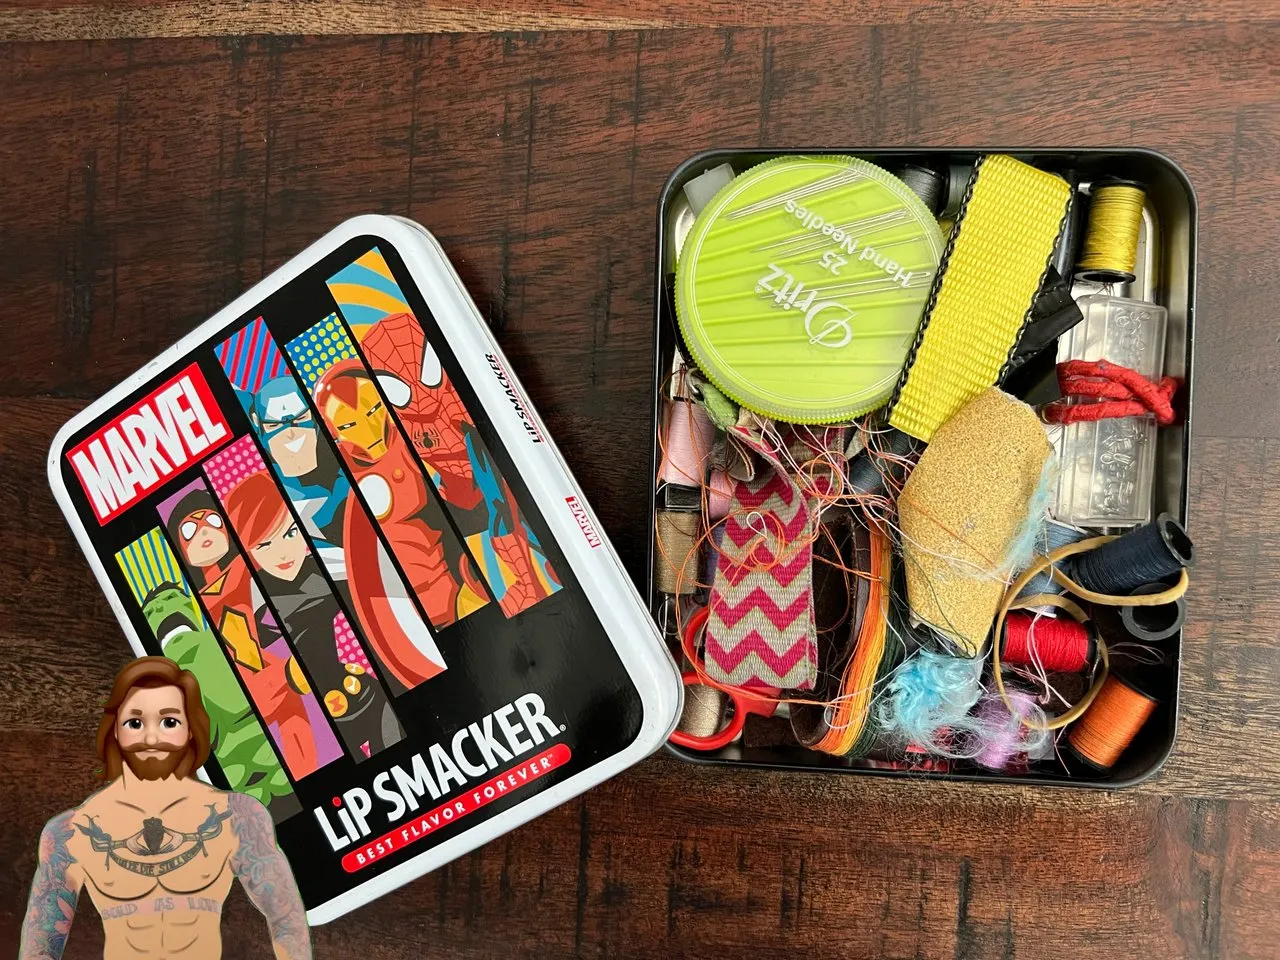
Here's my actual sewing kit. Nothing fancy here, just a mess of threads, an assortment of needles, a pair of scissors and a bunch of leftover scraps from previous projects - but it’s a box loaded with potential.
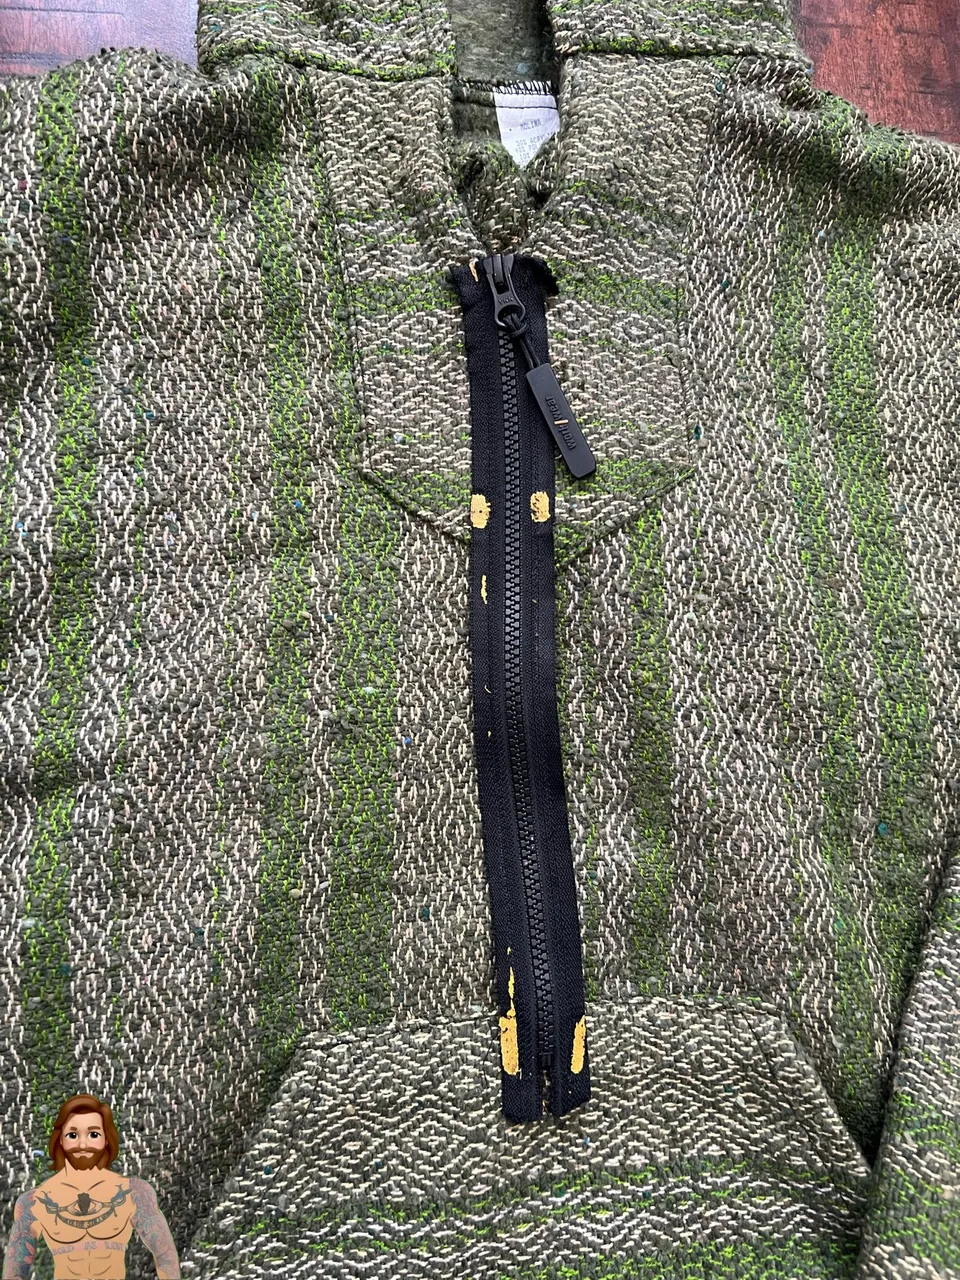
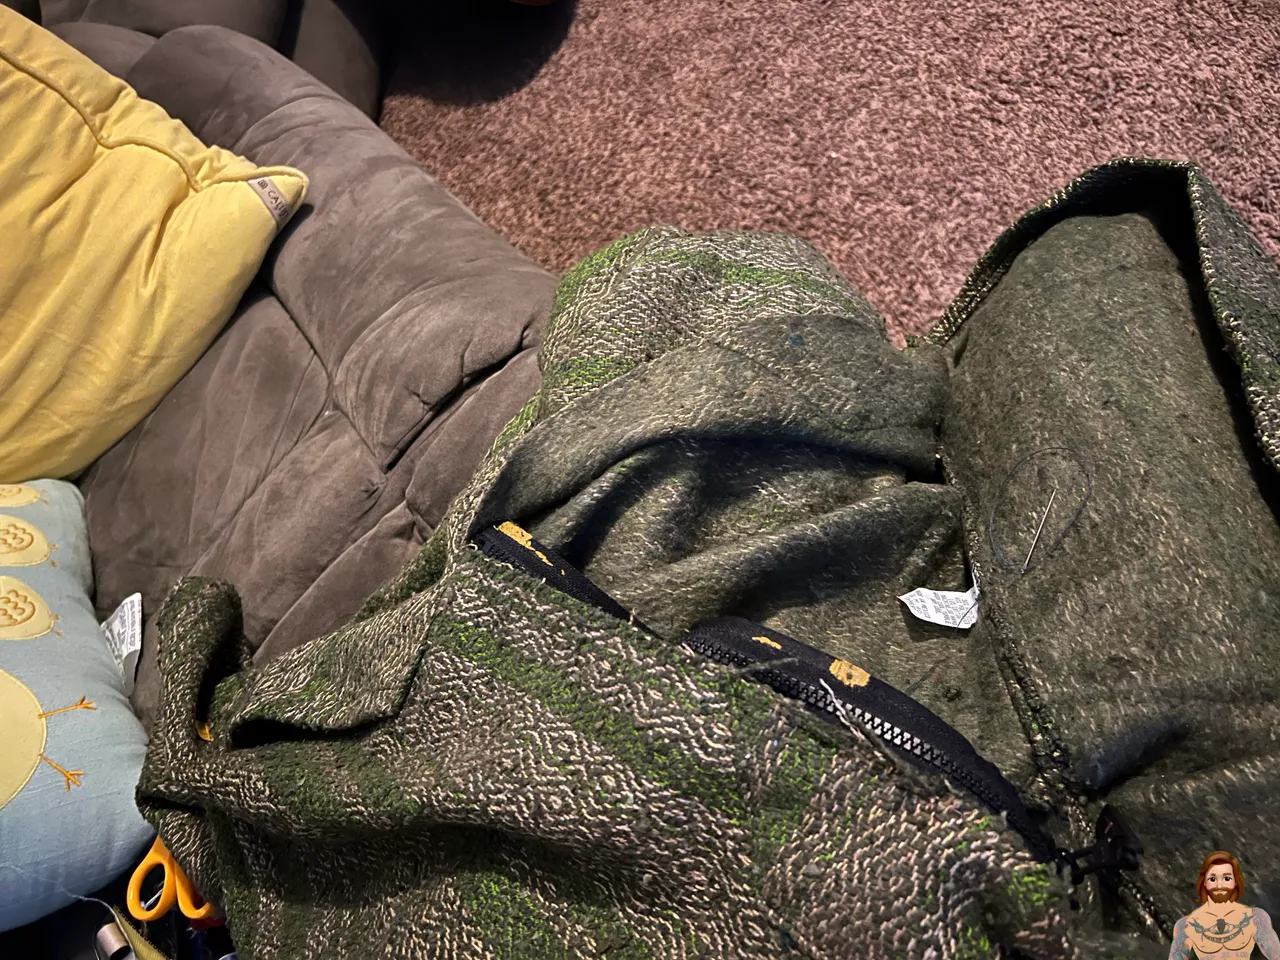
This first part is always a little scary for me, but I always end up making it work. Here I just cut the hoodie from the neck down to the pocket with a pair of scissors. Once it's cut, I line up one side of the zipper and begin sewing it into place.
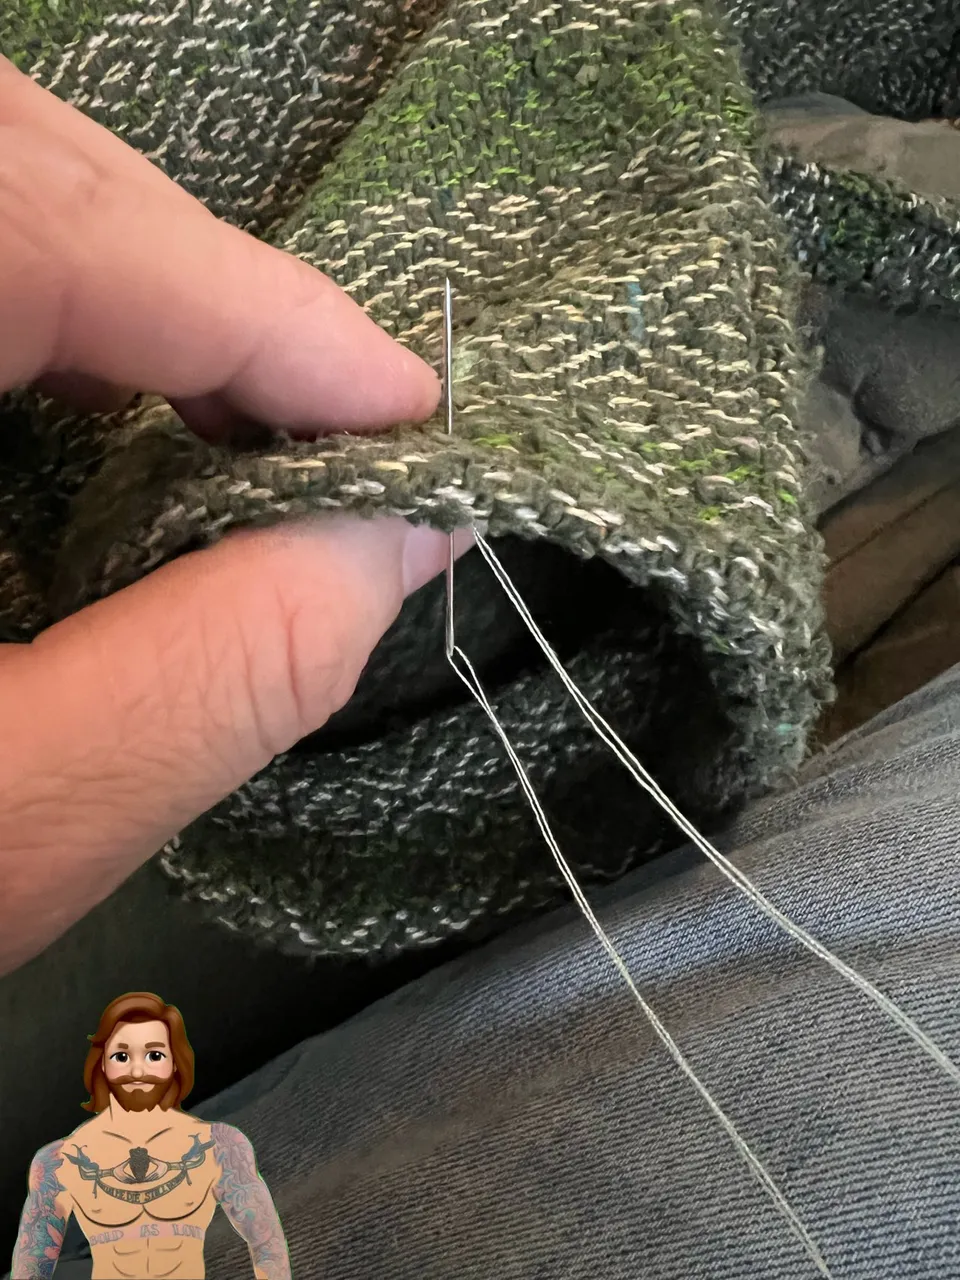
When doing this, it's also important to remember how the hoodie's textile is assembled. The large woven strands will fray and separate if they're not somehow bound together. When sewing the zipper to the hoodie, I like to make sure each stitch is biting into a good amount of hoodie strands, and in the end I'll also sew the zipper at least three times to make sure it holds up.
Here you can see the seamwork; again, not really high quality craftsmanship, but a functional sewing job.
Here’s one for #hiveengagement or #hivecontest:
If you can name the cartoon character on my tee shirt (in the two images below), I’ll give you 100 Ecency Points :)
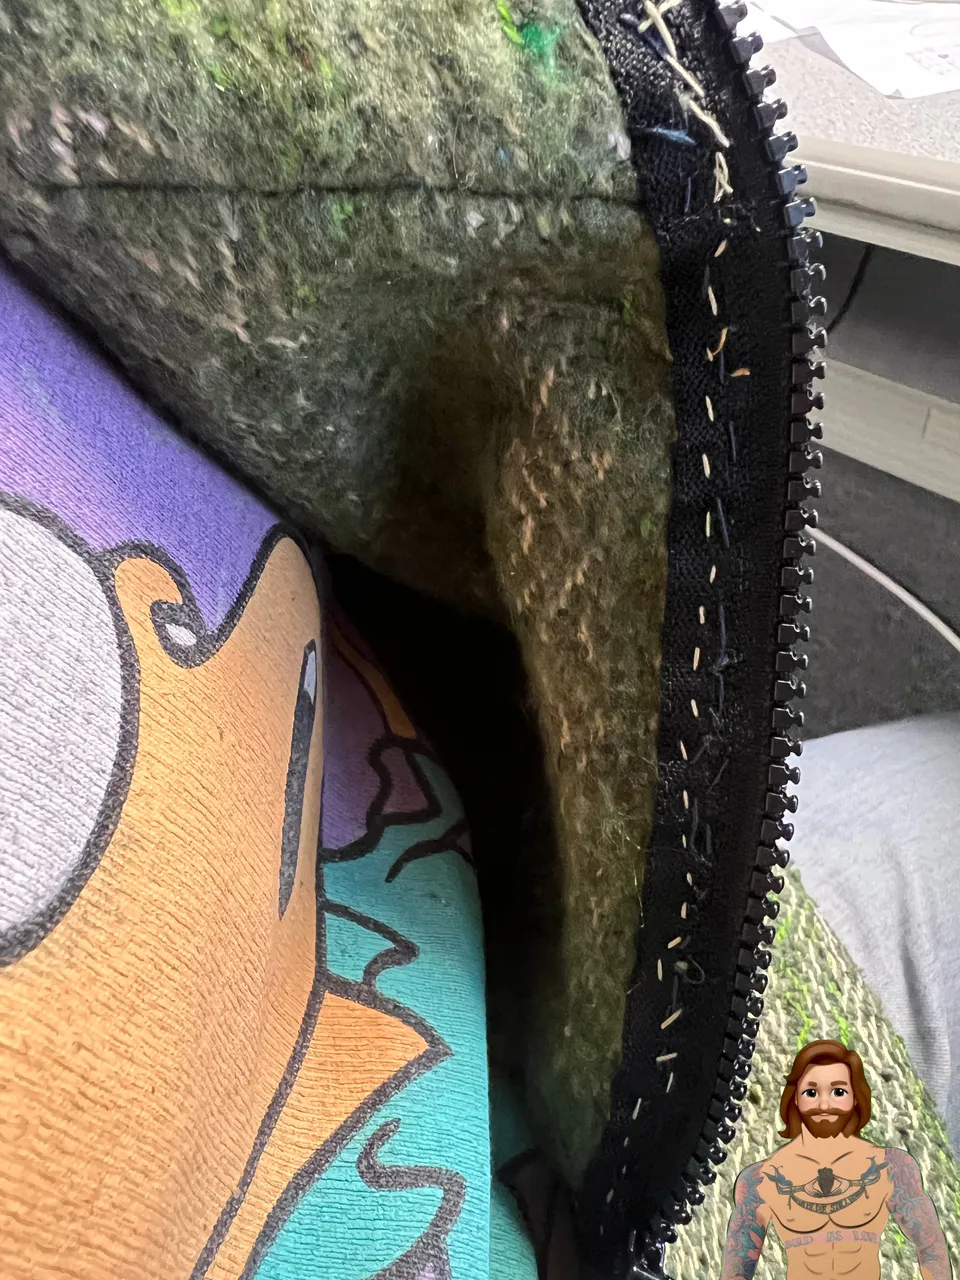
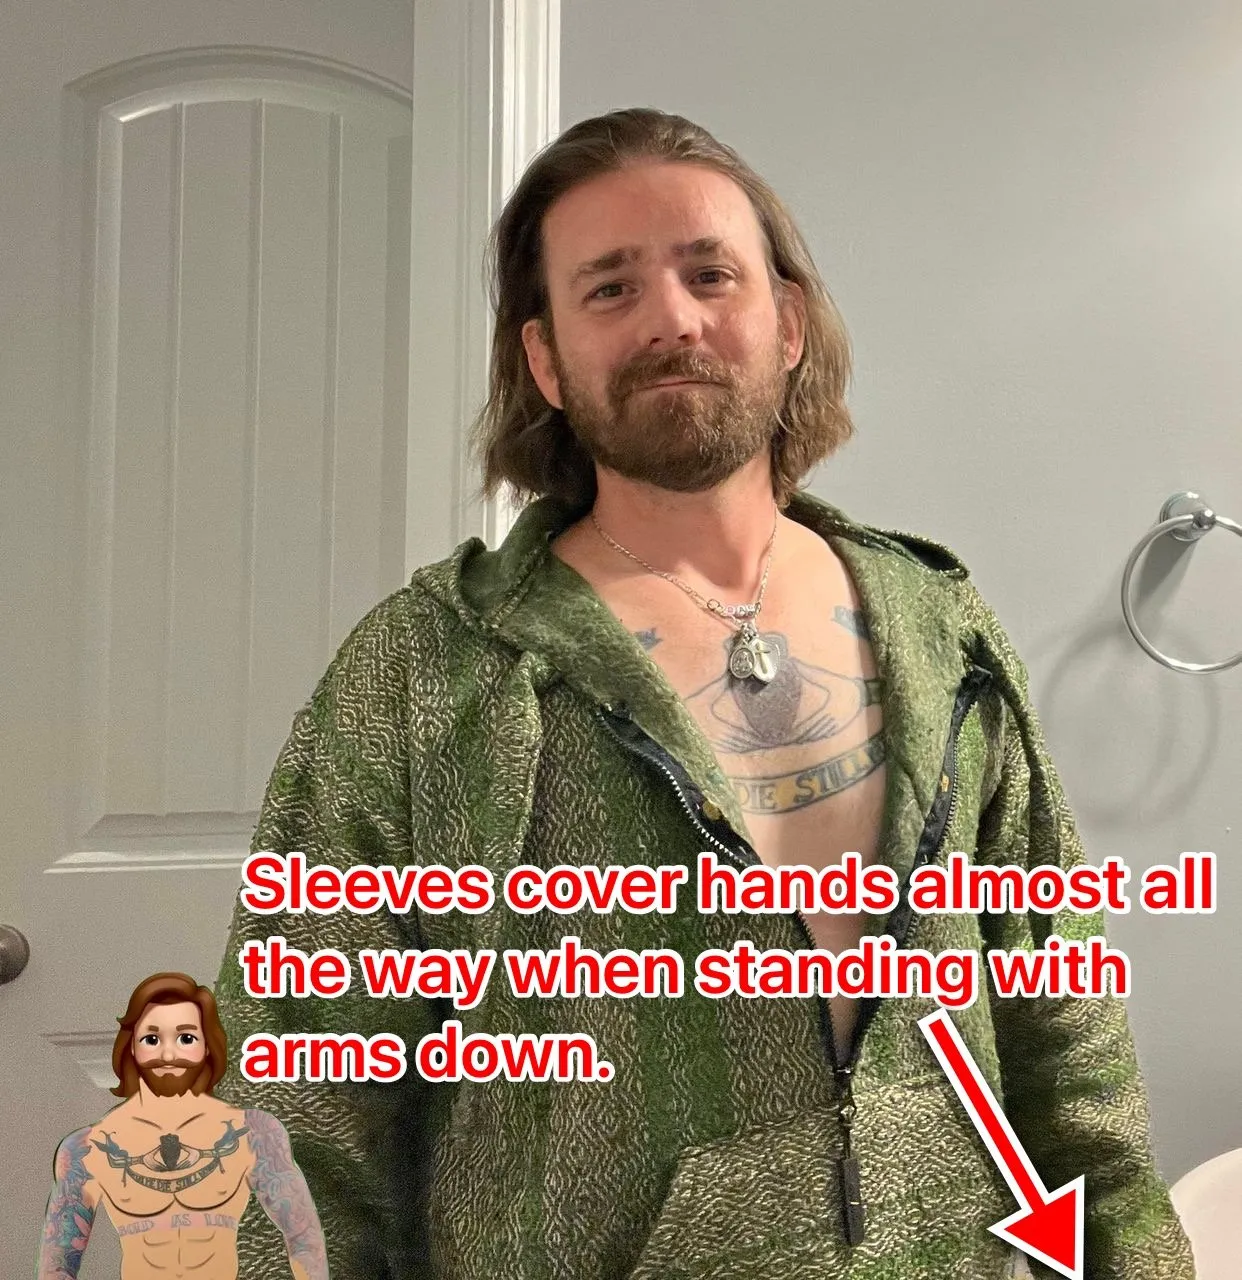
As shown here, this zipper still needs additional stitchwork to be reliable, especially when I consider putting it in the washing machine. I will probably try to do two more full runs before I start cycling this baby through the wash (I actually did get to these this weekend also - around the same time as when I hemmed the cuffs). Also I’m noticing that the sleeves feel a little long.
I love a good beach hoodie. But one thing I find universally true, is that hoodies can sometimes get hot. Adding a zipper to your favorite hoodie will help you get the most use out of it, as now it can be worn comfortably at higher temperatures.
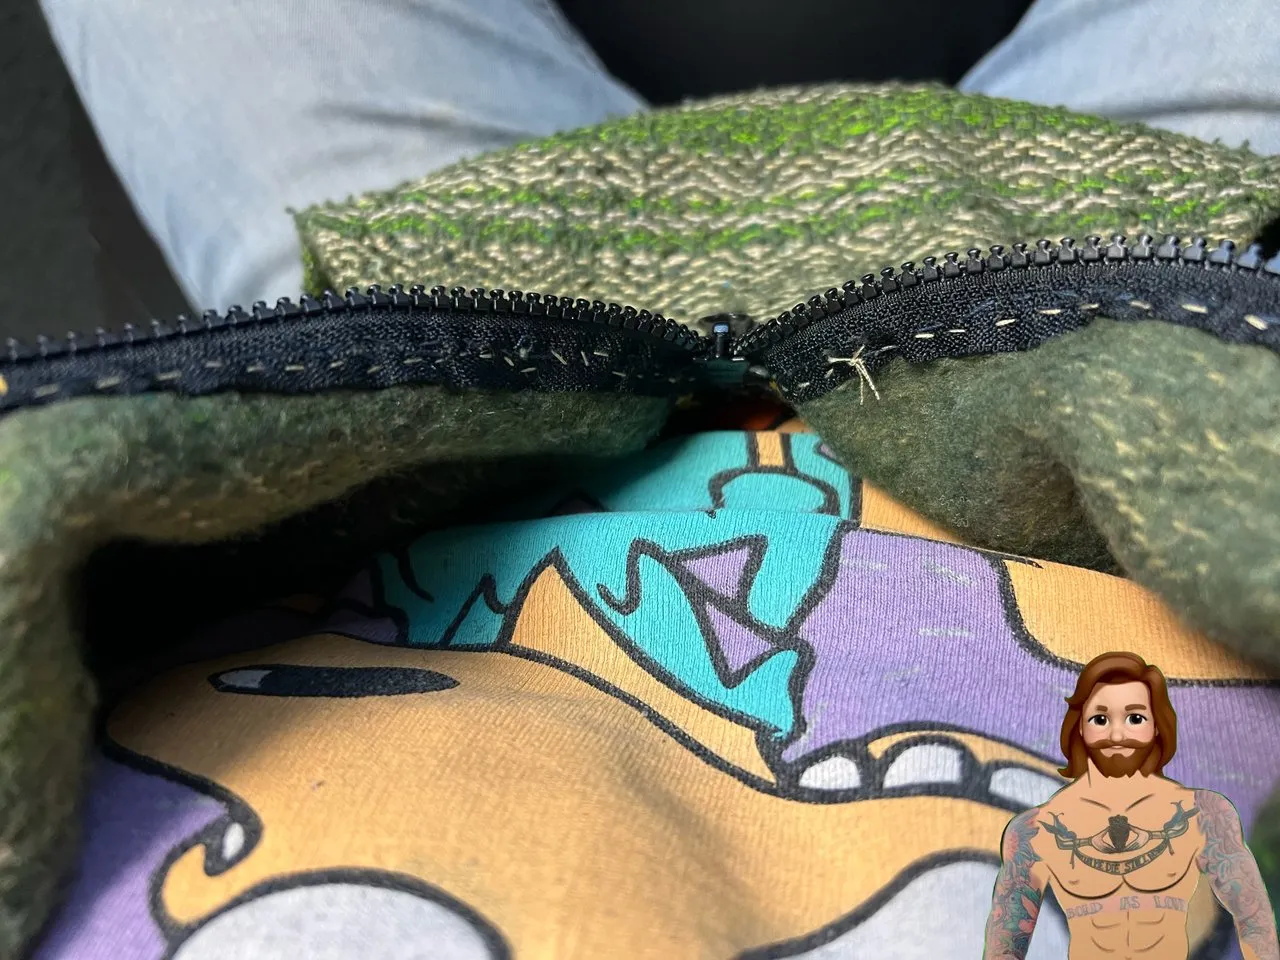
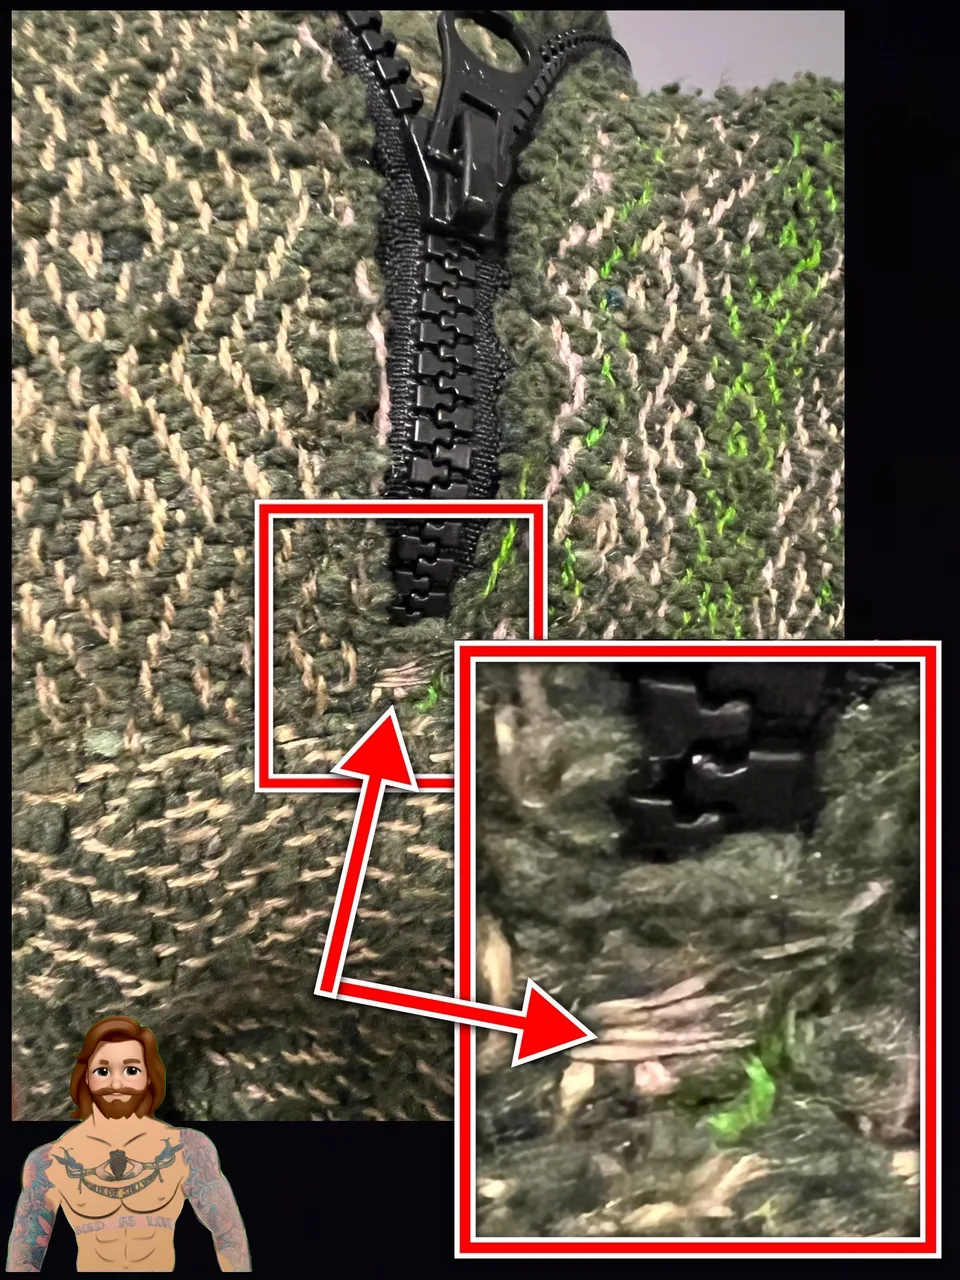
Side Note: Remember how that zipper was about 1.0”-1.25” too long? All I did was float it behind the pocket, make sure to anchor it at the base, and sew across the closed teeth to constrict the zipper below the given set point.
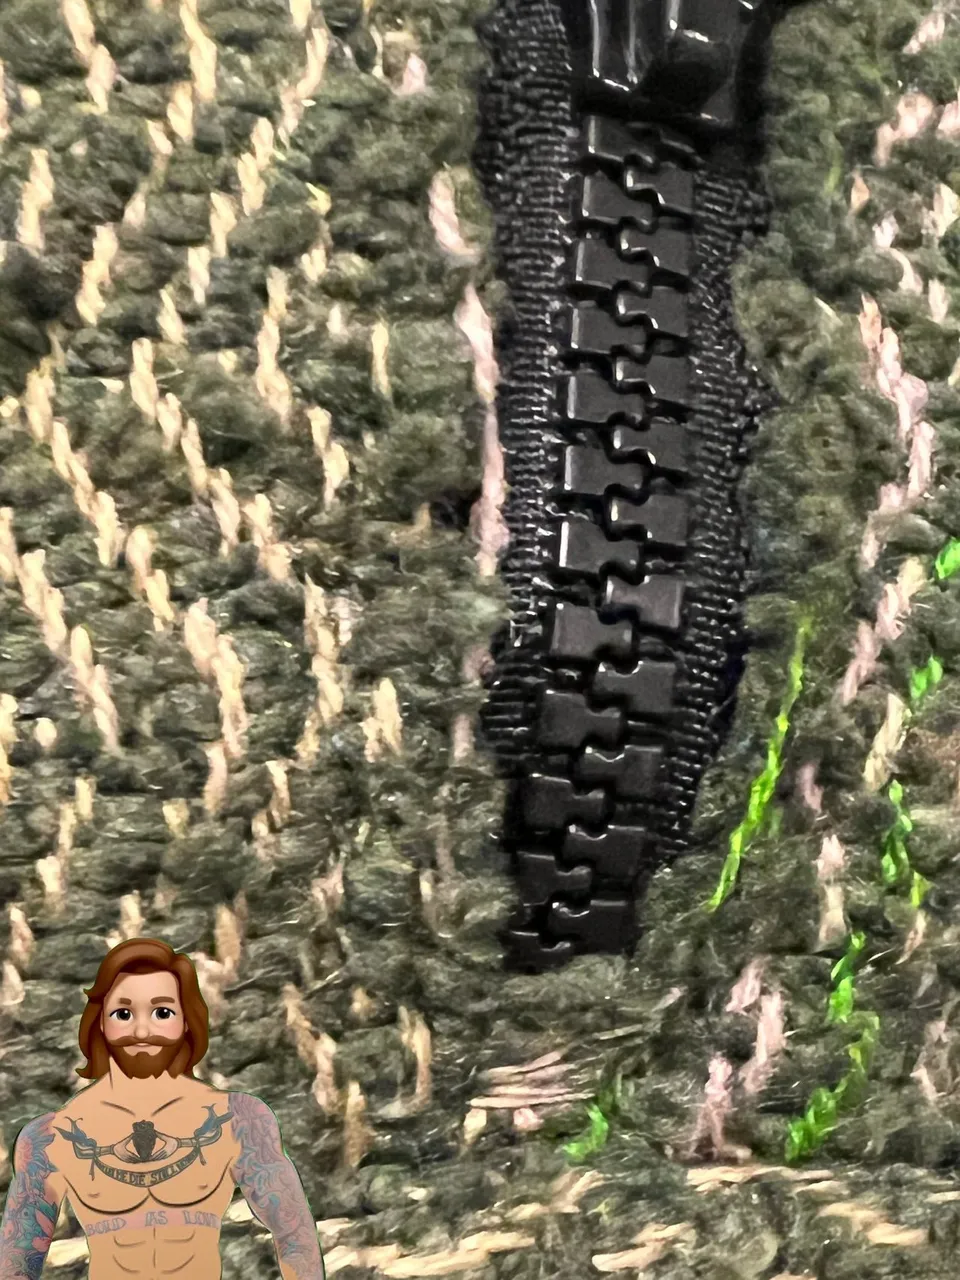
👆 Blocking the zipperhead’s path of travel 👇
Finally for today, the sleeves on this hoodie were a bit long.
I rolled the sleeves in on themselves and adjusted them throughout the day so when I had a chance to sew, they would be in a good state of adjustment and training.
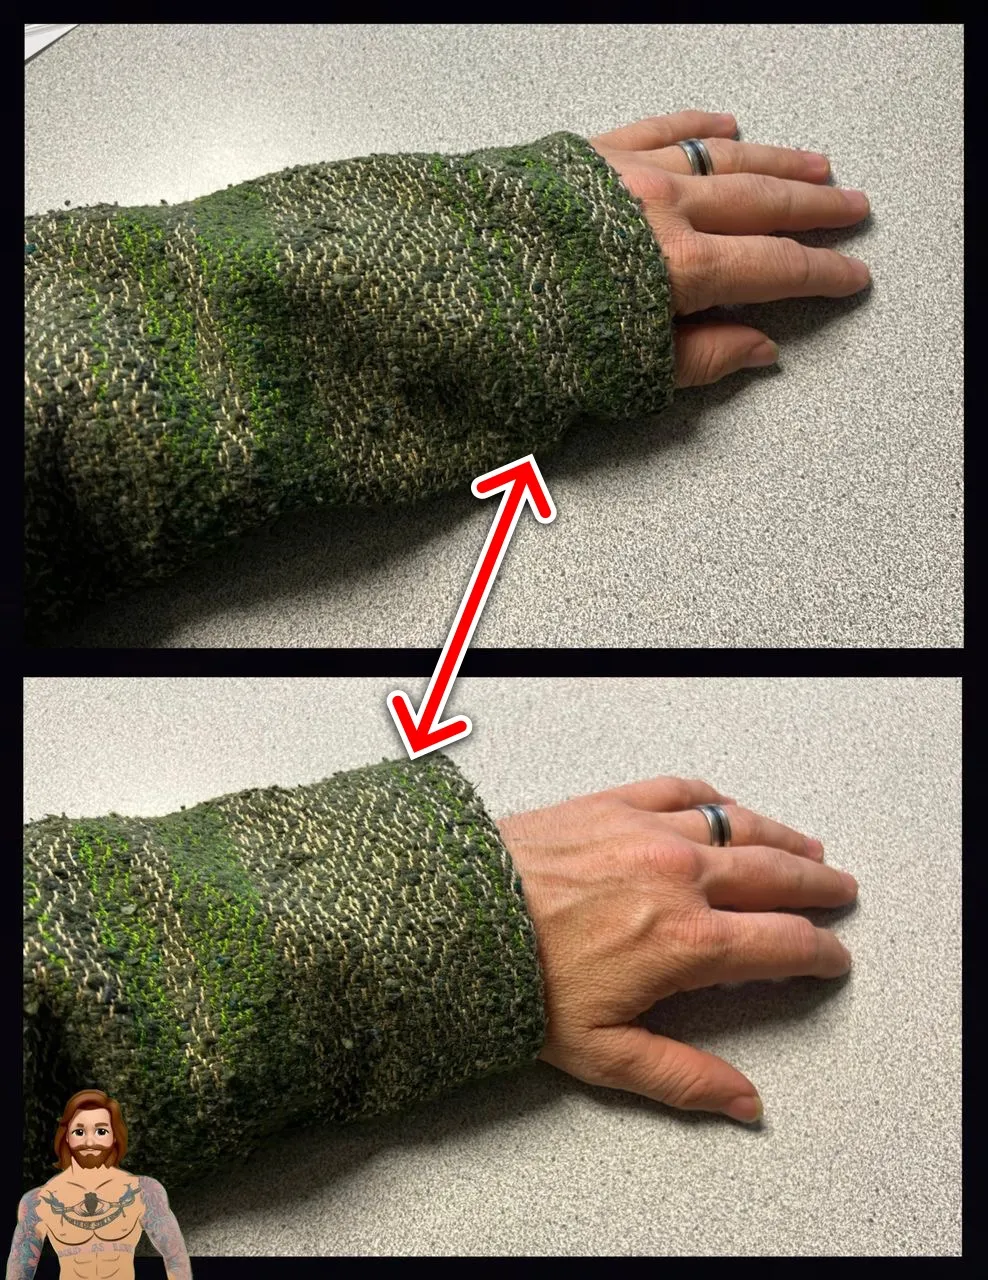
Later on, while the sleeves were still freshly worn into position, I put a simple seam around until it overlapped itself by an inch or two; once for each sleeve.
After the first wash/dry cycle I did one more full seam around each cuff, and then cut off the bulky original/folded material. This will eventually fray back to the new seam, at which time I will cut off any loose ends. For now, it feels good.
All-in-all, this hoodie is quite a bit warmer than the typical baja hoodie - There’s a pretty good chance I’ll end up adding zippers to the two sides (from bottom to armpit) but first I’ll have to find two zippers, so that won’t be a part of today’s plan. For now, I hope you’ve enjoyed modifying your favorite beach hoodie to maximize its potential with me.
Until next time, stay beachy my friends!
Thanks for checking out some more of my work! As always, I hope you enjoyed witnessing as much as I enjoyed creating!
© Photos and words by @albuslucimus, except where otherwise indicated.

If you enjoy my content, check out the Albus Index!
Here you’ll find links to various post-groupings, so you can find all posts related to a specific topic quickly. Topics include lists of brewing recipes, flutes, crypto talks, rucking posts and an index of all acoustic covers. The lists are updated as new content is added, so they can always be used to quickly navigate my content.