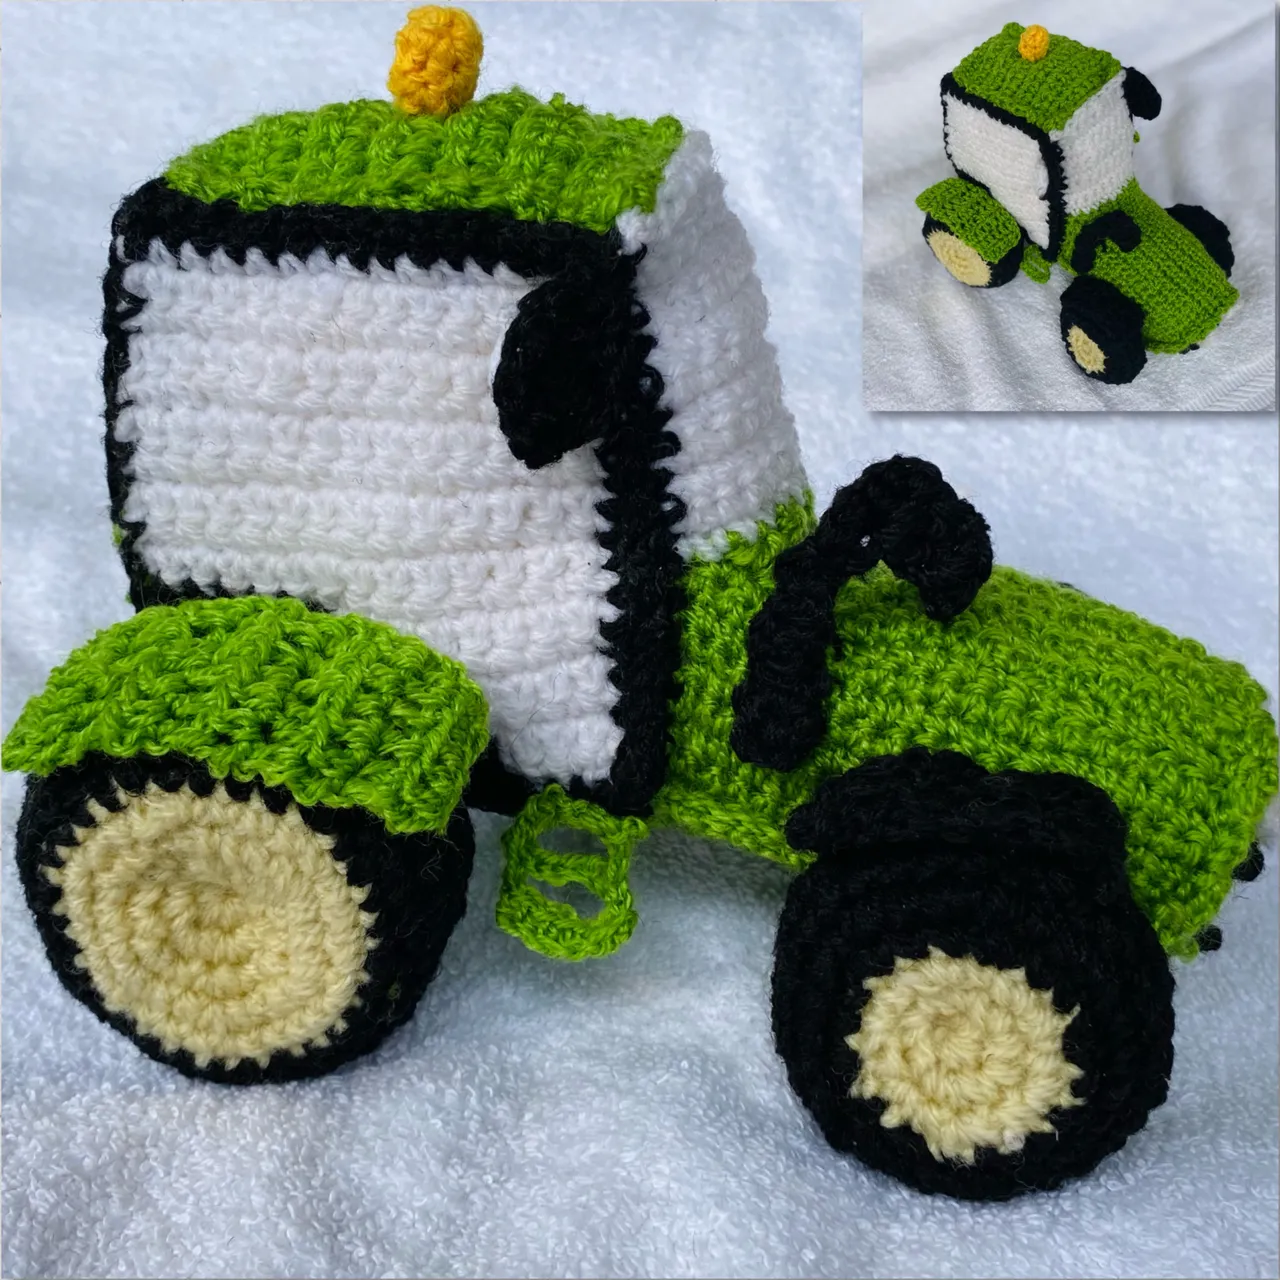
Hello everyone, I’m here to share with you all this tractor I made for my nephew. I’ve been wanting to make a car for a long time. If you know me you’ll know anytime I’m starting something I always want to do the hardest ones first. So for the car, I wanted to go big or go home.hehe. I wasn’t ready to go home so I went big. My nephew has this indescribable love for tractors so I decided to make one for him.
They’ll be visiting this weekend so I can’t wait to see his reaction when he sees it. I actually promised him a car in 2022, we’re in 2024 and he keeps on asking so I had no option than to fulfill that promise. I designed this tractor from scratch. My brother who is engineer even had to help me add some details. It took about 12 hours to make this.
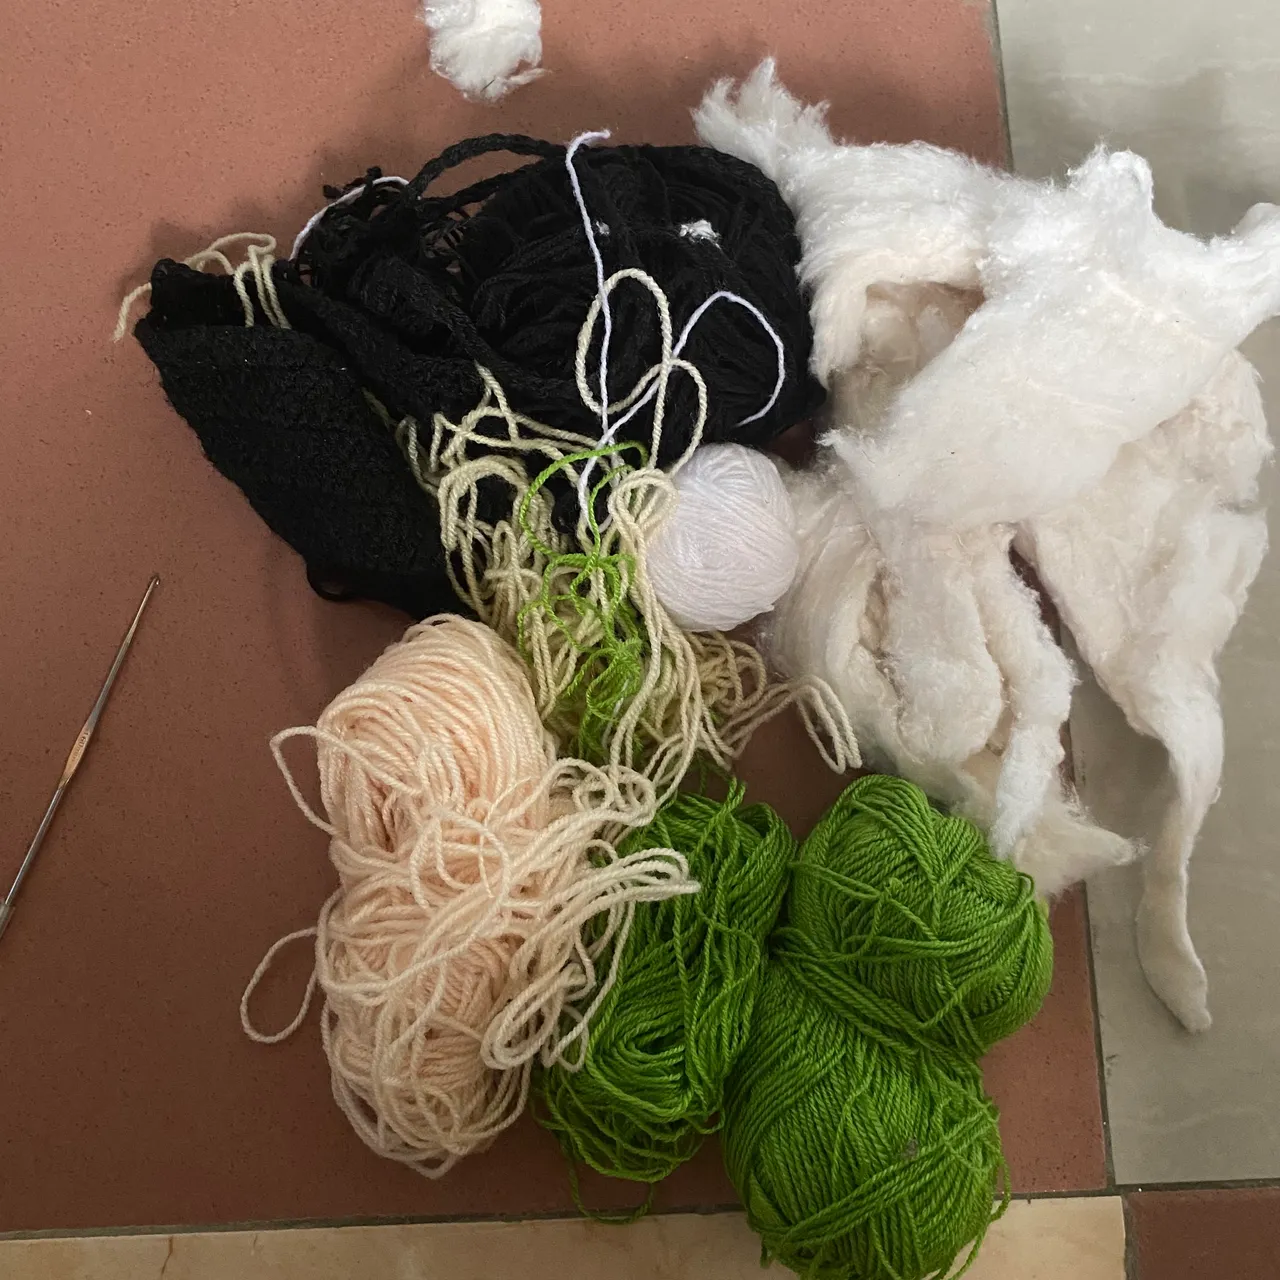
The materials I used:
• Leftover yarns
• 1.60mm crochet hook
• Cotton wool
Procedure
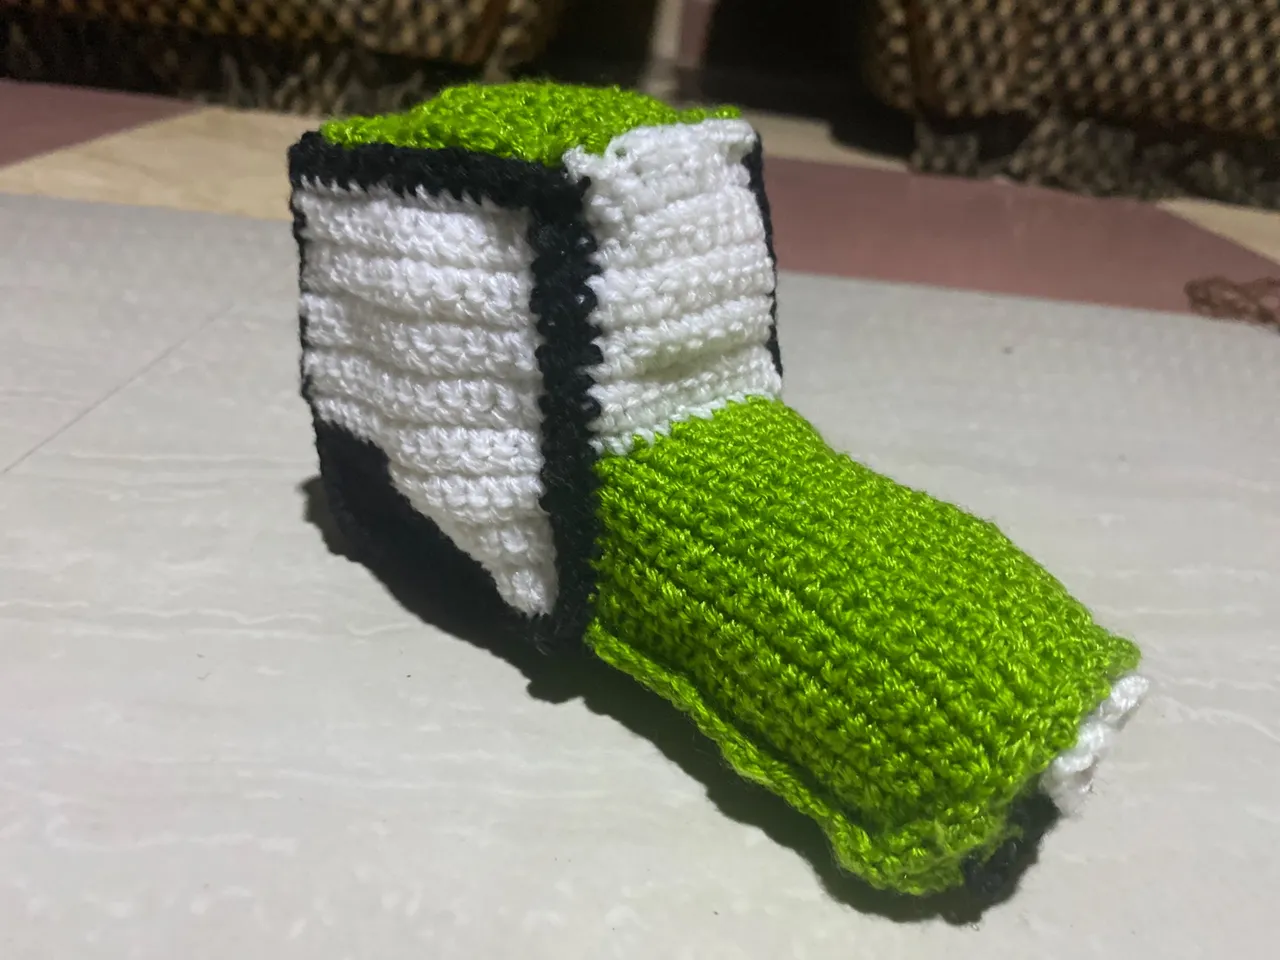
I started by making the base of tractor. I made 14 chains and then added about 30 rows of single crochet. I made a similar one but shorter to make the hood and then a way shorter one to cover the front of the hood and then I stuffed it with some cotton wool
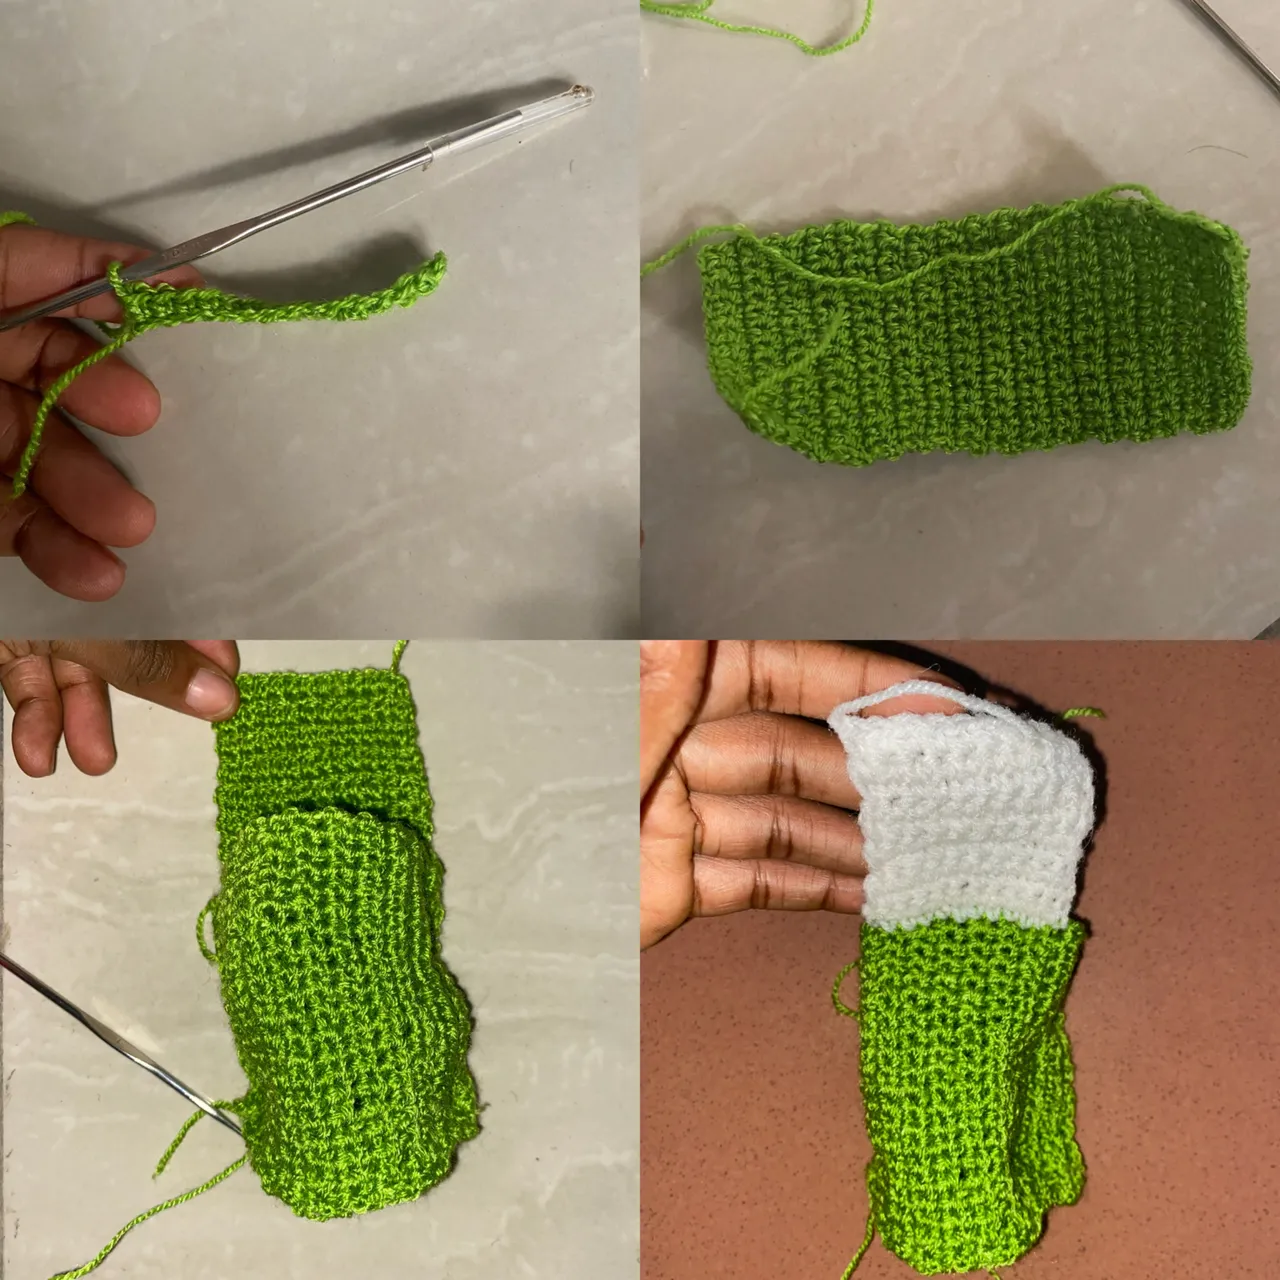
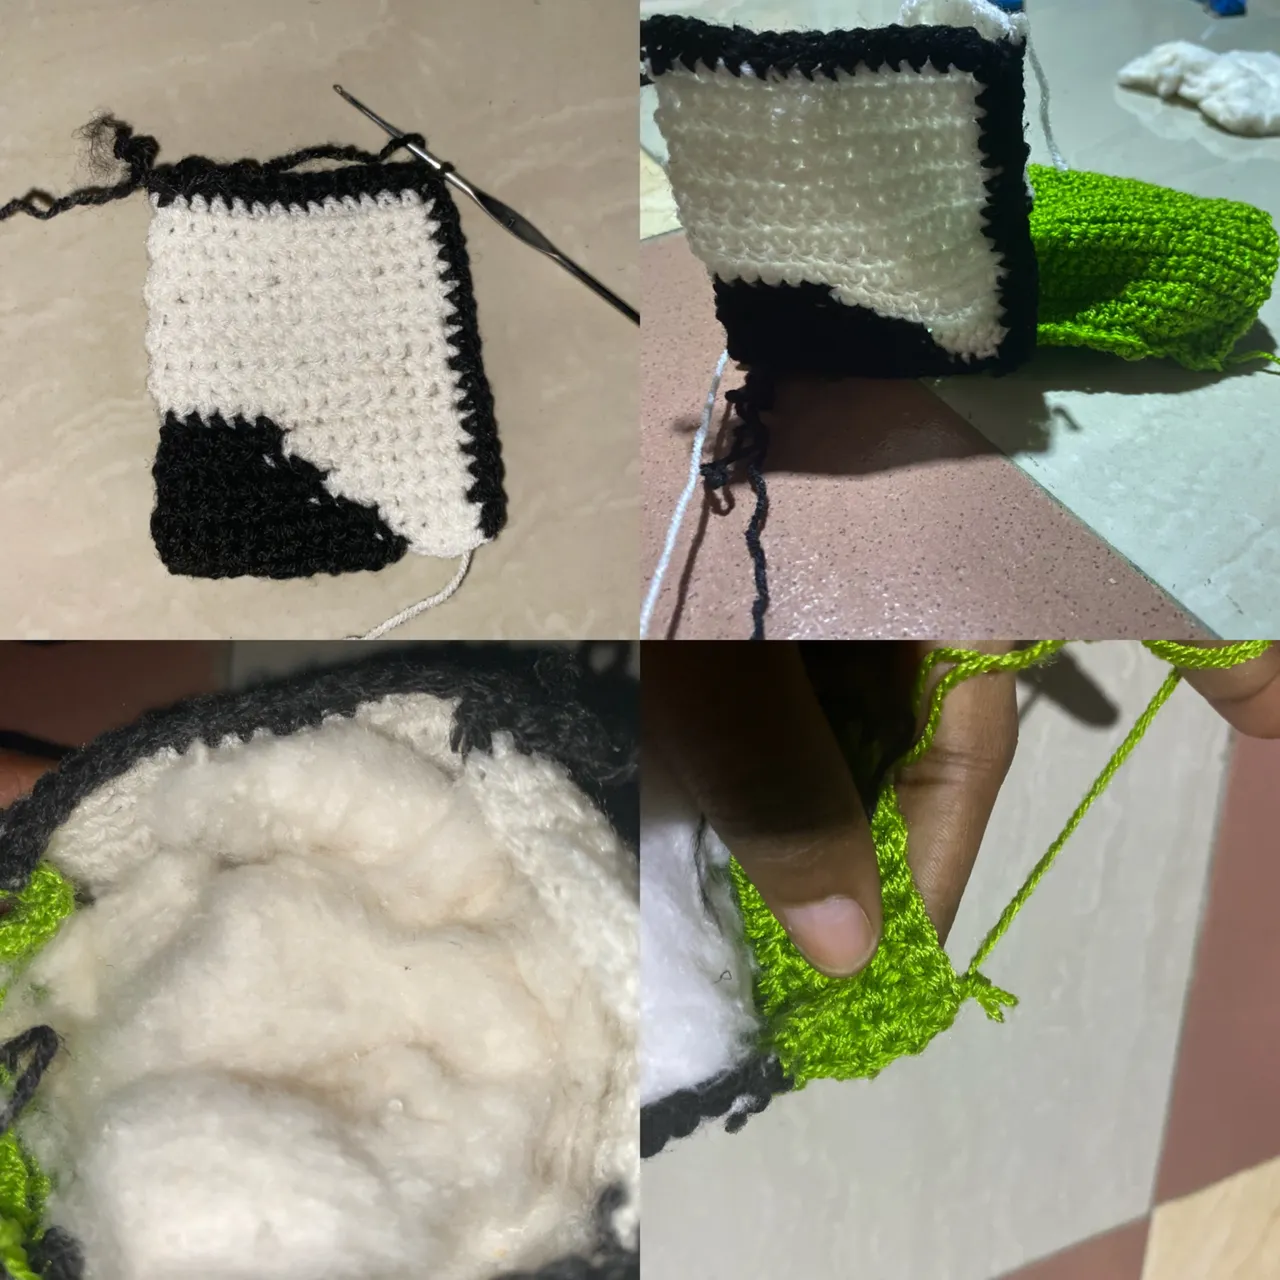
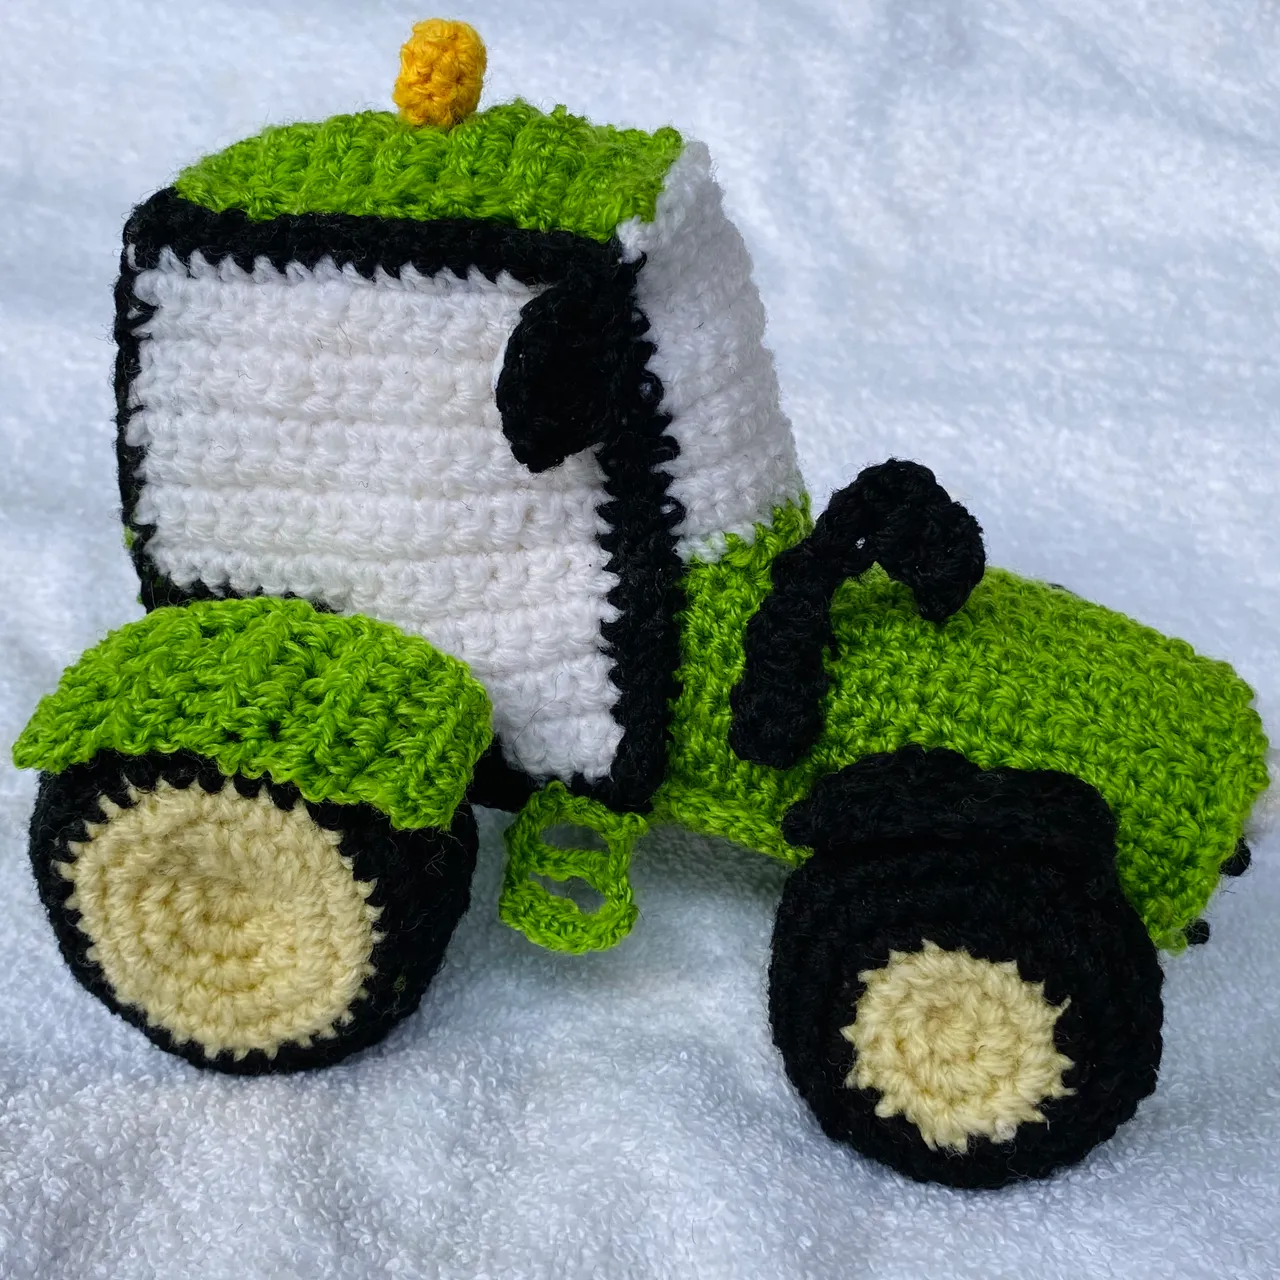
I went ahead to make the cabin of the tractor. I continued from the hood and built the front part of the cabin. I then went ahead to make 2 squares in black and white, for the sides of the cabin and then one rectangle in green for the back of the cabin. I added the black to give it some kind of realistic effect because I was making it in 3D. After I was done, I joined them together, stuffed it and then made another square to close the cabin. At this point my mom had no idea what I was doing and it even looked funny so we were all laughing but I told them to trust the process.
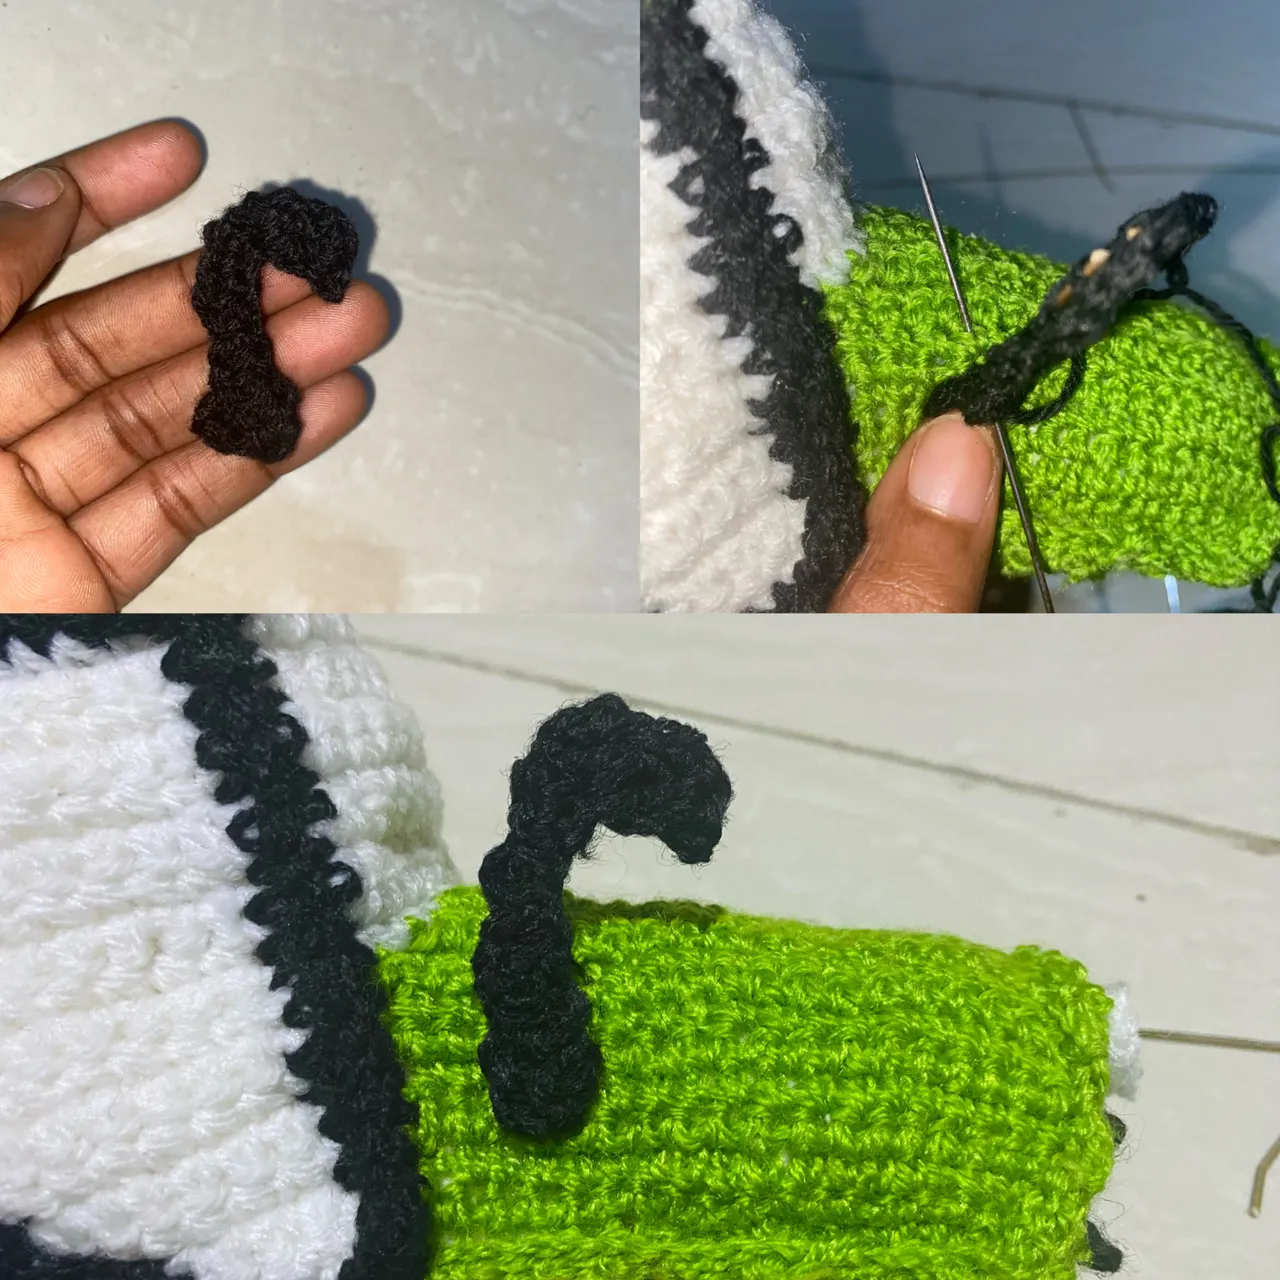
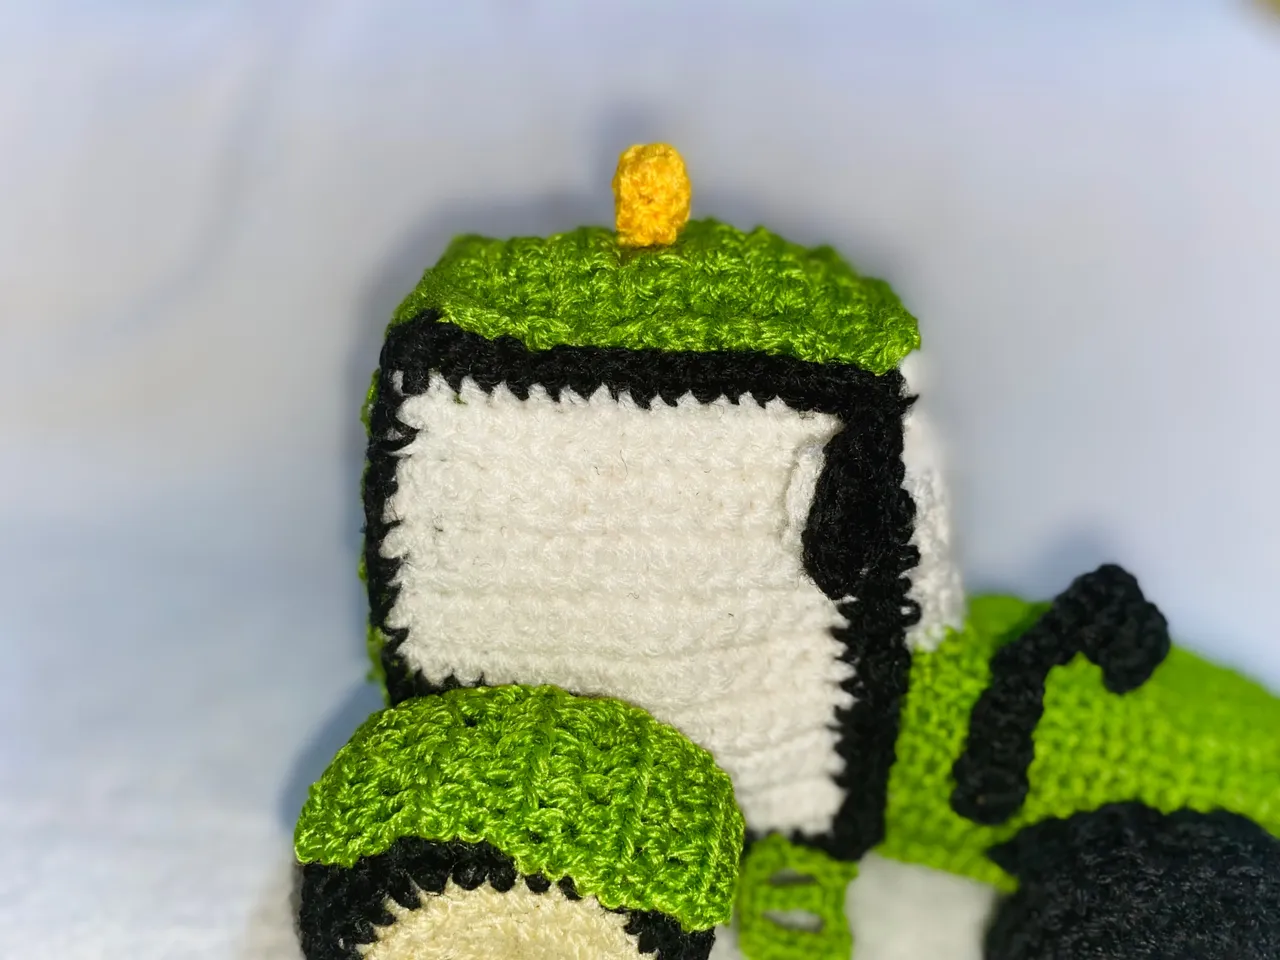
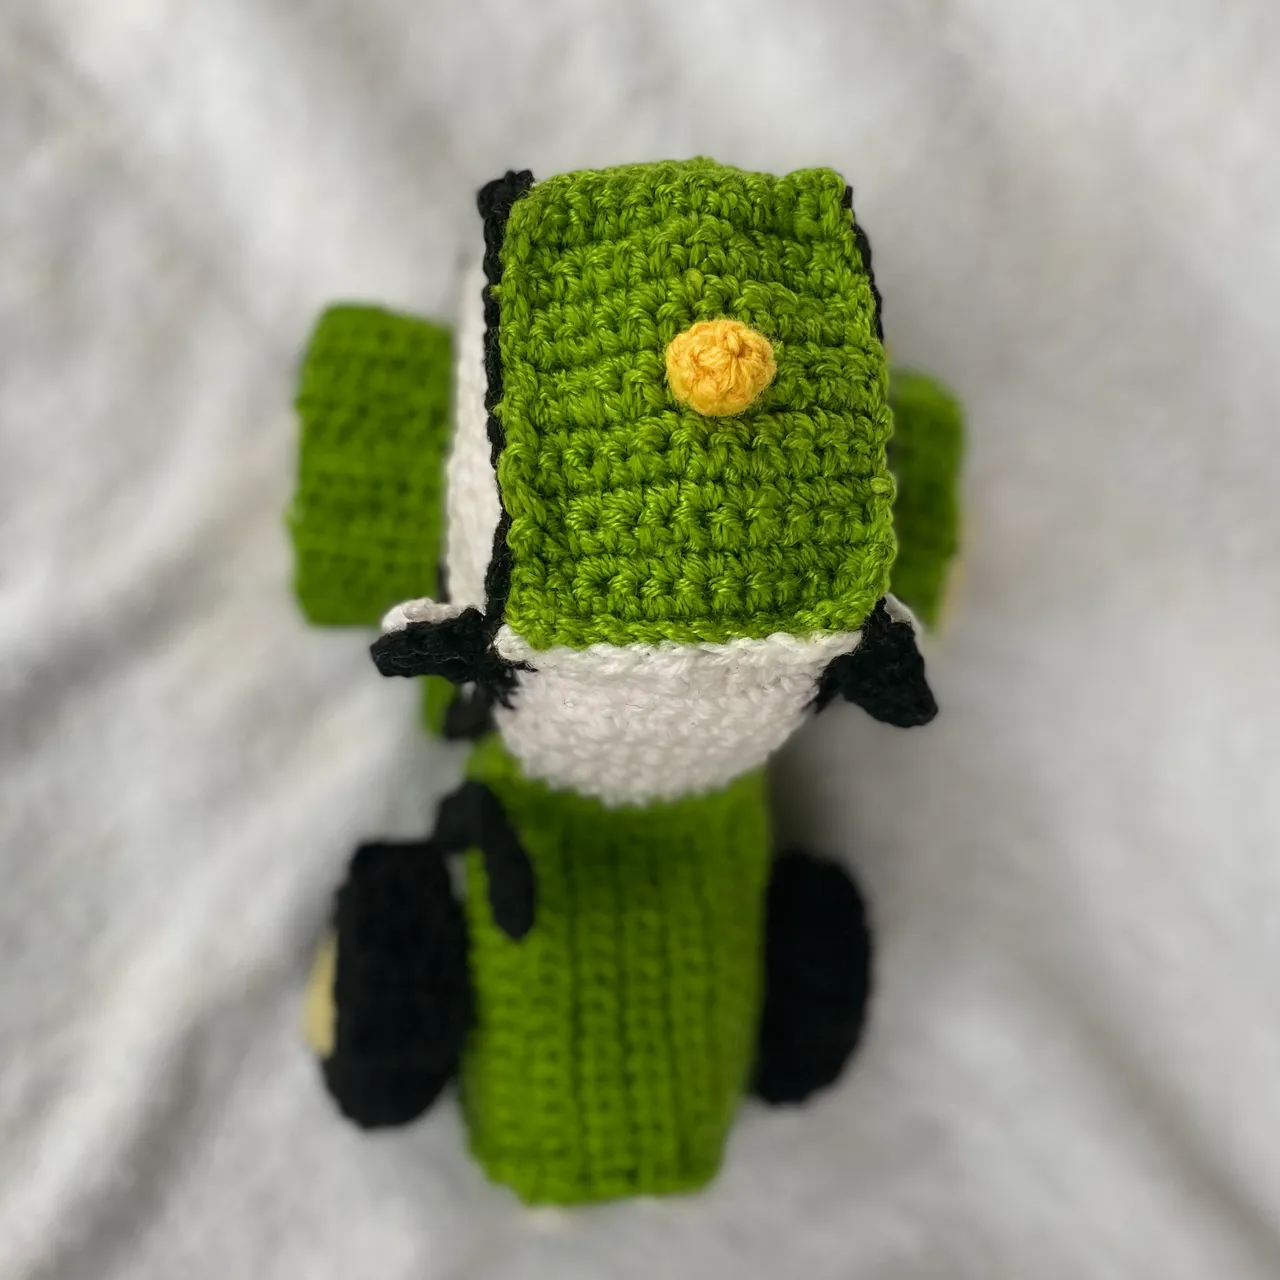
I moved on to the muffler which pretty simple. I made a row of half crochet and then at the end, I made about 5 of them in the same stitch to give it that curved effect. I then attached it to the hood.
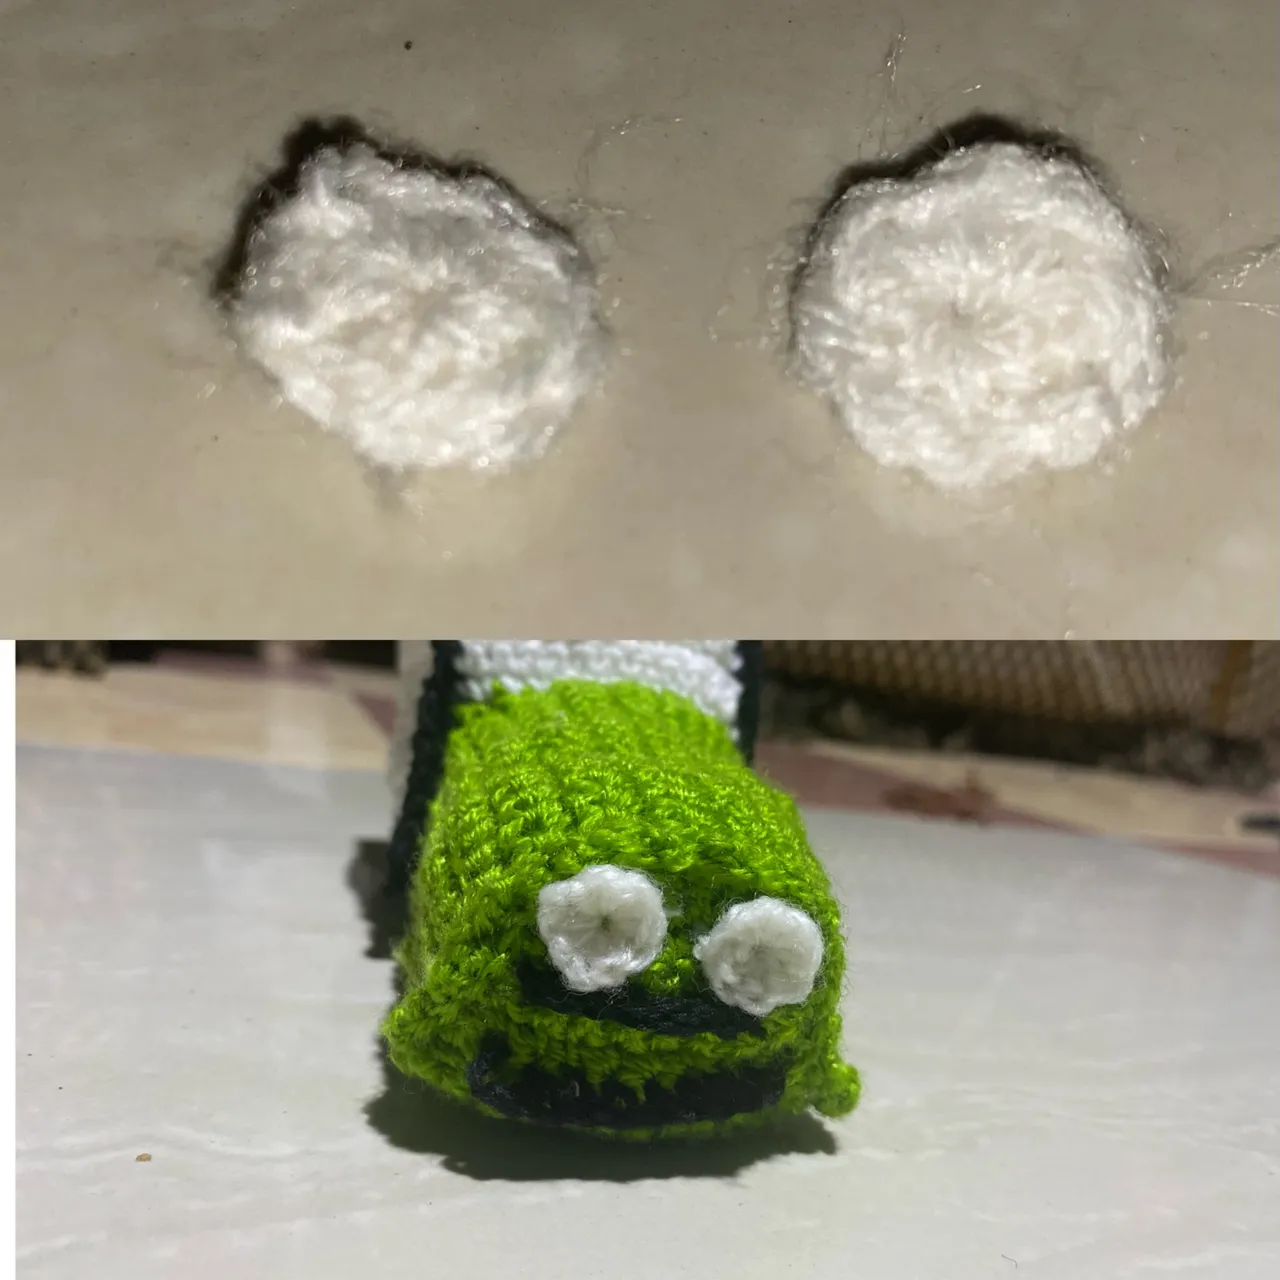
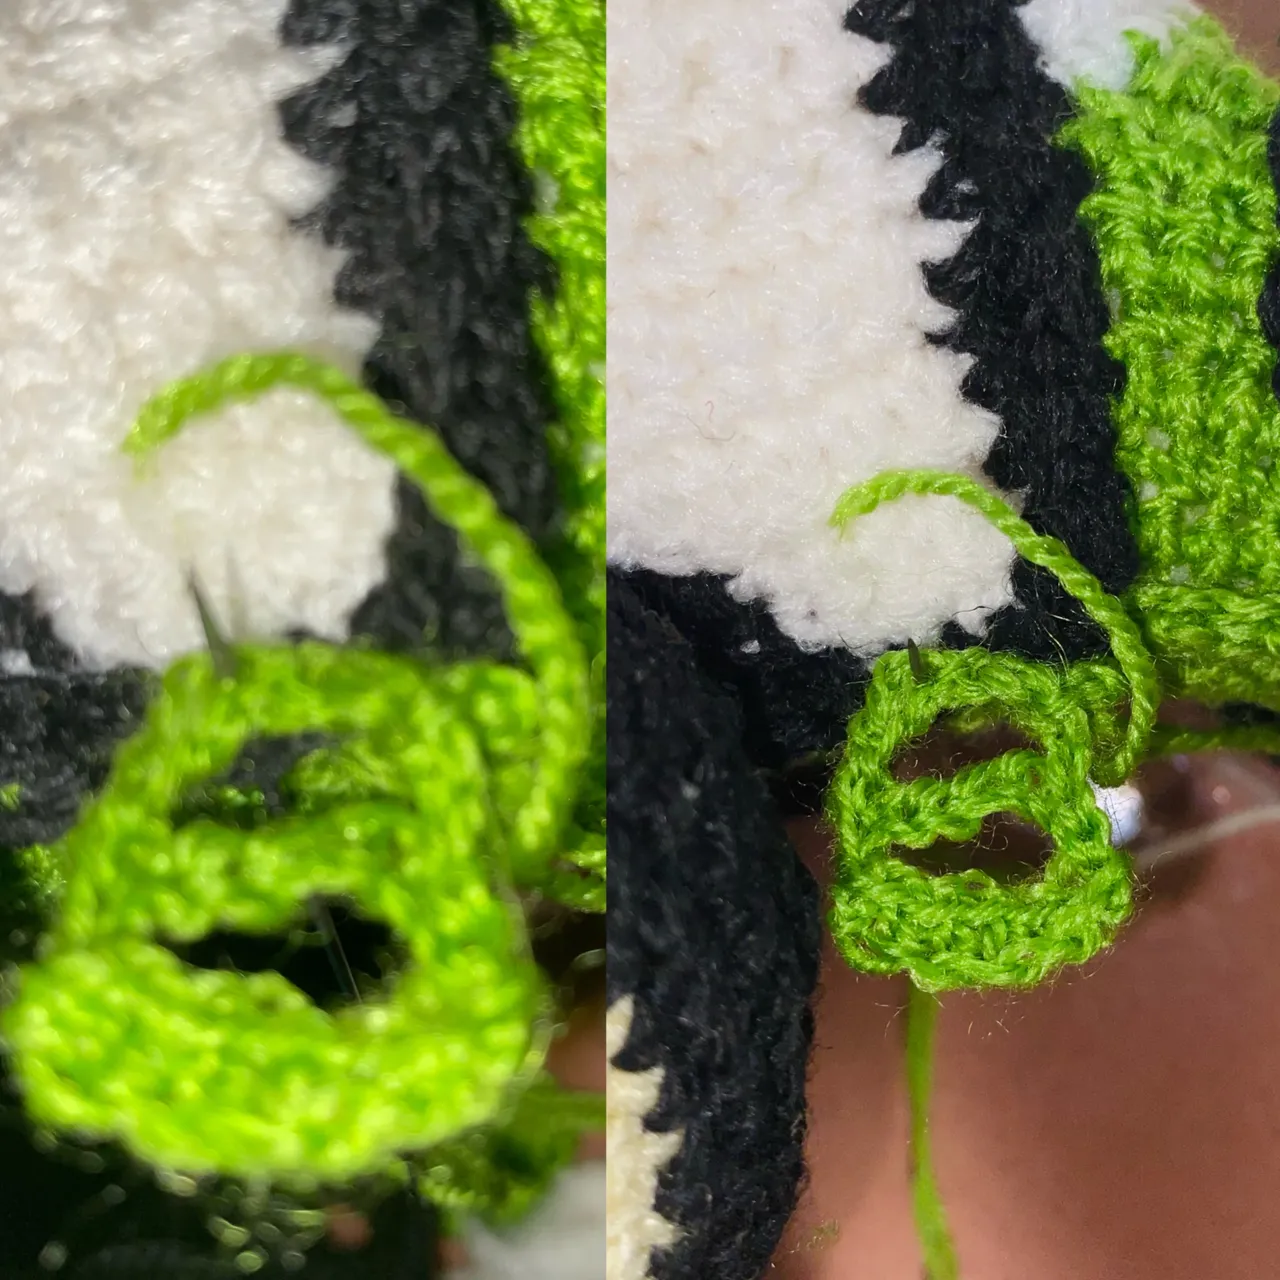
I went ahead to make the headlights. I made two Magic rings and then made 5 single crochets in each of them. I had to add some bumper to it so I made that too. I then made the rear view mirrors and attached them to cabin.
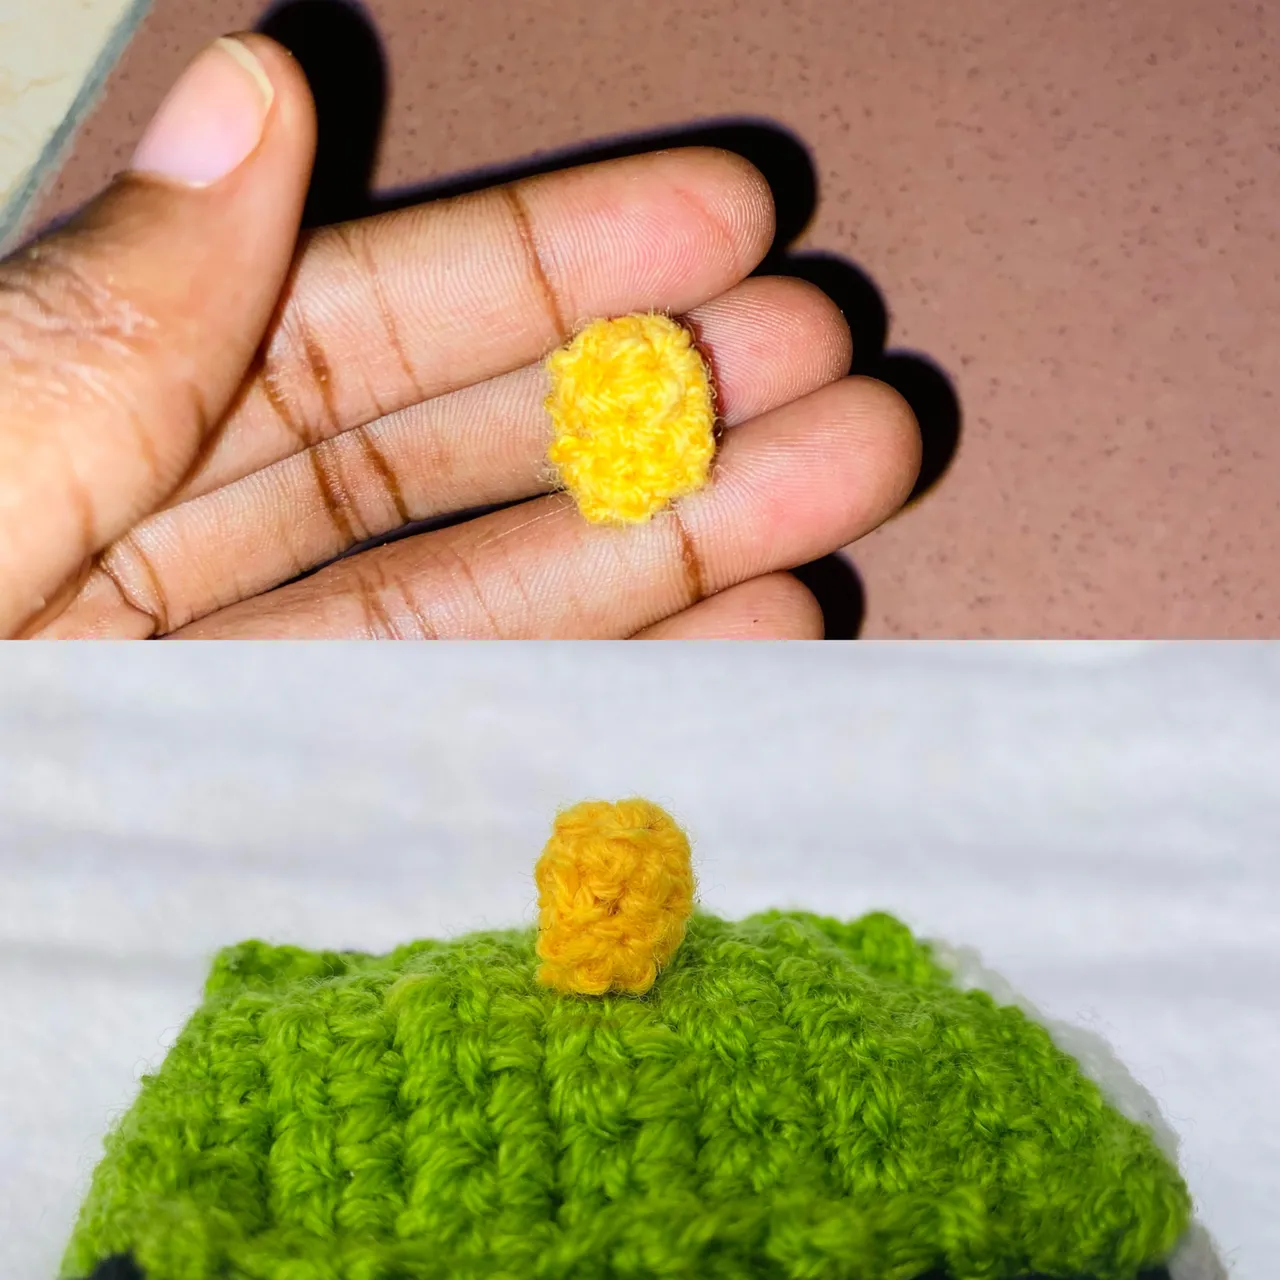
I made the marker light by making a magic ring and building it with single crochets. No increase, no decrease.
I made four fenders for the three with half double crochets.
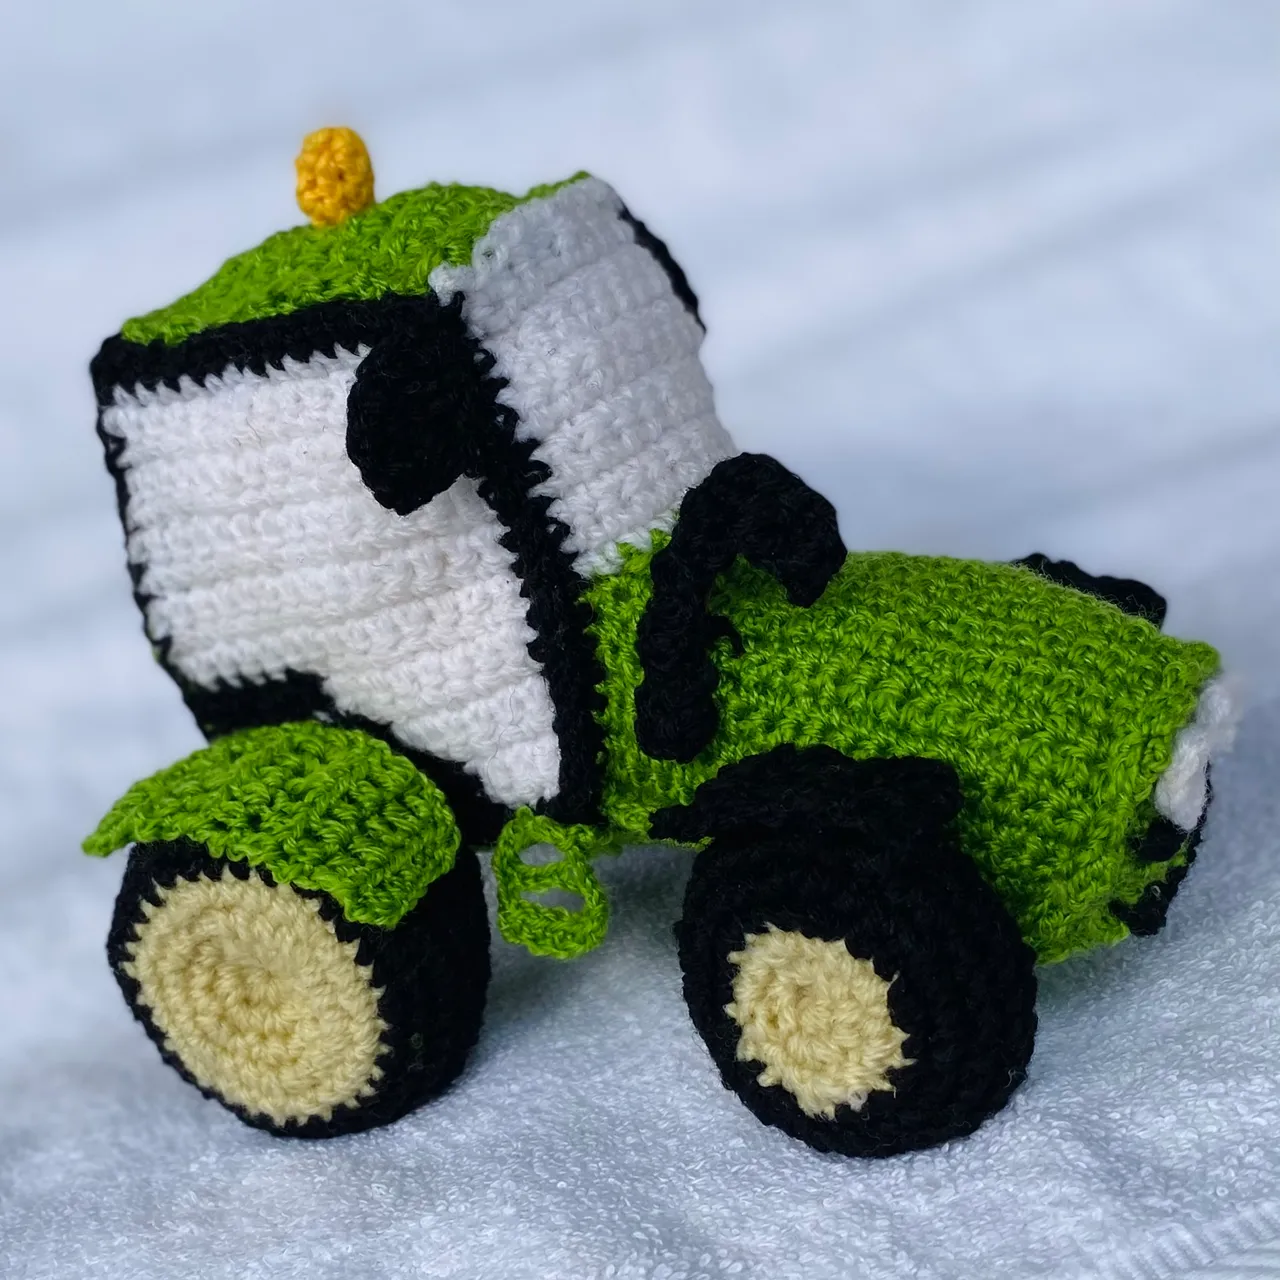
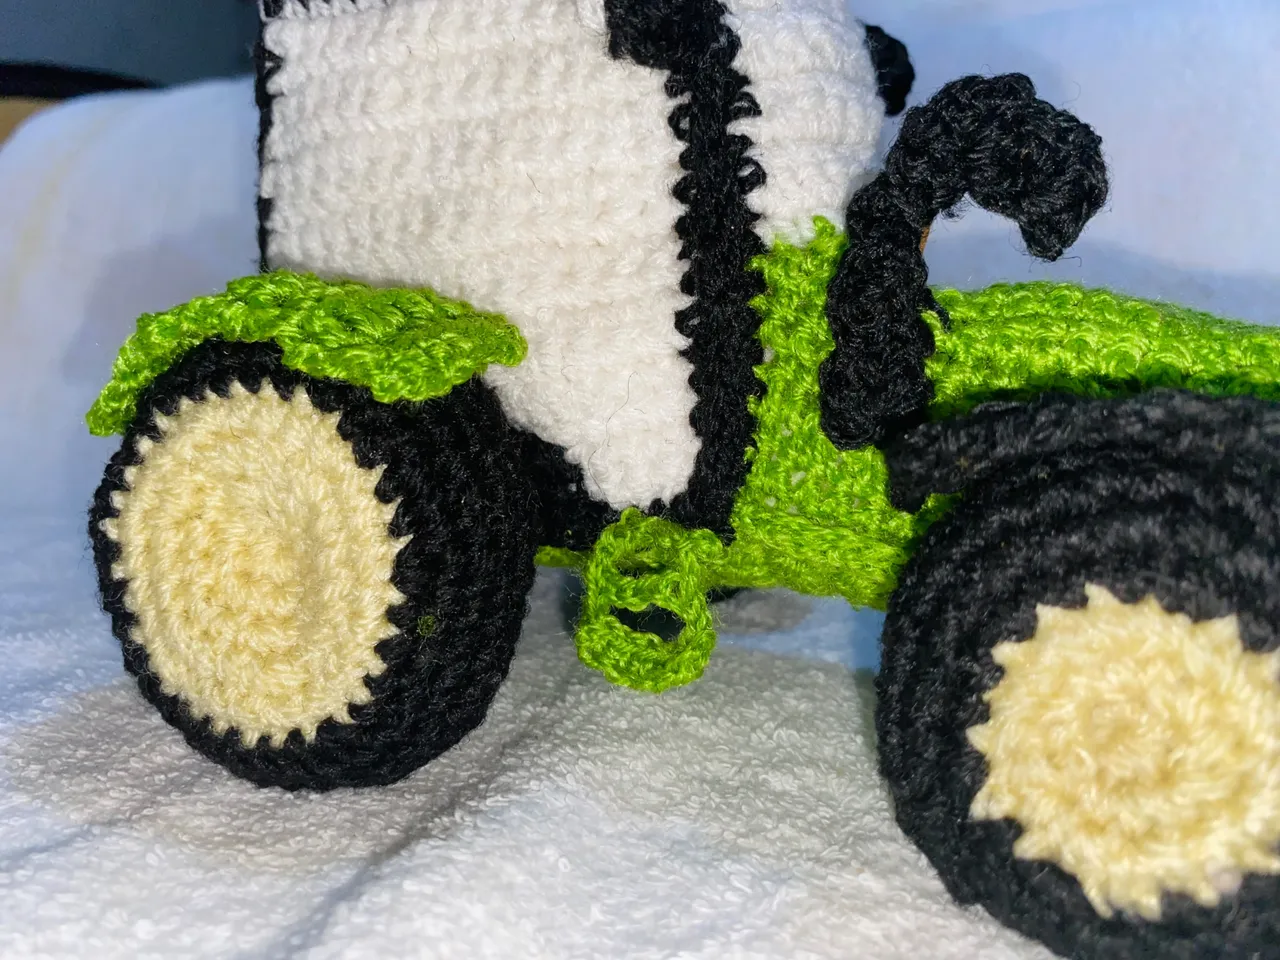
I went to the tyres which was my favorite part. I started with cream colour to make the rims and then moved on the tyre itself with black.
I started with magic rings, built on it with single crochet whiles increasing and then when I felt the rim was okay, I changed to black and then made a decrease in the single crochet. I then stuffed it and tighten the loops.
I made 4 tyres. Two smaller tires for the front and two bigger tyres for the back.
I attached the tyres with a broomstick so it would be able to move and then I stitched them to the tractor so they wouldn’t be able to come off whiles moving.


I made the stairs to the tractor with just chains. I made 5 chains and then added 3 more then 5 more and 3 more to meet and then repeated this again to make any stair on top of that. I attached it to the tractor.
The result
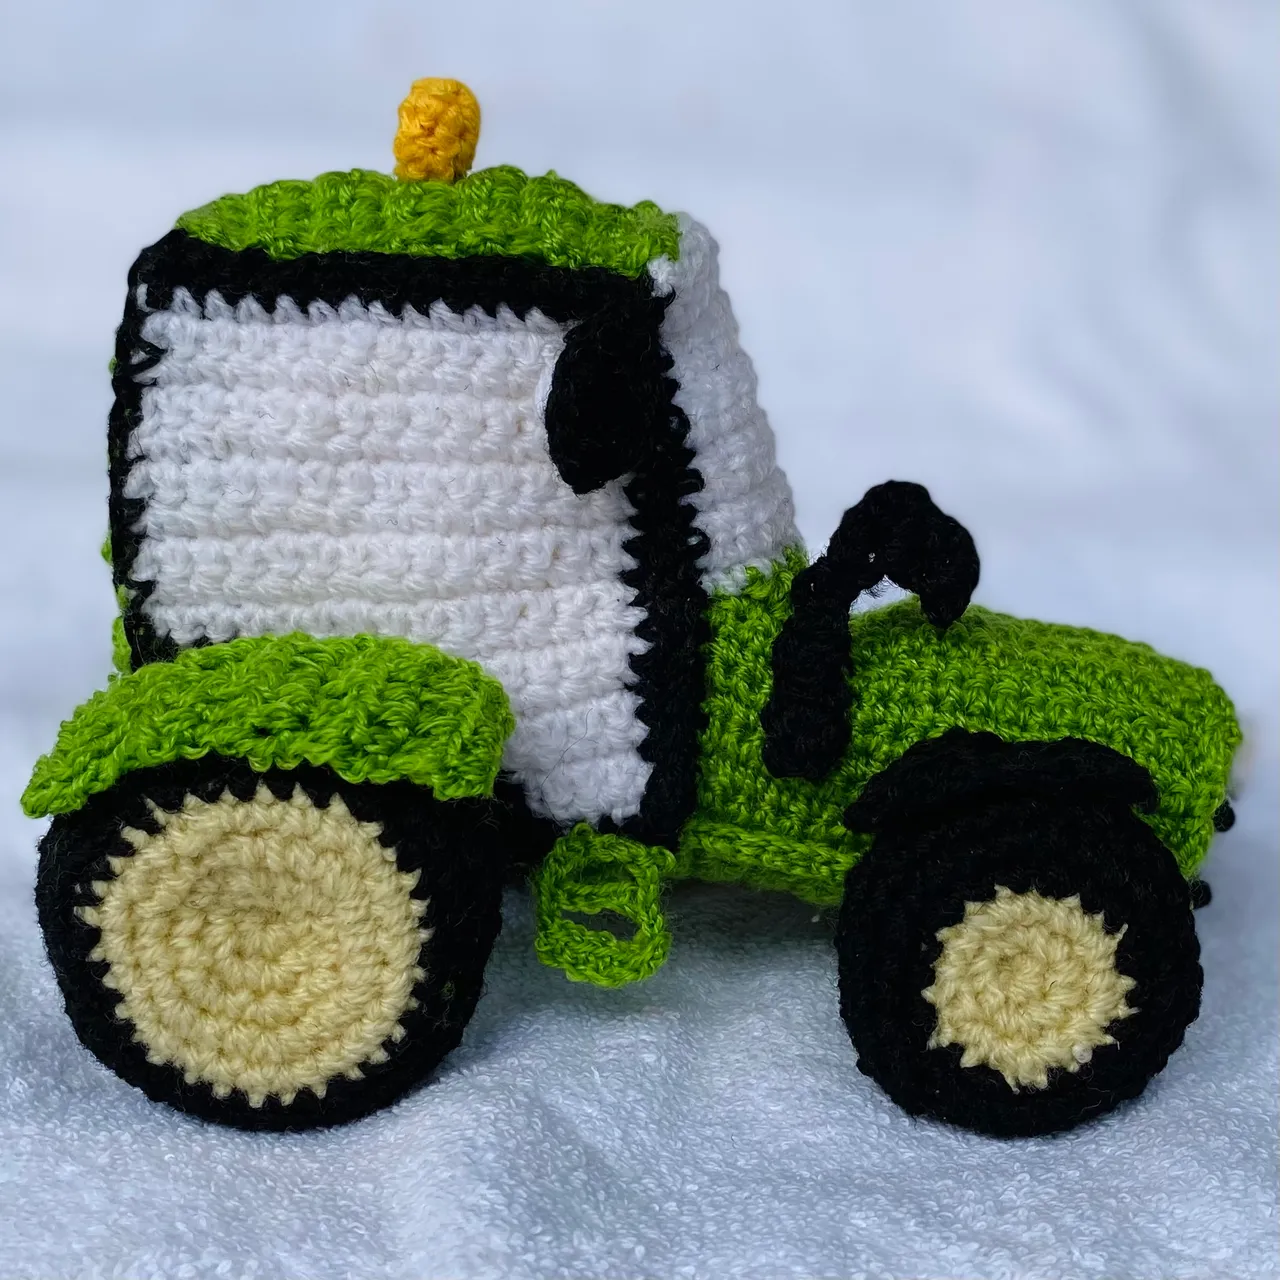
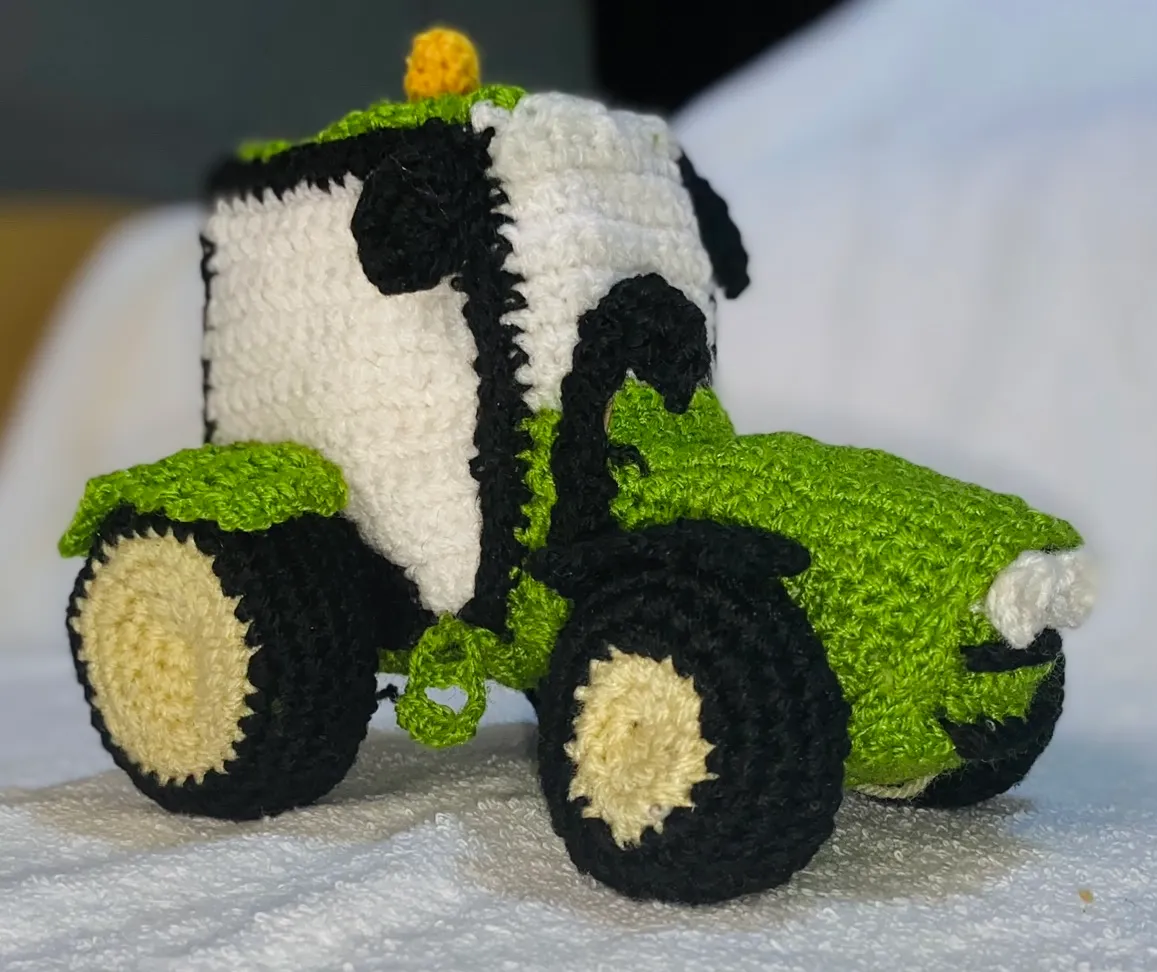
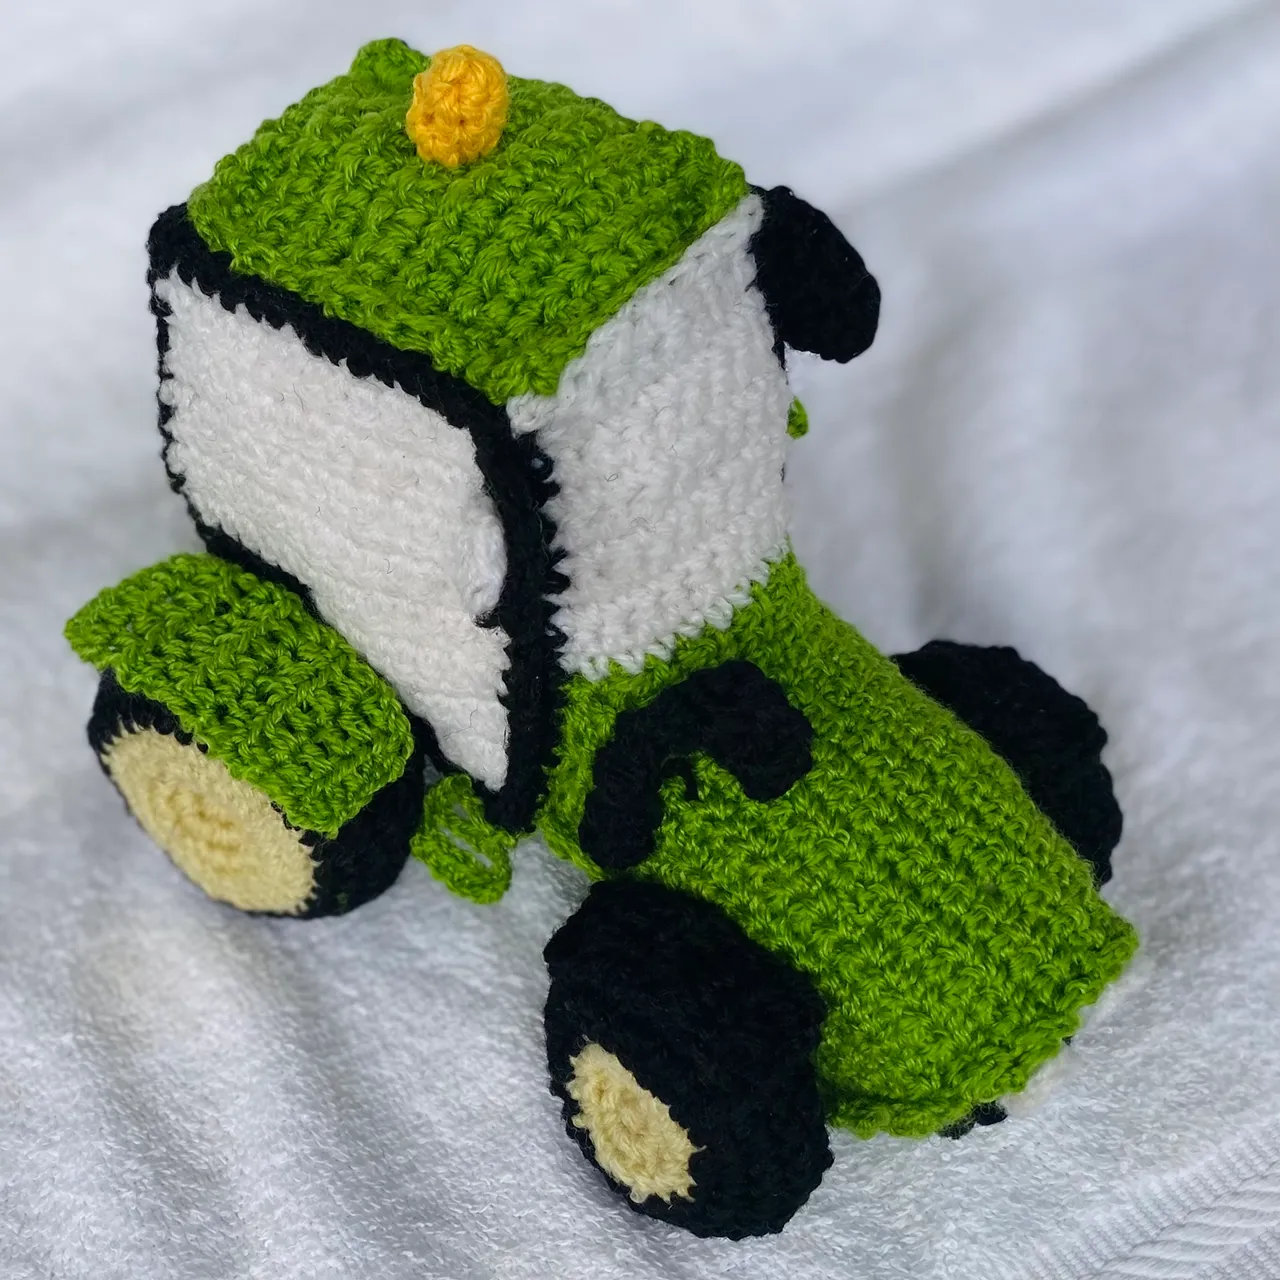
I called the engineer at home( my brother) to inspect the tractor and he gave me the clearance to be on the road, haha.
I’m happy I did this for my nephew. This project has opened my eyes to a new side of myself that I didn’t even know I had. I’m glad I did this. Thank you all for your time.
All Images Are Mine
Grids where made with photogrid