INTRODUCTION
INTRODUCTION
In today's art, I planned to do something nostalgic. This art should take you back in the 90s, during the era of Gameboy Advance and Gameboy Color. This should remind you of those Pokemon Green and Red days but with a modern twist.
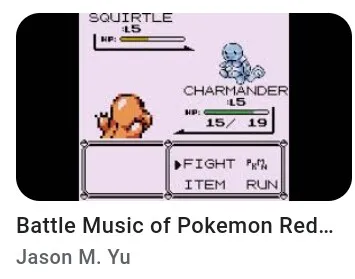
Photo came from Jason M Yu which I found in Google Search.
I hope you enjoy this week's art.
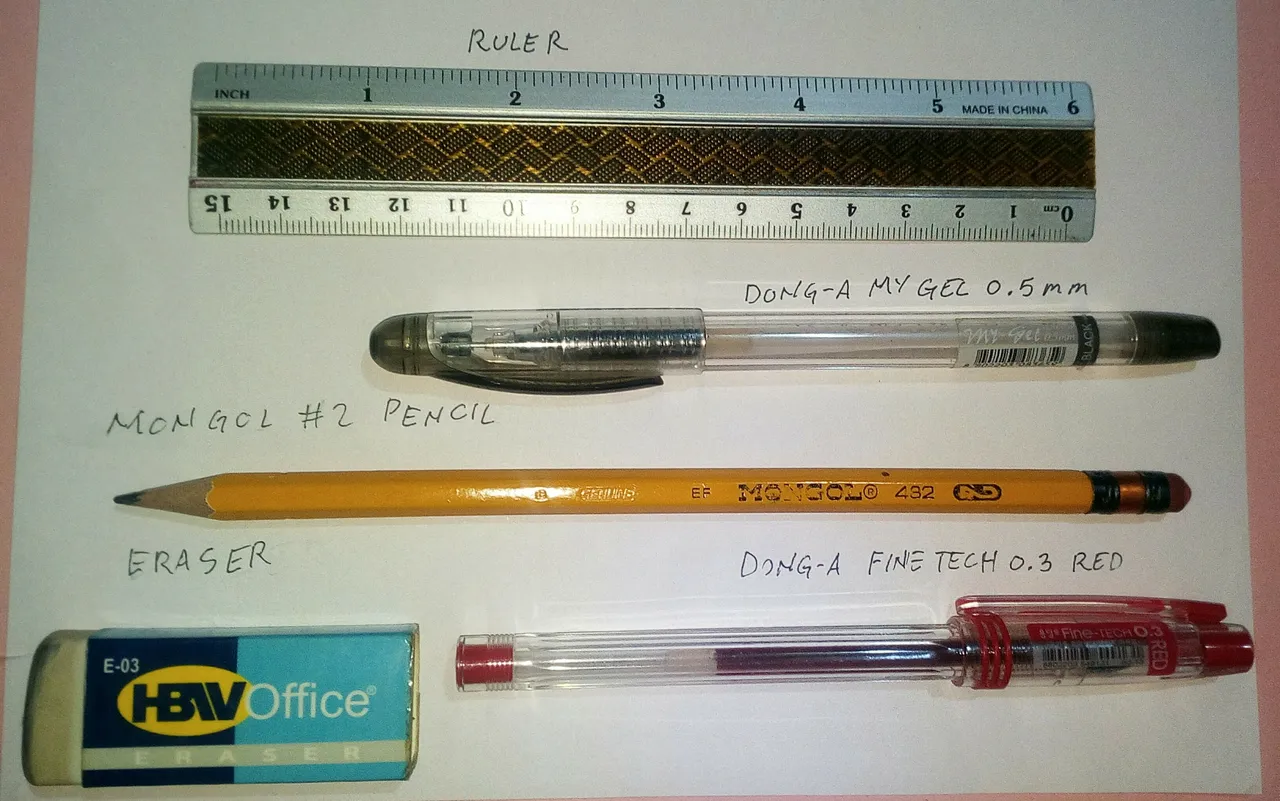
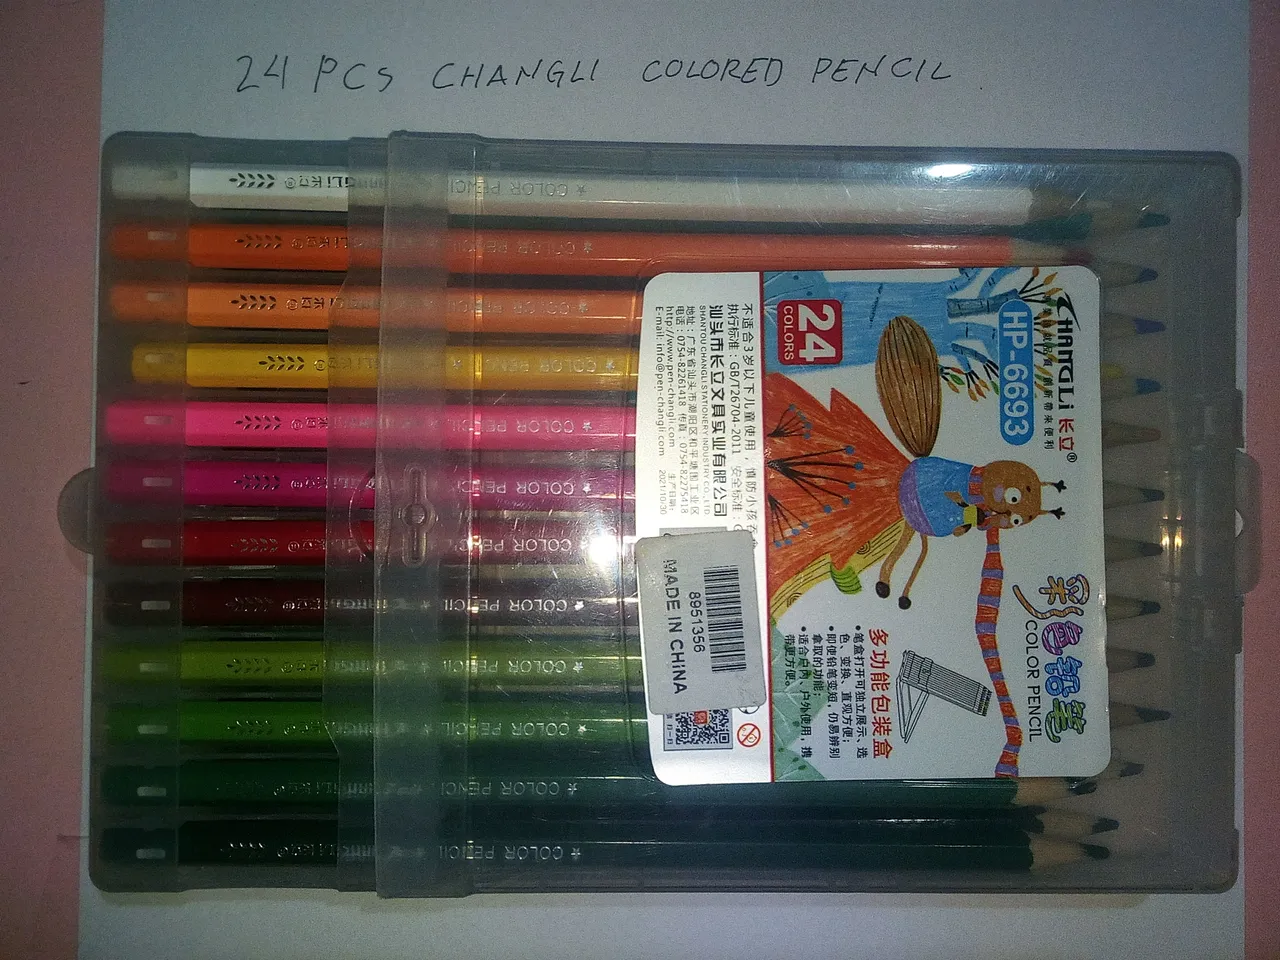
MATERIALS
MATERIALS
Inspirations will be quoted throughout the post for better clarity.
STEP BY STEP
STEP BY STEP
Below are my thought process on how I do this week's drawing.
Step 1 Draft
Step 1 Draft
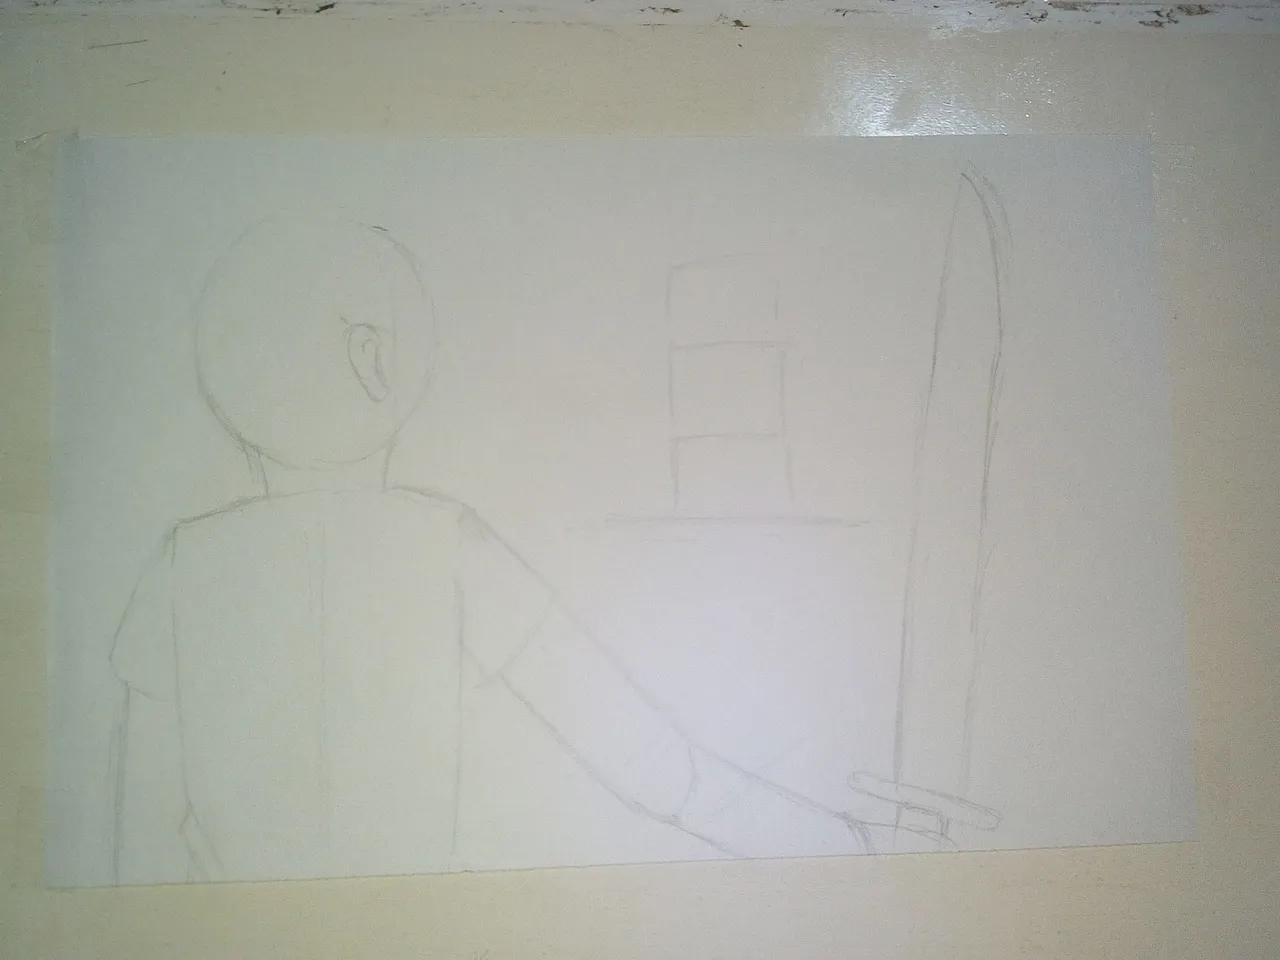
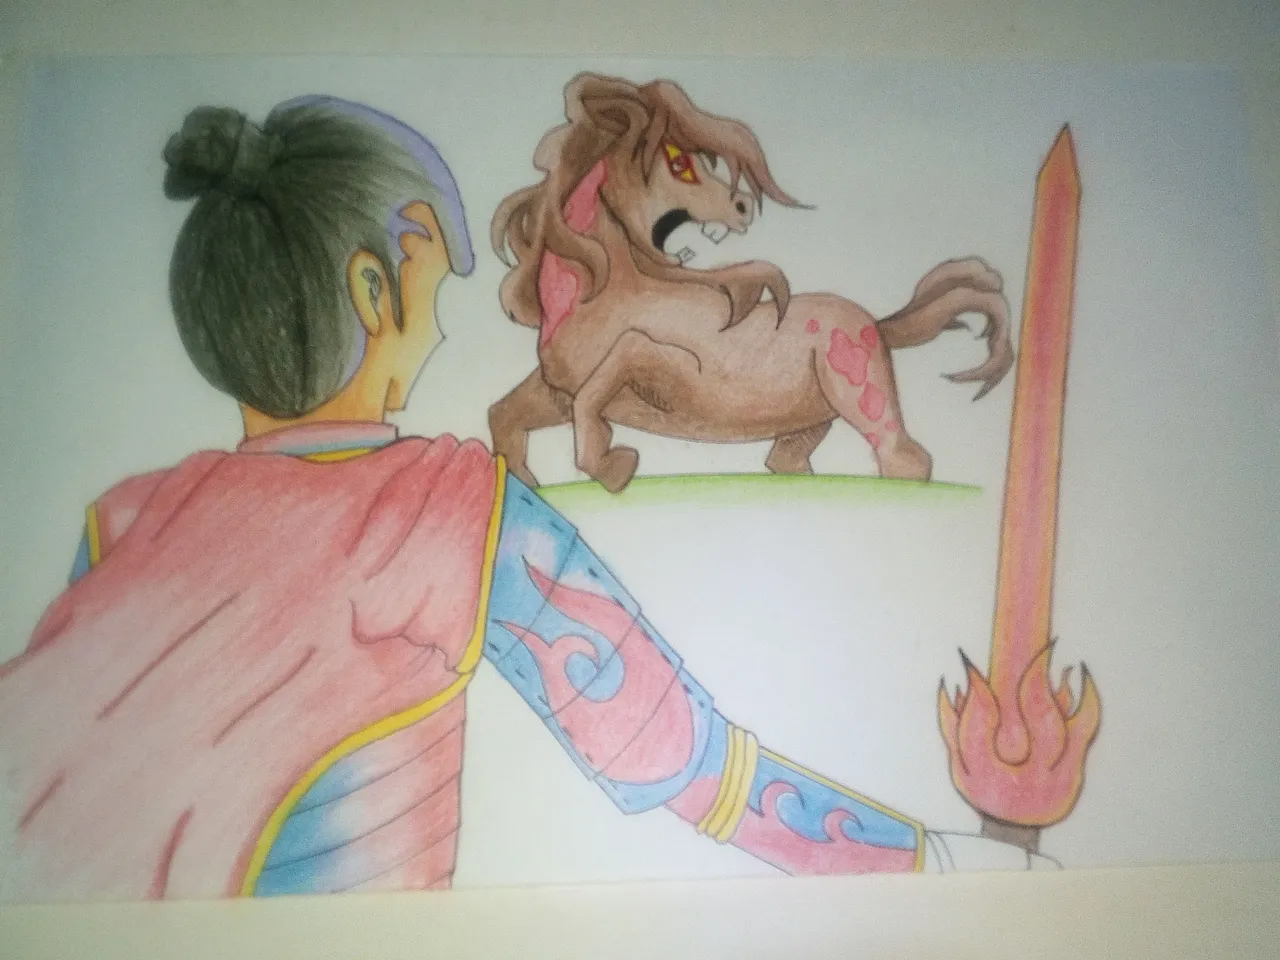
I'm planning to make a battle between Tenyii Striker and Goblin Tower. Tenyii Striker, being the player's monster, is at the front. Goblin Tower is at the back being the opponent.
Step 2 Second Draft and some ink
Step 2 Second Draft and some ink
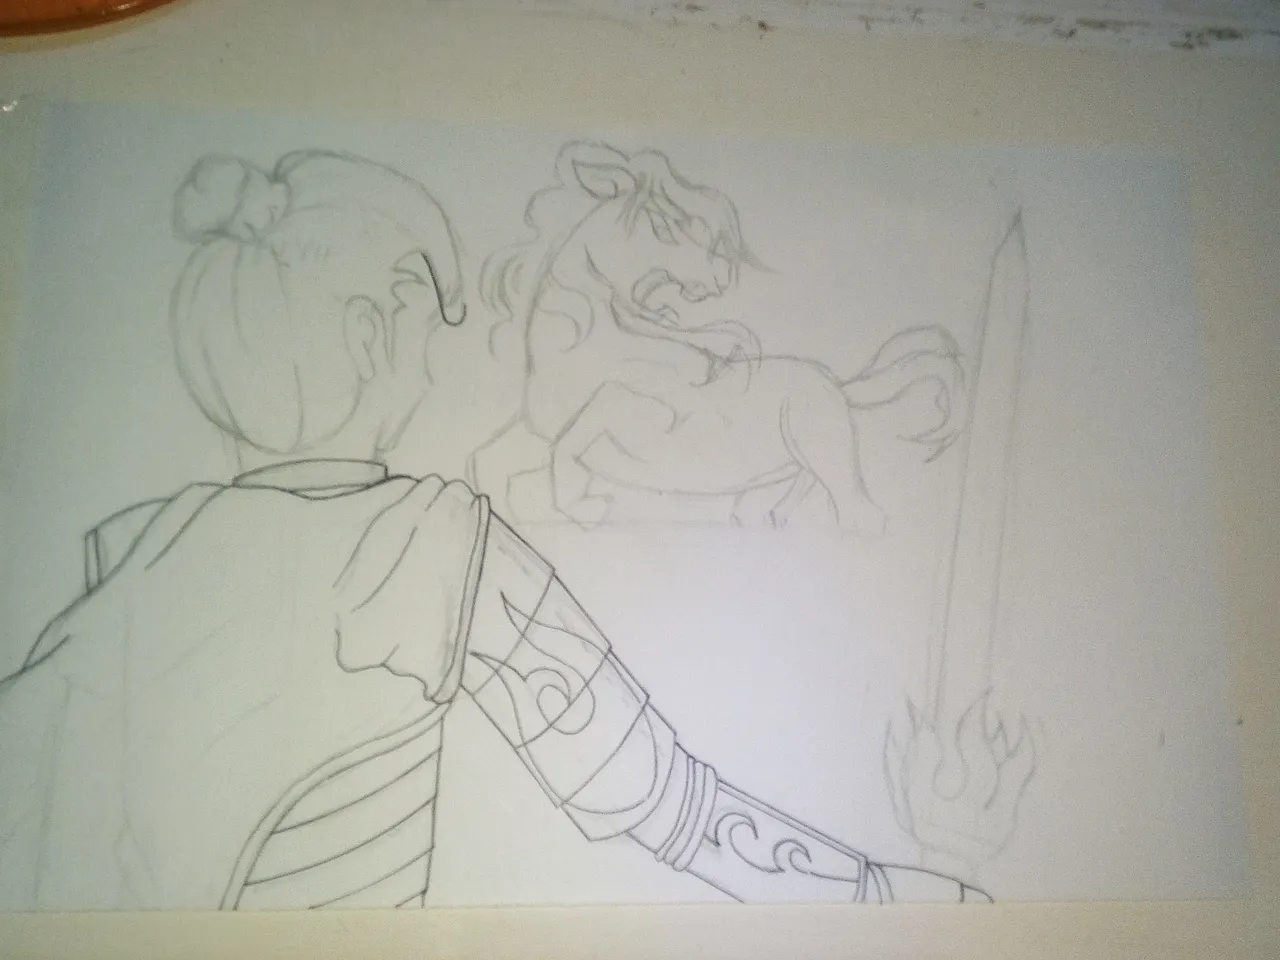
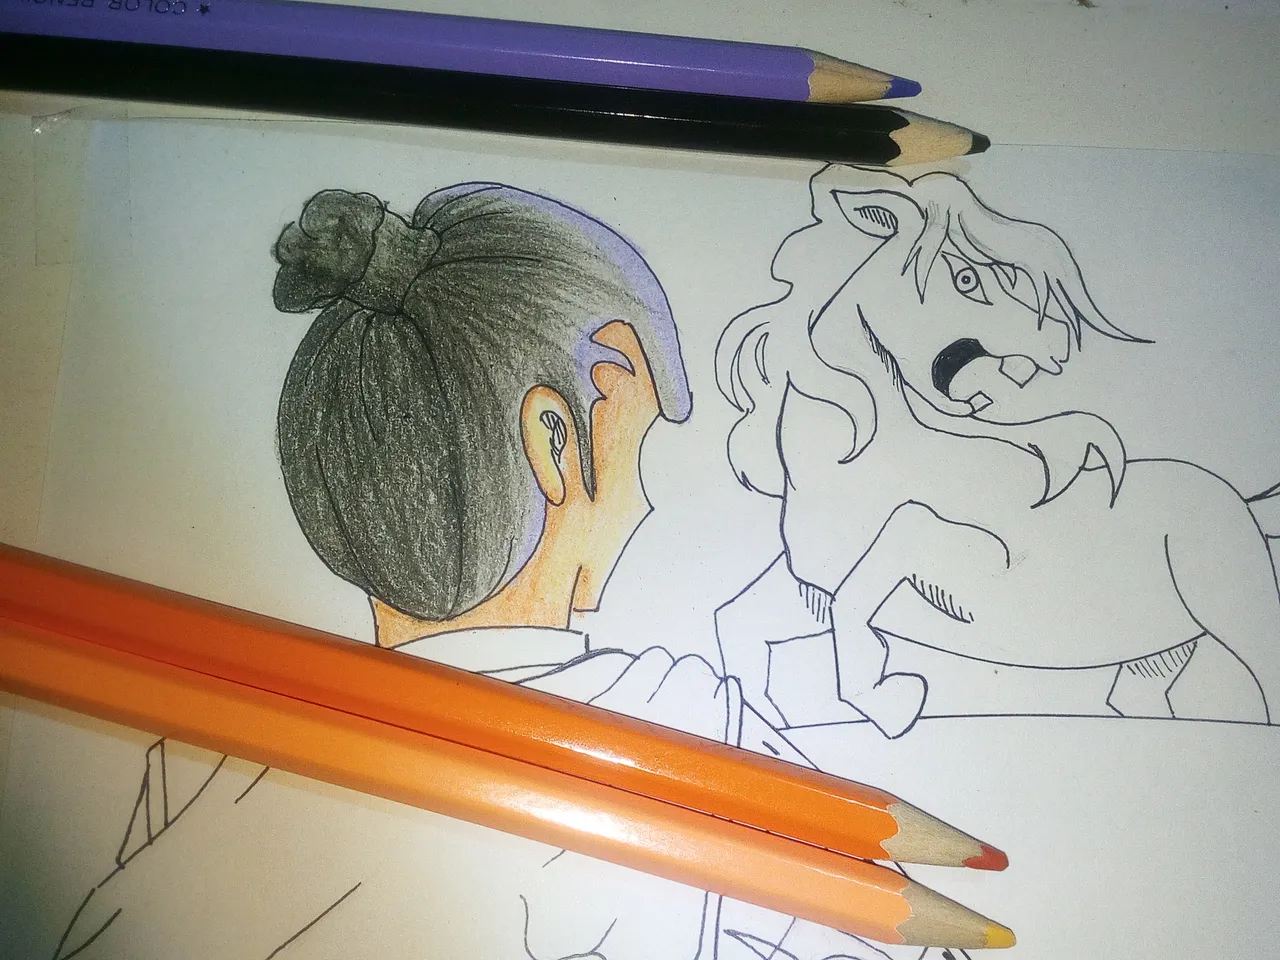
I checking Goblin Tower's art and unfortunately, I found out that it has too many fine details that if I continue, at the inking stage, it would be too dark that I wouldn't be able to color it properly and so I decided to change Goblin Tower to Unicorn Mustang.
Fortunately, I did not ink Goblin Tower fist so I was able to make the switch.
Inking or ink stage is when you use ballpen, fountain pen or any ink-based pen to finalize your lines. This is done so you can erase the unused lines like the guides used in draft in preparation for coloring stage.
Step 3 Full Ink
Step 3 Full Ink
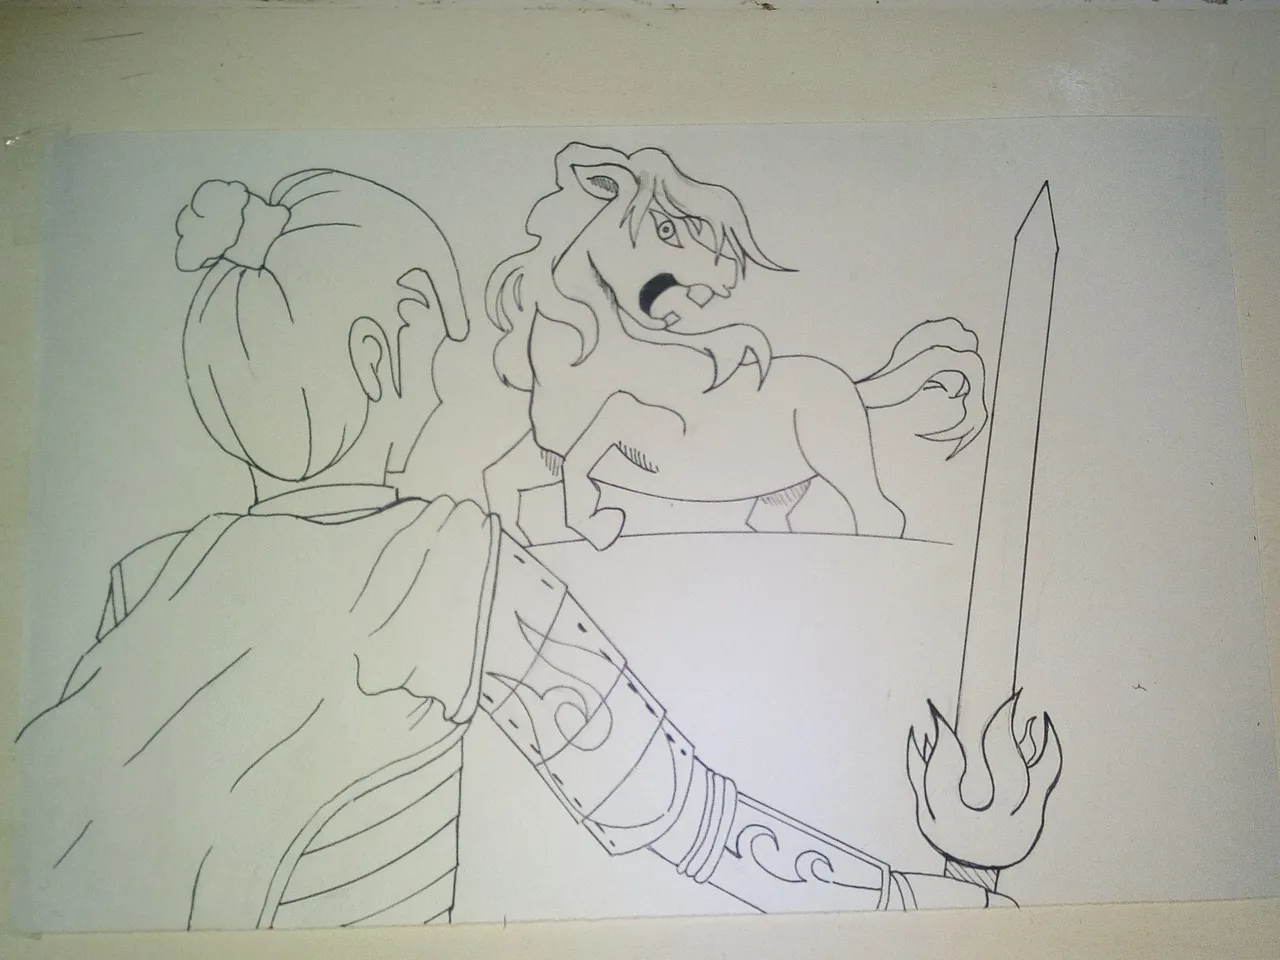
Finalizing the ink stage, I finished all the details on Tenyii Striker. I tried to put in as much details as I can which was a challenge because there was no back view of Tenyii Striker.
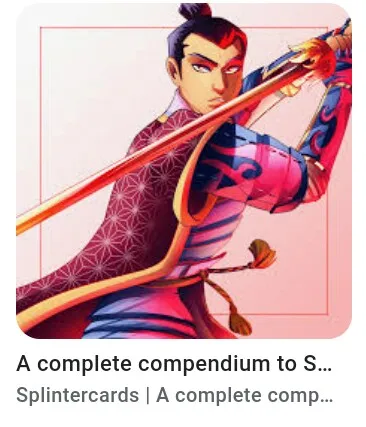
Photo is from Splinterlands as a result of Google Search.
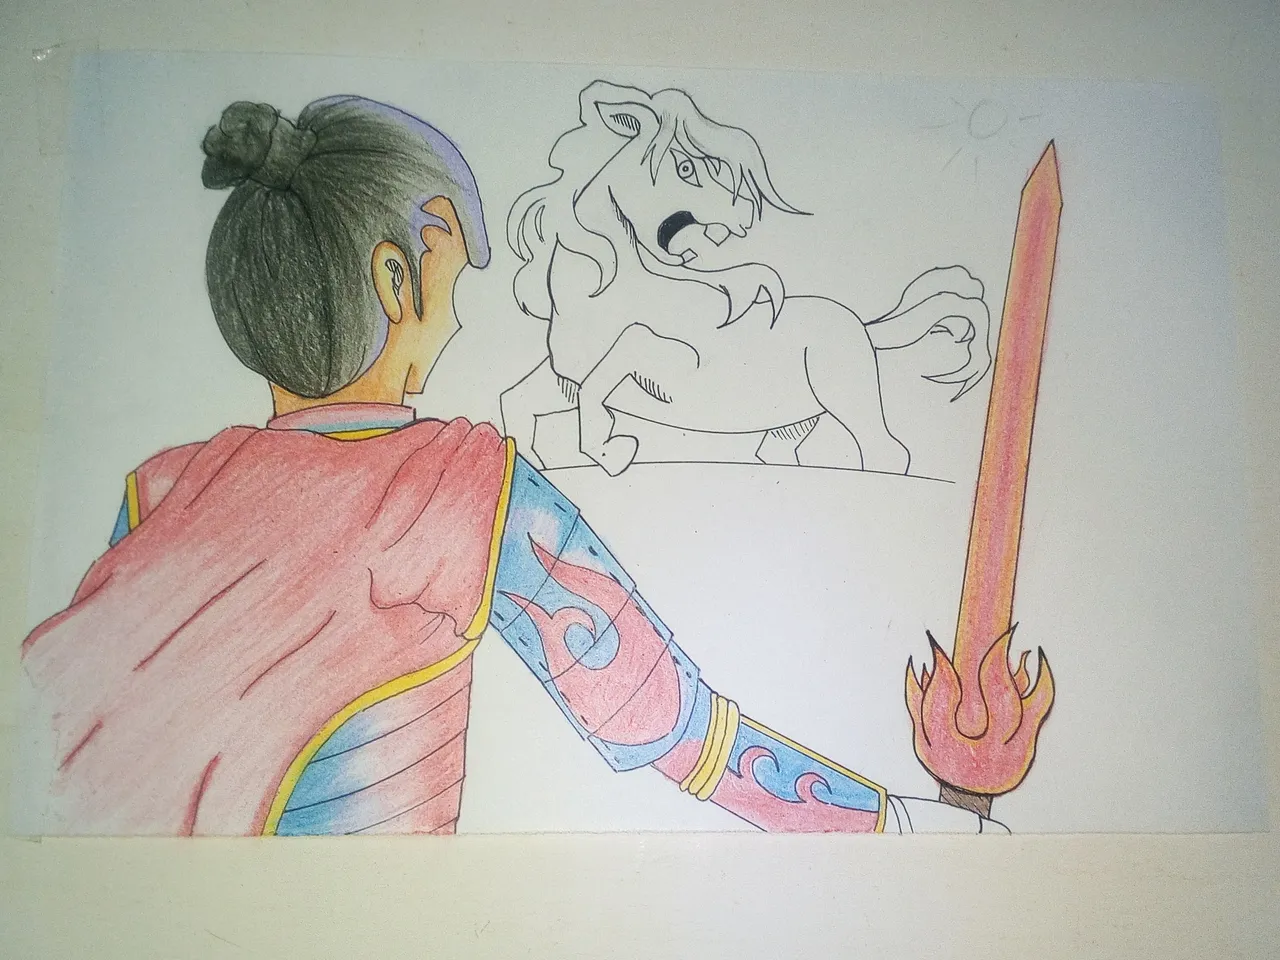
Step 4 Sword
Step 4 Sword
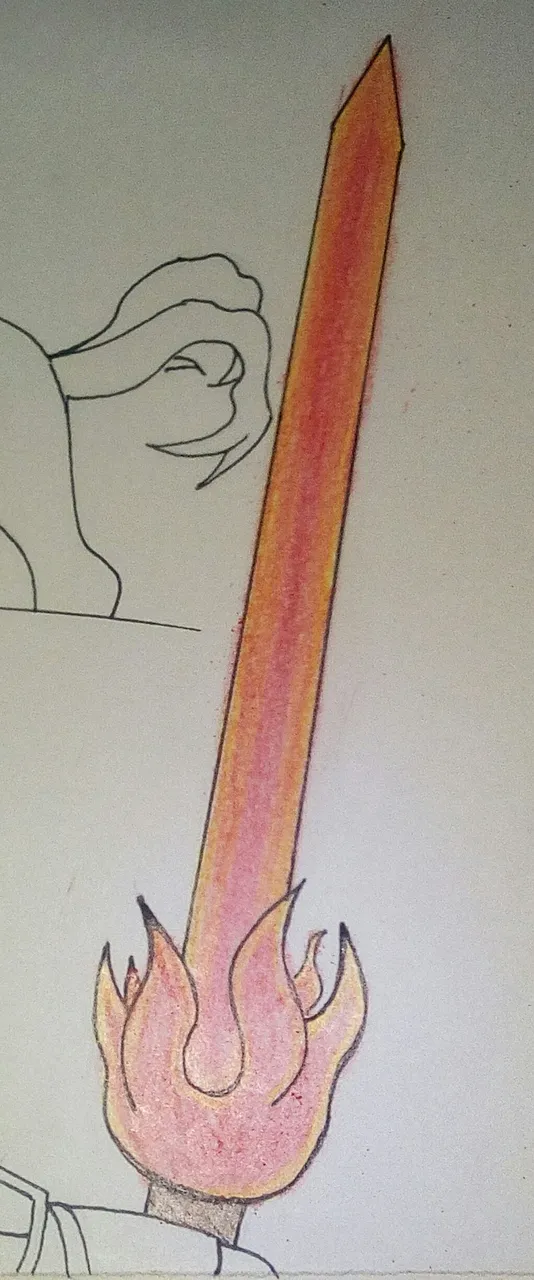
First thing to color is the sword. I used yellow on the edge, then overlap a red one. This then produced yellow, orange, and red respectively towards the middle.
Step 5 Hair and Skin
Step 5 Hair and Skin
I tried to replicate the original Tenyii Striker art with violet as the highlight. It did not come out as expected. I added gray her to act as a bridge towards black. From the middle of the hair, hard strokes to reproduce hair strands.
As usual, orange and peach foe the skin.
Step 6 Armor Color
Step 6 Armor Color
Red, Blue and Violet are used to color the armor.
The fire insignia is copied the same way with the original art.
The cape's design was scrapped. I don't have the tools to make a proper pattern like that so I didn't do it to not ruin the art.
Brown was added to the sword's handle as well.
I forgot to color the hands so I would include it later.
Step 7 Unicorn Mustang Hair
Step 7 Unicorn Mustang Hair
Two shades of brown were used for the hair.
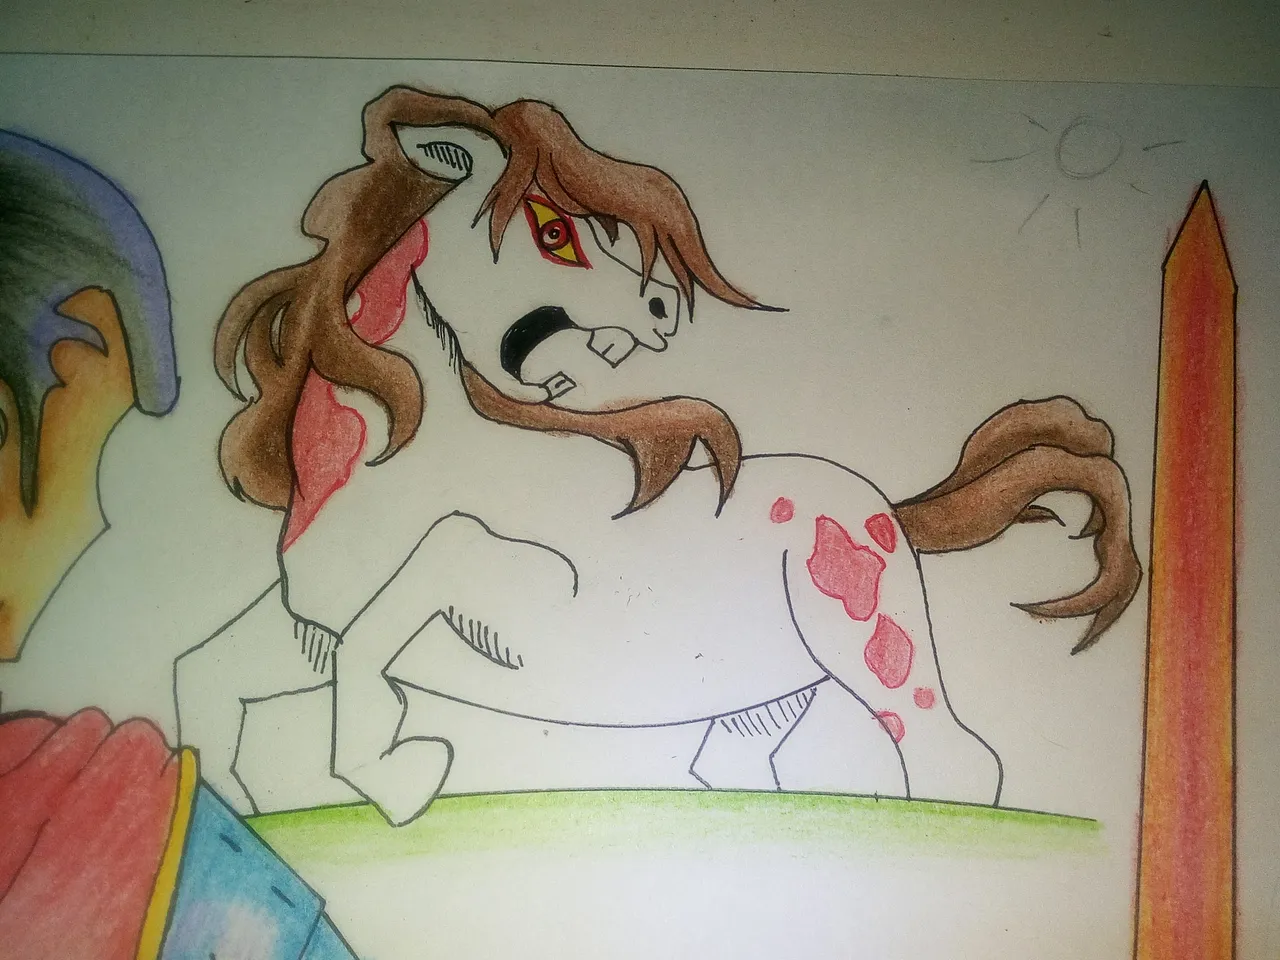
I added the red spots before coloring the body.
The original art had red eyes and around it so I did that as well. using Dong-A Fine Tech Red.
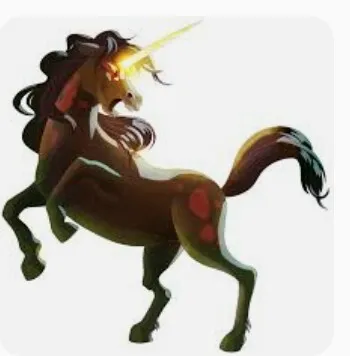
Photo is from Splinterlands as a result of Google search.
Two shades of green was added on the floor.
The sun at the top right was put to serve as a guide for thr light source for shades and highlights.
Step 8 Unicorn Mustang Body
Step 8 Unicorn Mustang Body
Same color was used for the body. Different pressure produced by a lighter shade.
Step 9 Background Color
Step 9 Background Color
I added a base color of green for the top side representing green element and red on my side for fire element.
No background was added because it would ruin the theme and feel.
Blue armor on hand was done on this part as well.
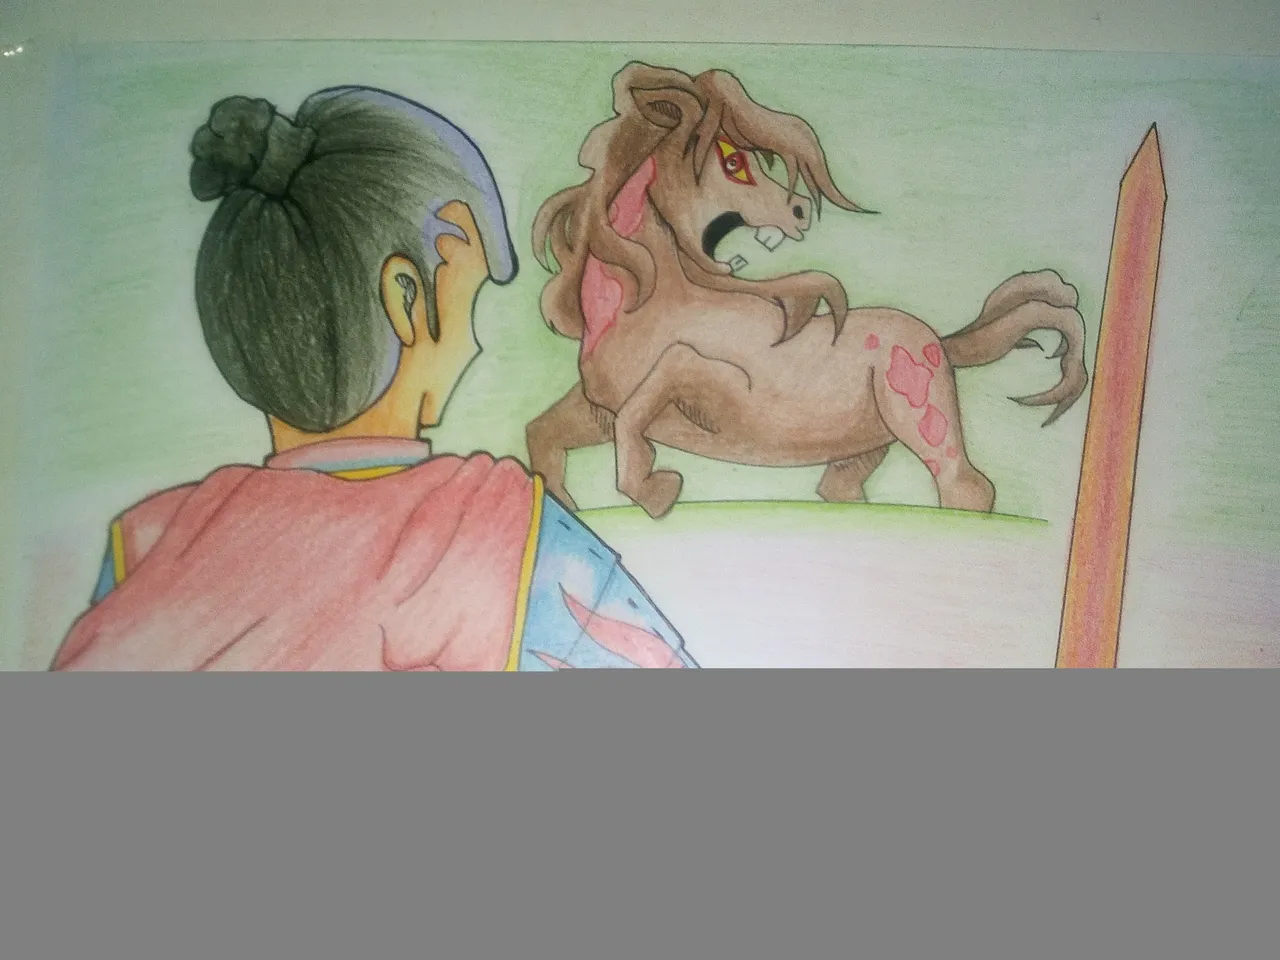
Step 10 Something Missing
Step 10 Something Missing
Looking at the supposedly 'finished' product, something was strange. Something was quite wrong. After looking at it a few more times, Unicorn Mustang was missing a horn.
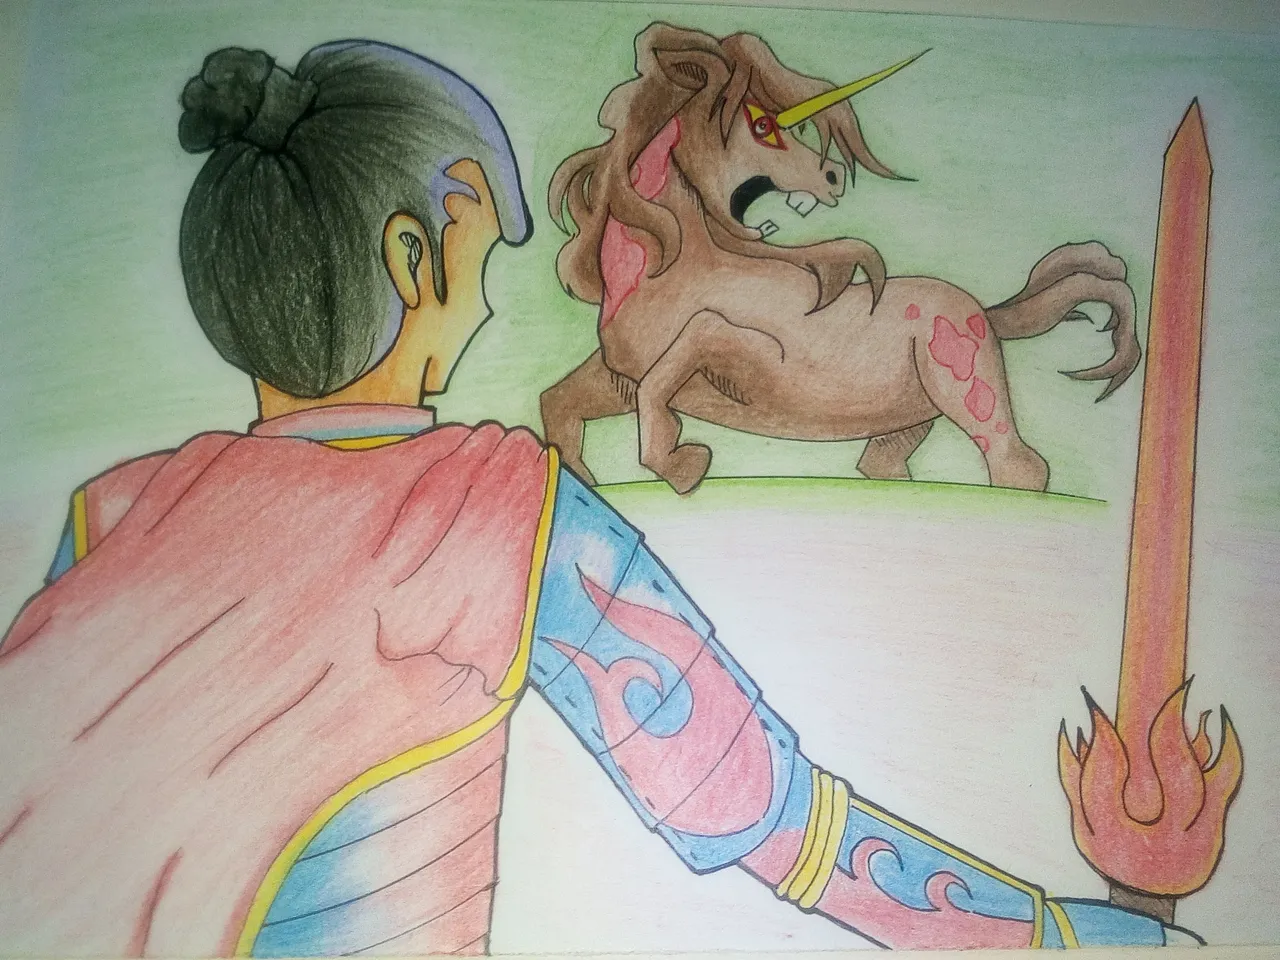
Fortunately, we can just cut out a drawing on another piece of paper and add it to finish the art.
Editor's Notes
Editor's Notes
I think everything was discussed along the lines. I'm contented to show you this final product.
Disclaimer
- This post is an entry for Splinterland's art contest.
- Other sources that I do not own are cited under their respective photos. All other drawings are made by yours truly.
If you're interested in playing the game, support me by registering using my referral link here
Sleep Well!