When we were living offgrid in Spain, we often built some really strange, but useful things.
Yes I know it looks like a giant bong haha. The reason we built this was that the diaphragm pump that was hooked up to the water supply gave up its ghost and we had no way of getting water into the house. Unfortunately, the plumbing in the lodge was a complicated mix of UK and European pipes and when we tried to connect a new one, there were leaks everywhere. So we decided instead of keep boiling water on the stove, this might be a more efficient way to have hot water in winter.
What is a thermal siphon? I hear you ask...
A copper coil is placed inside the heating vessel, or in this case, wrapped around a tube, with the pipe coming out at the top and bottom. These bits are then connected to a holding tank. The heat source heats the pipe and as the water flows through the bottom, the heat pushes it up sending the hot water back to the holding tank. I got the idea for this from the video at the end of this post. There were no plans and we simply winged it with the design.
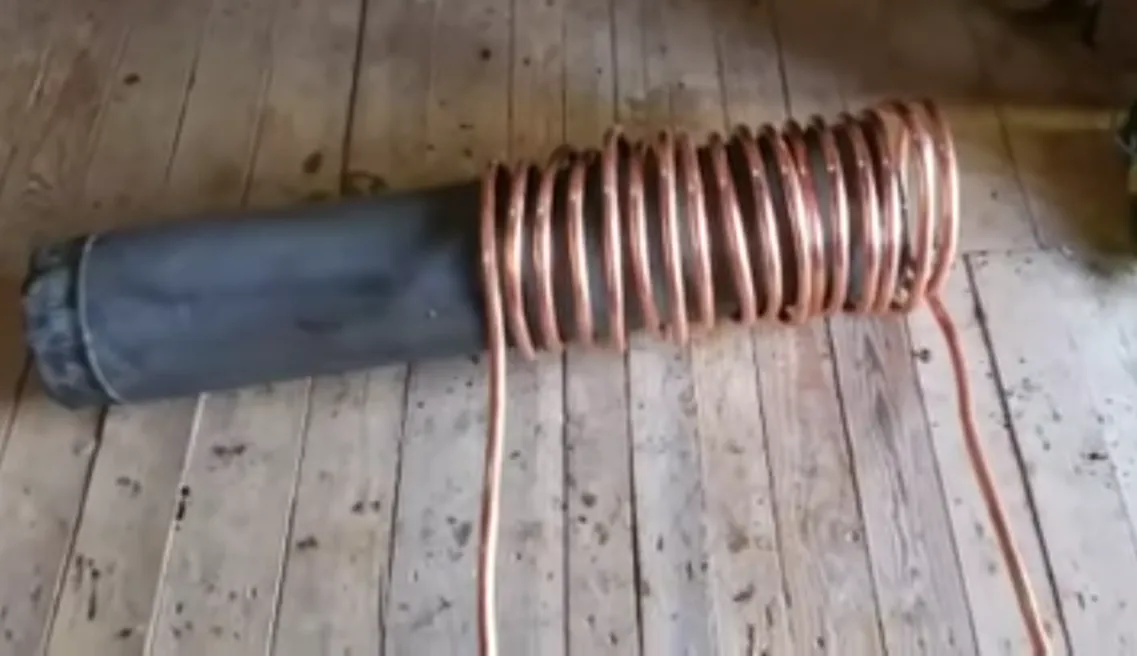
We started by wrapping the copper pipe around an old log burner flue that we found laying around. It was a little difficult at first but after a few wraps around the pipe seemed to give quite well. .
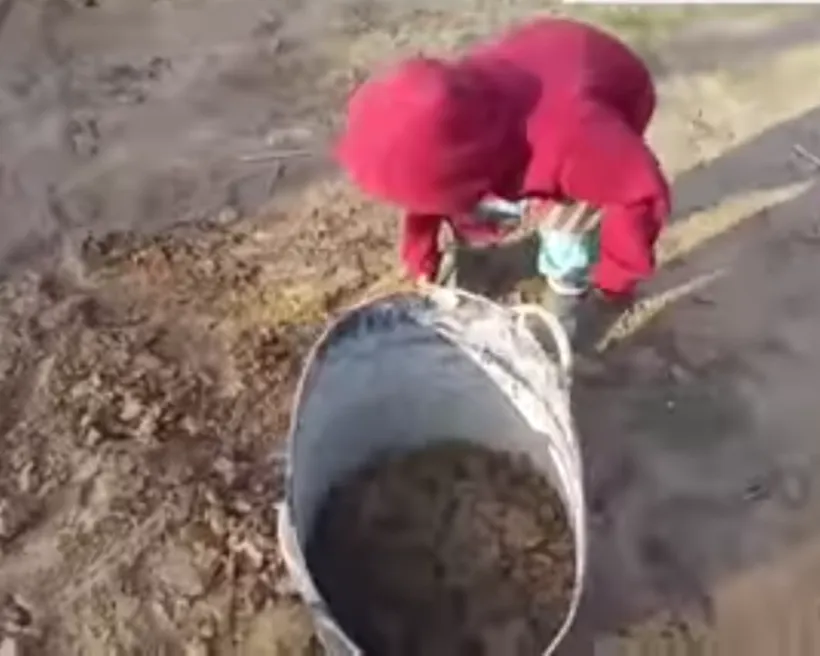
We were lucky that the soil on the land was heavy clay so we were able to fill up some buckets, add water, and a little sharp sand we had left from a previous project. The kids helped us with this and it made for good family fun.
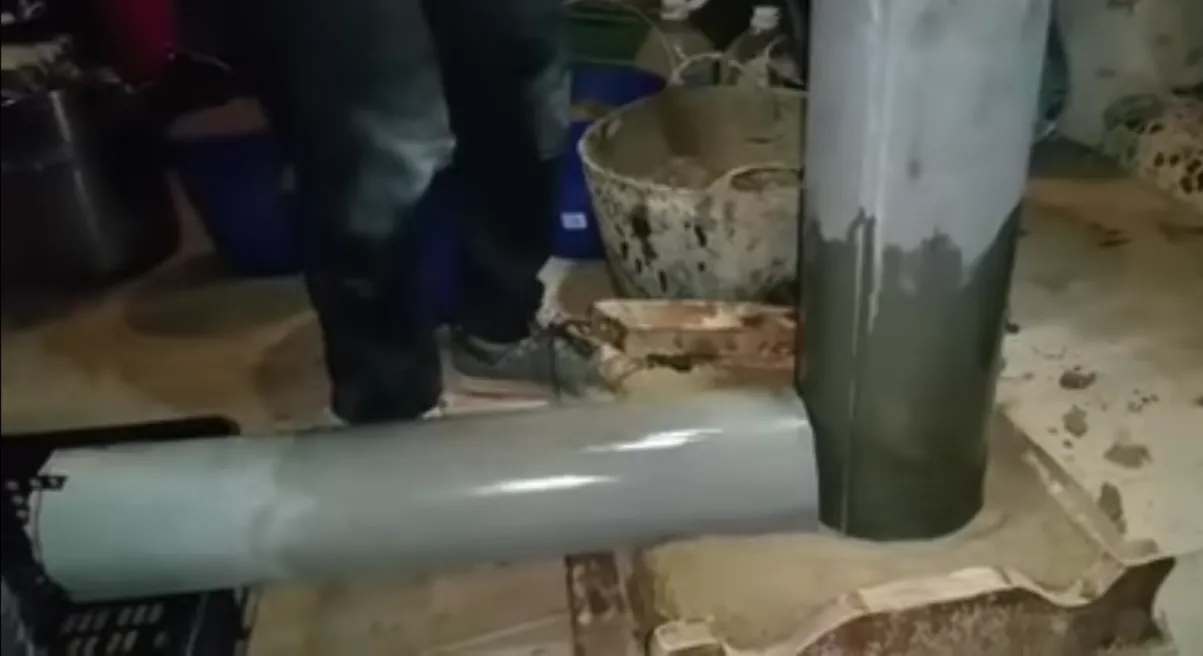
We made a base for it from a really old heavy broken chair which was a bad idea as it weighed a tonne when we had to move it. We filled up the base with clay and then put the tubes in place. We lubricated them so that the clay wouldn't get stuck to them. The bottom tube is a piece of old drainpipe that we found.

Once we had built up the bottom and lifted the lower tube to the angle we thought it needed to be, we placed the copper pipe back over the tube and started building the clay up around it.

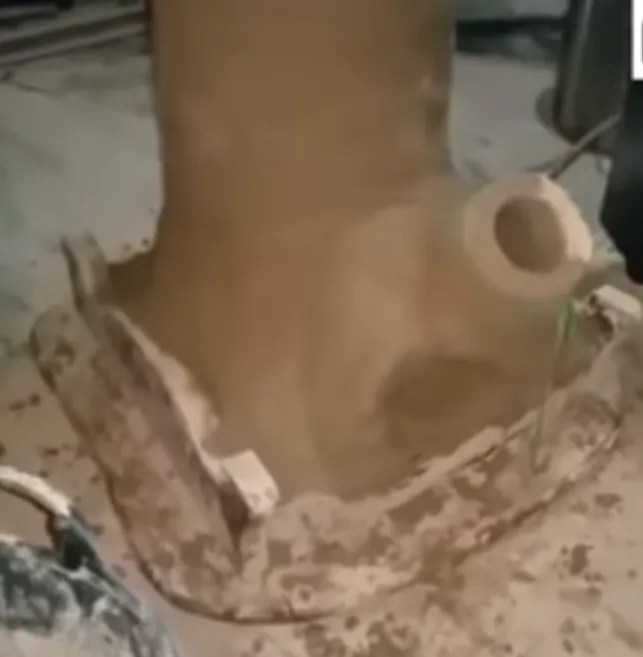
We then pulled the tubes out very carefully, cut out the bottom air vent and allowed it to dry for a couple of days.
We then moved it outside and connected the water bucket. We simply used a blow torch to heat up the pipe, which we pushed through. This gave a nice clean and snug fit. We should have added heat resitant silicone or plastic caps to the pipe because we found that it started leaking after a few uses.


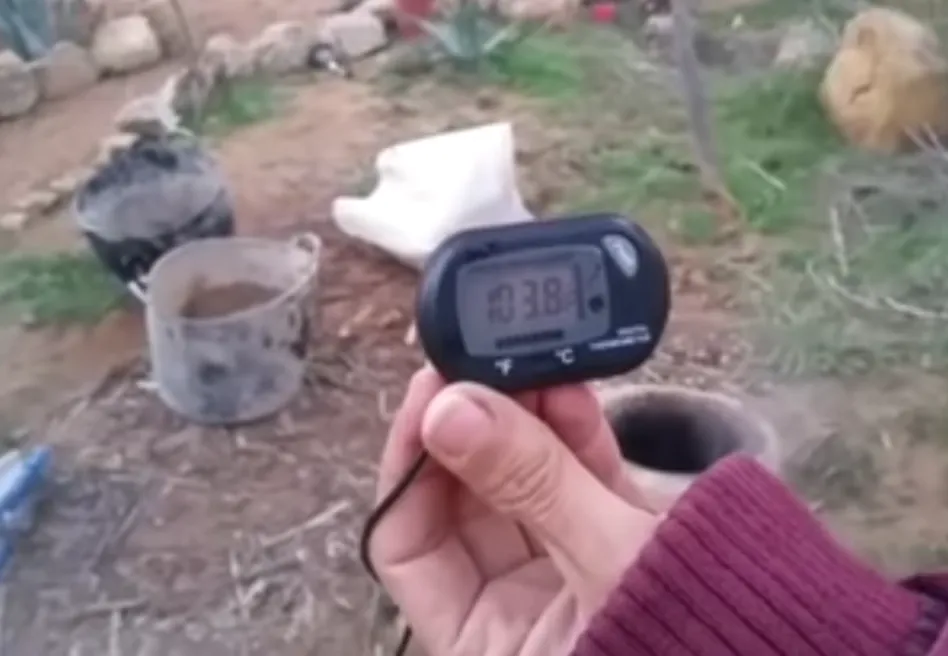
Once we had it all connected, we lit the fire and let it do its magic. the water took about 20mins to reach 38 degrees celsius, or 101f. We also ran a few more tests and after heating for about an hour we got temperatures as high as 60c, 141f.
~ONE LOVE~


CommunityIIDiscord