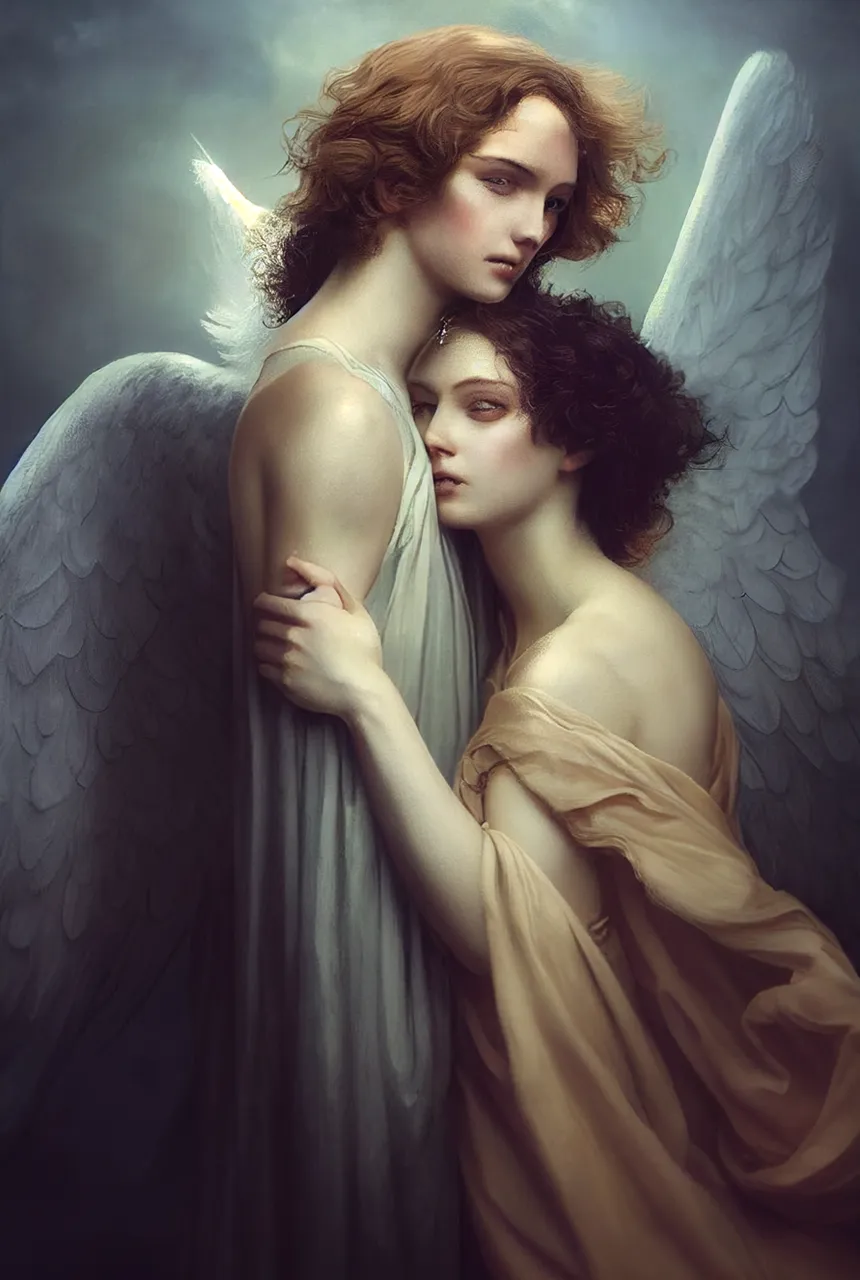
I was so torn about which image to choose to represent the Lovers as my Major Arcana card. Initially, I thought I was going to be using the following image:

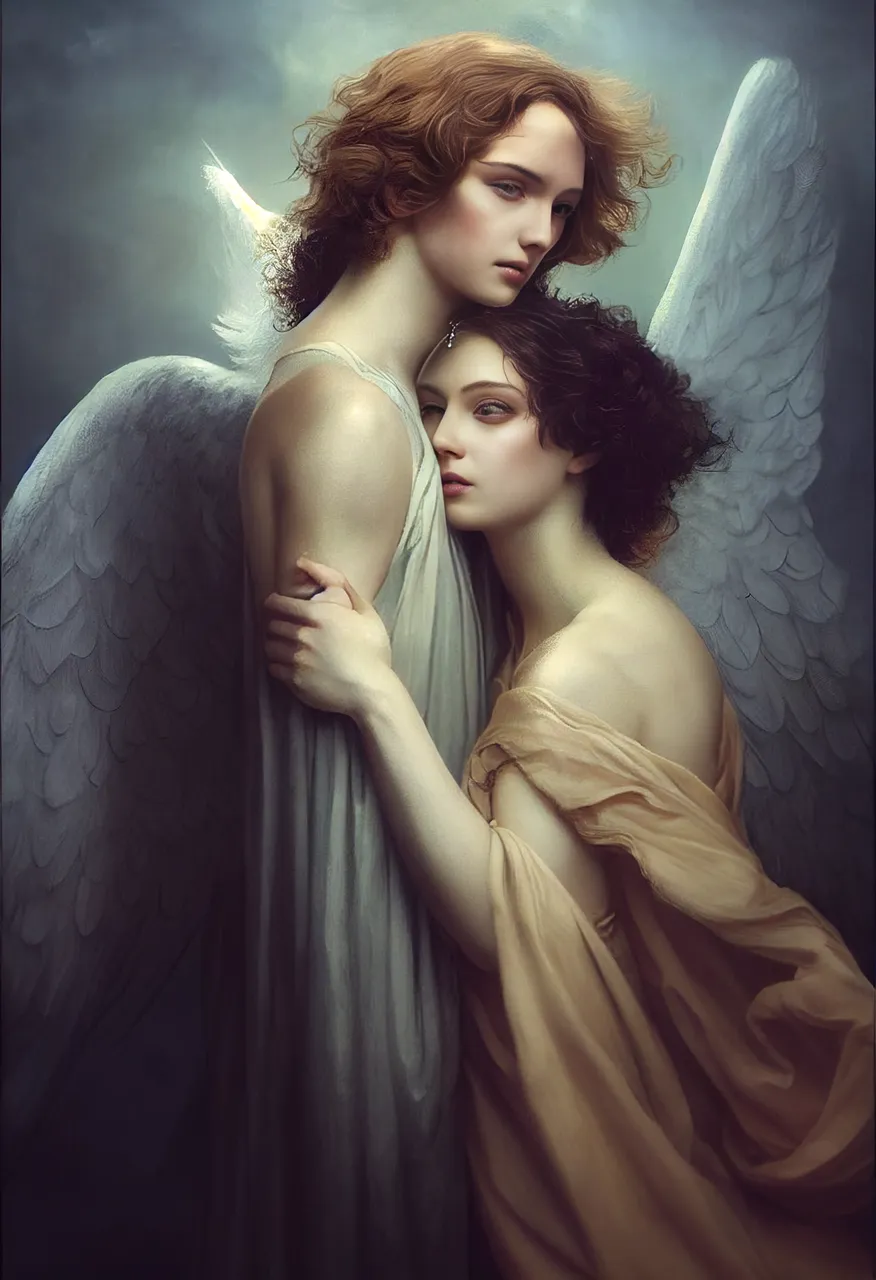
Thankfully, I am capable of changing my mind. That is exactly what I have done, and instead; I will be using the following image as the basis for the final. I do not think it needs an enormous amount of work to become a respectable image that will inevitably be shrunk down to a single card size, but we will see.
First of course, I will need to complete several passes of GFPGAN to enhance the coherence and detail on the character's faces.
This first pass has done a reasonable job on the taller figure, however it obvious that the secondary, shorter figure on the right hand side of the frame probably needs a few more passes of the script to get to a point where the facial features are going to appear coherent and detailed enough.
Right now, it looks like there's just a bug in her eye.
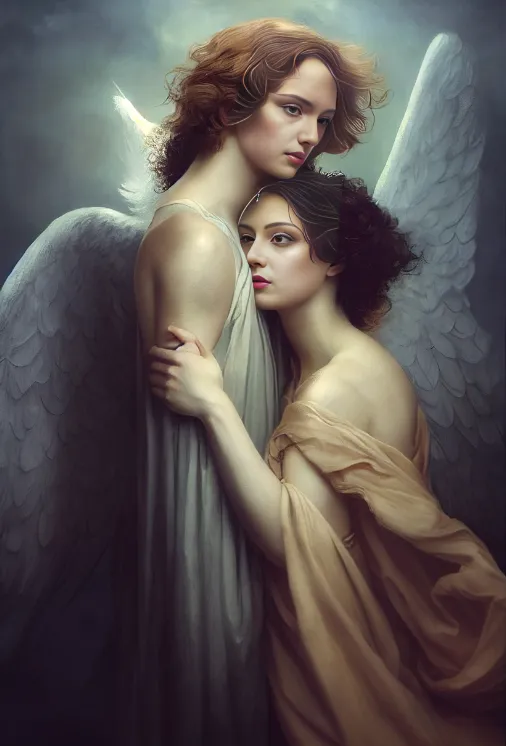
Iteration number two starts to look a little bit better, for all people involved:

The only problem that is starting to develop is that there is a very obvious line in the image where the face enhancement is occuring. Half way through the hair of the figure. I can fix this in Photoshop using some masks (as I'm keeping each individual image as it generates, so that is no cause for concern.
Interesting that it is not forming a line anywhere on the other figure's hair or features.
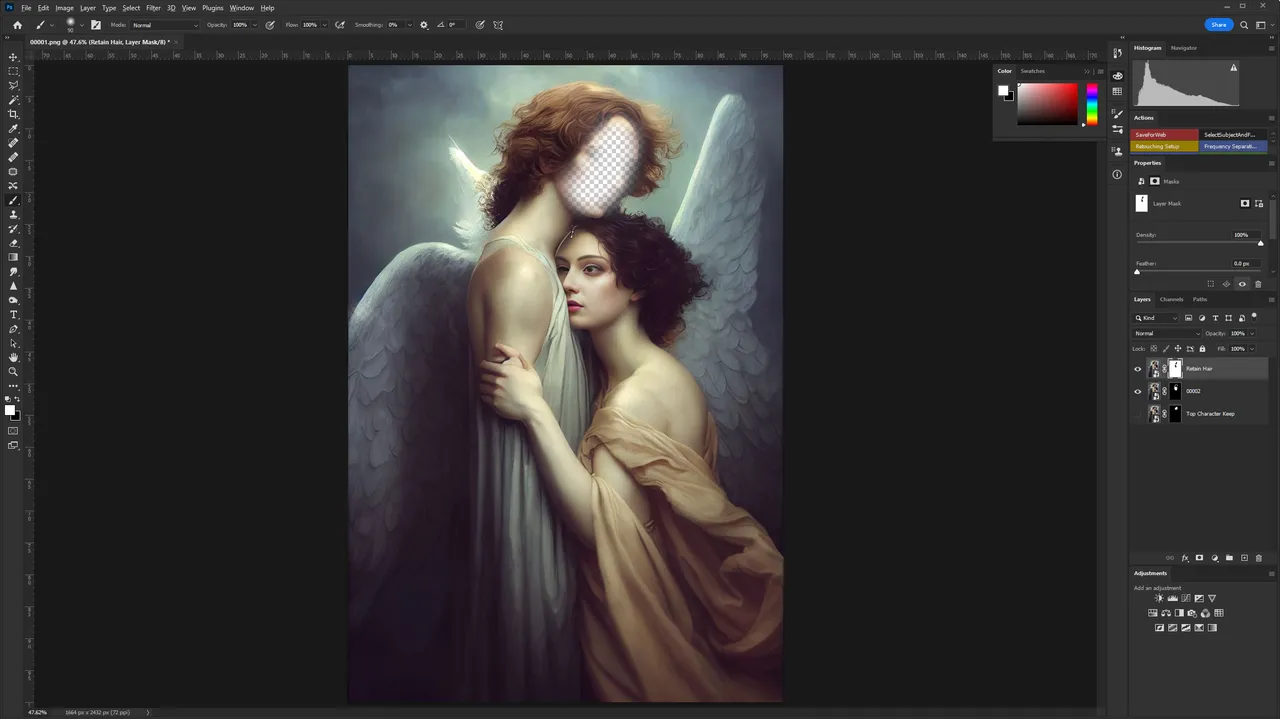
I think this is the time to jump into Photoshop and try to come to the best of both worlds as a result the abominations I've created. I'll be using layer masks and a bit of other trickery to get this into a ... more acceptable state, and to also avert the eyeball of the shorter figure on the right hand side of the frame.
After spending far too much time playing with layer order, I've figured out what I want to do with each of these iterations of images. I'll need to paint in selective masks for each character in order to retain the details I want.
I'll start that by masking out everything, leaving me with a blank canvas... then ... I'll paint back in what I want to keep!
This probably makes the most sense in a series of Photoshop screenshots...
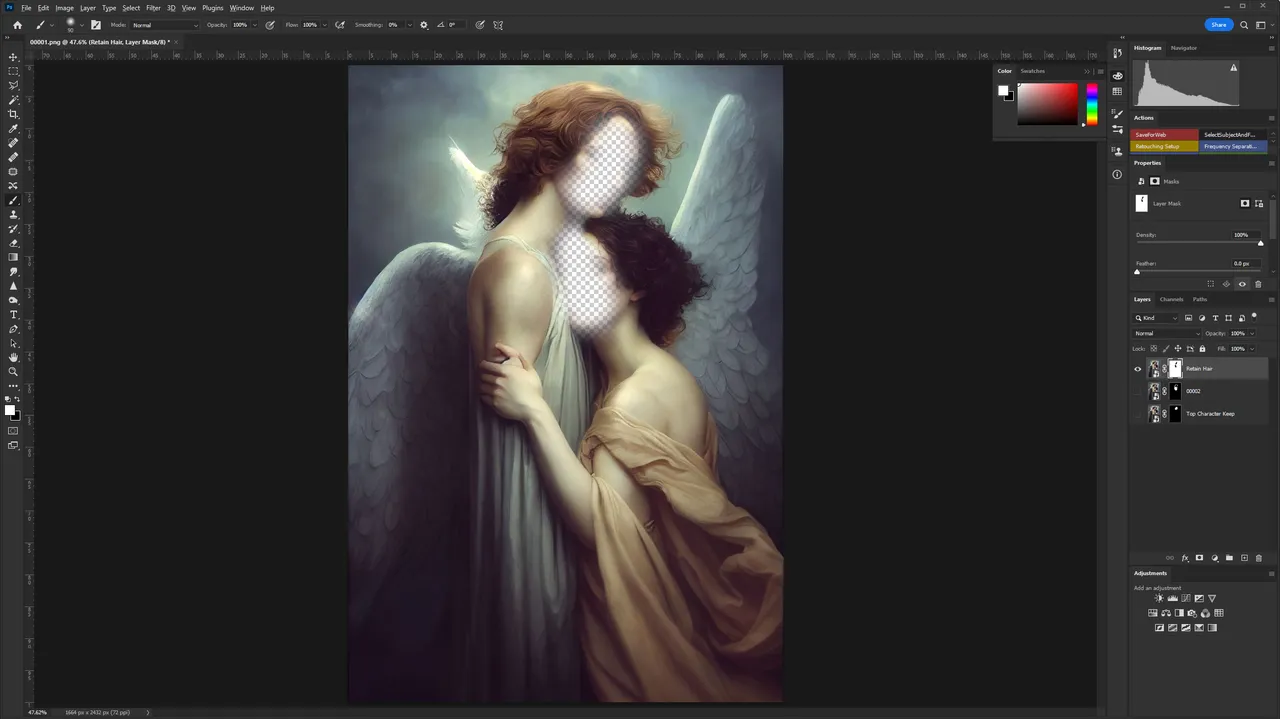
First, keeping all the details of the original, except for the faces.
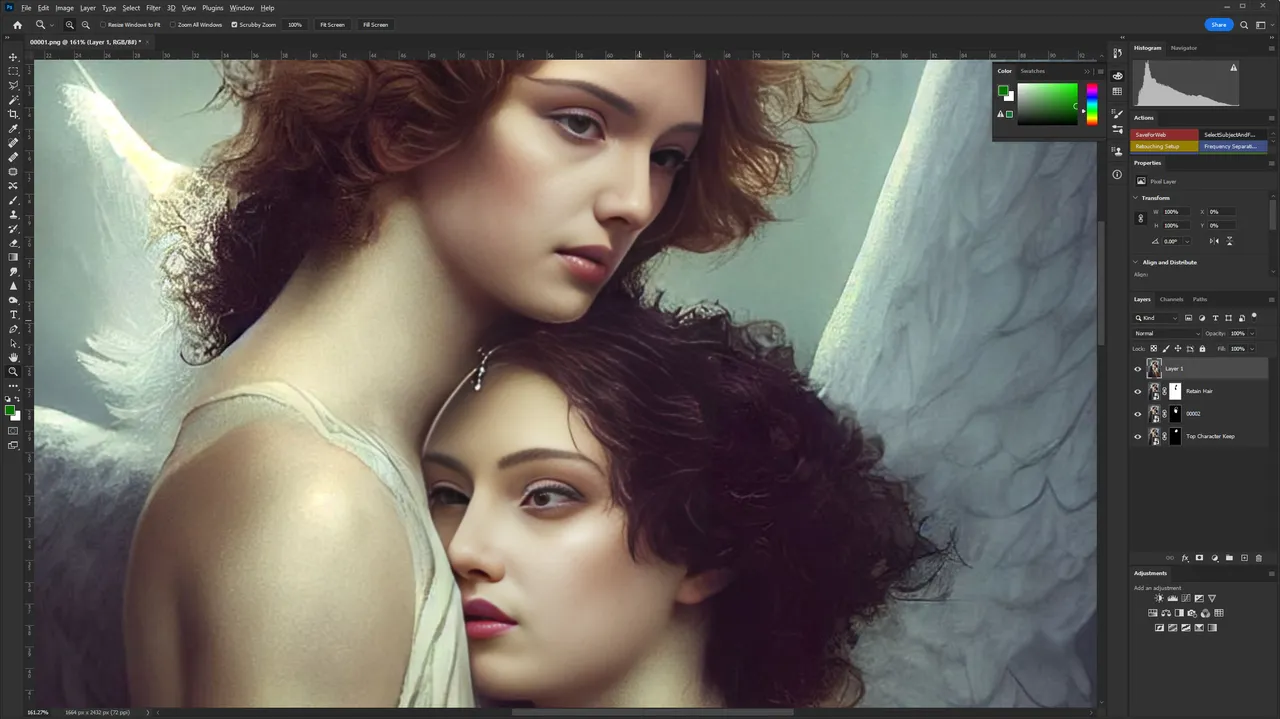
Then, adding in the figure on the left hand side of the image:
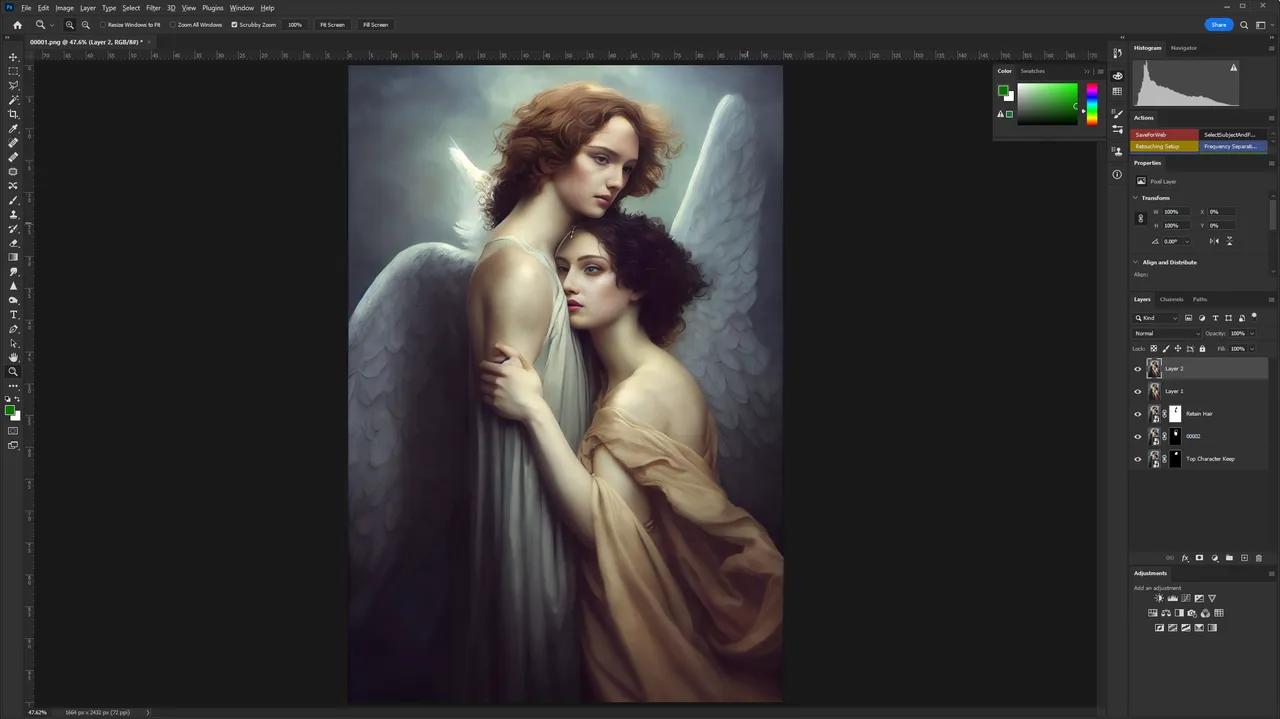
Finally, giving a face back to the taller figure:

Now it is time to manipulate the gaze of the lower figure, so their eyeball doesn't look like it us at such an uncanny angle.
Amusingly, I'm using Photoshop neural filters for this step, using AI to fix AI... what will I think of next?
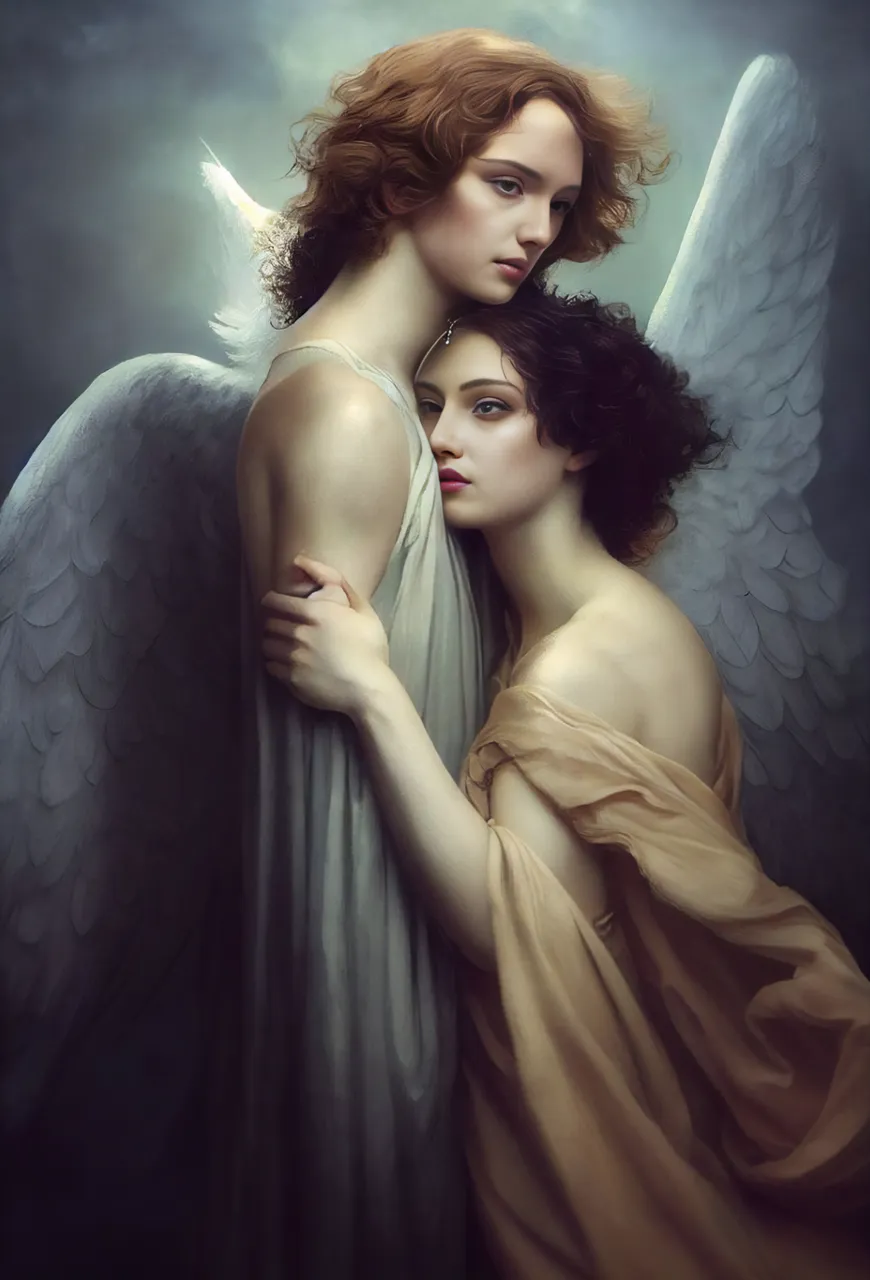
And here is the finished result. I've redirected the gaze of the lower figure, and removed some JPEG artefacting. I also used Photoshop's upscaler, but I'm not yet done. It will get one last pass through the Stable Diffusion upscaler to make the image a print-ready resolution, then it will be considered done!
This was a fun little project to work on, and one where the final result truly surprised me. It changed from what I expected, and I got to experience a new challenge along the way with image clean up, getting to keep my Photoshop skills nice and crisp!
Want more content from me?
Witness my futile efforts to play my Steam Game collection in alphabetical order.
Are you aware that I love photography? Check out my work in a collection.

If you want to see my Splinterlands antics and rants live, Find me on Twitch
If you prefer sleeping in your designated time zone, go watch replays on YouTube.