In some of my previous tutorials on the GDevelop, I showed you how to switch between the levels and also move with your sprite. It helps when you can learn how to work around with the various sprite features and the actions that you can perform on the sprite.
This is one more post in the series that you would love for pushing your sprite from one position to another. I hope the below post helps you to add force to sprite.
Here's the table of content for previous posts on the topic for you to learn.
- GDevelop - How to Create Project
- GDevelop - How to Create Scene
- GDevelop - How to add background Image
- GDevelop - How to add Image Sprite
- GDevelop - How to Horizontal Scroll
- GDeveop - How to Vertical Scroll
- GDevelop - How to Switch Level or Scene in Game
- GDevelop - Switch Scene or Level
For taking this tutorial, you would need the Gdevelop IDE. You can download the IDE from the GDevelop website. It has the auto update feature too, you can either make use of that. Alternatively download new version if available by removing the existing. I'd also recommend that you should store your projects in folder away from default C drive where often permission issues cause more bugs.
Previously we have seen how to create project. And then we moved towards the scenes and the background projects. We can then start learning about sprite and the horizontal or vertical movements. I'd say if we manage things properly we can go ahead and keep moving towards further steps that helps you build a good platformer game.
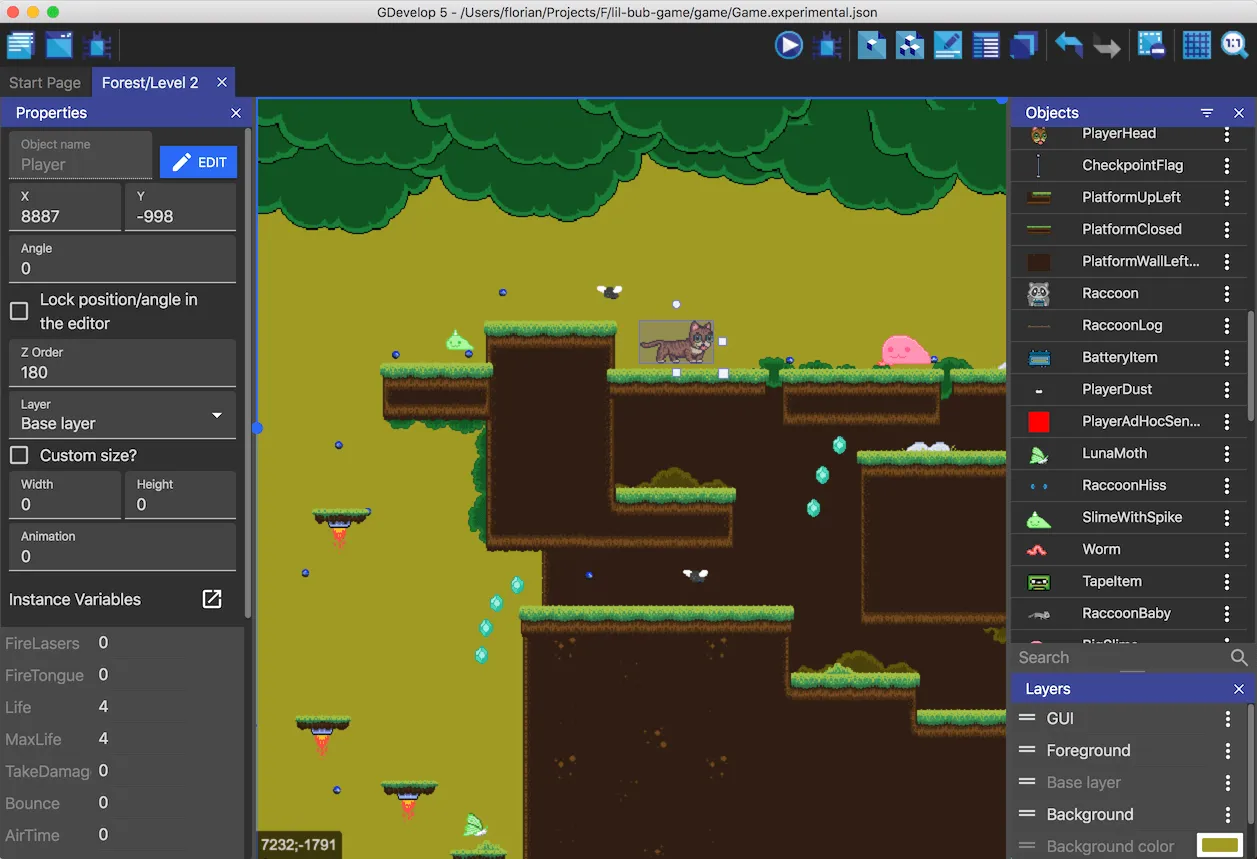
Image Credit: GDevelop
Follow the instructions below to add force to sprite.
- Install GDevelop from official site.
- Open up Gdevelop.
- Create new project.
- Click on project explorer on left top panel.
- Choose scene.
- Once you add scene, the next step is to add the sprite.
- Add new object
- You can now name the object and also assign the possible multiple sprites to it.
- Now add this sprite onto the scene.
- Open the scene event tab.
- In the scene event tab choose action.
- Now in for the action, choose the force.
- Set the direction for the force say x or y axis. Choose X axis force.
- Here you have to assign the delta value for the same.
- Save the project.
- Preview the project.
That is it. You have now added the sprite and then assigned the force to the sprite. This way you can see that sprite movement is now possible. You can decide what to do with the character. You can assign this to various types of objects in your game. Like say clouds, you can also add them to move from x to y and other directions.
You can follow the instructions through the video tutorial as well.

As you can see adding the force of any type is pretty important for the objects which needs movement passively. Like say cloud as explained earlier. More sprites assigned with the force, you can have the interactive scene where the movement of the objects making it more lively game scene.
Progress this week would give you enough idea on how to work with various actions for the sprites. And this would set a proper direction for your non playing characters or you can say NPC. This can be pretty helpful in making use of it in various types of other movements too.
We will continue the further game development topic in next post.