I was in the midst of drafting this post, pondering over flour and bread-making, reflecting deeply on ancient baking techniques and the significance of flour as one of humanity's greatest gifts. However, my thoughts were abruptly interrupted by news of the "flour massacre" in Palestine, leaving me too distraught to finish.
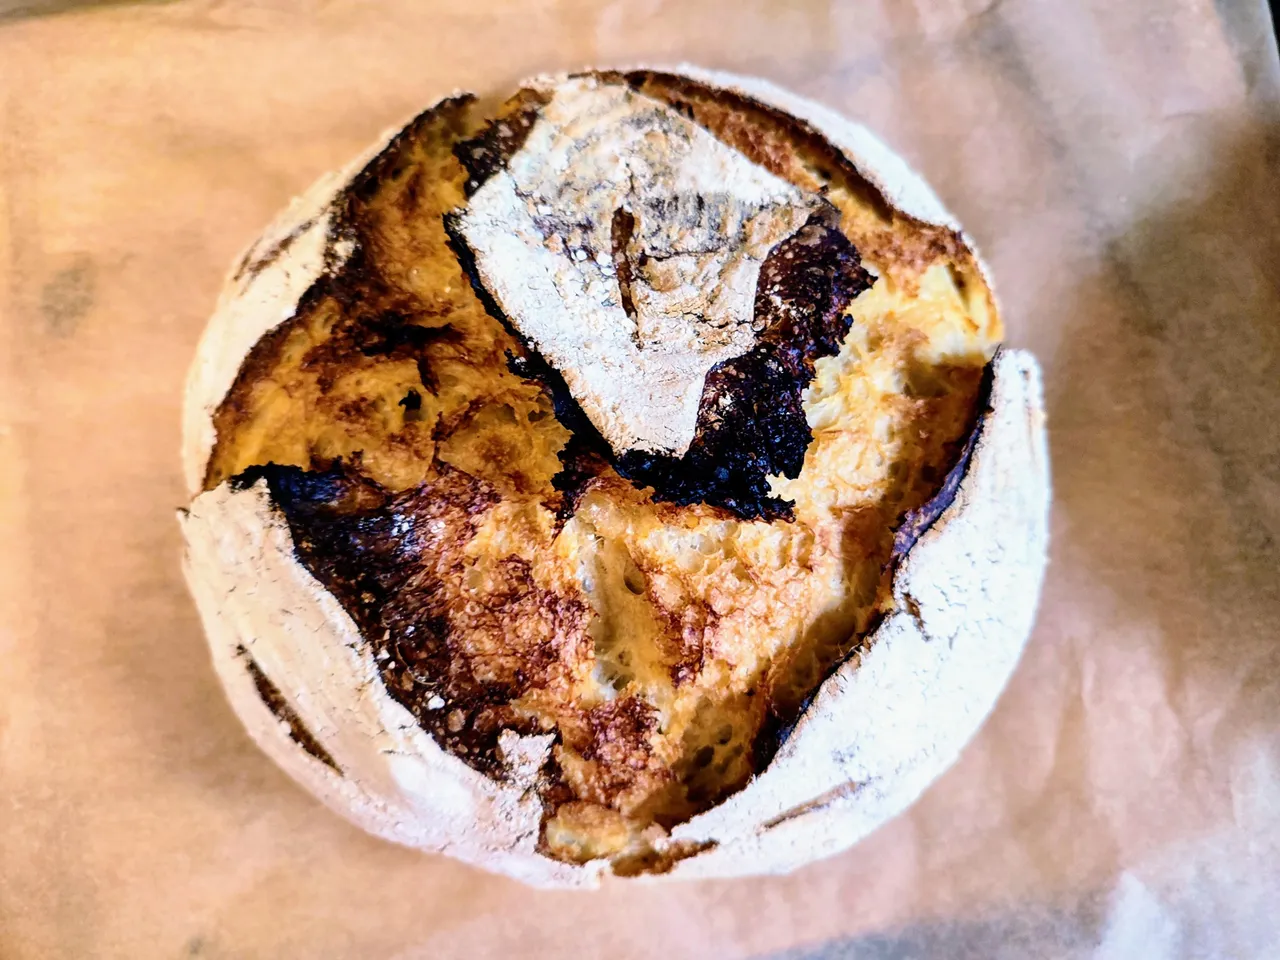
Nevertheless, I'm sharing this recipe I've developed after numerous trials and errors, hoping it brings you as much joy as it has brought me. The resulting bread boasts a delightful tanginess, with a perfectly developed crust that's crisp and golden brown, while the inside maintains an airy yet chewy texture with irregular, well-distributed holes.

Sourdough bread holds a rich history, dating back to ancient times when bread-making relied on wild yeast for fermentation instead of commercially produced yeast. Not only does it save on costs, but it also yields a tastier bread.
The use of yeast in baking dates back thousands of years. According to established archaeological doctrine, humans began baking bread approximately 10,000 years ago. One intriguing article I came across featured an amateur gastroegyptologist who extracted dormant 4,500-year-old Egyptian yeast from a cooking vessel, reawakening it to bake with ancient grains and recreate the loaf of the old kingdom. The result was a beautiful bread, tastier than any he had made before. Truly amazing!
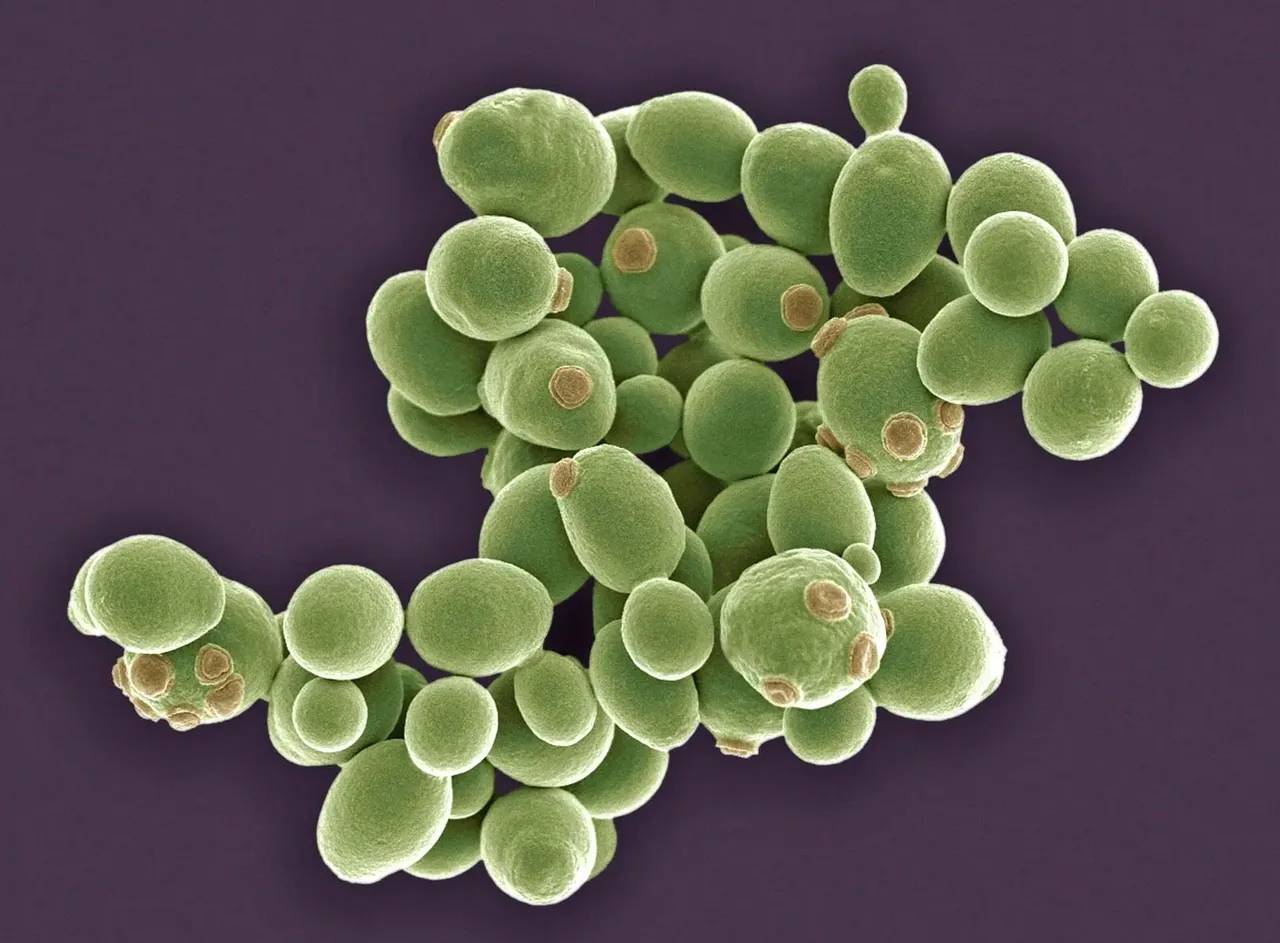
In sourdough bread-making, wild yeast and lactobacilli bacteria naturally present in the flour and the environment are utilized to ferment the dough, resulting in its characteristic tangy flavor and airy texture. Due to its unique taste and historical significance, more people are rediscovering and appreciating this bread. I personally enjoy baking extras to share with my neighbors.

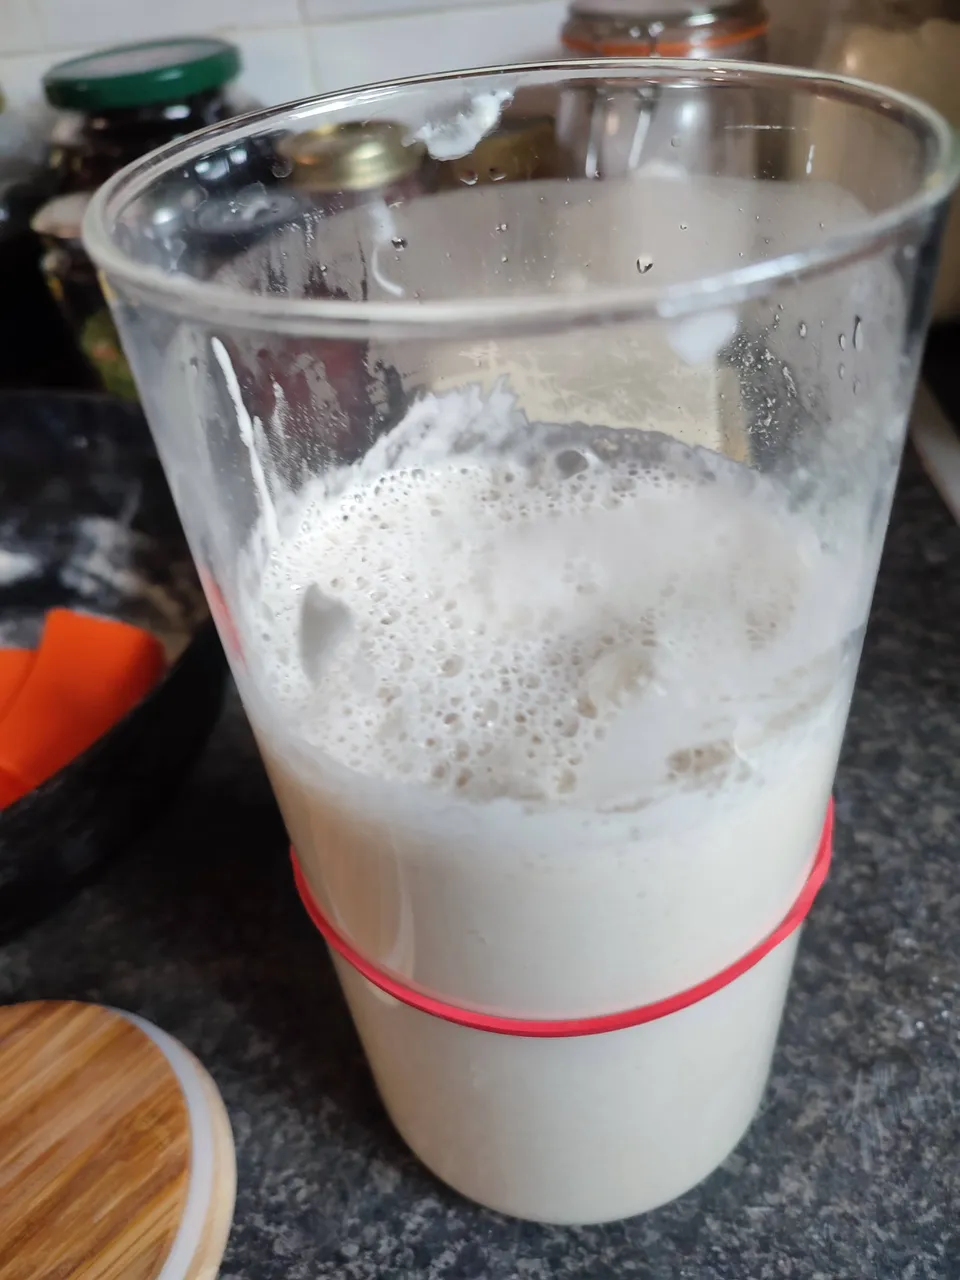
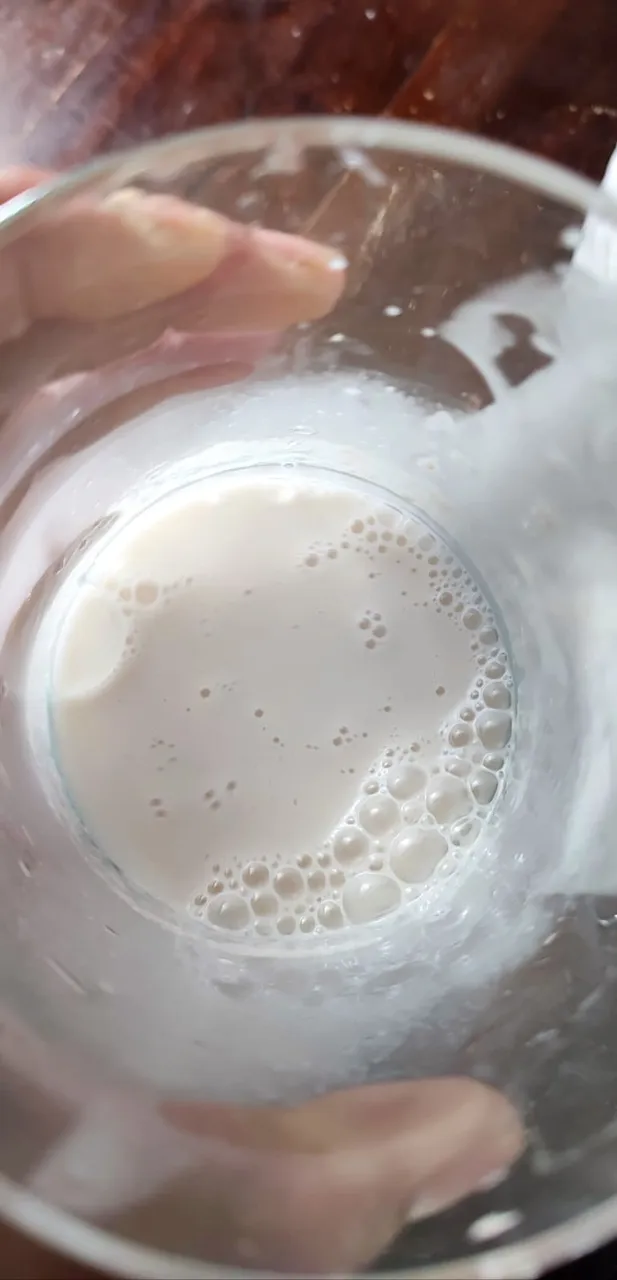
Having a good starter is crucial. While you can purchase one online, I prefer making my own from scratch and giving it my own mark. If you're interested in making your own, here's a guide on how to create a sourdough starter.
ecency/wild yeast starter

To make your own starter, you'll need wild yeast. I collected mine from assorted leaves and berries, then cultured them with flour for a few days until they were ready for baking wild bread. The more you reuse the starter, the more complex its flavor becomes, transforming it into a sourdough starter.

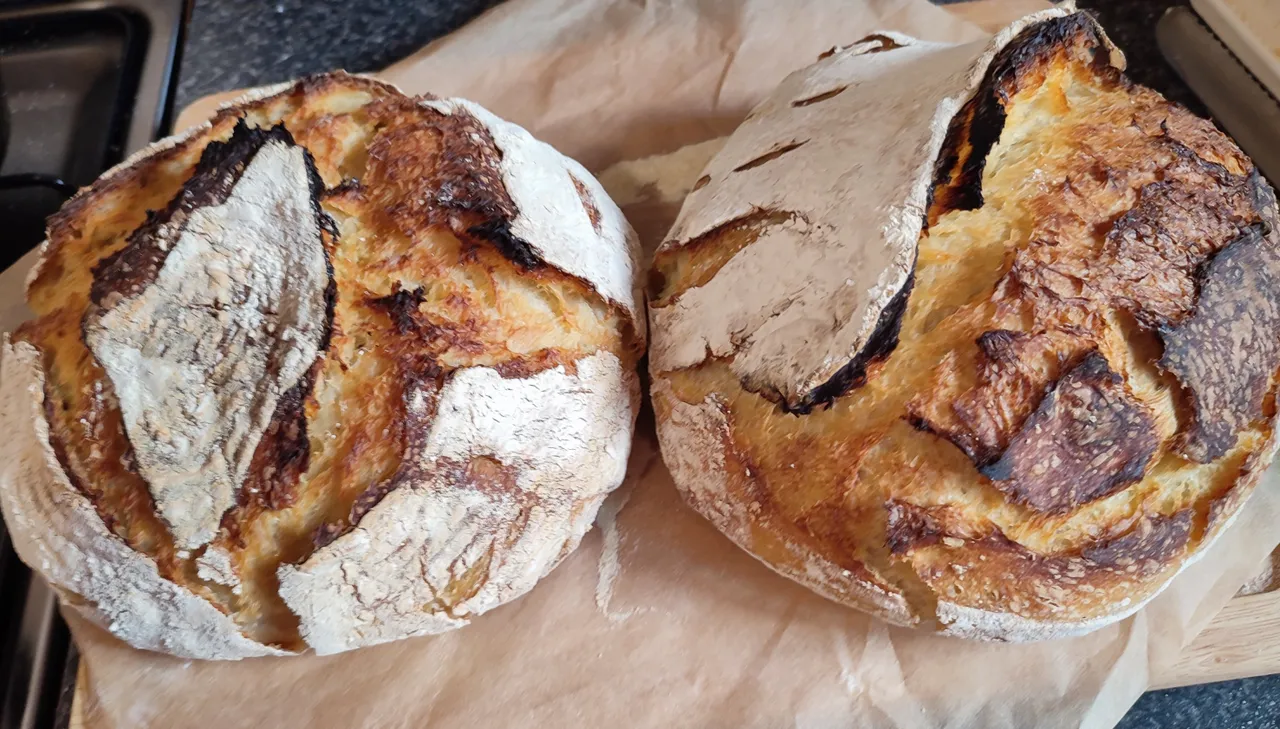
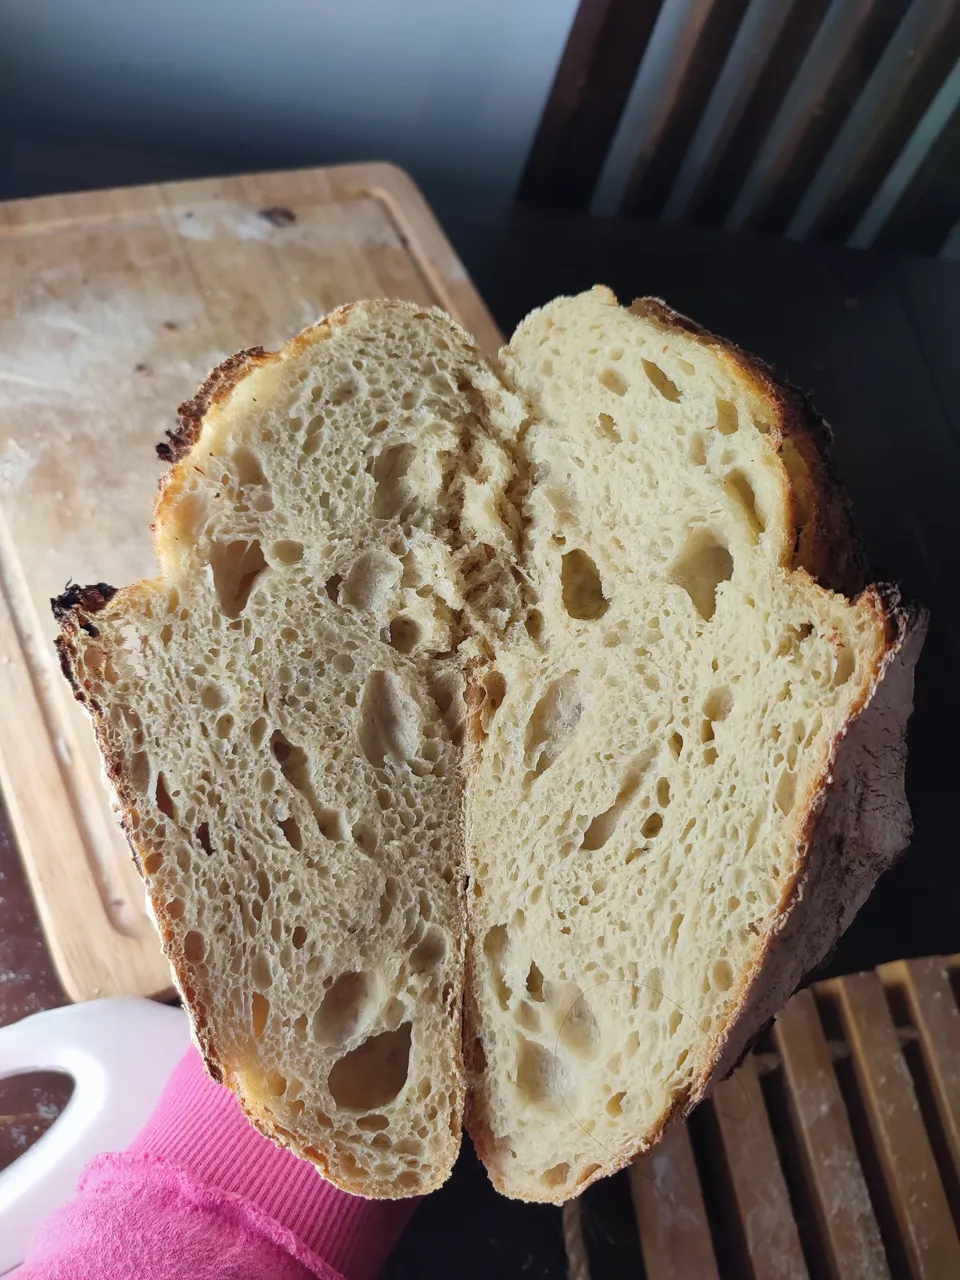
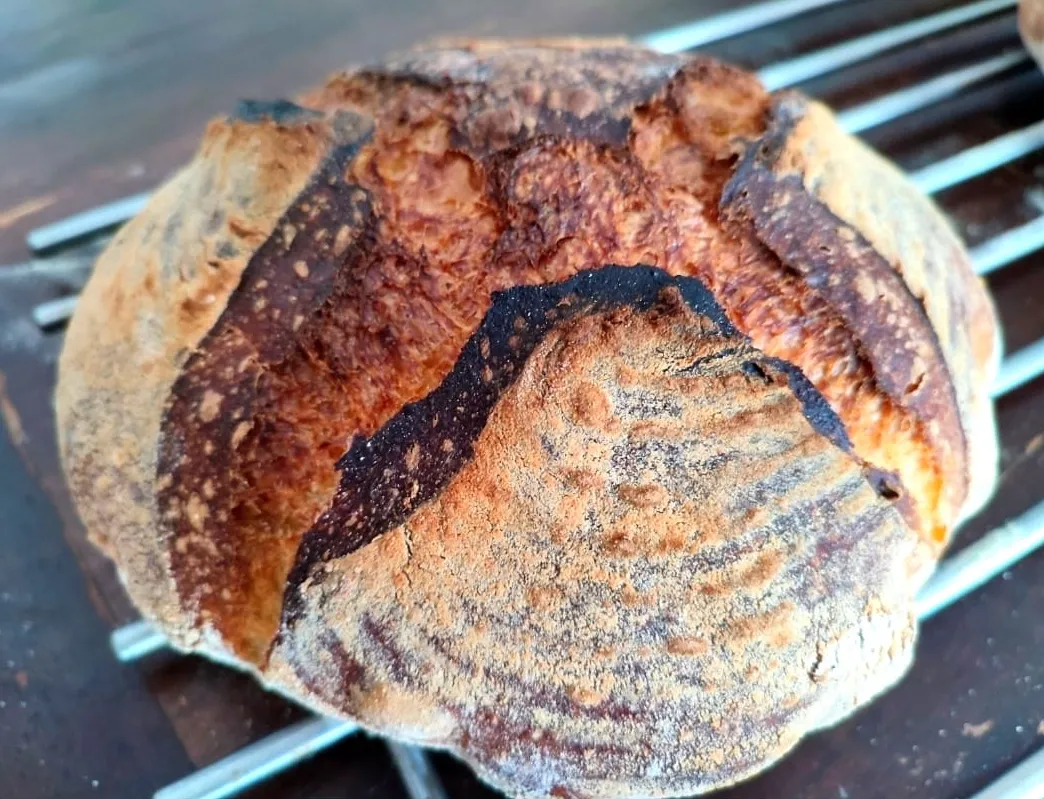
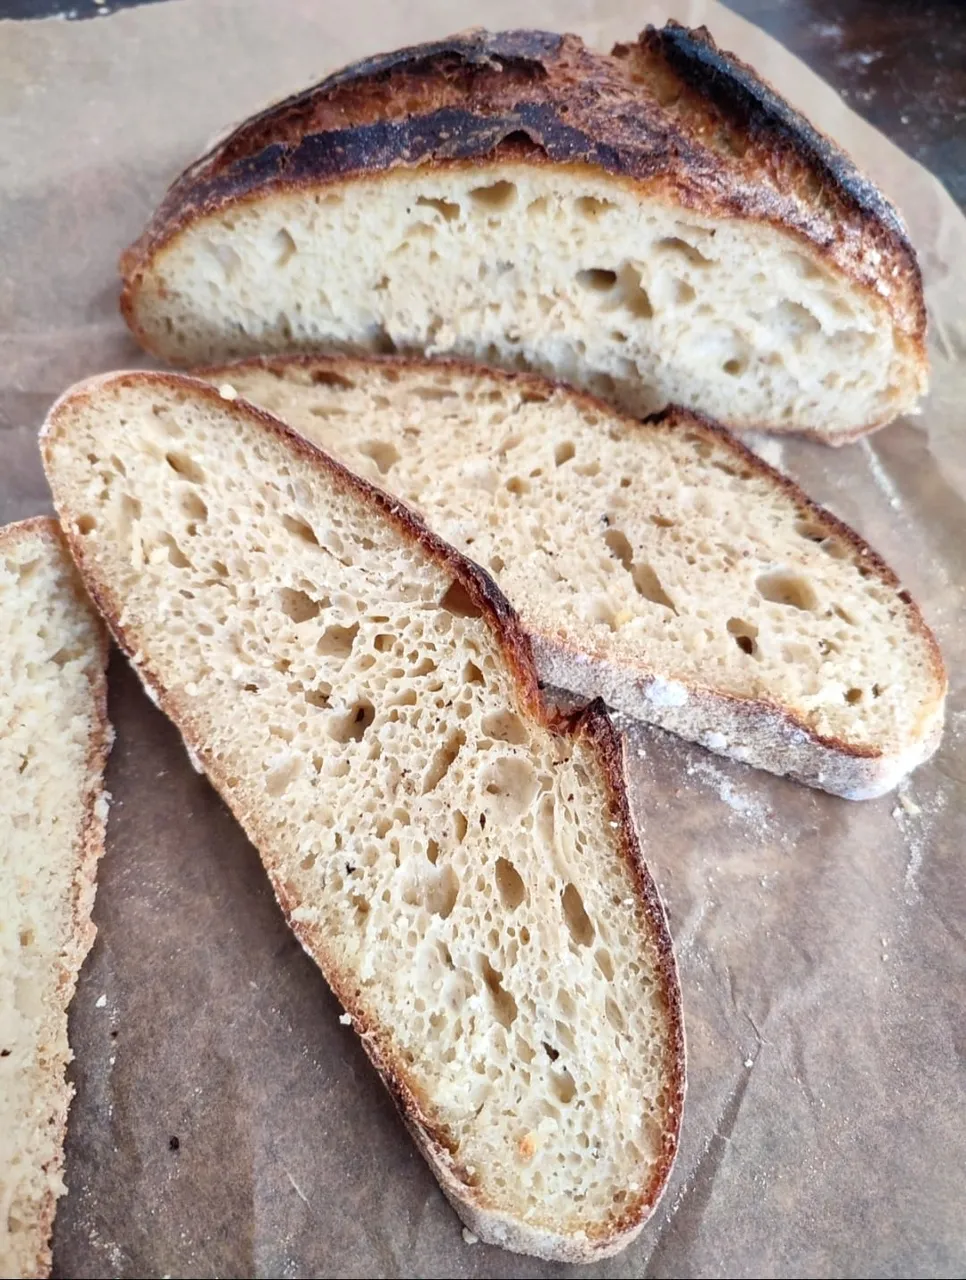
I've been baking sourdough for five years using my own cultured starter. It results in a well-developed crust that is crisp and golden brown, while the interior boasts an airy yet chewy texture with irregular, well-distributed holes.

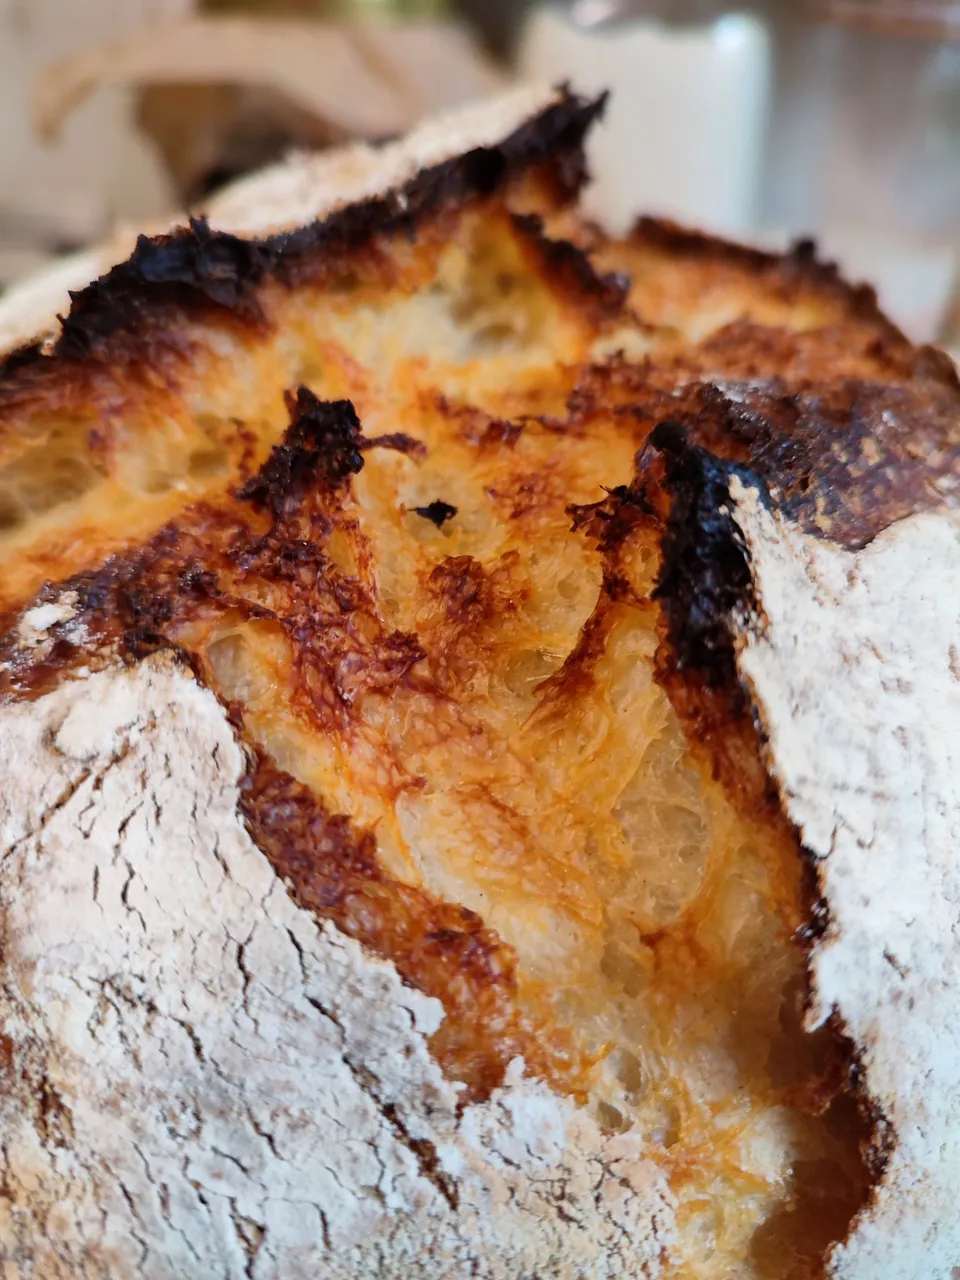
I've observed that when the dough doubles during bulk fermentation for six hours, the resulting holes are medium-sized and evenly distributed, yielding a texture with medium-sized holes.
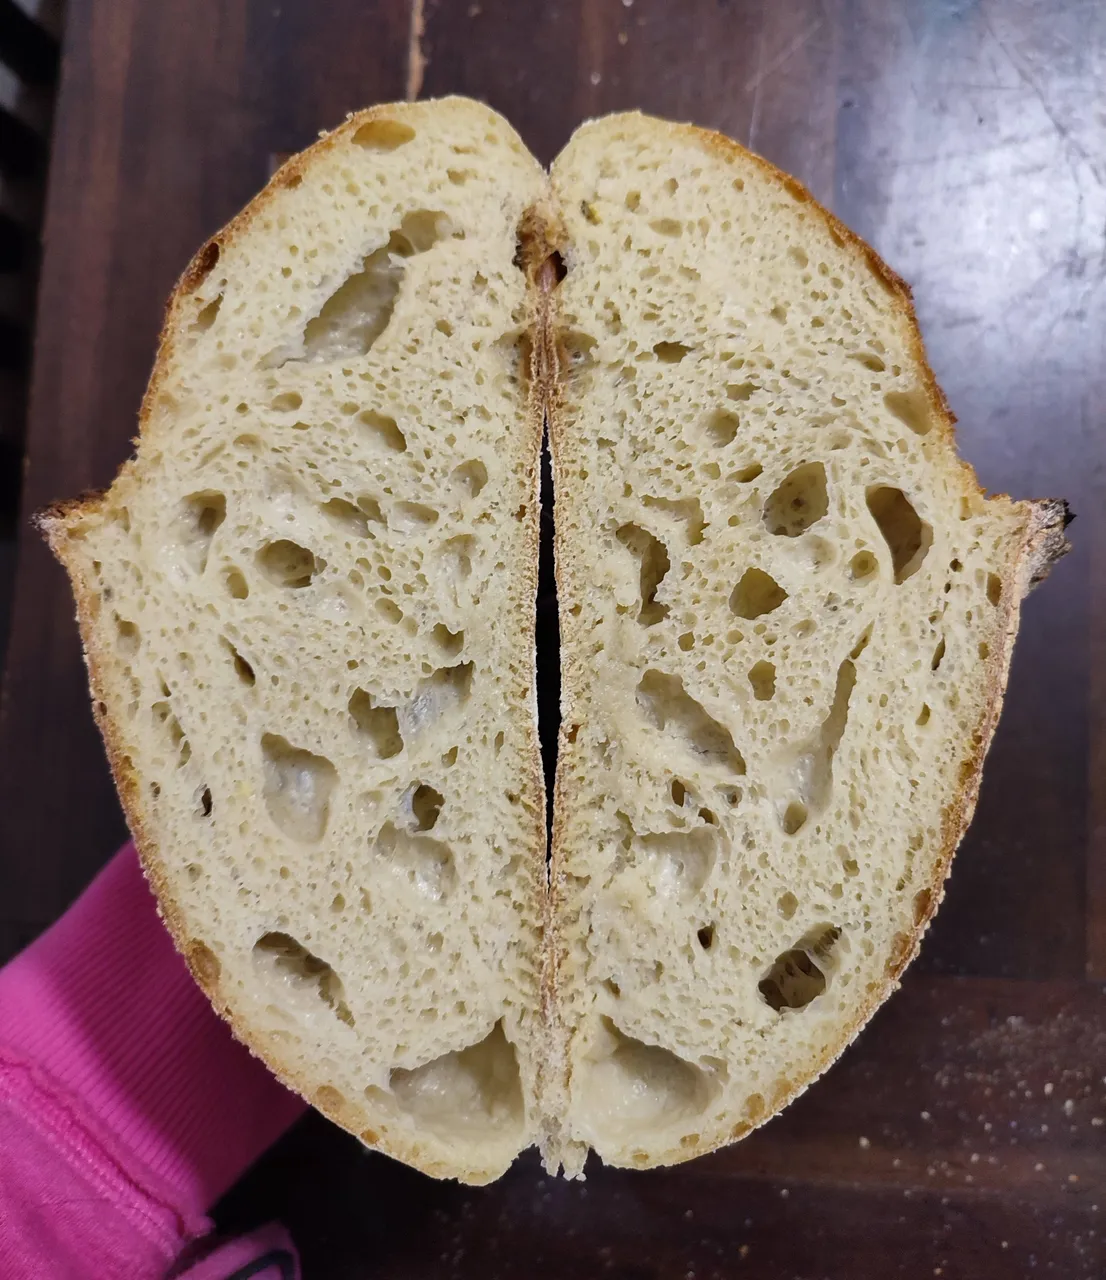
If the dough increases to one-third in size during bulk fermentation for four hours, it creates larger holes evenly distributed throughout.

Isn't it amazing how we can cultivate our own leavening from wild yeast, resulting in bread that tastes far better than commercial bread? Yeast is truly remarkable. It produces vitamin B12 and beneficial chemicals while digesting carbohydrates and sugars into simpler sugars, which means you're less likely to experience a sugar spike in your blood. All you need to do is learn how to work with it. If you feed it properly and create a conducive environment, it will be your ally in preserving and creating delicious, highly nutritious food and drinks. These tiny microorganisms are truly wonder workers.
After using the yeast in my jar, I leave it unwashed and add 100 ml of water and 100 grams of flour. The next day, it will rise again, ready for another bake.
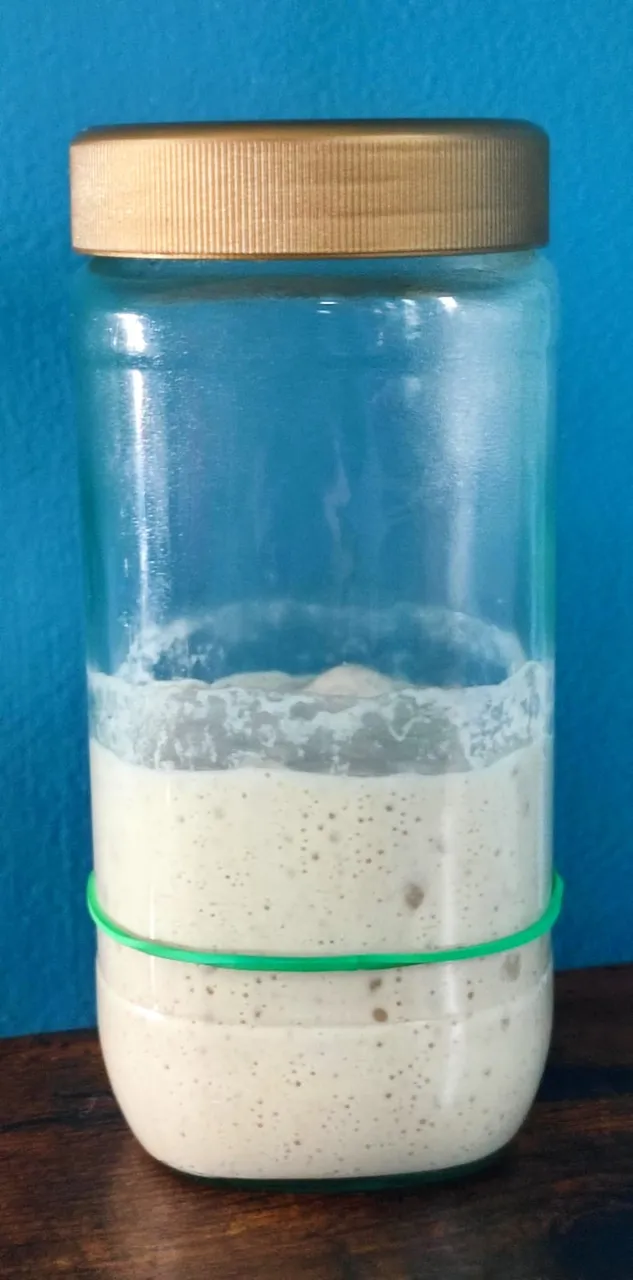
The next day, it will rise again, ready for another bake.
Here's how I make my sourdough bread, along with some techniques to keep it soft. This recipe has been refined through numerous trials and errors, and I'm excited to share it with you.
Ingredients:
Sourdough starter: 150 grams
White Bread flour: 225 grams
Brown Wheat Flour 100 grams
Corn Flour: 100 grams
Salt: 10 grams
Water: 350 grams
Diastatic Malt: 5 grams (optional)
Diastatic Malt

I begin by adding hot water to the corn flour and letting it stand for 15 minutes. This technique, similar to Tangzhou, helps retain moisture in the bread, although I skip the step of cooking the flour; I simply add freshly boiled water for the same effect, with less hassle.

Let cool a bit.
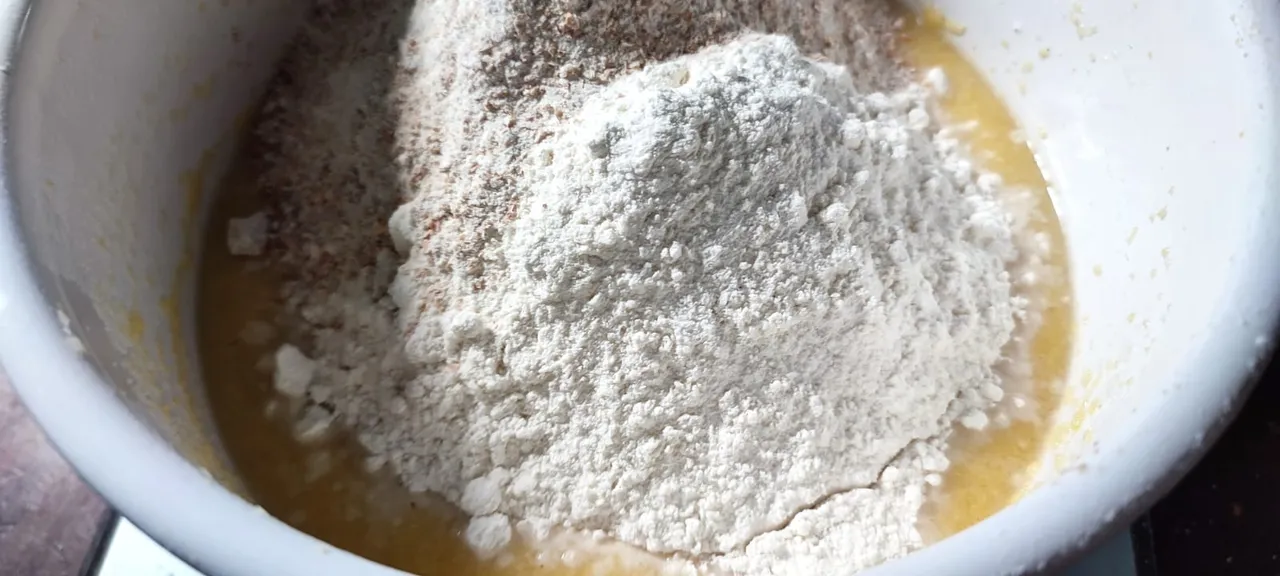
After allowing it to cool slightly, I add the flour and let it stand for 30 minutes, allowing gluten to form naturally and making it easier to knead.
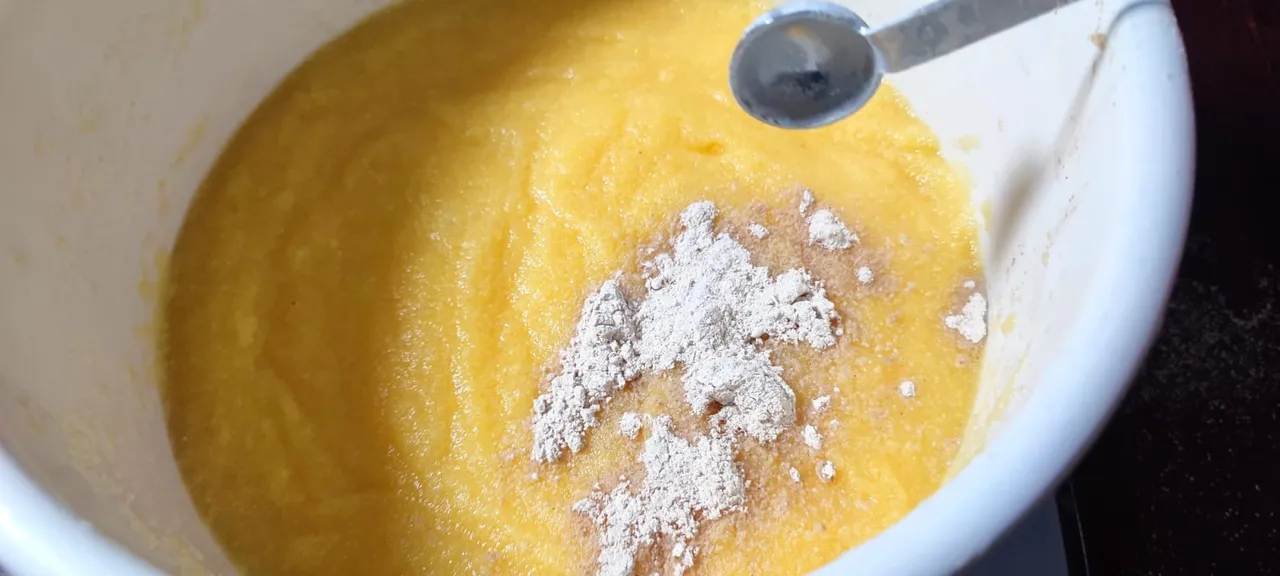
I then add diastatic malt, which helps hydrolyze the corn flour, releasing more sugar for the yeast. This aids in better blooming of the bread but is optional.
![]()
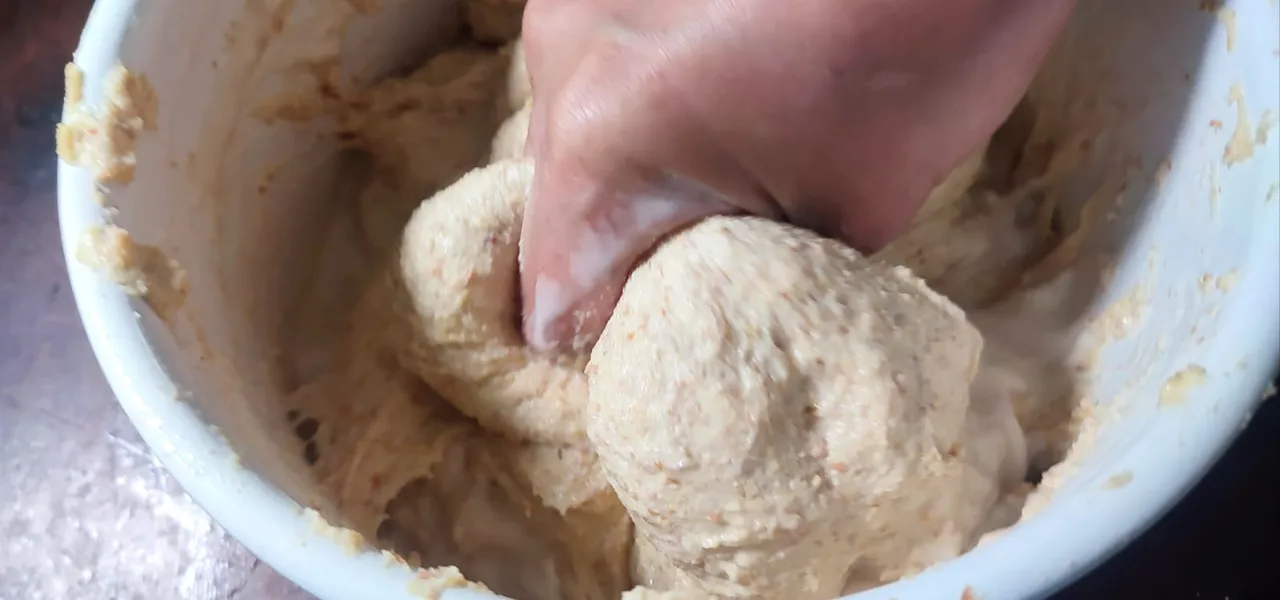

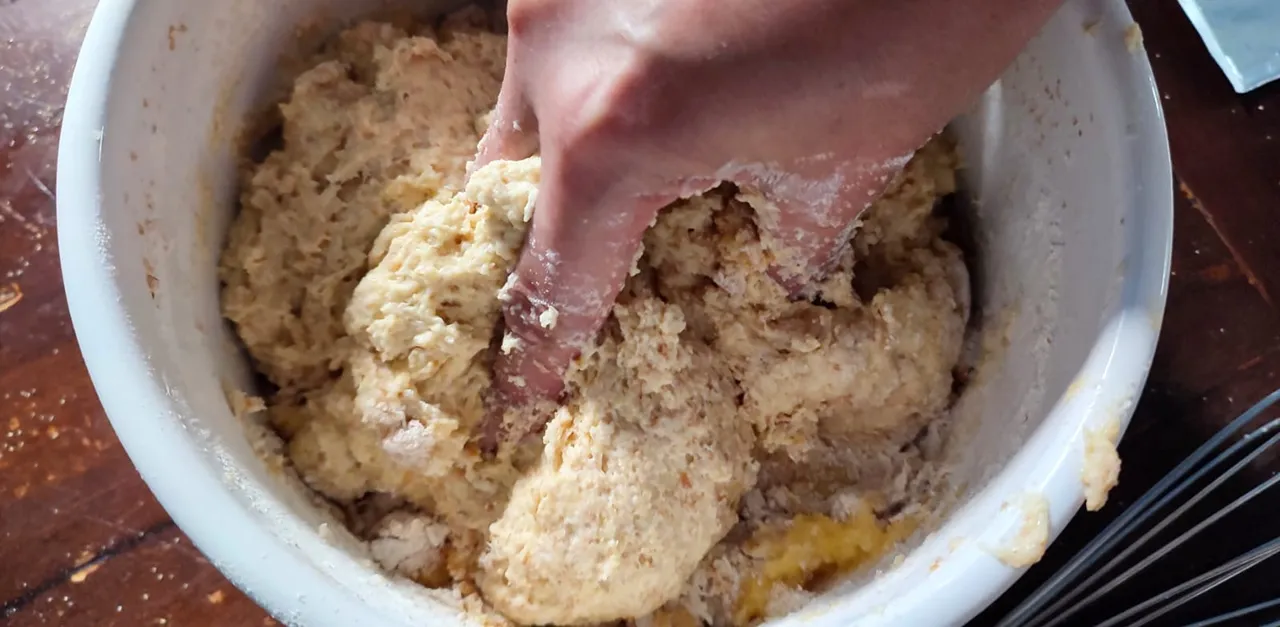
Next, I add the sourdough starter, mix it in, and let it sit for an hour before kneading. If I'm pressed for time and don't have four hours for stretching and folding, I opt for my quick version: running it through a kneading machine until it's soft and shiny. It's important to ensure the dough doesn't heat up during this process, as it could kill the yeast. The kneading process should be intermittent.

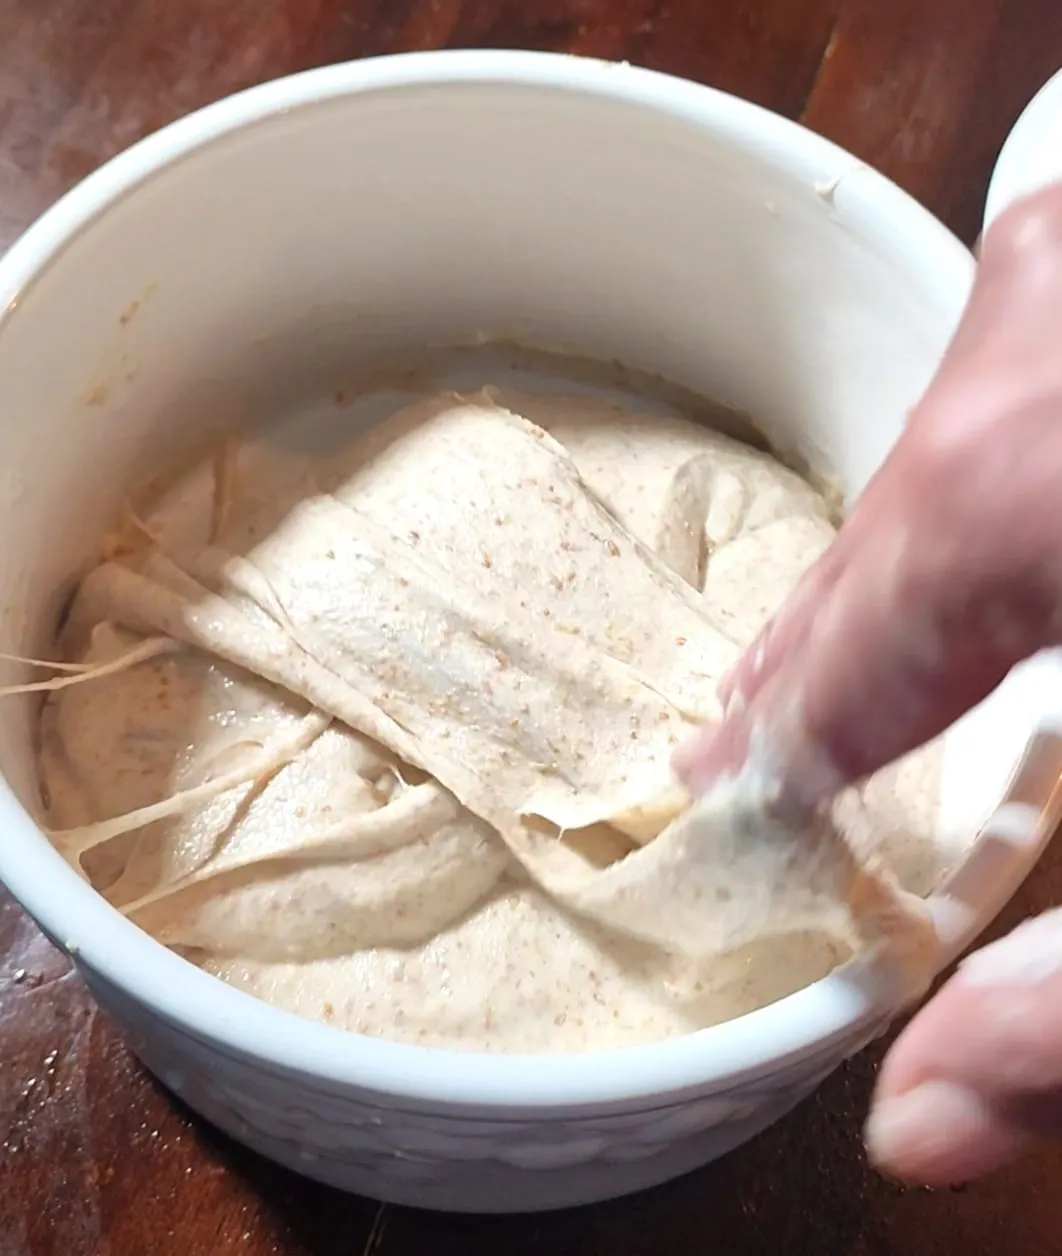
Then, I sprinkle the salt on top and, using wet hands, push it into the dough, followed by a few stretches and folds to embed the salt. This method helps prevent the salt from weakening the gluten.

I then let it proof, covered, for four hours or until it's just about doubled in size.

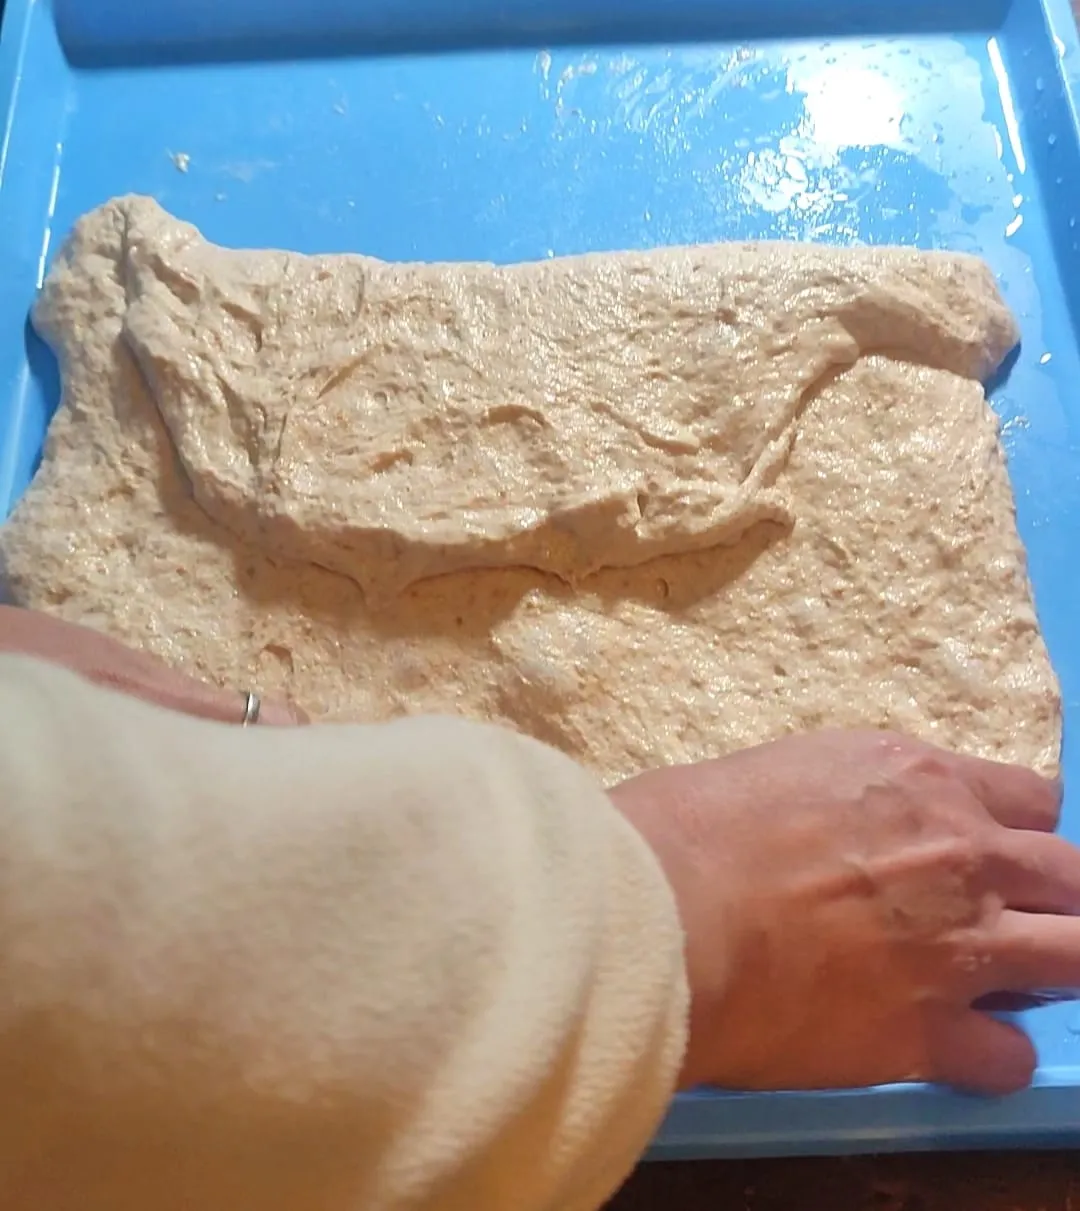
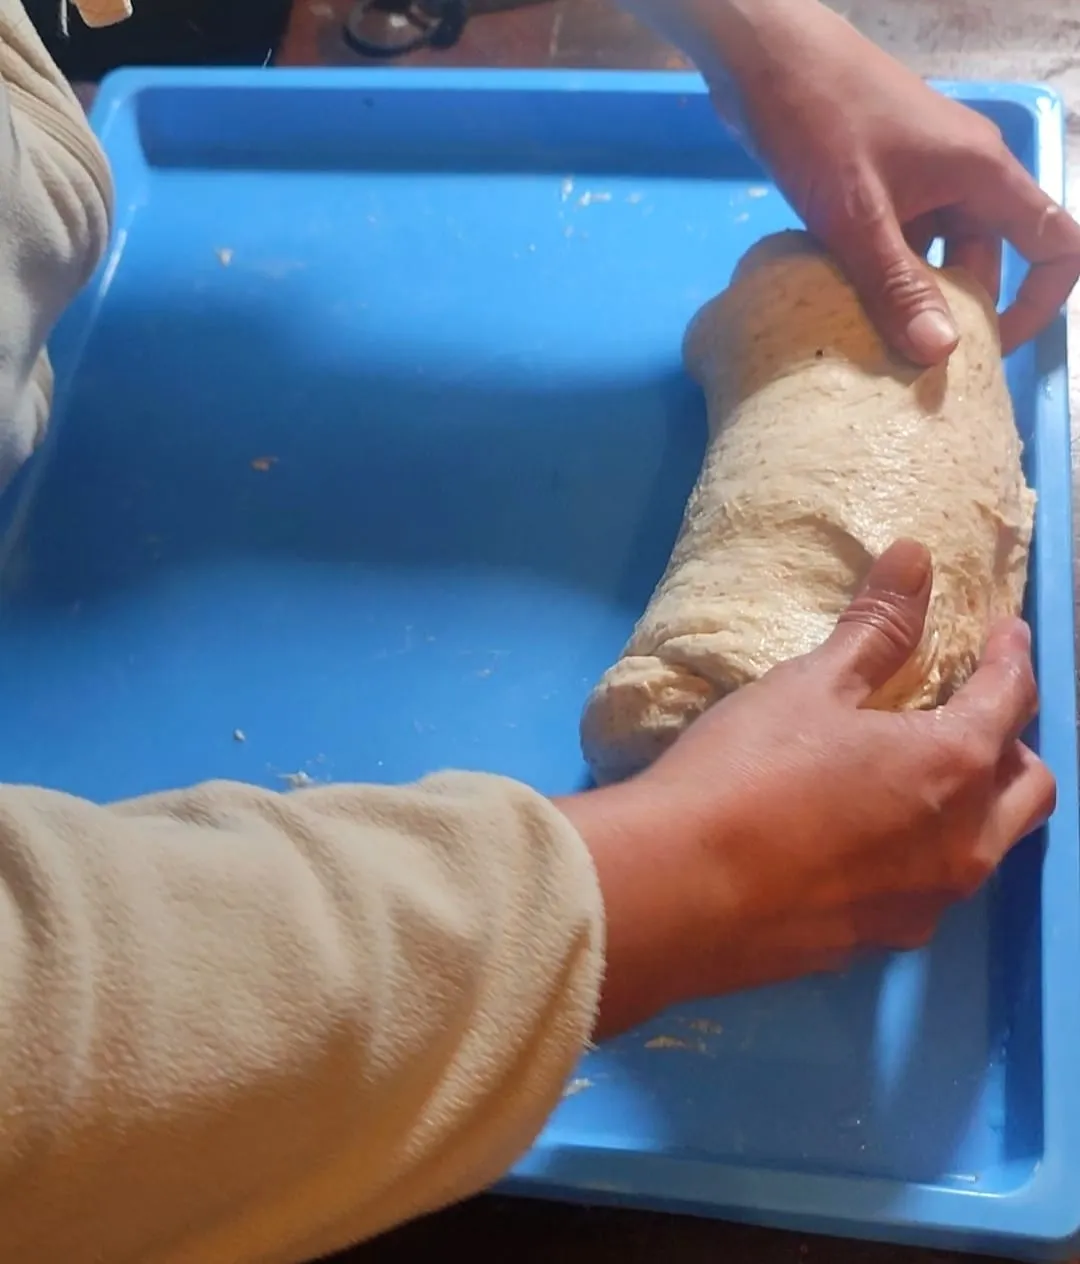
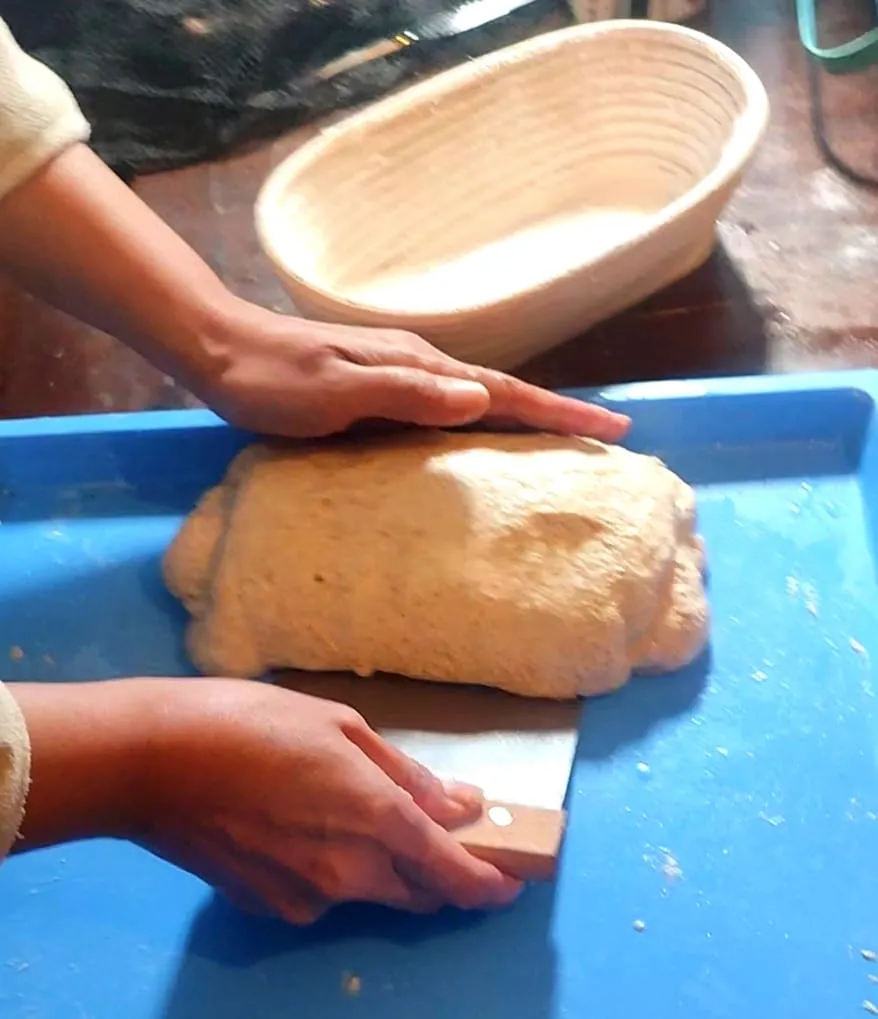

Then, I shape it and place it in a well-floured banneton basket. Strengthening the structure by tucking the sides towards the middle, I generously sprinkle some rice flour on top.


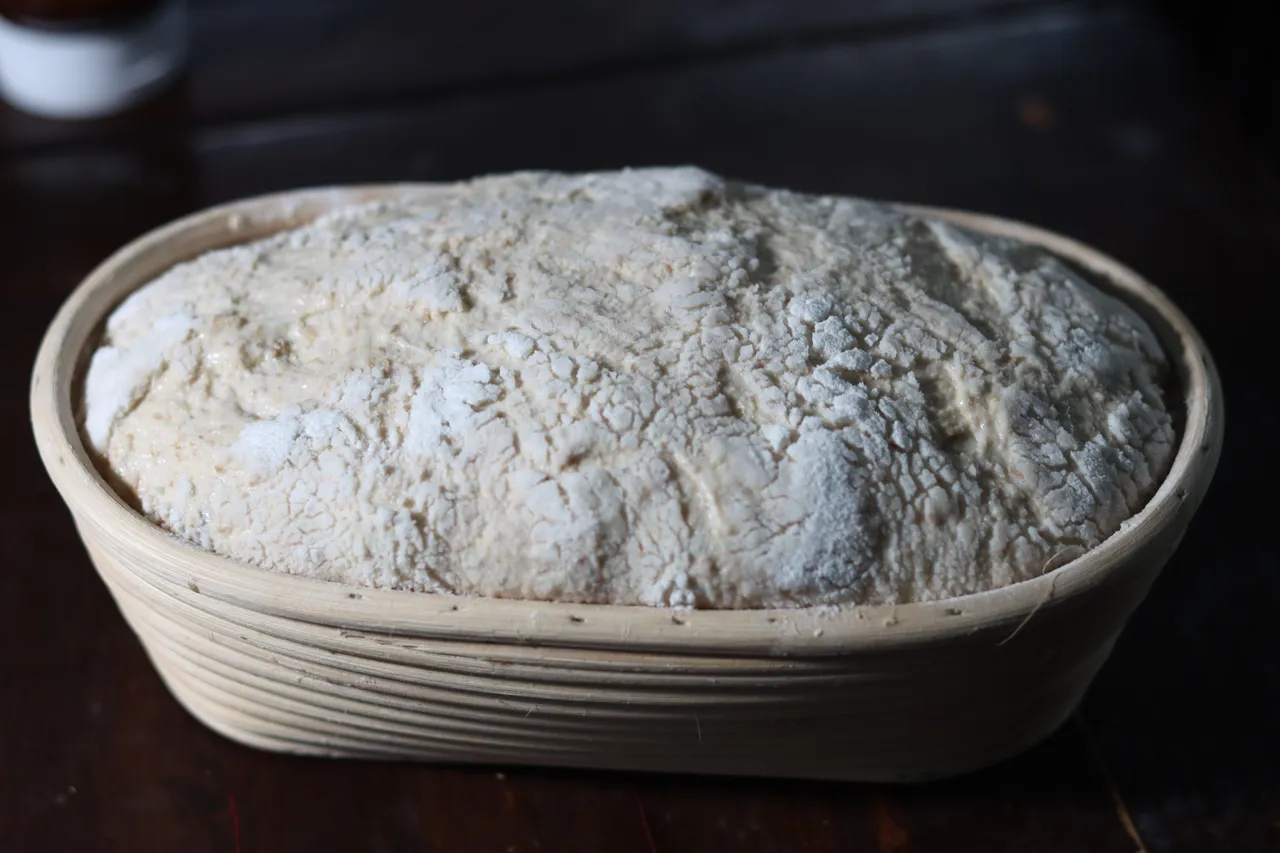
I then refrigerate it for 12-24 hours for a tastier artisanal bread, or leave it in a warm place for another 8 hours until it's doubled in size. The cool environment in the fridge allows the lactobacillus to impart a malty flavor before the yeast over-ferments. Slowing down the yeast intentionally prevents over-fermentation.
,


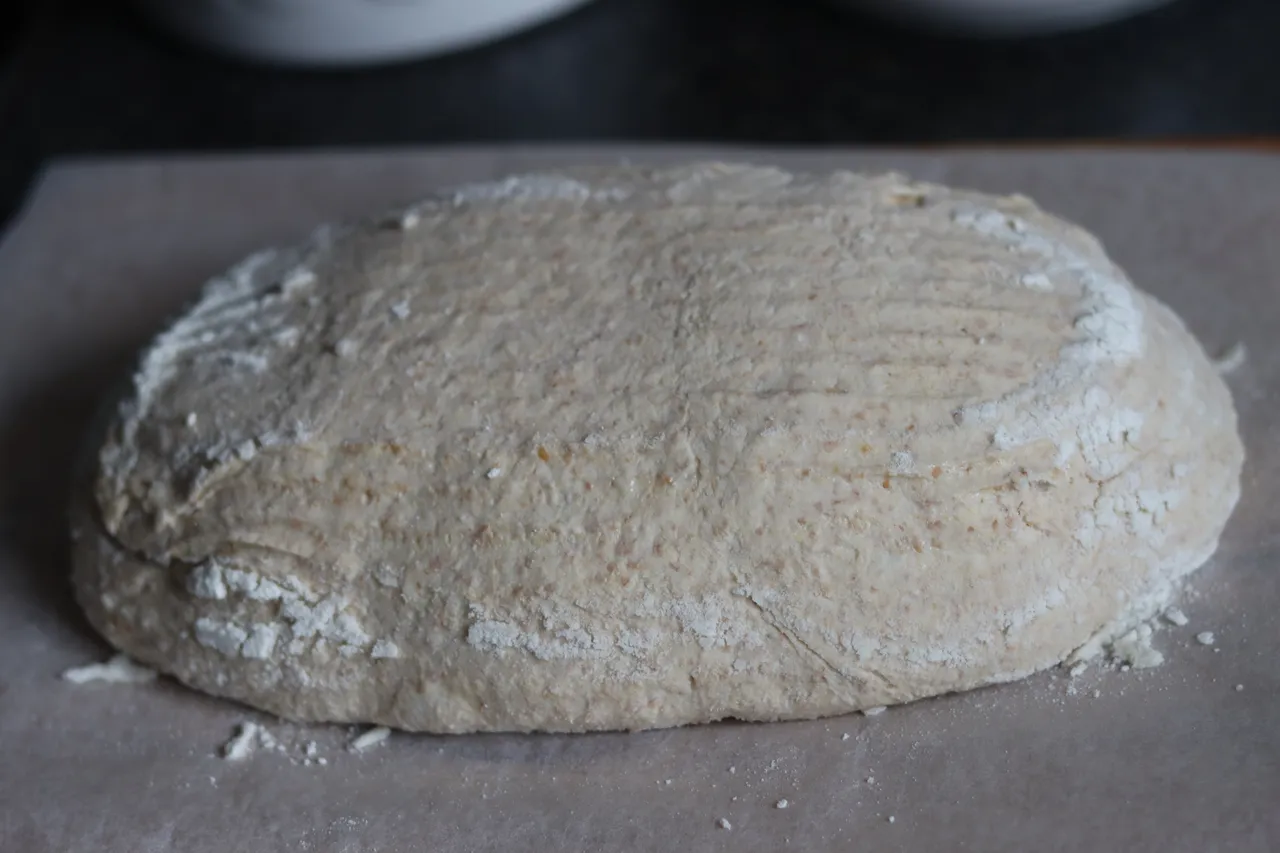
Then, I tip it over, carve it, and bake it. I typically use a Dutch oven for better rise, baking at maximum heat for 45 minutes. If a Dutch oven isn't available, I preheat the oven to maximum temperature with a tray of hot water to create steam, which keeps the bread soft and aids in rising. I remove the water 15 minutes before it's fully cooked to brown the surface.

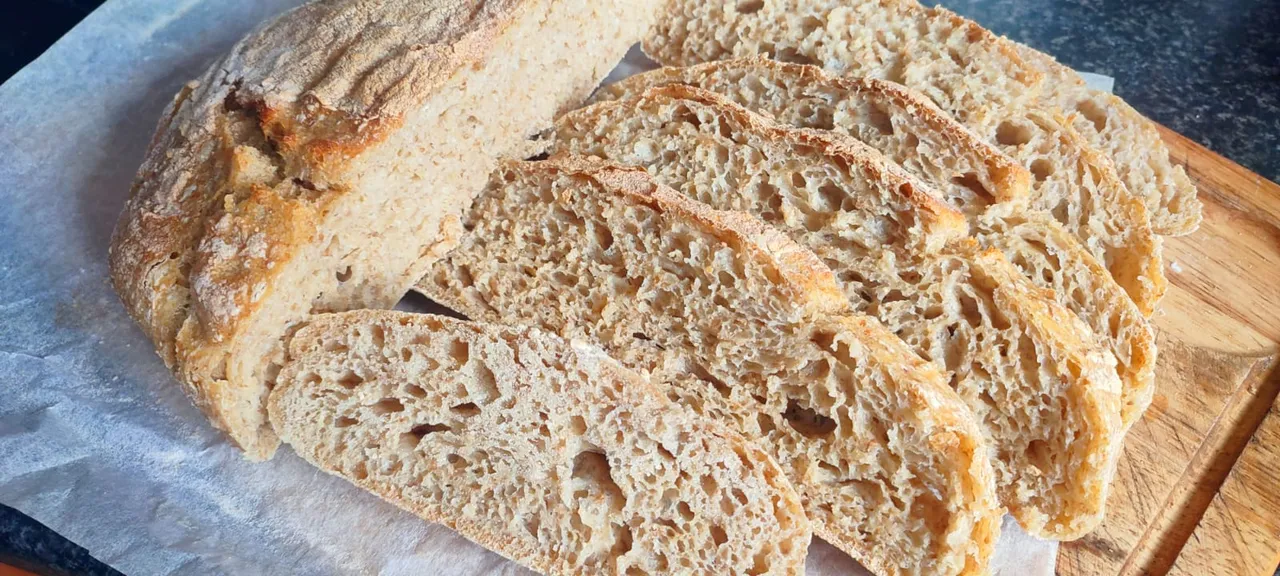
The result is a beautiful sourdough bread with a crispy exterior and a soft, chewy interior.

Store the bread in a sealed bag to maintain its softness. It can also be sliced and frozen, toasting it before serving.
Mastering the art of baking sourdough bread requires patience and a willingness to learn through experimentation. However, the superior taste and connection to culinary heritage make it a cherished indulgence passed down through generations.
I hope that those who currently cannot access flour, like the unfortunate people in Palestine, will soon have the opportunity to do so safely. Hopefully, efforts towards peace will lead to an end to suffering.
Wishing everyone a beautiful day!
Mariah ❣️