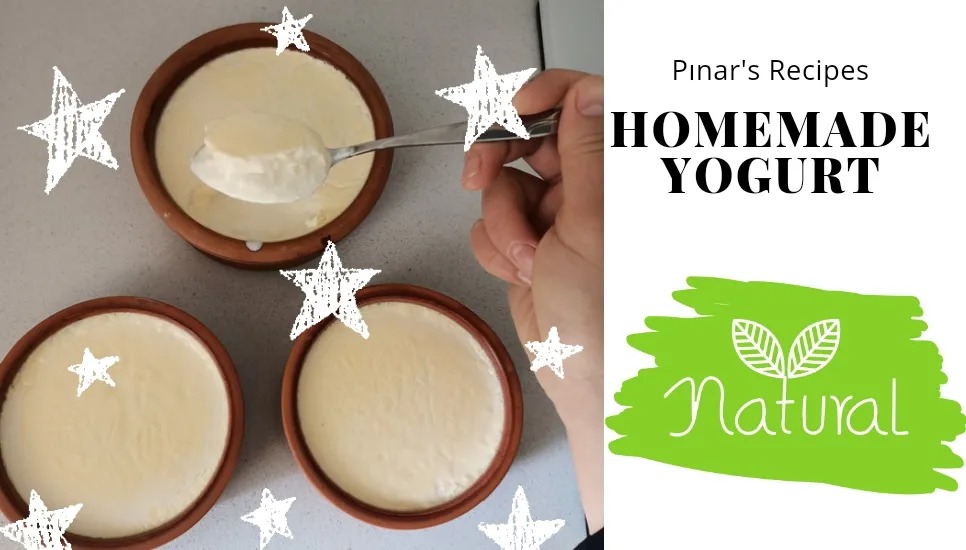
💐Hello Everyone 💐
Today I will give you a homemade yogurt recipe. Recently, I gave another yogurt recipe. Considering a comment on my recipe post, I fermented yogurt again.
Actually, I started to ferment yogurt regularly every week. I think that I will find the right way of fermentation by taking into account the suggestions.
In my previous post, I explained how I fermented yogurt from 5 liters of milk. I fermented all the milk in a saucepan. When we took some of the yogurt, the remaining yogurt started to water. Although I prepared bread dough with the water formed, I do not want to get such a result the next time.
A friend of mine warned me by commenting on my post. So I heeded his warning and this time I used small containers.
Again, I fermented yogurt with five liters of milk. I buy fresh milk from a dairy on a weekly basis and we eat the yogurt I have prepared for a week. In this way, we are fed more naturally and it is practical.

Now let's start to tell about our yoghurt fermentation adventure. First, I filtered the milk I bought from the milkman again and cooked it. I used a large pot for this.
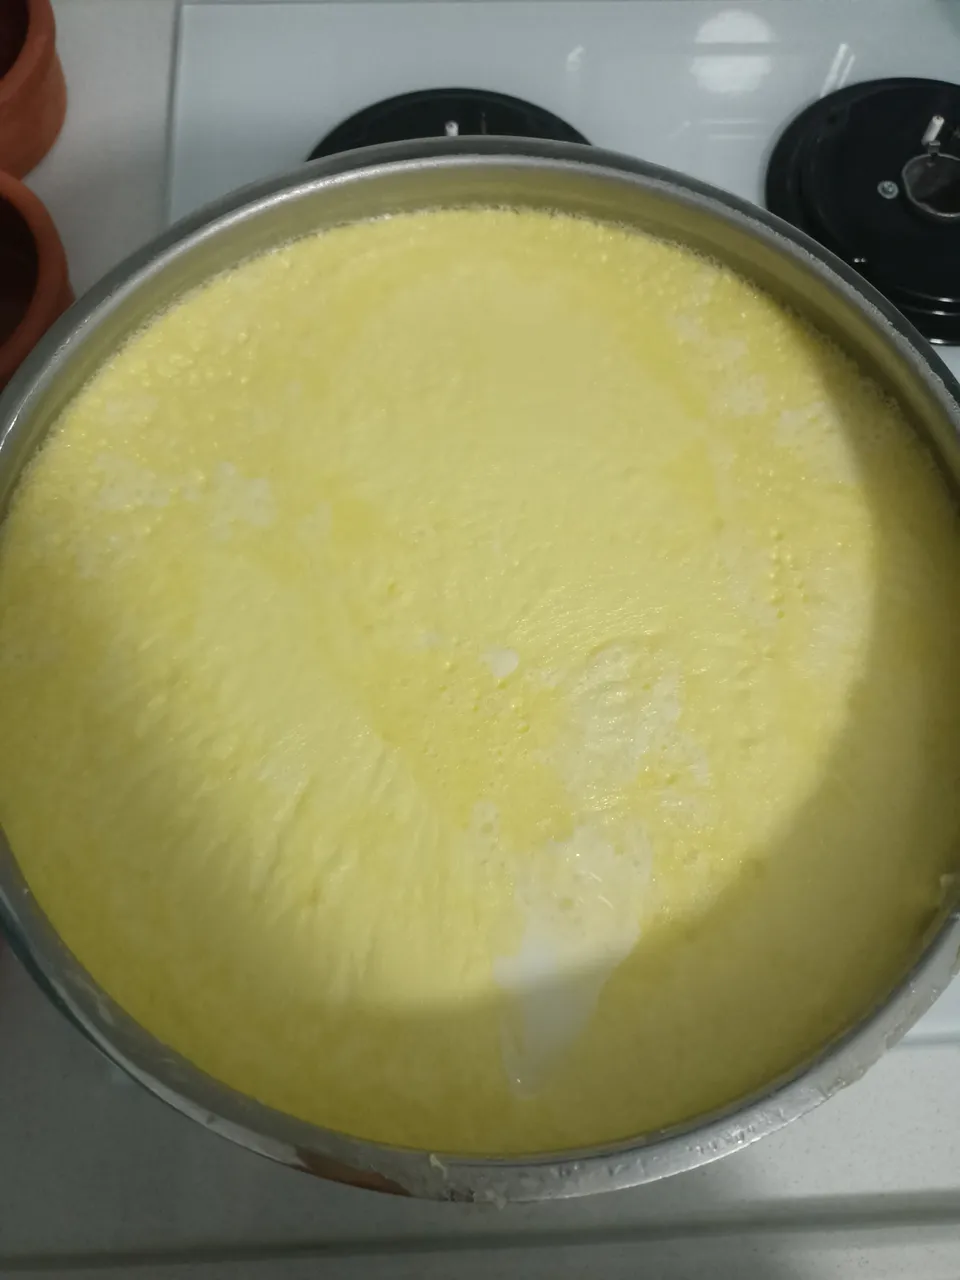
When the milk started to boil, I turned down the heat and continued cooking for a while. Thus, I got rid of the excess water in the milk.
After the milk had boiled enough, I waited for it to cool. The ideal fermentation degree of yogurt is 45 46 degrees. I use degrees for this. but you can do the sparrow sparrow test I described earlier.
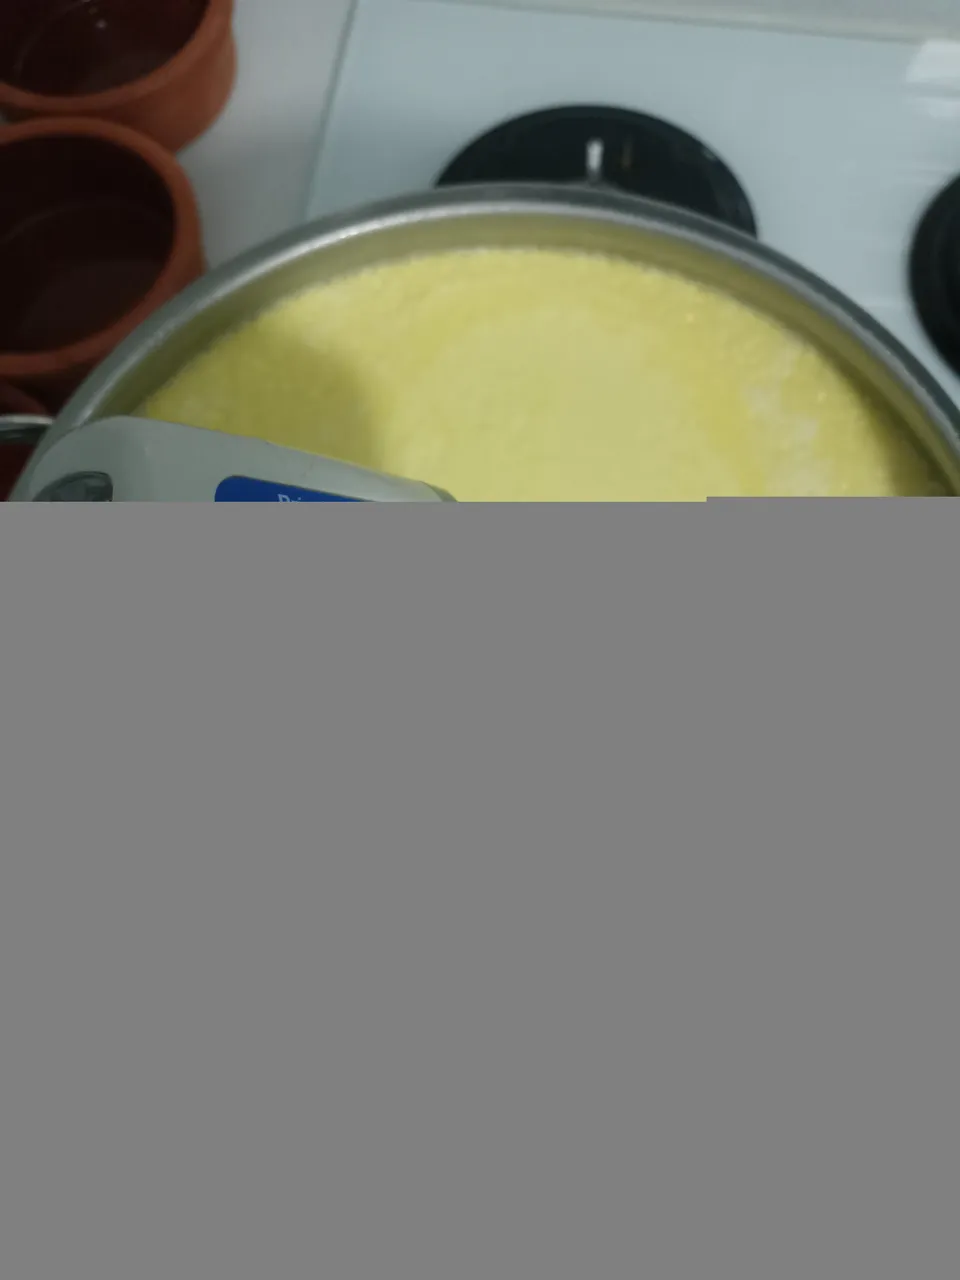
Dip your little finger in milk and count to 7. The milk should be warm, but your finger should be able to withstand the heat for this time.
*Even though I have a degree, I also do the pinky finger test every time.
The result is really close to each other.
After the milk drops to the ideal temperature, it is ready to ferment.
Proofing is done with the following measures
We should use one teaspoon of yogurt for each liter of milk.
I used five teaspoons of yogurt to ferment yogurt with five liters of milk.
For the yeast, I used some leftover yogurt from the yogurt I prepared last week. Next time I'll buy probiotic yogurt and ferment with it. I will share the results with you again.
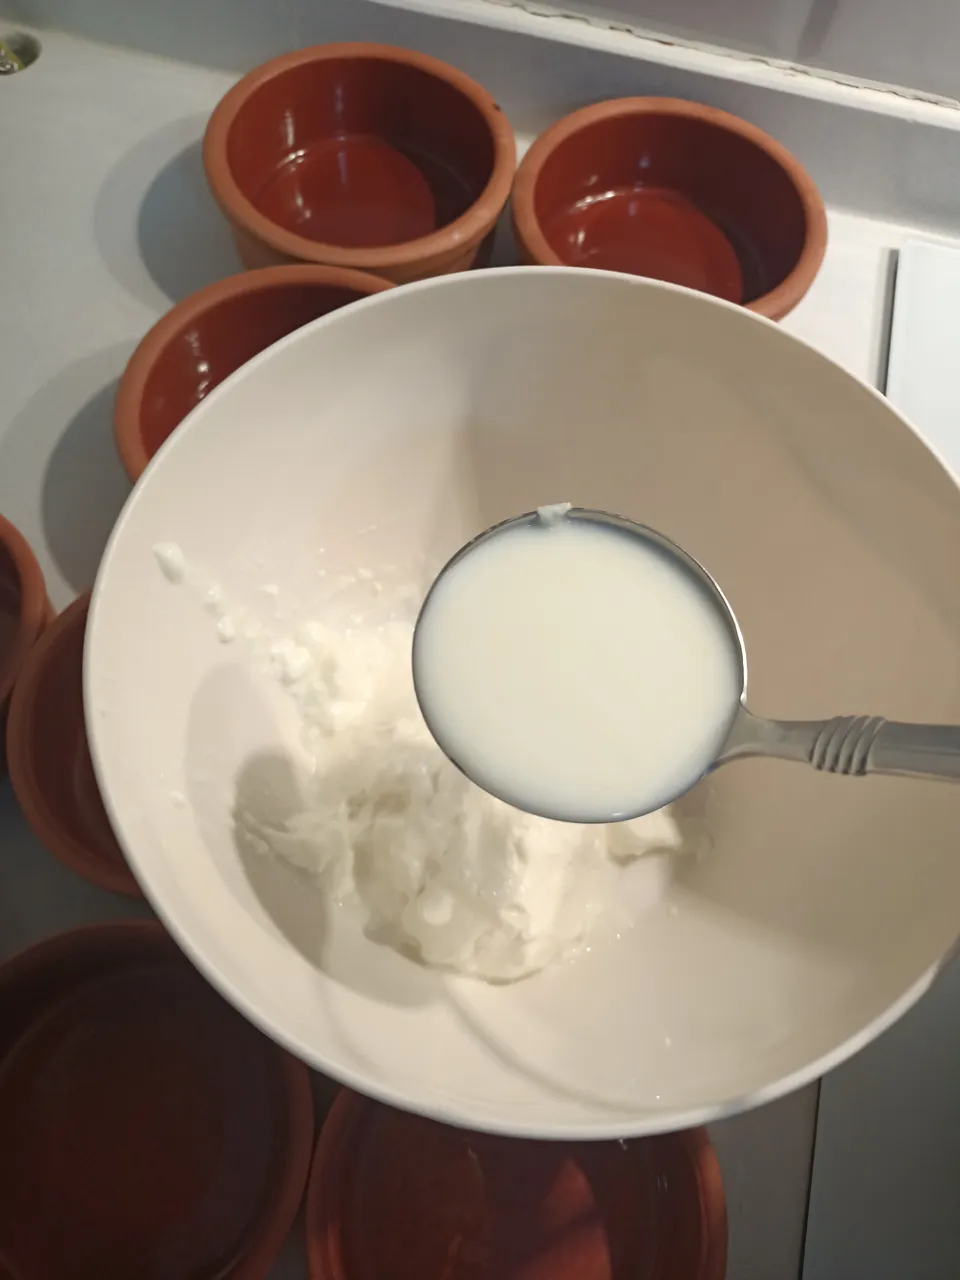
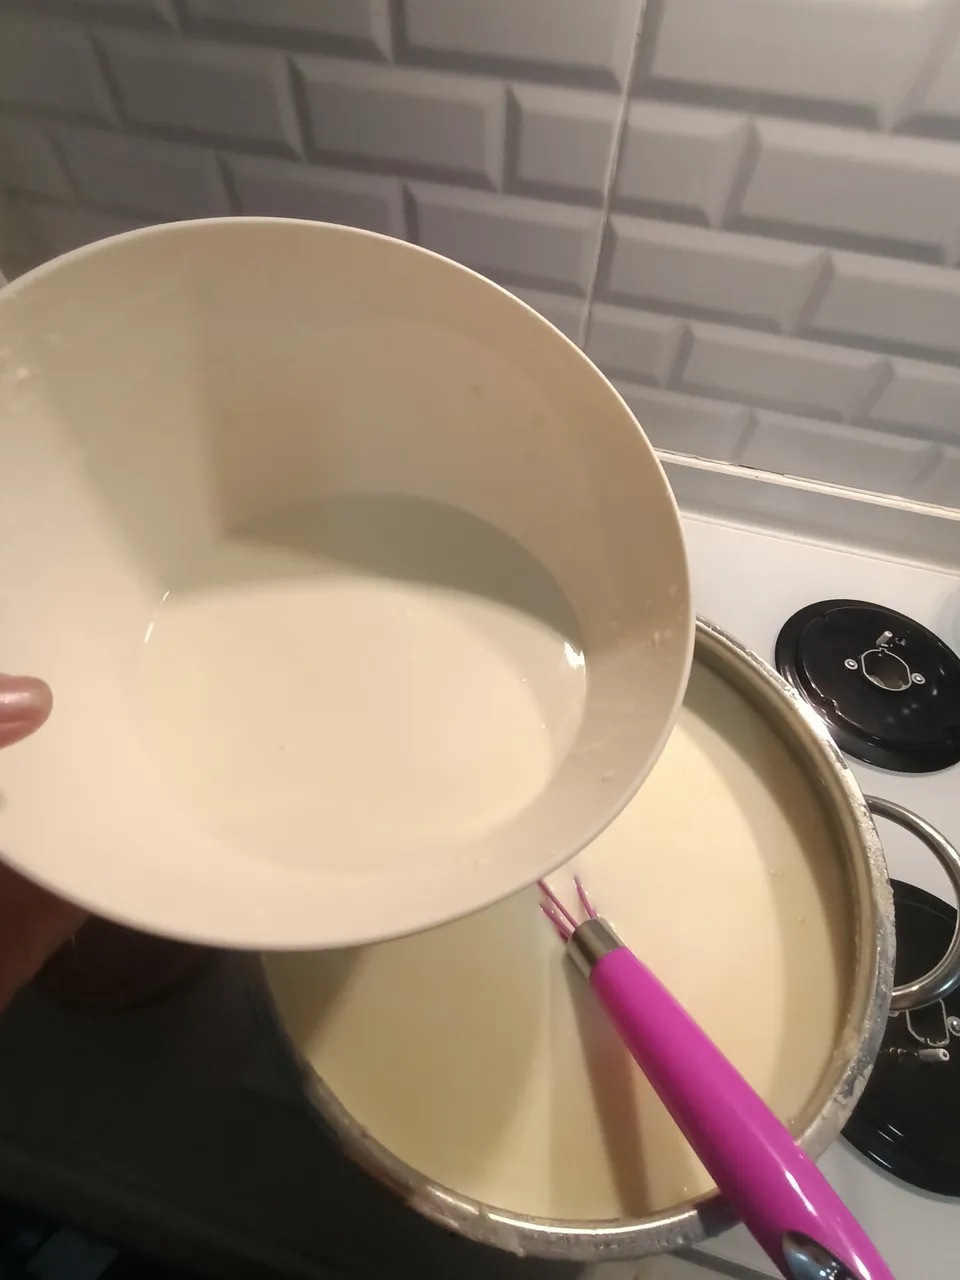
I took a piece of yogurt and milk in a bowl and whisked it well. It was a smooth consistency.
Then I poured this mixture into the milk pot and mixed it.
You have to stir the pot very well. We have to make sure that the yeast is completely mixed with the milk.
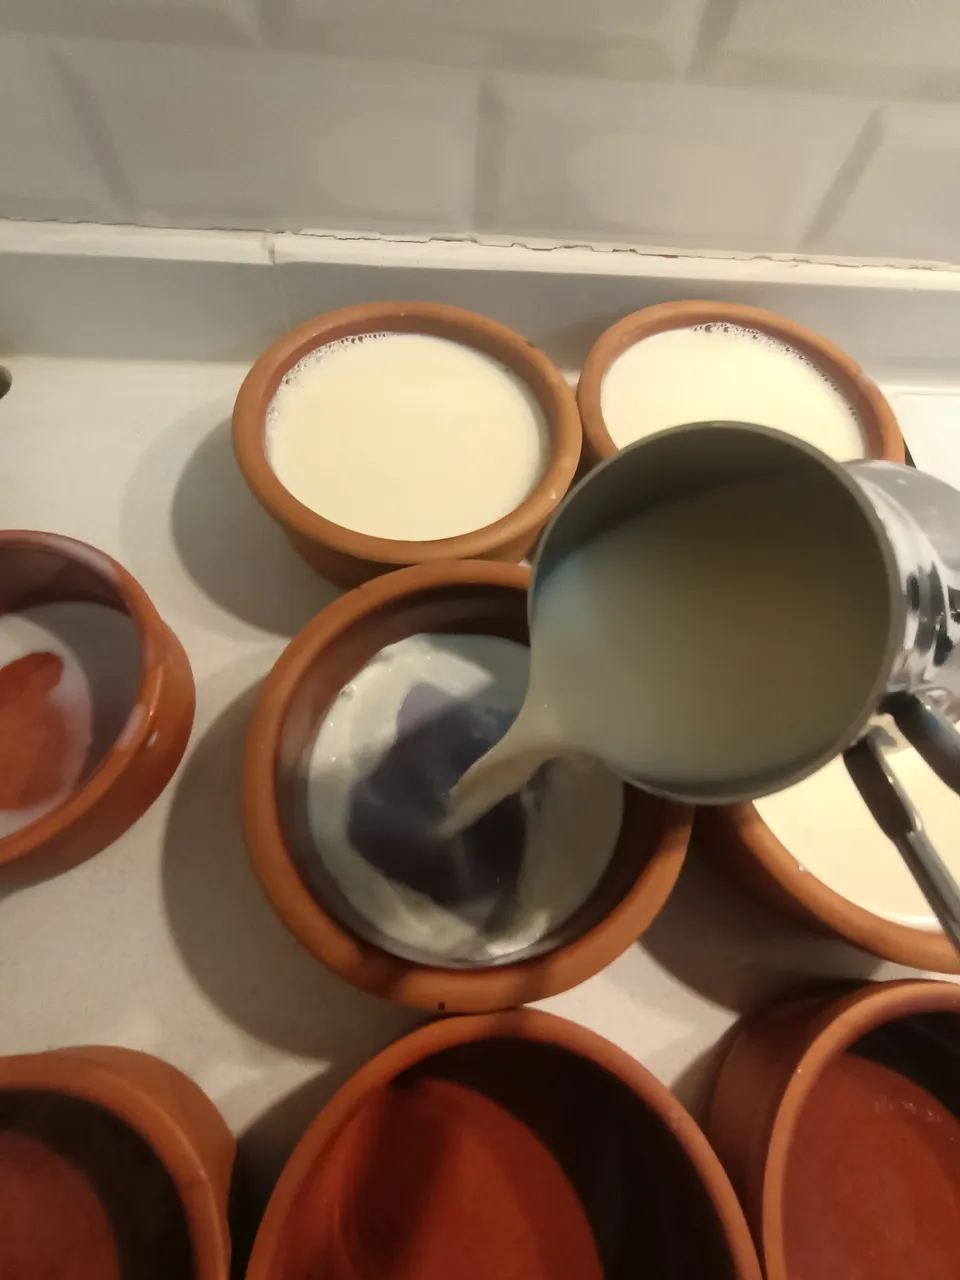
Then I put some of the fermented milk in the casseroles in which I will ferment the yogurt. I poured all the milk into the containers.
I placed casseroles in a preheated 50 degree oven.
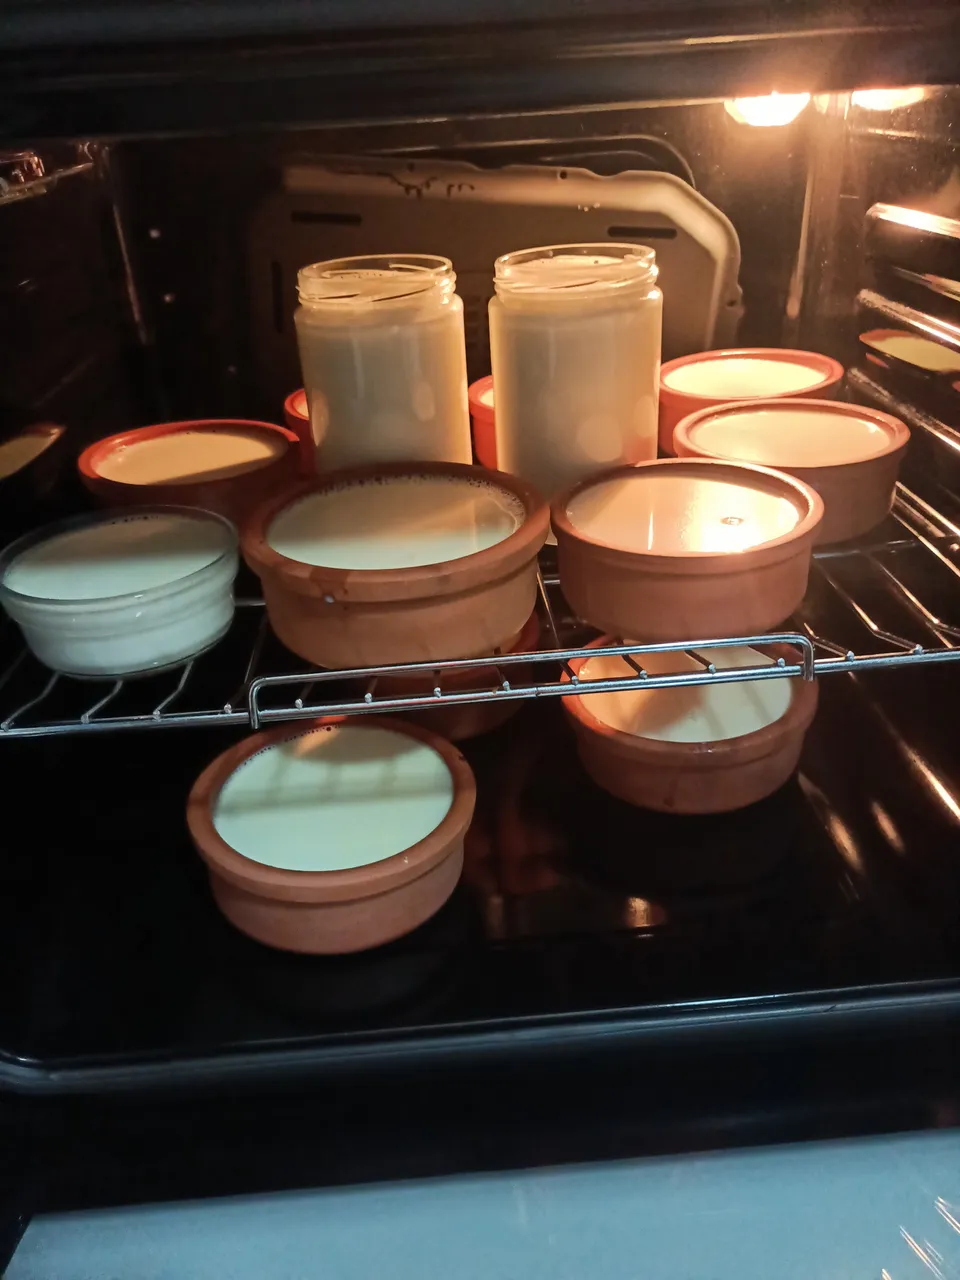
Half an hour later I turned off the oven and never opened the oven door.
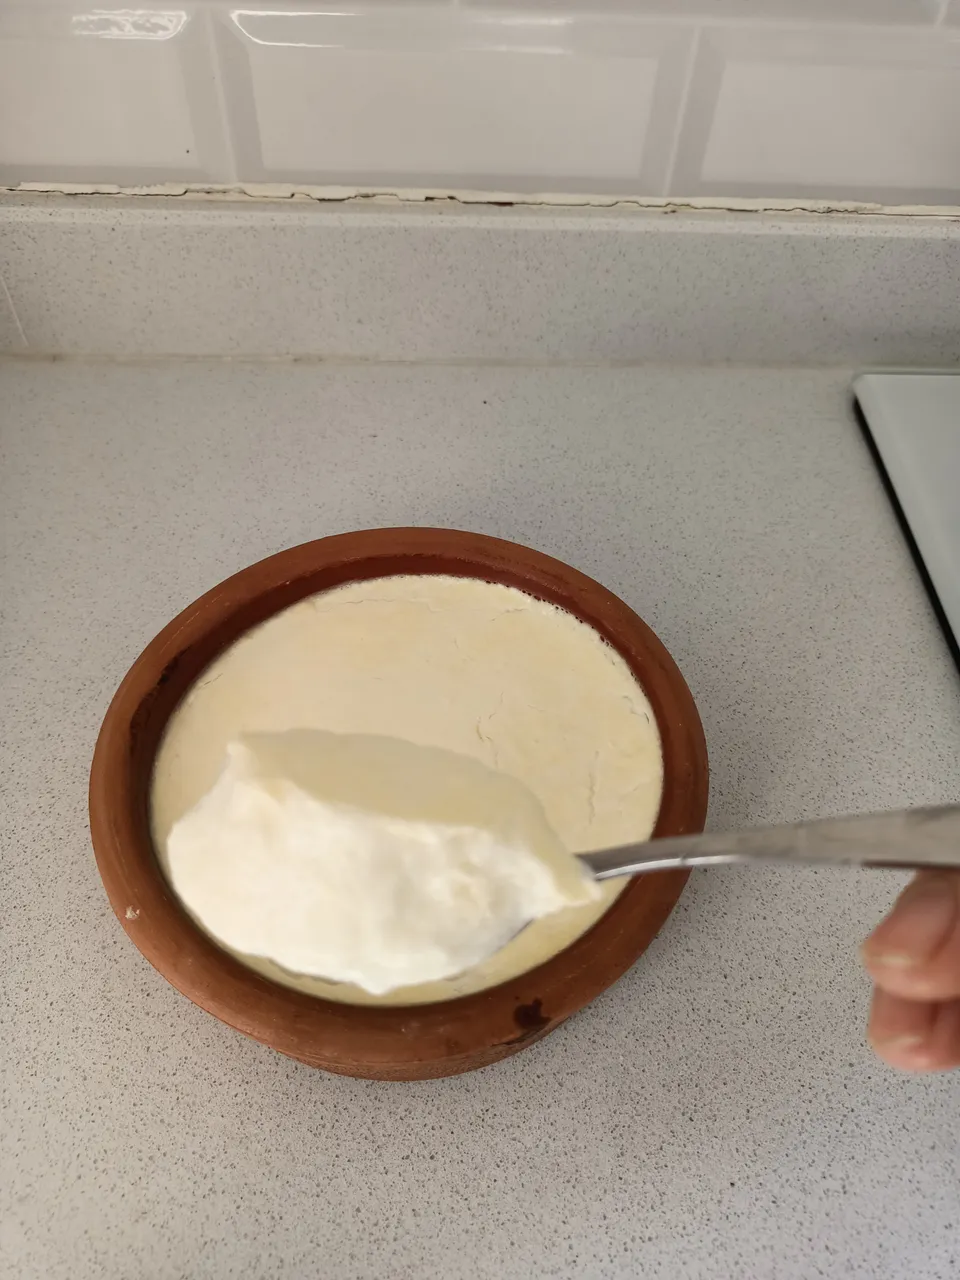
I took the yoghurts that had been waiting in the oven for about 4 hours out of the oven and left them on the kitchen table for about an hour.
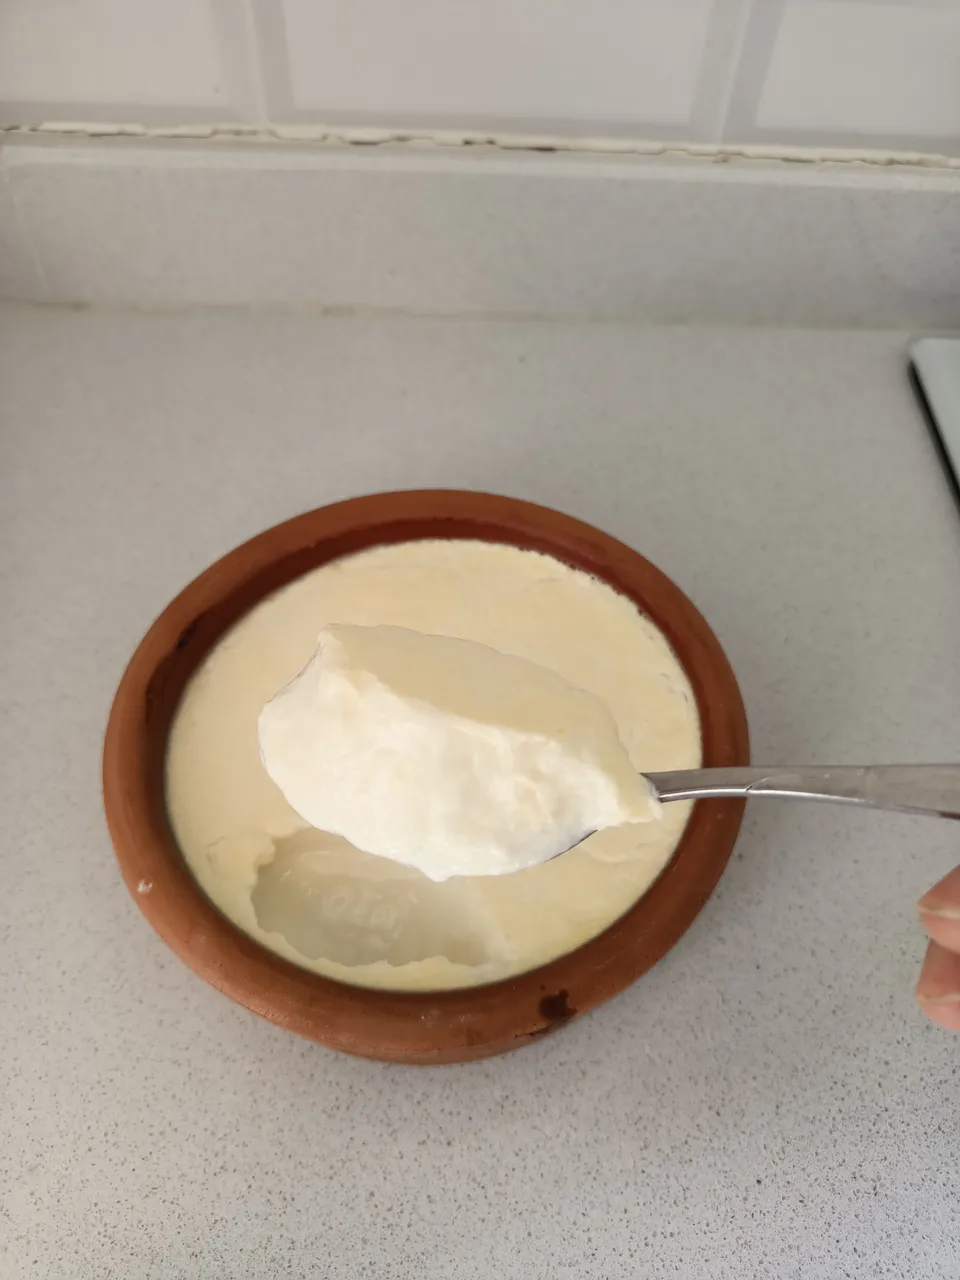
Yogurt was fermented. Then I placed it in the refrigerator and after waiting in the refrigerator for 6-8 hours, our yoghurts were ready to eat.
Good luck to those who will try my recipe.
See you in another recipe,
Goodbye....

TR
💐Merhabalar Herkese 💐
Bugün sizlere ev yapımı yoğurt tarifi vereceğim.
Yakın bir zaman önce yine yoğurt tarifi vermiştim. Tarif postuma gelen bir yorumu dikkate alarak tekrar yoğurt mayaladım.
Aslında ben her hafta düzenli olarak yoğurt mayalamaya başladım. Gelen önerileri dikkate alarak en doğru mayalama şeklini bulacağımı düşünüyorum.
Bir önceki postumda 5 litre sütten nasıl yoğurt mayaladığımı anlatmıştım. Sütün tamamını bir tencere içerisinde mayalamıştım. Yoğurttan bir miktar aldığımızda kalan yoğurt sulanmaya başlamıştı. Her ne kadar oluşan su ile ekmek hamuru hazırlamış olsam da bir sonraki seferde böyle bir sonuç almak istemiyorum.
Bir arkadaşım postuma yorum yaparak beni uyarmıştı. Ben de onun uyarısını dikkate aldım ve bu sefer küçük kaplar kullandım.

Yine beş litre süt ile yoğurt mayaladım. Bir sütçüden haftalık olarak taze süt alıyorum ve hazırladığım yoğurdu bir hafta boyunca yiyoruz. Bu şekilde hem daha doğal beslenmiş oluyoruz hem de pratik oluyor.
Artık yoğurt mayalama serüvenimizi anlatmaya başlayalım.
İlk olarak sütçüden aldığım sütü tekrar süzgeçten geçirdim ve pişirdim. Bunun için büyük bir tencere kullandım.
Süt kaynamaya başlayınca altını kıstım ve bir süre daha pişirmeye devam ettim. Böylelikle sütün içerisindeki fazla sudan kurtulmuş oldum.
Süt yeteri kadar kaynadıktan sonra soğuması için bekledim. Yoğurdun ideal mayalanma derecesi 45 46 derecedir. Ben bunun için derece kullanıyorum. ama sizler daha öncede tarif ettiğim serçe parmak testini yapabilirsiniz.
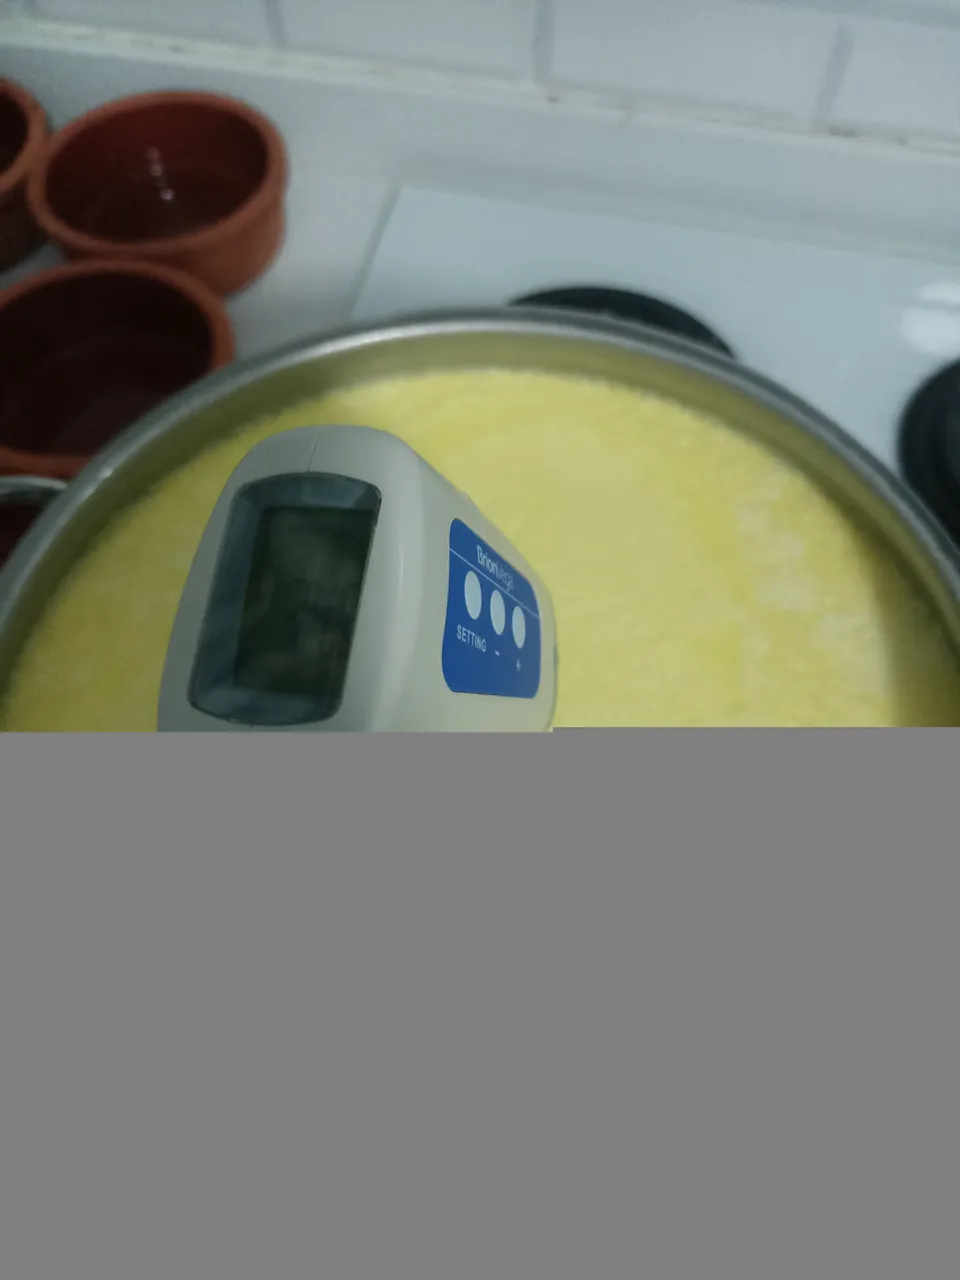
Serçe parmağınızı sütün içerisine batırın ve 7 ye kadar sayın. Süt sıcak olmalı ama bu süre kadar parmağınız ısıya dayanabilmeli.
Ben derecem olmasına rağmen her defasında serçe parmak testini de yapıyorum.🤗
Sonuç gerçekten birbirine çok yakın çıkıyor.
Süt ideal sıcaklığa düştükten sonra mayalanmak için hazır oluyor.
*Mayalama şu ölçülerle yapılıyor *
Her bir litre süt için bir tatlı kaşığı yoğurt kullanmalıyız.
Ben beş litre süt ile yoğurt mayalayacapım için beş tatlı kaşığı yoğurt kullandım.
Maya için geçen hafta hazırladığım yoğurttan kalan bir miktar yoğurdu kullandım. Bir dahaki sefere probiyotik yoğurt alarak onunla mayalama yapacağım. Sonuçları yine sizinle paylaşırım.
Bir kase içerisine yoğurt ve sütten bir parça aldım ve güzel bir şekilde çırptım. Pürüzsüz bir kıvam oldu.
Daha sonra bu karışımı süt tenceresinin içerisine boşalttım ve karıştırdım.
Tencereyi çok iyi karıştırmanız gerekiyor. Mayanın süt ile tamamen karıştığından emin olmalıyız.
Daha sonra yoğurt mayalayacağım güveç kaplar içerisine mayalanmış sütten bir miktar koydum. Tüm sütü kaplar içerisine boşalttım.
Daha önceden ısıtılmış 50 derece fırının içerisine güveç kapları yerleştirdim.
Yarım saat sonra fırını kapattım ve fırın kapağını asla açmadım.
Yaklaşık olarak 4 saat kadar fırında bekleyen yoğurtları fırından çıkarttım ve bir saat kadar mutfak masasında beklettim.
Yoğurtlar mayalanmıştı. Daha sonra buz dolabına yerleştirdim ve 6-8 saat kadar da buz dolabında bekledikten sonra yoğurtlarımız yemeye hazır hale geldi.
Tarifimi deneyecek arkadaşlara afiyet olsun.
Bir başka tarifte görüşmek üzere,
Hoşçakalın....