EN
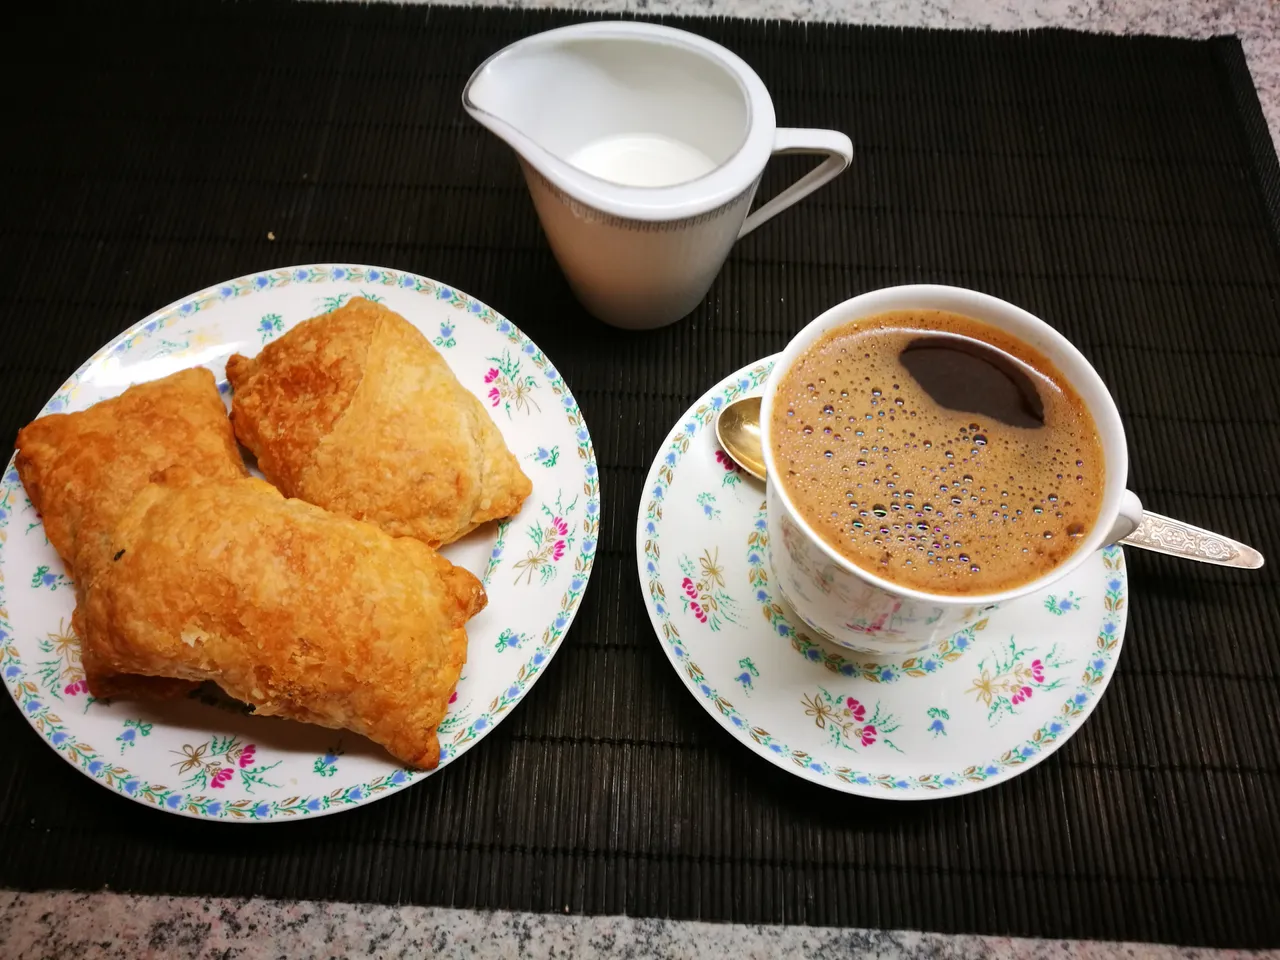
I cooked a very tasty dish recently - small pies (is it better to call them patties?) stuffed with wild elk lungs and want to share with you my way to cook them.
RU
Недавно я готовила очень вкусное блюдо - маленькие пирожки c начинкой из легких дикого лося и хочу поделиться с вами тем, как я это делала.
EN
I had never cooked lungs of any animals before. That it why I first refused to accept more than a kilo of wild elk lungs when one of my friends, who is a hunter, offered me it as a gift. He insisted describing the good taste of lungs just simply boiled with salt and some spices, so I decided to try. But I found it too boring just to boil the lungs, so I bought some flaky dough and started preparing the filling for pies.
RU
До этого я никогда не готовила легкие животных, поэтому поначалу, когда один из моих друзей, охотник, предложил мне более килограмма легких дикого лося в подарок, я отказалась это принять. Он настаивал, описывая то, как это вкусно, даже если легкие просто сварить с солью и некоторыми специями, поэтому я решила попробовать. Однако, просто варить легкие мне показалось слишком скучно, поэтому я решила испечь пирожки - купила слоеное тесто и начала готовить начинку.
EN
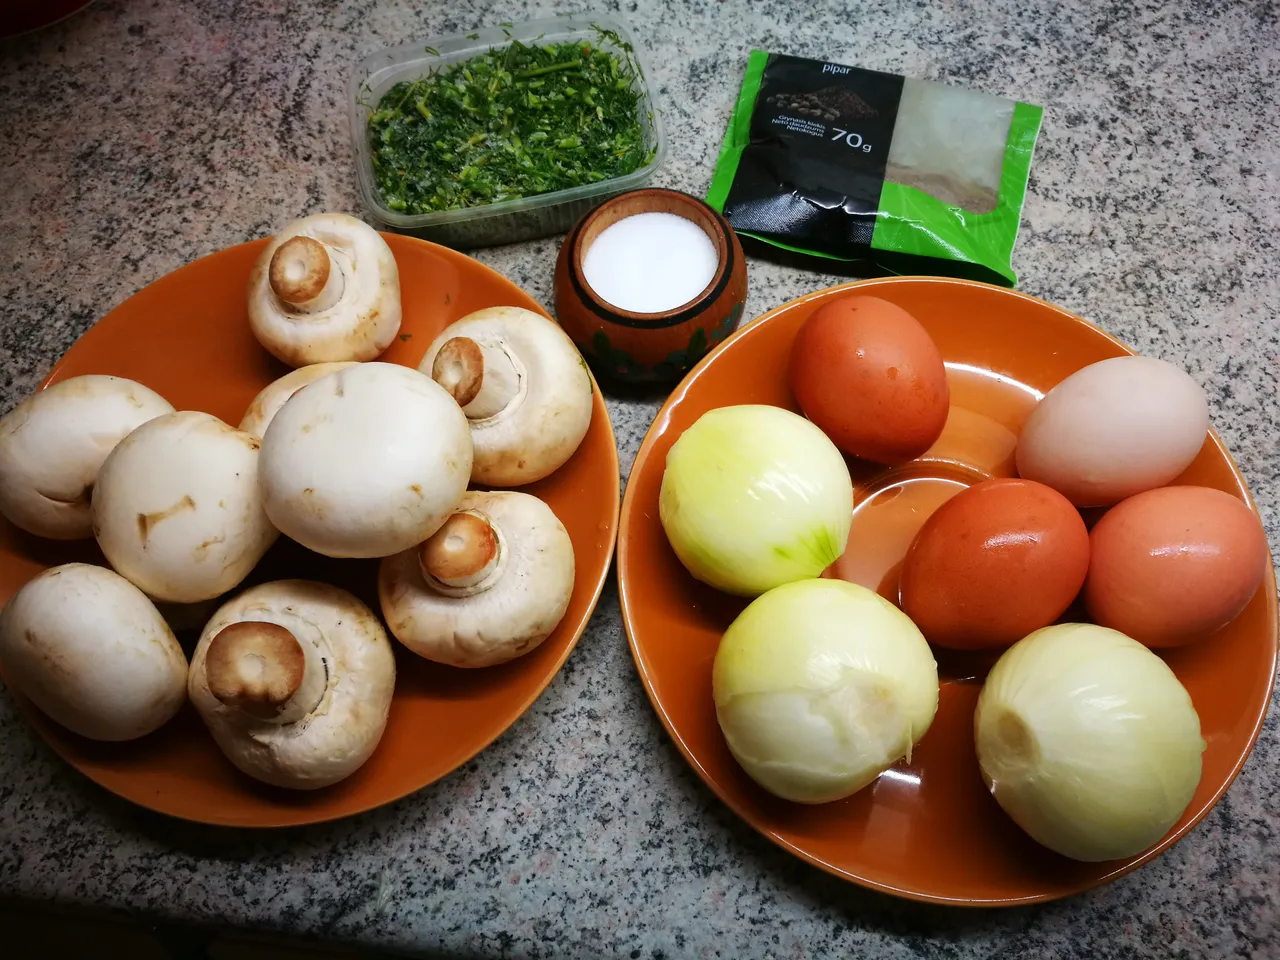
In addition to the lungs, I also used eggs, onions, mushrooms (champignons), greens (parsley and dill), salt and ground black pepper. Other spices can be added if desired. Oh, I nearly forgot some oil for frying! That is why you cannot see it in the picture.
RU
Кроме легких я использовала яйца, лук, грибы (шампиньоны), зелень (петрушку и укроп), соль и черный молотый перец. При желании можно добавить другие специи. Ой, чуть не забыла про масло для жарки! Вот почему вы не видите его на картинке.
EN
It was not a professional or strict recipe which I used. It was just my first try, my improvisation, so please do not expect exact proportions of the ingredients from me. Intuition did not disappoint me - it turned out very tasty!
RU
Я не следовала никакому профессиональному рецепту. Это была моя первая попытка, экспромт, так что прошу не ждать от меня точных пропорций ингредиентов. Интуиция меня не подвела - получилось очень вкусно!
STEP 1
EN
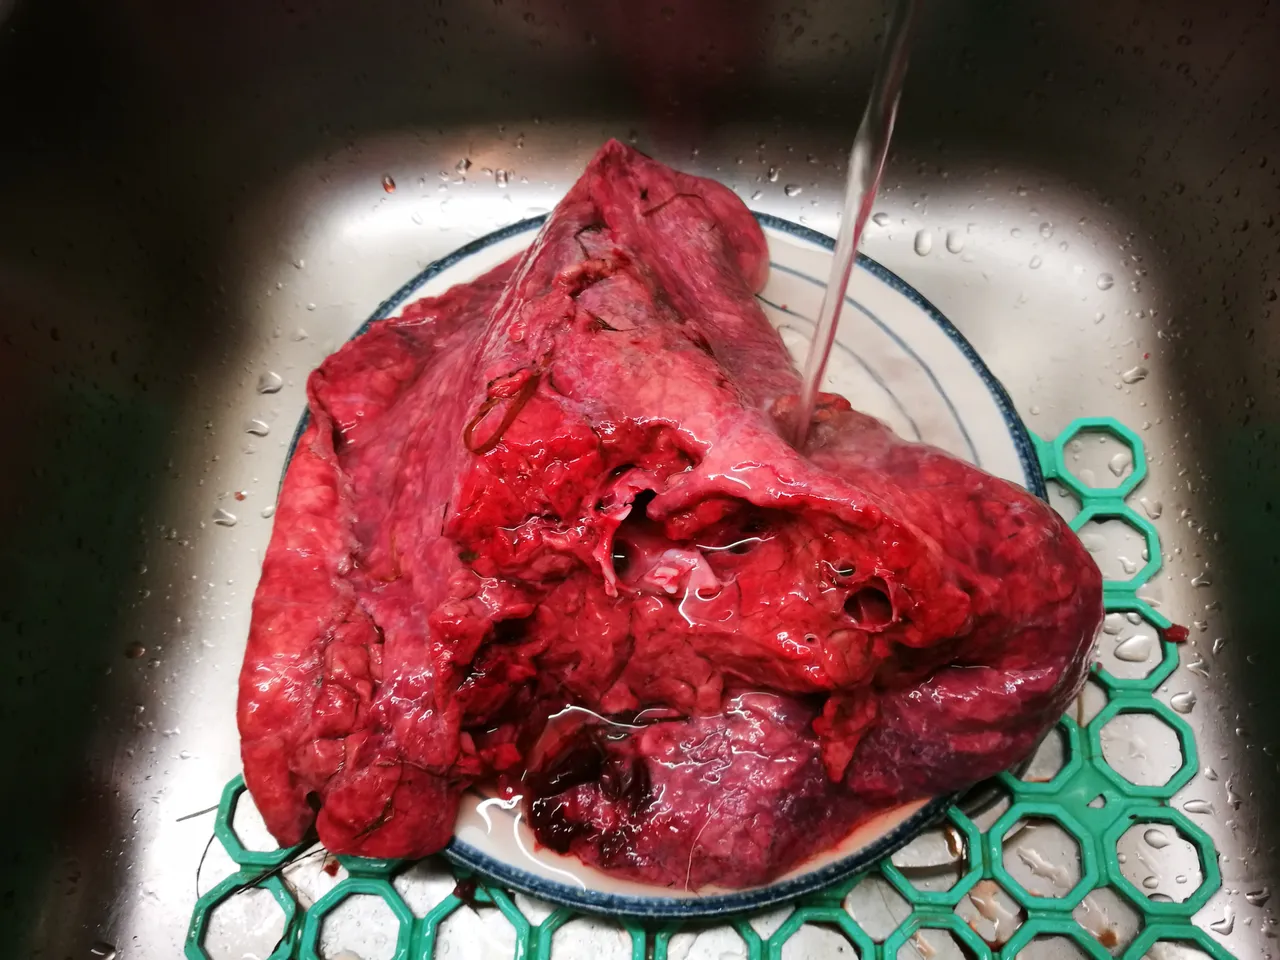
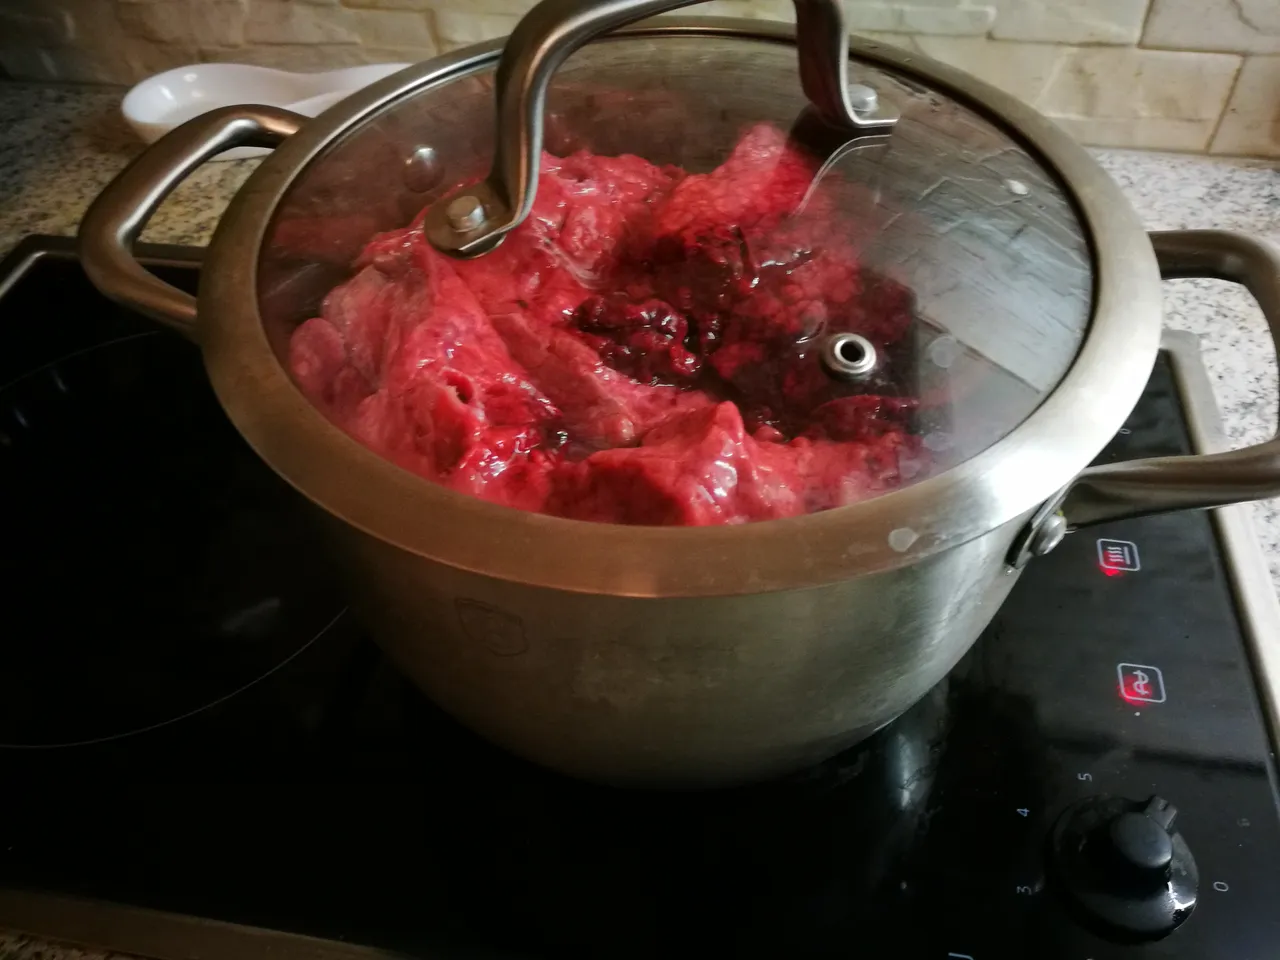
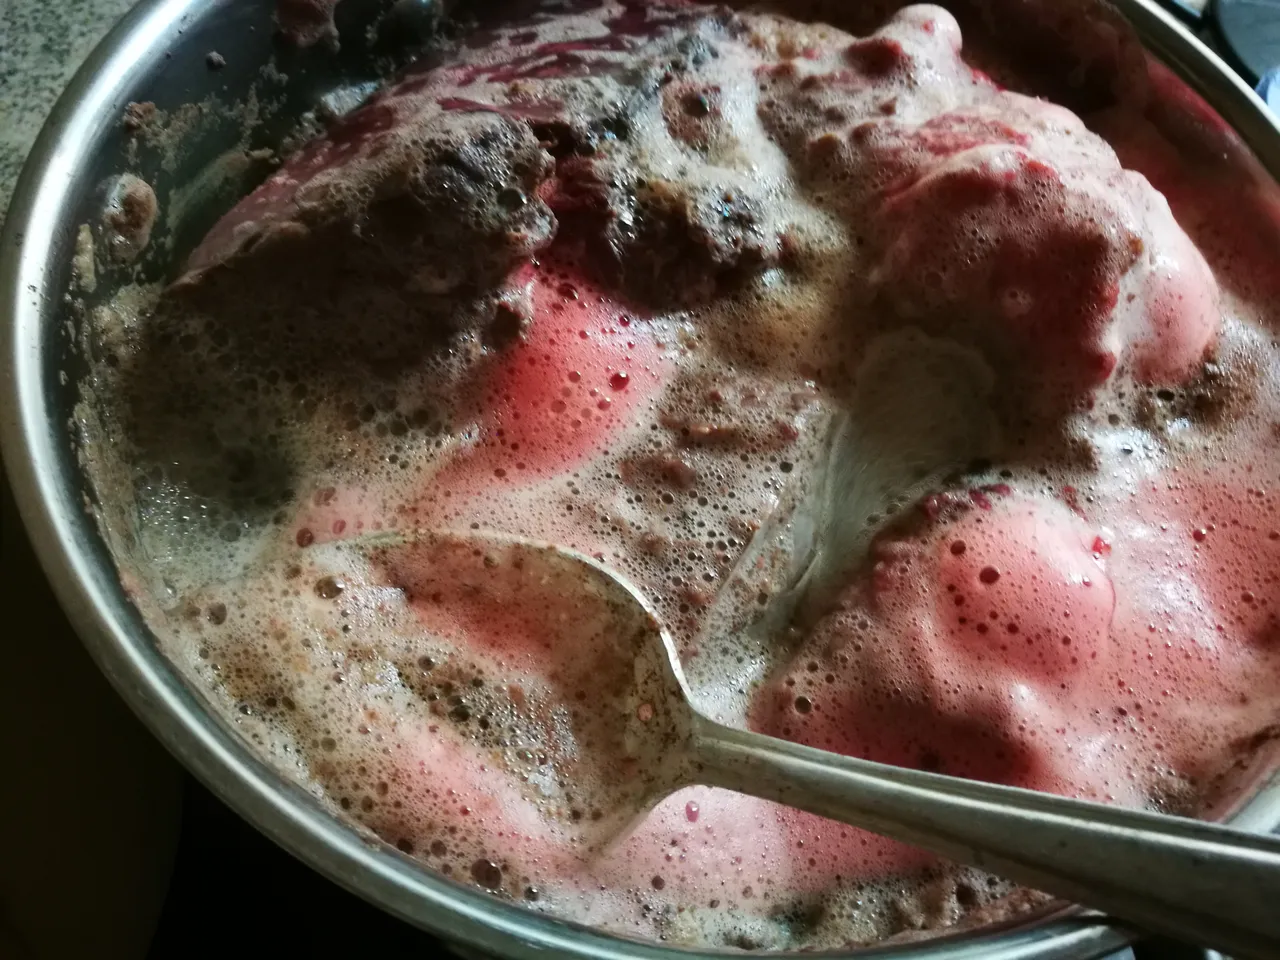
| I washed the lungs thoroughly and cut any hard blood vessels out. | Then I cut the big lump into smaller pieces and boiled them for about an hour. Lungs are much lighter than water and will float, so do not forget to turn them over periodically during cooking. | While boiling, keep an eye on the pan taking the appearing foam out. |
|---|---|---|
 |  |  |
RU
- Тщательно промыла лёгкие под проточной водой и вырезала все твёрдые сосуды.
- Затем я разрезала большой кусок на более мелкие кусочки и варила их около часа. Легкие намного легче воды и будут плавать сверху в кастрюле, поэтому не забывайте периодически переворачивать их во время приготовления.
- Во время варки вовремя удаляйте образующуюся пену.
STEP 2
EN
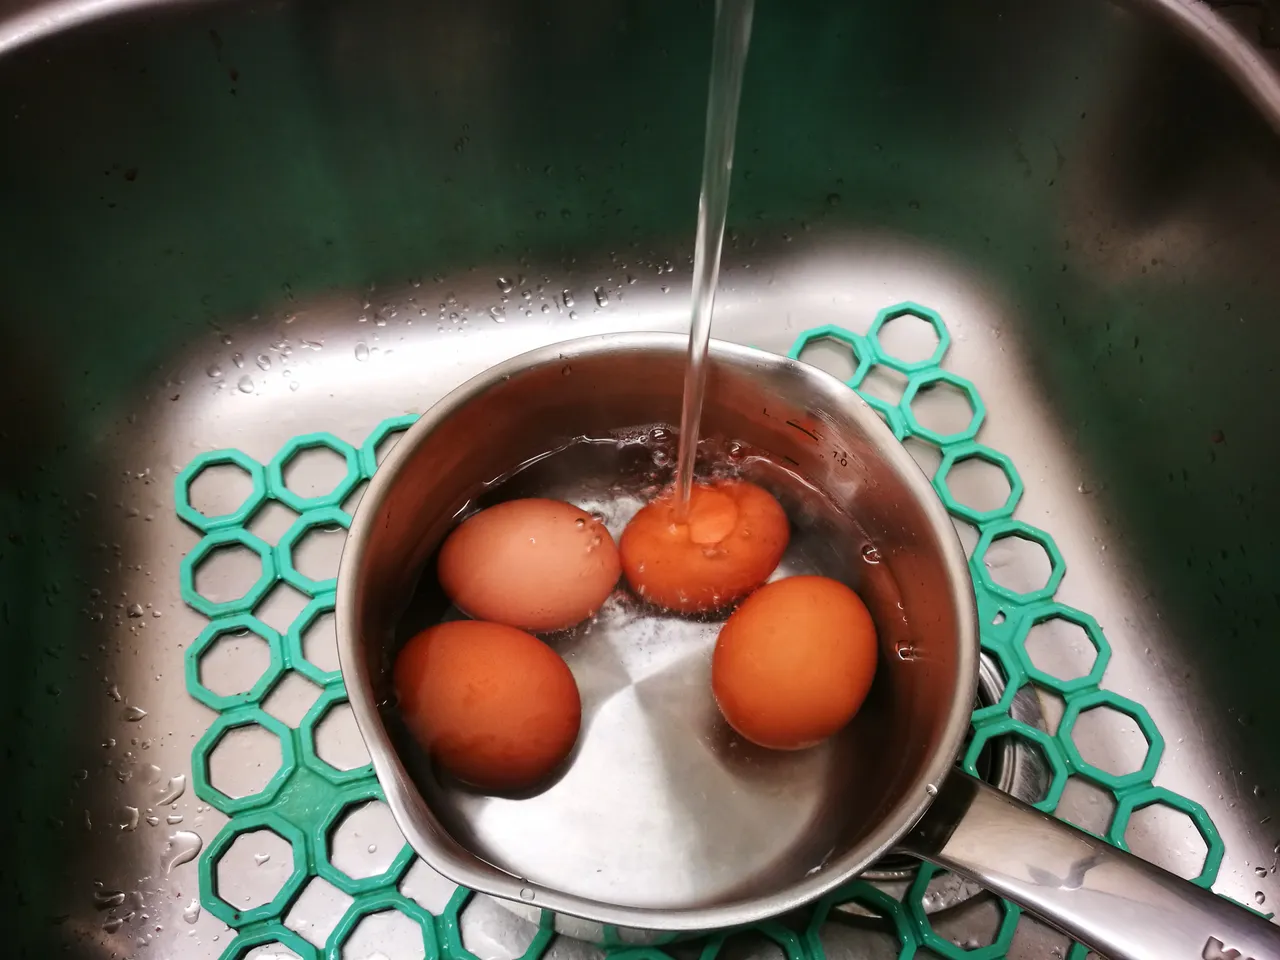
While the lungs are being boiled, I also prepared hard boiled eggs and chopped them, the mushrooms and onions.
RU
Пока лёгкие варились, я сварила яйца вкрутую и мелко нарезала их, грибы и репчатый лук.
EN
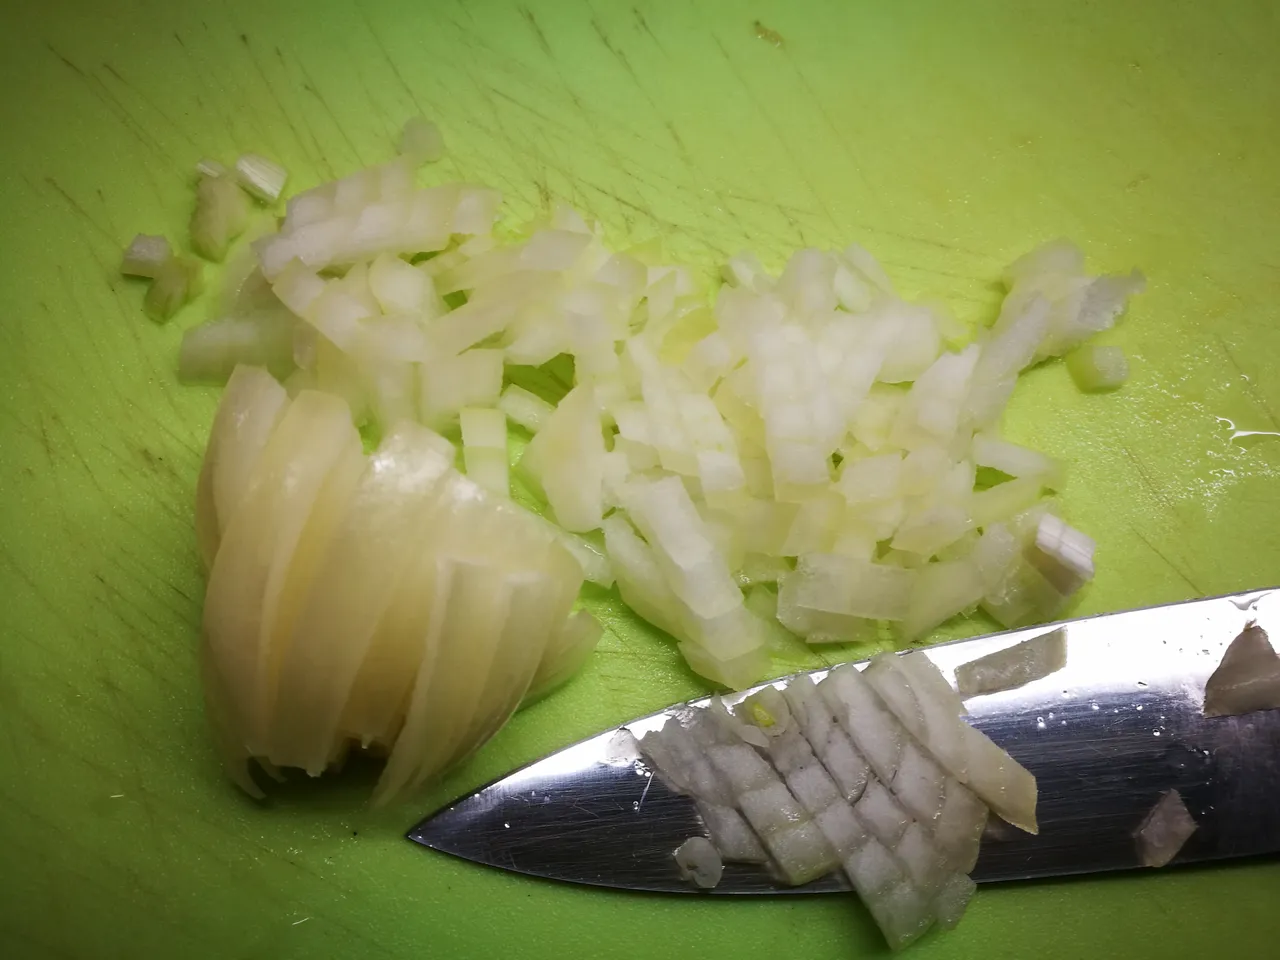
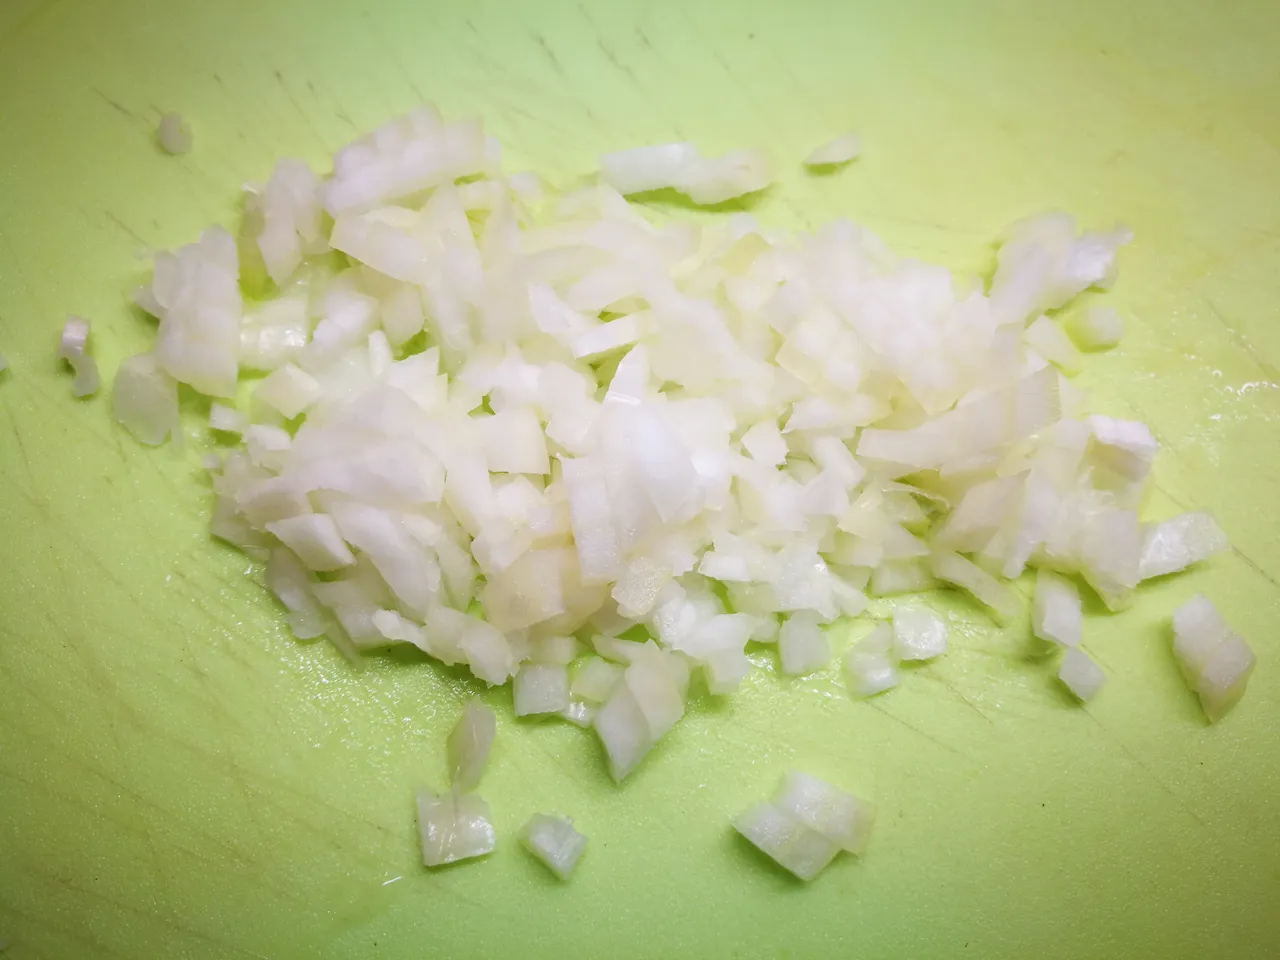
I do not like to feel big pieces of onion in my food, so I usually chop them finely.
RU
Я не люблю, когда в пище попадаются большие куски лука, поэтому всегда нарезаю его очень мелко.
 |  |
STEP 3
EN
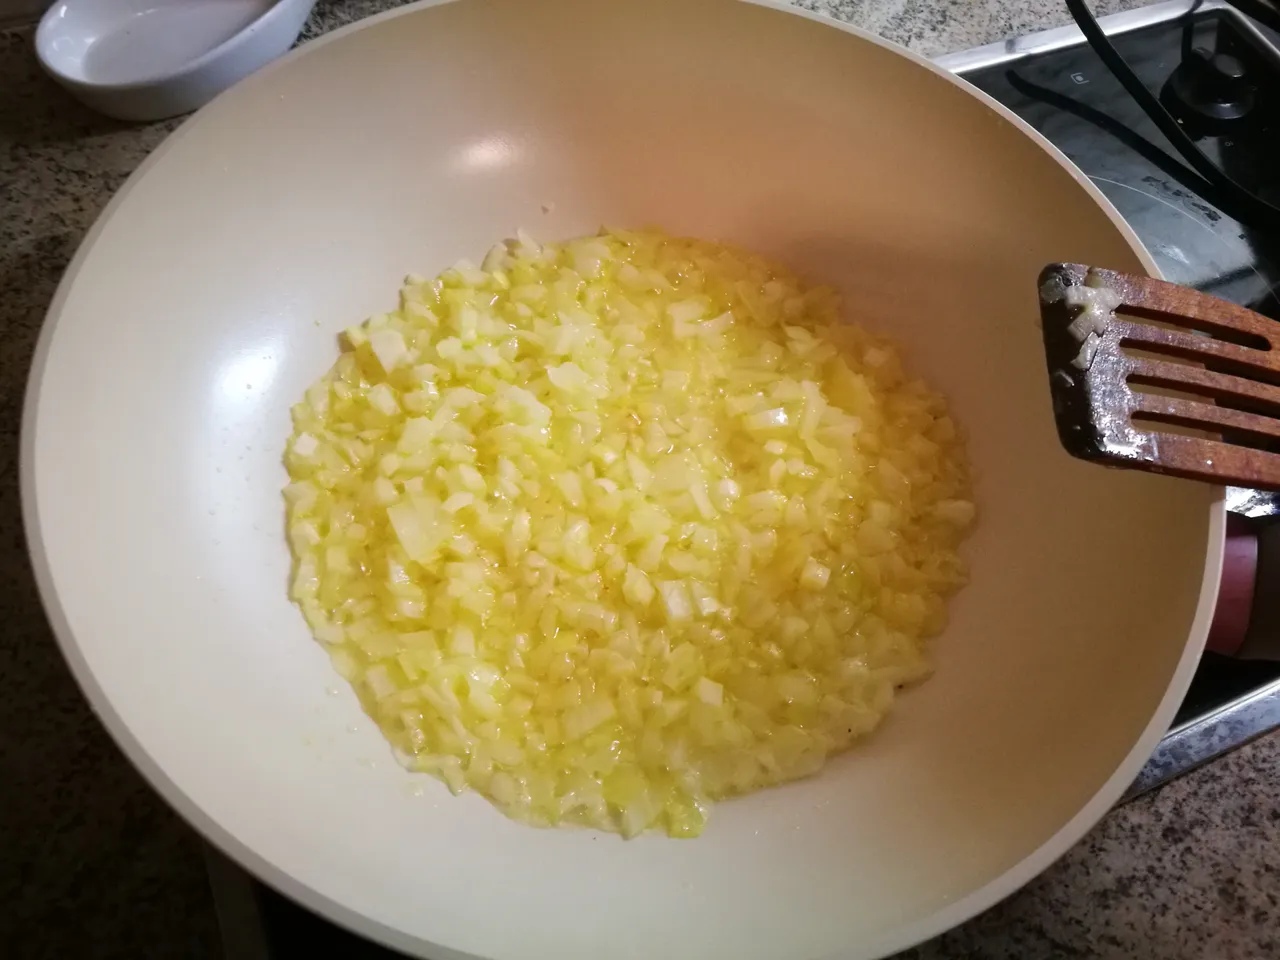
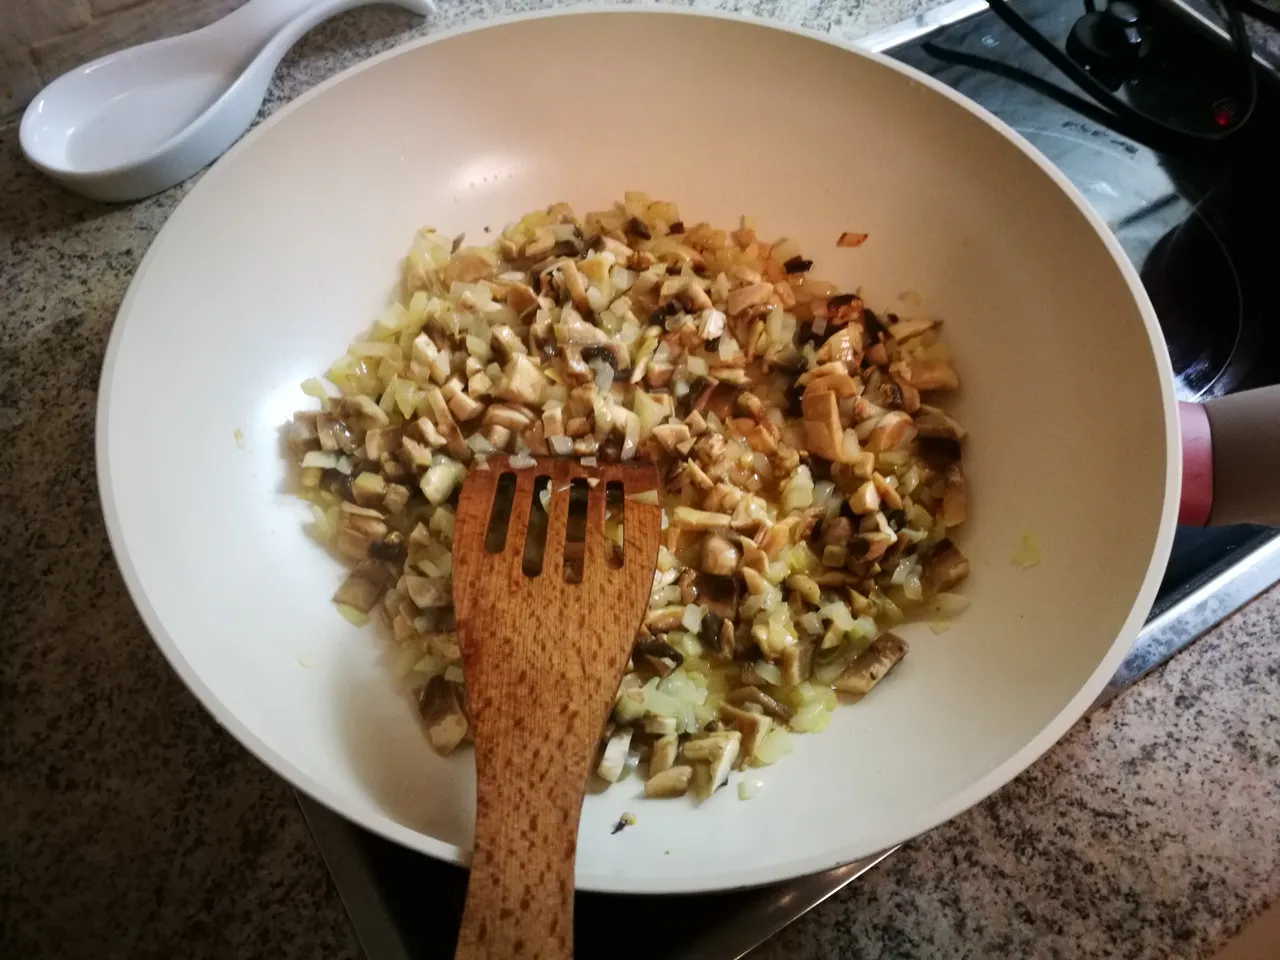
I lightly sautéed the onion and then added the mushrooms.
Fried them till they were light brown.
RU
Лук я слегка обжарила, затем добавила грибы и продолжила жарить до золотистого цвета.
 |  |
STEP 4
EN
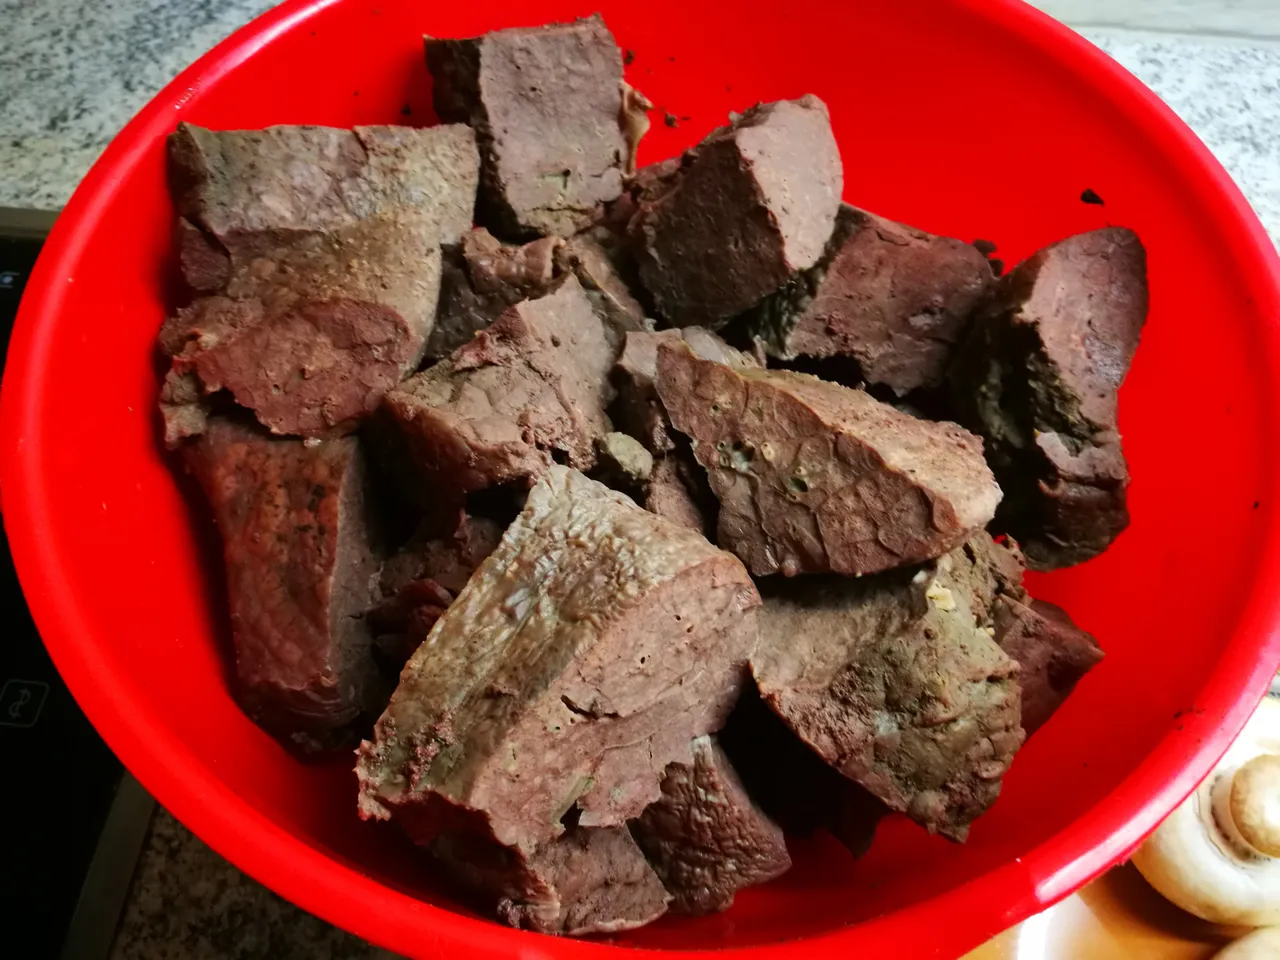
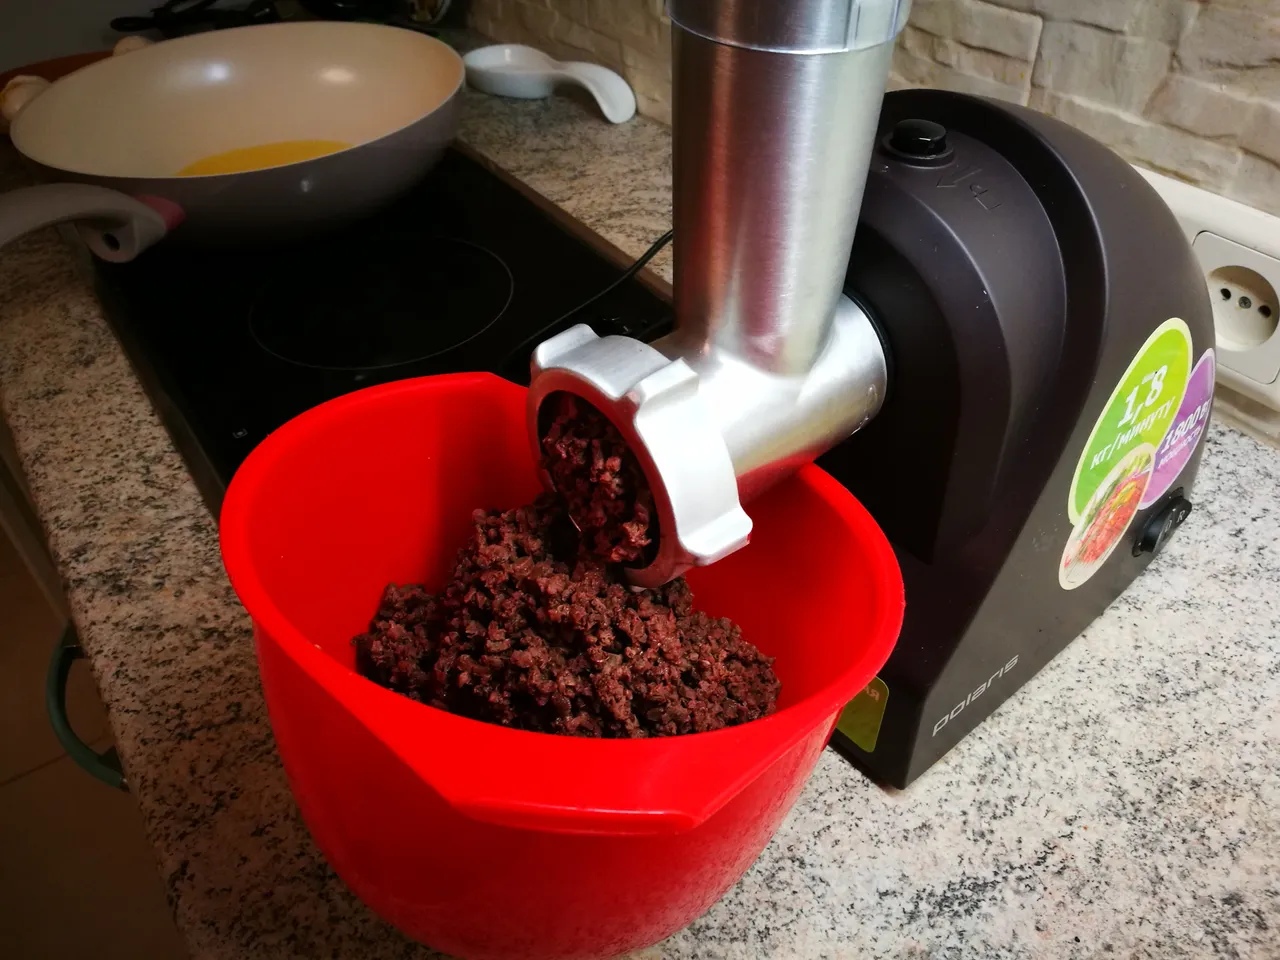
Meanwhile, the lungs are ready. I took them out of water and cut into smaller pieces good for meat grinder.
RU
Между тем, лёгкие готовы. Вынула их из воды и нарезала их помельче для прокручивания через мясорубку.
EN
Then I passed the prepared lungs through the meat grinder.
RU
Пропустила лёгкие через мясорубку.
STEP 5
EN
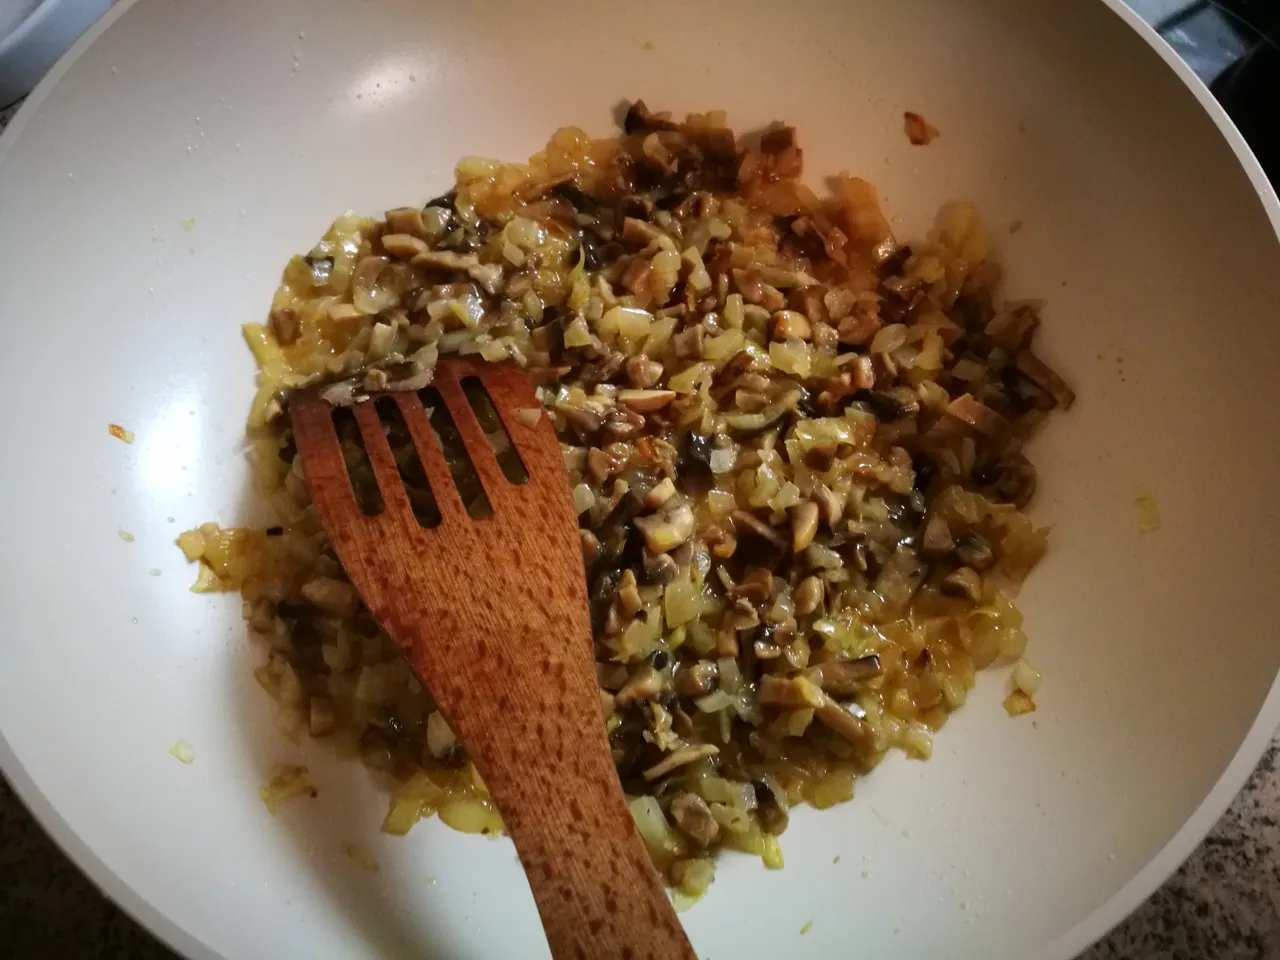
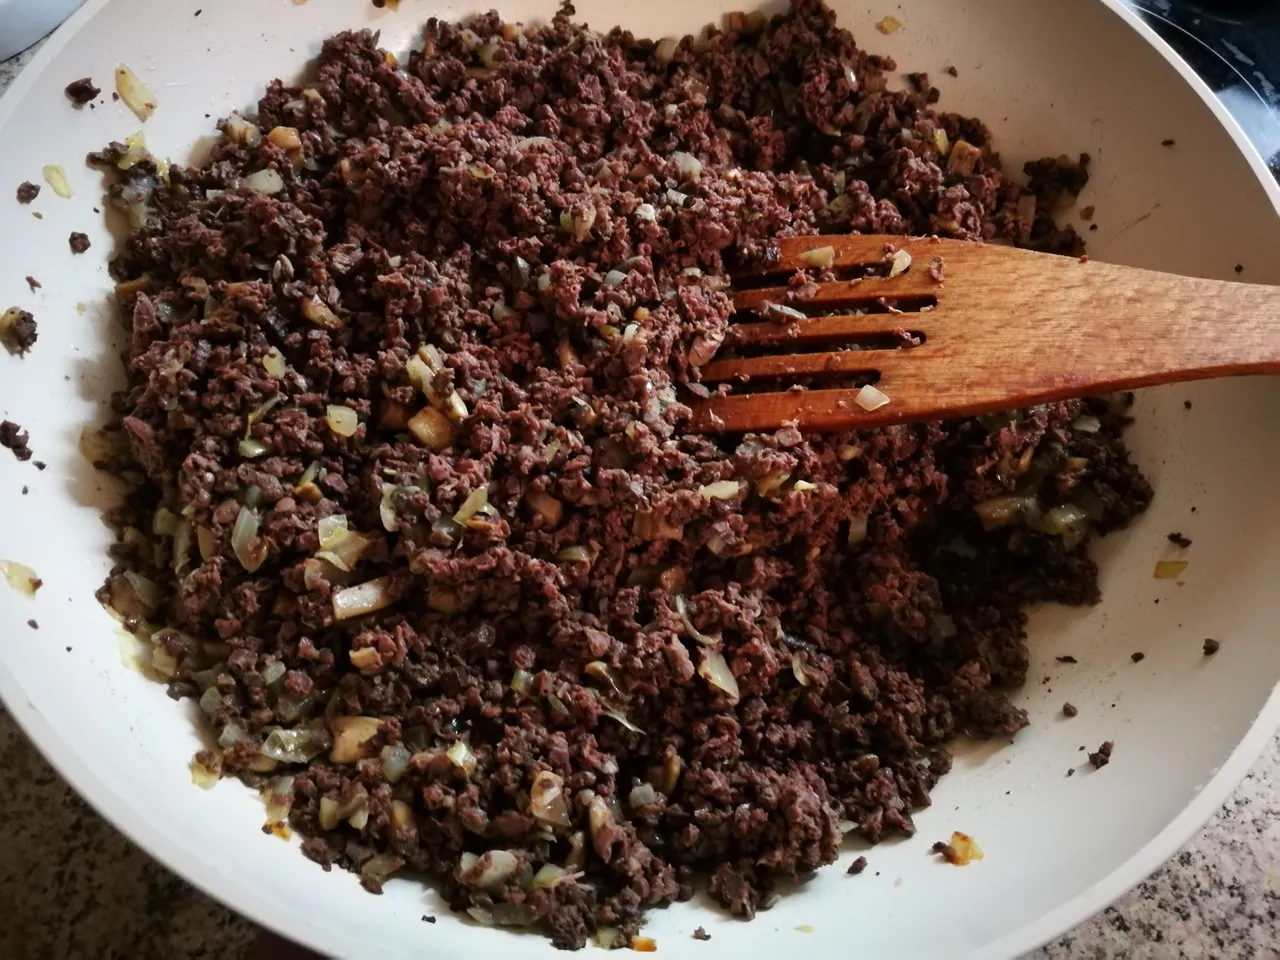
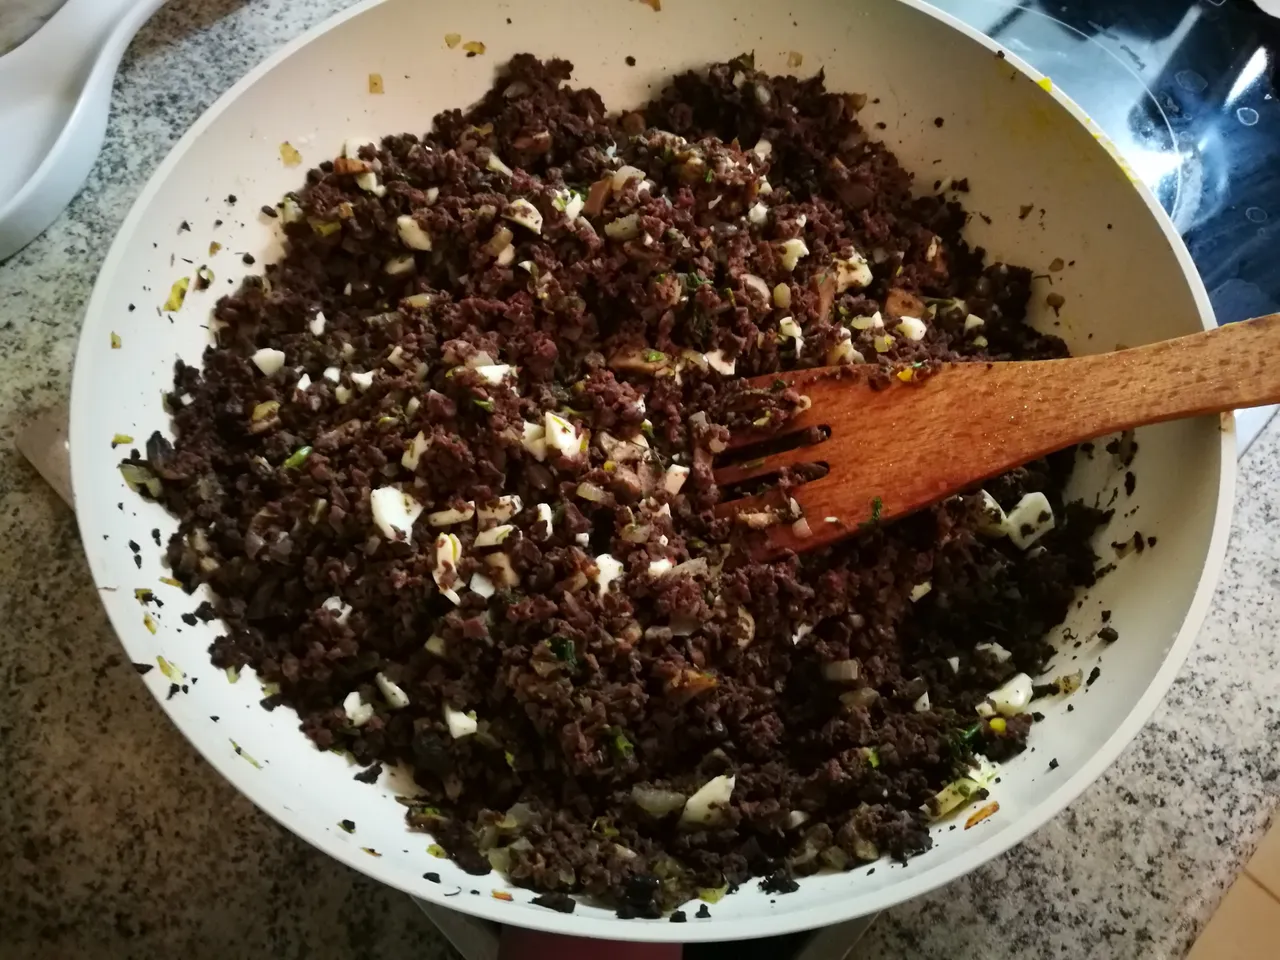
In this step I added the ground lungs to the onion and mushrooms, mixed them and kept frying for 2-3 minutes stirring.
RU
Добавила перемолотые лёгкие к луку и грибам, перемешала их и продолжила обжаривать, помешивая, в течение еще 2-3 минут.
STEP 6
EN
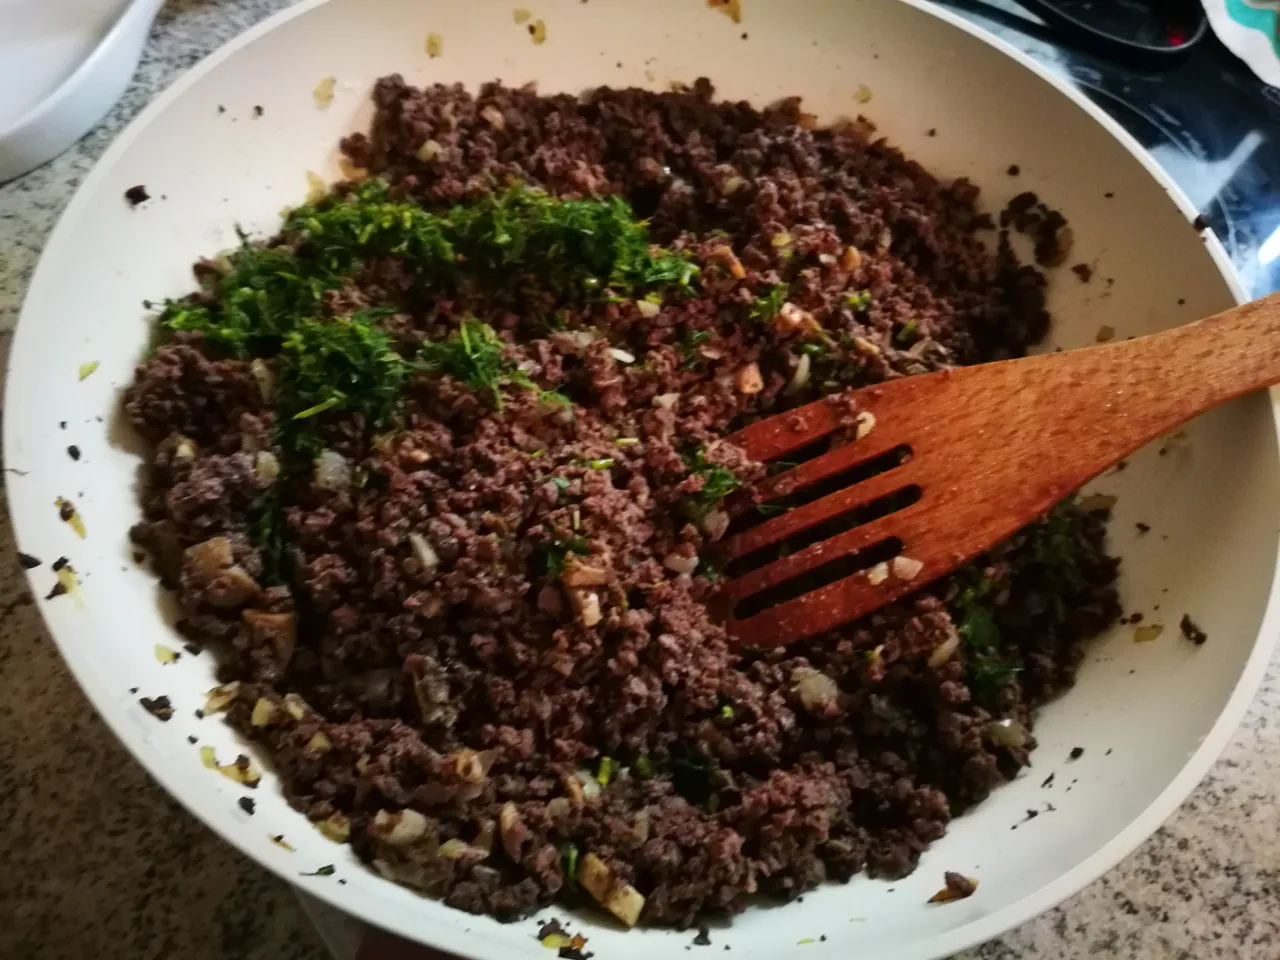
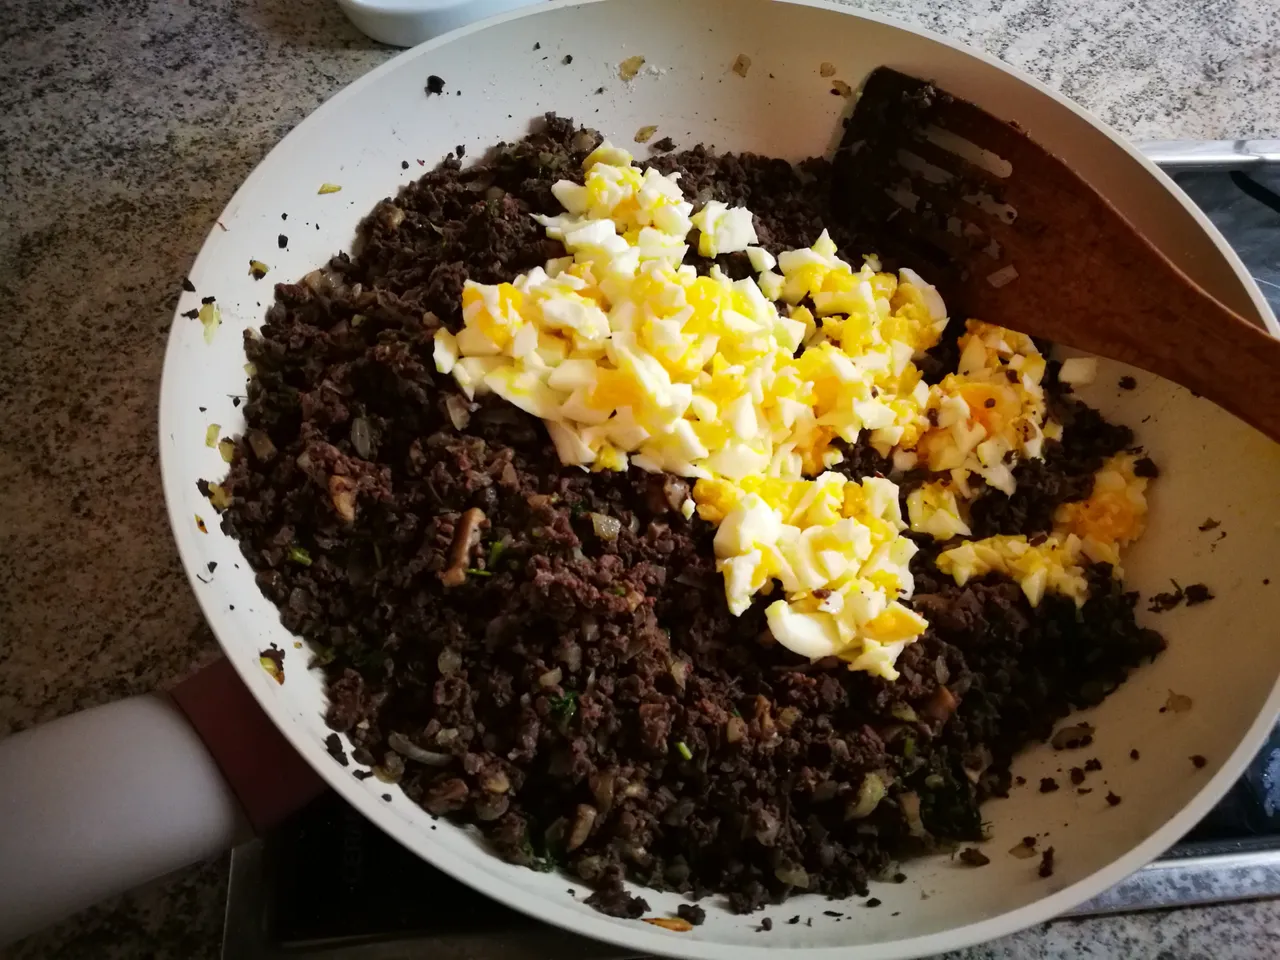
I have boxes of frozen greens in my freezer, so I added some to the mixture, then added chopped eggs, salt and pepper to taste.
RU
У меня в морозильной камере есть замороженная зелень, поэтому я положила немного в смесь на сковородке, затем добавила яйца, посолила и поперчила по вкусу. Начинка для пирожков готова
| I added some greens | then eggs and spices. | The filling is ready |
|---|---|---|
 |  |  |
STEP 7
EN
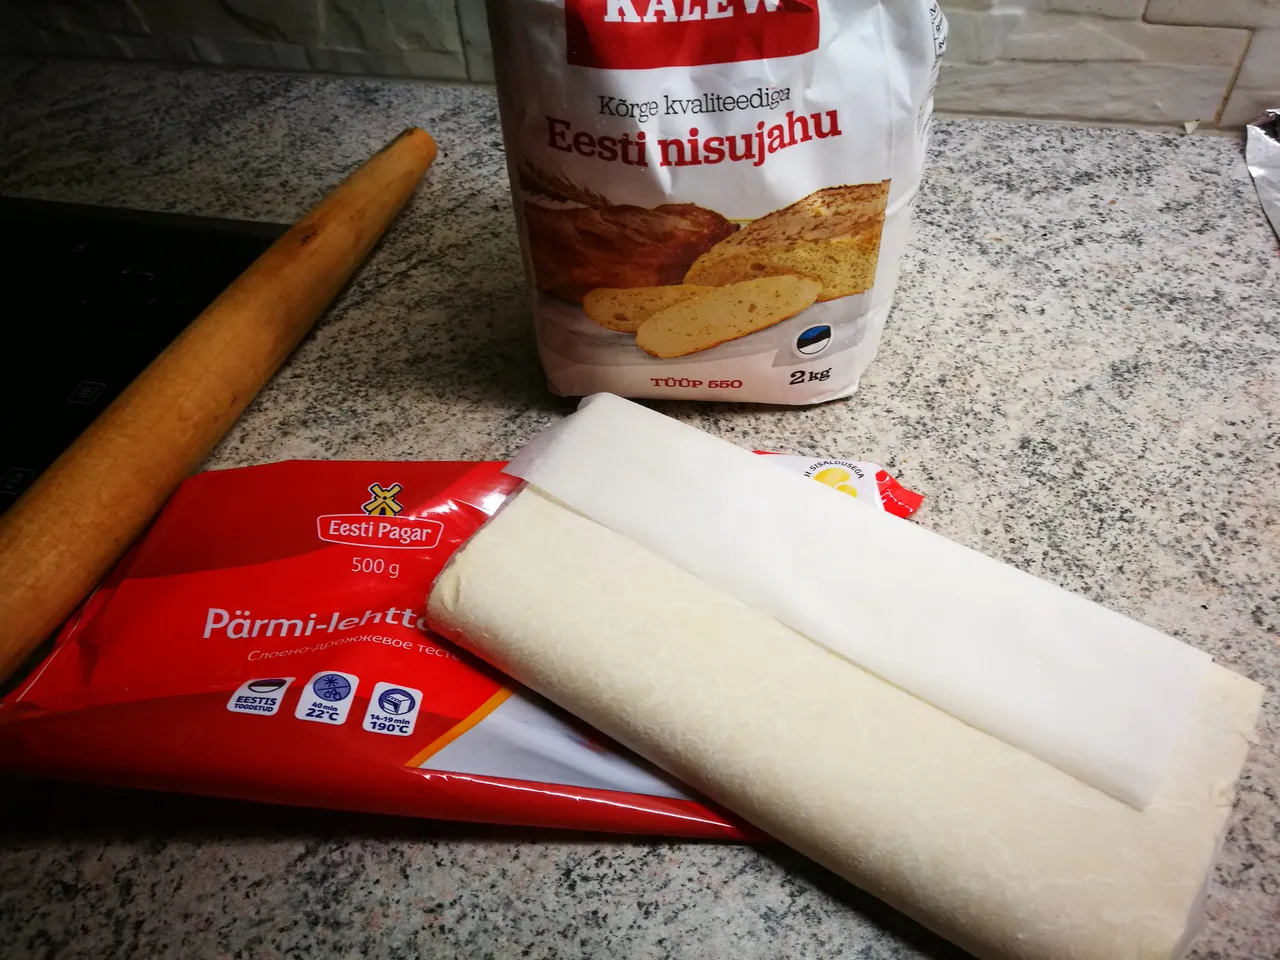
Now it is the turn for the flaky dough. I had it ready-made from a shop.
RU
Теперь очередь теста. Оно у меня слоёное, купленное в магазине.
EN
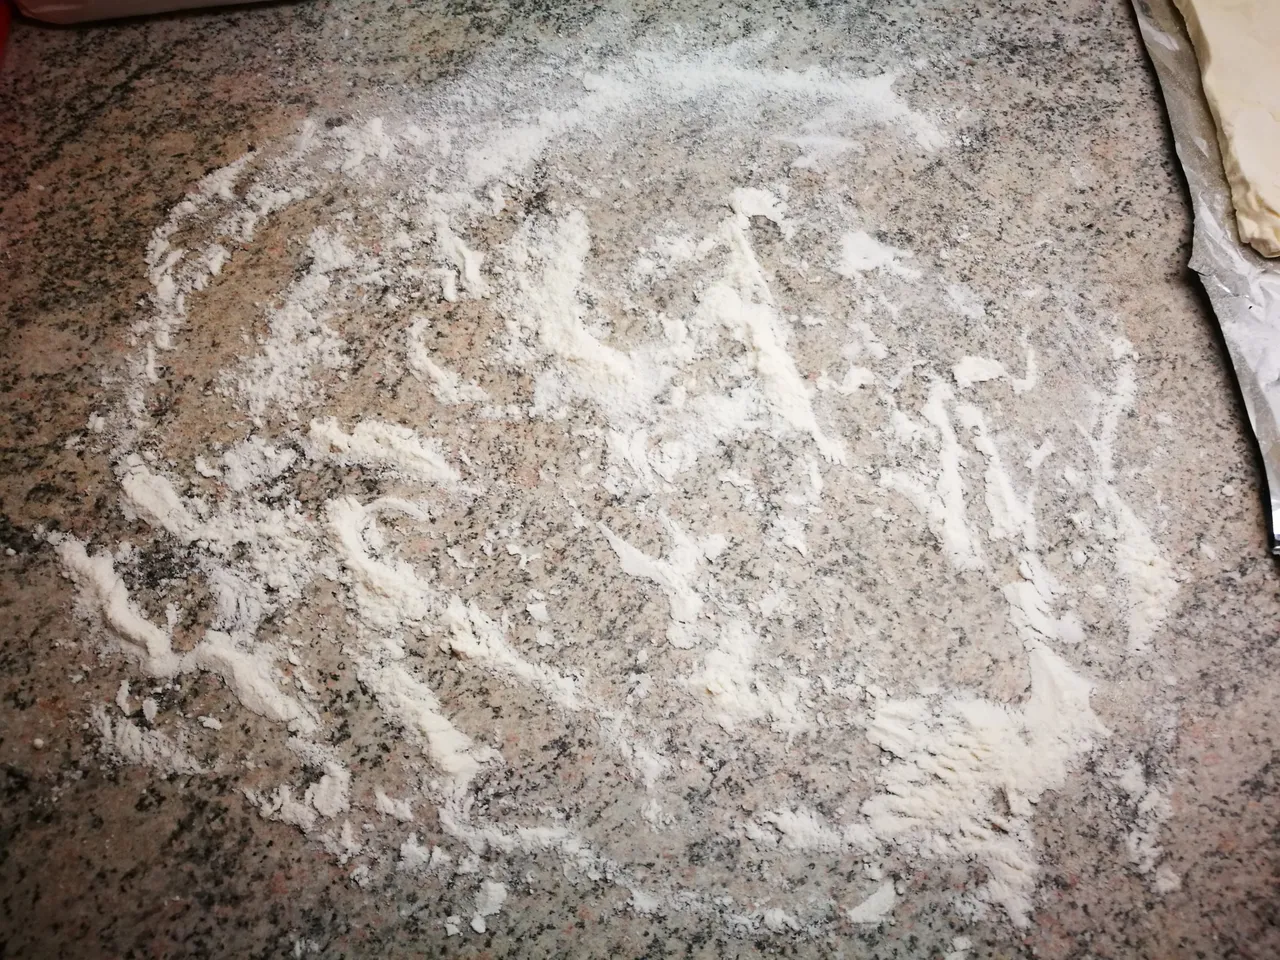
Prepared the surface for rolling out the dough.
RU
Подготовила поверхность для раскатывания теста.
EN
I usually do not let dough be unfrozen completely. For me, it is easier to work with it when it is not very soft.
RU
Я обычно размораживаю тесто только слегка. Так мне легче его раскатывать.
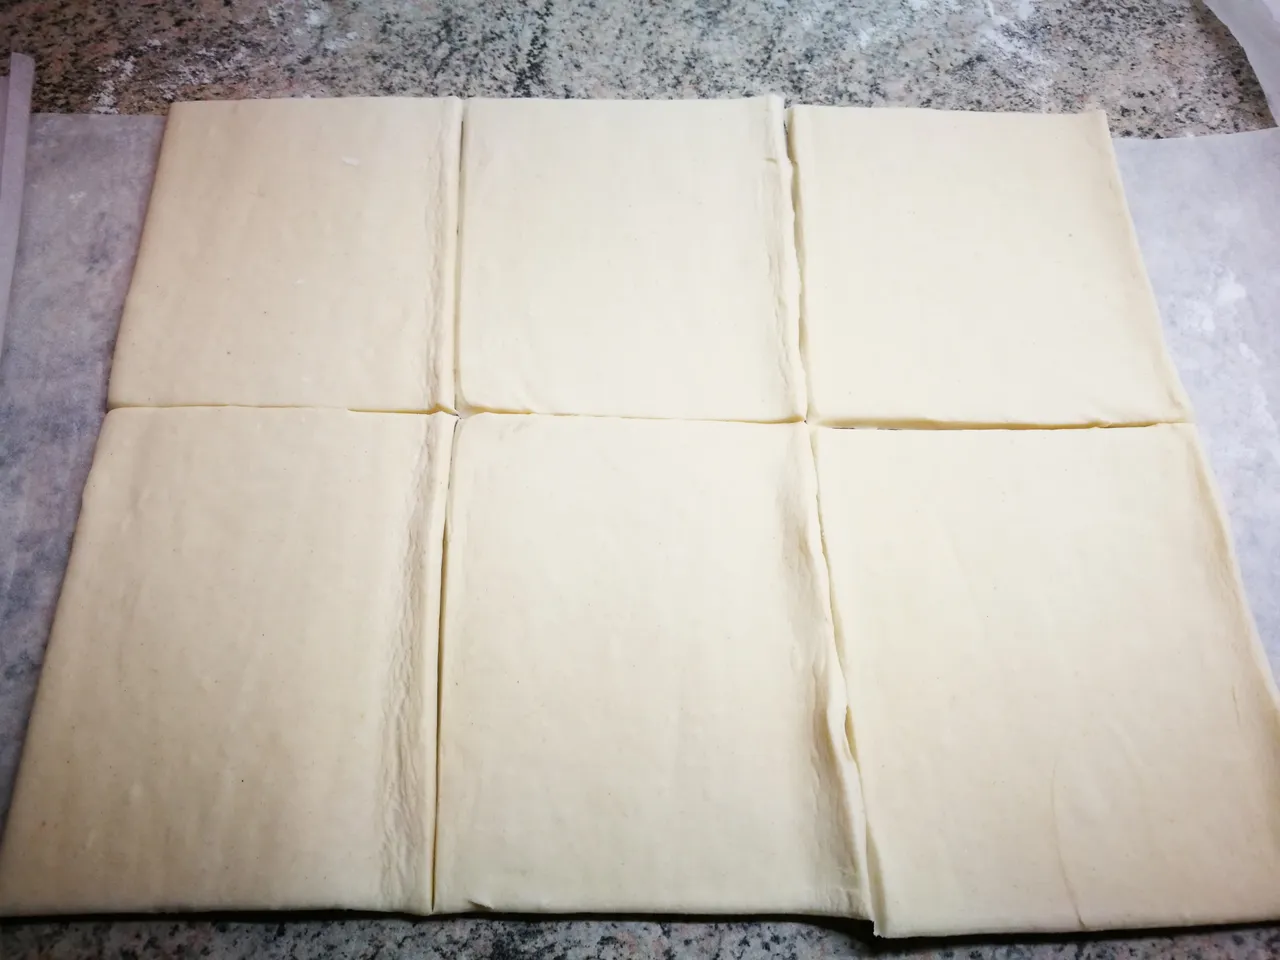
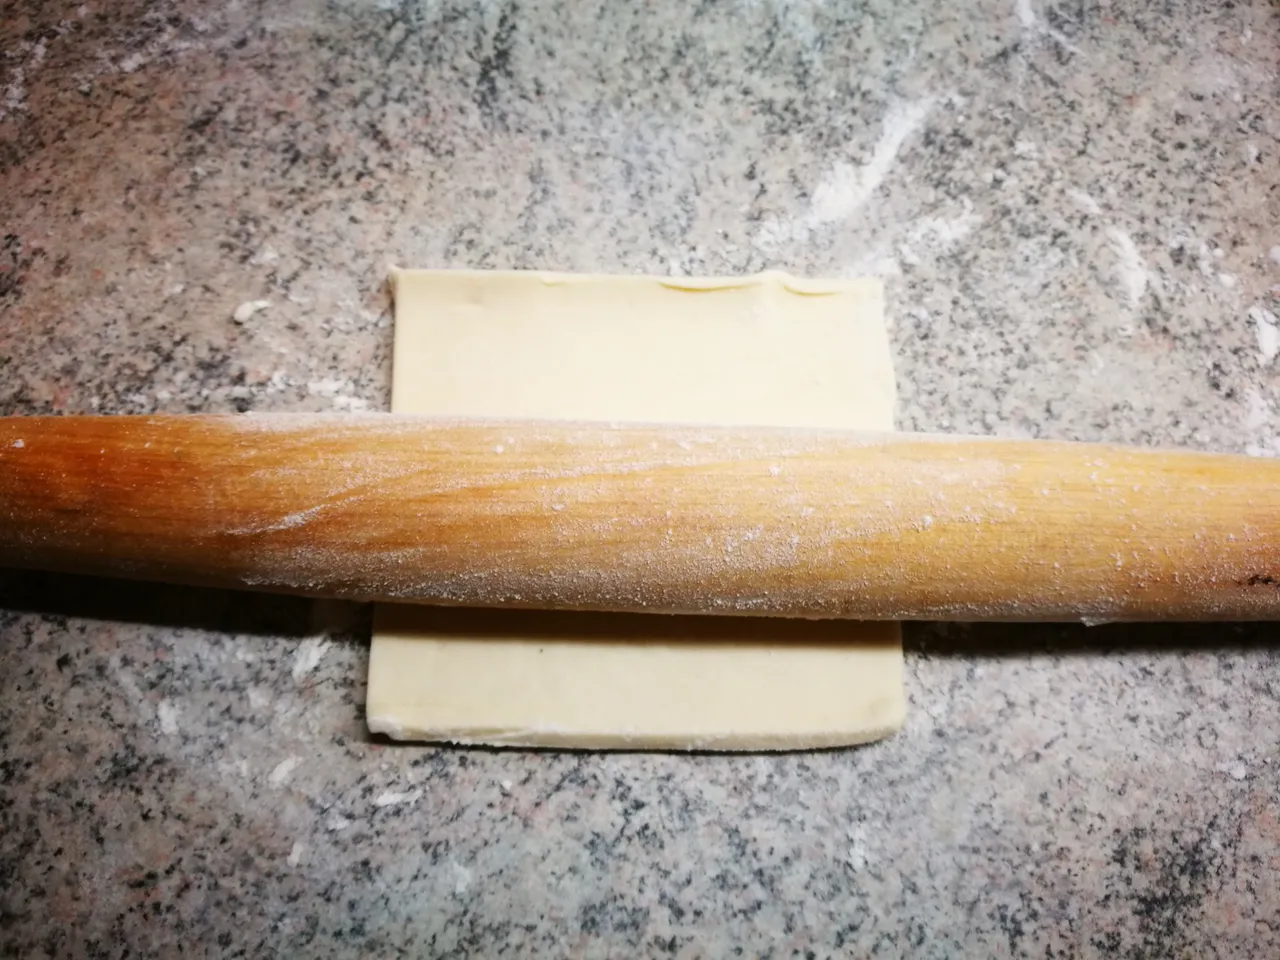
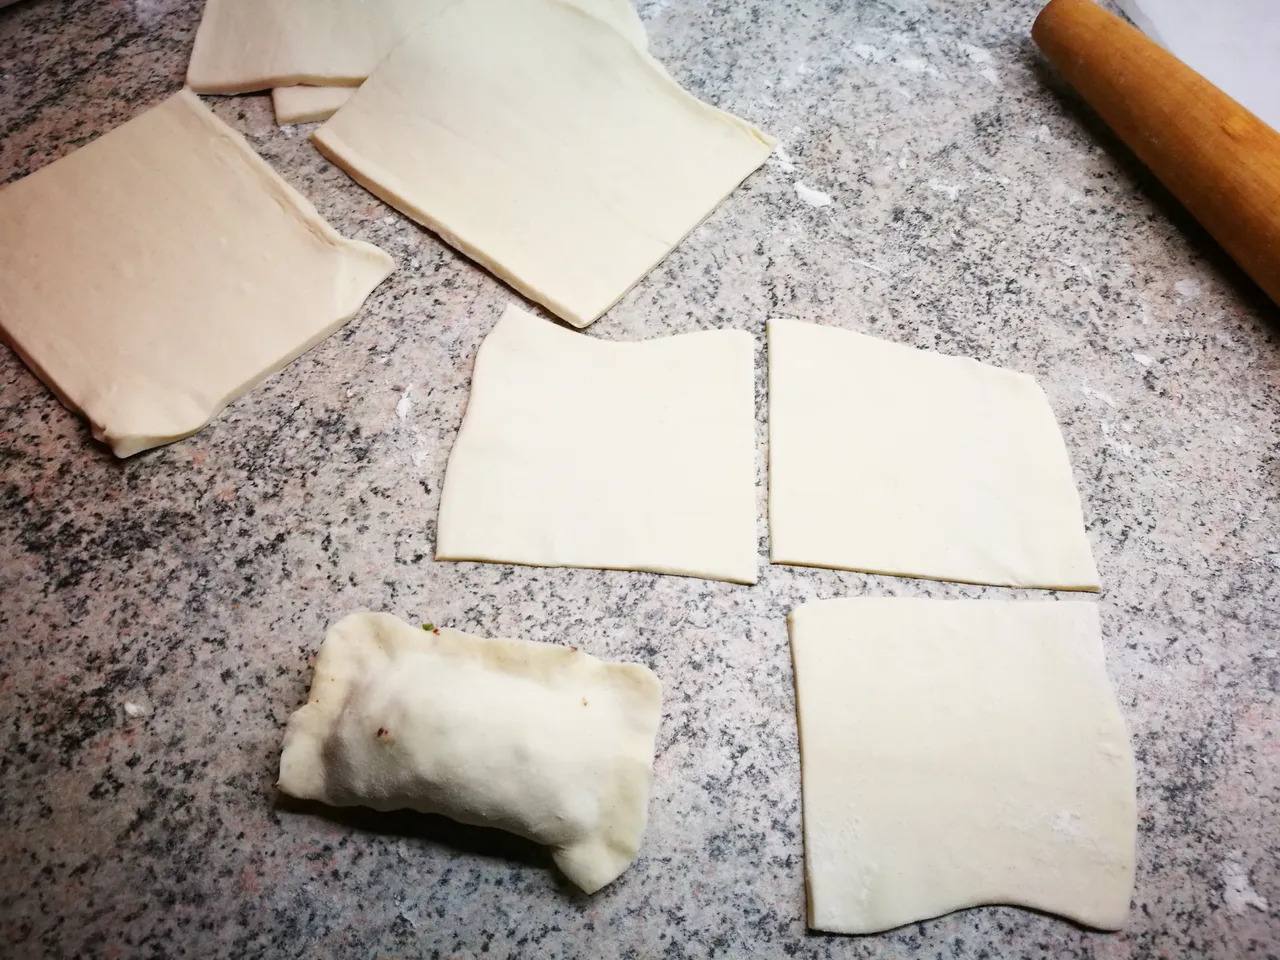
| I cut the dough sheets | and then cut more - to get squares. I rolled them out with a rolling pin to the size of the pies I wanted to get. You can choose the size you like. | |
|---|---|---|
 |  |
RU
Нарезаю тесто на квадратики и раскатываю их скалкой. Размер квадратиков зависит от того размера пирожков, который вам нравится.
STEP 8
EN
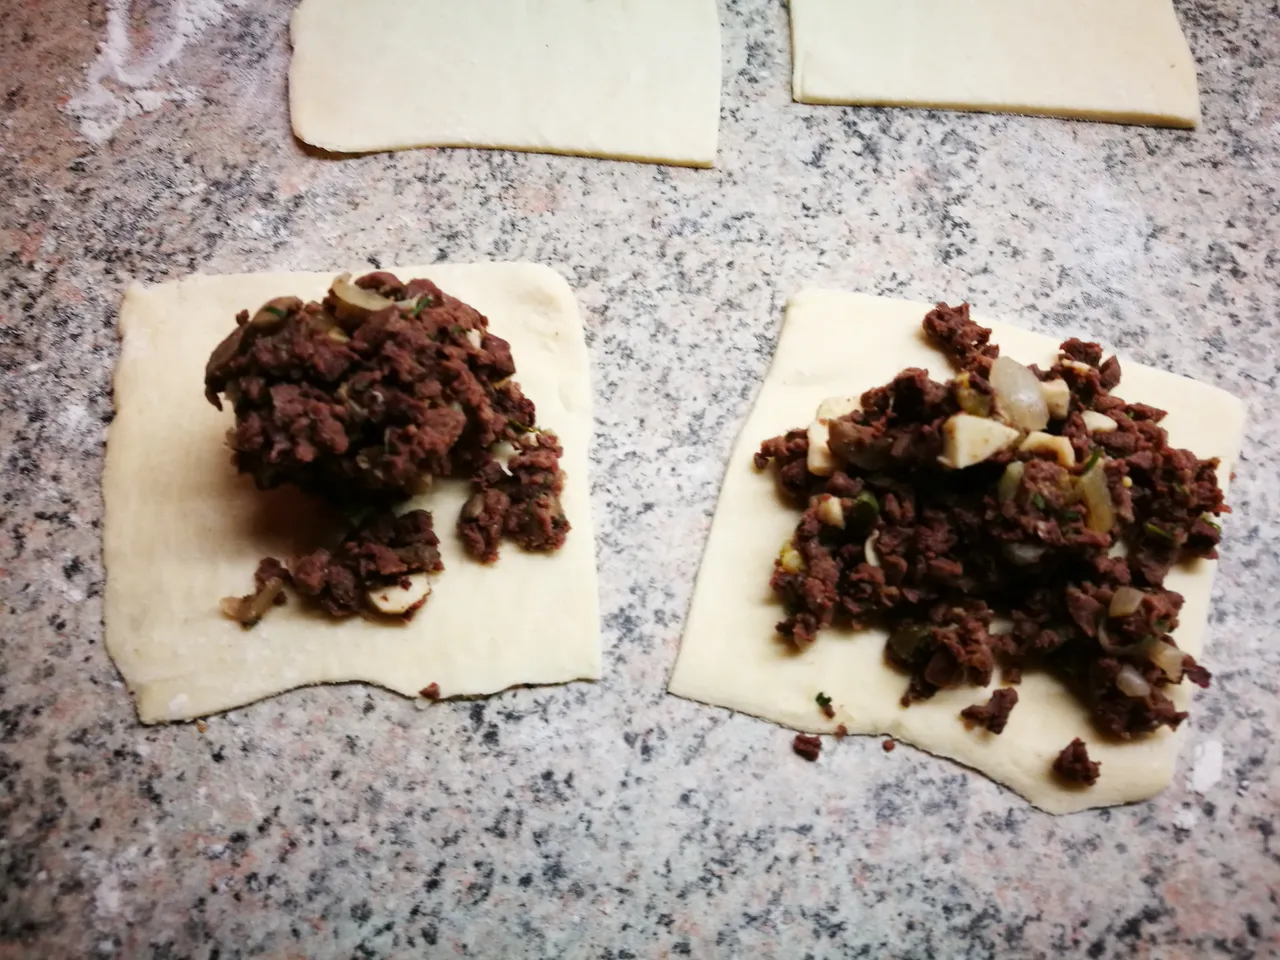
Sculpt pies.
This photo just illustrates the amount of filling for each pie. I formed the pies holding the dough square in my left hand fixing the sides with my right hand. Doing that I can put more filling inside.
RU
лепим пирожки
На этой фотографии просто показано количество начинки для каждой лепешки. Я сформировал пирожки иначе - держала в левой руке квадратик из теста, а правой защипывала стороны. Так я можно положить внутрь больше начинки.
EN
Here is a pie ready to be baked.
RU
Готовый пирожок.
STEP 9
EN
Preparation for baking and baking.
RU
Подготовка к выпеканию и само выпекание. Готовнось определяю по цвету теста. Когда подрумянятся, они уже готовы, так как ничего сырого в них нет.
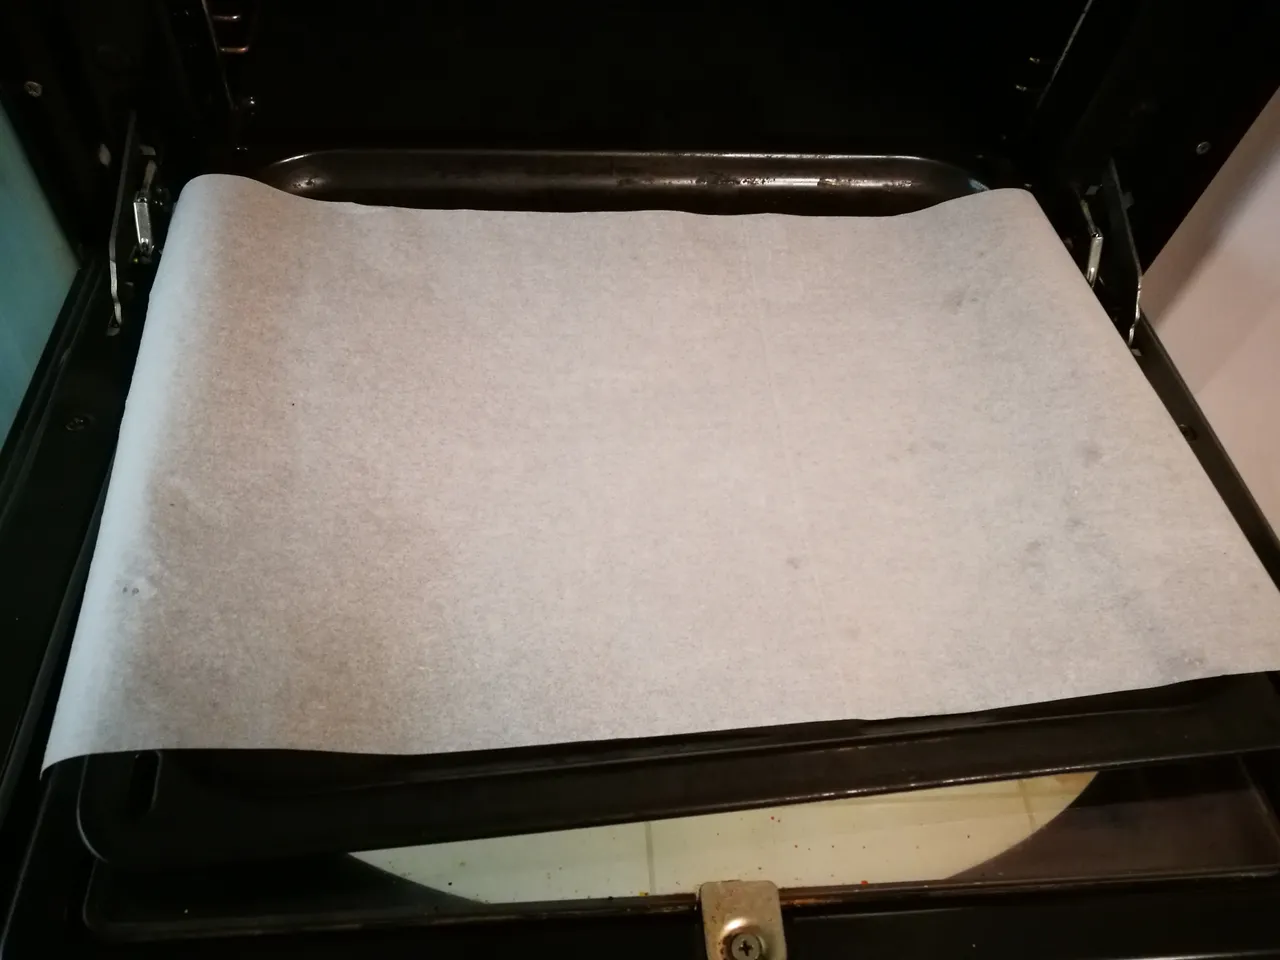
| Patties in the oven. | To see if they are ready, I watch the colour of the patties. Now they are ready. | |
|---|---|---|
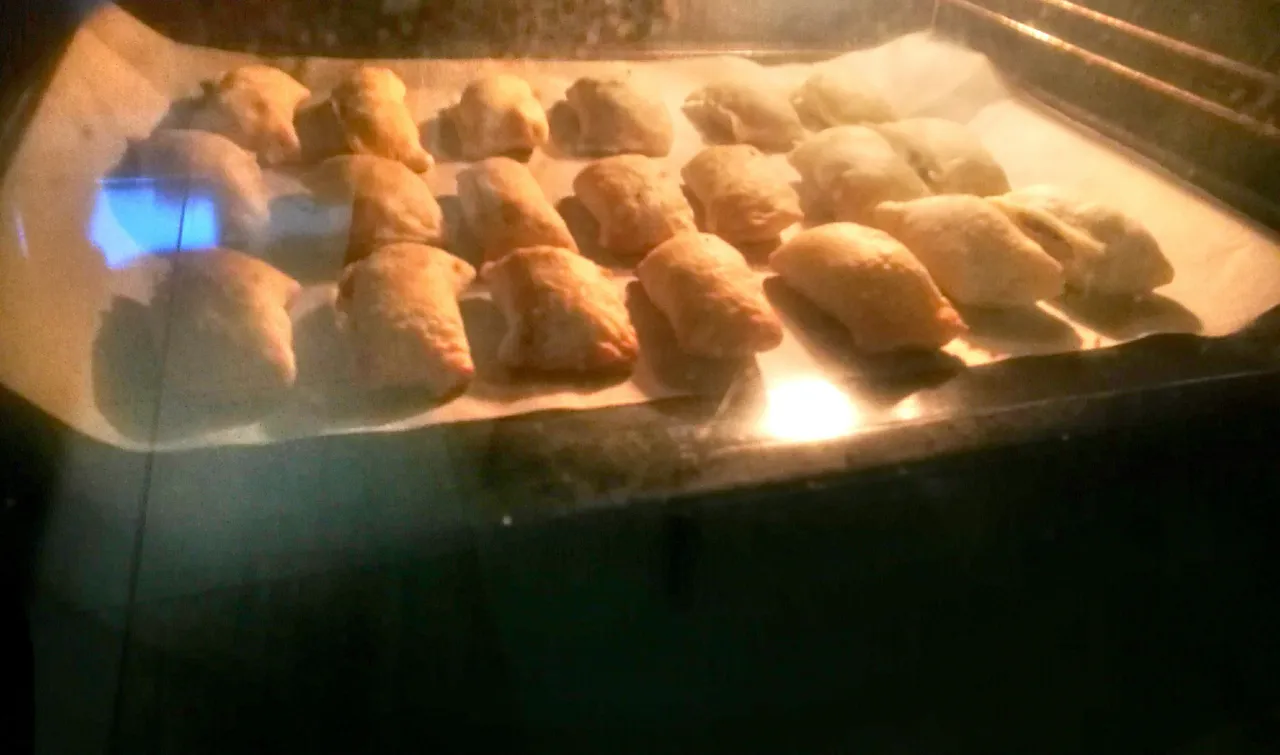 | 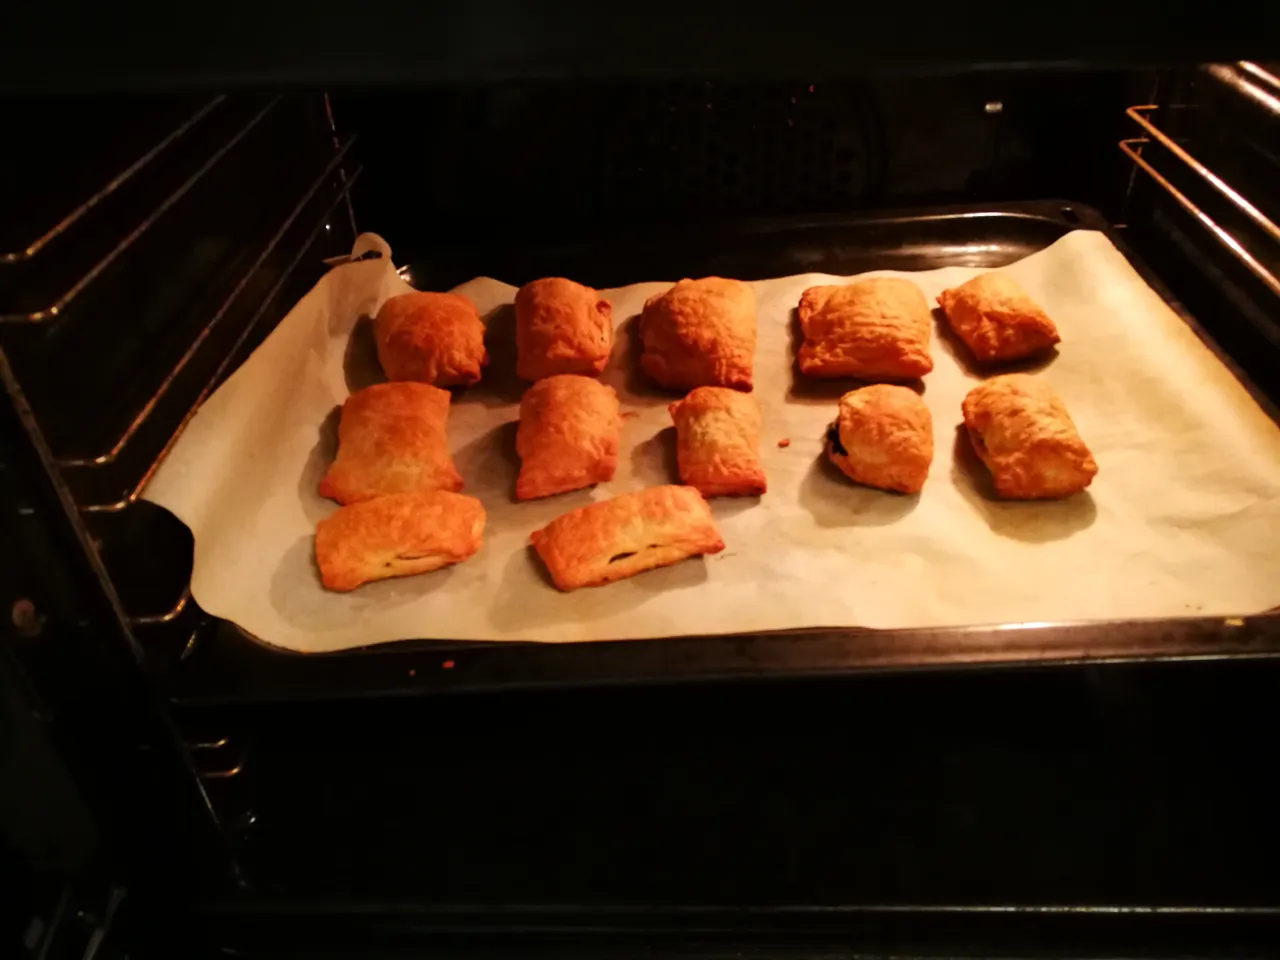 |
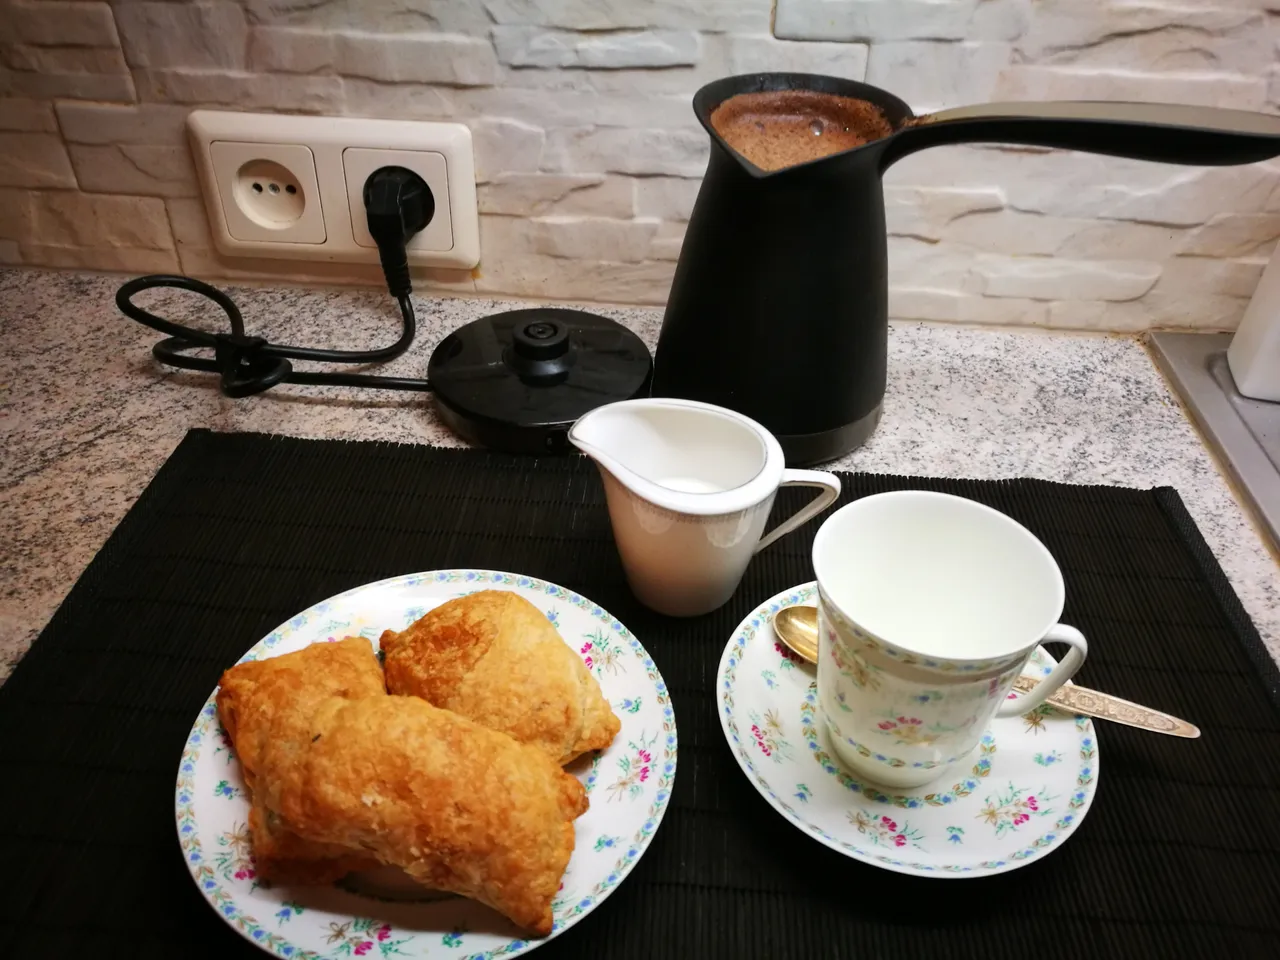
Enjoy your meal!
STEP 10
EN
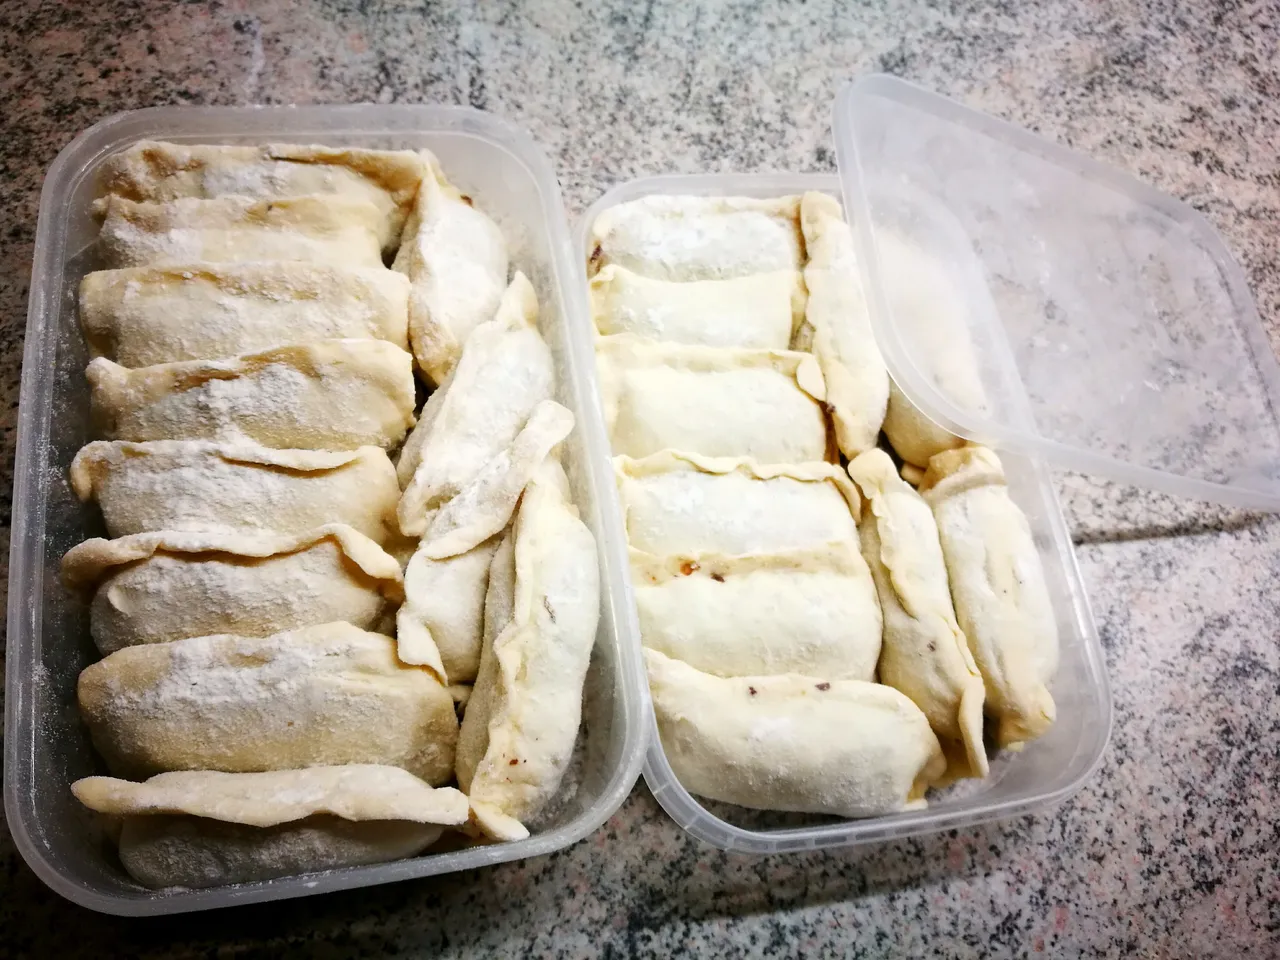
I had too many pies prepared, so I put them into plastic boxes sprinkling with flour. Now the boxes are in my freezer waiting for their better time :-) to be baked.
RU
У меня получилось слишком много пирожков, поэтому я сложила их в пластмассовые коробочки, тщательно пересыпая мукой. Сейчас эти коробочки ждут своего часа в морозильнике. Очень удобно - достаёшь и выпекаешь!
EN
I hope you like my recipe. If you do, please do not forget to vote up for my post, I will be very grateful! 🌼
I must say that I was inspired by recipes by @lizelle and decided to make this post after reading some of hers. 💞