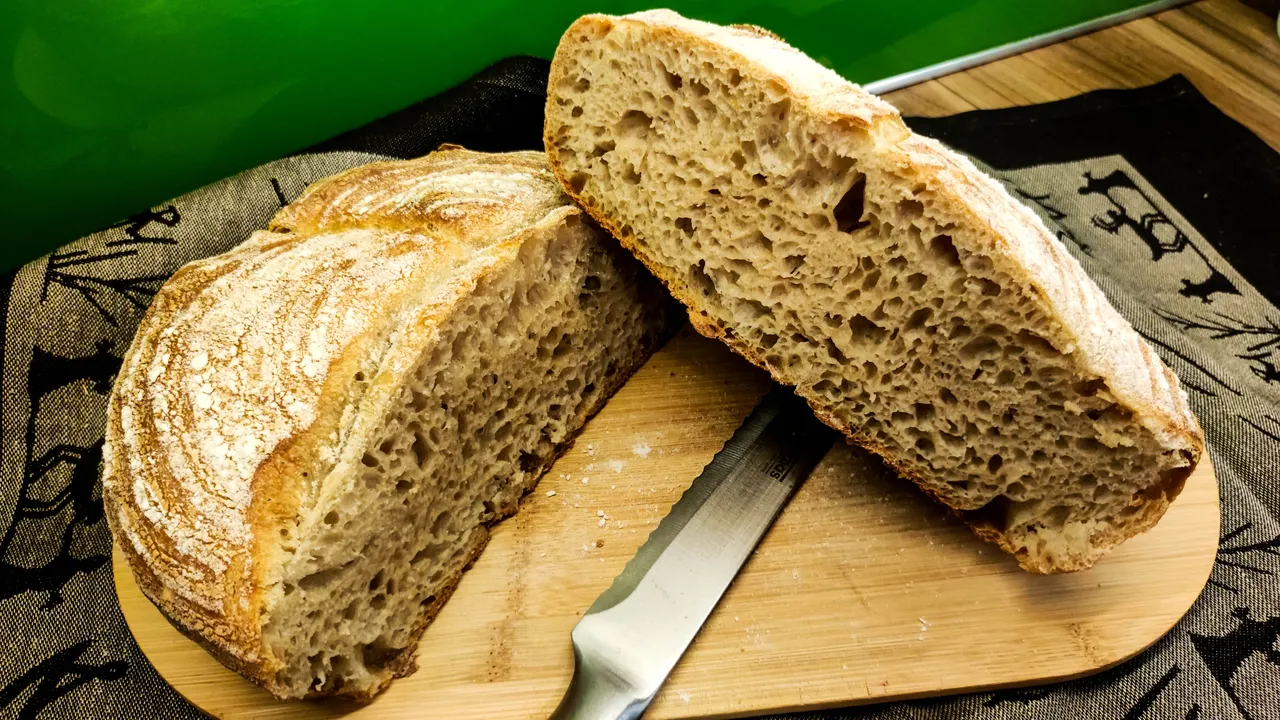
Hello Hivers, hello bread lovers. Do you like bread? Do you like sourdough bread? Have you ever eaten sourdough bread? I hope so! Baking bread with sourdough is becoming more and more popular. Sourdough bread is just as soft, with a crisp crust, but even easier to digest, fuller in flavour and longer lasting. Before industrial yeast hit the shelves, our ancestors baked bread with sourdough. Sourdough is the oldest leavening agent for baking since ancient times. If a mixture of water and flour is left to stand for a while, several processes take place inside. Bacteria are at work, causing the bread to rise.
For geeks 🤪
Lactic acid bacteria break down complex carbohydrates (starch) into simple sugars (glucose), which are then fed to the yeast. This produces carbon dioxide, which loosens the dough and causes the rise. The process itself is much slower than with industrial yeast, in which a single type of yeast is present. This makes the sourdough bread easier to digest and provides more of the nutrients and minerals available to our bodies.
What are the benefits of bread made with sourdough:
- Bread made with sourdough is easier to digest because the wild yeasts and bacteria "pre-digest" the flour.
- The fermentation process neutralizes the action of phytic acid, which inhibits mineral absorption.
- The sourdough makes much better use of the minerals and other nutrients contained in the cereals.
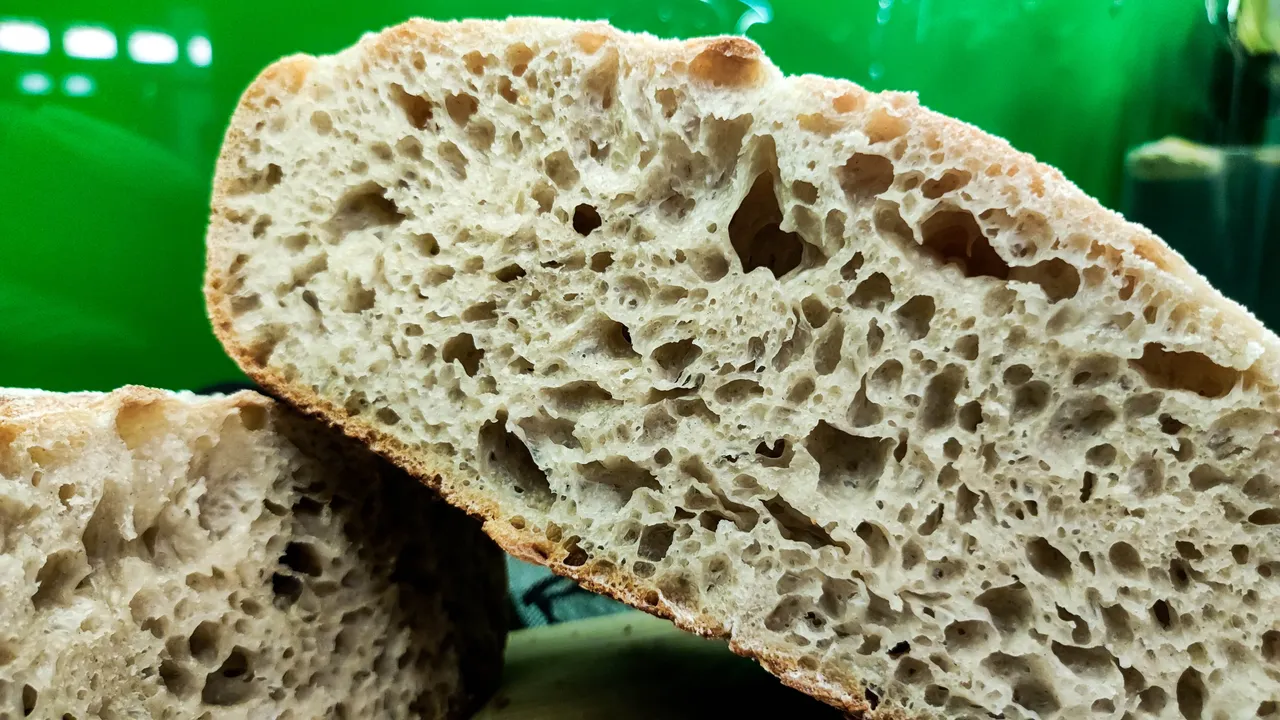
- Bread made with sourdough has an extraordinary taste and a wonderful texture. It stays soft and fresh for longer. Sourdough bread is also more stable as it contains lactic and acetic acid (natural preservative), which prevent mould. In addition, it does not strain or thin and has a lower glycaemic index than bread made with yeast.
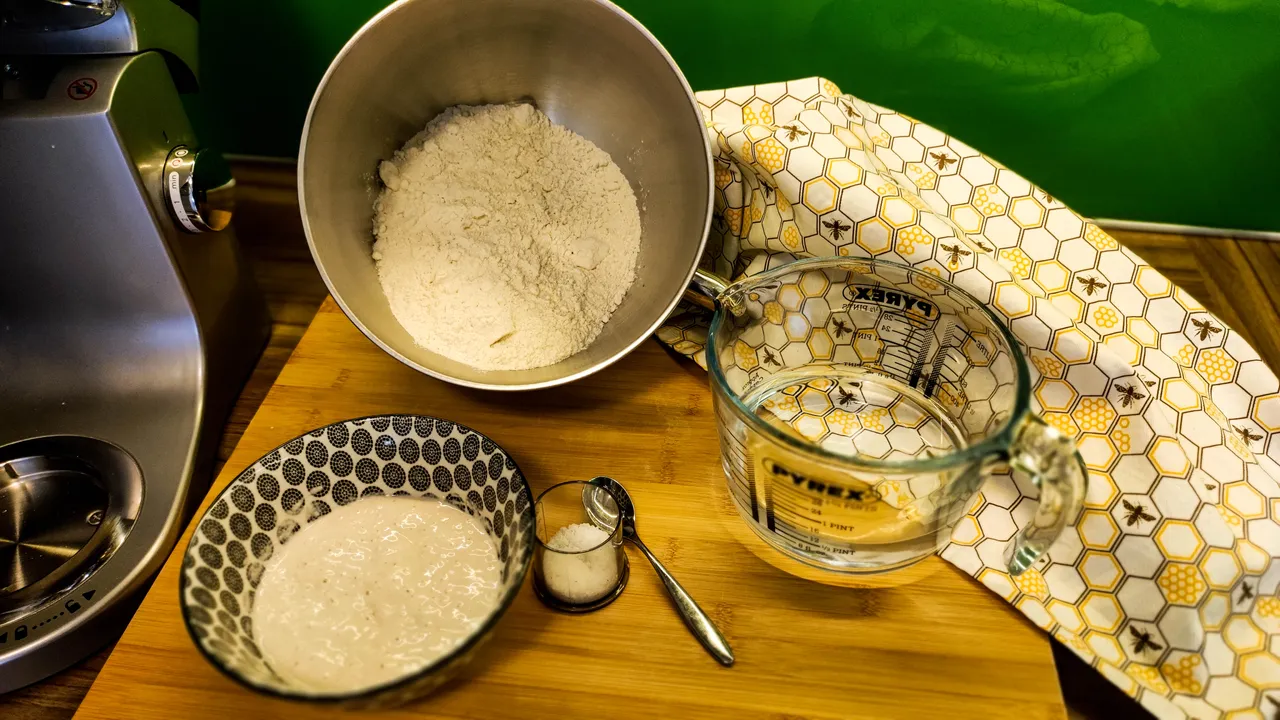
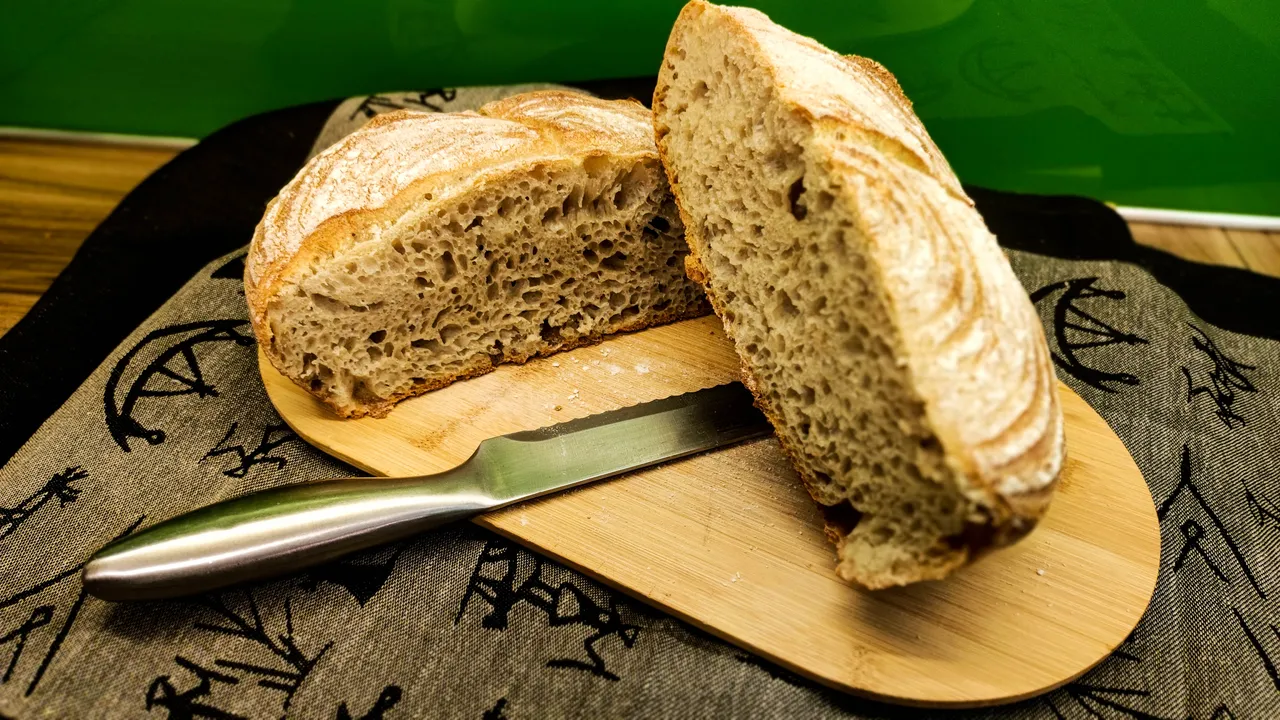
I’m sharing with you my favourite recipe for sourdough bread. It is one of the simplest recipes, because it contains only flour, leavening agent, water and salt. I bake this type of bread once per week.

- 500 g flour
- 100 g sourdough starter (50 g starter, 25 g flour, 25 g water)
- 11 g salt (2.1 %)
- 340 g water (73 %)
- and a little patience
Baking percentages are always calculated from the total amount of flour in the recipe. In our case, this is 525 grams. With the baking percentages, any recipe can be converted to any amount of flour by calculating the quantities for the ingredients according to the total weight of flour to be used. The percentages will always remain the same. In our example we have 2.1% salt and 73% hydration (water).

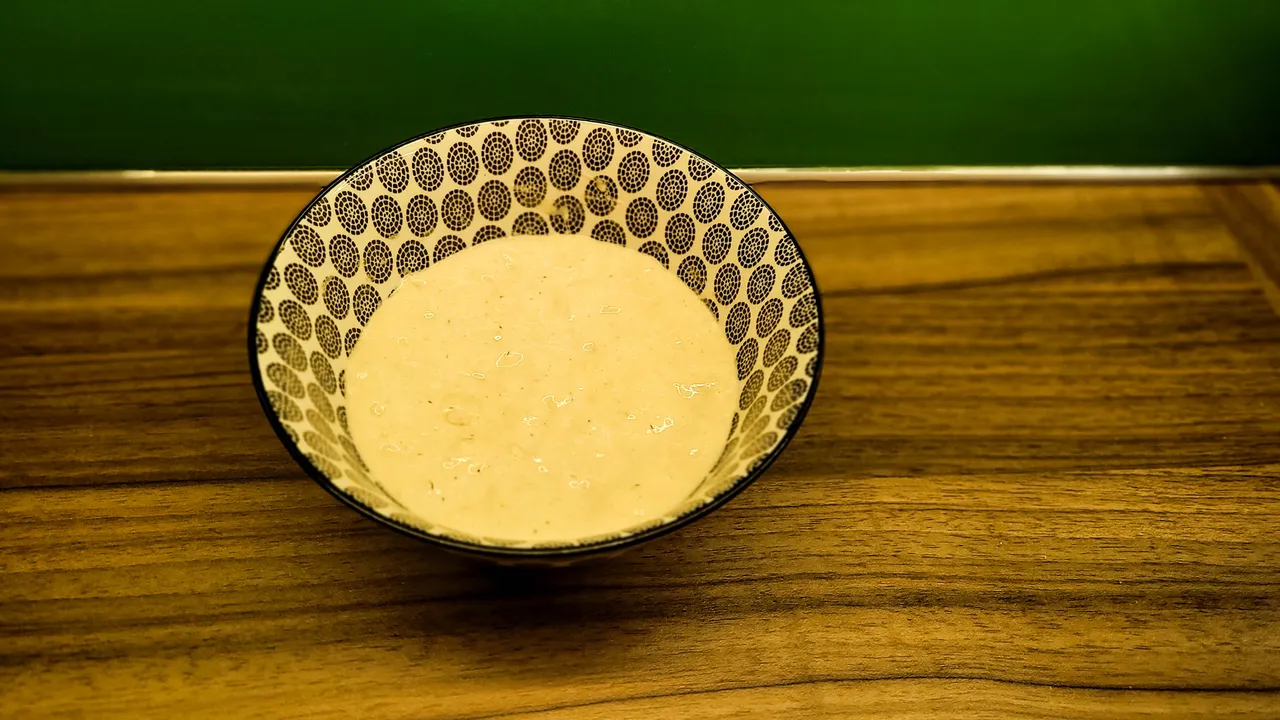
First of all, you have to prepare the leavening agent, 6 to 12 hours before kneading the dough. In fact, you need to feed the sourdough starter to give it strength. In a bowl, mix 25 g of wheat flour, 25 g of water and add 50 g of sourdough starter. The starter needs a few hours to "ripen". It should ripen at room temperature (21-23° C), which usually takes 6 to 12 hours. When it has approximately doubled in volume, i.e. grown to twice its height, and bubbles are visible at the top, it is ready to use. The sourdough starter will have a slightly sour, but pleasant, yoghurt smell.

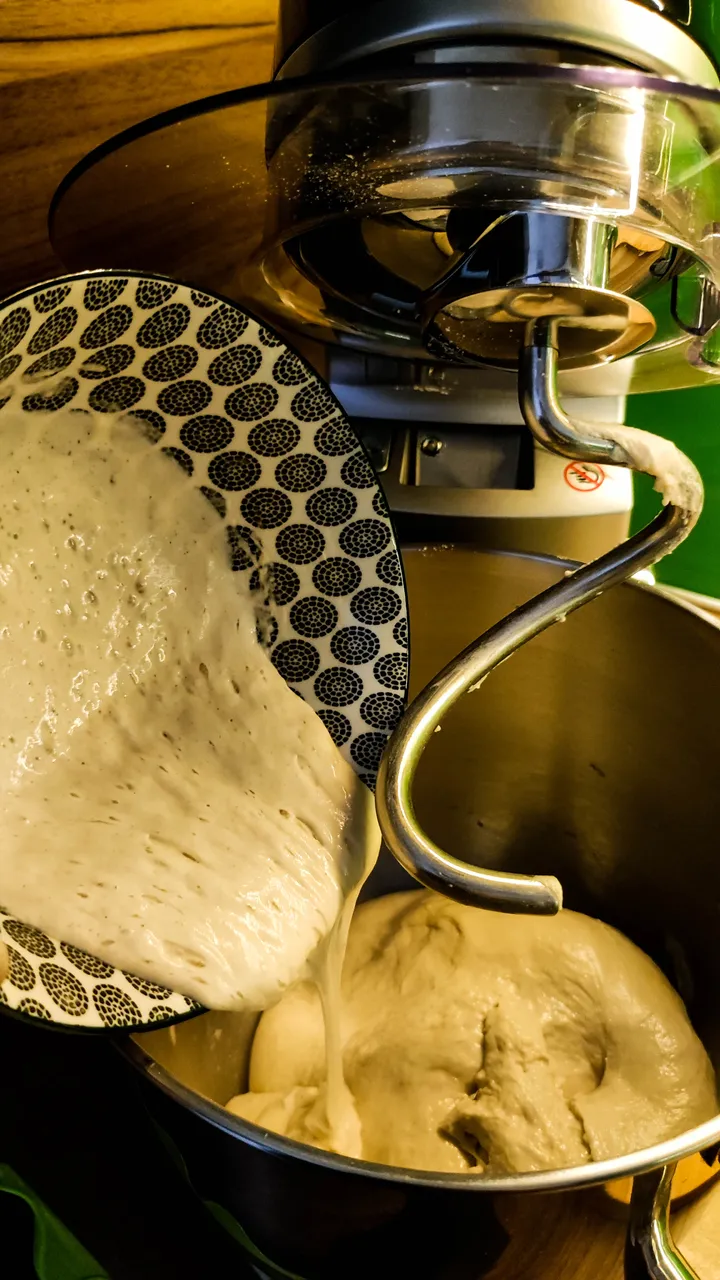
In a bowl (or mixer), mix 500 g of flour and 340 g of water. The water should be at room temperature (35-37° C). If you have the option, use a mixer on the lowest speed. It is not necessary to mix for a long time just enough to ensure that all the flour is evenly mixed with the water. Do not knead the dough but leave it to rest for 60 minutes. This process is called autolysis. Cover the dough with cling film or cover the bowl to prevent the surface of the dough from drying out during autolysis. This is the process in which the gluteal structure develops.

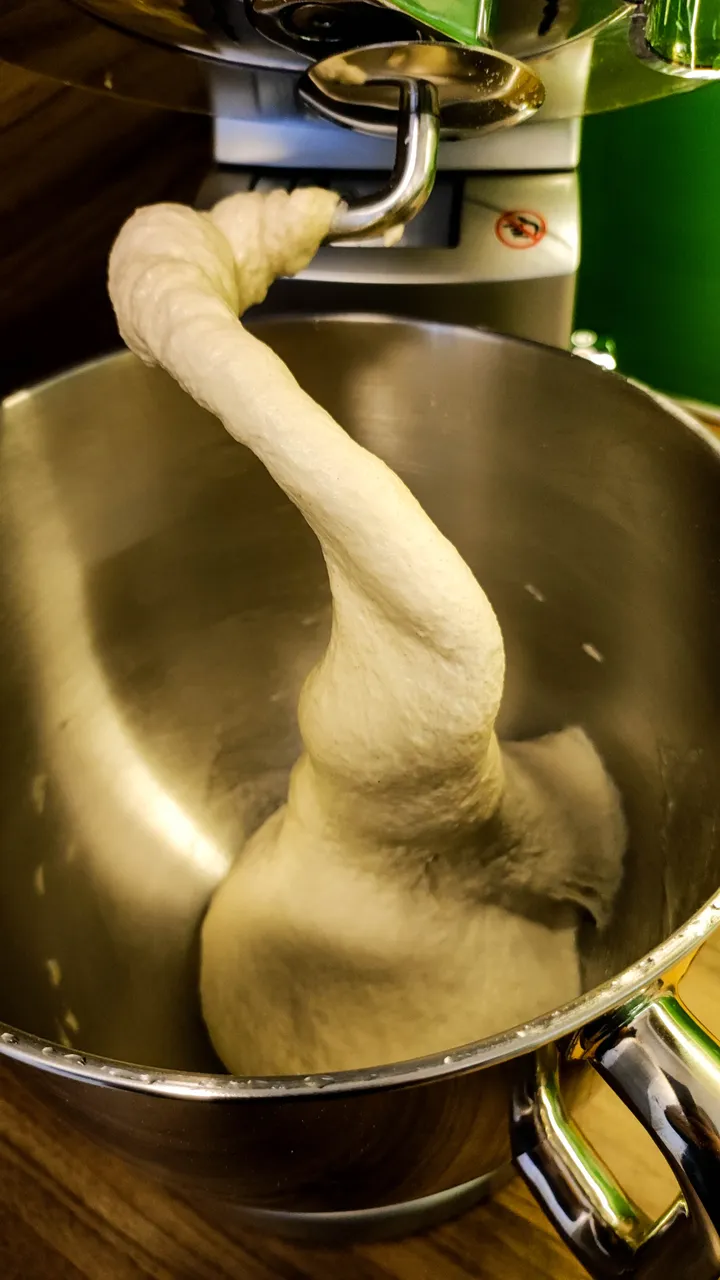
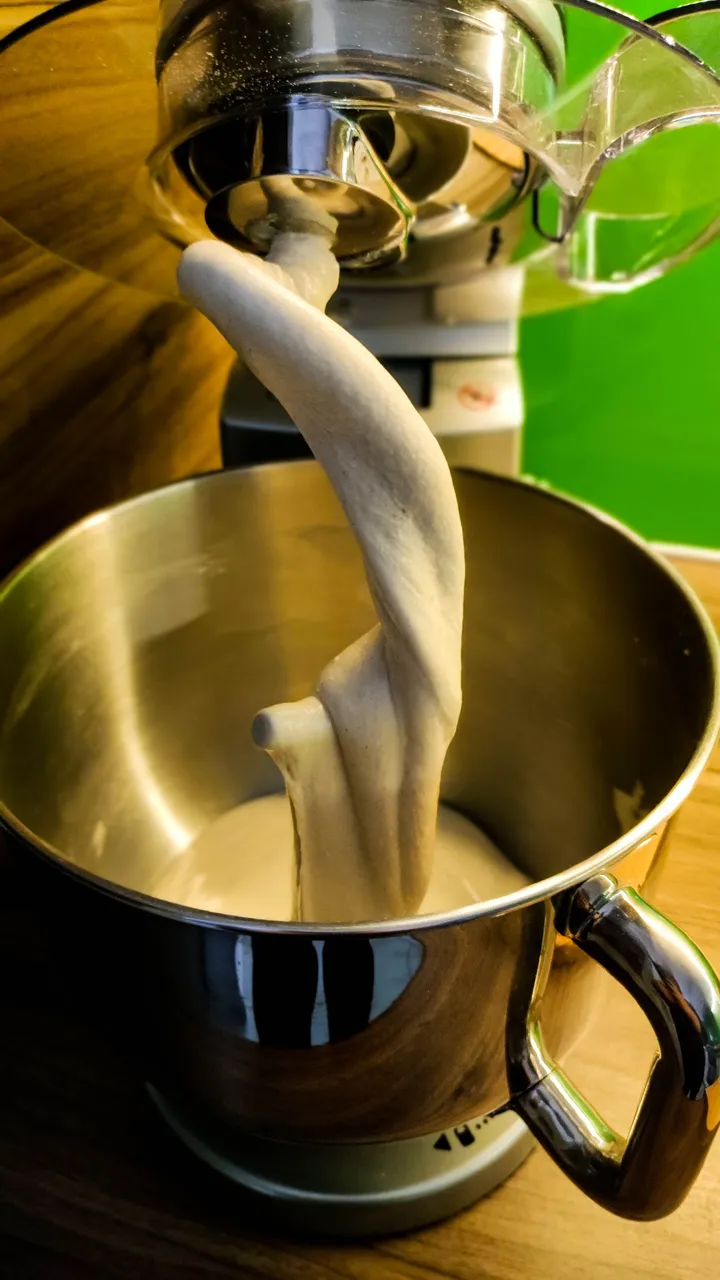
After 60 minutes, add the salt and the sourdough starter. During the resting (autolysis) phase, the dough has already formed a strong gluten structure. The salt is incorporated into the dough by pushing it into it with your fingers. Now it is time for the gluten to develop further. Turn on the mixer and mix until it becomes homogeneous, it will separate much more easily from the sides of the bowl. This will take about 5 minutes.


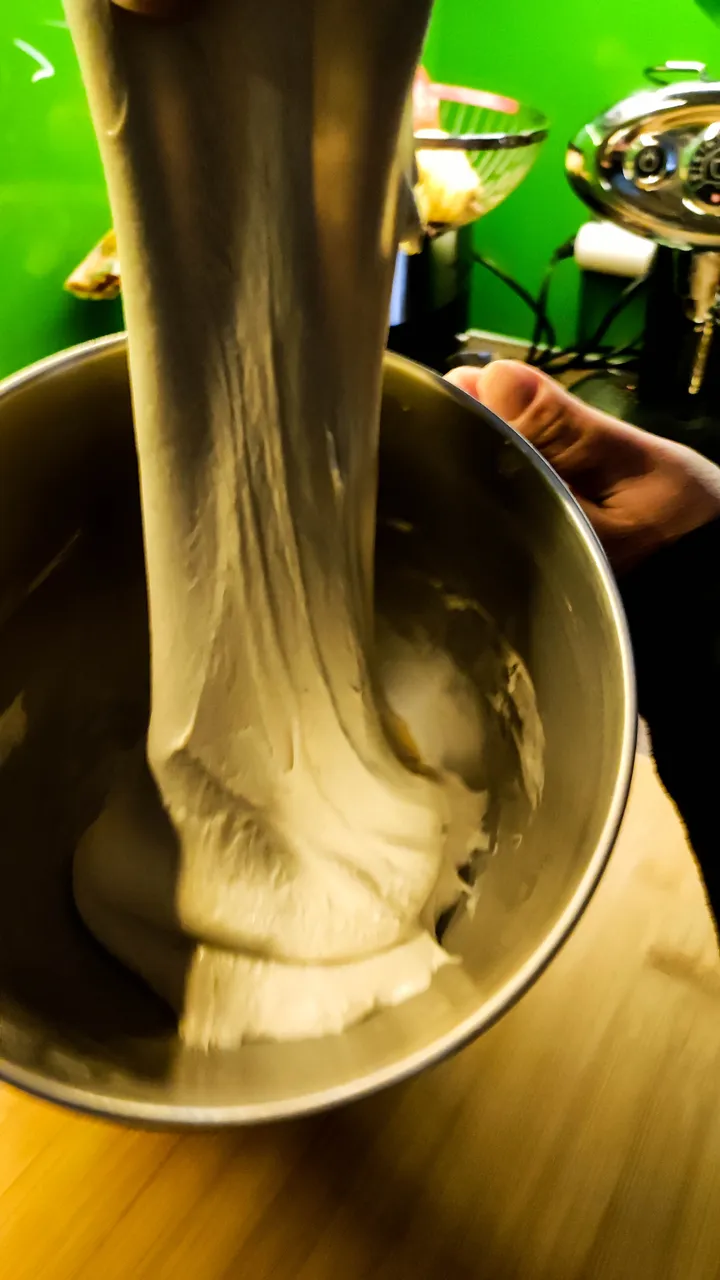
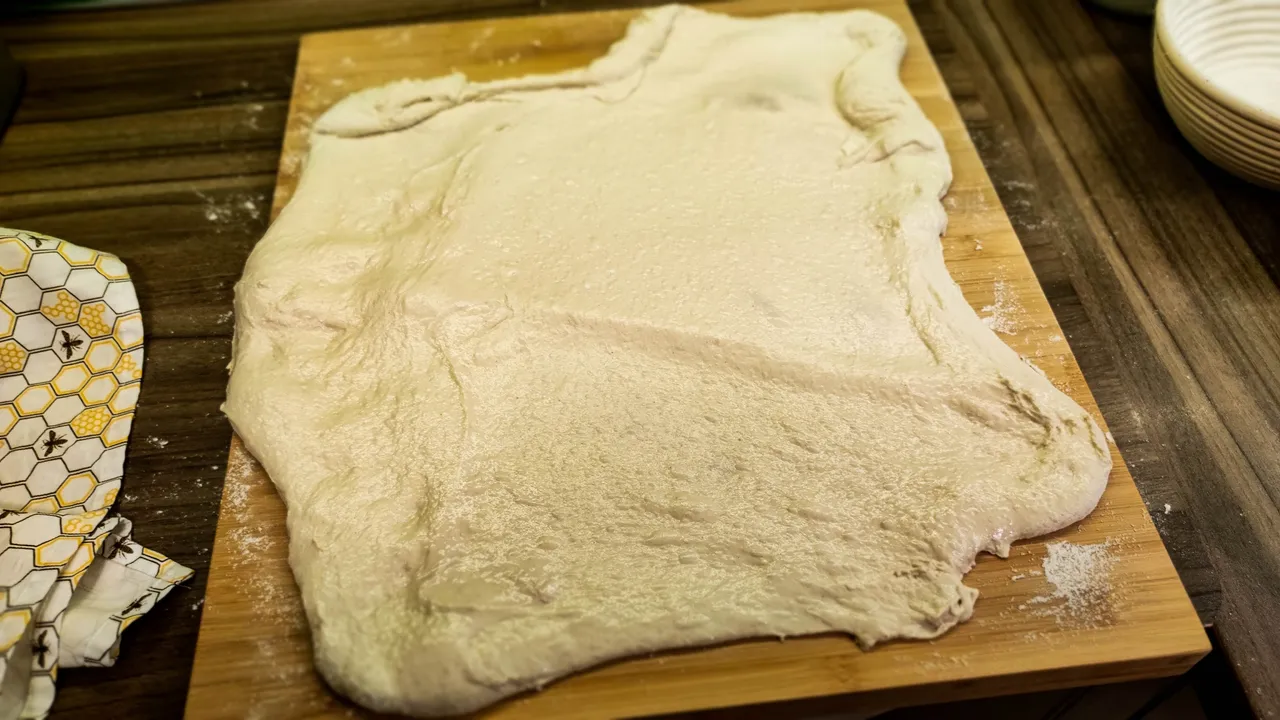
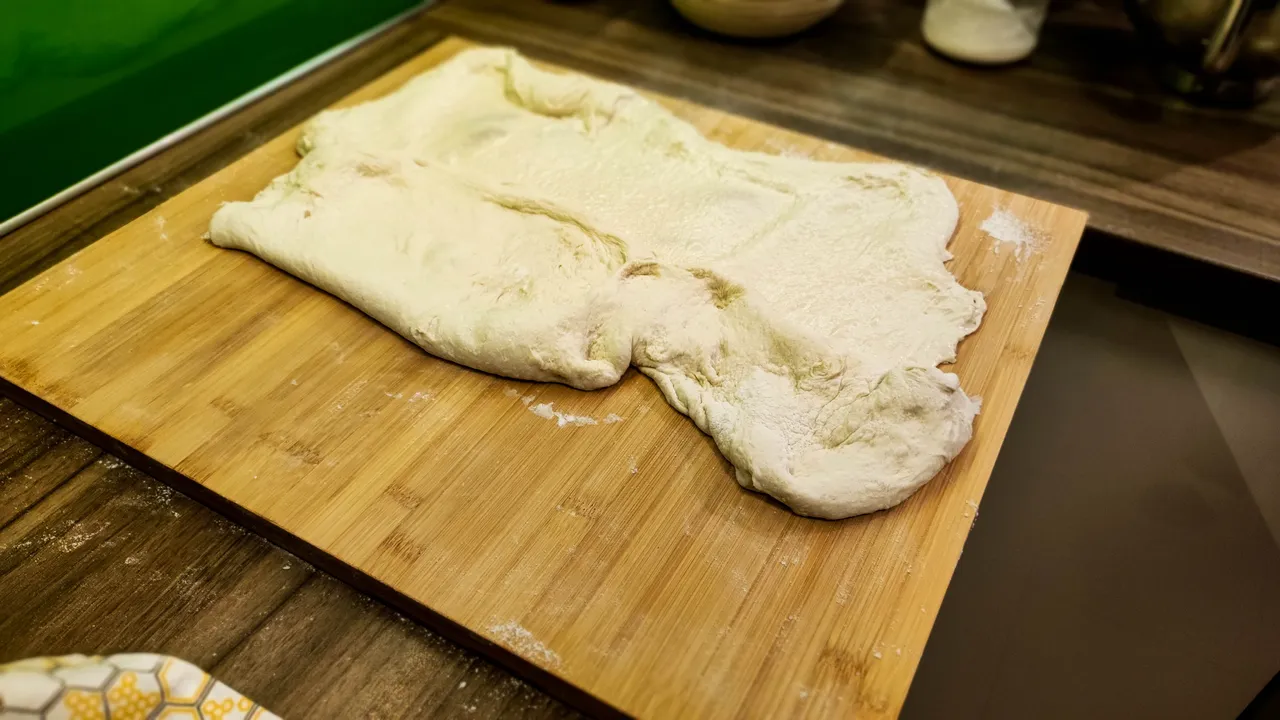
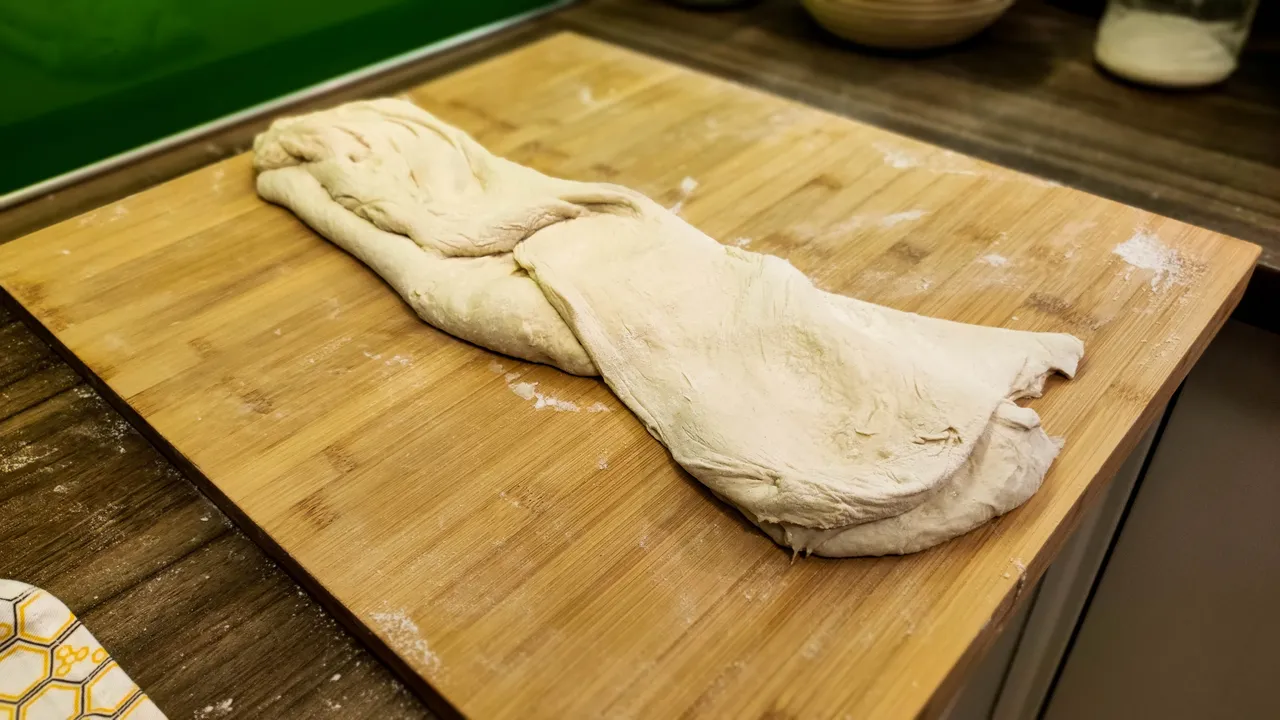
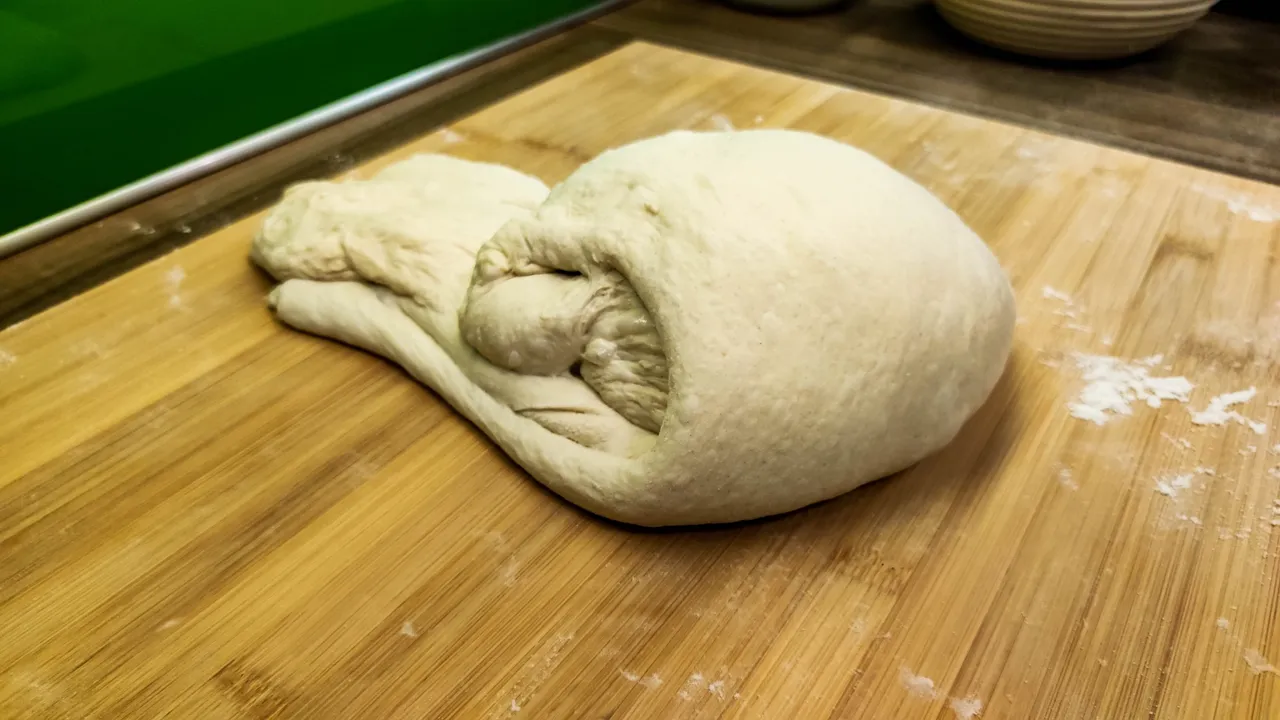
For the next 2 hours, "fold" the dough every 30 minutes. This strengthens the gluten network, making the dough increasingly "strong". As the dough is sticky, wet your hands with water before folding the dough, so it will hardly stick to your hands afterwards. When the dough is still in the bowl, reach under the dough with your hand on one side, grasp it and pull it up until it starts to tear, and lay it back over the rest of the dough. Go around the bowl in this way until all the dough has been folded over (I do it 4 times, to make the whole circle).
Leave the dough to rest, covered, for a further 3 to 4 hours.

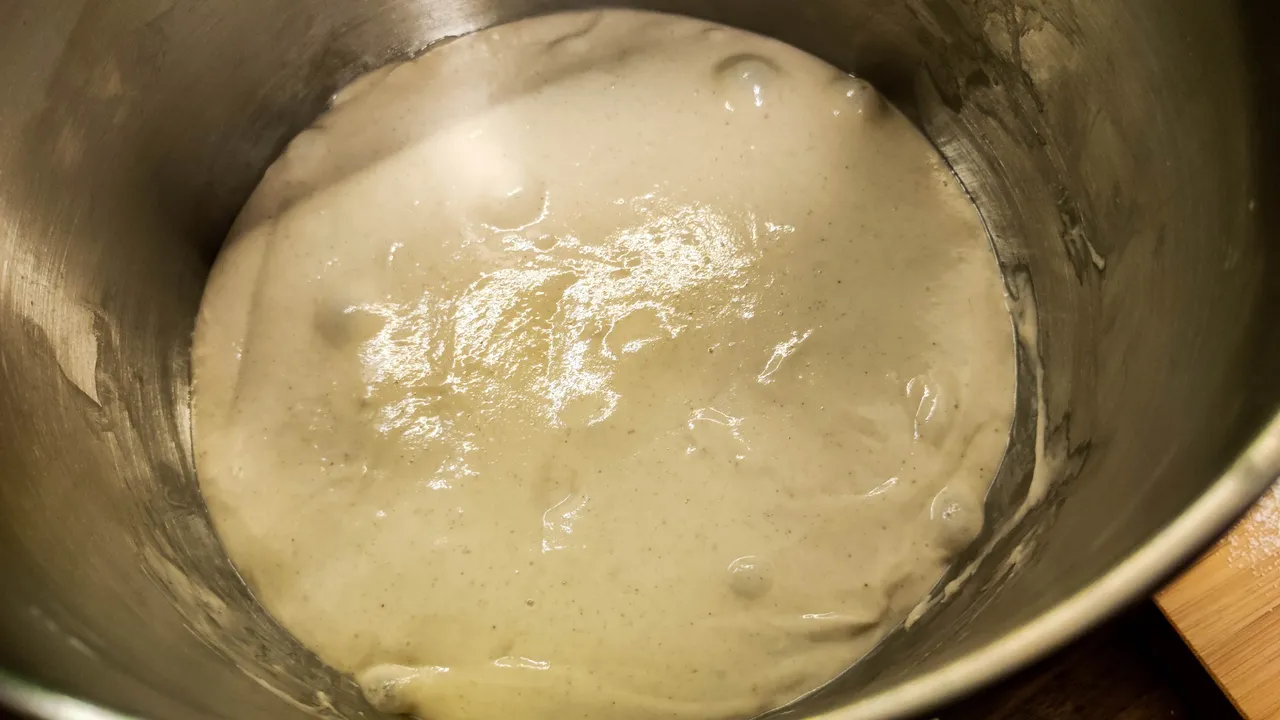
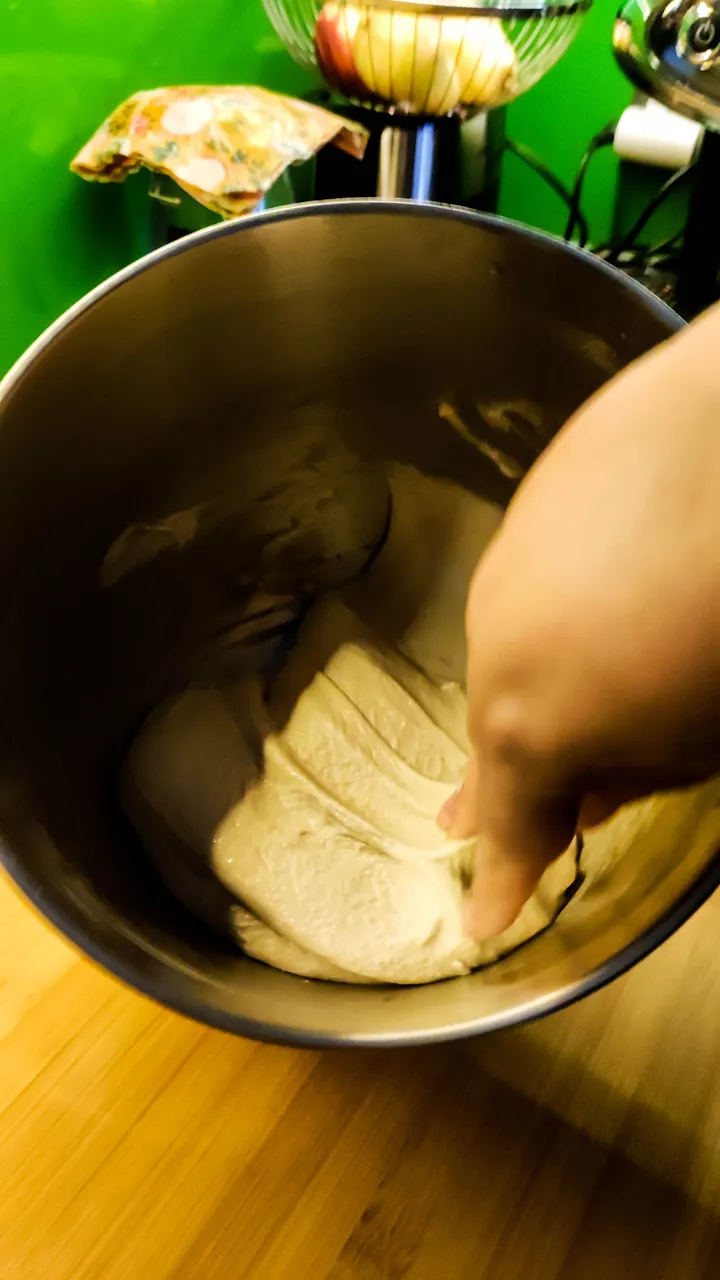
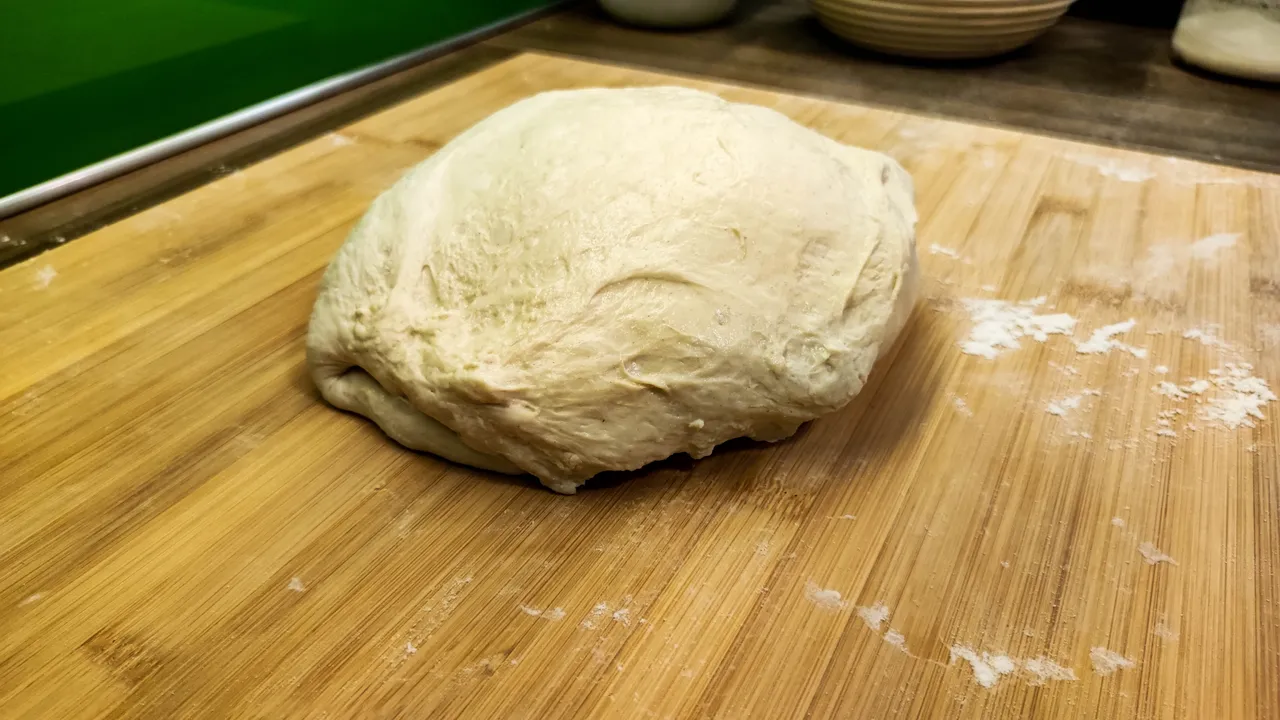
Usually, by this stage the dough will have partially risen and become airier. The dough has risen by about 15-30% and now comes away easily from the sides of the bowl. The dough can now be removed from the bowl and placed on the counter.
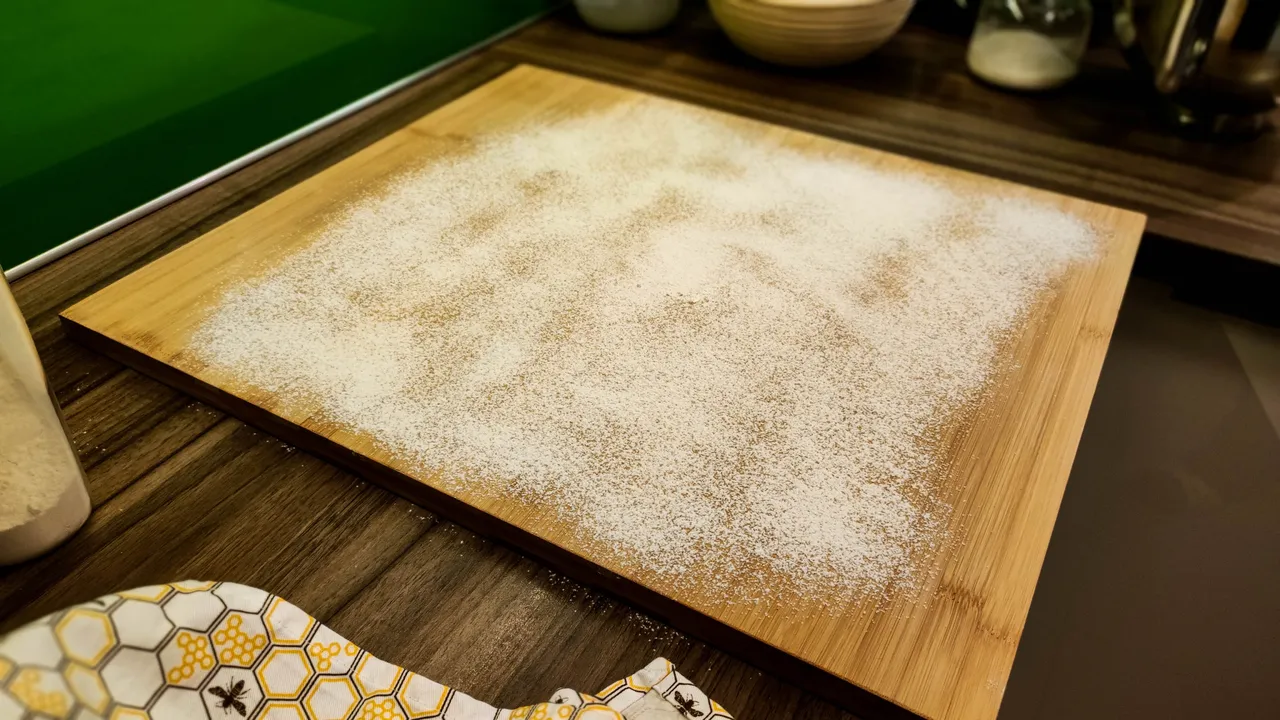
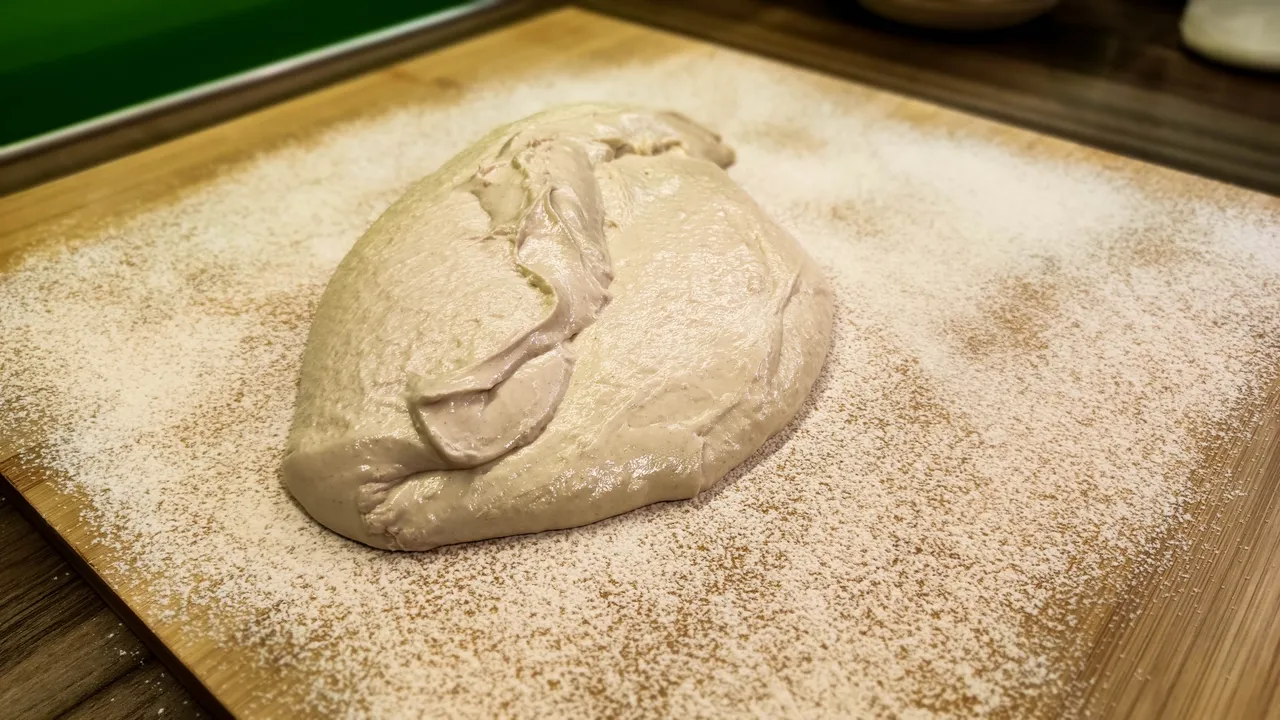
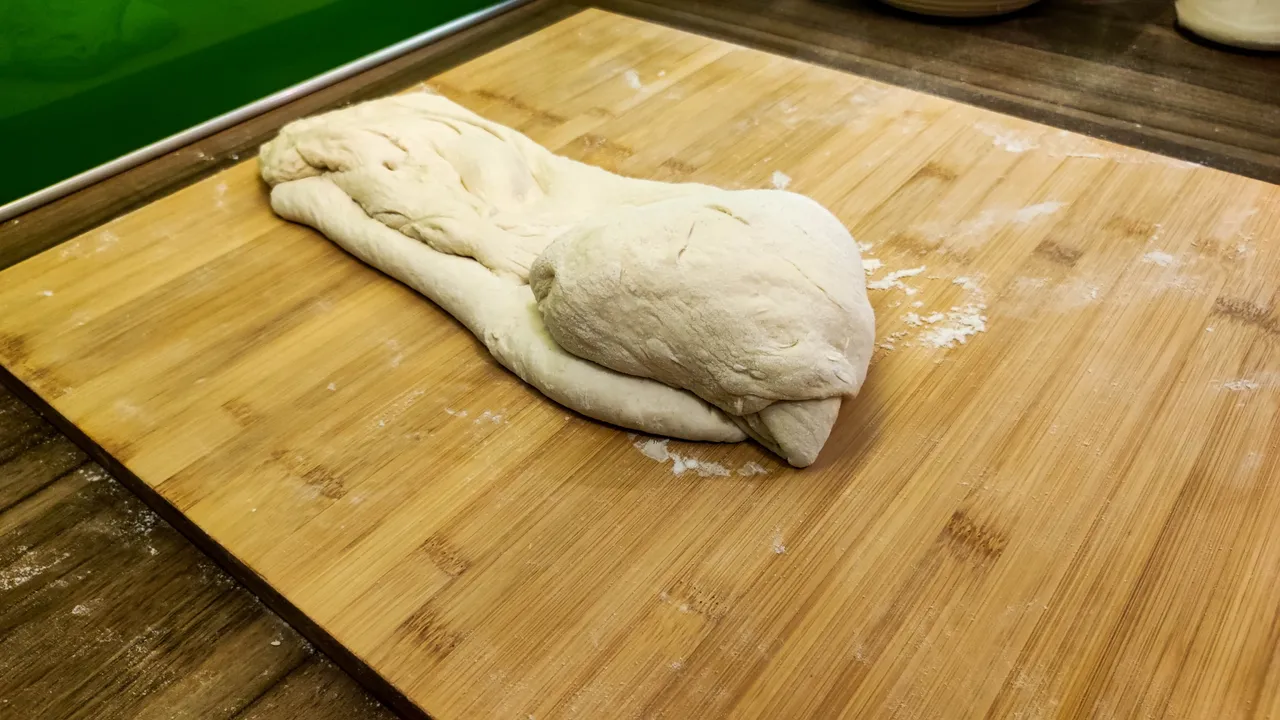
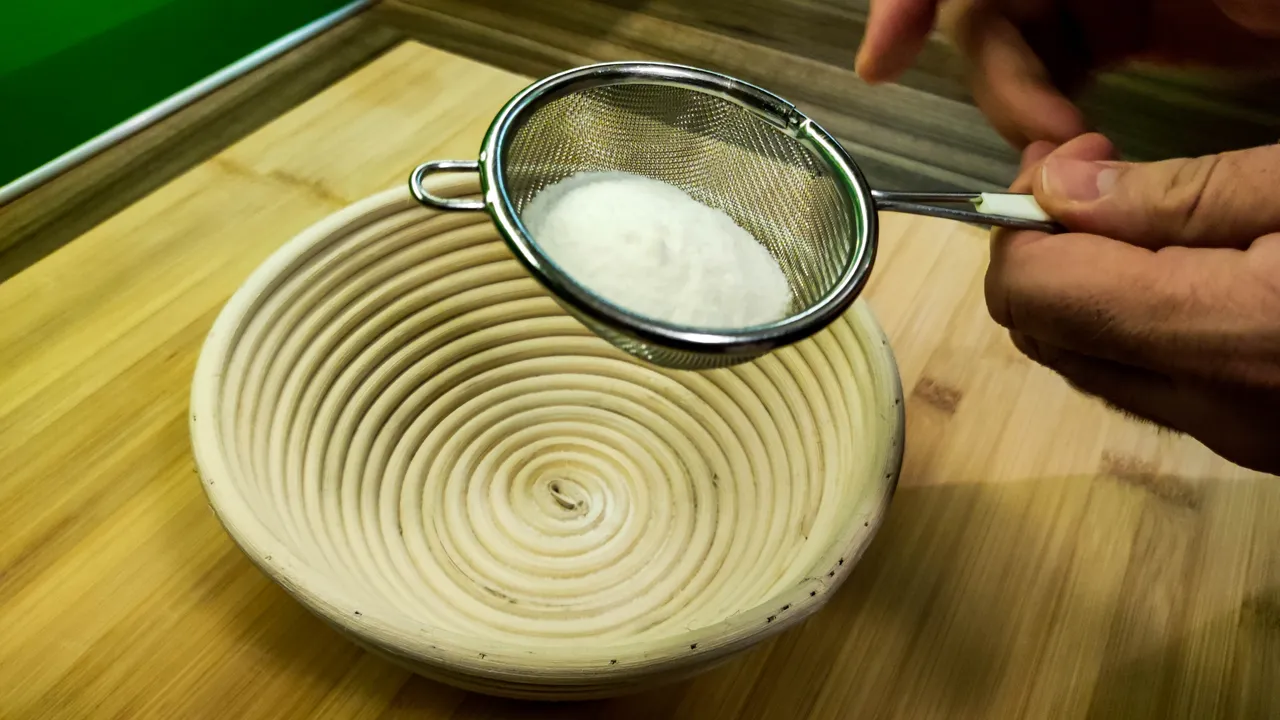
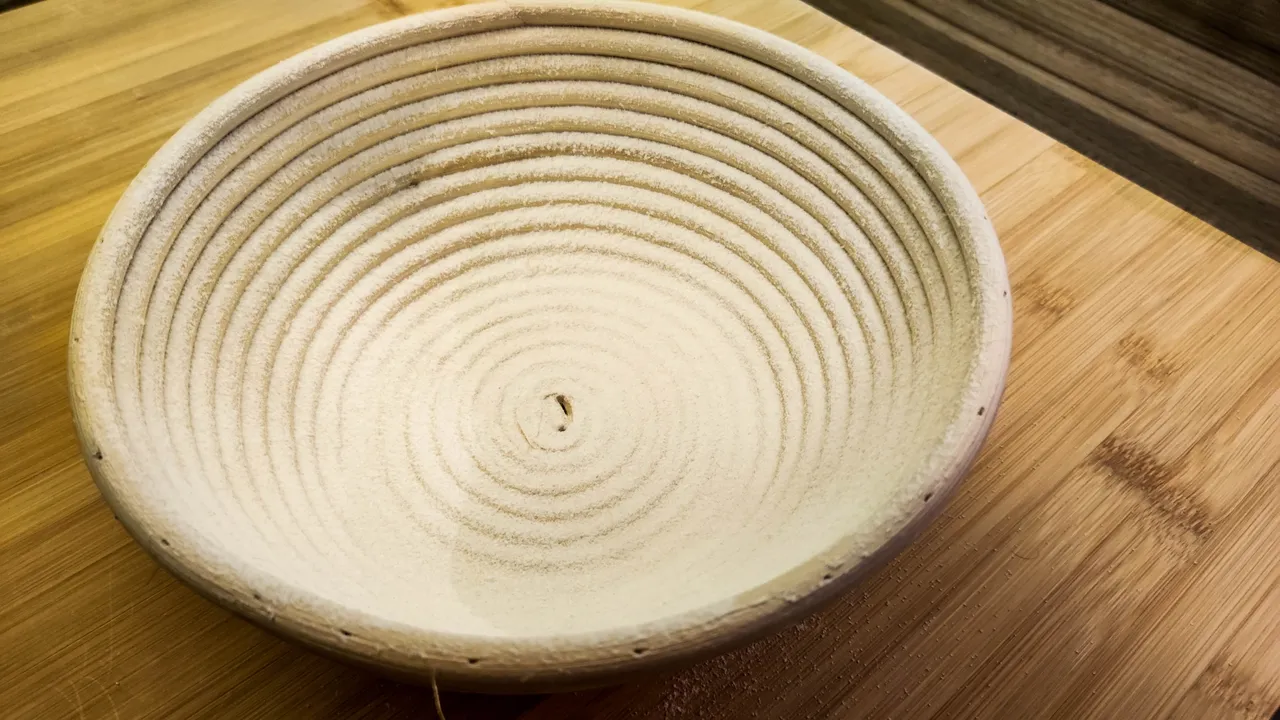
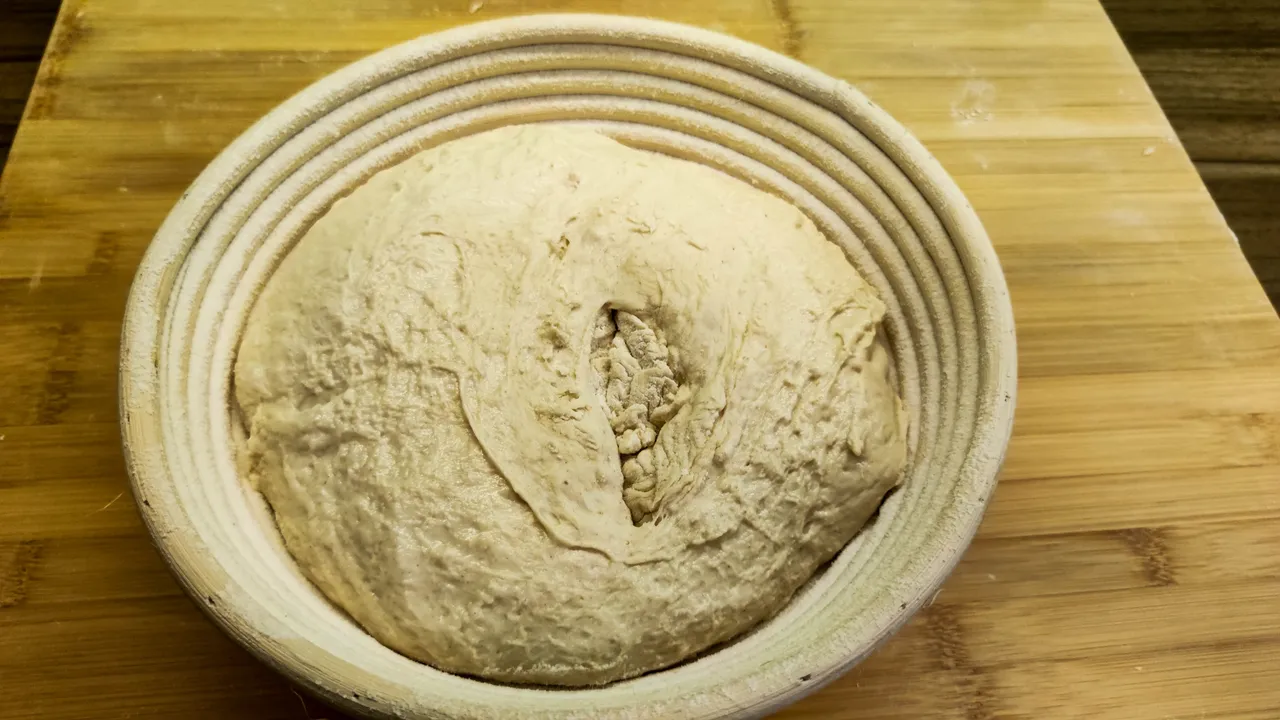
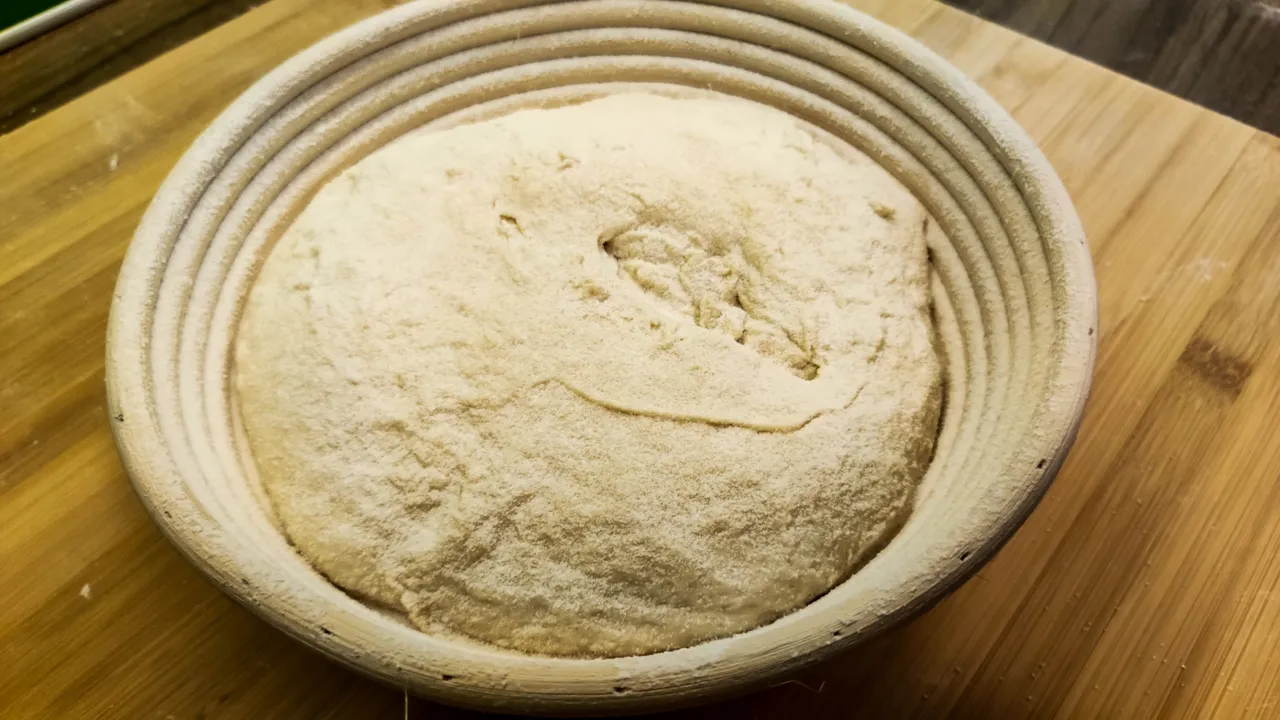
Finally, shape the dough into loaves or ovals, depending on the desired shape. Transfer the shaped dough upside down to a proofing basket or to a bowl with a cloth in it. It is important to sprinkle the dough with flour to prevent the dough from sticking. I use rice flour because it is gluten-free and does not stick.


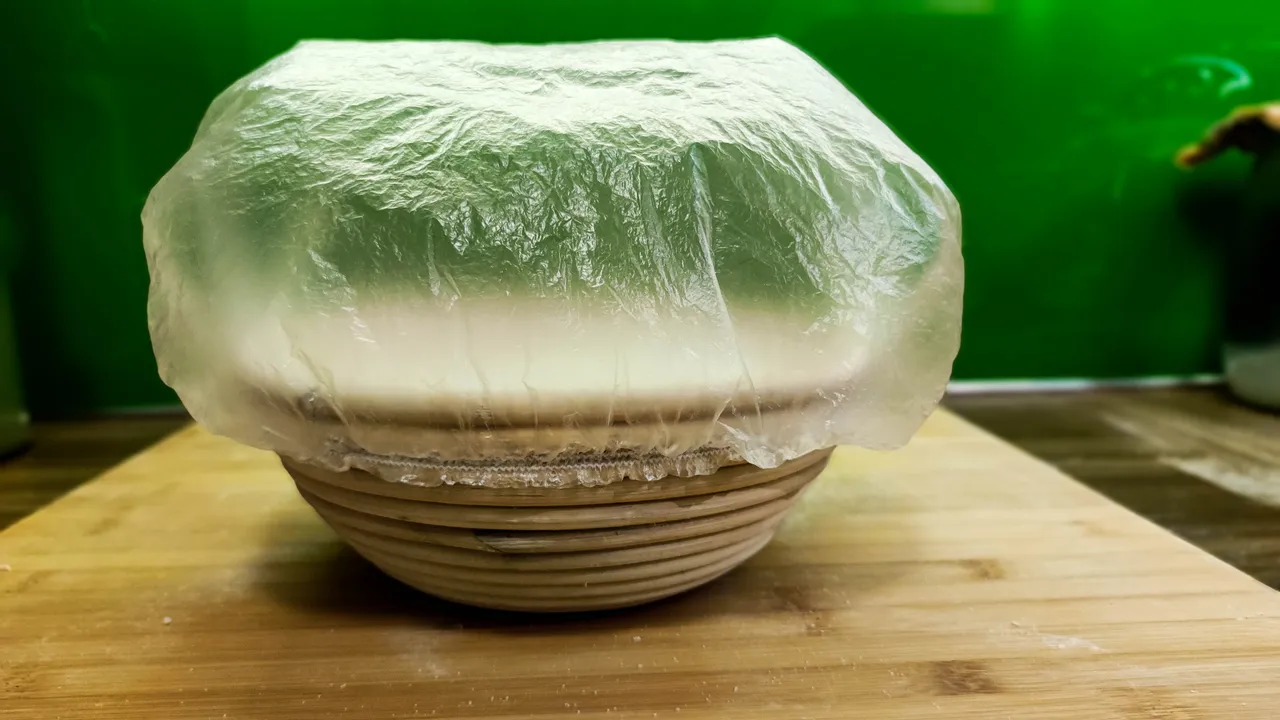
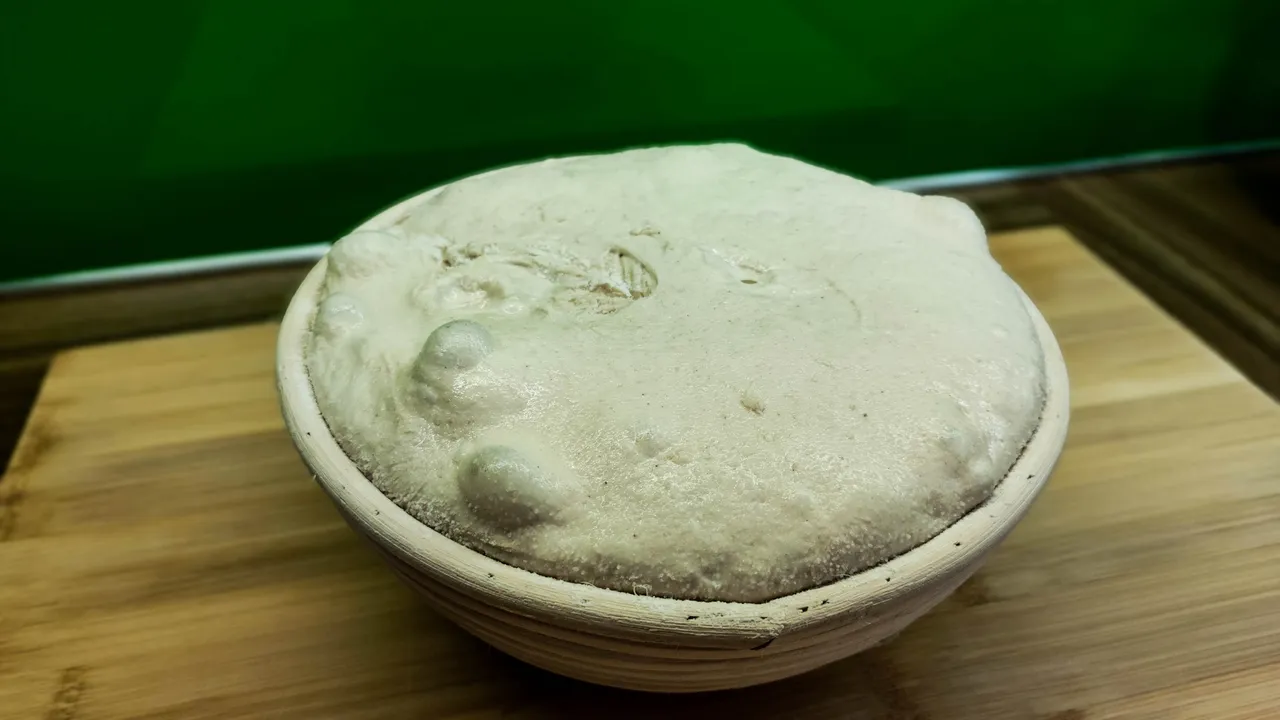
Place the dough in the fridge for 24 hours. You can leave it for less if you are in a hurry. There is also nothing wrong if the dough rests in the fridge for 48 hours.


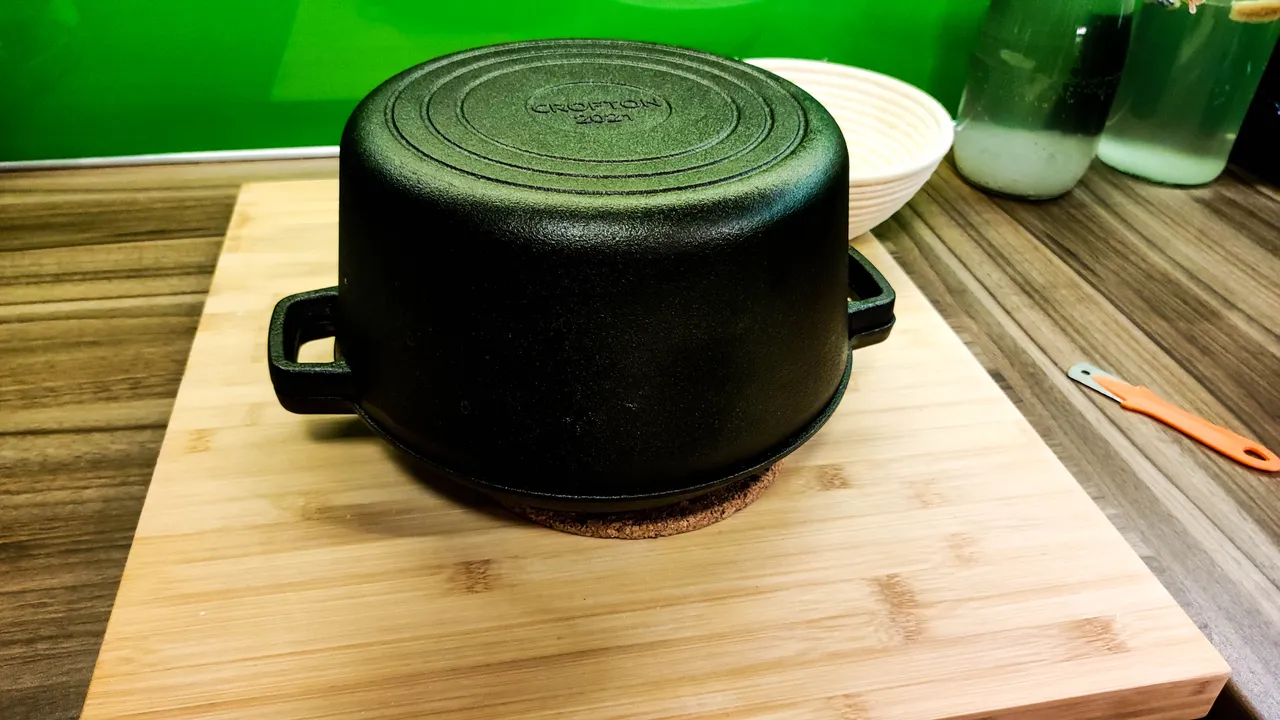
Bake in a conventional oven, preheated to 250° C (if yours does not go that high, 230° C will be OK, too). When the oven is switched on, put a cast-iron pan in the oven to preheat. If you don't have one, you can bake the bread on a baking tray, but add a pan of water to the oven to keep the air in the oven moist.
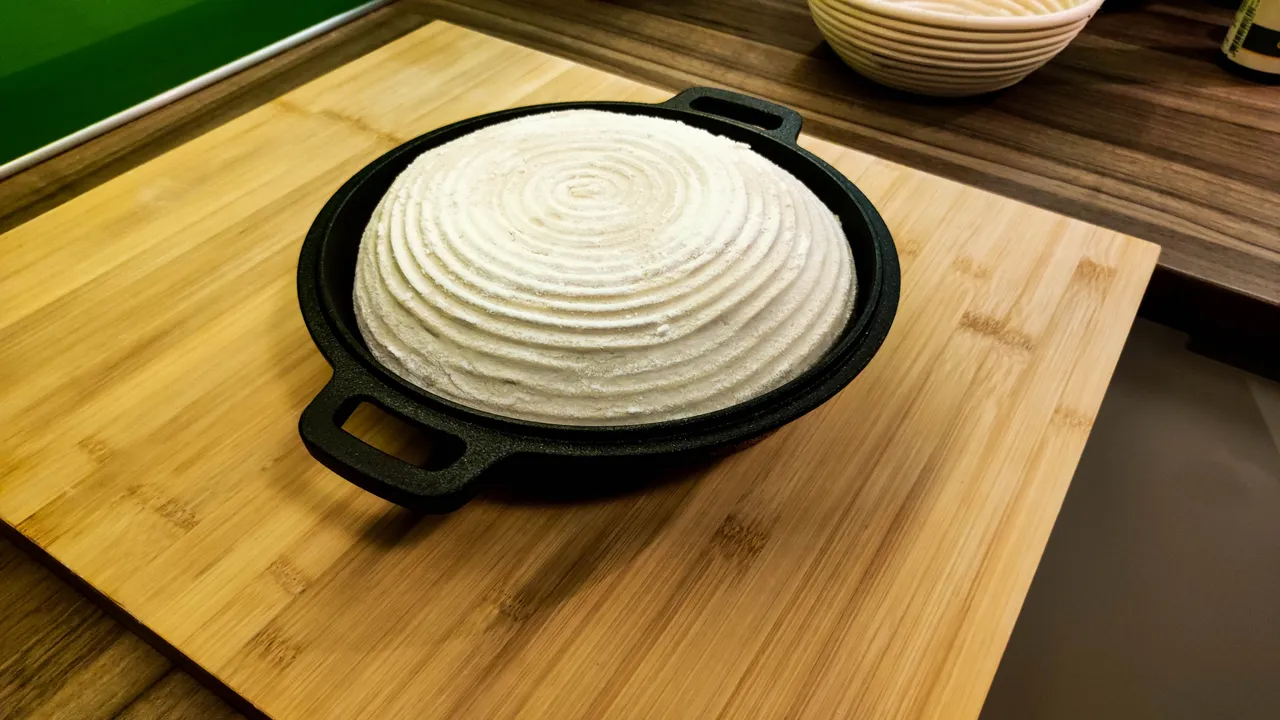
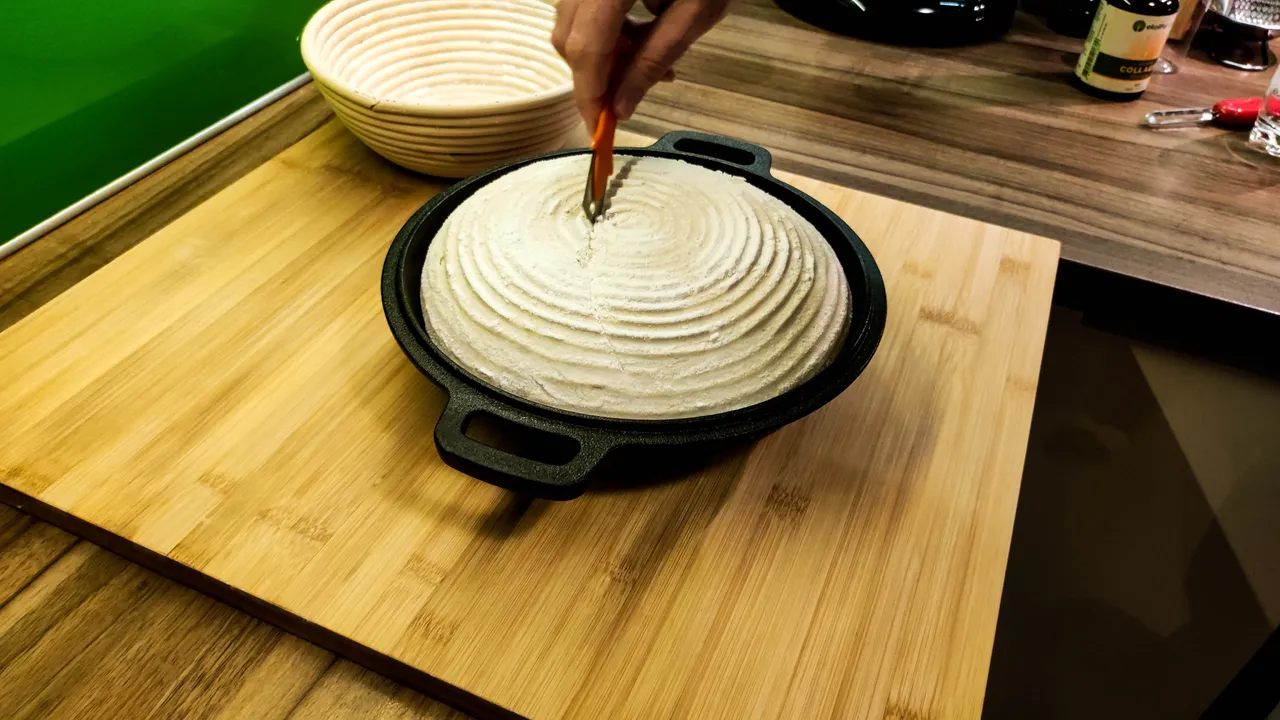
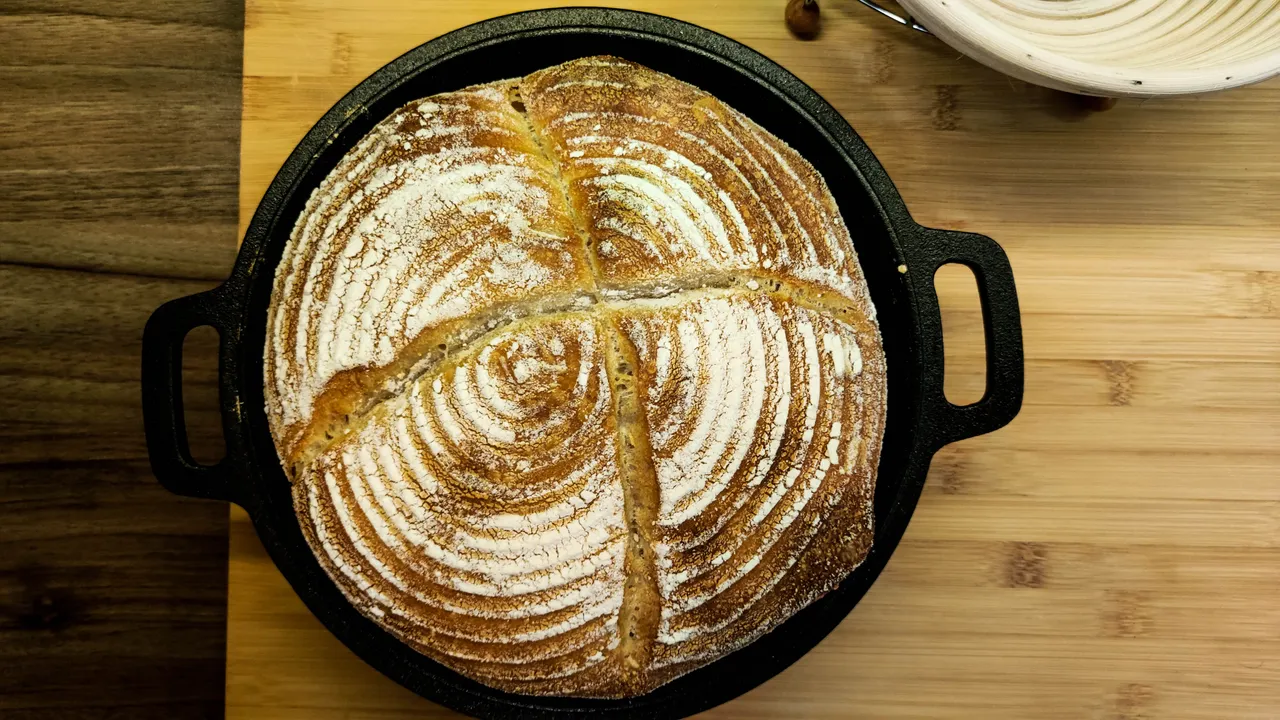
When the oven and the pan are hot, take the pan out, put the dough in, cut into it, cover with the warmed lid and put the pan back in the oven. Bake the dough, covered, for 30 to 40 minutes. If the bread is baked in the pan, the dough itself creates steam, which helps it to rise perfectly and also makes a very nice crust.
Let the bread cool on a wire rack for at least 1 hour before eating. Do not cover the hot loaf with clothes as the loaf will not dry out. The bread should be cooled on a wire rack to prevent condensation on the surfaces of the loaf where there is no air flow.
I used white flour (you can also use spelt flour, kamut flour, semolina flour, etc.) or a mixture of flours, i.e. a certain percentage of white flour and a certain percentage of wholemeal flour. When adding more than 10% wholemeal flour, you can add about 15 g more water, because the bran contained in the wholemeal flour will absorb more water and the dough will be dry. The higher percentage of wholemeal flour will make the fermentation (i.e. the dough ripening or leavening) go faster.
Be persistent, be innovative and just bake your best bread for yourself, your family and your friends !
Bon Appetite 🍽️ 🍴 😋

Thanks for reading,
feel free to leave a comment, I will be glad to reply to.
Best regards, @miljo76