******English version*****
About two months ago I participated in a contest called "Blockchain's International Sandwich Squad" or BISS. The contest is simply to make a Sandwich, show the step by step and share it with HIVE users, by photos obviously hehe. It was a lot of fun to participate in the contest because you had the opportunity to see the other sandwiches shared by other users, all as creative as they were visually provocative. It was a nice experience to have participated in the contest, because in addition to the above mentioned, I had the privilege of winning.
You can see the post of that Sandwich by following this link:
@gaboamc2393/biss-june-gabo-biest-sandwich-biss-junio-el-sandwich-bestia-de-gabo
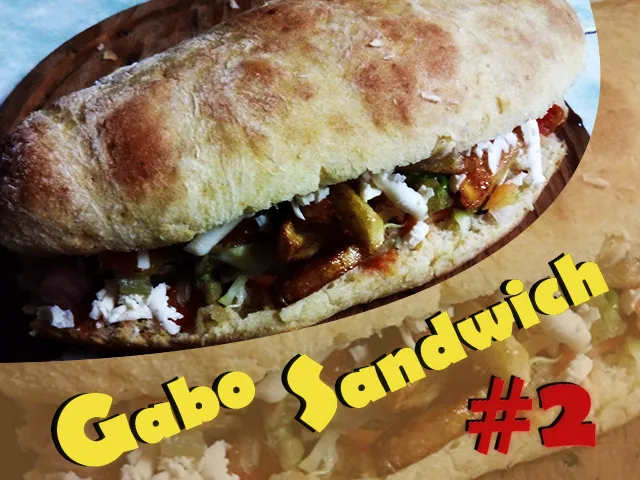
I mention all this because I would like to share with you another sandwich I made just yesterday. It is a similar recipe, but not the same as my sandwich that won the June BISS. I present to you the Gabo Sandwich # 2:
To prepare the bread for this sandwich I used the ingredients I always use:
-Wheat flour.
-Yeast.
-Salt.
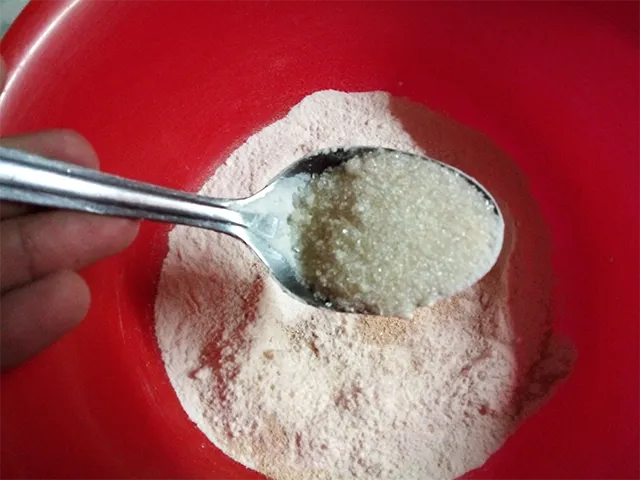
-Sugar.
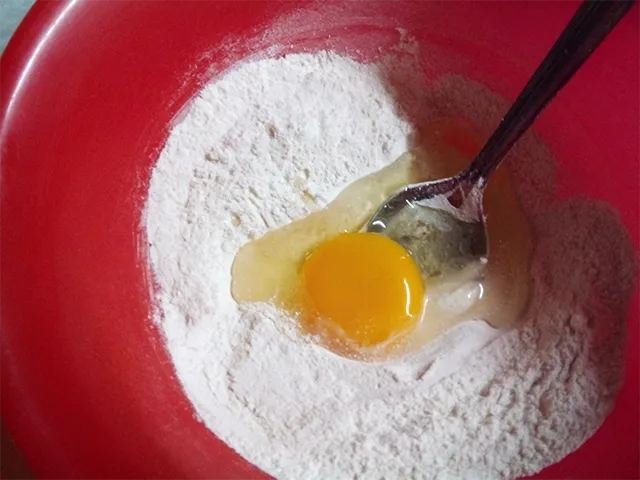
-Egg.
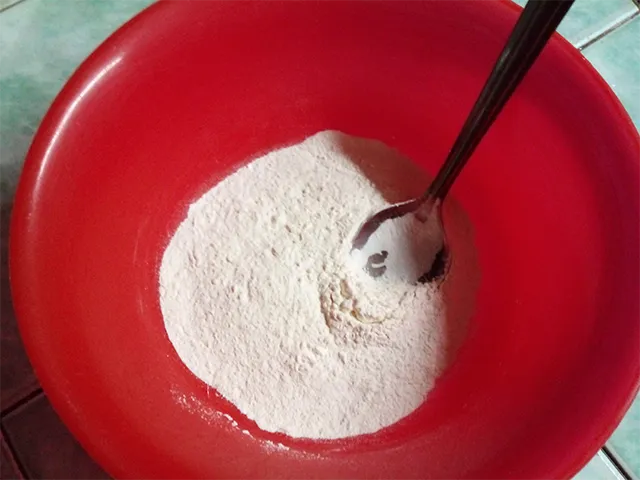
The first thing I did was to add the flour in a container comfortable enough to knead all the ingredients.
When I make bread, I usually proof the yeast to make sure it's right, but on this occasion I didn't because I had already used the yeast and it was rising quite a bit, so I simply added a teaspoon to the flour.
I can understand that in baking and pastry making accuracy is key to achieve the best results and I agree; however, this is a homemade recipe and for this type of recipes I usually use "al ojo" measurements; that is, approximate measurements that you calculate according to your own experience.
On more than one occasion I have heard that yeast and salt do not get along well, because salt kills the yeast. I guess you have to know when to add the salt to the mixture so that it doesn't kill the yeast, but I always add it before adding the liquid and kneading and it has always lifted the dough. The salt here is to taste.
I like to add sugar to these bread recipes because it gives a rich flavor. This is at each person's discretion.
Regarding the use of eggs in bread recipes, there are those who use only the egg white, leaving the yolk only to apply it with a brush on the bread before baking, to give the bread a better appearance. I sometimes do it this way, when I make large loaves; however, for this recipe I added the whole egg, as it gives the bread a yellowish color and a soft and fluffy texture.
Again, this is a matter of taste.
Once we have all the ingredients, we have to mix them. I helped myself with a spoon at first, but then I used my hands to knead them properly.
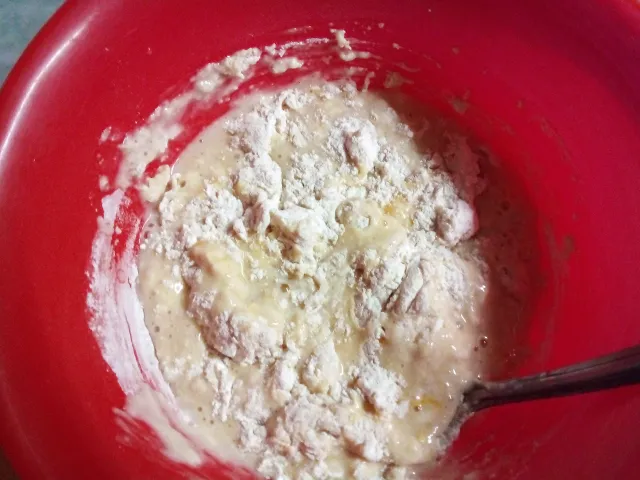
I was kneading for about 5 minutes, until everything was homogeneous and... well, as a bread dough should be.
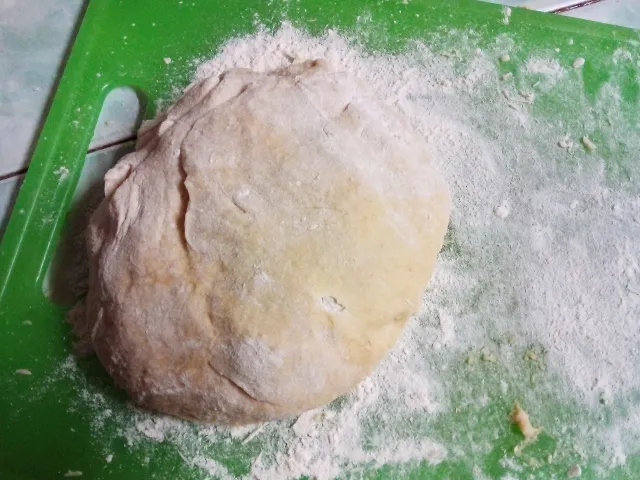
After kneading, I let the dough rest for about 15 minutes and that's how it turned out:
For this recipe I used only half of the dough. I cut it into three parts, stretched them and made three rolls of dough. Again I let them rest for another 15 minutes and then in the oven...
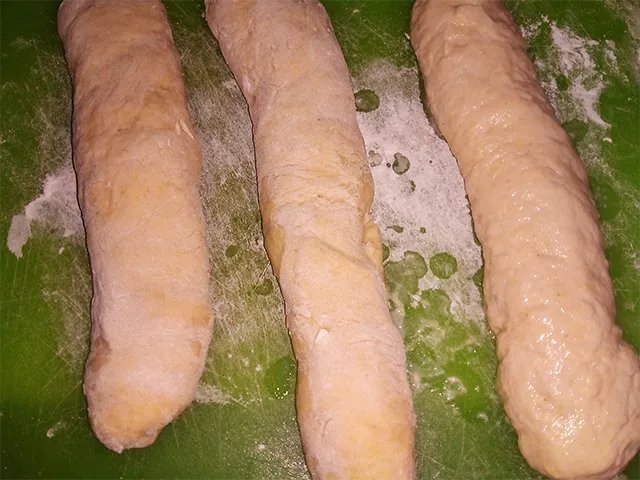
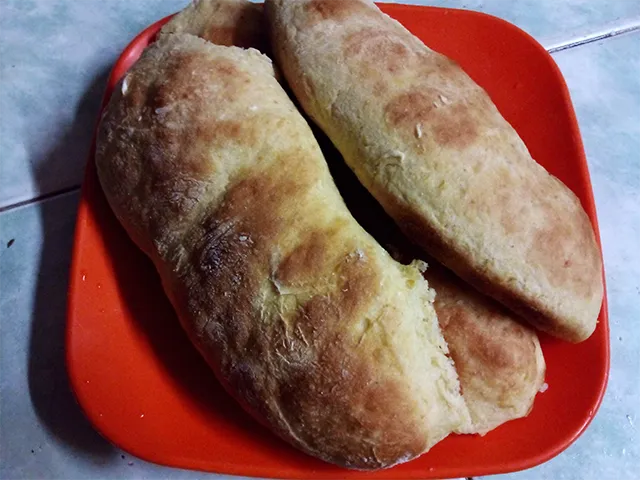
Just between us, the loaves grew more than expected. I'm sure they would have risen a little more if I had let them rest longer before putting them in the oven.
This was the result of the loaves:
Time for the stuffing. For this I used half of the cabbage and a small piece of carrot. I washed both vegetables well and grated them with an ordinary grater.
Then I soaked them for a few minutes in vinegar water to remove unwanted things. After cleaning it again, I added salt to taste and a little sugar to what will be our carrot and cabbage salad.
I also cut a few potatoes, peeled them and cut them into sticks, added salt, peppers and then fried them.
Once my stuffing was ready, I took my bread and opened it to start stuffing.

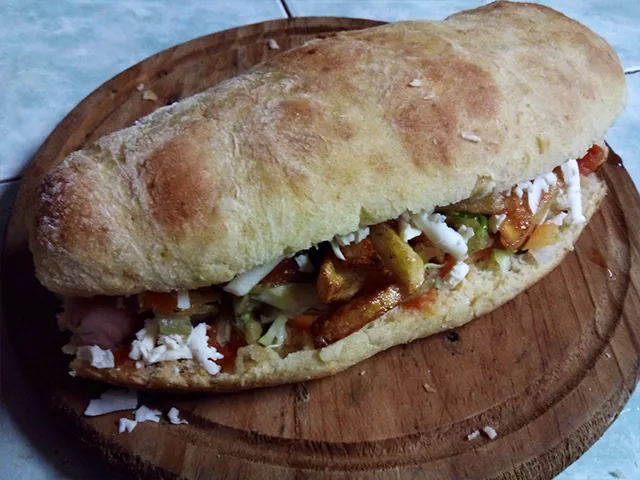
I filled this sandwich with a sausage, plenty of tomato sauce, sweet cabbage slaw with carrots, potato chips and plenty of cheese, something that never goes amiss, unless you are lactose intolerant....
It's done, this is how the 2nd Gabo Sandwich turned out. I would love to be able to send you a Sandwich like this through the screen, but for now you will have to settle for the pictures and the recipe, so you can try to make it at home. It's simple, so take heart.
Well friends, I hope you liked my Sandwich or at least it has served to distract you a little bit from so many occupations. If you like to leave your opinions I invite you to do so in the comments, as always I will be happy to read them. With nothing more to add, I'll say goodbye...
¡See you next time!
******Versión en español*****
Hace aproximadamente dos meses participé en un concurso llamado "Blockchain's International Sandwich Squad" o BISS. El concurso consiste simplemente en hacer un Sandwich, mostrar el paso a paso y compartirlo con los usuarios de HIVE, por fotos obviamente jeje. Fue muy divertido participar en el concurso porque tenías la oportunidad de ver los otros sandwich que compartieron los otros usuarios, todos tan creativos como provocativos en el aspecto visual. Fue una bonita experiencia haber participado en el concurso, porque además de lo ya mencionado, tuve el privilegio de ganar.
Pueden ver el post de ese Sandwich siguiendo este enlace:
@gaboamc2393/biss-june-gabo-biest-sandwich-biss-junio-el-sandwich-bestia-de-gabo
Menciono todo esto porque me gustaría compartir con ustedes otro sandwich que hice precisamente ayer. Es una receta parecida, pero no igual a la de mi sandwich que ganó el BISS de Junio. Les presento el Gabo Sandwich # 2:
Para preparar el pan de este Sandwich ocupé los ingredientes que siempre uso:
-Harina de trigo.
-Levadura.
-Sal.
-Azúcar.
-Huevo.
Lo primero que hice fue agregar la harina en un envase lo suficientemente cómodo para amasar todos los ingredientes.
Cuando yo hago pan, normalmente hago prueba con la levadura para asegurarme de que está bien, pero en esta ocasión no lo hice porque ya había usado la levadura y levantaba bastante, así que simplemente le agregué una cucharadita a la harina.
Yo puedo entender que en la repostería y panadería la exactitud es clave para lograr los mejores resultados y estoy de acuerdo; sin embargo, esta es una receta casera y para este tipo de recetas yo acostumbro a usar medidas "al ojo"; es decir, medidas aproximadas que uno calcula según su propia experiencia.
En más de una ocasión he escuchado que la levadura y la sal no se llevan bien, porque la sal mata la levadura. Imagino que hay que saber cuando agregar la sal a la mezcla para que no mate a la levadura, pero yo siempre la agrego antes de agregar el líquido y amasar y siempre ha levantado la masa. La sal aquí es a gusto.
A mi me gusta agregar azúcar a estas recetas de pan porque le da un rico sabor. Esto queda a criterio de cada uno.
En lo que respecta al uso del huevo en las recetas de pan, hay quienes usan solo la clara, dejando la yema solamente para aplicarla con una brocha sobre el pan antes de hornearlo, para darle mejor aspecto al pan. Yo a veces lo hago así, cuando hago panes grandes; no obstante, para esta receta agregue el huevo completo, pues este le da un color amarillento al pan y una textura suave y esponjosa.
Nuevamente, esto es cuestión de gustos.
Una vez que tenemos todos los ingredientes, hay que mezclarlos. Yo me ayudé con una cuchara en un primer momento, pero luego ocupé las manos para amasar como Dios manda.
Estuve amasando como por 5 minutos aproximadamente, hasta que todo quedó homogéneo y... bueno, como debe quedar una masa para pan.
Después de amasar, dejé reposar la masa por unos 15 minutos y así quedó:
Para esta receta usé solo la mitad de la masa. La corté a su vez en tres partes, las estiré e hice tres rodillos de masa. Nuevamente los dejé reposar 15 minutos más y luego al horno...
Acá entre nos, los panes crecieron más de lo esperado. Estoy seguro que habrían crecido un poco más si los hubiese dejado más tiempo reposando antes de meterlos al horno.
Este fue el resultado de los panes:
Hora del relleno. Para esto ocupé la mitad de repollo y un pedacito de zanahoria. Lavé bien ambos vegetales y los rallé con un rallador común y corriente de toda la vida.
Luego los remojé durante unos cuantos minutos en agua con vinagre para eliminar cosas indeseadas. Tras limpiarla otra vez, agregué sal a gusto y un poco de azúcar a lo que será nuestra ensalada de zanahoria y repollo.
También corté una cuantas papas, las pelé y las corté en bastones, agregué sal, pimientas y luego las frité.
Una vez listo mi relleno, tomé mi pan y lo abrí para comenzar a rellenar.
Este sandwich lo rellené con una salchicha, suficiente salsa de tomate, la ensalada dulce de repollo con zanahoria, papitas fritas y abundante queso, algo que nunca cae mal, a menos que seas intolerante a la lactosa...
Listo, así quedó el 2do Gabo Sandwich. Me encantaría poder enviarles un Sandwich como este a través de la pantalla, pero por ahora tendrán que conformarse con las fotos y la receta, para que intenten hacerla ustedes en casa. Es sencilla, así que anímense.
Bien amigos, espero que mi Sandwich les haya gustado o cuando menos haya servido para que se distraigan un poco de tantas ocupaciones. Si gustan dejar sus opiniones los invito a hacerlo en los comentarios, como siempre estaré encantado de leerlos. Sin más que agregar, me despido entonces...
¡Hasta la próxima!

Imagenes editadas con Photoshop
Traducido con DeepL
Photos edited with Photoshop
Translated with DeepL
Últimos tres post/Last three posts:
Graffiti Lettering Contest #1: Plasticine graffiti
Work and garden Weekend / Fin de semana de trabajo y jardinería
Sculpture: boat and pirate / Escultura: bote y pirata