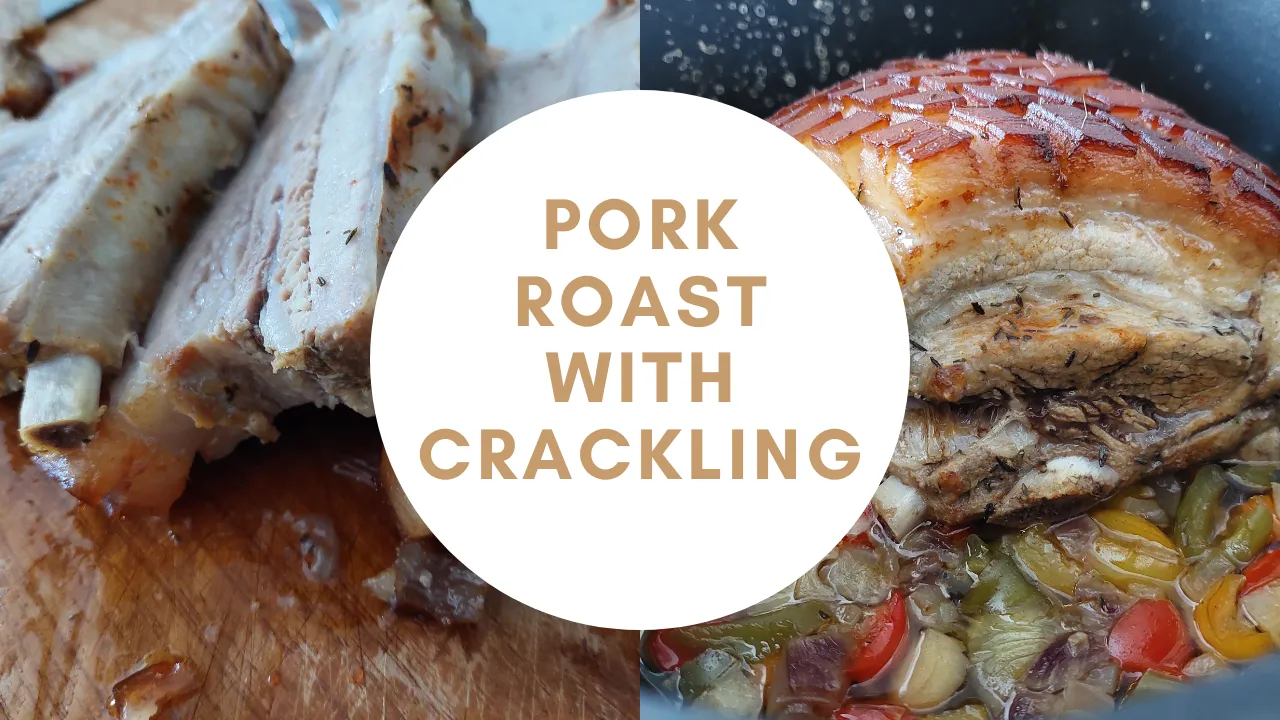
Pork roast with crackling
Hey guys,
this week, I wanted to try something with pork belly. I really love pork belly at a barbeque. Just cut them into thick slices, put them on the grill and I’ll eat 10 of them.
But for this week’s Hive Top Chef Competition held by @qurator (theme: Pork Belly) I’m going to cook a pork roast with crackling.
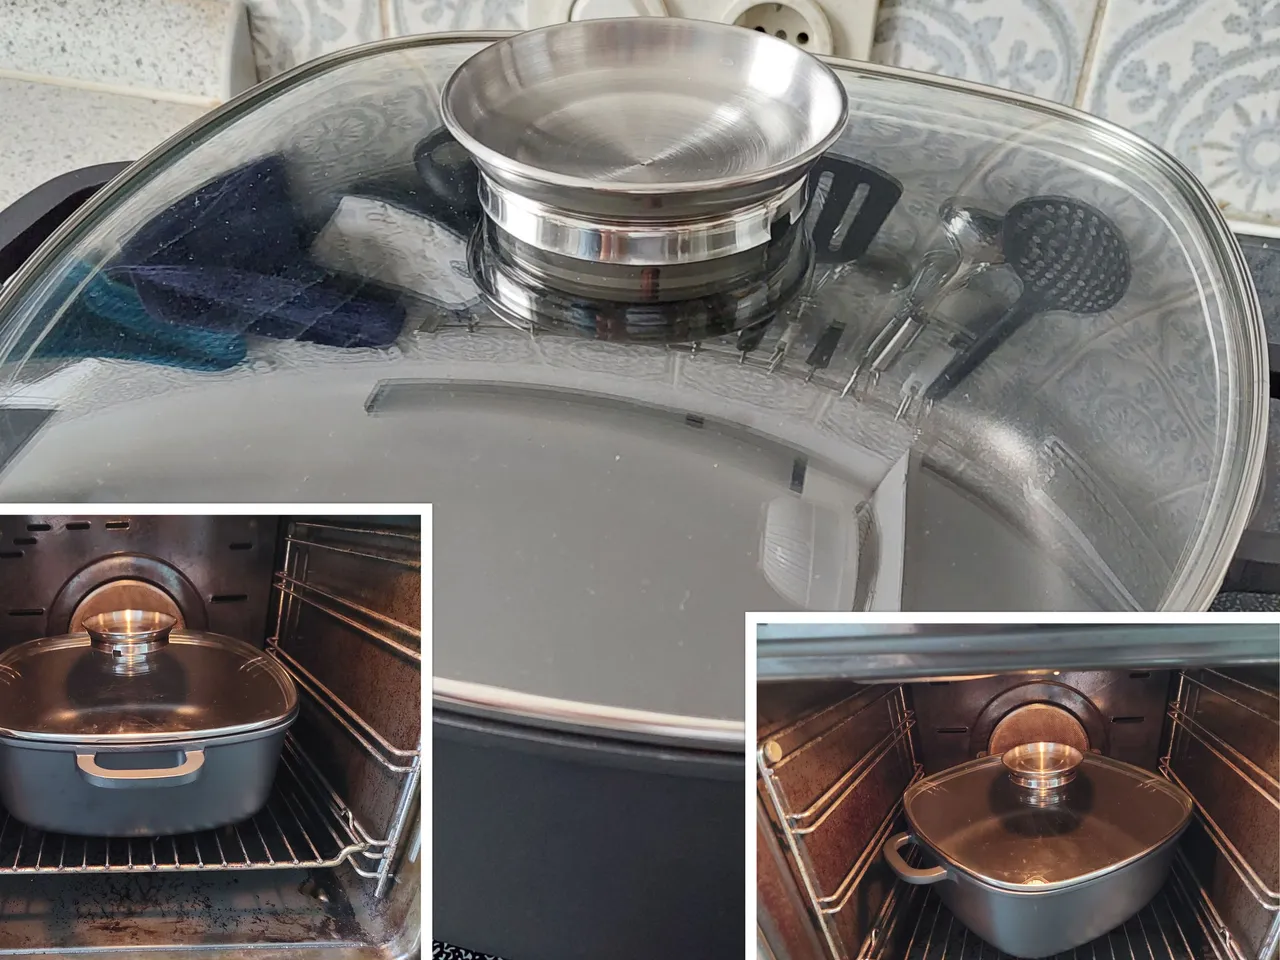
And no joke, I had to buy a new roasting pan for this dish, because my „old“ roasting pan is too big for my oven, which is only 50 cm wide instead of 60 cm. I never had any problems with roasts before, because I put them into a roasting bag. But for the pork roast, a roasting pan was needed and I wanted to upgrade my cooking tools anyway. I just have to get rid of my old roasting pan (which is still in its packaging.)
Let’s get cooking.

Pork Roast with Crackling
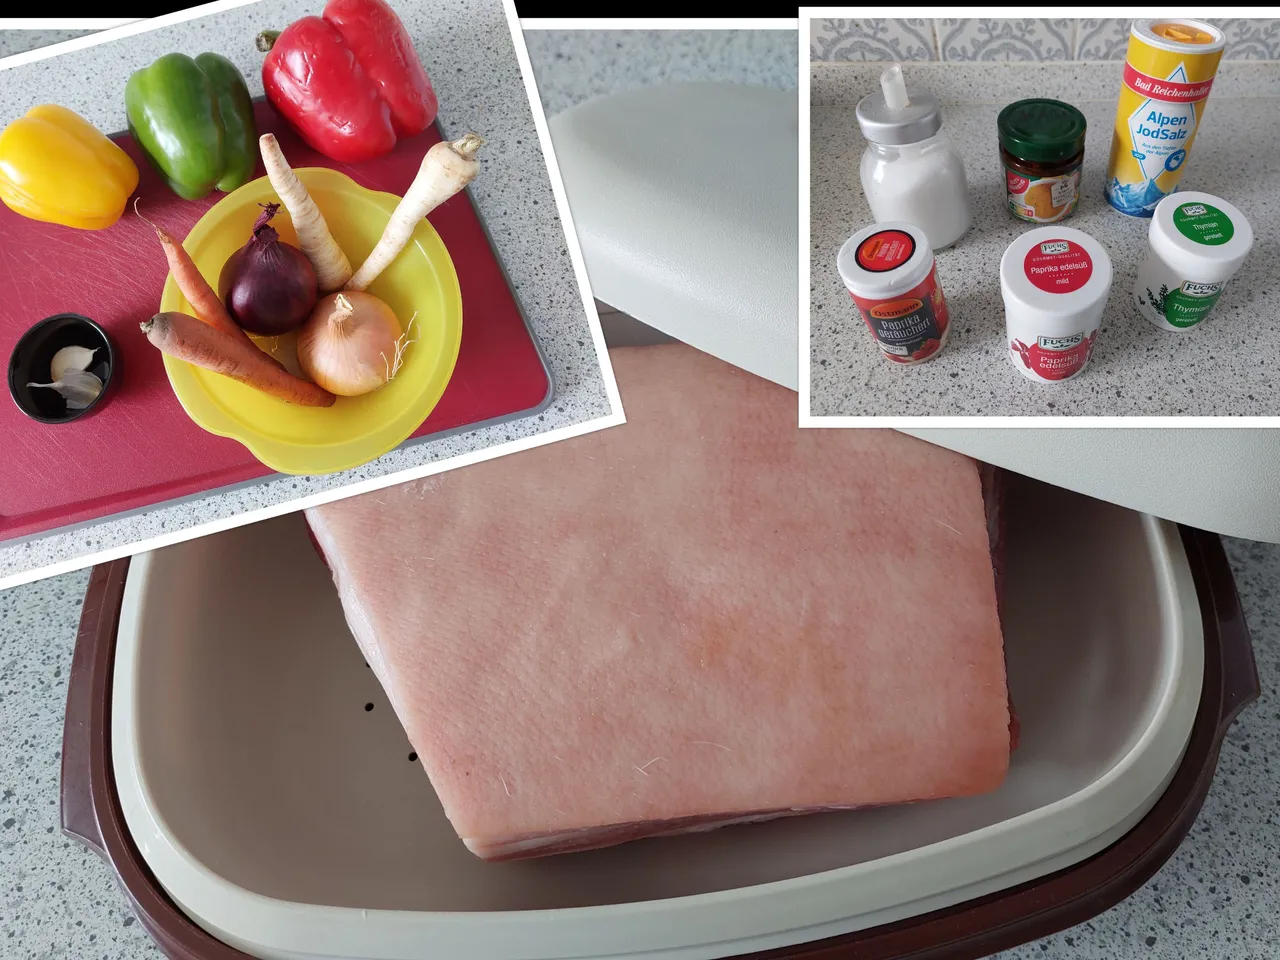
Ingredients
• The indispensable ingredient is meat :o). A thick, juicy pork belly with a slick of fat, rind, and bones. You need 1000g of this fine meat.
• 2 teaspoons of salt
• about a teaspoon of sugar
• three-quarters of freeze-dried thyme
• 1 ½ teaspoon of sweet pepper powder
• 1/3 teaspoon of smoke-dried paprika powder
• 1 liter of hot water
• 1 big red onion
• 1 big white onion
• 1 small carrot
• 2 cloves of garlic
• 1 small parsley root
• 1 yellos, red and green paprika
• 1 tablespoon of vegetable broth powder
Step 1
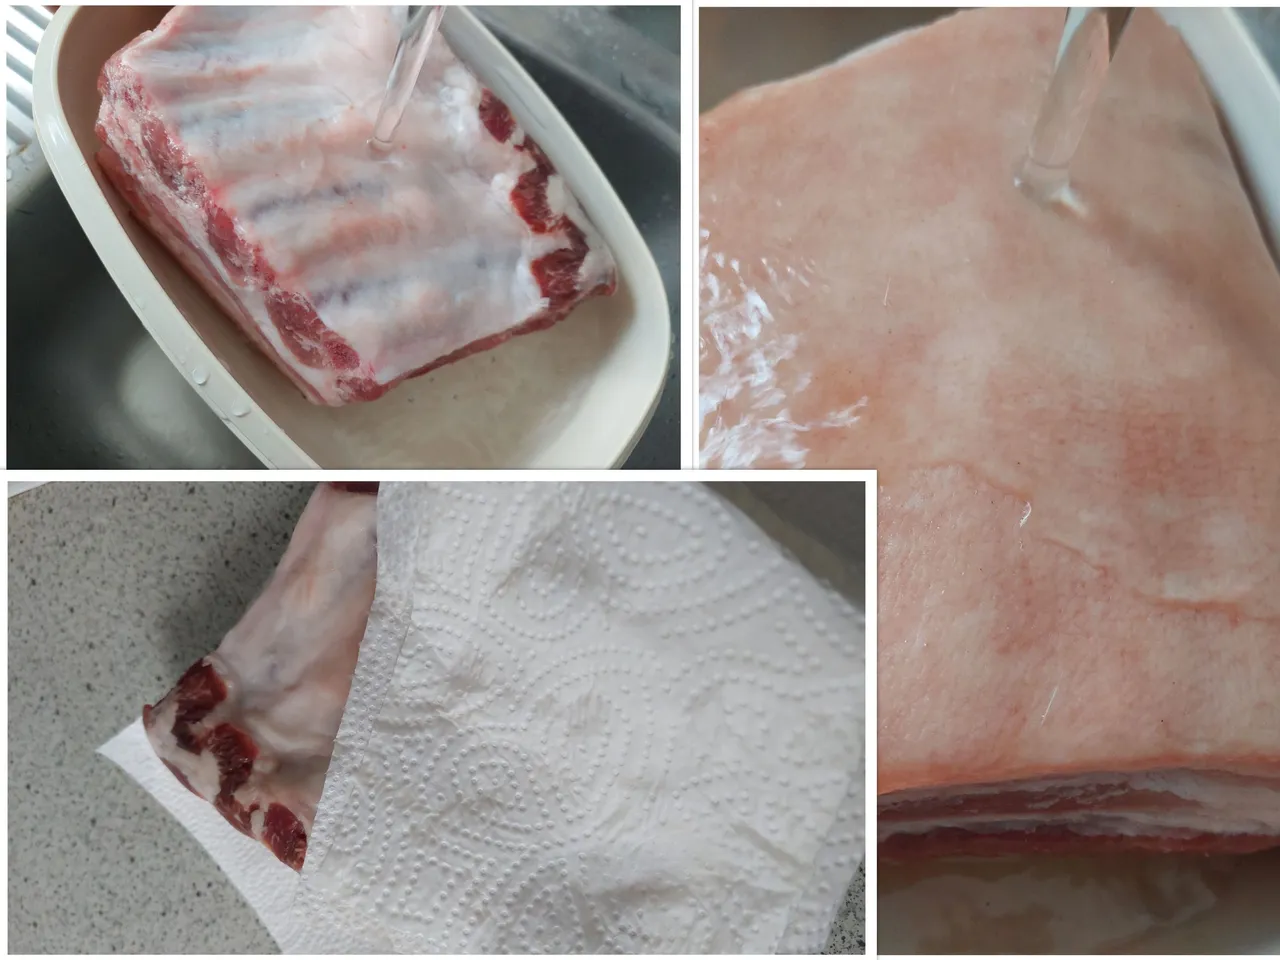
I washed the pork belly under a cold stream of water. You don’t want to have some kind of germs from the supermarket or the local butcher on your food.
After that, I patted the meat dry and put it aside.
Step 2
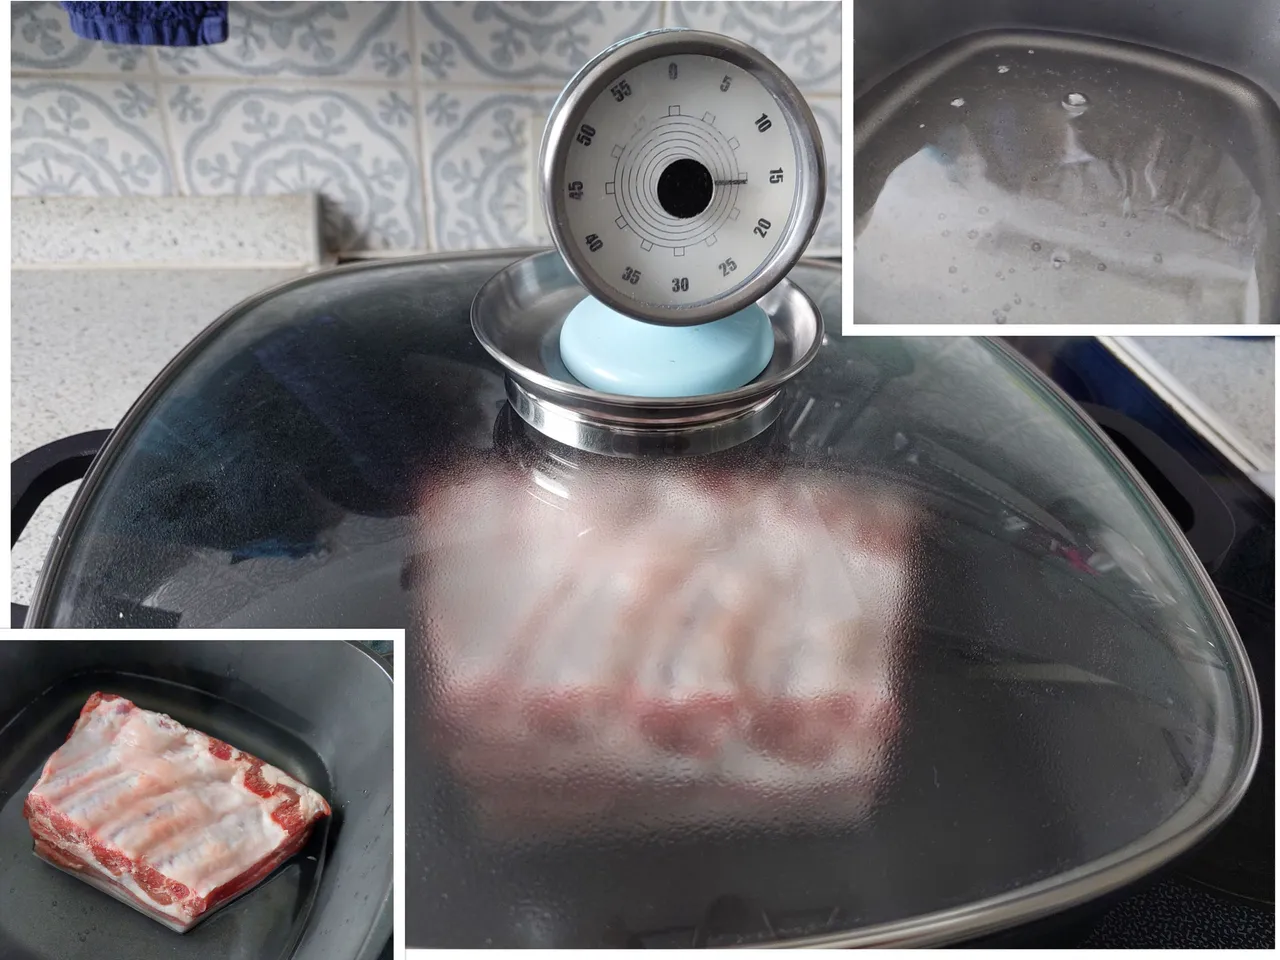
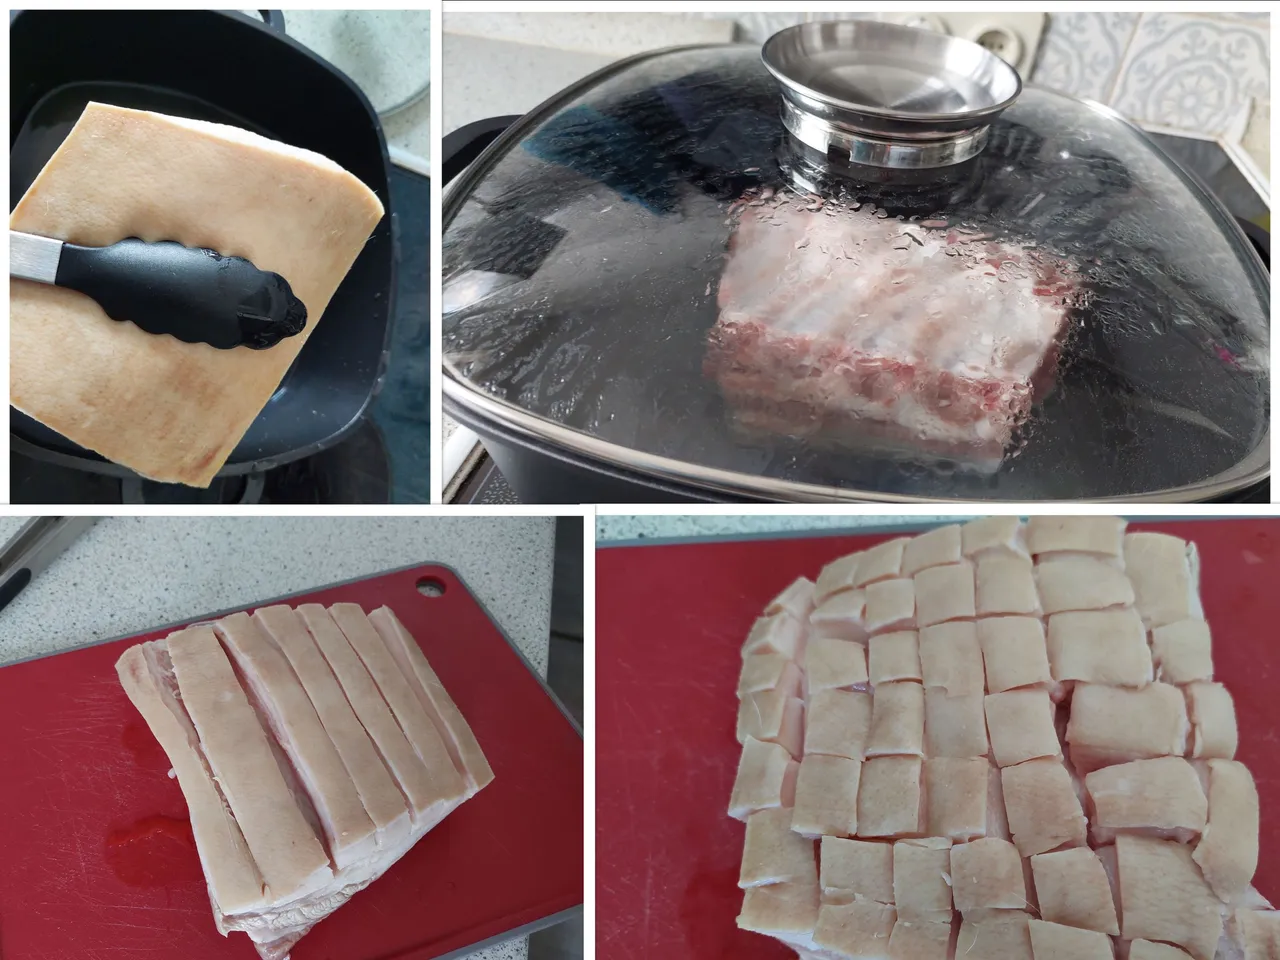
I poured a liter of water into the roasting pan and brought it to a boil. I put the pork belly in with the rind facing downwards.
Step 3
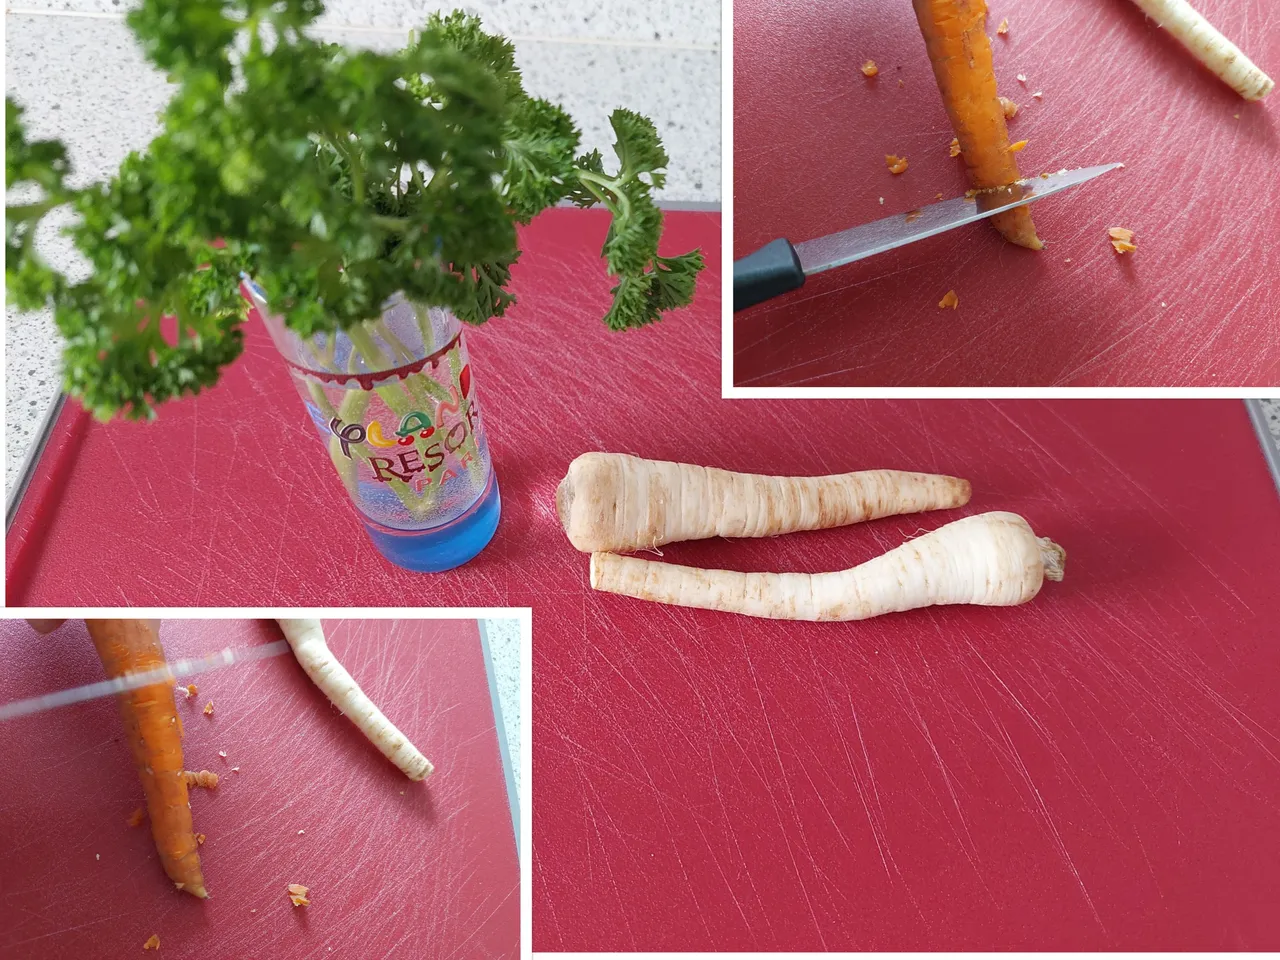
As the pork belly slowly simmers in the roasting pan to open its pores, I scraped the carrots and parsley root (has nothing to do with parsley, but it has a similar smell). I put parsley on the photo for you to see, that these two ingredients are totally different. Parsley root is similar to a root vegetable called parsnip. It basically looks and tastes the same.
Step 4
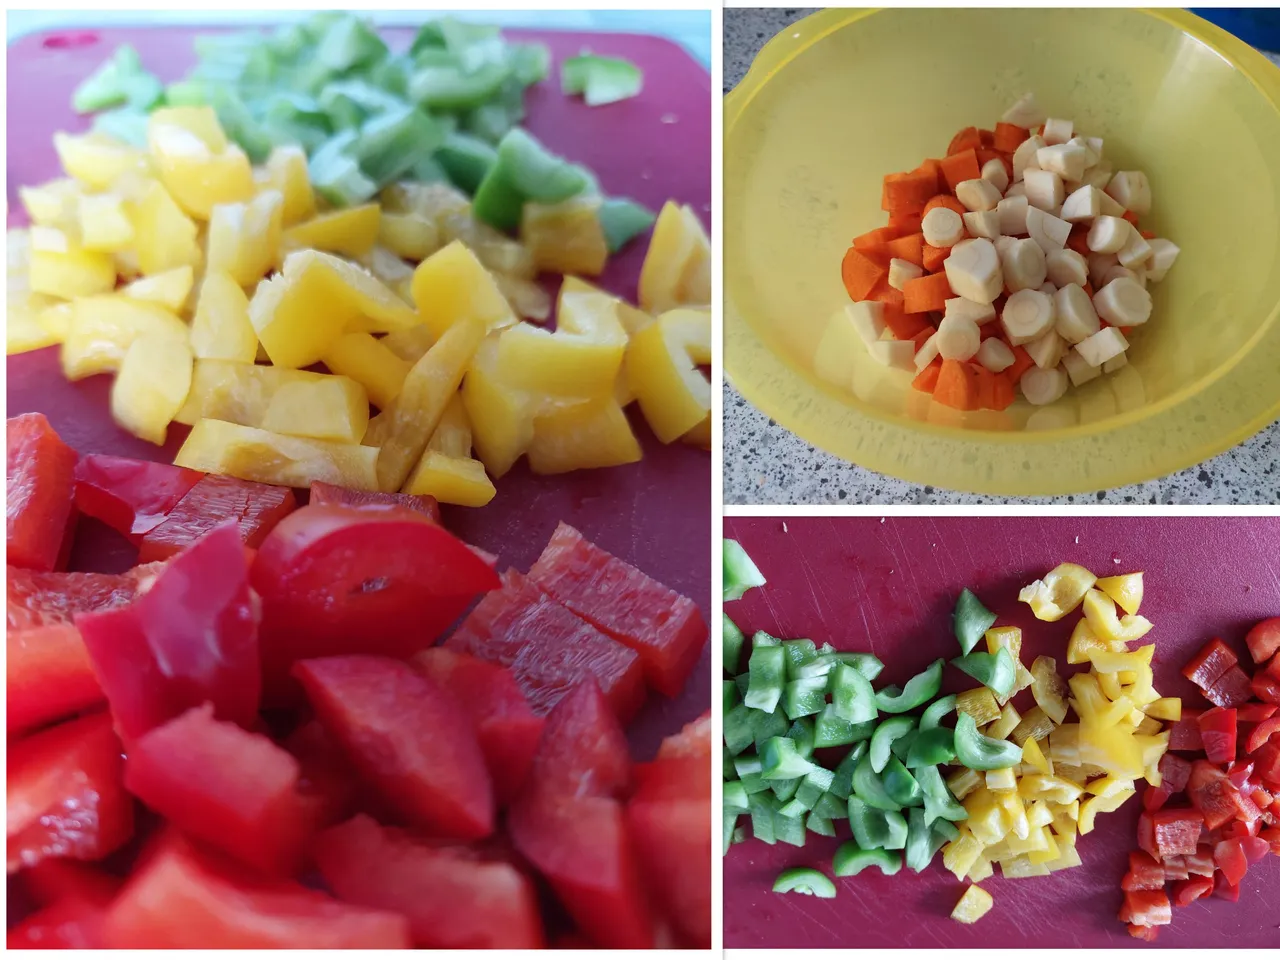
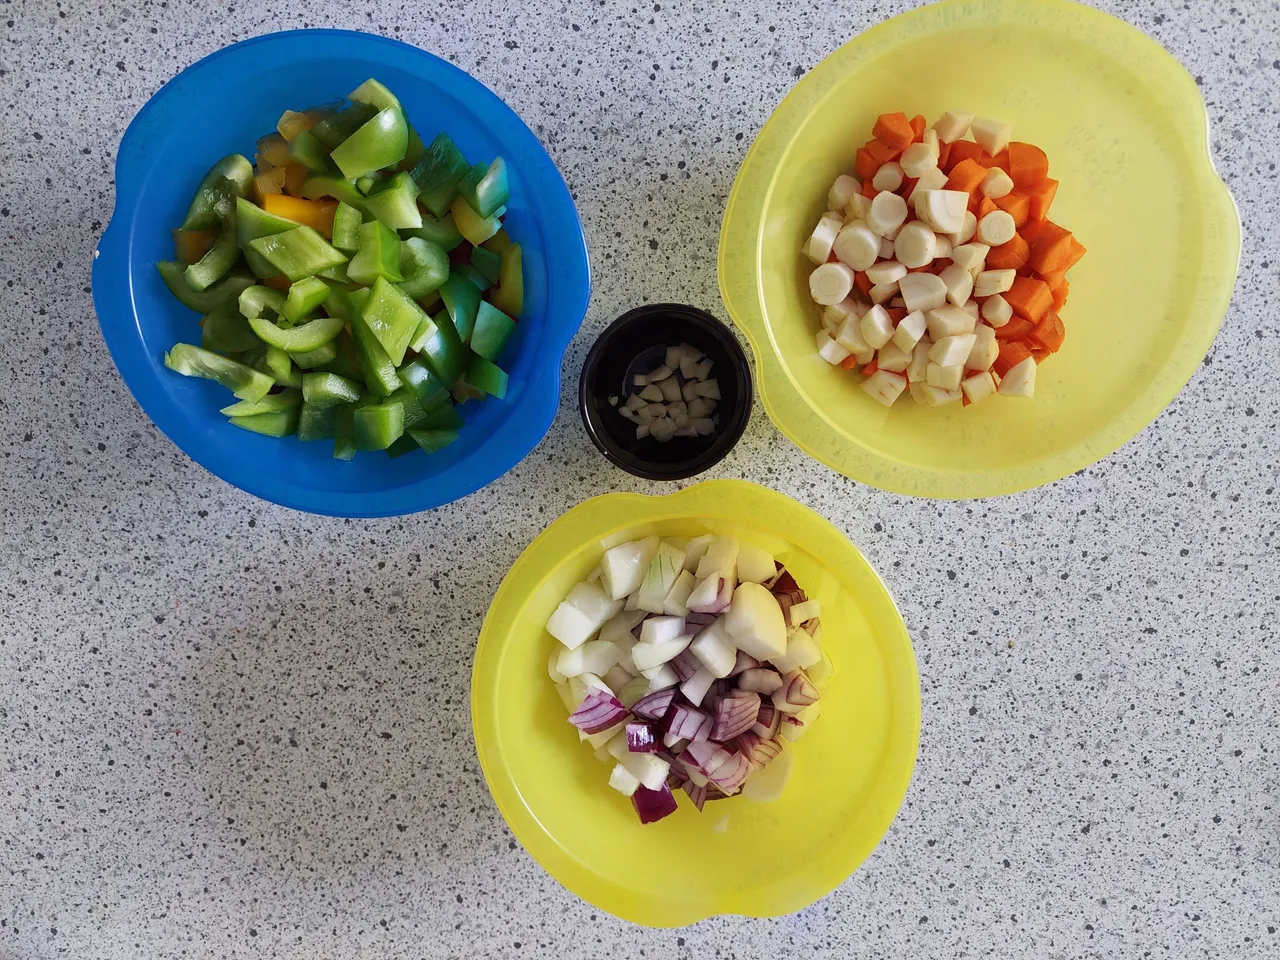
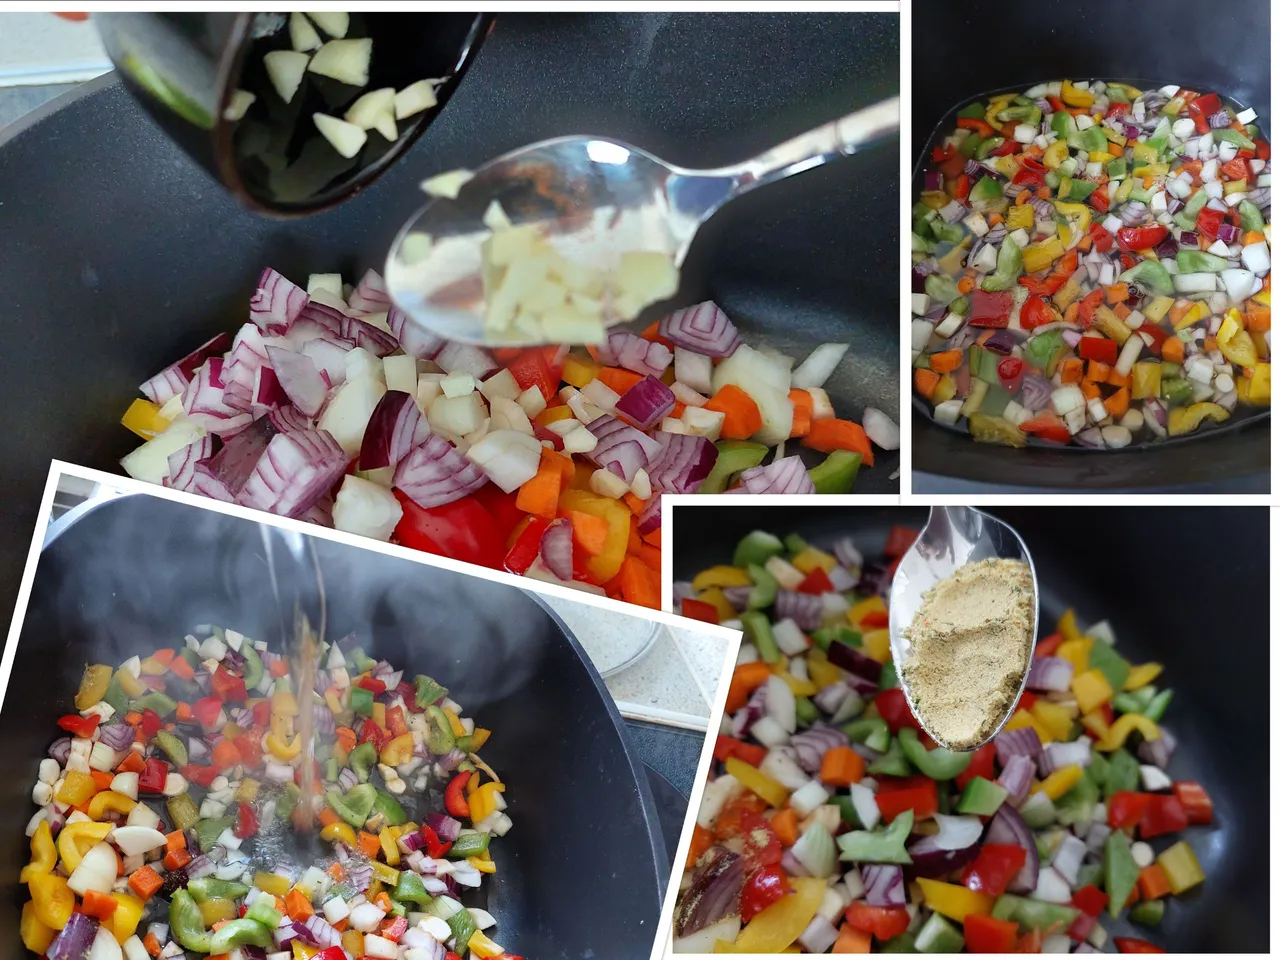
I then diced the carrots and parsley root as well as the three paprikas, the onions and the garlic.
You eat with your eyes first and for that reason, I prepare my food in little bowls, before I mash them up in a pan or a pot, as you can see in the picture below.
Step 5
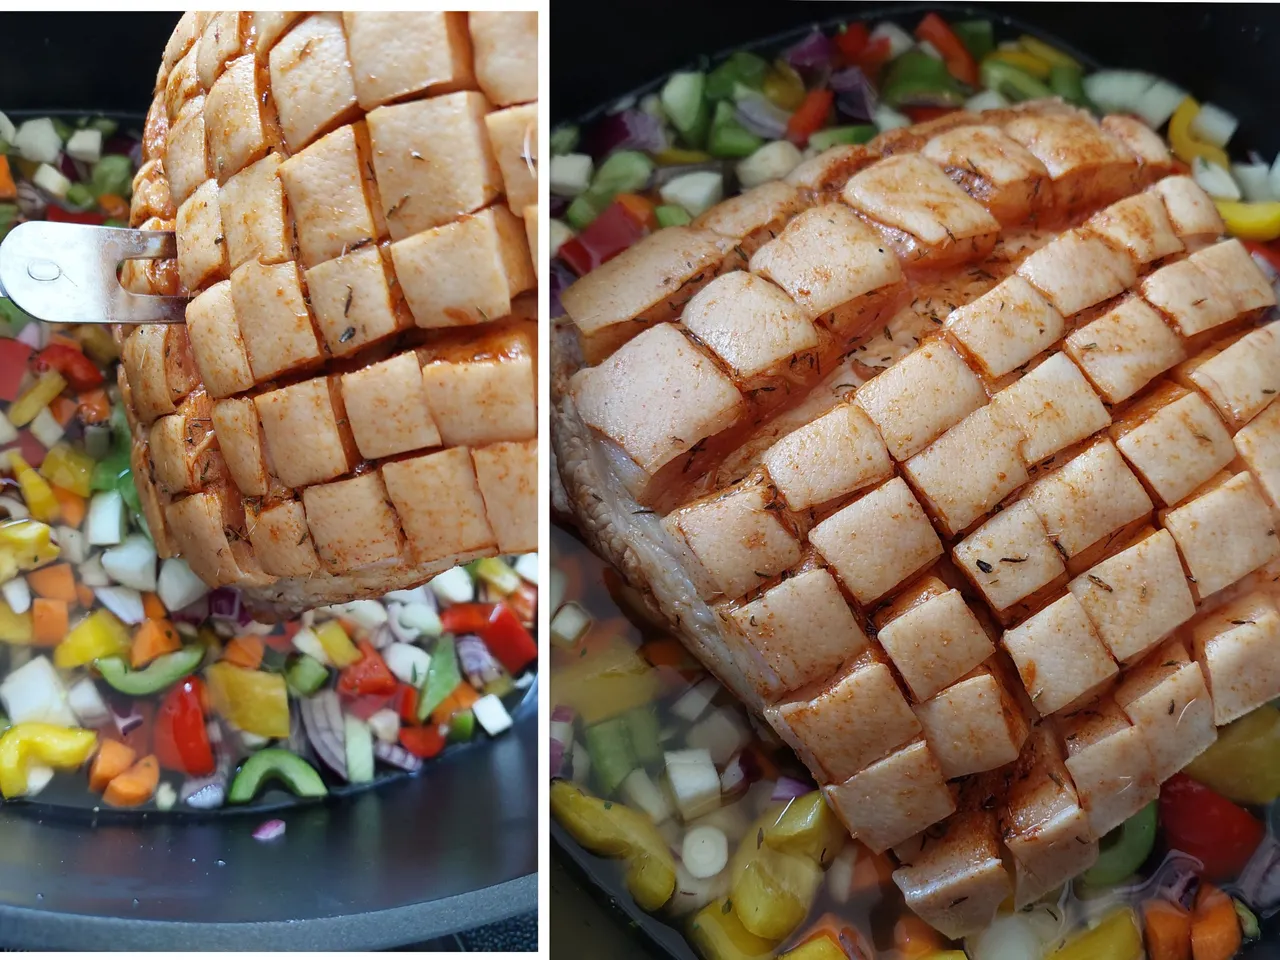
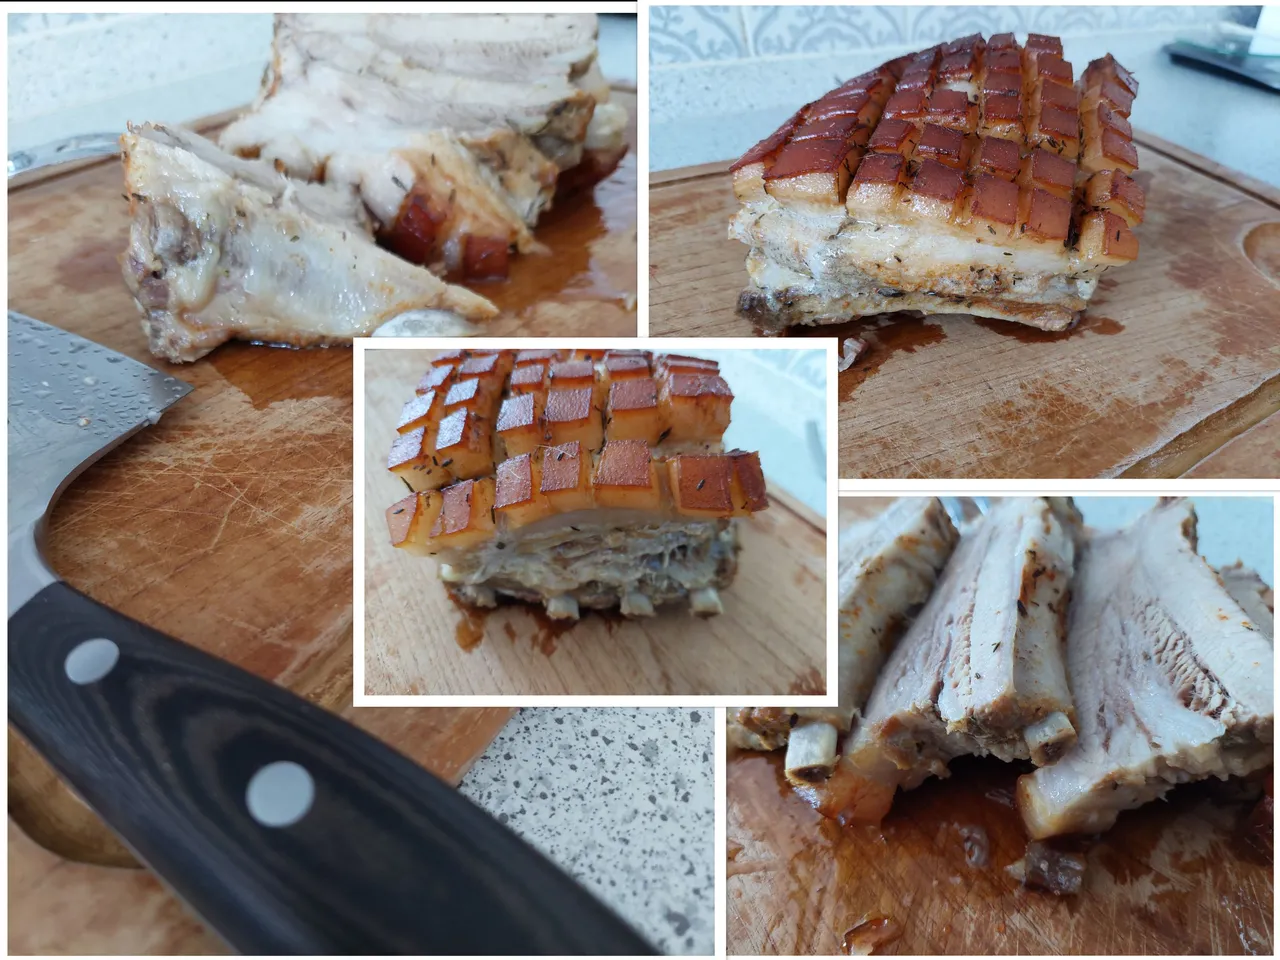
After I prepared all vegetables, it was time to take the pork belly out of the pan, pour the water away and cut the rind in diamond-shape.
Step 6
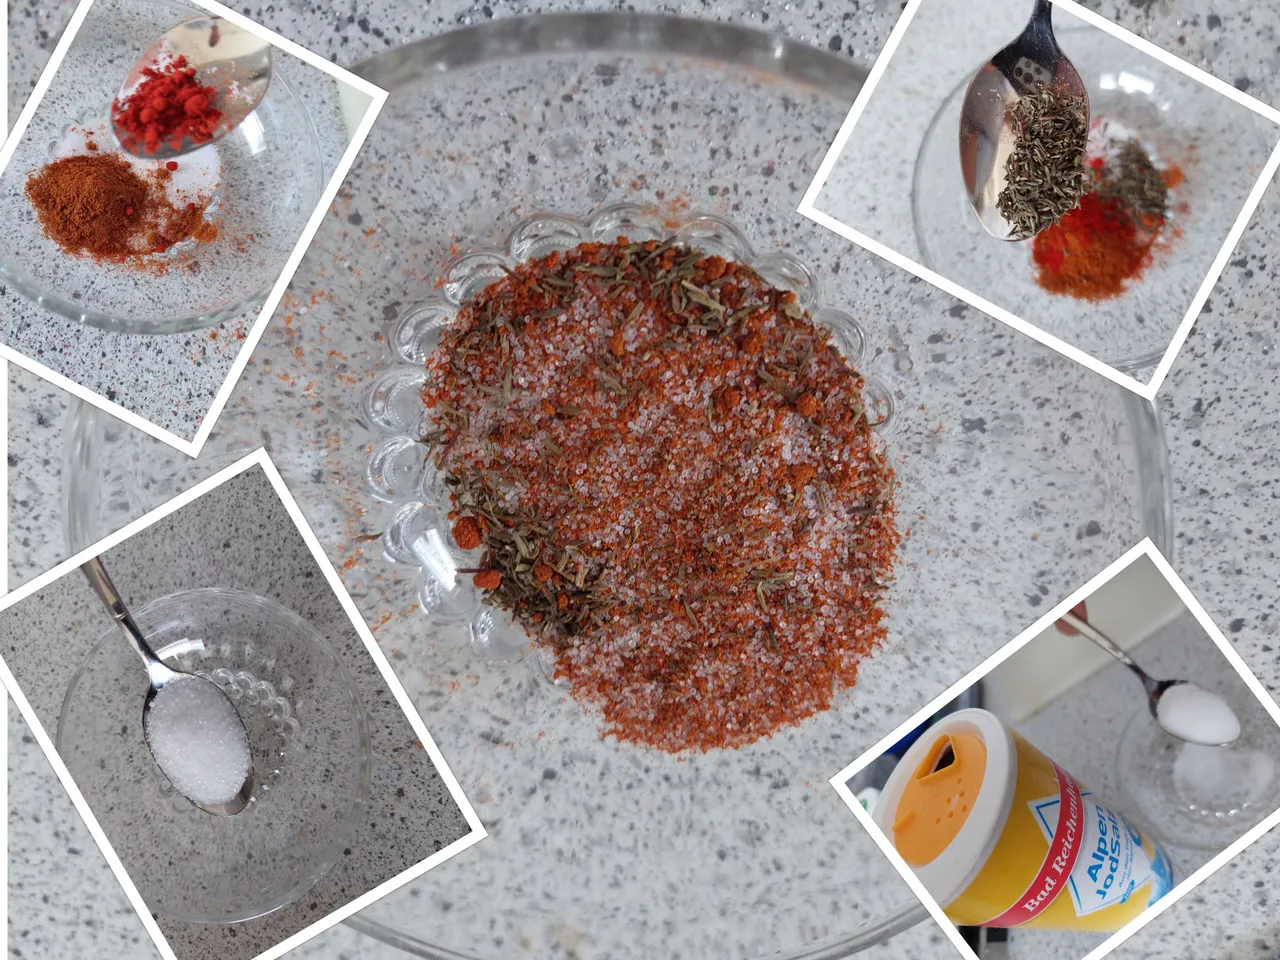
I mixed the salt, sugar, thyme and both varieties of paprika powder and put my massage gloves on :o).
Step 7
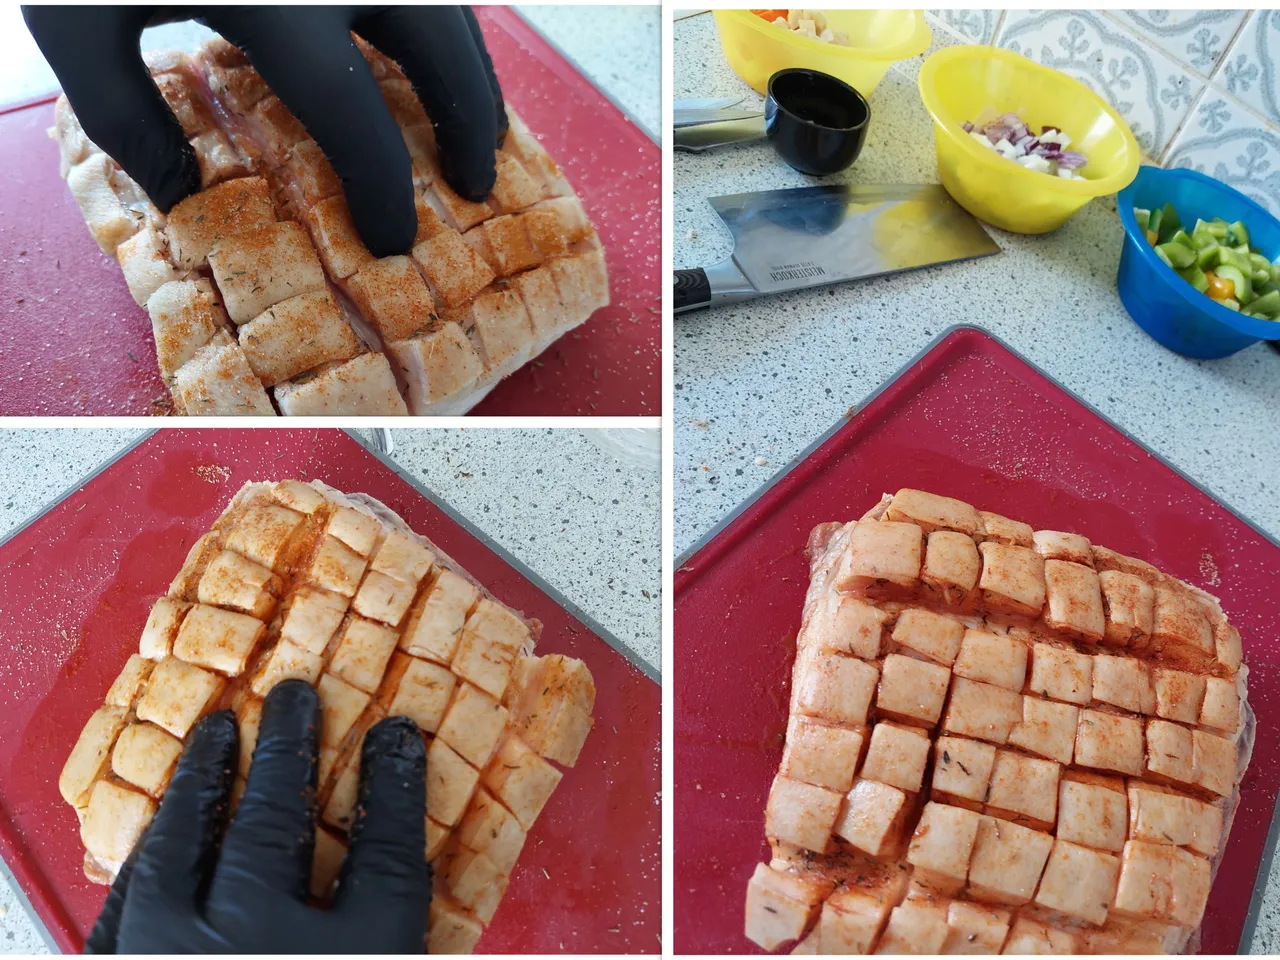
Then I massaged the seasoning into the rind and the rest of the pork belly. I hope, you can see or surmise, I put a lot of love into it. My pork belly had a wonderful and proper salt and pepper massage before it was put in the oven.
Step 8
Then I poured all vegetables into the pan, put a tablespoon of vegetable broth powder in and poured enough hot water (a water boiler is great for that) afterwards for the vegetables to be completely covered.
Step 9
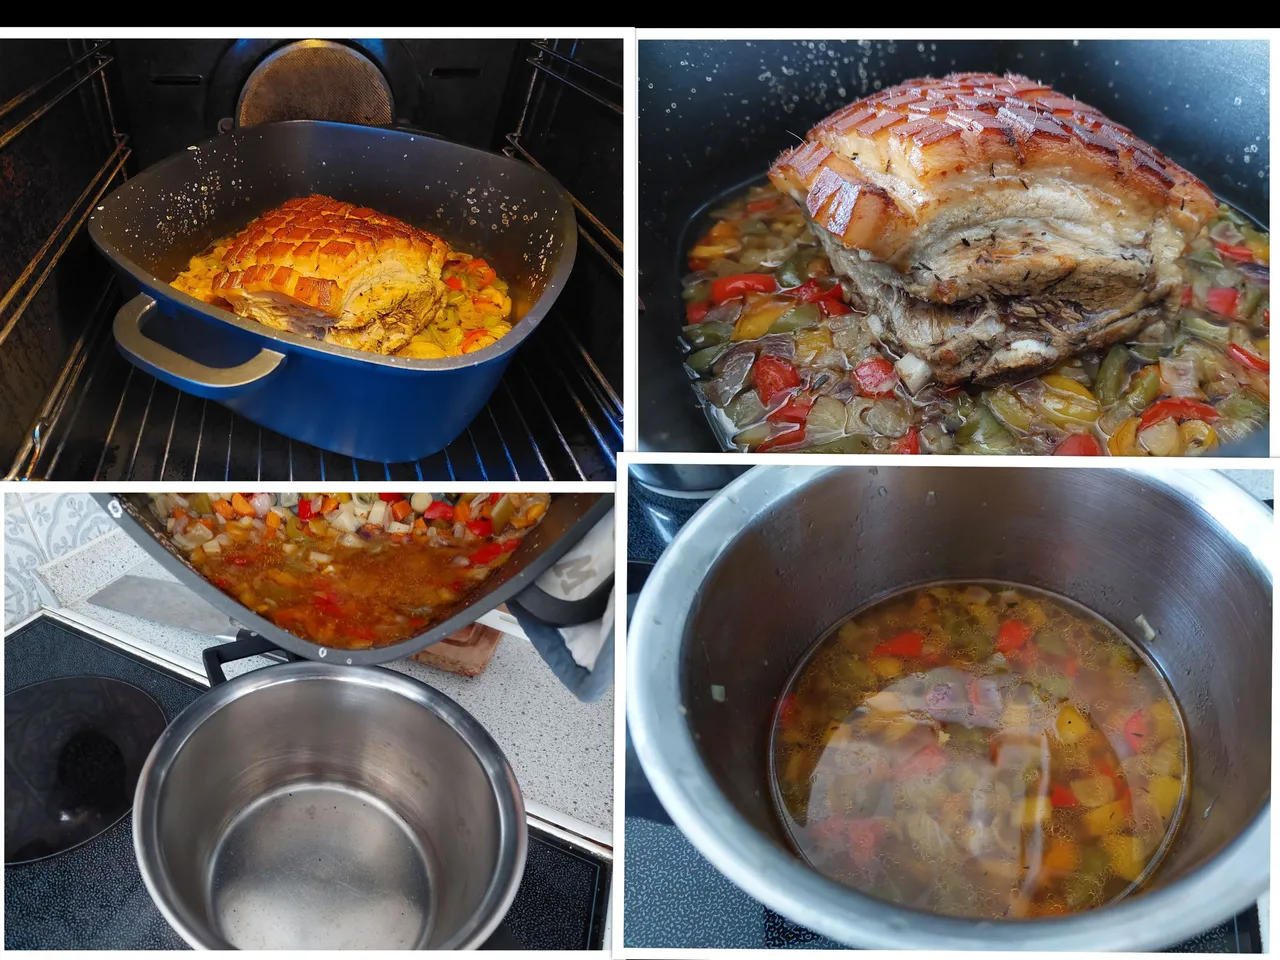
I laid the pork belly on top of all the vegetables and put the roasting pan in the oven. I work with top/bottom heat and set it at 180 degrees celsius.
Depending on the size of the meat, it takes 60 to 90 minutes.
Step 10
Every twenty minutes I took the pan out and brushed saltwater on the rind for it to develop a juicy and tasty crust.
After the third time (about 60 minutes) I set the temperature to 200 degrees and roasted the pork for another 15 minutes.

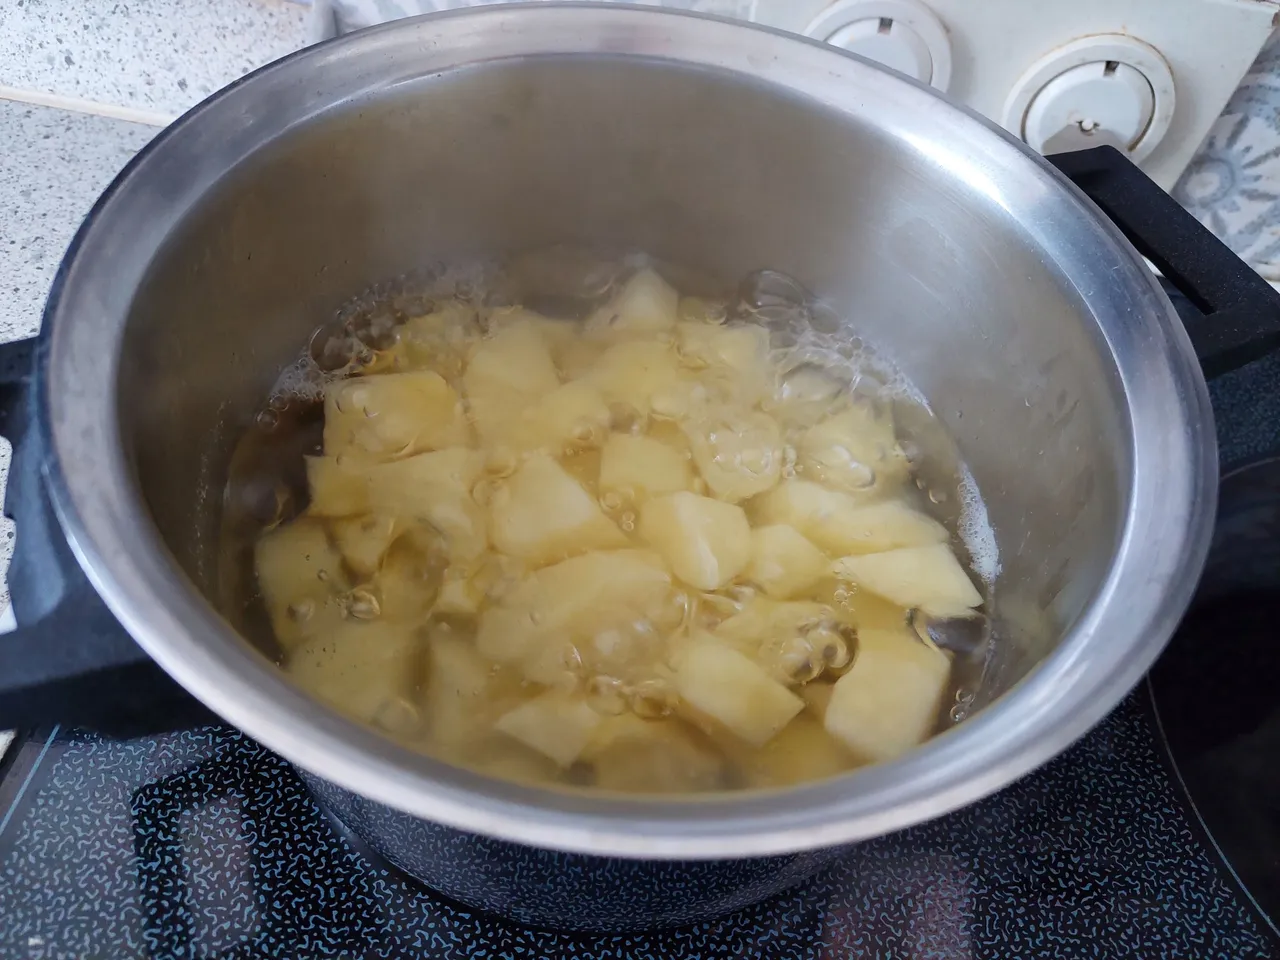
Step 11
In the meantime, I peeled and diced a few small potatoes from the garden (I picked them in the morning before the heat swept over Hannover) and put them into a pot of boiling water.
Step 12
After approximately 80 to 90 minutes, I took the roasting pan out of the oven, put the pork belly on a chopping board and the vegetable broth into another pot for it to stew for an additional few minutes. I also added starch.
Step 13
My favourite pastime is cutting meat. It may sound creepy or straight out of a horror movie, but I love the whole process of cooking or roasting meat and cutting it into pieces before eating it.
That is, what I did. I used my cleaver to smoothly cut between the bones and through tendons and fat. It was glorious :o). I have to say, I was pretty proud of myself. And it truly was delicious. The salty crust was almost perfect. The seasoning was an experiment (I bought sweet pepper and dried-smoked paprika especially for this dish) and it paid off.
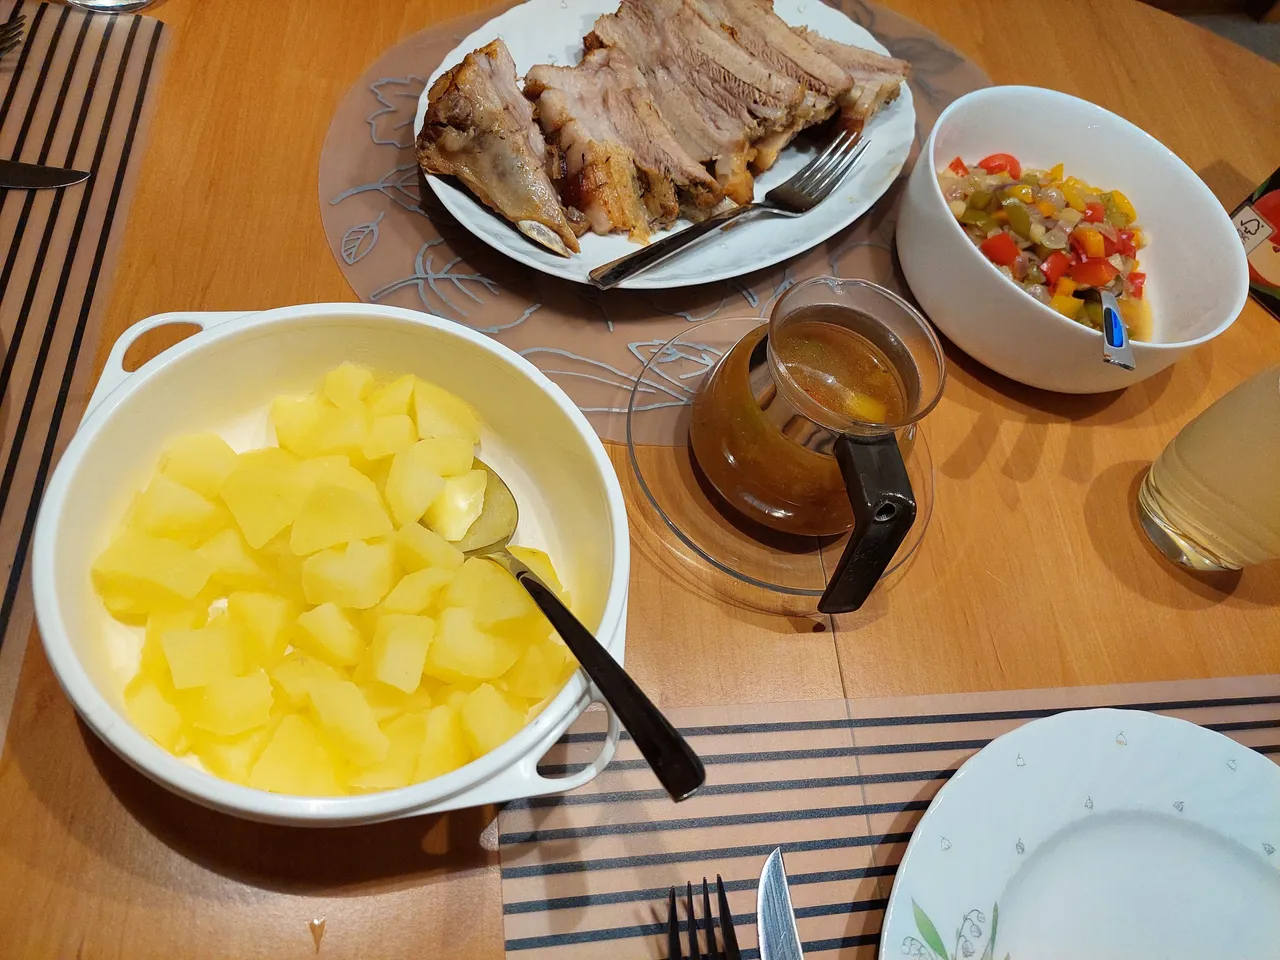
Step 14 - Enjoy Your Meal
There is nothing more to add except that I devoured three slices of pork belly. The vegetable broth together with my own potatoes (It is always fascinating for me as a city-dweller to sow and harvest vegetables on my own, even if it has been almost ten years since I leased my allotment.) were very tasty as well.
Thumbnail created with Canva
Photo mashups created with FotoCollagen
Pictures are mine.